Kids who struggle with spacing in written work sometimes write withallthewordstogether. That’s pretty tough to read, right? When kids struggle with spatial awareness may write words and letters with little regard to spacing.
A visual perception difficulty prevents kids from writing with adequate spacing on the page. Other times, kids have trouble copying written work with appropriate spacing. Still other kids might show difficulty with spatial awareness when writing at a fast speed or when writing in a journal or with free writing.
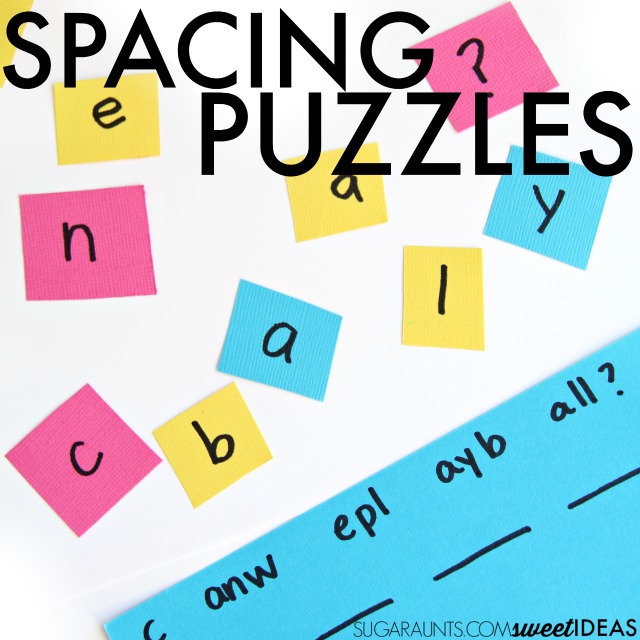
These spacing puzzles are a great hands-on activity for helping kids to recognize and become more aware of spacing between words. It’s a hands on approach to addressing visual perception in handwriting.
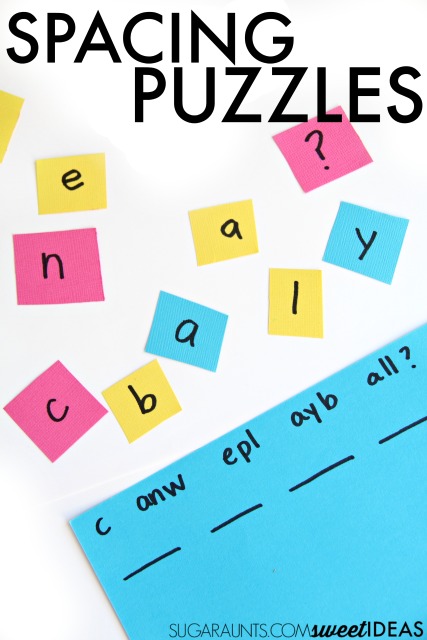
Spatial Awareness Puzzles for Helping Kids Space Between Words When Writing
To practice spacing with a hands-on approach, try this spacing puzzle. You’ll need just a couple of materials for the activity.
Affiliate links are included in this post.
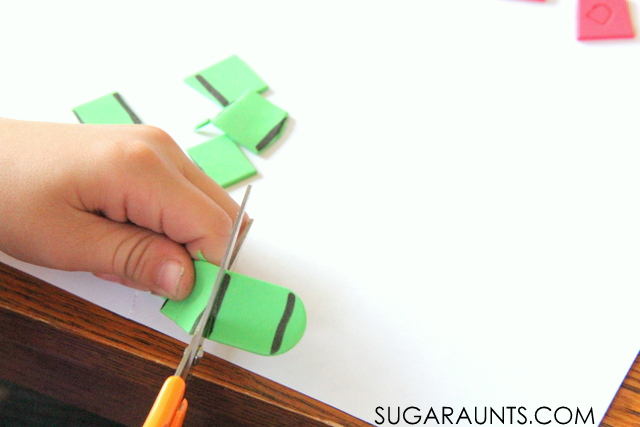
Cardstock cut into squares.
Marker
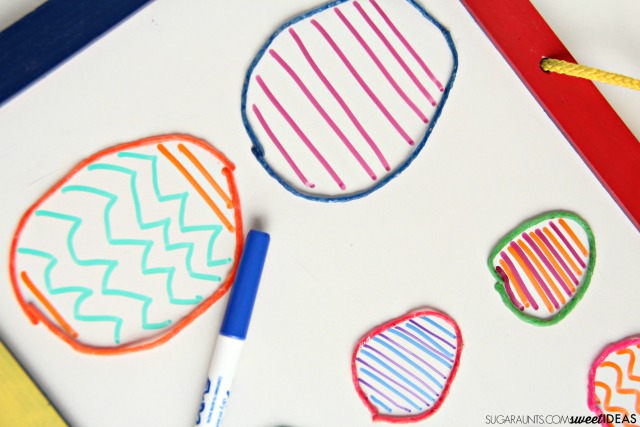
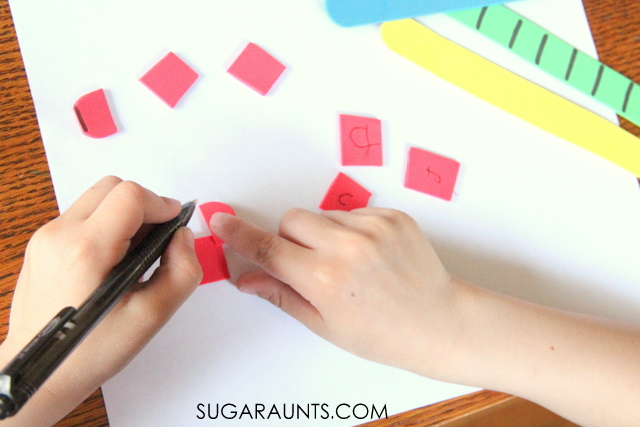
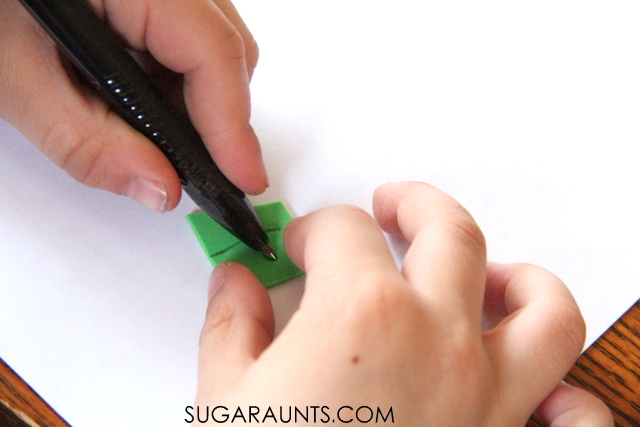
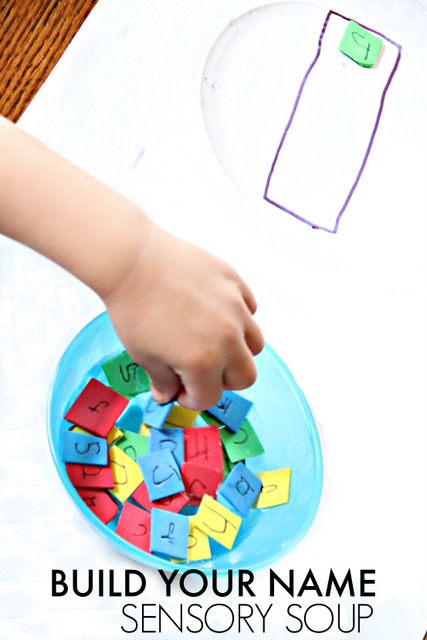
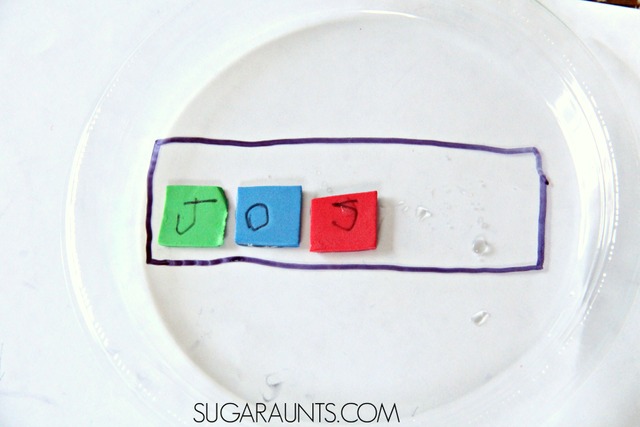
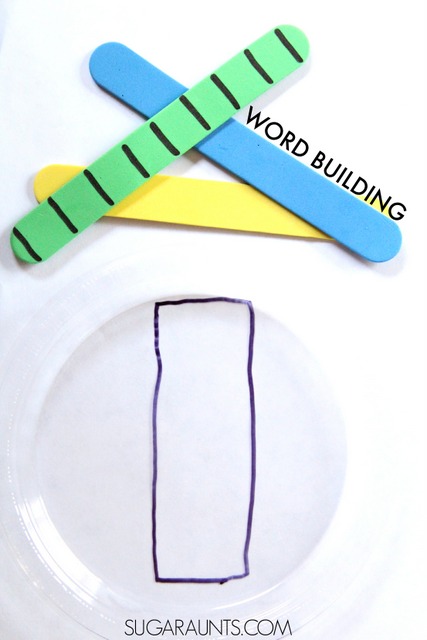
Cut the cardstock into squares. Write letters on the cardstock squares. Spread the letters out on the table. You can use the letters in several different spatial awareness puzzles.
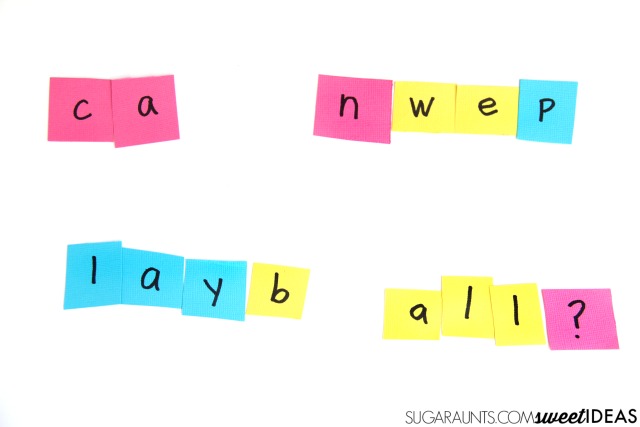
Construct sentences with the letters, positioning the words in a jumbled manner regarding spacing. A sentence such as “Can we play ball?” Might present as “Ca nwe playb all?”
In this puzzle, kids can re-arrange the letters to accurately space between the cardstock letters.
Use the jumbled sentences to practice spacing on paper by asking the child to copy the sentence with accurate spacing. They can first re-arrange the letters on the table or just copy with accurate spatial awareness.
Another activity might include writing a jumbled sentence on paper. Kids can use the letter pieces to construct the sentence appropriately and then write it on paper.
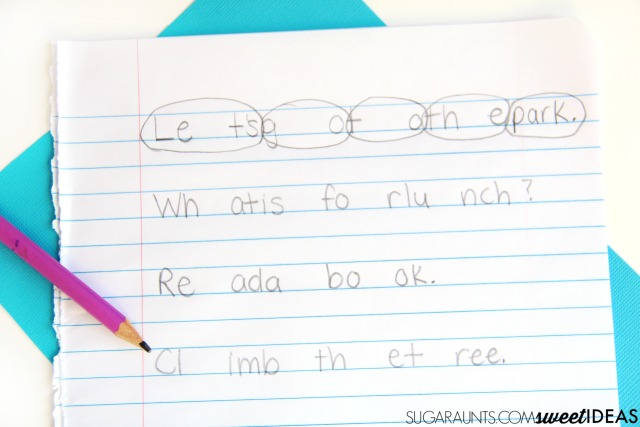
A third activity involves writing jumbled sentences on paper and asking kids to circle the letters to form words. They can then copy the sentences using appropriate spacing between letters and words.
All three of these spacing puzzles require the child to become aware of space between words. When they slow down to position the words appropriately, they are likely to space between words when writing functionally.
Let me know if these puzzles work for your child who is working on spatial awareness!
This post is part of our Easy Quick Fixes to Better Handwriting series.
You’ll also want to join the Sweet Ideas for Handwriting Practice Facebook group for more handwriting tips and tools.
Looking for more activities to help kids work on spacing between words and letters? Try these:
Handwriting Spacing Tools
Space Martial Spacing Tool
Spatial Awareness in Handwriting