Colleen Beck, OTR/L is a pediatric occupational therapist and the owner and author of The OT Toolbox website. She manages all of The OT Toolbox social media accounts and runs the popular newsletter.
Read about Colleen's experience and career as an occupational therapist, including how The OT Toolbox began on our About The OT Toolbox page: https://www.theottoolbox.com/about-us/
Colleen created The OT Toolbox in 2011 and since then has written thousands of blog posts designed to support therapy providers, educators, parents, counselors, admin, and caregivers in promoting the healthy development of kids.
Check out Colleen's blog posts below:
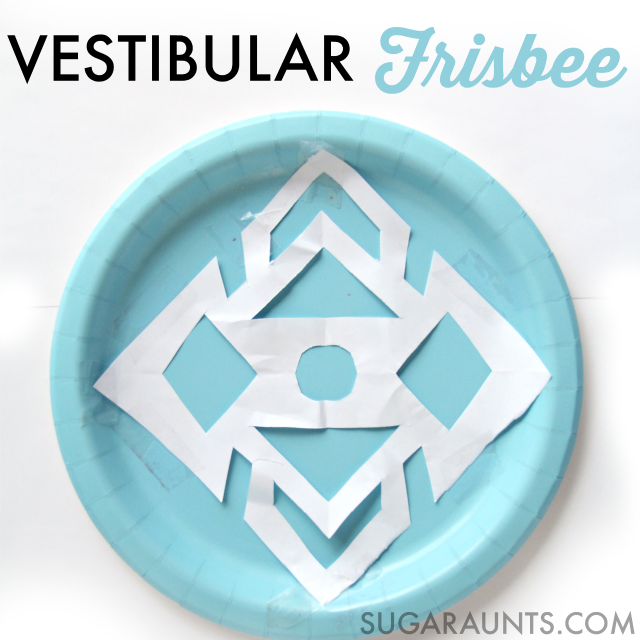
Is it cold where you are? We had our first snow of the year and it is cooooold out there. When the temps drop, there is more time or indoor play. This Vestibular activity is super simple and a great way to incorporate movement and sensory input into play. We’ve been sharing a bunch of creative ways to explore movement with our vestibular and proprioception sensory activities on our January Occupational Therapy calendar. This vestibular Frisbee activity is a quick way to have fun with movement with a snowflake theme!
Full disclosure: This post contains affiliate links.
Kids who appear to never get dizzy or those who are overly sensitive to movement may have difficulty regulating movement in their vestibular system. Activities like rolling, swinging, sliding, and rotating are ways to involve the vestibular system. This super easy snowflake Frisbee is one quick way to add a little vestibular play into your day.
Turing and tossing a Frisbee provides vestibular input as slight head movements are involved in throwing a Frisbee. Some kids may overly turn in circles as they toss the Frisbee.
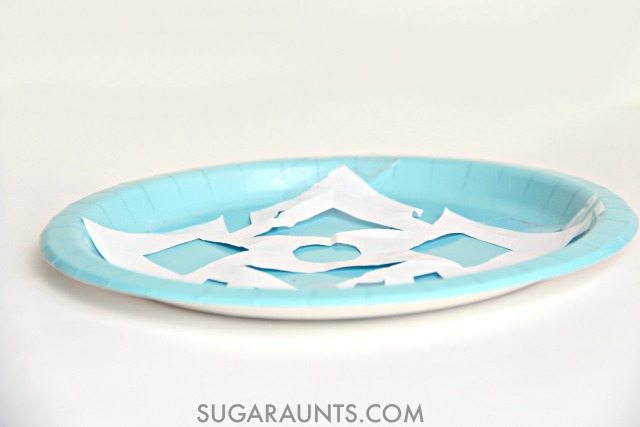
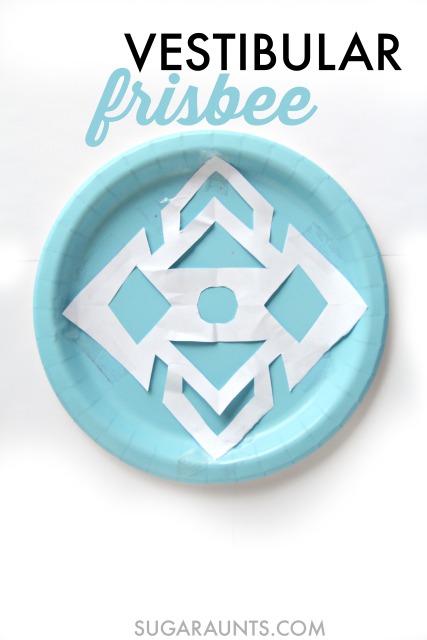
Super Simple snowflake paper plate frisbee
We cut a snowflake from white paper and taped it to a blue paper plate. Double sided tape
works well for this craft, too. The weight of this DIY Frisbee was light and a fun challenge to toss the Frisbee into a laundry basket.
Additional ways to play:
Try tossing the Frisbee in different positions: sitting, laying down, and between the legs.
Tape two paper plates together for a sturdier Frisbee.
Use a styrofoam plate (or two) to grade down this activity (make it easier to toss at a target).
Use a smaller dessert plate
to require more accuracy with tossing the Frisbee.
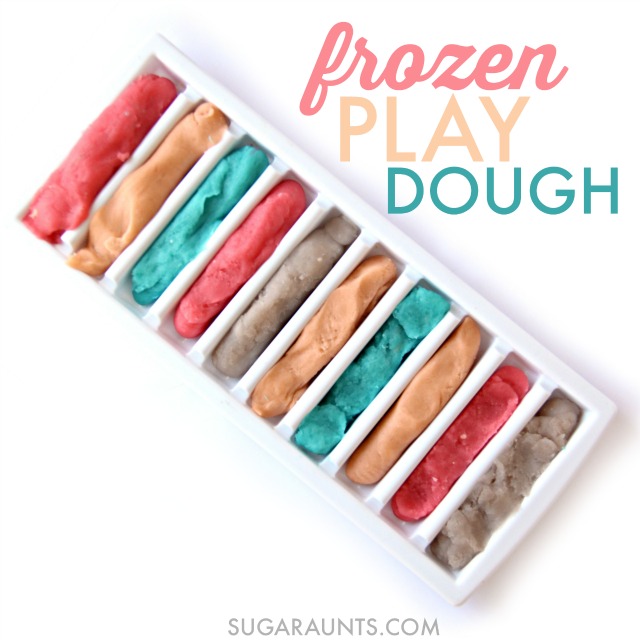
This candy play dough recipe is a fun homemade play dough to use in fine motor activities, and we love to use this recipe to freeze the play dough for more resistance in manipulating the homemade dough. While we love this particular candy play dough, you can use any dough recipe in the freezer to add more resistance for hand strengthening.
Candy Play Dough
If you’ve been following for a while, you know we make a ton of sensory play dough. We’re back for another year of sensory play dough recipes, and by looking at the list (you’ll find all of the upcoming play dough recipes for 2016 at the bottom of this post!), it’s going to be a fun year of tactile sensory play.
This month’s challenge was frozen dough. I’m not talking about the movie that’s been everywhere for years now…I’m talking about put-it-in-the-freezer-until-it’s-frozen-solid dough.
We decided to take a fun spin on the theme and make frozen Pixy Stix dough. We had a bunch of pixy stix candies in the house from who-knows-when. So, instead of tossing them, we first made Pixy Stix frozen dough…a fun candy play dough!
Candy Play Dough
This post contains affiliate links.
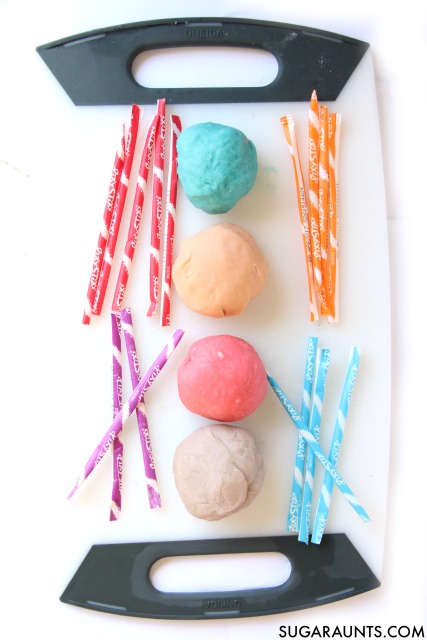
To make Pixy Stix dough, you’ll need a few ingredients:
To make the dough, I first combined all of the dry ingredients into a bowl. I then separated it into four bowls because I wanted to make four different colors of dough.
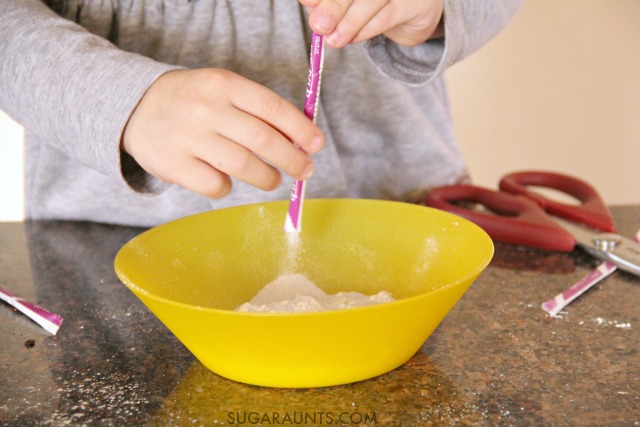
2. In each bowl, pour in one color of the candy. This was a job that my four year old loved. She carefully snipped each paper tube and made sure not a particle of sugar escaped the bowls.
3. In a sauce pan, combine one teaspoon of oil and 1/2 cup of flour.
4. Then, stir in the dry ingredients.
5. Stir until the dough forms a ball.
6. Place it on a cutting board and once it is cool enough to touch, knead it for a few minutes.
We found that some of the colors were stickier than others. If your dough seems sticky, knead in a bit of flour.
We played with our Pixy Stick play dough for a while at this point. The scent from the candy is really strong and it’s a fun, soft dough to play with.
My oldest daughter didn’t want to stop playing with the Pixy Stix dough.
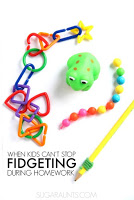
In fact, she played with it while doing her homework. There’s nothing wrong with a little scented dough DIY fidget toy play during homework!
Frozen play dough can be made with any play dough recipe.
Frozen Play Dough
After a while, we moved on to the frozen part of our frozen play dough.
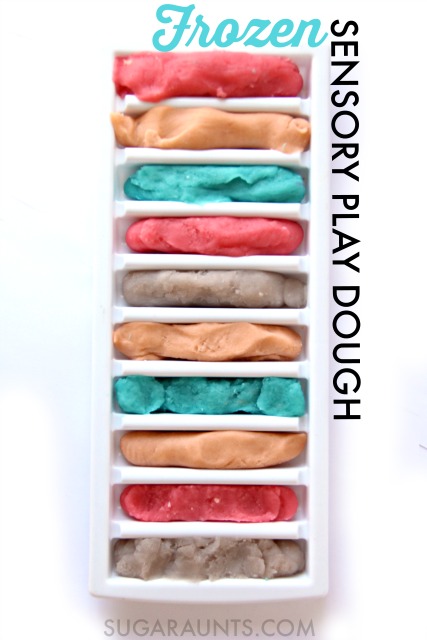
I pulled out a (Amazon affiliate link) water bottle ice cube tray and we filled up the sections with pieces of dough. My four year old popped the tray into the freezer.
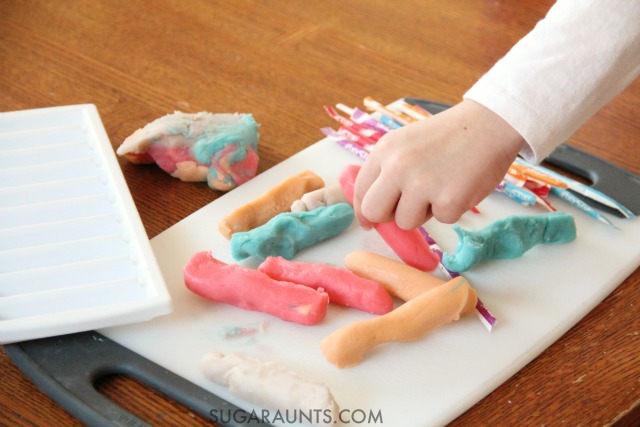
Side note: Carrying the tray to the freezer was SUCH a big deal for my little girl. I wish I had a picture of the giant smile on her face as she carried that tray. She was a BIG girl doing an important job of freezing our play dough. It was perfect to see her light up like that!
Later in the day, we pulled out the tray of frozen dough. It was not completely solid (due to the salt in the recipe), but it was very firm and nice and cold.
It was such a neat tactile experience to play with the frozen play dough. Honestly, I can’t believe I hadn’t thought of it before: freeze play dough for a proprioception work activity for the hands!
OTs: Make frozen play dough for your clients. It is a great way to work on strengthening with more resistance than typical play dough.
A proprioception activity like manipulating the frozen dough “wakes up” and provides feedback to the hands.
Try working with frozen play dough as a warm up exercise to handwriting.
I hope you try this play dough recipe! It is one we’ll be making again. Let me know if you make pixy stix play dough or freeze your own version. I would love to hear about it!
More of our favorite sensory dough recipes you will love:
Colleen Beck, OTR/L has been an occupational therapist since 2000, working in school-based, hand therapy, outpatient peds, EI, and SNF. Colleen created The OT Toolbox to inspire therapists, teachers, and parents with easy and fun tools to help children thrive. Read her story about going from an OT making $3/hour (after paying for kids’ childcare) to a full-time OT resource creator for millions of readers. Want to collaborate? Send an email to contact@theottoolbox.com.
So, this week in the learning with manipulatives series, we’re covering LEGOS. These classic blocks have been used to build just about everything you can imagine. They’ve been used in many learning activities, too. We shared creative ways to learn with LEGOS before and as an Occupational Therapist, I love them for their fine motor benefits. LEGOS are on pretty much every OT’s recommendation list. They are small enough to encourage a tripod grasp, resistive enough to really work the intrinsic muscles of the hands, and open-ended enough to encourage problem solving and creativity in play.
Today, I’m sharing an easy work building activity that I did with my Kindergarten-aged son. He’s learning to build words and we had fun practicing the skill with LEGOS!
Learning with LEGOS Word Building Activity
Full disclosure: This post contains affiliate links.
In Kindergarten, he’s working on sounding out words, creating an ending and adding different letters to the beginning of the word to “build words”. Typically, my son comes home with small pieces of paper with the letters printed on them and uses the letter cards to build words. We decided to take word building to a new level and literally build words with LEGOS
!
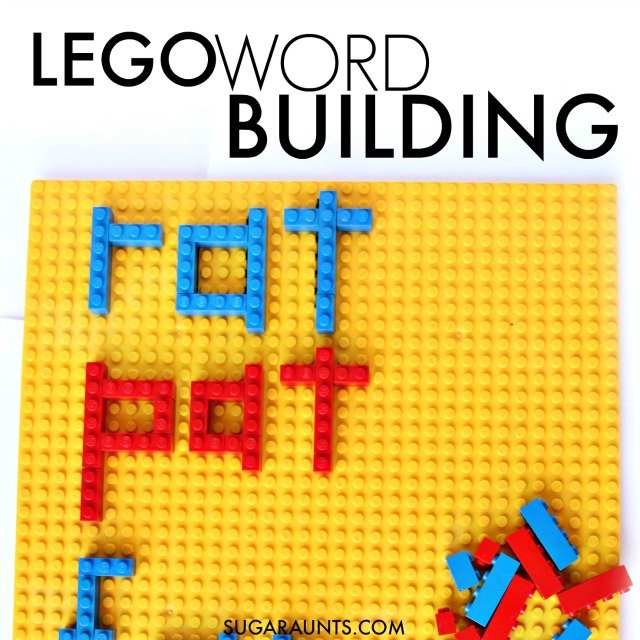
For this activity, we used a large LEGO Building Plate
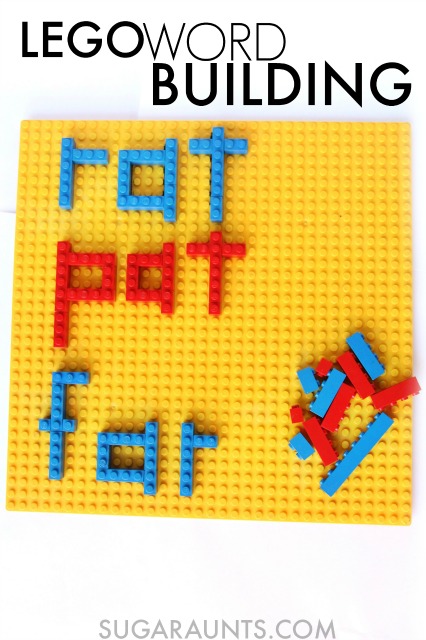
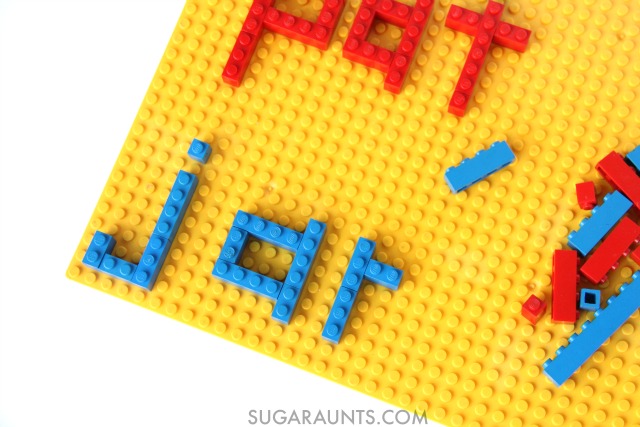
to create a surface for building our words. To make the letters of the words, we used single width blocks in different lengths. Building the letters with blocks was not exact. We used a lot of creative license to make some of the more rounded letters. But, using the blocks reminded my son of Minecraft and the boxy looking letters were ok with him.
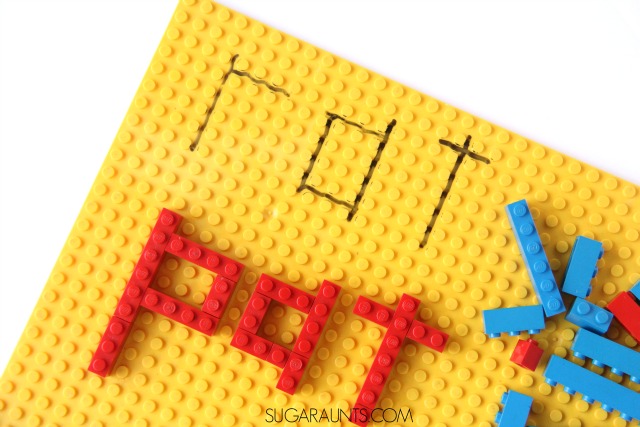
To start off the word building task, I first used a dry erase marker to write out a word. I showed my son how the dry erase marker could be wiped off using a baby wipe. We discussed how a permanent marker would not do the same thing and that if we didn’t use a dry erase marker, his LEGO board could be permanently damaged.
Using the guide of the letters, we worked on building that first word. Once he got the hang of making letters, he was really into it. We started with a few -at words and as he named words that rhyme with cat or bat, we removed the first letter and build the new word.
We only had enough LEGO pieces to make one or two words at a time, especially using the same ending letters. We then built another word with just one ending sound and removed the first letter only.
This is an activity that can be used in SO many learning tasks, all while including fine motor skills into the activity. Try practicing spelling words, building numbers for math problems, practicing name recognition…How could you use this idea to learn?
Looking for more ways to use LEGOS in learning? Try these ideas:
This rainbow color sorting activity is one of the oldest ones we have on this website, because we love using this classic occupational therapy activity. It’s a great tool for supporting color recognition skills in kids, fine motor skills, eye hand coordination, and more.
Chain Link Activity in Occupational Therapy
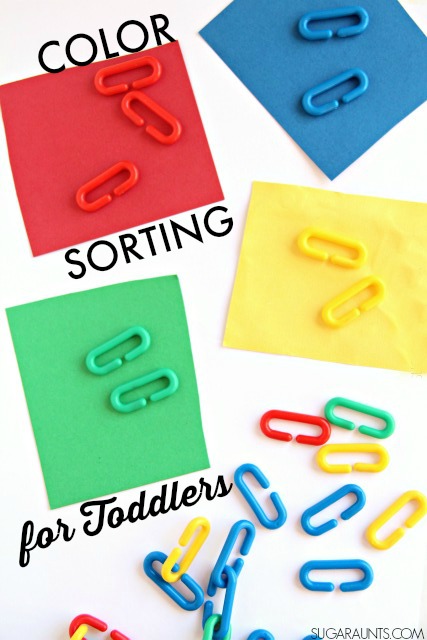
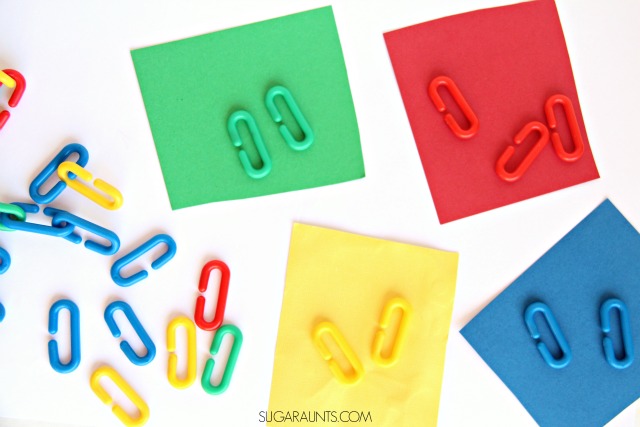
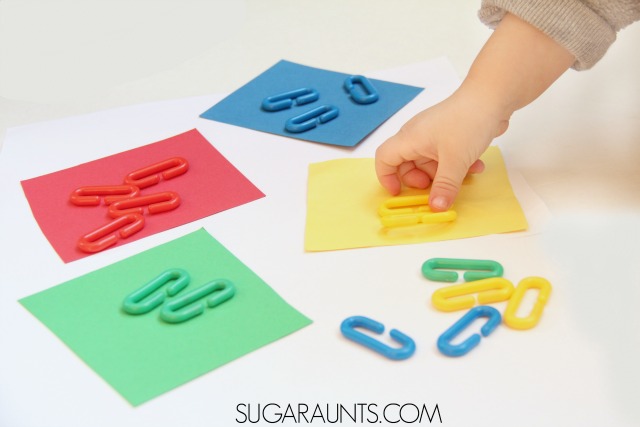
This rainbow chain can be used in a toddler activity to teach colors and color matching in a creative, hands-on approach to teaching toddlers colors. This is an activity that I’ve used over and over again with my own toddlers. Older siblings can make and build the plastic chain links to make a rainbow chain…and younger siblings can sort the colors of the chain links. This is a chain link activity that builds so many skills!
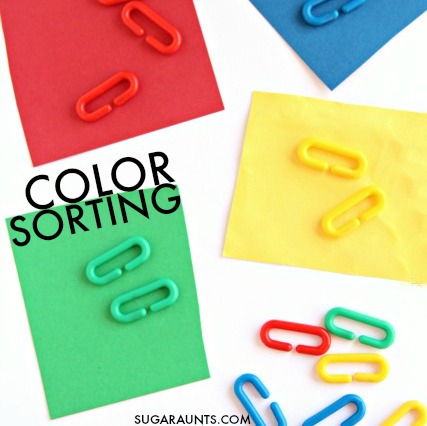
Today’s learning with manipulatives activity uses something that I LOVE. I had these plastic chain links in my therapy bag for years, and used them daily in school based and outpatient occupational therapy treatment. Now, I get to play with my kids using these plastic rainbow chain links. Today, we used them with my toddler to practice color sorting.
And, here’s a little preview for you: We went a little crazy with playing with these chain links. I’ve got a bunch of fun chain link ideas coming your way, soon!
Rainbow Chain
This post contains affiliate links.
Chain links are completely awesome for find motor skills in kids. Linking the chains together and pulling them apart requires intrinsic muscle strength, bilateral hand coordination, tripod grasp, and pronation/supination of an extended wrist.
These chain links are tools that can used to work on so many goal areas. From using two hands together, to a functional pencil grasp, to using spoons and forks with an appropriate write positioning, to holding a zipper with the right wrists angle…these little guys are great skill builders!
Linking the chains together requires a bit of muscle oomph, so for preschoolers and school-aged kids, building chains are a great strengthening activity.
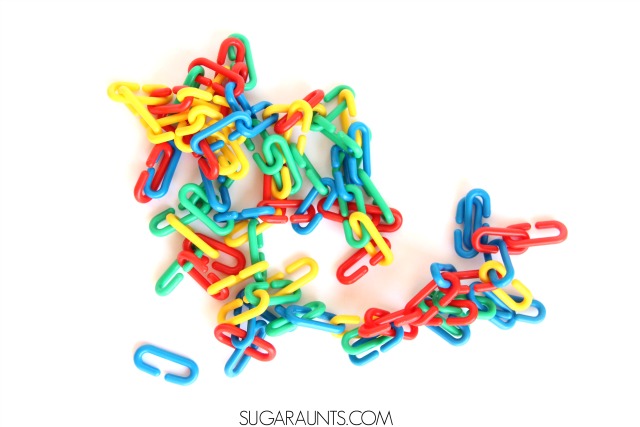
(This set comes in a big bucket of 500, so you’ve got plenty for multiple kids playing at the same time, or different age-appropriate activities happening with the chain links)
You’ll also need colored card stock in matching colors.
I cut squares of equal sizes and placed them out on the table. I figured this would be a great activity for older toddlers, but my 19 month old completely surprised my by correctly placing the colored links on the matching paper squares. I had a few links in place to show her what to do and she was able to put them on the correct squares.
I even put an incorrect colored link on a different colored square and she was able to fix the mistake. It was a proud mama moment!
Looking for more learning activities using rainbow manipulatives? Stop by our Learning With Manipulatives team to see what they’ve come up with:
AND, be sure to stop by Instagram and check out the #toolsforlearning hashtag to see them all. Tag your hands-on learning ideas using rainbow manipulatives, too! We would love to see them!
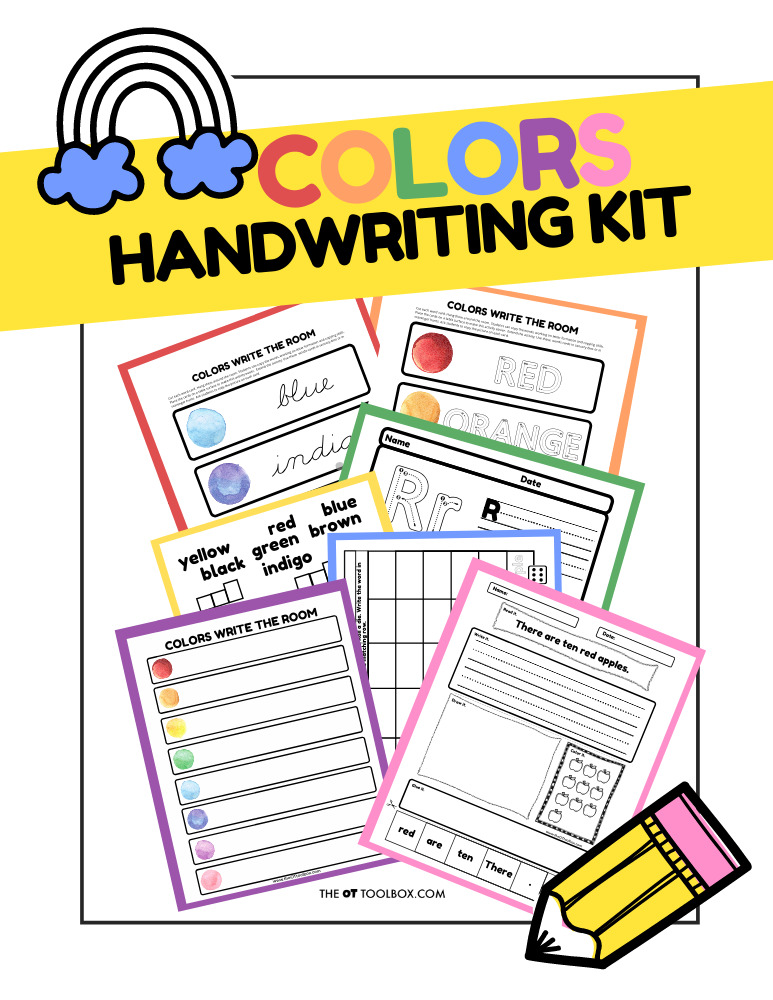
Rainbow Handwriting Kit– This resource pack includes handwriting sheets, write the room cards, color worksheets, visual motor activities, and so much more. The handwriting kit includes:
Write the Room, Color Names: Lowercase Letters
Write the Room, Color Names: Uppercase Letters
Write the Room, Color Names: Cursive Writing
Copy/Draw/Color/Cut Color Worksheets
Colors Roll & Write Page
Color Names Letter Size Puzzle Pages
Flip and Fill A-Z Letter Pages
Colors Pre-Writing Lines Pencil Control Mazes
This handwriting kit now includes a bonus pack of pencil control worksheets, 1-10 fine motor clip cards, visual discrimination maze for directionality, handwriting sheets, and working memory/direction following sheet! Valued at $5, this bonus kit triples the goal areas you can work on in each therapy session or home program.
Colleen Beck, OTR/L has been an occupational therapist since 2000, working in school-based, hand therapy, outpatient peds, EI, and SNF. Colleen created The OT Toolbox to inspire therapists, teachers, and parents with easy and fun tools to help children thrive. Read her story about going from an OT making $3/hour (after paying for kids’ childcare) to a full-time OT resource creator for millions of readers. Want to collaborate? Send an email to contact@theottoolbox.com.
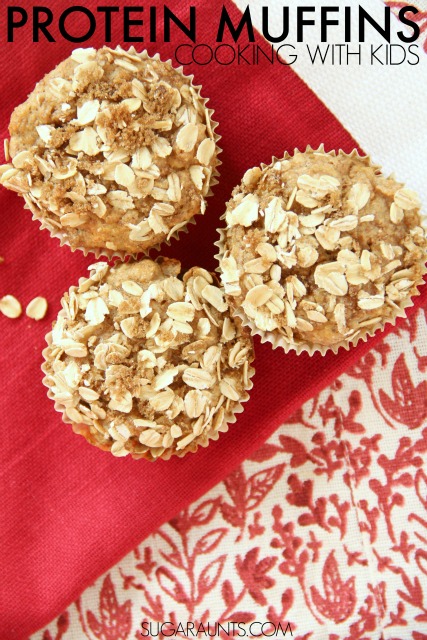
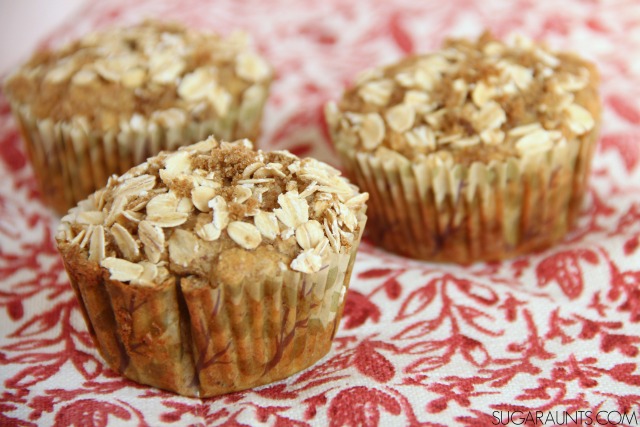
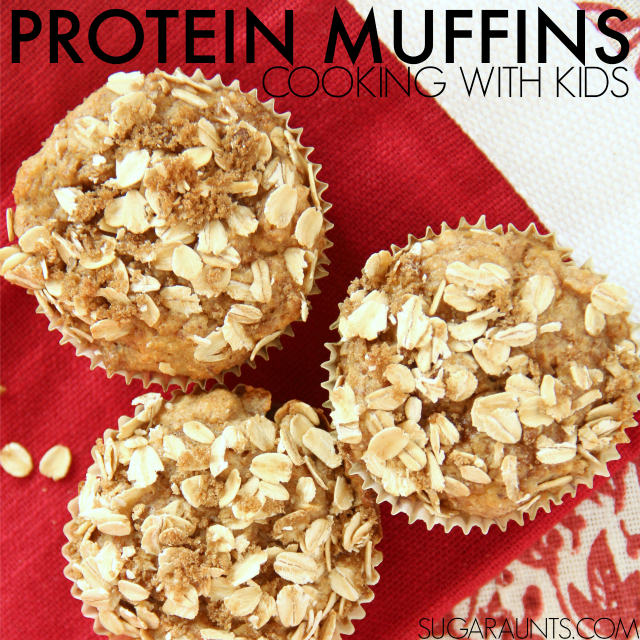
We are nearing the end of our Cooking With Kids A-Z series! I can’t believe that my daughter and I have cooked our way through the alphabet for the past year. She loves cooking with me and I love the bonding time, so it’s been a fun year of creating new recipes together. We’re up to Y for Yogurt and have come up with a Banana Greek Yogurt Protein Muffin Recipe that my kids are gobbling up. It’s a breakfast, snack, and lunchbox addition that is filling and moist. You won’t believe how healthy this muffin recipe is!
Besides the sugar in the yogurt and the natural sugar in milk and applesauce, there is no added sugar. (OK, I take that back. I totally sprinkled brown sugar on the top of the muffin. But, your getting such a small amount, and I mean, what is a muffin without crunchy brown sugar??) BUT, you can leave the brown sugar topping off and just add the oats.
Healthy Banana Greek Yogurt Protein Muffins
Full disclosure: This post contains affiliate links.
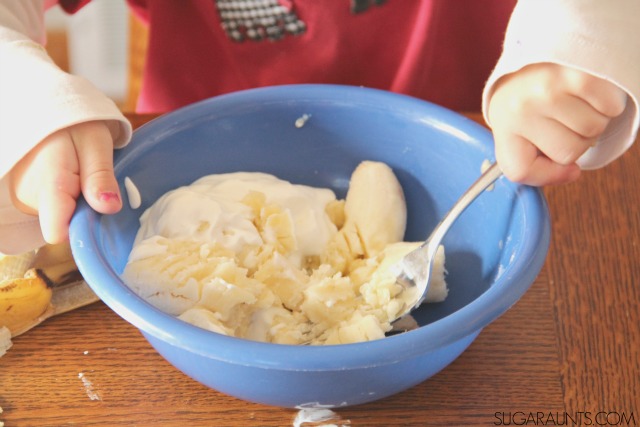
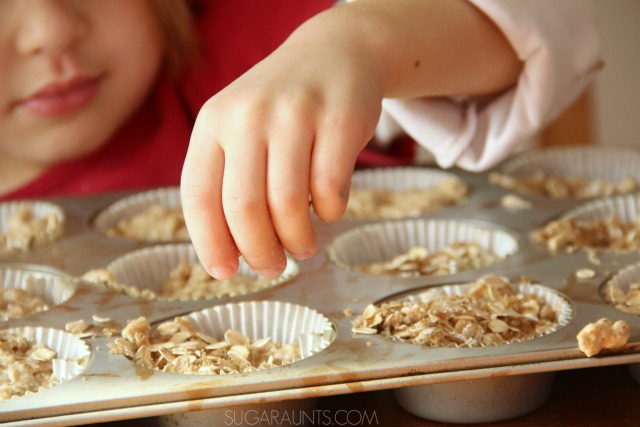
To make the muffins, mash together the bananas and the Greek yogurt with a fork. Pour the mixture into a mixing bowl. Add in the wet ingredients: egg, peanut butter, milk, and apple sauce. Mix to combine.
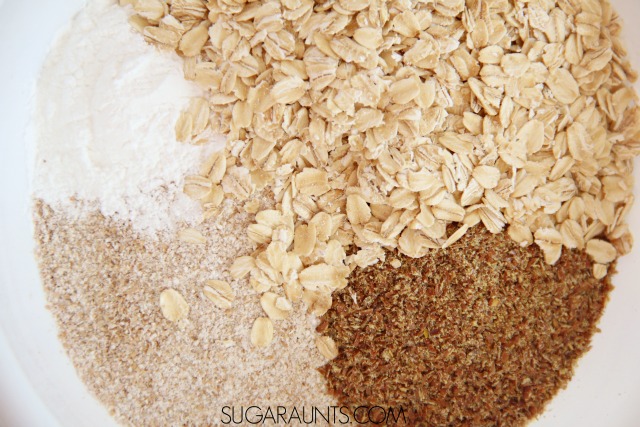
In a separate bowl, combine the dry ingredients: flour, rolled oats, baking powder, and ground flaxseed meal
.
Stir the dry ingredients into the wet ingredients. Mix until combined.
Scoop the batter into a lined muffin tin
. Combine the rolled oats and dark brown sugar to create a crumbly topping. Sprinkle this on top of the uncooked muffins.
Place the muffins into the oven and bake at 350 degrees Fahrenheit for 20 minutes. Immediately take the muffins from the tin and let them cool on a cooking rack
.
Enjoy a healthy banana Greek yogurt muffin with assurance of a healthy snack!
You’ll want to stop over and see all of the yogurt recipes that the Cooking With Kids team have come up with this week:
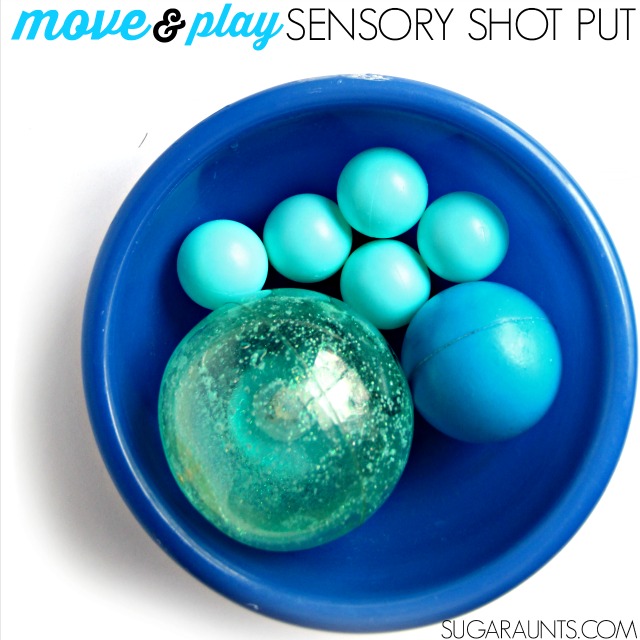
Today we have a fun snowball game indoor activity. This throwing activity offers vestibular input and is a fun shot put activity for kids, too. You’ll also love our other indoor snowball fight activity.
I’ve got four kids. The weather is starting to get really cold and the illnesses are being passed from kid to kid. We’ve got runny noses, ear infections, and antibiotic prescriptions for half of the crew. This mama needs creative indoor play.
Shot Put Activity
When the indoor play requires a sensory spin, this move and play activity is designed to provide vestibular input for sensory movement seekers and is sure to bring on the smiles. Even through the sniffles!
We’ve been sharing a few creative ways to play with vestibular input recently. These have been wintry activities based on our Christmas OT calendar (and I’ve got a few more fun ideas up my OT sleeves for you!).
Vestibular Ball Throwing Activity
Full disclosure: This post contains affiliate links.
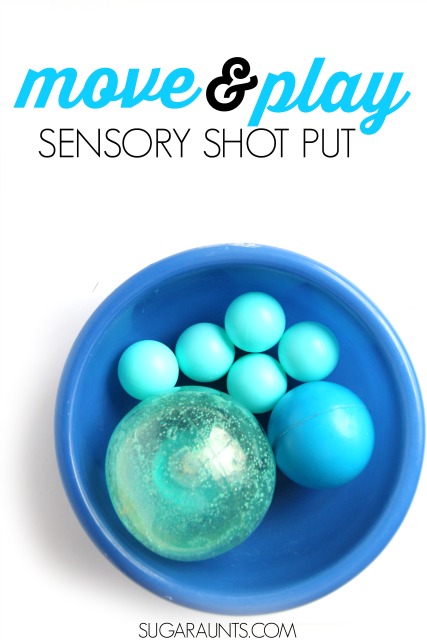
While this sensory shot put activity is definitely a great vestibular input activity, it can be done any time through out the year. I went with light blue (Frozen-esque?) balls that reminded us of winter snowballs. The small balls were from our Bounce-Off Game game.
You can use whatever lightweight ball you’ve got in the house. A ping pong ball or small plastic ball like these ball pit balls would work great. This would be a great activity to incorporate into other ball pit activities, too.
You don’t want to use a bouncy, rubbery ball, because for this activity, we want the concentration to be on the target and not a ball that is bouncing all over your living room and crashing into lamps.
Indoor Shot Put Game
Use a light foam ball or ping pong ball to play shot put. Create a target using an empty laundry basket. Your child should turn in circles like a shot put champ, extend their arm out, and toss that snowball into the target. Encourage them to spin in one area to get rotational vestibular input.
Rotational vestibular input can be done by simply spinning on the feet, but adding a wheeled office seat or Scooter Board can be beneficial too. Adding the scooter board allows this activity to be done in different positions.
Rotational Vestibular Input Activity
It is important to note that rotational vestibular input (spinning) is a powerful physical action on the body.
Activities should last no more than 15 minutes. Spinning needs to be monitored, particularly in children with sensory needs. Some children may react quickly to a spinning activity and others may take longer for their body to register the effects of rotational input. For kids that just do not get dizzy, provide only limited periods of spinning input and only in one direction for 10-15 spins, then in the other direction. The effects of spinning can last for a full 8 hours, so it’s important to not overdo this activity. Please contact your child’s Occupational Therapist for recommendations to meet your child’s particular needs.
Have snow outside? Great! Take this activity outdoors and play snowball shot put with real snowballs!
More ways to extend this activity:
Practice counting spins and balls that are tossed.
Use target areas in various sizes.
Try the activity in various positions: seated, prone, and standing.
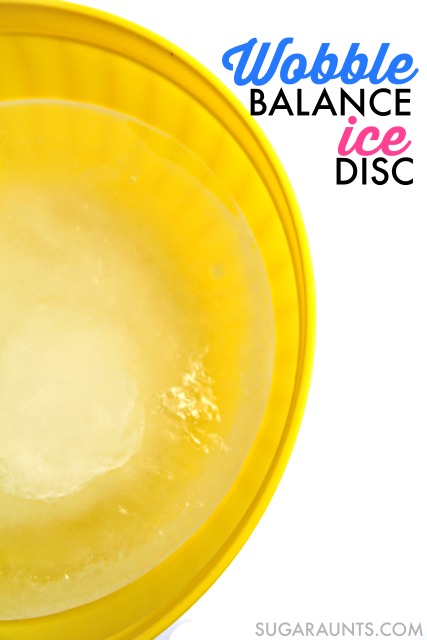
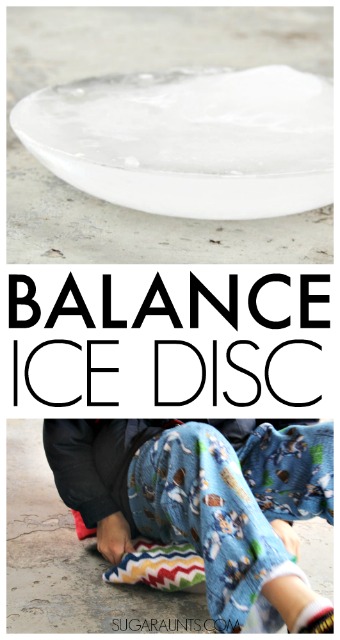
This ice wobble disk is another one of our favorite ice play activities. My kids LOVED this sensory activity. While we did this one outside on a winter day, it would be fun during the hot Summer, too.
You know how there are just some things you show your kids that are instant hits? A surprise trip to an amusement park or ice cream for dinner will instantly bring on on the cheers and be one of those days that kids remember long after the awesome day has passed. This Wobble Balance Ice Disc is one of those things.
Add sensory play to the outdoors with this vestibular activity.
We’ve been sharing fun proprioception and sensory ideas recently for winter play and therapy ideas on our January Occupational Therapy calendar. This ice balance tool is on the calendar and is a balance activity that you really need to try.
Wobble Disc for fidgeting, balance, and core muscle strength
Full disclosure: This post contains affiliate links.
Wobble cushions come in many shapes and sizes. There are seat cushions that help with attention and fidgeting while seated, balance boards for vestibular input, and therapy balls that can provide proprioceptive input. All of these tools are capable of helping kids with sensory needs. A balance disc or wedge provides feedback to a child’s body, allowing them to get their “wiggles” out. They are challenged to make minute corrections to their core body to compensate for movements of the unstable surface. This is a great way to work on balance and core muscle strength deficits that are often seen in children with sensory needs.
Ice balance wobble disc
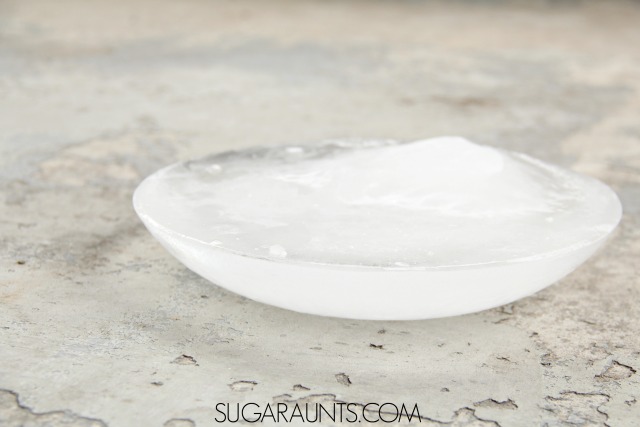
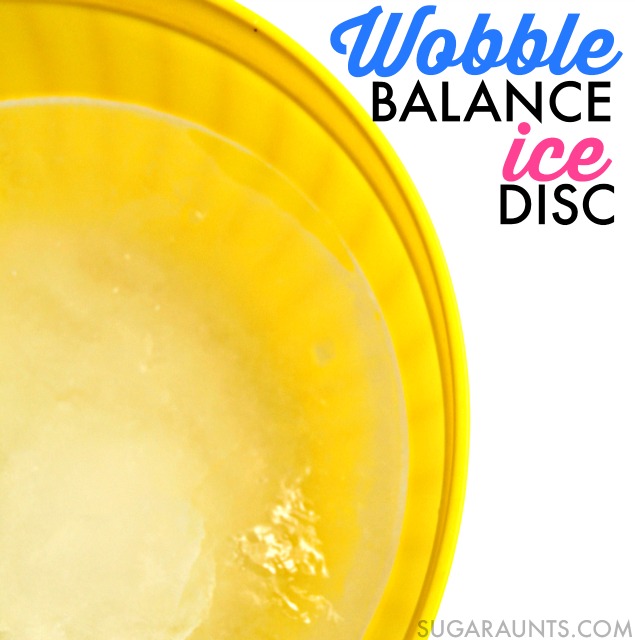
This was a cold weather activity, although it could be a big hit in the hot summer weather. You could also re-create the experience in a bathtub or baby pool brought into the indoors. Freeze a disk of water in a large plastic bowl. You want the frozen ice cube to be large enough for your child to sit on and thick enough that it doesn’t break when your child sits and stands on it. A large plastic popcorn bowl works well for creating an ice disk. Simply fill the bottom with water and place into the freezer (or outside if it’s cold enough!)
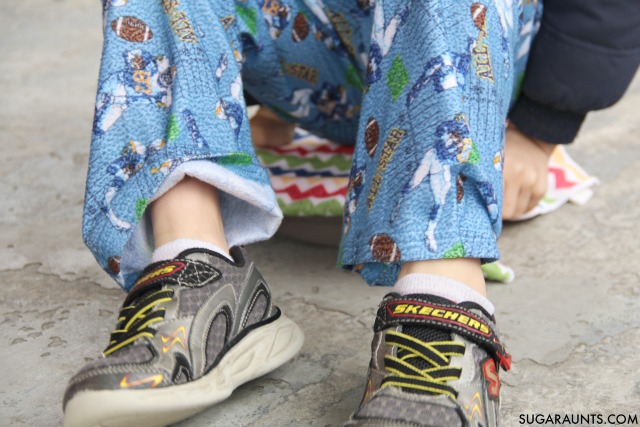
When the water has frozen, run warm water over the outside of the bowl to remove the ice. Then, take it outside for sitting on. Place a folded dishtowel on the ice and have your child sit on the flat surface. They can hold onto the edge of the disc with the towel protecting their hands from the cold ice. Your child can balance and spin on a hard surface like a sidewalk. The snowy balance disk makes a great ice sled, too. If you are doing this activity indoors, bring a baby pool into the house and spin and wobble in the pool.
Wobble Disc for Proprioceptive Input
Sitting or standing on an unstable surface like a wobble disc is a great way to provide proprioceptive input. Ask the child to sit on the ice disc and balance themselves as you hold their hands. You can pull the child along a flat surface to provide proprioceptive input through their arms. Then, ask the child to push themselves along using their legs. They can pull their legs forward or push themselves backwards to incorporate difference muscle groups. For a greater challenge, have the child stand on the disk, holding onto your arms for support. This strengthening activity challenges balance while providing proprioception through the arms and upper body.
Wobble Disc for Vestibular Input
Have the child sit on the ice disc as they are pushed along on a flat surface like a porch or driveway. Have another child push the child on their low back to get proprioceptive input to the pushing child. Practice balancing back and forth in a seated position for more vestibular input.
How to incorporate sensory play into playing outside
Many sensory diet activities can naturally be found outdoors. In fact, outdoor sensory diet activities are a fun way to encourage sensory input in a child’s environment and without fancy therapy equipment or tools.
It’s a fact that kids are spending less time playing outdoors. From after-school schedules to two working parents, to unsafe conditions, to increased digital screen time, to less outdoor recess time…kids just get less natural play in the outdoors. Some therapists have connected the dots between less outdoor play and increased sensory struggles and attention difficulties in learning.
Knowing this, it can be powerful to have a list of outdoor sensory diet activities that can be recommended as therapy home programing and family activities that meet underlying needs.
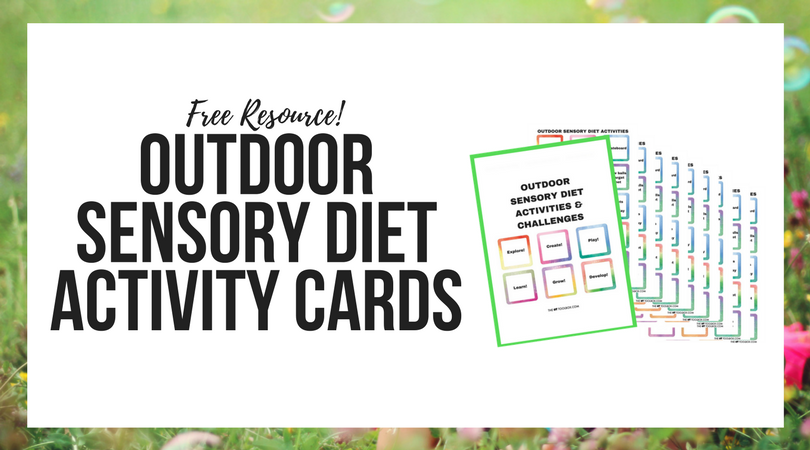
That’s where the Outdoor Sensory Diet Cards and Sensory Challenge Cards come into play.
They are a FREE printable resource that encourages sensory diet strategies in the outdoors. In the printable packet, there are 90 outdoor sensory diet activities, 60 outdoor recess sensory diet activities, 30 blank sensory diet cards, and 6 sensory challenge cards. They can be used based on preference and interest of the child, encouraging motivation and carryover, all while providing much-needed sensory input.
30 blank sensory diet cards, and 6 sensory challenge cards
They can be used based on preference and interest of the child, encouraging motivation and carryover, all while providing much-needed sensory input.
Research tells us that outdoor play improves attention and provides an ideal environment for a calm and alert state, perfect for integration of sensory input.
Outdoor play provides input from all the senses, allows for movement in all planes, and provides a variety of strengthening components including eccentric, concentric, and isometric muscle contractions.
Great tool for parents, teachers, AND therapists!
Be sure to grab the Outdoor Sensory Diet Cards and use them with a child (or adult) with sensory processing needs!
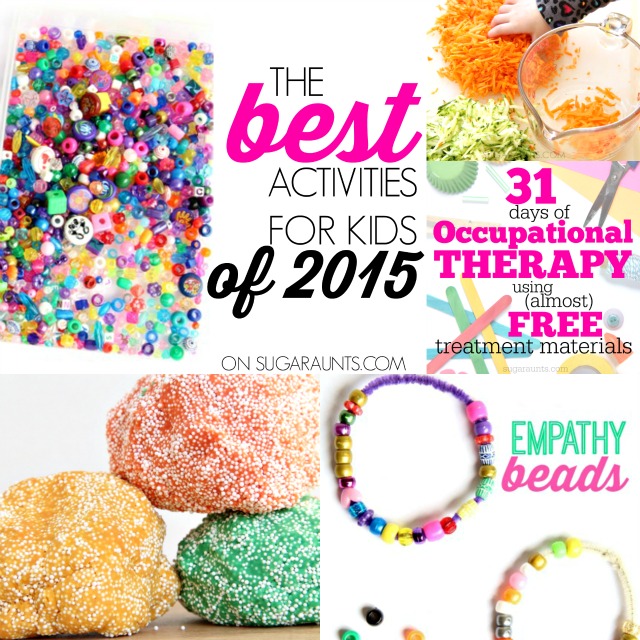
What a year 2015 has been here at Sugar Aunts. We’ve had a few small changes (like our new look and colors) and big changes (like so many new followers on all social media outlets). I have had an absolute blast sharing developmental information and Occupational Therapy tips and ideas to readers (that’s you!). The best part of my year, though, has been hearing from you. I love knowing that a creative tip for correcting pencil grasp or a visual perceptual activity has helped your child, your therapy caseload, entire school districts, Occupational Therapy clinics…I love hearing from you!
I’m joining a few other bloggers in sharing my most popular posts of the year. When I went through my analytics and saw the posts that were in my top 5, it made me so happy! All of my favorite things that I love to share with you are in there and it makes me super excited for everything I’ve got in store for this blog in the new year. I can’t wait to share more of things like this that you all loved!
Posts you loved on Sugar Aunts in 2015: (This post contains affiliate links.)
Occupational Therapy Tips for Kids
My 31 Days of Occupational Therapy series was the overwhelmingly biggest traffic referrer in 2015. And that makes my heart so happy! I have found such excitement in sharing what I know in new and creative ways. If my tips and ideas can help even one child, my day is made. Be sure to stick around, because 2016 is going to bring a ton more OT posts!
Sensory Play Ideas for Kids
How to Make an Awesome Sensory Bottle was a fun little round up of cool sensory bottles, along with tips and ways to make an awesome sensory tool. I love that this post was in my top 5, because I’ve got a thing for sharing sensory activities on the blog. This year will bring a monthly sensory bottle series so there will be many more sensory bottles and other sensory play and therapy ideas coming your way!
Sensory Homemade Play Dough Recipes
Did I mention how much I love sharing sensory activities, tips, tools, and ideas? Another post that was a hit this year was How to Make Crayon Floam Dough. My kids love playing with homemade playdough and this floam dough was very much loved by them…and you! 2016 will bring monthly sensory dough posts from me, so be sure to watch for them. I know my kids are looking forward to them!
Cooking With Kids Recipes
This past year, we participated in a Cooking With Kids A-Z series and it was just perfect. I had the chance to cook through the alphabet alongside my kids as we learned and explored in the kitchen. My kids love to help me cook and I love that they are learning and exploring new foods and the senses in the kitchen. This Carrot Veggie Puffs Recipe was a huge traffic source this year, and I know why: Mamas love to sneak the veggies into yummy food that kids will gobble up! I love that this recipe was one of the top posts this year. It came from a version of one I found in my grandmother’s recipe box and I know she would love to see so many of you trying it! This year will bring a fun cooking-related project. Stay tuned to see what it is!
Book Related Crafts and Activities for Kids
And the last of my top five posts in 2015 was a book-related activity. We read Quick as a Cricket
by Audrey Wood and made an activity on How to teach kids about empathy based on the book. We love to read books and come up with activities and crafts. The new year will bring more book-related posts, a book-related project, and even an Instagram book series. It’s going to be a fun year of reading!
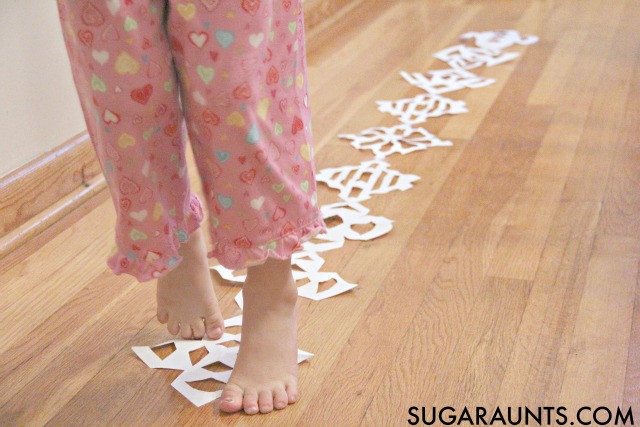
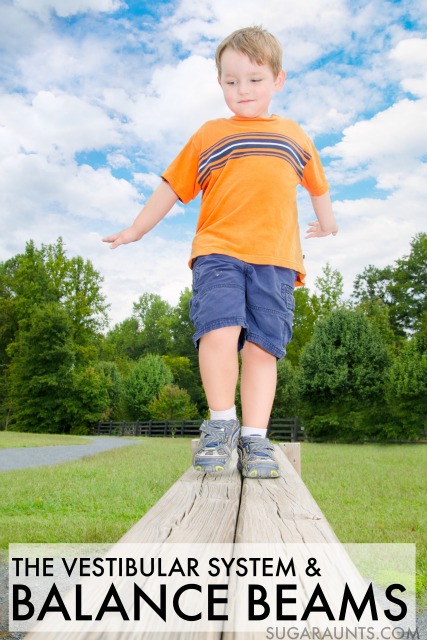
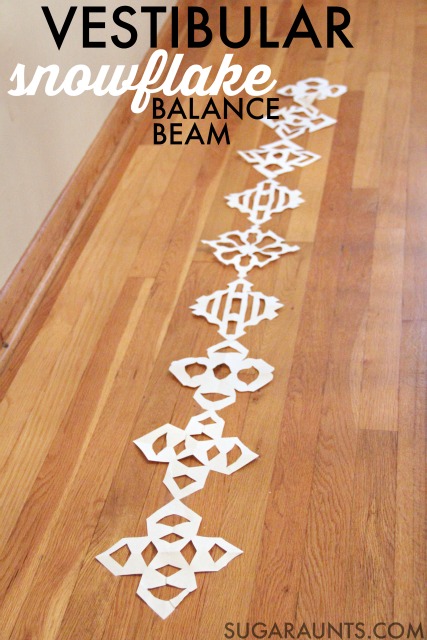
When the weather is too cold to go outdoors and the kids are bouncing off the walls, you sometimes need to get creative. Maybe you’ve got a few Occupational Therapy students who would benefit from a vestibular movement activity like this snowflake balance beam! This is a great indoor gross motor activity for preschool or older ages.
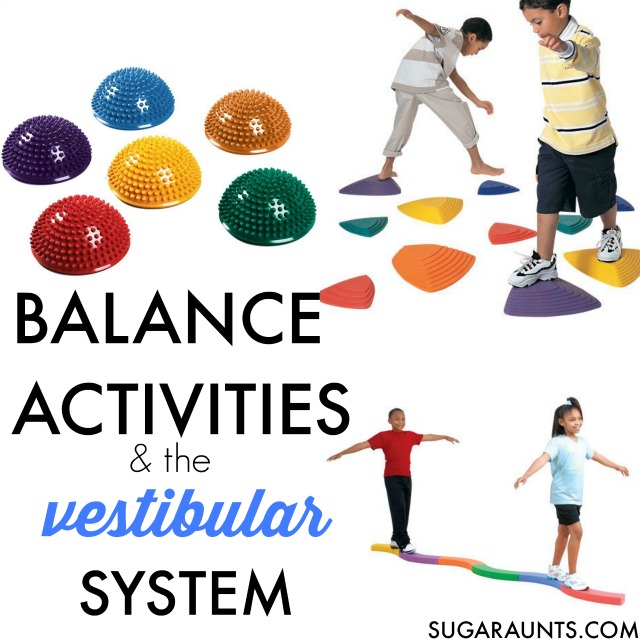
Balance Beams and the Vestibular System
Balance beams are perfect to address needs in the vestibular system. Our body’s ability to regulate position in space helps us to manage obstacles in our path without losing balance. The vestibular system allows us to move in space without falling or without making us thing we will fall (gravitational insecurity). We’re able to take in visual information, process it, and respond accordingly…all with the help of the vestibular system!
When there is a problem in the vestibular system, a child may appear clumsy, running into objects or people, have trouble with visual tracking, attention in reading and writing, difficulty focusing on a task, and trouble with motor planning in coordinated activities that a child needs to do throughout their day.
Balance beams are a great way to practice and work on vestibular sensory integration into functional activities. A child can work on balance and motor planning as they visually scan their balance beam and track the line they need to walk along.
Balance beams challenge the vestibular system with variances in difficulty. The great thing about this snowflake balance beam is that you can adjust the size and provide many, many alternate activities to work on coordination, listening, motor planning, direction following, and attention.
Snowflake Winter Balance Beam: Making therapy fun!
This post contains affiliate links.
Cut snowflakes from paper and place them around the room. Get the kids in on the snowflake cutting for seasonal scissor skill work!
Using double sided tape
, create a balance beam on the with the snowflakes. Arrange them in a line along the floor. It can be a simple strait line or a multi-angled balance beam track. Ask your child to walk along the snowflake line without falling off.
Other balance beam activities that challenge the vestibular system:
Walking on tip to
Walking toe-to-heel
Hopping on one foot
Jumping
Walking sideways
Walking backwards
Crawling
Walking with feet and hands. Encourage direction-following and listening skills by calling out different ways to walk along the snowflake balance beam.
Toss a ball to your child as they are on the balance beam.
Ask your child to change directions as they walk along the beam.
Have the child look up at the wall and not down at their feet as they walk.
Looking for more balance beam ideas? These are some of the best out there:
This Folding Beam is great for storage concerns. Add creative balance beam activities like transferring items from a bucket at one end to a bucket at the other end. Balance Pods can be positioned in any room or activity. Encourage big and little steps by spacing them closely and further apart. Gonge Riverstones are a great challenge to the vestibular system with various sloped sides. Stepping Buckets Balancechallenge motor planning. Place obsitcals in between the buckets for more visual tracking while working on vestibular sensory integration. The BSN Gymnastics Curve-A-Beam can be reconfigured in curved patterns.

Are you looking for more information on Vestibular or Proprioception (and ALL of the sensory systems) and how they affect functional skills, behavior, and the body’s sensory systems? This book, Sensory Lifestyle Handbook, will explain it all. Activities and Resources are included. Get it today and never struggle to understand or explain Sensory Integration again.
Looking for more vestibular activities? Check out our January calendar that has 31 days of vestibular and proprioception activities based on winter play.