Studies have shown that the average attention span has declined over the past two decades. If you work with kids, you probably know that they are on short form video content more than ever. Do you notice your own attention span when watching things like TikTok, YouTube shorts, etc.?
When children engage with this type of media for extended periods, their brains become accustomed to fast-paced content, making it more difficult to sustain attention during slower-paced activities like reading, listening to a lesson, or completing written work in school. So, for those of us working in schools, this is huge.

Impact on Learning and Academic Performance
Sustained attention is crucial for classroom learning. It’s directly linked to working memory, executive function, and the ability to retain and apply new information. Students with reduced attention spans may struggle to follow multi-step directions, complete assignments, or remain engaged during instruction. They are also more likely to miss important details, make careless errors, and require repeated instructions, all of which can impact academic achievement.
What Can Educators and Parents Do?
Understanding the neuroscience of attention helps educators and caregivers design more supportive environments. The brain’s attentional systems are trainable, children can learn to regulate their focus with intentional strategies and consistent practice. This includes embedding movement breaks, visual schedules, and multi-sensory learning into daily routines. Strategies like mindfulness, physical activity, visual scanning games, and timed task intervals can improve attention regulation.
Parents and educators can also help by limiting screen time, especially fast-paced media, and by encouraging structured downtime, free play, and activities that require sustained engagement, such as puzzles, crafts, or outdoor exploration. Supporting executive functioning and self-regulation through occupational therapy and educational interventions can also make a significant difference. attention.
Exercises for focus and attention depend on the individual’s unique needs, but there are underlying areas that can support the cognitive skills needed for learning, safety, and behaviors.
Occupational therapy providers may use toys for attention because of the primary role that play has in the occupations of a child. Therapy providers can also offer their expertise in the role sensory motor development plays in daily tasks like learning and occupational performance.
While these exercises for focus and attention are not a cure-all (in fact, the tools you’ll find here are simply a therapy support), there should be a plan in place to support unique needs. Going through a few sensory motor exercises likely won’t result in improved attention and focus on their own.

Saying that, it’s important to recognize the whole-body component that impact focus and attention. There are many factors at play here…Ask any occupational therapy provider about how occupational therapy supports the whole being, not just the physical components or the cognitive components of function. It all goes together…
What Impacts Focus and attention in kids?
Some of the factors at play include:
Certainly, let’s delve deeper into each area and discuss how they impact children’s learning and behaviors. Critical thinking skills is another resource to check out on this topic.
- Neurological Factors:
- Brain Structure and Function: The prefrontal cortex, responsible for executive functions, undergoes significant development during childhood. Immature executive functions may lead to difficulties in sustaining attention.
- Neurotransmitters: Imbalances in neurotransmitters like dopamine can affect a child’s ability to stay focused. For example, lower dopamine levels may contribute to attention deficits.
- Developmental Factors:
- Child Development: Attention evolves as children grow. Younger children may have shorter attention spans, gradually improving with age.
- Executive Functions: Developing executive functions, such as working memory and inhibitory control, directly impact a child’s ability to pay attention and control impulses.
- Environmental Factors:
- Stimuli: A stimulating environment with age-appropriate learning materials can enhance attention. Conversely, an overly distracting environment may hinder focus.
- Noise Levels: Excessive noise, common in busy classrooms, can be a significant distraction for some children.
- Psychological Factors:
- Emotional State: Emotional well-being is closely tied to attention. Children experiencing stress or anxiety may struggle with concentration, while positive emotions can enhance focus. An individual’s emotional state refers to their ability to notice and adjust for emotions, or the ability to self-regulate. This is a huge component in attention. We can’t focus or attend on a task or conversation when our emotions are in control.
- Motivation: Intrinsically motivated children are more likely to engage and sustain attention during learning activities.
- Individual Differences:
- Learning Style: Recognizing and accommodating diverse learning styles can optimize attention. For instance, visual learners may benefit from visual aids.
- Attentional Control: Children with better attentional control can transition between tasks more efficiently, positively impacting learning.
- Health Factors:
- Sleep: Inadequate sleep affects cognitive performance. Children who don’t get sufficient sleep may exhibit difficulties in attention, memory, and behavior.
- Nutrition: Proper nutrition, including omega-3 fatty acids found in fish, has been linked to better cognitive function in children.
- Technology Use:
- Screen Time: Excessive use of screens, particularly in younger children, may contribute to shorter attention spans. Monitoring and regulating screen time are crucial for healthy cognitive development.
Understanding these factors is vital for educators, parents, and healthcare professionals working with children. Interventions should be tailored to address the specific needs of each child, considering their unique combination of factors.
It’s important to note that these factors often interact, and a holistic approach considering multiple aspects is crucial in interventions related to attention and focus.
One tool in our therapy toolbelt is exercises to improve attention and focus.
Why use exercises for focus and attention?
Now that we’ve explored what all goes into focus and attention in kids, let’s take a look at one support strategy.
Using physical exercises to improve focus and attention links the sensory, motor, and cognitive components. Think about it this way: after a big lunch, you might feel sluggish and unmotivated. That’s interoception at work.
We all experience this feeling, and our kids are no different. The fullness feeling after a big meal is just one example, though. There can be many things that lead to inattention or difficulty focusing.
Paying attention is hard for some kids. There are a few different reasons for inattention during school work or homework, or when just participating in listening activities like conversations or reading.
Learning disabilities, distractibility, poor core body strength, an overload of visual stimulation, poor working memory, ineffective executive functioning skills, and even temperament can contribute to poor attention (among other reasons).
Numerous diagnoses like ADHD, Autism, sensory processing disorders, and more also have symptoms aligned with inattention.
But sometimes, attention problems can be confused with diagnoses typically associated with poor attention. Sometimes, the reason for trouble paying attention is something else.
Whatever the reason, there are easy ways to help your child pay attention. Today, I’ve got a simple way to play and work on core muscle strength and proprioceptive input through a sensory movement activity. This super easy movement activity is so much fun that your kids will want to play again every day. And, that’s a good thing, because the movement, proprioceptive input, and core strengthening involved will help them work toward improved attention.
Do you know a little one who can’t focus on school work? Someone who is always distracted or forgets details of a task? A little one who starts a project but easily gives up, never to return to the activity? A student who is always daydreaming or wiggling in their seat and misses key information?
The DIY fidget toy is one type of “exercise” that supports attention.
Many children have trouble with paying attention and it can seem like it is only getting worse.
Attention and the Pyramid of Learning
If you take a look at the Pyramid of Learning, by Williams and Shellenberger, you will see that the base of the pyramid is the sensory systems.
Sensory Systems:
- Tactile
- Vestibular
- Proprioception are at the very base
- Olfactory (smell)
- Visual (sight)
- Auditory (sound)
- Gustatory (taste) just above them.
The next level of the Pyramid, which is labeled Sensory Motor Development is some of the components of attention and focus.
Sensory Motor Development:
- Postural Security (Posture and control)
- Bilateral Body Awareness (dominant side, coordination)
- Motor Planning (complex and new activities)
- Body Scheme (body structre and awareness)
- Reflex Maturity (elimination of primitive reflexes)
- Ability to Screen Input (selectively take in stimuli)
This last bullet point is extremely relevant when it comes to filtering out information and identifying relevant and important information. This is the essence of attention and focus. It’s neat to see that all of the motor skills in this level are at the same consideration as this screening skill, which is a cognitive ability. There is true connection between the motor and the cognitive.
The next level of the pyramid also has a huge role in attention and focus and again includes motor skill areas. This level is labelled as Perceptual Motor Development.
Perceptual Motor Development components include:
- Eye-hand coordination
- Ocular Motion Control
- Postural Adjustment
- Auditory Language Skills
- Visual Spatial Perception
- Attention Center Functions
Again, the last component is a huge red flag because it’s labelled as the very skill that we’re covering in this article: Attention. The motor and physical skills in this level are again related to the jobs of the attention focus center.
At the very top of the pyramid is the cognition and intellect.
Cognition and intellect includes:
- Daily Living Activities
- Behavior
- Academic Learning at the very pinnacle of the pyramid
It’s interesting to note at this point that the sensory base supports the sensory motor skills (attention screening), which supports the perceptual motor skills (attention functions). The cognitive skills are supported by all of these other areas. In other words, you can’t have learning, daily functioning, and behaviors without all of the rest of the underlying skills. Powerful stuff!
Sensory and Attention in Learning
We talked about how sensory is an underlying skill of motor, perceptual skills, cognition, and function. So, we can see that sensory integration challenges negatively impact learning, including attention and focus.
Sensory integration interventions, especially in relation to the vestibular sensation, improves academic scores in children with learning disorders. Additionally, there is a relationship between academic performance and sensory seeking/low energy behaviors. (Ayres, 1972; Bar-Shalita, Vatine, & Parush, 2008; Chien et al., 2106; Polatajko, Law, Miller, Schaffer, & Macnab, 1991).
Other research has determined that physical activity and learning have improvements in attention, executive function, information processing speed, academic scores, and on-task behavior.
For individuals in a learning environment, a sensory ball, or stability ball (therapy ball) is a flexible seating option that provides physical activity (CDC, 2010; Erwin, Fedewa, Ahn, & Thorton, 2016; Mead, Scibora, Gardner, & Dunn, 2016; Kahn & Hillman, 2014; Tomporowski, Davis, Miller, & Naglieri, 2008).
One research review on the use of therapy balls as a flexible seating option found that some populations, including ADHD, found that there was increased engagement and in-seat behavior when a therapy ball was used as a seating option. And, this review found that improved attention, on-task behavior, in-seat behaviors, and improved reaction time occurred when a stability ball seating option was used. (Fedewa & Erwin, 2011; Messinger, 2014; Schilling & Schwartz, 2004; Schilling, Washington, Billingsley, & Deitz, 2003).
exercises for focus and attention
Next, we’re listing out some of our favorite exercises for focus and attention that we use in occupational therapy. The main goal of these exercises is more than focus or paying attention. What we’re actually doing is regulating the nervous system, helping with sensory dysregulation, or offering a calming proprioceptive or vestibular input. Basically, we want to get the body out of a fight or flight state and into a calm, organized, and ready state.
Here’s why that is important: calm and ready means the child is experiencing a meaningful task (occupation) and vice versa.
When I explain this to the child’s parents or teacher, I tell them that when a child is not genuinely engaged, the brain shows only modest activation. That means they aren’t actively participating in a task…and it’s highly likely that little to no learning occurs!
Basically, I explain polyvagal theory and relate it to focus on an activity or a learning task.
But when the child is consciously engaged and paying attention, you could hypothetically look inside their brain at that moment and see brain activity happening.
Proprioception and Attention
Proprioceptive input adds deep pressure to the body’s muscles and joints for a calming and organizing input. Using a large ball like this one can help some children with inattention issues by promoting a postural reaction to a moving surface and heavy work input.
A calming corner can be a space to use these types of exercises.
Attention and Focus Exercise
Attentional Flexibility, also known as Flexible Thinking, refers to the capacity to shift focus during a task, contemplate things from a novel or diverse perspective, adapt to alterations, adjust in problem-solving scenarios, and integrate fresh information into plans or ideas. This cognitive skill involves various aspects of executive function (EF) such as working memory, attention, shift, praxis, metacognition, and more.
Here’s one example of a mental flexibility exercise:
- Copy or repeat a series of letters: tspjkl.
- Add these sets of numbers: 3 and 1, 6 and 2, 8 and 4.
- Subtract the paired numbers.
- Arrange playing cards facing up on the surface: Flip over all the cards with even numbers.
- Next, flip over all the cards with odd numbers.
Observe for seamless transitions between tasks. Keep a record of the number of errors. Document instances of verbal prompts (e.g., “Have you completed the task?”) and physical prompts (e.g., pointing gestures).
This task is designed to assess and enhance attentional flexibility, a crucial component in cognitive functioning.

Sensory Ball Exercises for Focus and Attention
One technique that is often recommended by Occupational Therapists for some children is the use of a large therapy ball for sitting and movement. The therapist can guide the child in specific activities and exercises. For our activity, we used a large and partially deflated Playground Ball similar to this one
for a simple sensory movement.
We’ll go through a few different exercises to improve focus and attention below. Some of these are sensory motor exercises, designed to get the individual to a calm and regulated state.
Others are cognitive exercises that support attention and focus.
Sensory Ball Activity for Attention
You can use the proprioceptive and vestibular input of a sensory ball or therapy ball in core body strengthening.
A sensory ball is also known as a stability ball, a therapy ball, or a yoga ball. Essentially, we are talking about a large ball that you can sit on or use in movement activities.
When it comes to theory, a stability ball or a sensory ball is used as a tool in offering sensory input. Sensory input means there is nourishment for the brain, according to Ayres sensory integration theory. This occurs through the sensory systems: tactile, proprioceptive, vestibular.
A tool like a stability ball can provide input. Ayres goes on to say that sensory integration is the “organization of sensation for use”. In our case, the use we’re talking about is attention during learning or functional participation.
Inattention can be a result of core weakness of the body. The core is the child’s trunk and midsection and is needed for support and ongoing positioning in functional tasks.
With a weak core, a child may slump in their seat, or have trouble maintaining and changing positions. Exercises like these with a ball can help work on the core muscle strength to help the child focus and attend while writing, cutting, and learning.
Incorporating stability ball exercises that leverage both vestibular and proprioceptive input can be beneficial for promoting balance, gross motor coordination, and overall stability.
Here are some therapy ball exercises that integrate these sensory systems of proprioception and vestibular input:
- Seated Bouncing:
- Sit on the stability ball with feet flat on the ground.
- Gently bounce up and down while maintaining a stable posture.
- This activity provides both vestibular and proprioceptive input.
- Ball Rolls:
- Lie on your stomach over the stability ball.
- Place your hands on the floor and use them to roll the ball forward and backward.
- The rolling motion engages both vestibular and proprioceptive systems.
- Balance Challenge:
- Stand with one foot on the stability ball.
- Try to maintain balance for a set duration.
- This exercise combines proprioceptive and vestibular challenges.
- Sitting and Reaching:
- Sit on the stability ball and reach for objects placed at different heights.
- This engages both proprioception and vestibular input as you shift your body position.
- Stability Ball Squats:
- Stand with the stability ball between your lower back and a wall.
- Perform squats by bending your knees and lowering your body.
- This exercise provides proprioceptive input while enhancing stability.
- Rolling Planks:
- Assume a plank position with your hands on the stability ball.
- Roll the ball in different directions while maintaining a stable plank.
- This challenges both vestibular and proprioceptive systems.
- Stability Ball Circles:
- Sit on the ball and make circular movements with your hips.
- This activity engages the vestibular system while promoting core stability.
- Knee Tucks:
- Start in a plank position with your shins resting on the stability ball.
- Pull your knees toward your chest, engaging both core muscles and proprioceptive input.
Super Easy and Fun Movement Exercises
All you need for this activity is a large ball. You could use a Balance Ball
or just grab a bouncy playground ball like this one from your child’s outdoor play equipment.
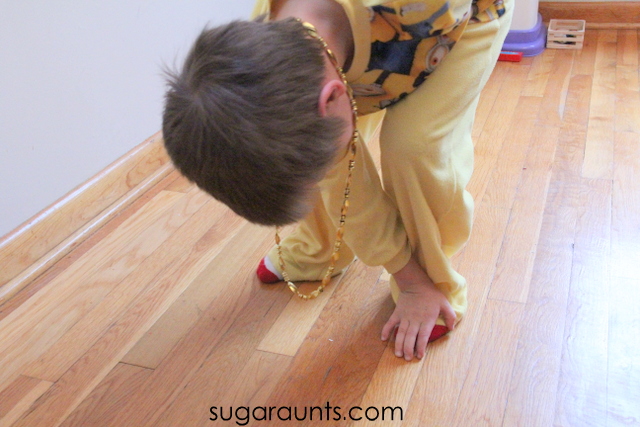
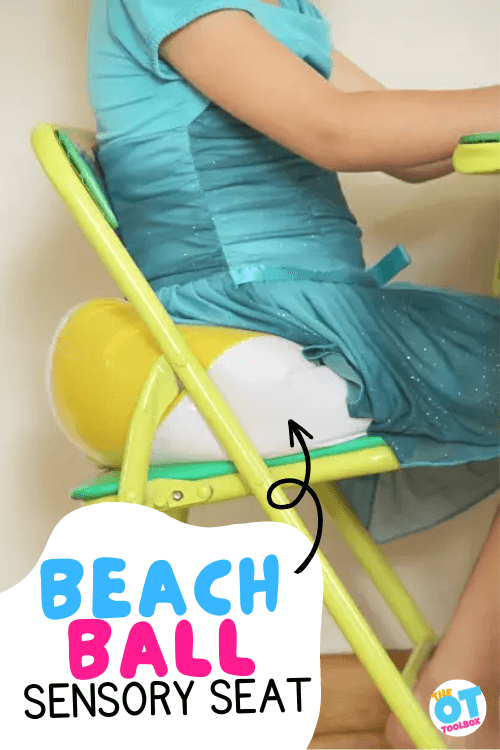
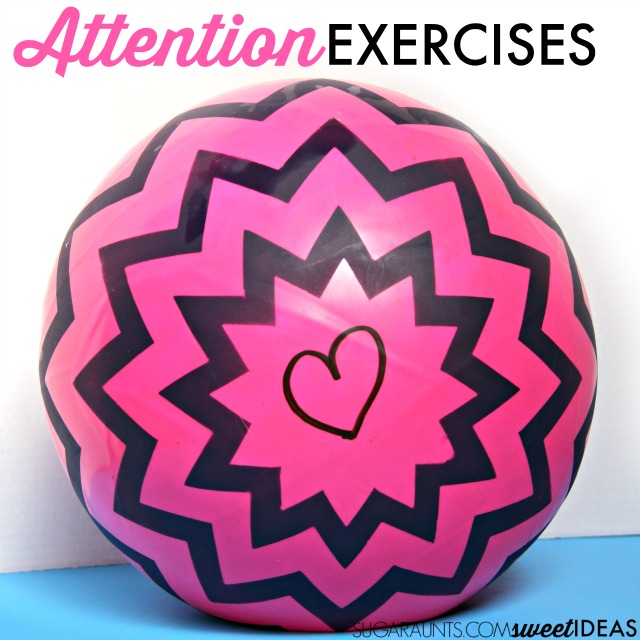
We partially deflated our ball and drew a heart on one side using a dry erase marker. The heart provided a visual prompt for where to sit or push. It made a fun activity even better as we tried to squish the heart!
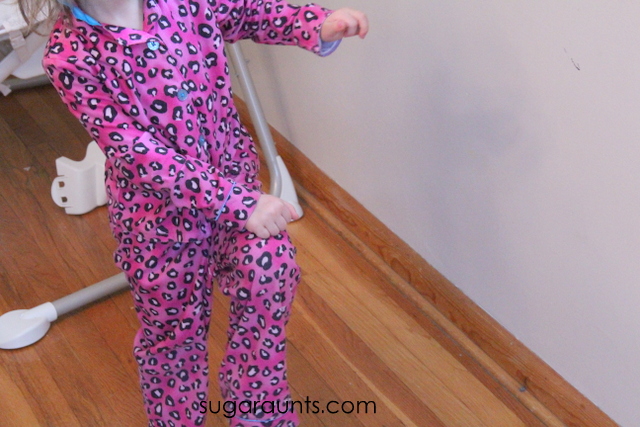
Use the ball to sit, bounce, and squash for proprioceptive input and strengthening.
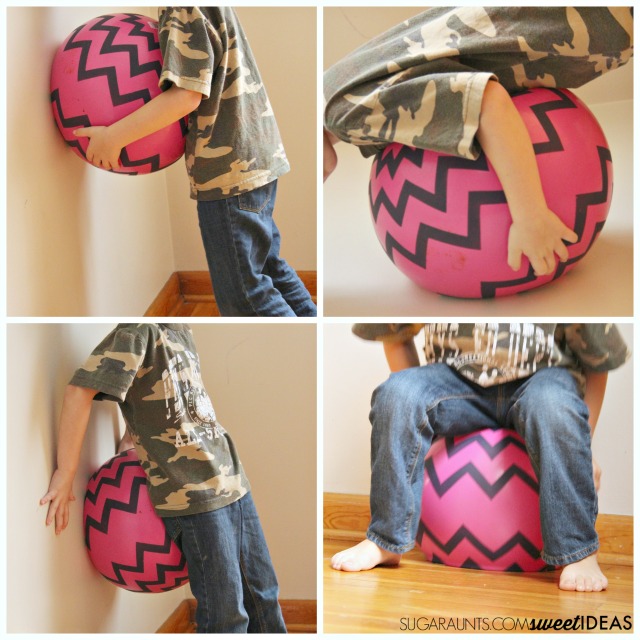
A few core exercises that you can try:
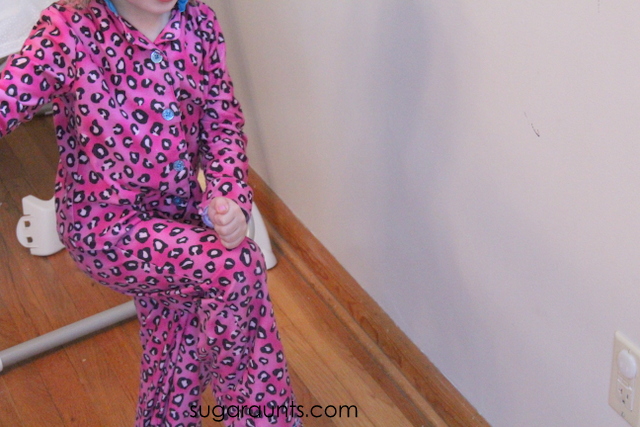
- Sit on the ball and bounce.
- Sit on the ball near a wall and have your child pick up their feet. Use the wall to stabilize.
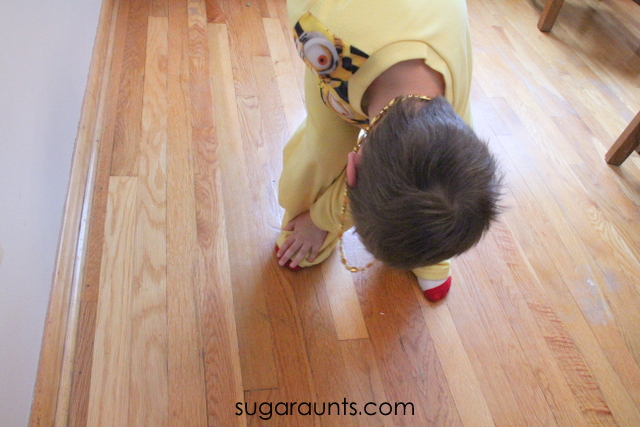
- Lay belly down and roll side to side.
- Lay belly down and roll the ball front to back.
- Lay belly down on the ball and bounce.
- Squash the ball against the wall with the child’s chest.
- Squash the ball against the wall with the child’s back.
- Stand on the ball against a wall, using the wall for support (use close adult supervision and contact for this one.)
Exercises for Self-Awareness Skills
Another type of exercise for focus and attention are those that offer self-awareness skills. This includes body awareness but also the ability to be aware of listening skills (auditory processing) and speaking skills. This includes the ability to attend to receptive language and carry that attention and focus over to expressive language.
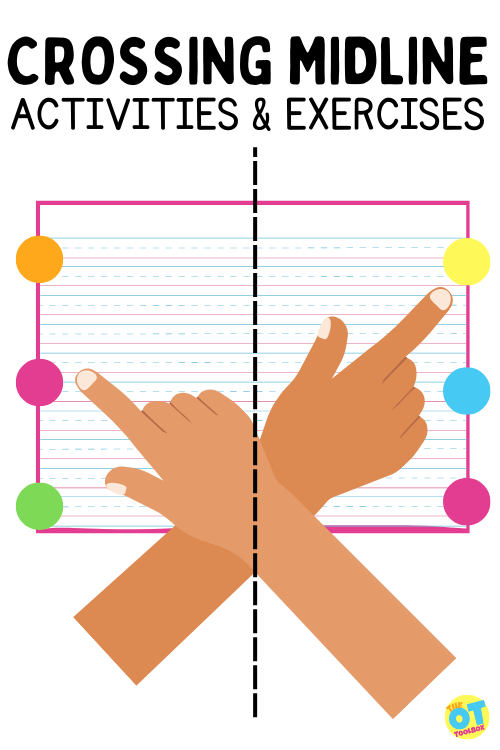
These self-awareness skills include exercises that include crossing the midline. There are many self awareness games as well that support development of this area.
When we are involved in a conversation or other back and forth communication that uses both external and internal feedback, we have active listening. This means we don’t “drift off” during a conversation or learning experience where we need to listen and take in information, and then respond.
You probably can remember a time when you were supposed to be listening to an in-service or a lesson and you’ve felt your eyes and mind glaze over. This happens when we lose attention and drift off in focus. However for students that have this happen on a common basis, we have learning and comprehension issues.
The part of attention that allows us to listen, comprehend, and respond (either with actions or words) is a feedback-feedforward loop. It involves internal thoughts and responses as well as external motor responses. This involves self-talk as well.
Active Listening Exercises
While these exercises are more of an auditory processing activity, you can incorporate movement too. This involves whole body learning.
Auditory attention is a sub-component of attention.
These active listening exercises can be graded up or down, depending on the needs of the individual.
- Sound Discrimination Games:
- Play games that involve distinguishing between different sounds. For example, you can use everyday objects that make distinct sounds and ask the child to identify them.
- Auditory Memory Challenges:
- Create listening challenges that require the child to remember sequences of sounds or words. Start with short sequences and gradually increase the complexity.
- Musical Activities:
- Engage in musical activities like rhythm games, clapping to a beat, or playing simple instruments. These activities can enhance auditory processing and attention.
- Listening to Instructions:
- Provide verbal instructions for various tasks and ask the child to follow them. This can be done through games or daily activities, reinforcing both listening skills and attention. This can include games like Simon Says.
- Storytelling with a Twist:
- Tell a story with pauses and ask the child to fill in the missing parts. This not only improves auditory processing but also encourages active listening. You can also do this with nursery rhymes or fill in the blank song lyrics.
- Echo Games:
- Create echo games where the child repeats patterns of sounds or words. This helps in honing auditory discrimination skills.
- Listening Walks:
- Take the child on a listening walk outdoors. Encourage them to focus on and identify different sounds in their environment. This supports auditory discrimination skills.

Full disclosure: This post contains affiliate links.


Colleen Beck, OTR/L has been an occupational therapist since 2000, working in school-based, hand therapy, outpatient peds, EI, and SNF. Colleen created The OT Toolbox to inspire therapists, teachers, and parents with easy and fun tools to help children thrive. Read her story about going from an OT making $3/hour (after paying for kids’ childcare) to a full-time OT resource creator for millions of readers. Want to collaborate? Send an email to contact@theottoolbox.com.