How to Create a Recycled-materials Craft Bin

We all have piles of recyclable materials that can be used in crafts and use recycling bin crafts on the regular! Here, we’re talking about how to make a recycle craft bin for supplies that can be used at any time. Once you have made a craft supply bin from recycled materials, check out our recycled crafts and activities page. You’ll also find some great recycle bin craft ideas too! You can make any type of recycle bin project. Only your imagination is the limit.

Recycled Materials Craft Bin
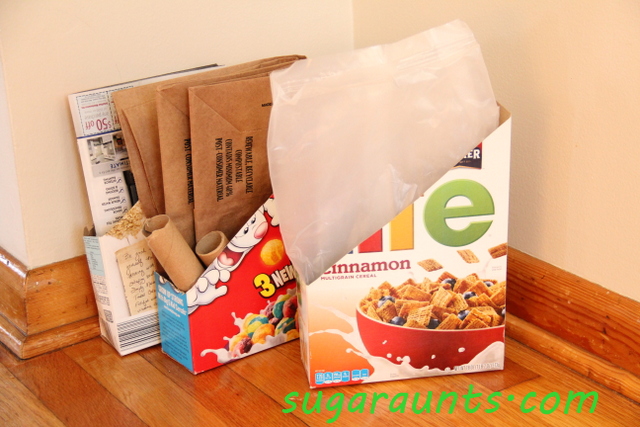
Use materials from the recycle bin to make a recycled-materials craft bin for crafting and play.


We have been known to come up with crafts, activities, learning experiences on the cheap…using free, recycled, or repurposed materials.
 
This craft bin sits in our basement with the crafting stuff and is always ready to go for art projects whenever the moment strikes. 
 
It is easy to keep stuff with the idea that “Hey, we can make something with this…” and easily slide into hoarder territory. 
 
Here’s how to create a recycled-materials craft bin and not end up on a reality show.
 
 
Grab a box or bin and watch your trash.  Before you toss something into the recycle bin or garbage, consider the crafting possibilities.  A great craft bin has lots of different types of materials, colors, and textures.
 
Cut a couple of cereal boxes on a slant to store bigger things.
 
We use the cereal box storage containers to hold waxed paper from cereal liners, grocery store paper bags, a couple of cardboard tubes, and one colorful magazine.
 
When the cereal box is full, stop saving.  No need to overwhelm yourself with too much stuff.
 
 
Smaller cardboard boxes can be put into the bin to contain little items like plastic lids, empty water bottles, anything that can be used in a craft.
 
We use an old check box to hold crayons, glue, and scissors. 
 
The whole craft bin is ready to go, easy to manage, and not taking over your basement.  Take it outside for something different!
 

Recycled materials

There are so many items that can be upcycled into crafting materials. Think about how to use these materials:

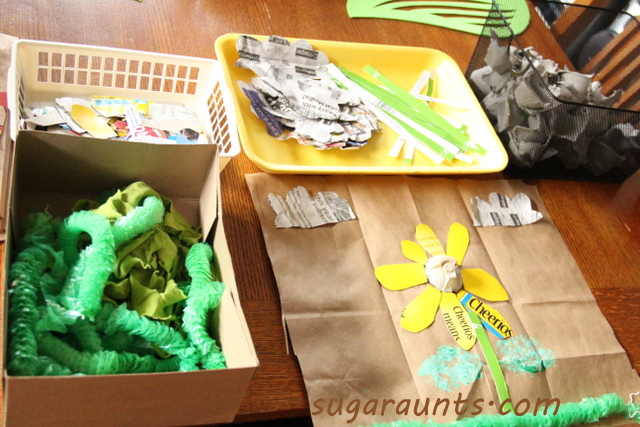
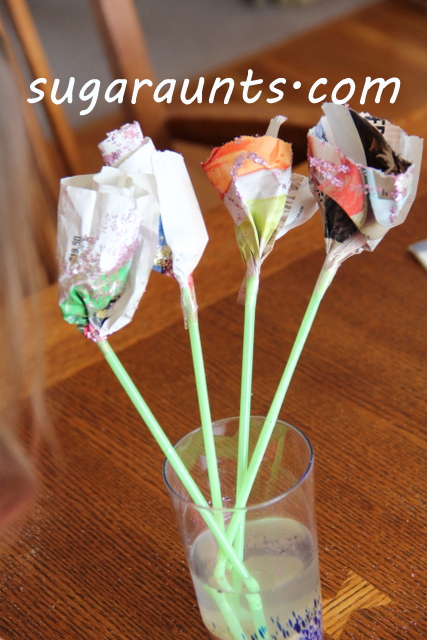
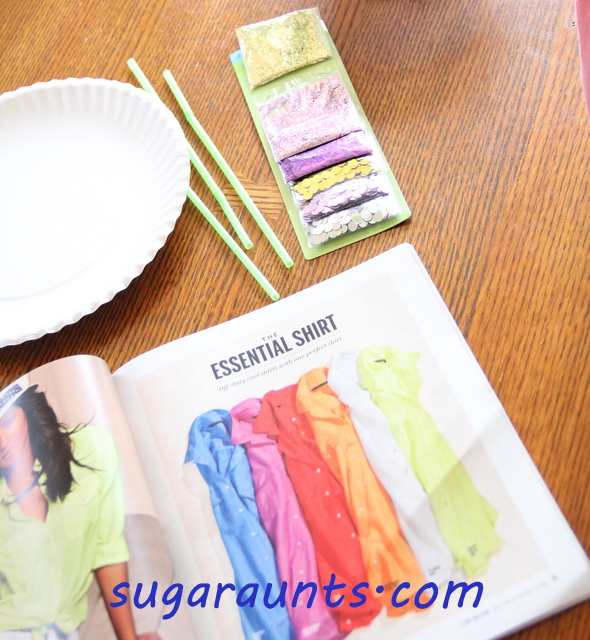
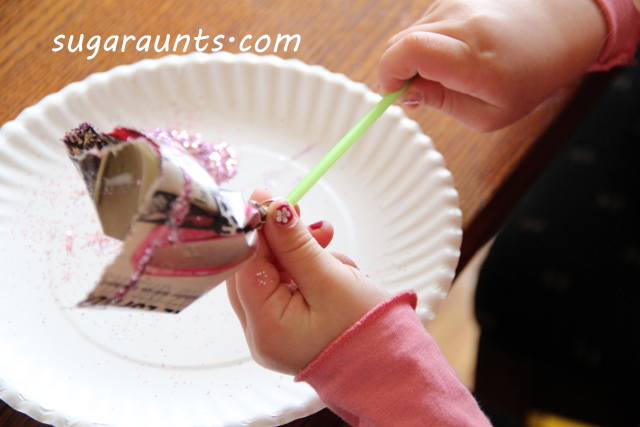
  1. Paper: Old newspapers, magazines, cardboard, and scrap paper can be used for paper mache, collages, origami, or even as decorative elements in various crafts.

  2. Glass Jars and Bottles: Empty glass jars and bottles can be transformed into vases, candle holders, terrariums, bug catcher crafts, or storage containers. They can also be painted or decorated to create unique centerpieces or decorative pieces.

  3. Plastic Bottles and Containers: Plastic bottles and containers can be repurposed into planters, organizers, piggy banks, or even turned into sculptures. They can be cut, painted, and embellished to suit your creative vision.

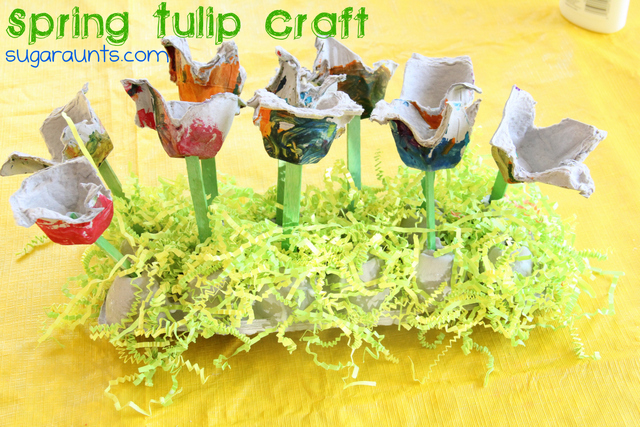
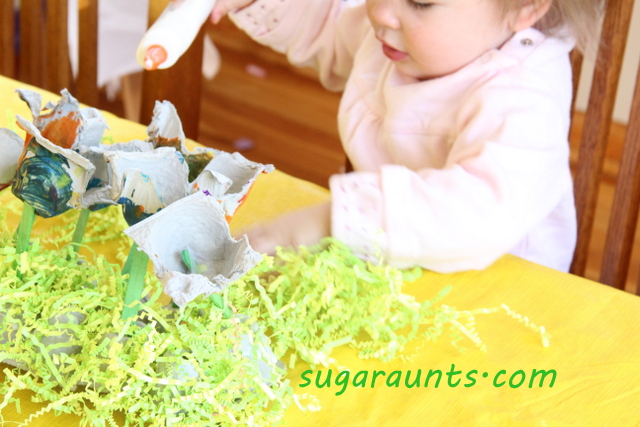
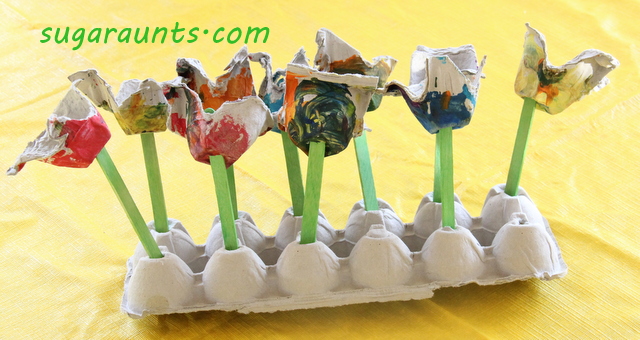
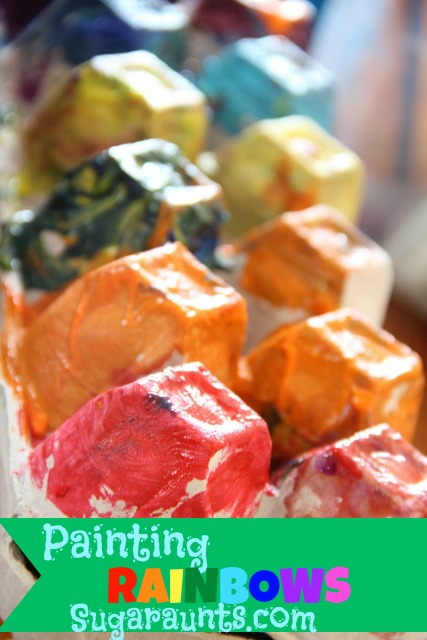
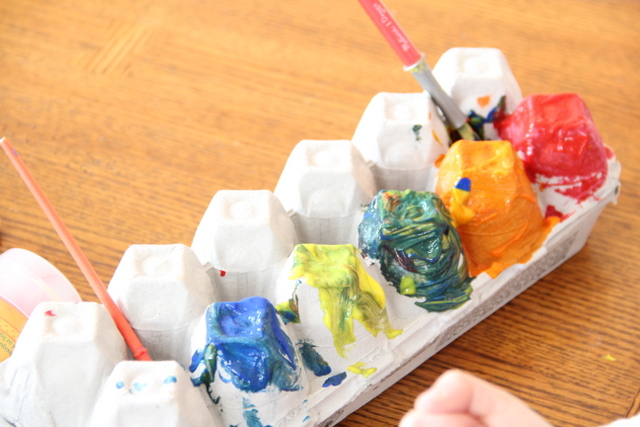
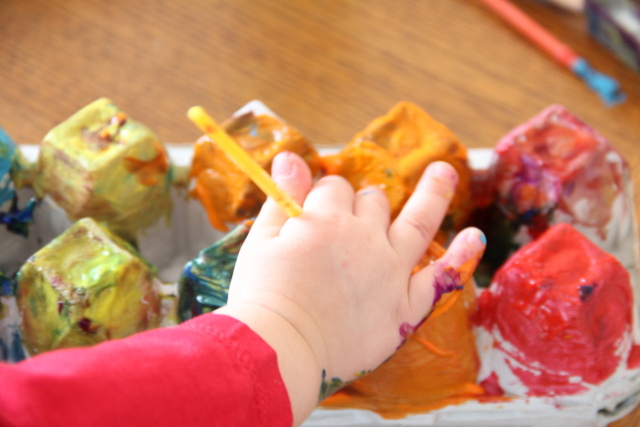
  4. Egg Cartons: Egg cartons have a multitude of uses in crafting. They can be transformed into flower or seedling pots, paint palettes, jewelry organizers, or used for creating textured art projects. Plus, egg cartons are a great hand strengthening tool, too!

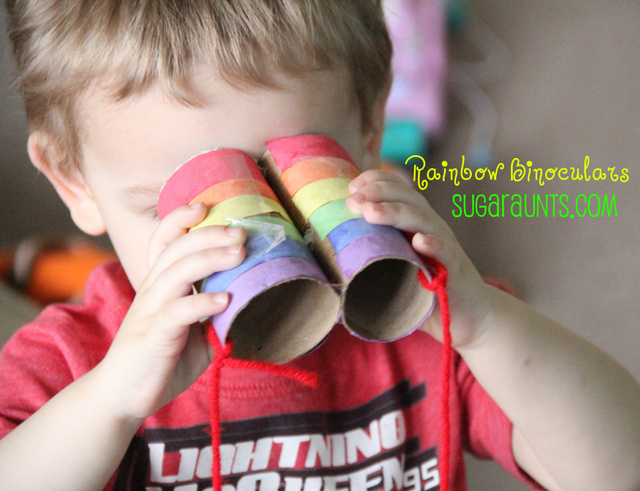
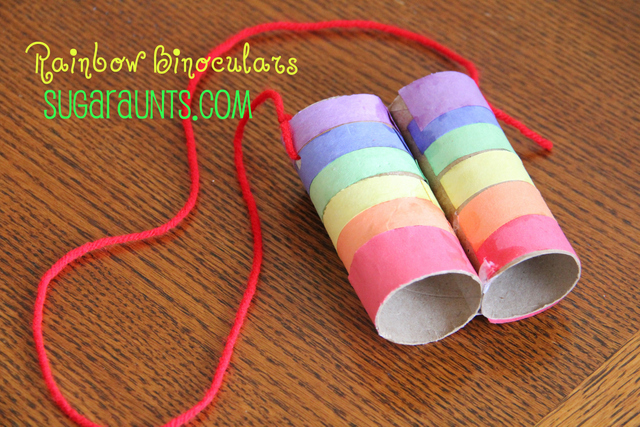
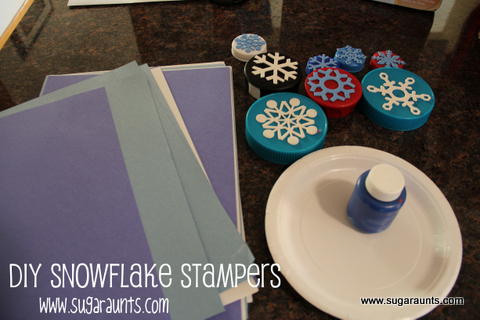
  5. Cardboard Tubes: Toilet paper rolls, paper towel rolls, and other cardboard tubes can be turned into pencil holders, napkin rings, binoculars, or used as structural elements in various craft projects. Try a fun cardboard tube rainbow too!

  6. Fabric Scraps: Leftover fabric scraps from sewing projects can be repurposed for quilting, patchwork, making small stuffed animals, or as accents in other crafts like scrapbooking or card making.

  7. Bottle Caps: Collecting and saving bottle caps can lead to endless possibilities. They can be used as embellishments, magnets, bottle cap letters for learning, pendants, or even to create mosaics and unique artworks.

  8. Old CDs and DVDs: Discarded CDs and DVDs can be transformed into coasters, wall art, mobiles, or used for reflective surfaces in crafts like jewelry making or mixed media projects.

  9. Wine Corks: Wine corks can be utilized to make corkboards, trivets, keychains, or even stamps. They can be easily cut, painted, or glued together for a variety of craft ideas.

  10. Popsicle Sticks: Popsicle sticks can be used for building structures, creating frames, making ornaments, or used as canvas for painting or decorating.
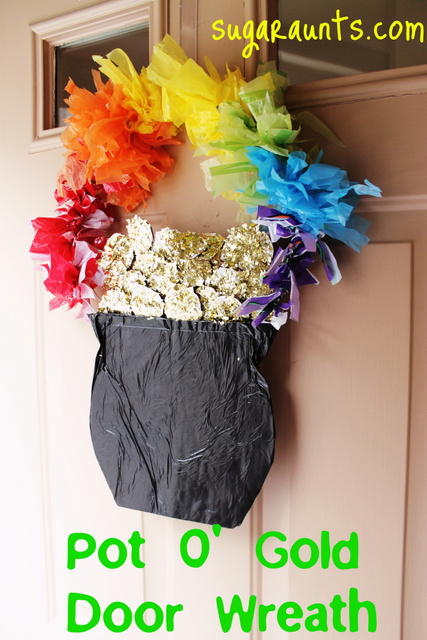
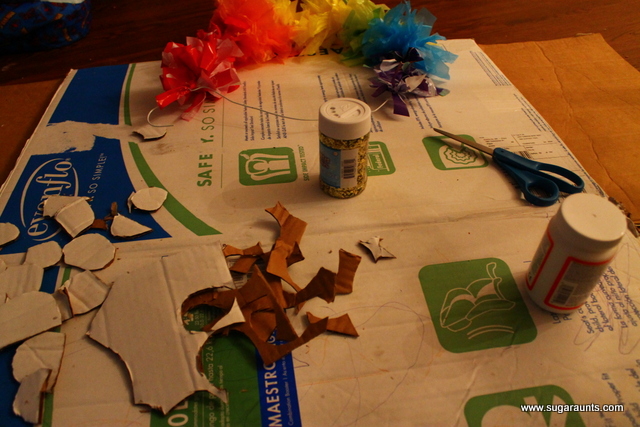
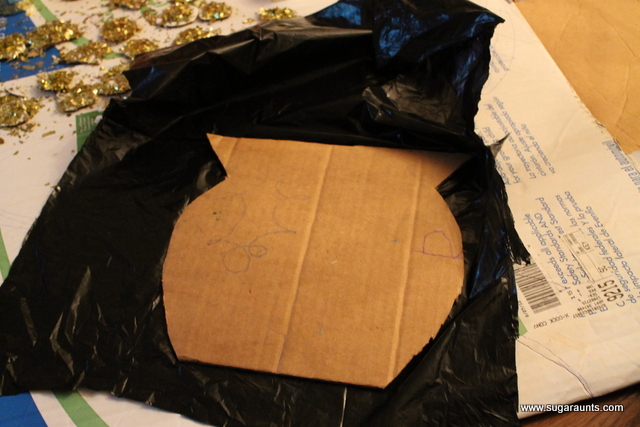
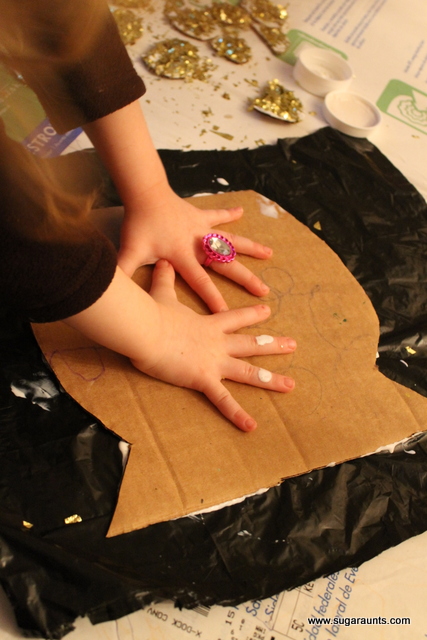


Recycle Bin Craft


We started our Earth Day with some recycled crafting. Here’s what we came up with:
 

Fun, free, creative and open-ended art work.  Process-based art at it’s finest!

You also might be interested in some other fun recycled projects that we have done:
Recycle Bin Project
Process Vs. Product Focused Play
Earth Day Recycle Bin Craft


Earth Day Recycle Bin Craft

This was a craft I was putting together for a playgroup, so I needed a bunch of little pieces and wanted to keep it Earth-friendly.  I cut up a few cereal boxes and egg cartons for the flower parts, cut some clouds from a newspaper, and cut some leaf shapes from bubble wrap.

We were looking for an

Earth Day Craft

and looked around in the recycle bin first!
The kids used the bubble wrap to press into green paint and stamp the leaves onto their flower.  The grass is a re-purposed plastic lei.
For the play date, all of the bits and pieces needed to be separated for ease with the kids.
I scooped up a few boxes and trays from the recycle bin and added a couple of my storage bins to keep it all organized.
This was a fun, free, and Earth-friendly project that lots of kids enjoyed!
Before your recycle bin goes out, look for any craft projects that might be right in front of you 🙂
There are so many recycled-material projects out there right now, being Earth Day month.  What have you and your kids done? Link up your posts in the comments, we would love to see them!

We’ve started a new Group Pinterest group board,

 Trash Turned Kids Crafts (kids crafts made from recycled materials)

There are a bunch of fabulous bloggers collaborating there now. If you have made fun, free, Earth-friendly kids crafts or projects, we would love for YOU to join us! Comment on one of our pins and we will happily add you.

Recycled Magazine Roses

We made these fun roses this week.
Materials:
Colorful magazine page torn in half
glue
straw
glitter
tape
Tear the magazine page in half lengthwise.  Tearing paper is a great hand strengthening exercise.  Holding the paper with both hands encourages bilateral coordination and whole arm movements, and a tripod grasp to pinch the paper while tearing.
Glue along one edge of the paper.
Roll up into a rose-ish shape.
Pinch and twist the base of the flower into a point and push it into the straw.  Pushing the flower into the straw encourages a tripod grasp and use of the non-dominant hand to hold the straw in a coordinated manner.
We taped around the straw to keep the flower in place, and put into a glass of water. Fun and pretty!
Little Guy had to (obviously) blow the straw flower…
…and bang the flowers like a drum 🙂
Big Sister said we needed to put water in the glass. And sand.
Of course.

Faux Chalkboard Wall Art

This DIY chalkboard sign

was super easy to do.  Did you see our Easter Egg Hunt party details post?  We showed a picture of this sign that I made for the party.

This chalkboard-esque sign cost less than a quarter to make and was a great touch for the Easter egg hunt.  You would never guess by looking at it, but there was no chalkboard paint involved in making this sign. 
Start with a smooth wood piece.  This is a piece from an old “fake wood” dresser.  The dresser broke and I kept the bottom of the drawer. 
I used black tempera paint bought on sale and with coupons from Joanne’s, and only needed about 1/4 of the jar to cover the entire board.  This paint goes on nicely and really covers the board, so it doesn’t take much.
Use hot glue to glue the ribbon strip on both sides of the back. I already had this ribbon.
After the egg hunt, I erased the Easter sign with a wet rag and wrote this

subway-style Fruit of the Spirit sign. 

I wouldn’t keep this sign outside where it would be exposed to rain…or plan on using it like a normal chalkboard (where you would wash and re-wash the chalk off).  When I washed the chalk off with a wet rag, the paint slightly turned the rag black.  But not very much and it seems like it helped with the chalkboard-ish look of the sign.
 It hangs in our dining room neat pictures of the kids.  I love seeing this sign hanging around the family pictures. 

But the fruit of the spirit is love, joy, peace, patience, kindness, goodness, faithfulness, gentleness, self-control; against such things, there is no law. (Galatians 5:22-23)

Springtime Tulip Craft

This was a craft we did on the First Day of Spring.  It was a sunny day, but really cold and windy out.  So, we brought a little bit of tulips and spring time fun indoors!

Remember our Painting Rainbows craft?  We used the painted egg carton and made some tulips.

Baby Girl watched her Big Sister make this and wanted to help with the gluing part.
We used some green crafting sticks and pushed them into another egg carton so the tulips would stand.
We used some paper grass (this is the stuff you put into gift bags…found at a yard sale last summer in a free bin! Awesomeness!)
Glue the paper grass onto the egg carton, and you get a fun spring tulip table centerpiece.
((when you have the kids who pull the whole table cloth off of the table at least once a day…Baby Girl…cough, cough…you need NON-breakable, NON-expensive table centerpieces!))
I found some cute tulip placemats at the dollar store yesterday.  I will take a pic and show the whole table set-up soon!

Rainbow Binoculars

rainbow binoculars

These rainbow binoculars is a rainbow craft that we made years ago. However, the binocular craft can be a great way to help kids develop many skills including scissor skills, bilateral coordination, visual scanning, form constancy, visual convergence, visual tracking, and other visual processing skill areas. Add this to your therapy tool box. Be sure to check out all of our rainbow activities for more ways to play and learn with the colors of the rainbow.


Rainbow Binoculars

 
This was a fun craft we made for a MOMs Club playdate.  A fellow mom offered up her stash of toilet paper tubes and this is what I came up with.
 
We got busy…
 

searching for Rainbows with our Rainbow Binoculars!

(Or, as little guy said, he had to go look for Tick Tock crock.)
 
This is what it started out as. 
 
Big Sister helped me make a set of Rainbow Binoculars for our friends to copy at the playdate.
 
 Use two toilet paper tubes, glue strips of colored paper around, and tape together.  Attach with yarn for handy access during Rainbow Expeditions.
 
 
Cousins during our weekend-cousin-sleep-over had fun searching for rainbows, too.


Tick Tock Crock has been spotted and sent to the hot, hot lava*
🙂


Colors Handwriting Kit

Rainbow Handwriting Kit– This resource pack includes handwriting sheets, write the room cards, color worksheets, visual motor activities, and so much more. The handwriting kit includes:

  • Write the Room, Color Names: Lowercase Letters
  • Write the Room, Color Names: Uppercase Letters
  • Write the Room, Color Names: Cursive Writing
  • Copy/Draw/Color/Cut Color Worksheets
  • Colors Roll & Write Page
  • Color Names Letter Size Puzzle Pages
  • Flip and Fill A-Z Letter Pages
  • Colors Pre-Writing Lines Pencil Control Mazes
  • This handwriting kit now includes a bonus pack of pencil control worksheets, 1-10 fine motor clip cards, visual discrimination maze for directionality, handwriting sheets, and working memory/direction following sheet! Valued at $5, this bonus kit triples the goal areas you can work on in each therapy session or home program.

Click here to get your copy of the Colors Handwriting Kit.

Colleen Beck, OTR/L has been an occupational therapist since 2000, working in school-based, hand therapy, outpatient peds, EI, and SNF. Colleen created The OT Toolbox to inspire therapists, teachers, and parents with easy and fun tools to help children thrive. Read her story about going from an OT making $3/hour (after paying for kids’ childcare) to a full-time OT resource creator for millions of readers. Want to collaborate? Send an email to contact@theottoolbox.com.

Painting Rainbows

We had fun with paint and egg cartons recently.

It doesn’t get much easier (or cheaper) to grab an egg carton out of the recycle bin and go crazy

Painting a rainbow egg carton!

Baby Girl got right in there to help with the painting.  I love the paint on her little hand!
…And those little fingers sticking up 🙂

We sort-of matched the colors up between the two sides of the egg carton…
and sort-of tried to get the colors in the correct order…
but mostly just had fun with painting 🙂
I love this…
This Rainbow image is pinned on our Pinterest boards, and I’ve seen it pinned a bunch of times. I wasn’t able to locate the original source.  If it ‘s yours, just let us know 🙂

Pot O’ Gold Door Wreath

“Top o’ the morning to you!”

We have been busy, busy, busy…

One
day last week we had the cousins over and us Sugar Aunts got to
brainstorm up some pretty cool ideas.  I love that even in our 30’s, we
are still “playing”.
  Sometimes these projects are more for us moms than
they are for the kiddos!  I love thinking up ideas and using my
imagination even as an adult!  This project was fun for everyone.
This is what we came up with!


 We made this wreath out of a bunch of things we found around our house…
Red, orange, yellow, green, blue, and purple colored plastic grocery bags
A Wire Hanger

Cardboard (this was what finally came of the bear cave!) 

Glitter (gold flakes)
One small black garbage bag
Mod Podge

Stretch out the wire hanger into a circle.  You can keep the hook on the top to use as a hanger on the door, or fold it in (that’s what we did).

We cut the bags into one inch by four inch strips.
This is such a great re-use for these old bags!

We kept the colors separate and in order of the rainbow.

We then tied the strips all around the wire hanger.  We just did a simple one knot, nothing fancy.

This is where the big old box from the living room baby bear cave came in handy!  We had this box in our living room for a week and it finally bit the dust.


I cut out little two inch circles and cut out a pot shape.


My daughter had fun with the Mod Podge and gold flakes.  My son had a little too much fun with the gold flakes…
There were gold flakes all over the house after this project.  I guess there are worse things that could be all over the floor.  At least they are pretty 🙂

We spread Mod Podge all over one side of the cutout pot.  My daughter used her muscles to help it stick.  We then folded the sides and glued them under.


This is the deconstructed wreath, looking pretty good!


We used more Mod Podge to layer the gold into the pot.  I cut out a piece of cardboard and ended up putting Mod Podge all over the back of it to use as a backing.  By morning this was dry and I was able to slide the hanger up under the cardboard.

I am really proud of our door wreath!  
The colors really pop and you can see it across the street and still tell what it is.  My daughter is especially proud of this because she helped!


“May your pockets be heavy and
your heart be light

May good luck pursue you each
morning and night”

We are ready for a
Happy St. Patrick’s Day!

The Sugar Aunts


DIY Snowflake Stampers

This is a super easy and fun activity to do with the kids.
We have done this so many times recently…with all kinds of different foam stickers and the kids keep asking to do this craft again, and again, and again!

Save those bottle caps.  They come in handy for tons of crafts and activities. 
We did a similar Christmas stamper project…and used our stamped paper to make gift tags.  This would be fun for gift wrap too.  And, you can find all sorts foam shapes at the Dollar Store. 
(We love the Dollar Store for crafting and art projects!!

Enjoy today!
Colleen