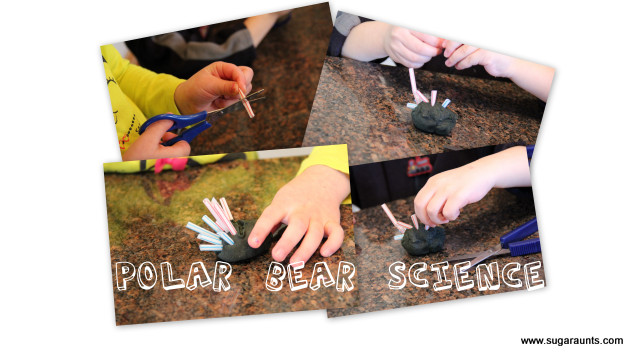
We had some fun with Science and Polar Bears today…
Did you know Polar Bears don’t have white skin? They actually have black skin and white, hollow fur. The hairs of their fur are hollow to absorb the sun’s light and keep the Polar Bear warm in those freezing arctic temps. When light from the sun hits the white hairs, it is reflected and gives the Polar Bear his white appearance we all think about when we think ‘Polar Bears’.
We were talking about these Polar Bear facts after Googl-ing around and looking for pictures of Polar Bears…Here are a couple of great links for Polar Bear facts for preschoolers…
So our project today was a little Polar Bear Science Experiment
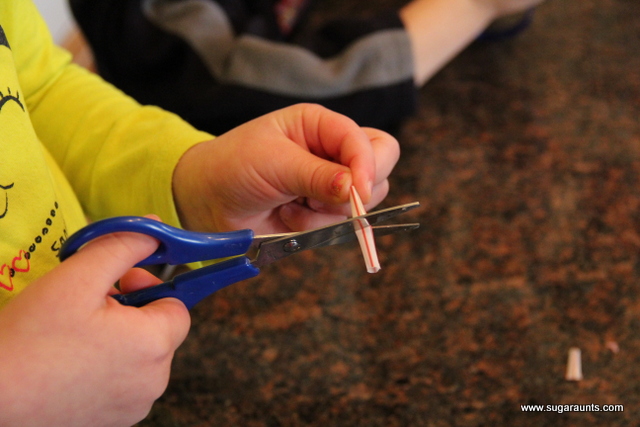
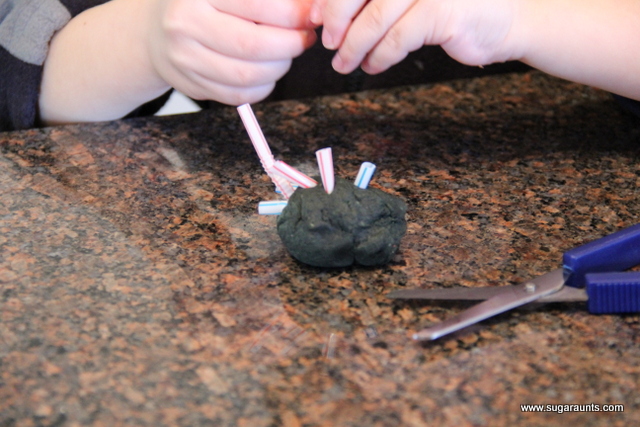
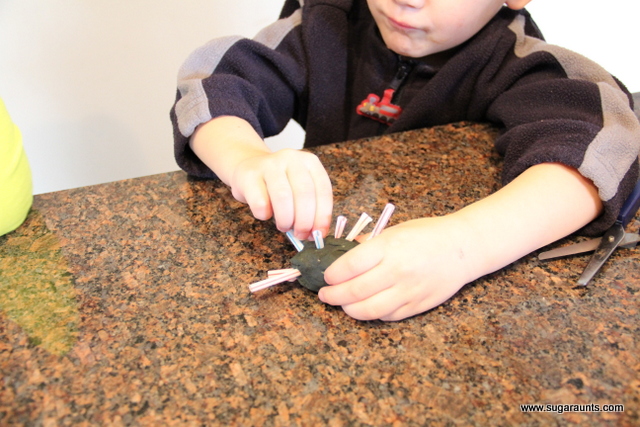
We started out by cutting straws into little bits. They loved this!!
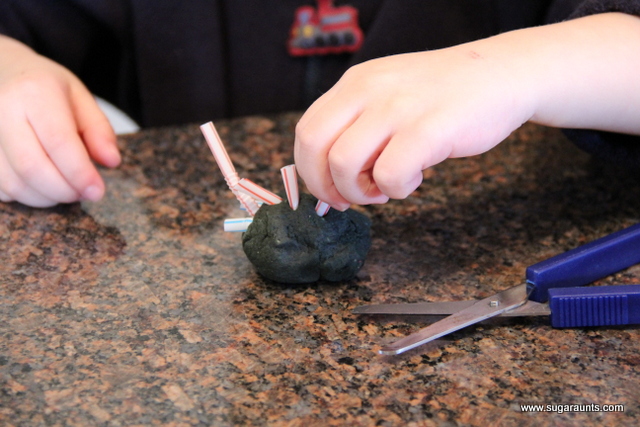
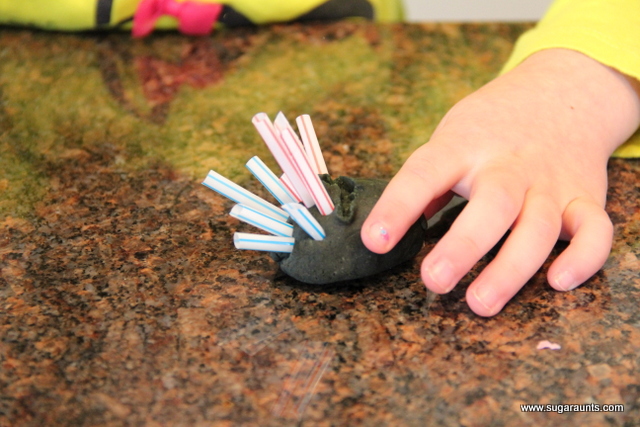
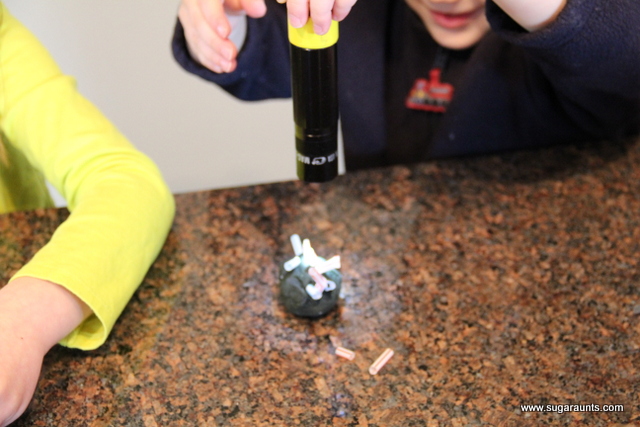
We used black play dough to be our Polar Bear’s skin and poked the straws into the lump of dough for polar bear “fur”.
(Tripod Grasp on those little straw pieces!)
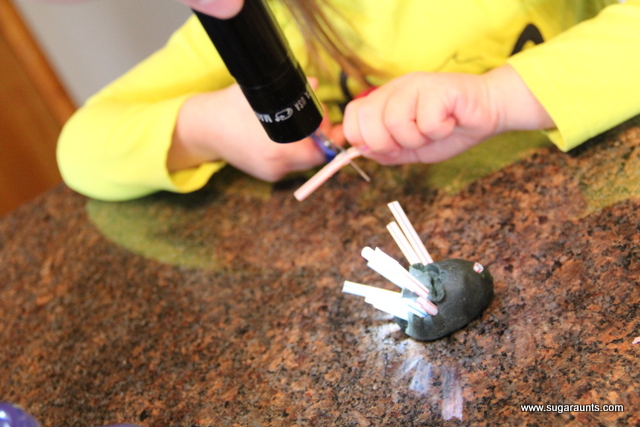
Once we had all of the “fur” on our little Polar Bear lumps, We pulled out the flash light to be our “sun”. Check out how the white straws reflect the light and really make the play dough Polar Bear look more white!
Cool, huh??
Little Guy thought this was so much fun!!
Then he made his Polar Bear into a shooter.
Of course.
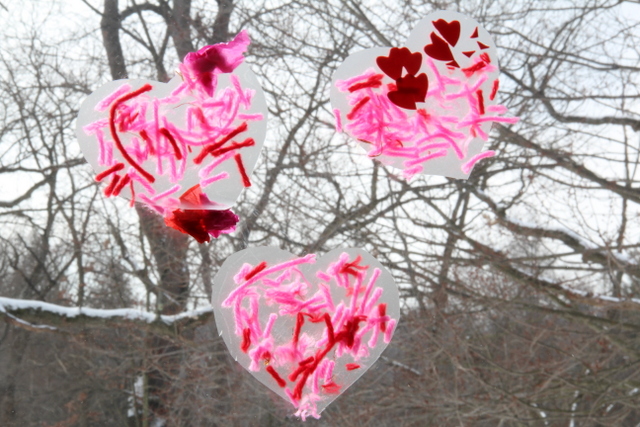
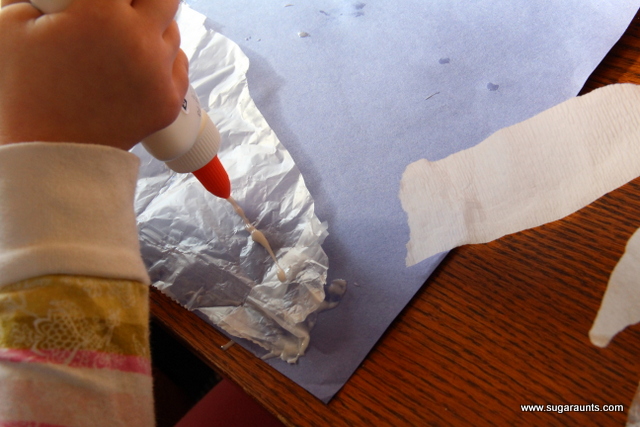
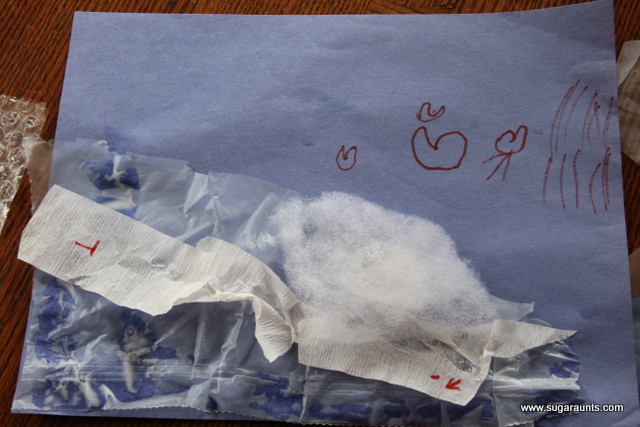
Our craft was a fun one…a little bit of this and that…
pulled together into an arctic/polar bear scene!
They did this Process Centered Art project…no specific goal in sight.
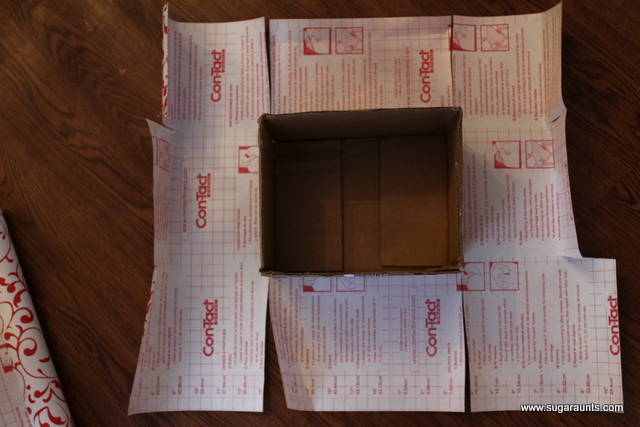
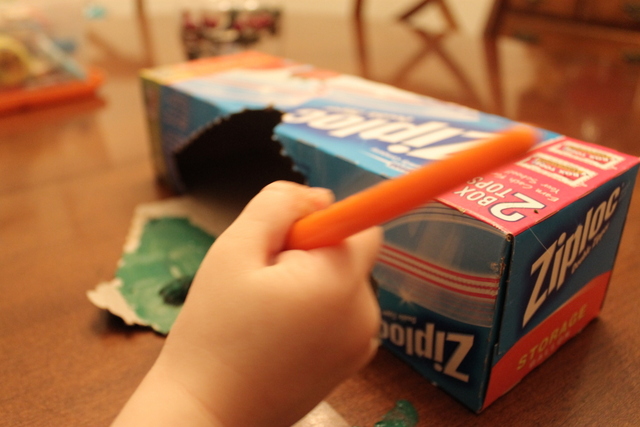
Since Christmas, we have so many extra boxes and I feel guilty just putting them in the recycle bin. We also have so many little cars (and trains, and little people…the list goes on and on) laying around. This is an easy renovation to an ugly cardboard box.
My 20 month old has taken a liking to this little box for some reason. He has been putting his cars and trains in it and carrying it around the house (and dumping them out everywhere!). Today while he was napping we gave it a little make-over.
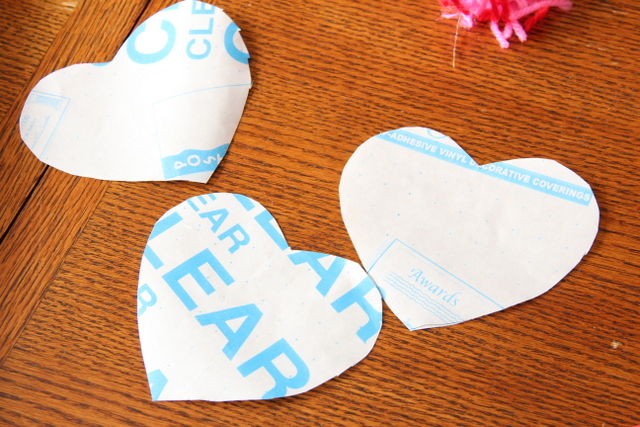
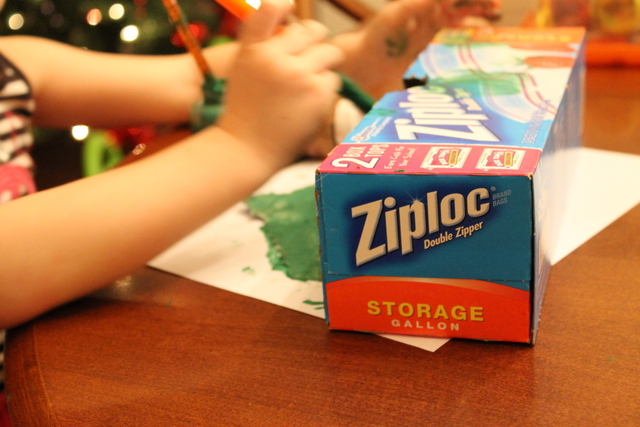
This was a fun project for my 4 year old daughter to help with. She helped me hold the box, measure the contact paper, and cut along the lines.
Once we had it cut out (making sure there was about 2 inches to overlap into the box), we folded the sides in and cut slits along the side so it could be folded easily.
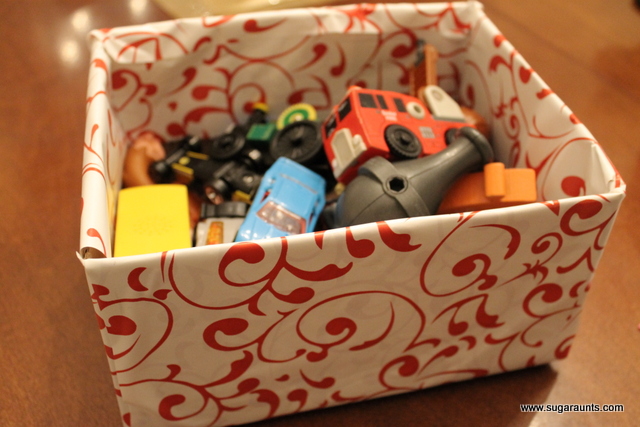
It was kind of like wrapping a package. It isn’t perfect, but it doesn’t need to be. Just a fun project to make something pretty.
Now doesn’t that look better than the old ugly box?
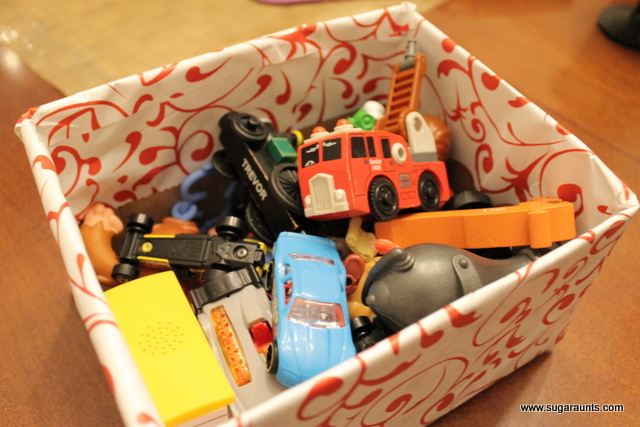
Little guy thought it was pretty too, and then he threw all the toys on the floor for the millionth time today. Oh what fun!
Many years ago, we created this simple, but fun treasure map activity where children have the opportunity to develop important skills while creating their own unique treasure maps. All you need for this pirate activity is paper, markers or crayons, and optional decorations like stickers or glitter, for a creative activity that offers numerous benefits (fine motor skills and visual motor skills!)
Not only does using a map utilize spatial skills, there are so many ways to learn through play with this activity!
Treasure Map Activity
The treasure map activity we describe in this blog post is an old one, but it’s such a fun way to develop skills.
Occupational therapy practitioners often use treasure map activities in therapy sessions, including with sensory motor tasks like obstacle courses. You can move through an OT treasure map to different therapy worlds like a handwriting station, self-regulation area with deep breathing exercises, a gross motor task like a masking tape balance beam, or so many other tasks depending on the child’s specific needs!
Skills Developed with a Treasure Map Activity
Fine Motor- As children draw their treasure maps, they practice and refine their fine motor skills. Holding and controlling the markers or crayons helps strengthen their hand muscles and improve dexterity. The precise movements required for drawing lines, shapes, and symbols contribute to the development of their fine motor control and coordination.
Visual Motor- Creating a treasure map also supports the development of visual motor skills. The process of translating mental images and ideas onto paper involves coordinating hand movements with visual input. Children learn to align their movements with what they envision, improving their hand-eye coordination and visual tracking abilities.
Spatial Awareness- Playing with and drawing a treasure map promotes spatial awareness and understanding. Children need to consider proportions, distances, and scale as they depict landmarks, paths, and the overall layout of their map. This encourages them to think spatially and develop a sense of space and perspective.
Motor Planning- Using a treasure map to move around a given space involves motor planning. Children must plan and execute a sequence of actions to create their map, including deciding on the path, placing symbols, and adding decorative elements. This helps develop their ability to plan, organize, and execute tasks in a logical and sequential manner.
Body Awareness- Using a treasure map activity to navigate in the world around them offers kids the chance to incorporate body awareness into a real world scenario. They must navigate around objects and visualize how their body moves through a space. This is a great tool for building skills in this area.
Scissor Skills- The map activity we made made builds scissor skills, too. This is an open-ended craft that kids can make and work on cutting and snipping paper in a low pressure way.
How to make a treasure map with Preschoolers
This simple treasure map is a fun activity for preschool. Here’s what we did:
Today was a day of exploring and treasure map fun!
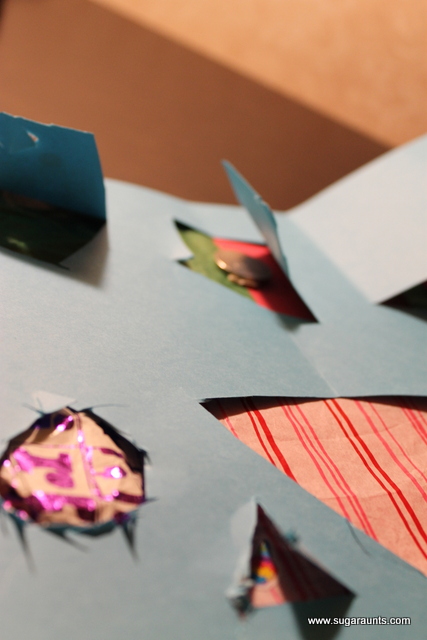
My kids have been loving Jake and the Never Land Pirates lately and today we decided to make our very own treasure map.
This was one my daughter had so much fun planning out what was going to be under each door.
We gathered up all the necessary things…
card stock
different colors of tissue paper
scissors
markers or a pen
some stickers
a roll of masking tape
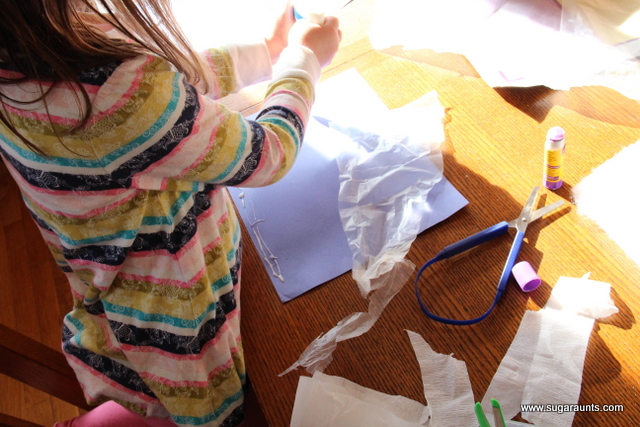
This project included tons of fine motor skills, cutting, tearing paper, pinching, rolling, folding…the list goes on and on.
We cut the tissue paper into little squares, pulled out some masking tape and made little tape donut circles to tape the tissue paper to the construction paper.
Pulling and tearing the masking tape worked on her wrist stability. This is the strength and coordinated effort of the wrist in a neutral position with controlled movements required to keep one part of the body still while another part moves. (the hand and fingers).
The card stock was folded and different shapes cut out. I helped her cut out windows and doors for the different tissue papers to be hidden behind. Folding the paper and cutting was a great use of bilateral coordination.
Bilateral coordination is the efficient use of both hands during activities. One hand will manipulate while the other is the ‘helping hand.’ Bilateral coordination development will lead to hand dominance (right- or left-handed).
Each door got a beautiful sticker on it (they needed doorknobs- of course!)
And last but not least, we needed a treasure! This nickel was the perfect treasure.
I finished the map by drawing some lines to connect the windows and doors. This map will last for many a treasure hunt! “Yo-Ho-Ho!”
The perfect addition to a treasure map activity would be a pirate puppet or a kid-made pirate telescope craft, perfect for finding treasures!
Working on fine motor skills, visual perception, visual motor skills, sensory tolerance, handwriting, or scissor skills? Our Fine Motor Kits cover all of these areas and more.
Check out the seasonal Fine Motor Kits that kids love:
This is part three of our end-of year review! Here is a run-down of our Top 5 Sensory Play Posts of 2012…
Growing Memories: The easiest sensory bin can be found in your own backyard. Some of the most memorable moments from my childhood were playing outside in the dirt. I think getting back to basic play outside is very important in our child’s development.
Water Beads Sensory Table: We love water beads! You will notice several posts with them, all of them being the same beads being used over and over again. These little buggers allow for may play ideas and hours of fun.
No Mess Sensory Play: This fun activity allows for mess-free play. You can add all kinds of different things inside the baggie for different sensory experiences. The possibilities are endless. You can change it around for different seasons, holidays, birthday theme…mix colors, textures, smells.
(This one was so much fun I had to include it too)
DIY Wrapping Paper: Kids love making their own wrapping paper to cover gifts for friends and family. It makes them so proud to be part of the present, and grandparents/aunts love receiving gifts wrapped in this special artwork. Making your own wrapping paper is an easy and fun sensory project.
Light Bright Fun: What is more fun than playing in the dark with a flashlight? How about playing in a box with a light bright?!? This fun sensory activity was a hit with the little kids.
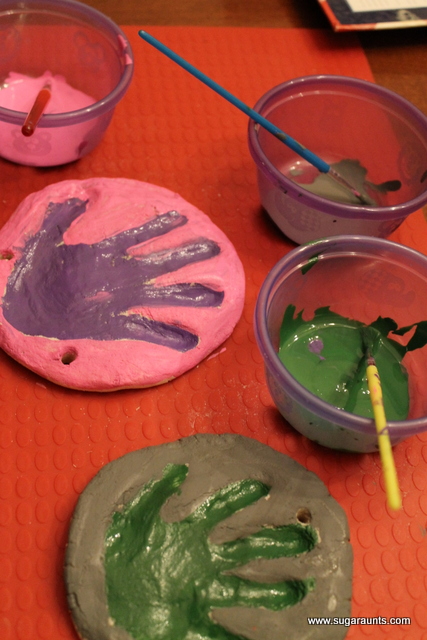
I wanted try making these cute salt dough handprint ornaments I saw on The Imagination Tree earlier this week. The recipe was simple and it was so FUN! My daughter had a blast mixing the dough with her hands for a long time.
I rolled them out pretty thick so they had to bake for several hours on low heat (200F). I baked them on a silicon baking sheet that had some textured bumps on the back. I let them sit out overnight turned upside-down to make sure they were nice and hard, ready to paint!
My daughter had so much fun with this one. Little guy thought it was pretty neat feeling when he pushed his little hand into the dough.
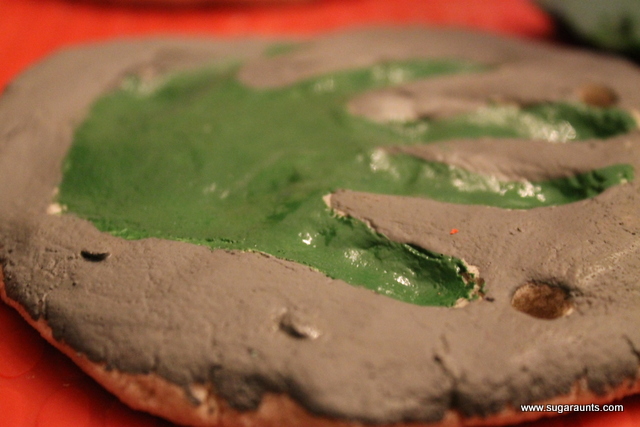
We decided to make it pretty simple, just paint the handprint one color and the outside another color. I painted their names and the year on the back with black paint to make it stand out.
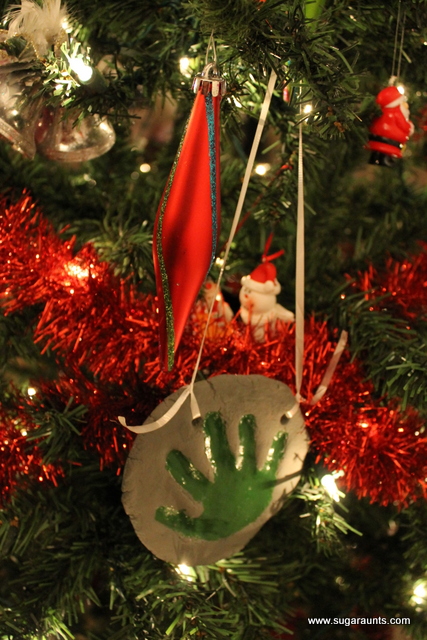
String a little string through the holes and tie them in a knot, Ta-Da! Simple handprint ornaments to enjoy for years to come!
I am so happy to have these little handprints! I don’t want to think about how little they are going to look when comparing them next year…these little babies are growing so fast!
I’ve had this batch of salt dough mixed up (only the dry ingredients just waiting for a great day to make some ornaments. I wanted to try Gingerbread Scented Salt Dough for an added Christmas-y smell. We had the chance to mix this up yesterday and luckily, my niece and nephew was here to help us play…
Babies love playing in dough!
Little Guy was so excited to help me mix it all together.
Use your basic salt dough recipe and add the extra spices to make it extra special 🙂
2 cups of flour
1 cup of salt
2 tsp cinnamon
2 tsp nutmeg
2 tsp allspice
1 cup of warm water
mix the dry ingredients together (store it for a week like us, if you need to!). Stir in the water. Knead the dough on a flat surface for 10-ish minutes ( less is ok if babies/Little Boys are anxiously waiting to play 🙂
I’ve seen recipes that say let it stand for 20 min before rolling, but we dove right in.
I got the cinnamon allspice, and nutmeg at the dollar store to use just for (inexpensive) scented projects like this one…
Mix it all up…
And knead it for a few minutes.
I had lots of help on the kneading 🙂
Roll it out…
I had the babies make their hand prints for ornaments. So cute!
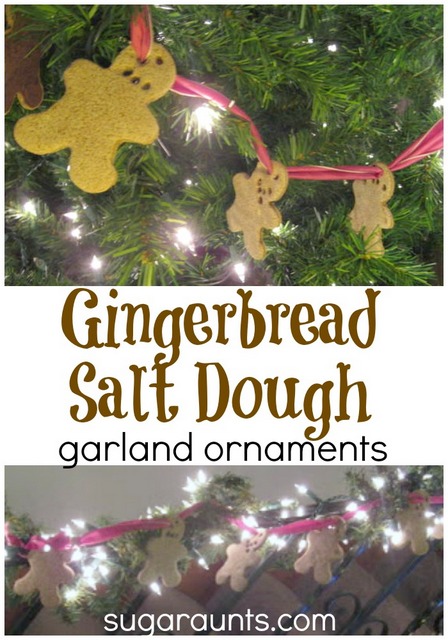
Little Guy looooved using a straw to poke holes to hang the gingerbread men. A few of them have a couple of extra holes…
It does look pretty fun, doesn’t it 🙂
All ready to go into the oven…
I baked them on 300 for 3 hours. The house smelled AMAZING!
We strung it on pretty ribbon and hung in the tree. I love our little many-holed Gingerbread man garland!
We tried the garland strung along our banister where our stockings are, too (no fireplace in our house!)
Big Sister gave it her seal of approval…”That looks very awesome, Mom!”
This was a fun multi-sensory Christmas Play activity for all ages. I, for one, loved the cinnamon-ey smell in the house all day!
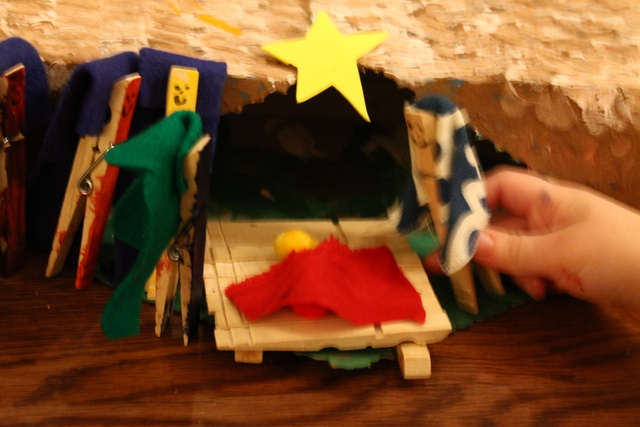
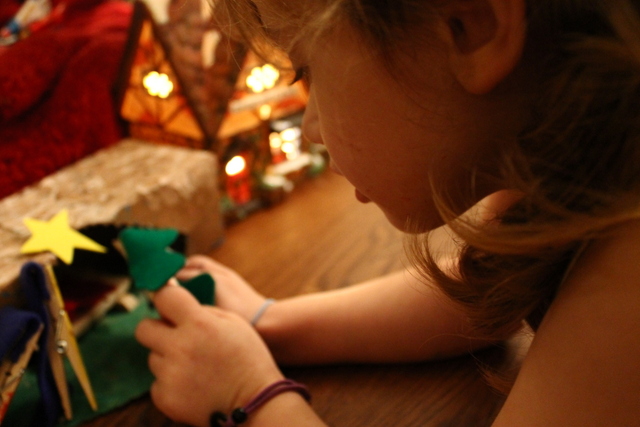
This homemade Nativity Set is entirely kid-make, and uses things you probably already have around the house. We love this Nativity for it’s creativity inspiring craft, and imagination play that is sure to follow. This would be a great group craft too-for a Sunday School class. Make this DIY Nativity now and play all Christmas season!
With my 19 month old, anything under the Christmas tree is in danger of being broken. I wanted my 4 year old daughter to be able to play with a Nativity Set, but not have to worry about it getting broken by her brother. We decided to make a project out of this…here is the result:
To make a DIY recycled Nativity Set with your kids:
This cute little Nativity Set was made out of an empty cardboard box that my daughter painted green and brown with a little white on top to make the roof look textured like straw. We gathered some clothes pins covered with cloth and felt to make Mary, Joseph, and the Three Wise Men.
She did all the painting herself! She was so happy with the way it turned out and I think she did a pretty awesome job 🙂
We cut out a foam star to glue on the top, then we let the box dry for a few days.
For the people, she painted the clothes pins and gave them cute little faces.
Who couldn’t love this cute little face?
Mary was clothed in some scrap fabric that I collected at a fabric store. You know the little squares they have samples of? I have a TON that I have collected just for little projects like this.
Baby Jesus’ cradle was more of a raft, but that is ok! I am so impressed with all the creativity my little girl had when making this.
I was listening to my daughter as she was playing and heard her say “Jophes, I think we should call him Jesus”. Guess we need to work on the pronunciation of Joseph with her,lol!
Mary and Joseph did a little dance on the roof while Baby Jesus was sleeping.
We had so much fun working on this together and now we have a cute little Nativity Set that is easy to pack up (put all of the pieces into the box) and keep out of the way. But…if someone decides to trample under the tree and break everything in sight…this is something we could easily make again!