This craft idea for toddlers is an old one on the blog! Many years ago, we made a suncatcher craft using simple items found around the home, and it was a hit with our 2 and 3 year-olds. Creating a suncatcher craft is a wonderful art project for 2-year-olds that engages their creativity and fine motor skills. This art and craft activity is specifically designed for the little ones, allowing them to explore their imagination and create beautiful decorations for their windows.
Let’s have fun during toddlerhood with this glitter suncatcher craft!
Craft for 2 year olds
Using simple items found around the home, such as contact paper, glitter glue in a squeeze bottle, and buttons, this craft for 2-year-olds is both fun and educational.
I have seen many suncatchers on the web and I always say we need to make one of those. The suncatchers always look so pretty in the window. I figured they had to be fun to make also. Well what better time than today to try making one. I think I was more excited to start than the kids because they didn’t really know what we were going to do. Even the most classic of activities to a young kids is brand new. I love seeing them get excited about a “new to us” project. I hope you all can get excited too, even if you have made one before.
Materials for a suncatcher craft with toddlers:
- contact paper
- buttons
- glitter
- glitter glue
- marker
- plate
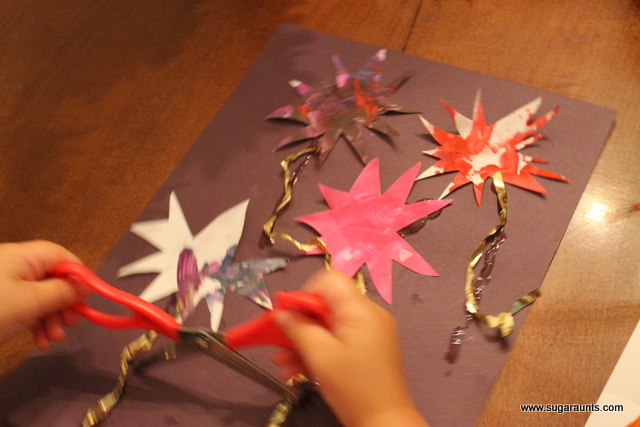
- scissors
- tape
- ribbon
- hot glue gun and tray
How to make a simple suncatcher craft:
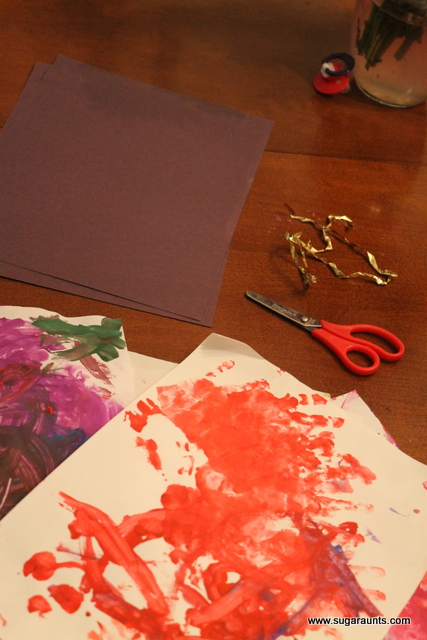
- I took a piece of contact paper and folded it in half. You could also cut out various shapes.
- Then I took a plastic plate and traced it with a marker.
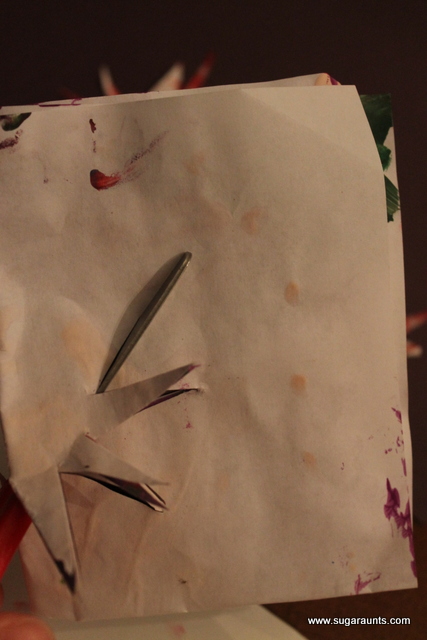
- I then cut almost the whole circle out.
- I took this and taped half down to a tray.
- I peeled up the paper to leave the sticky side up for us to add glitter and the buttons. Children can choose their favorite glitter glue colors and carefully squeeze them onto the sticky side of the contact paper, creating vibrant designs and patterns.
- Next, they can place colorful buttons (or any items found around the home) on top of the glue, adding an extra touch of creativity.
- Once we had everything on it we wanted, I took the top half of the contact paper and peeled that paper back and folded it over the bottom half.
- Now both pieces folded over each other holding in the buttons and glue.
- I then took a hole punch and made a hole at the top.
- I took ribbon I had cut and pulled it through the hole.
- I used a glue gun and glued the ribbon over itself to use to hang the suncatchers up.
Why make arts and crafts with 2 year olds?
This craft not only introduces toddlers and preschoolers to the joy of art but also enhances their fine motor skills and provides drawing ideas for 2-year-olds.
There are many reasons why making crafts with young children is beneficial.
Child development- Making crafts with 2-year-olds is essential for their overall child development. Engaging in art and craft activities at this age allows children to explore their creativity, express themselves, and develop various skills that are crucial for their growth.
Fine motor skills- Using craft materials supports development by manipulating novel items and tools while achieving fine motor milestones. They are building coordination, strength, and dexterity to manipulate and handle materials such as scissors, glue, buttons, and paintbrushes. These activities promote hand-eye coordination, improve their grip strength, and enhance their ability to control and coordinate their small hand movements.
Sensory experience- Toddler crafts are a great opportunity to experience textures, messy play, and movement! They get to feel different textures, explore various colors, and engage in hands-on activities that stimulate their senses. This sensory play aids in their cognitive development and helps them understand the world around them.
Self-expression and imagination- Crafts allows 2-year-olds to make choices, make decisions, and communicate their thoughts and ideas through their creations. This process helps foster their creativity, boosts their self-confidence, and encourages problem-solving skills as they experiment and find solutions. Crafts are a great tool to build self-confidence through play as a way to practice language, movements, and understanding how their bodies and the world around them works.
Language development- When 2 and 3 year-olds make crafts, parents and caregivers can engage in conversations, ask open-ended questions, and introduce new vocabulary related to the materials, colors, and shapes being used. This interaction enhances their communication skills and expands their language abilities. Read about receptive language as a resource.
Social skills- Making crafts with toddlers provides social interaction, and an opportunity for developing social skills. It provides an opportunity for children to collaborate, share, and engage in cooperative play with others. They learn to take turns, negotiate, and work together, thus developing their social skills and empathy.
There are so many ways that making crafts with 2 years olds helps to create a nurturing and stimulating environment that supports their overall growth and lays a foundation for their future learning and creativity!
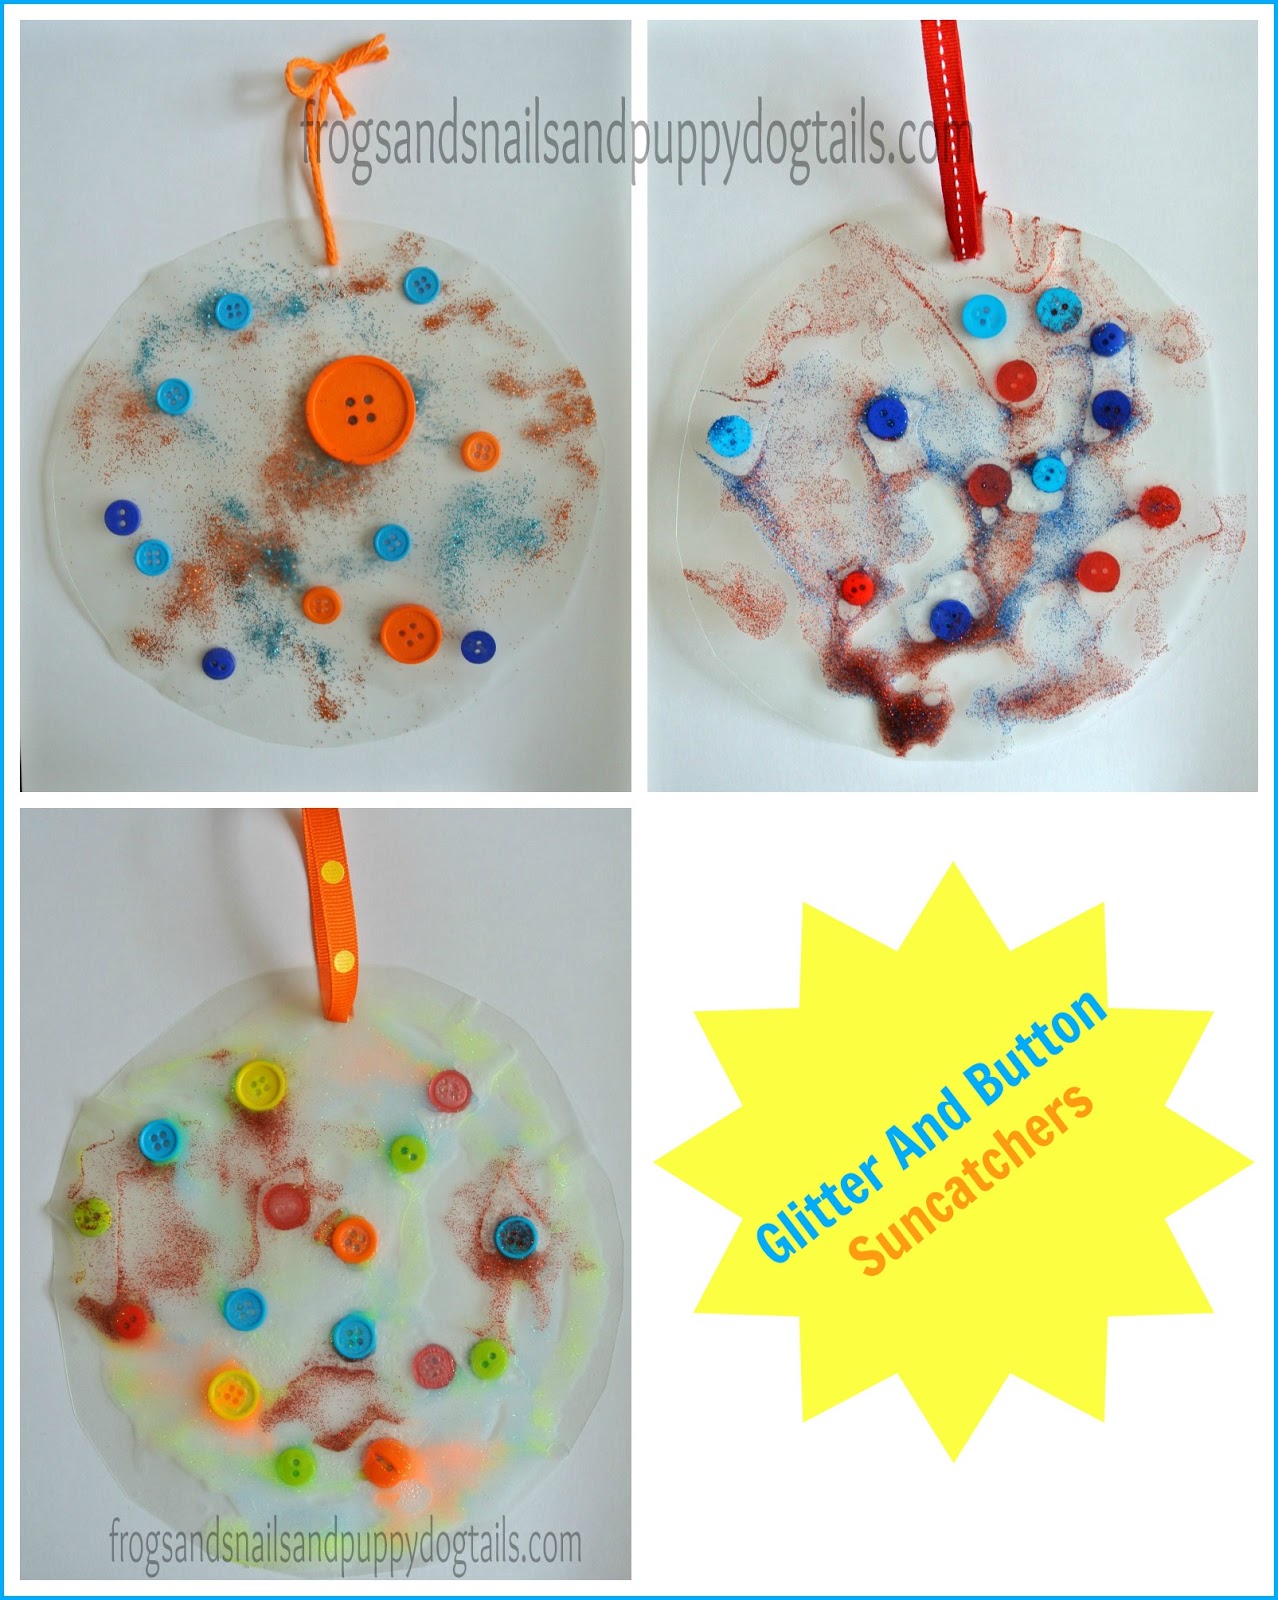
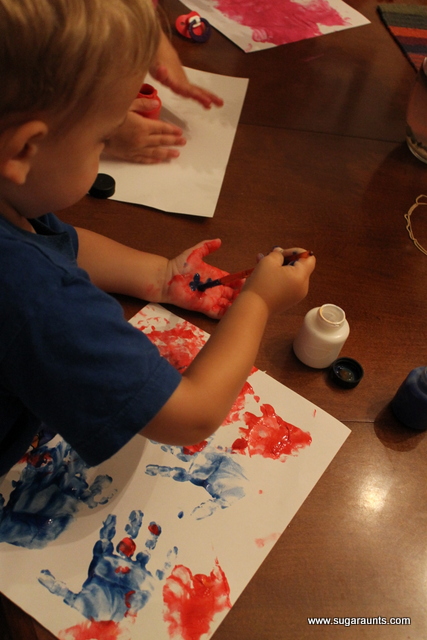
This was our first time making a suncatcher. The boys and I really enjoyed it!
Big brother used buttons and dry glitter. Little Brother used glitter glue and buttons. I may should have let the glitter glue dry before closing up. I am always learning something new.
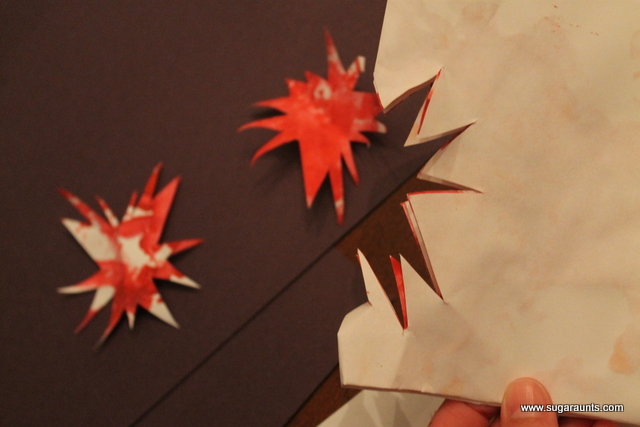
Even tough we didn’t let it dry I think they still turned out great. The kids had fun and are happy to look at them on the window. Now if we could only get a little sunshine over here!
Making these suncatchers was a great rainy day activity for us. We look forward to making more in new ways in the future.
All kids are different and only you can decide how you let your kids play. And with what materials you let them play with. My children are supervised when
playing. Please keep this in mind with any post you read of mine!
I am an everyday stay at home mom. I have 3 boys ages 4yr to baby. I love to find fun activities, crafts, recipes…. for us to do together. I then enjoy sharing them with other in hopes they may find something for their family to enjoy too. My blog Frogs and Snails and Puppy Dog Tail.