Colleen Beck, OTR/L is a pediatric occupational therapist and the owner and author of The OT Toolbox website. She manages all of The OT Toolbox social media accounts and runs the popular newsletter.
Read about Colleen's experience and career as an occupational therapist, including how The OT Toolbox began on our About The OT Toolbox page: https://www.theottoolbox.com/about-us/
Colleen created The OT Toolbox in 2011 and since then has written thousands of blog posts designed to support therapy providers, educators, parents, counselors, admin, and caregivers in promoting the healthy development of kids.
Check out Colleen's blog posts below:
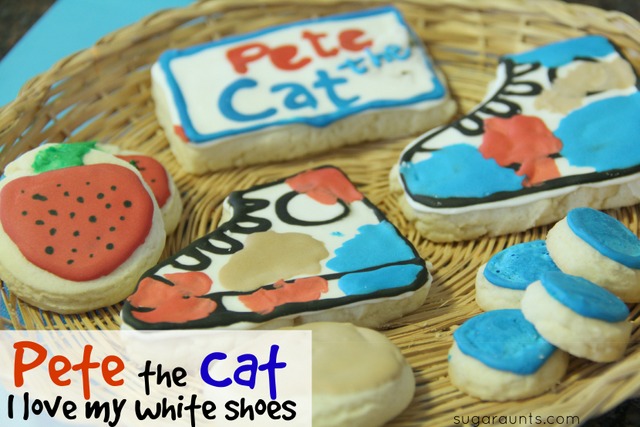
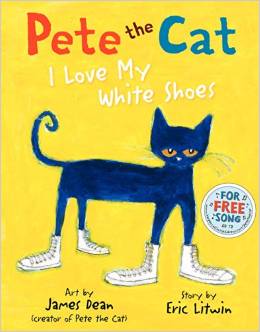
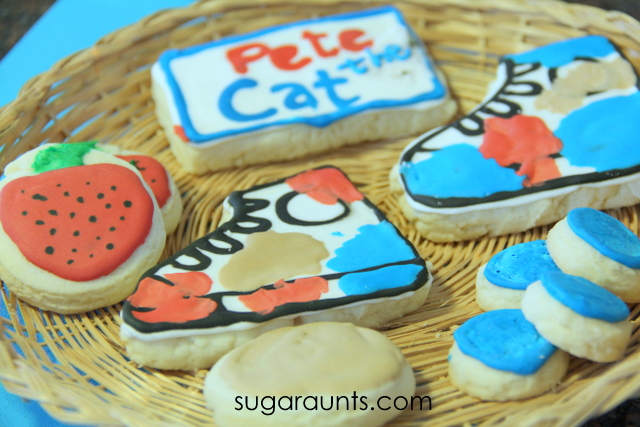
It is so much fun to explore children’s books through crafts and activities. This week in the Preschool Book Club, we’re baking up some sugar cookies to go along with the book, Pete the Cat I love My White Shoes, by Eric Litwin. This was such a FUN (and tasty) way to read and play with one of our favorite books.
But really, we have so many loved books, it’s hard to pick just a few favorites.
We definitely love our sugar cookies so combining Pete the Cat and cookies was a sure win in our house!
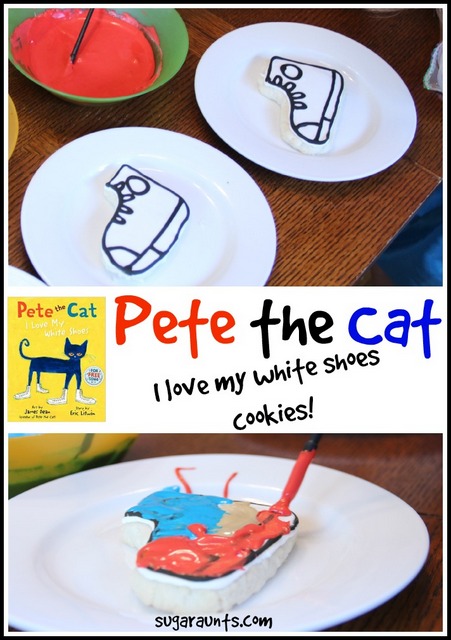
Pete the Cat I love My White Shoes Cookies
This post contains affiliate links.
There’s no cooler cat than Pete. What better way to celebrate this chill dude than a sugar high with the kids. I kid, I kid. All things in moderation. Or as Pete says, “It’s all good”.
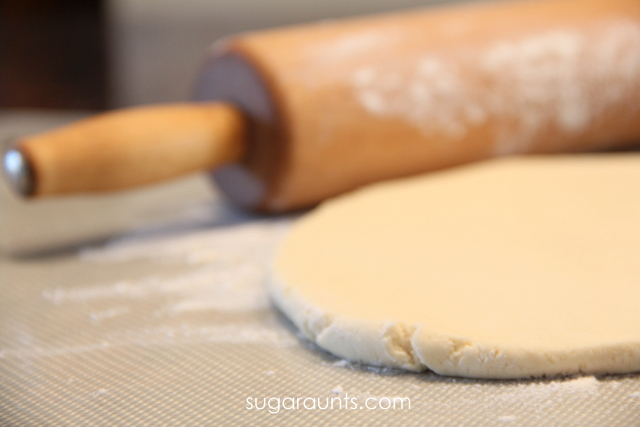
Mix up a batch of your favorite sugar cookies and get ready for some decorating fun with the kids.
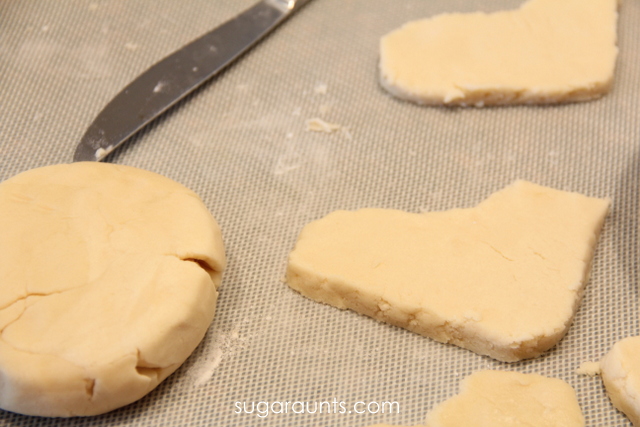
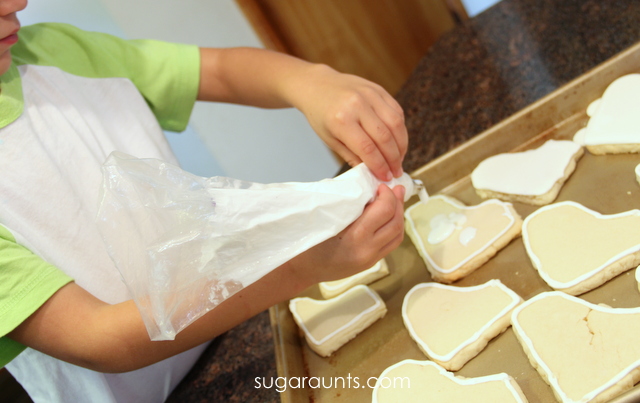
I used a butter knife to cut shoe shapes from dough.
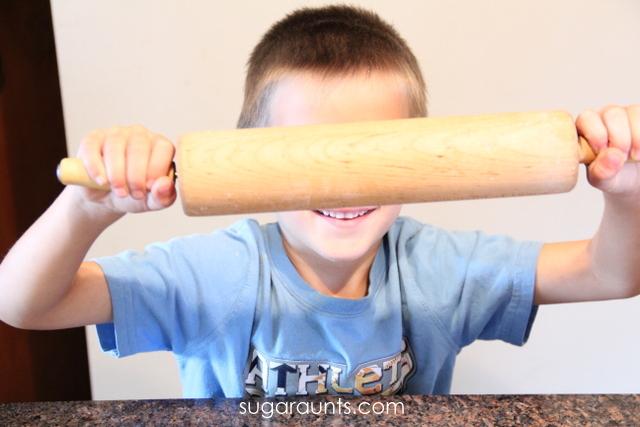
This Little Guy helped.
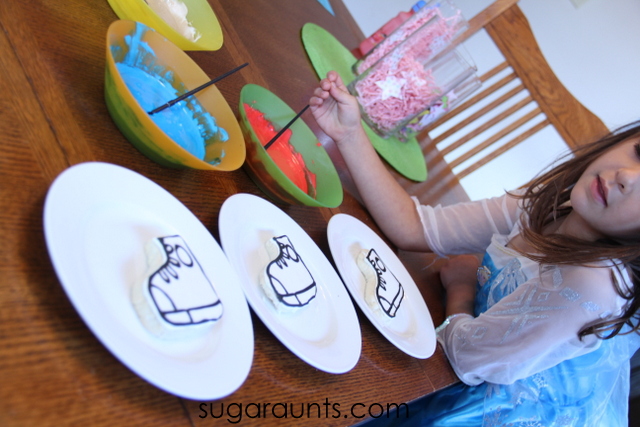
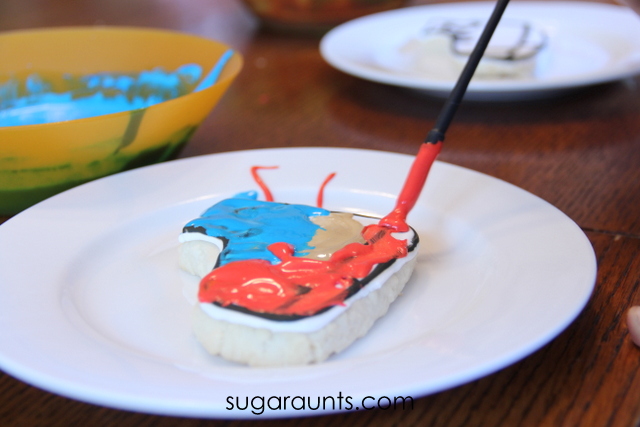
Once baked, the decorating began. With royal icing, you’ll need to let the outline dry for about ten minutes and then fill in with the background color.
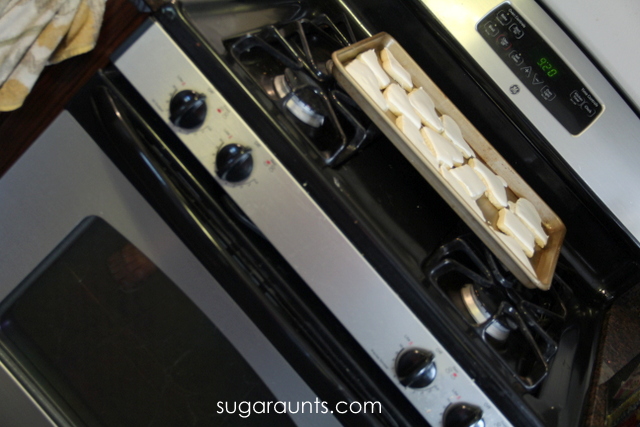
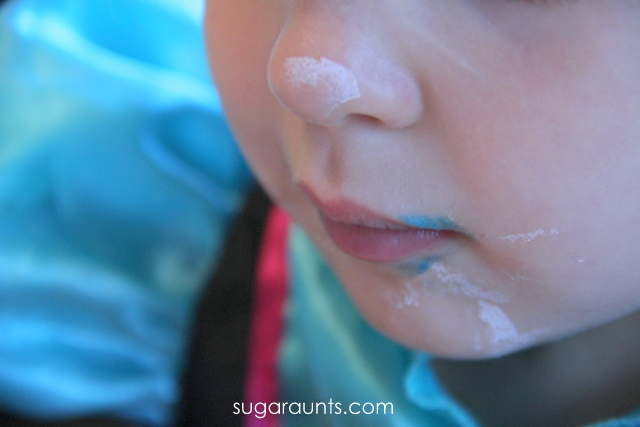
Make sure you put the tray of cookies up so little fingers can’t “taste test” the icing.
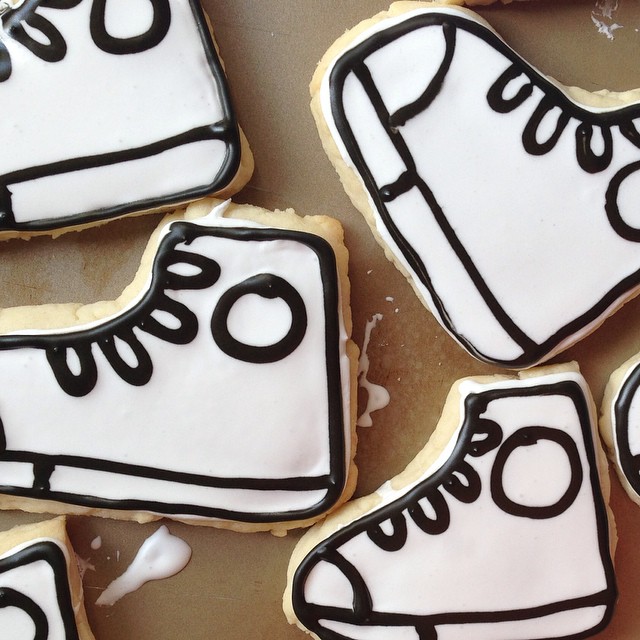
Once filled in, the base color needs to dry overnight. I added the black outline to the shoes at this point so it would be a flat outline, but if you want a raised edge, let the cookies dry before tracing with black.
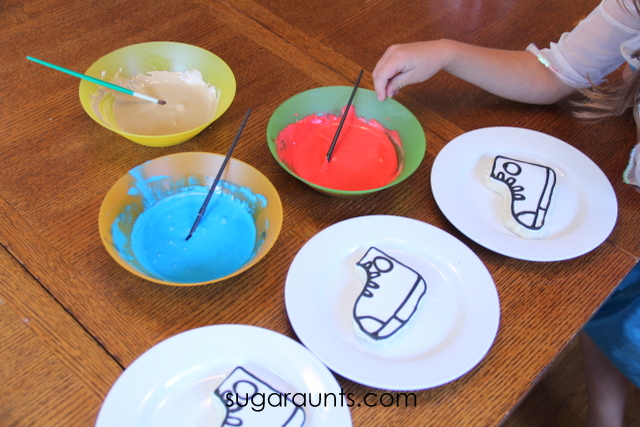
When you’re ready to decorate, mix up a few bowls of colored icing. We always use Wilton gel icing colors because they are so bold and last forever. Mix a little into a bowl of royal icing with a toothpick and stir.
Now the fun begins!
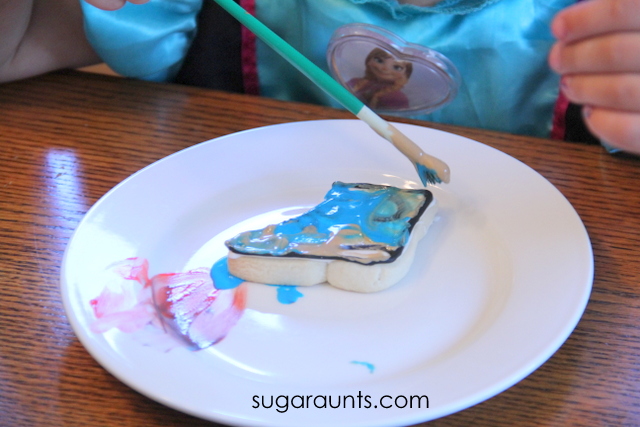
We were lucky enough to have Elsa with us for decorating.
We are STILL on a Frozen kick.
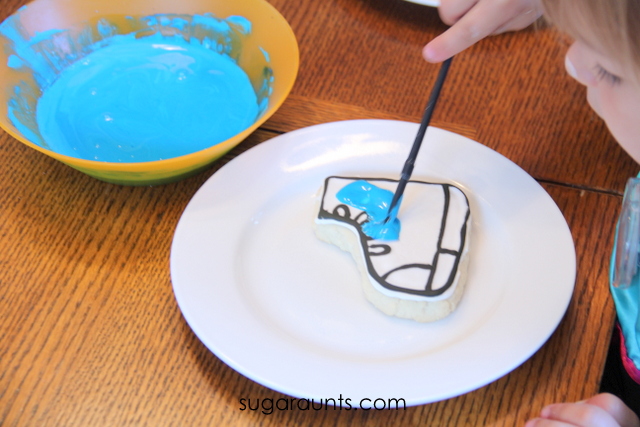
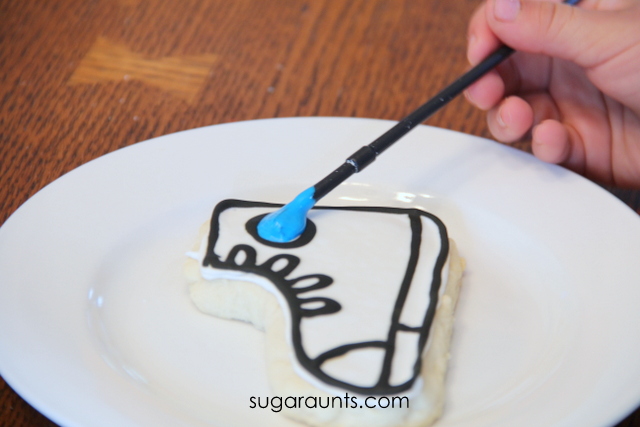
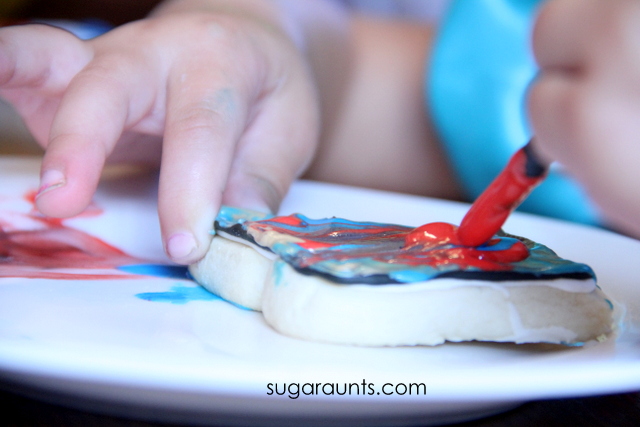
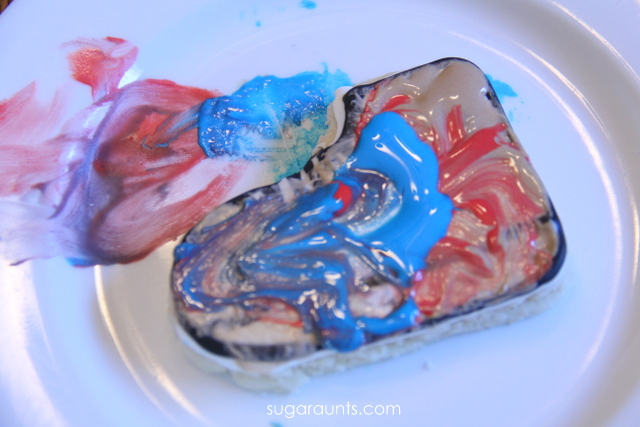
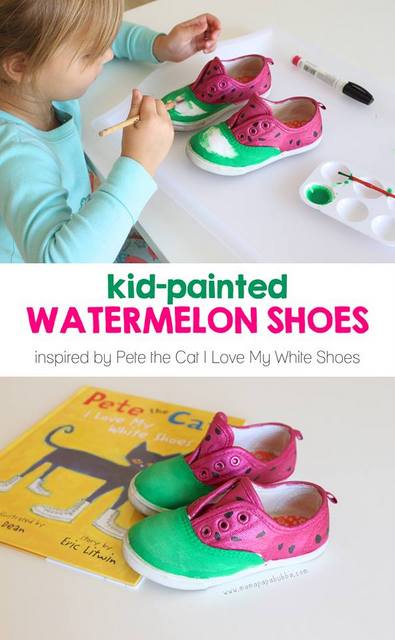
Oh, the concentration! I gave the kids new paint brushes and we painted our shoes!
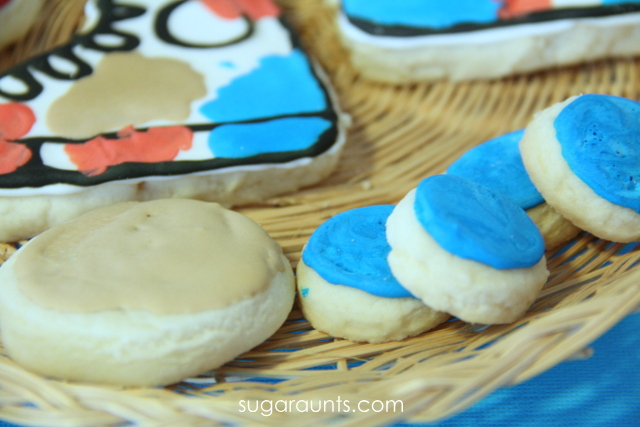
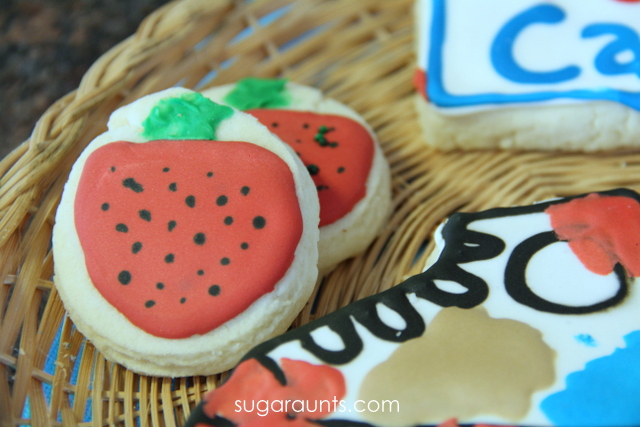
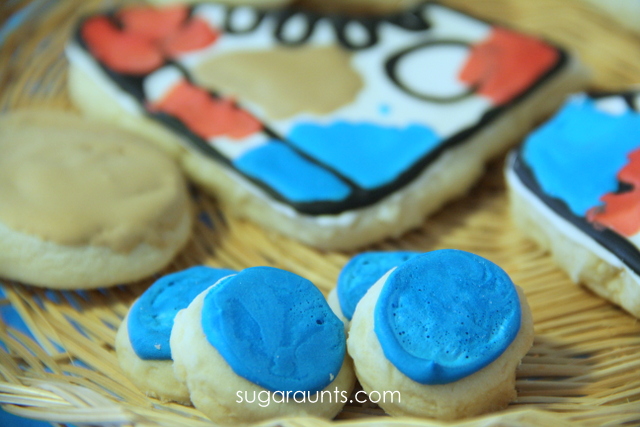
In the book, Pete is wearing his white shoes and walking along. He unfortunately comes upon a big pile of strawberries that he happens to step in. Pete, being the cool cat that he is, doesn’t fret. He goes with it and is pleased with the new shade of his shoes. A similar thing happens when Pete steps into a pile of blueberries and a mud puddle. To go along with Pete’s shoes in the book, we used red, blue, and brown icing.
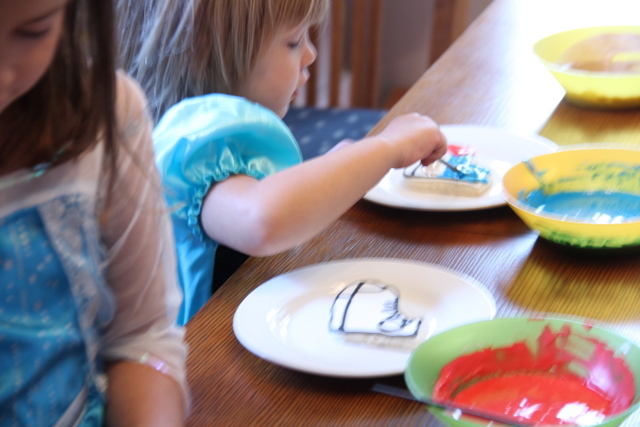
It was pretty neat to see how each of the kids painted their shoes. It really matched their personalities!
{{Elsa’s little sister, Ana joined in the fun, too.}}
When we get a Pete the Cat book, we usually end up reading it so much that we can recite the book. While we painted, we said the lines.
Looking for some Halloween learning, play, crafts, and activities? This ghost craft is a fun one to do with the kids and makes a spooky yet kid-friendly Halloween decoration! Halloween is such a fun time of year for crafts and activities with the kids. Spiders and ghosts can be cute for the kids and not scary at all.
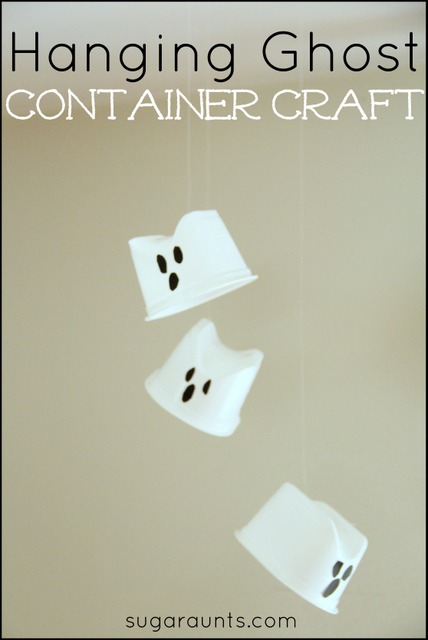
This hanging ghost craft uses something we love to craft with: recycled materials. Make a few of these ghosts and keep them hanging around your house. You’ll love the cuteness of these guys!
Hanging ghost craft for Halloween
This post contains affiliate links.
We started with some clean recycled containers. We used potato chip snack containers but you could use any smallish, white cups.
This craft is so easy to throw together. Cut oval shapes from black construction paper. Use a few dabs of glue to secure them in place for eyes and a mouth. These cute ghosts are done!
We used fishing line to hang the ghosts to the ceiling in our dining room. Just tape one end of the fishing line to the top of the ghost and the other to the ceiling. The kids loved seeing the ghosts hanging from our dining room each meal!
How cute are these friendly ghosts??
You’ll want to check out the other Halloween crafts and activities, perfect for kid-friendly Halloween party activities!
We visit our library at least weekly. Sometimes more. It helps that we live minutes from the building. And that we have a SUPER great library with awesome children’s librarians and programs galore for the kids. And, we just love checking out books. We have our favorites that we always pull from the shelves (Pete the Cat and the Berenstain Bears can almost always be found in our house) and we love checking out new titles, too. SO, our library bag is always overflowing. When we were checking out the links from this week’s Share It Saturday party, we saw a few fun book lists linked up. We had to check them out and share with you! This week is all about books!
Visit the links below for loads of fun, interesting, and unique books to check out this week at the library. Make sure you’ve got an extra large tote bag, because you and the kids are going to be hauling home a bunch of great books!
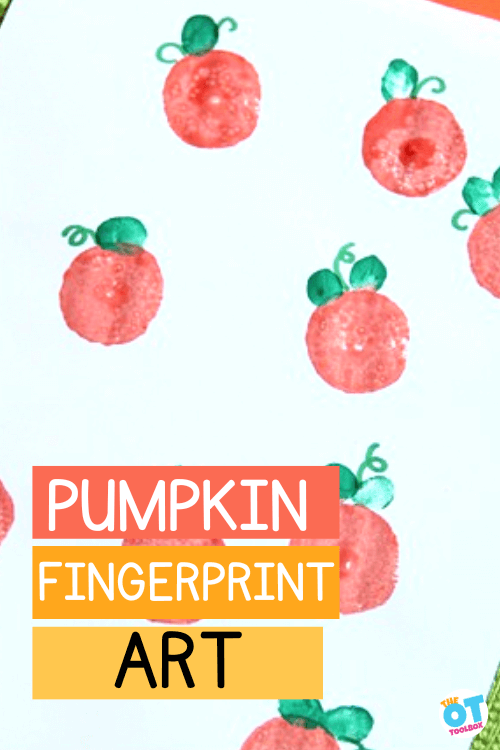
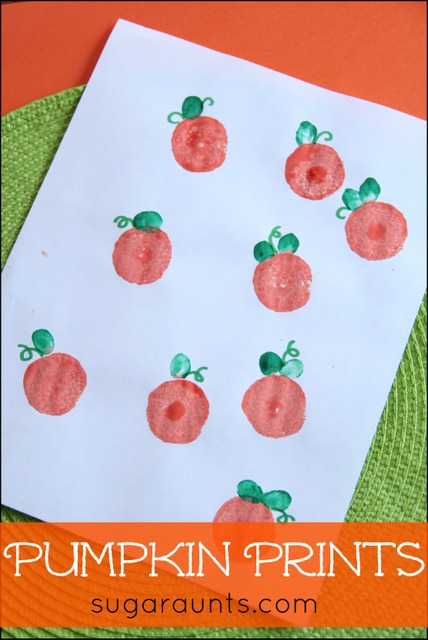
Many years ago (2014 was the original date of this pumpkin thumbprint craft!), we made a Halloween painting with thumbprint pumpkins. We actually included fingers too, and made the pumpkin patch painting with fingerprint pumpkins as well. This Halloween sensory activity was a fine motor powerhouse and one of our favorite Halloween occupational therapy activities. Let’s take a walk in the fingerprint pumpkin patch!
This pumpkin fingerprint craft can be modified for different goal areas.
Thumbprint Pumpkins
If you need a quick and easy Pumpkin activity or craft for the kids this Fall, then this thumbprint craft is a sure winner. We used a fine motor item from a previous post that you would never guess. Get ready for a blast from the past with this Halloween craft for the kids!
Our thumbprint pumpkins are a bit different than many of the thumbprint or fingerprint painting activities you might find this time of year.
While using your finger or thumb to press paint onto paper to make mini pumpkins is a great sensory activity, we wanted to offer pumpkin fingerprint options for the individual that may be tactile sensitive to fingerpaints. Read up on our blog post on tactile defensiveness for more information.
However, you could expand this activity to meet the needs of all individuals.
Let’s explain…
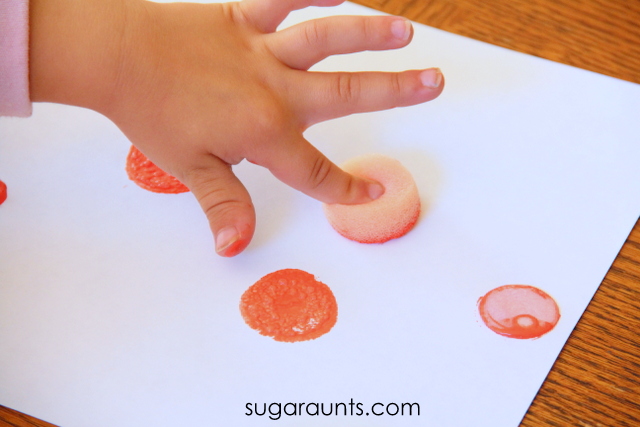
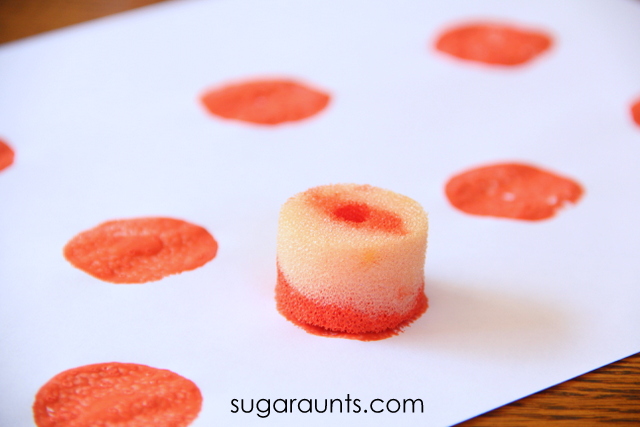
In the activity described below, we used a foam roller to press into paint and then onto the paper. This is a bit different than typical pumpkin fingerprint art. When you press the roller into paint and then onto the paper, you don’t get that messy sensory experience of finger print art.
Another benefit is cutting the foam material which is a scissor skills task, and working on force modulation by pressing down on the foam circle.
Pressing harder makes a bigger pumpkin stamp and pressing with less force makes a smaller pumpkin stamp.
However, there are SO many benefits to the way we used this activity…and you can definitely add the benefits of fingerprint art like we did to add details like the leaves of the pumpkins.
Why do a pumpkin fingerprint craft
Whether you use the modified version of this pumpkin thumbprint/pumpkin fingerprint art, or you press the fingers right into the paint and press them on the paper, there are so many benefits to using fingerprint art in building sensory motor skills.
Finger isolation– Pressing the fingers or thumb to make pumpkin fingerprint art supports finger isolation skills. You can target thumb isolation and mobility of the thumb joint or you can work toward individual finger isolation.
We cover this in more detail in our blog post on fingerprint art.
Separation of the sides of the hand– Separating the precision side of the hand from the power side of the hand supports fine motor work in using tools like scissors or writing with a pencil. With fingerprint art, pressing the fingers to the paper in isolation supports this skill by using the ulnar side of the hand in supporting the radial side of the hand. Fingerprint art where the pinkie and ring fingers are tucked into the palm while the pointer finger or thumb is used to press the paper, is when we see this in action.
Pumpkin Thumprint craft
This post contains affiliate links.
To make our pumpkin thumbprint craft, we needed just a few materials:
Did you use foam rollers back in the day? We practiced scissor skills with these and used them to make our pumpkin stamps this Fall. From curls to pumpkin prints…these rollers have come a long way!
I pulled out our orange paint and let Baby Girl stamp away.
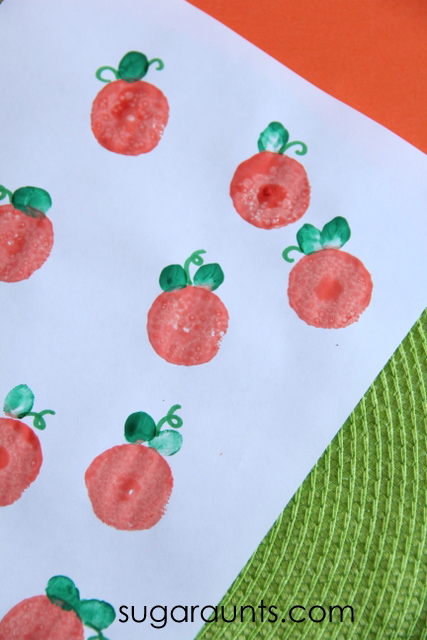
She pressed the foam pieces down on the paper pretty hard. In fact, we weren’t even planning to make pumpkins, rather little circles. Buuuut, pressing pretty hard on these circles make the hole in the center of the roller fill in with paint. Perfect little pumpkins!
To make the leaves, we used green paint to stamp thumbprints. Baby Girl loved doing this part!
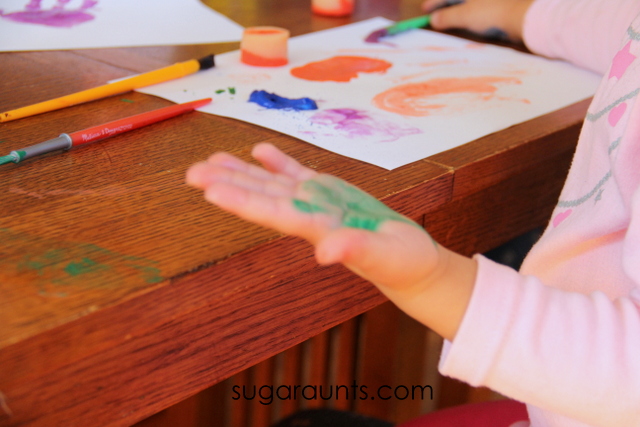
Every painting project evolves into hand painting. Of course.
Looking pretty cute!
I added a few curly ques to each of the pumpkins for vines.
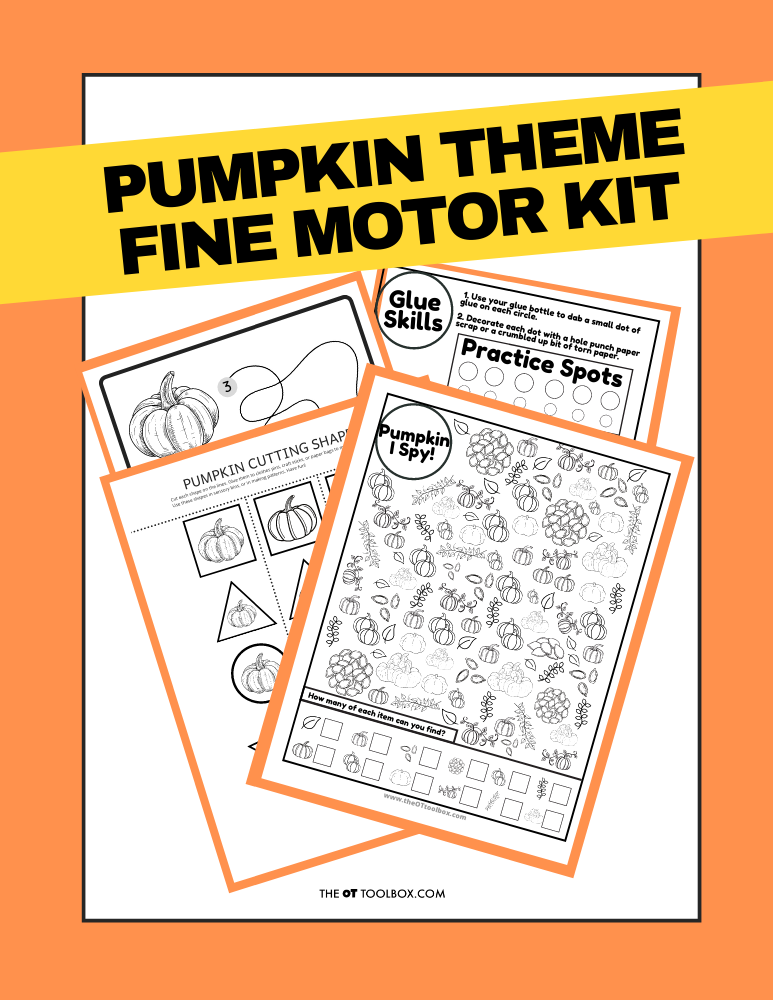
Grab the Pumpkin Fine Motor Kit for more coloring, cutting, and eye-hand coordination activities with a Pumpkin theme! It includes:
7 digital products that can be used any time of year- has a “pumpkins” theme
5 pumpkin scissor skills cutting strips
Pumpkin scissor skills shapes- use in sensory bins, math, sorting, pattern activities
2 pumpkin visual perception mazes with writing activity
Pumpkin “I Spy” sheet – color in the outline shapes to build pencil control and fine motor strength
Pumpkin Lacing cards – print, color, and hole punch to build bilateral coordination skills
2 Pumpkin theme handwriting pages – single and double rule bold lined paper for handwriting practice
Work on underlying fine motor and visual motor integration skills so you can help students excel in handwriting, learning, and motor skill development.
Colleen Beck, OTR/L has been an occupational therapist since 2000, working in school-based, hand therapy, outpatient peds, EI, and SNF. Colleen created The OT Toolbox to inspire therapists, teachers, and parents with easy and fun tools to help children thrive. Read her story about going from an OT making $3/hour (after paying for kids’ childcare) to a full-time OT resource creator for millions of readers. Want to collaborate? Send an email to contact@theottoolbox.com.
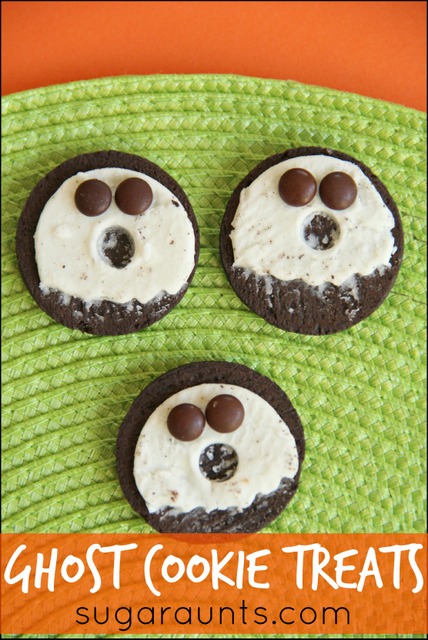
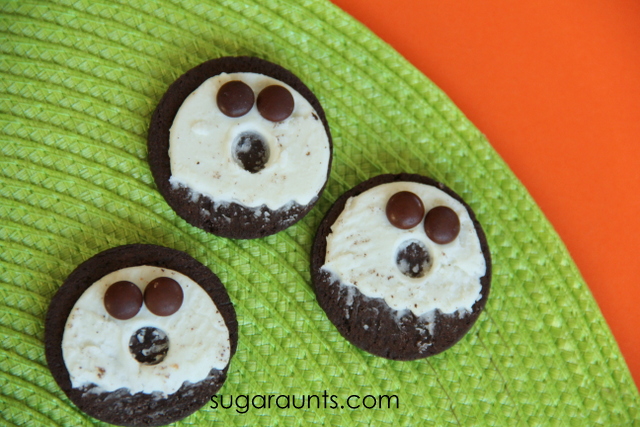
Need a quick and easy kid-friendly Halloween treat? These Oreo ghost cookie ghost snacks will fit the bill for preschool parties, school-aged parties, or a play date. Any Halloween party would be a little sweeter with these easy ghost cookies!
Ghost Cookie Halloween Treats
This post contains affiliate links.
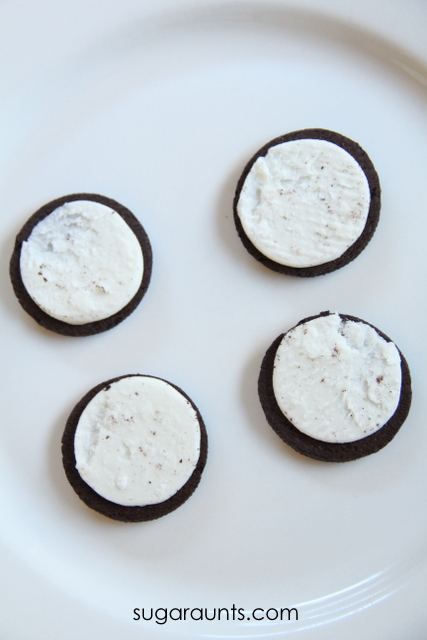
I started with a package of Oreo cookies. Twist the tops off. Eat them.
Of course.
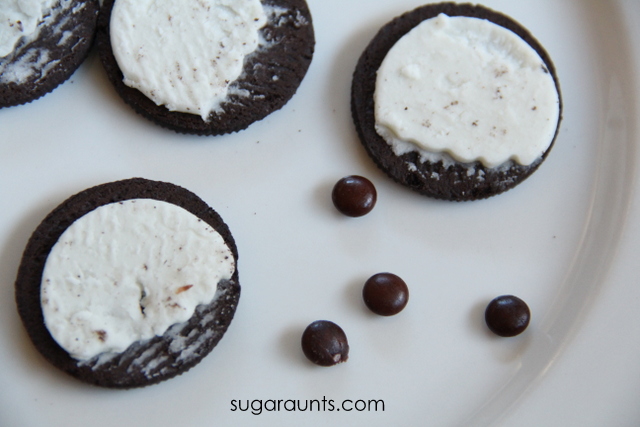
Grab a handful of M&MS minis. Sort out the brown ones. Eat the rest.
I mean, mom needs a little sugar too. To keep up with the kids. Right??!
Next is the fun part: Assembling the ghost cuties. I used a vegetable slicer to make a wavy bottom to the ghosts. Press the vegie slicer onto the white cookie cream and curve it a bit. Scrape the cookie cream off of the black cookie.
Eat it.
Notice a theme?
Press the m&ms onto the ghost faces. I only slightly pressed the candies and they stayed in place. If you are going to be transporting these cookies to a party, you might want to use a bit of icing to keep them in place. Use a large straw to press out a mouth from the cookies. Your ghosts are done!
Let us know if you make these cookies for a fun Halloween event.
Oh, how we love to plan birthday parties with fun themes for the cousins. There is a special little lady turning three soon, who is all about Princesses, sparkles, and glitter. This Princess Party was perfect for Baby Girl. From tiaras to pink rock candy, this party is perfect for princesses of all ages!
This post is sponsored by Betty Crocker. All opinions are our own.
Pretty Pink Princess Party ideas:
We were thrilled when we were asked to try out Betty Crocker’s online birthday party resource. There are so many themes to choose from with all of the details set for you. From cake ingredients to decorations, invitations and thank you notes, everything is planned out.
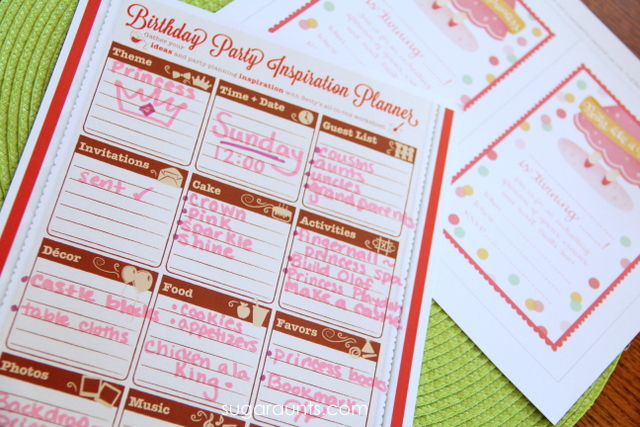
Once we picked our Princess theme, it was time to start on the details. This is the part I love. Planning all of the cute little extras makes this mama happy. I love to plan out decorations, food, and favors that match up with our party theme. The Betty Crocker party planner makes it easy to keep yourself organized and on task.
Guest list, oh yes. That is an important part. Invites going out a week before the party? Yep, that happens 😉
Princess Party Decor:
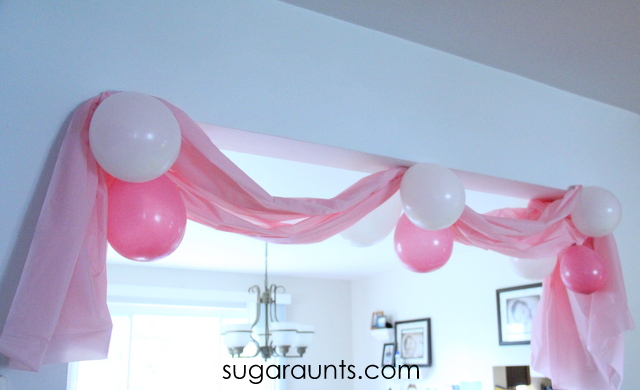
We decorated the house with banners and balloons. We used a dollar store table cloth to make big puffy decorations. Pink + Puffy= Princess. Obviously.
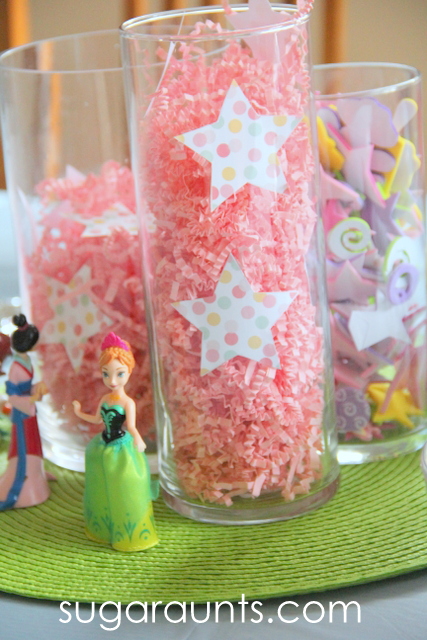
A few simple vases with pink shredded paper and princess party decor details to bring a little bit of enchantment to our centerpieces.
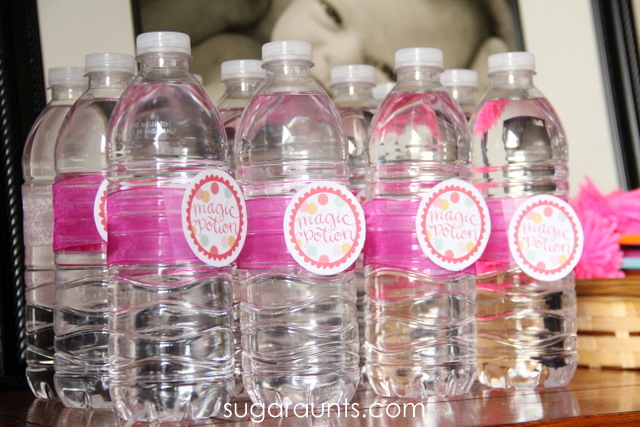
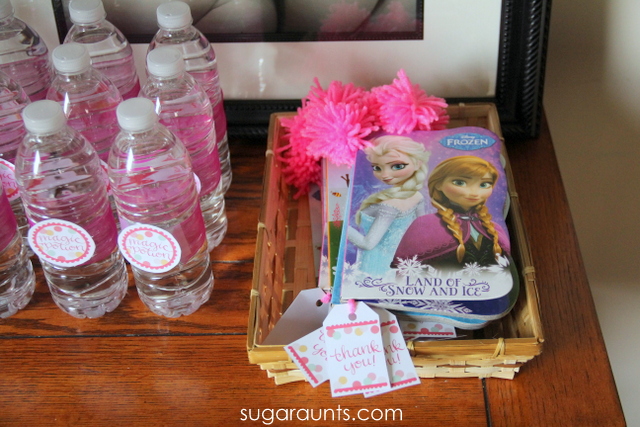
Every princess needs to quench her thirst with magic potion.
Princess Party Cake:
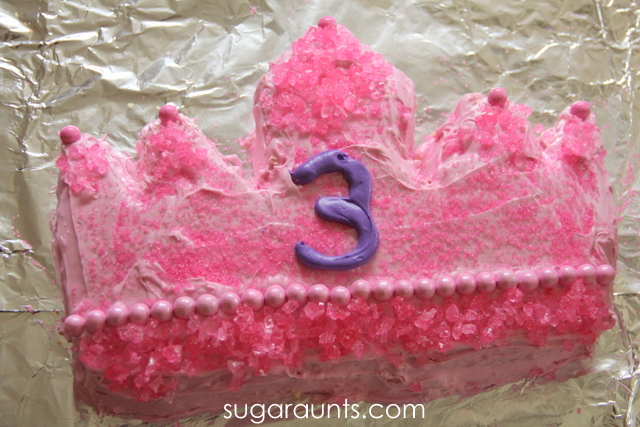
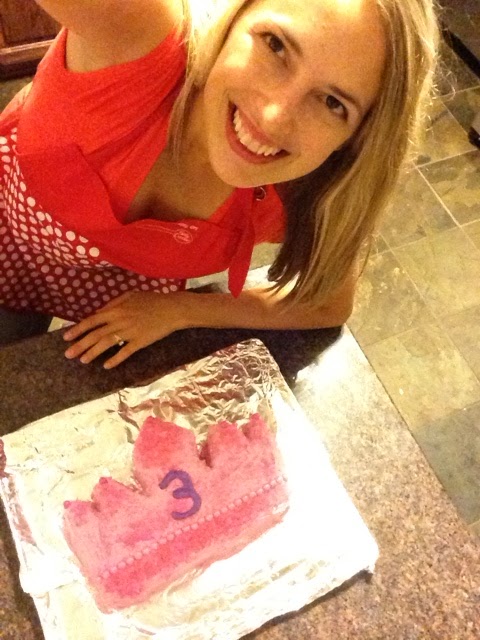
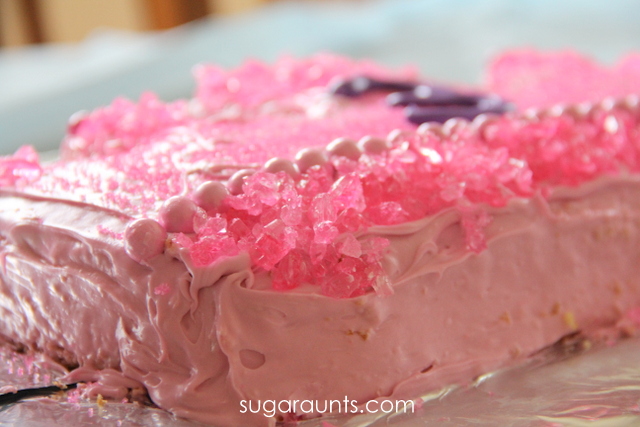
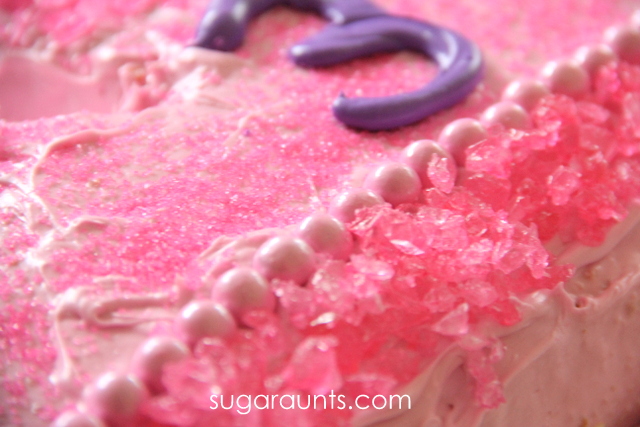
Oh, this cake was so much fun to make! Baby Girl loved all of the sparkle, and shine that we had going on here. I used the directions to make Betty Crocker’s easy crown cake to put this cake together.
Late night cake making antics can be found on our Instagram feed.
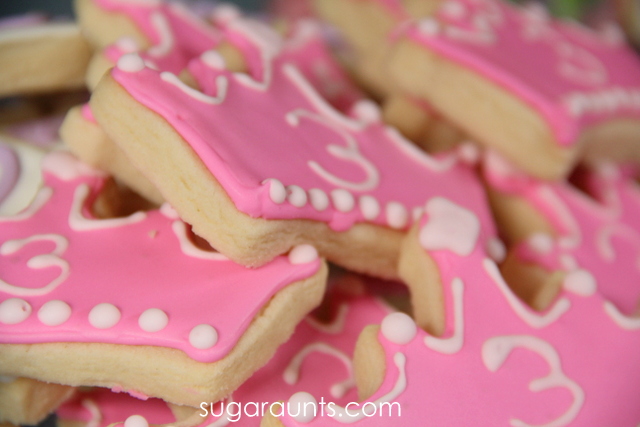
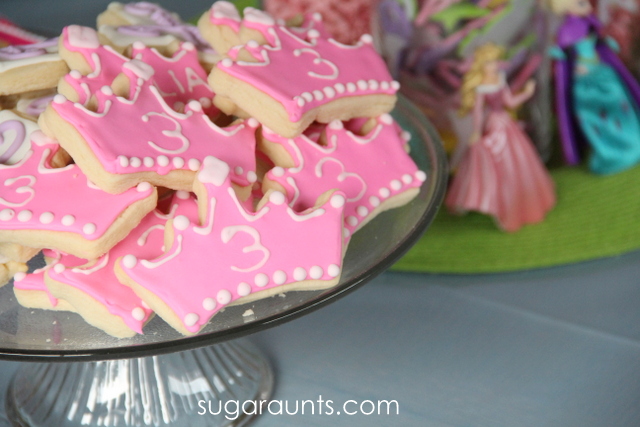
Pretty pink princess details.
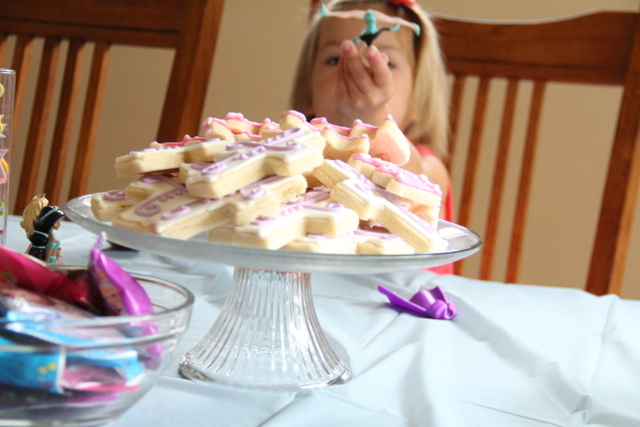
I used neon food colors to make perfectly pink princess sugar cookies.
Princess Party Favors:
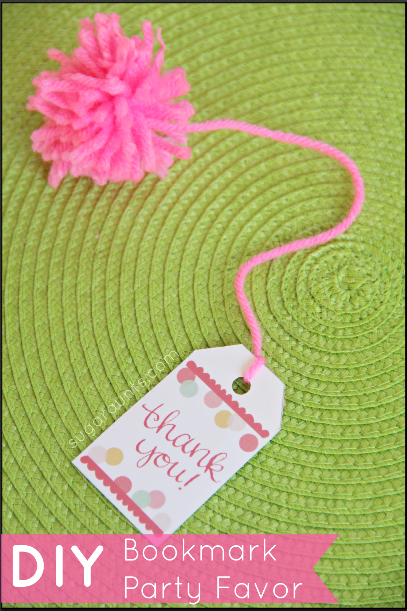
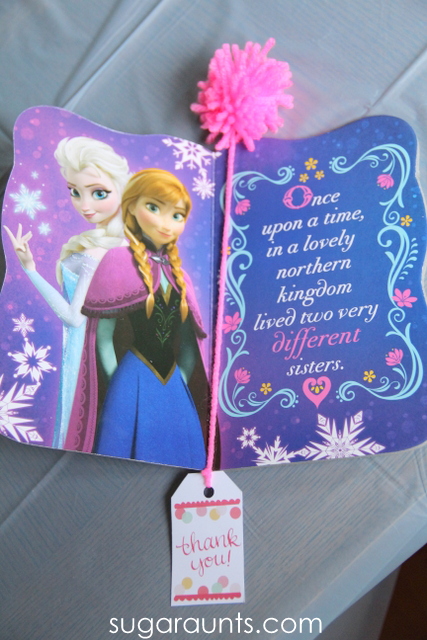
When I saw these Princess Party favor tags I knew we would use them to make a great thank you favor. Our little Princess loves books so a bookmark for all of her guests was the perfect way to say “Thanks”.
To make our DIY bookmarks, I used pink yarn to make pom poms. Wind the yarn around your fingers and tie in the center. Snip the loops of the yarn into a puff. Tie to a long strand of yarn. Tie the other end to the favor tag. Easy DIY bookmarks for all guests are done!
A book from the dollar bin made great easy (and cheap) party favors for the guests. The moms and dads loved that this was a non-candy party favor, too.
Princess Party Activity:
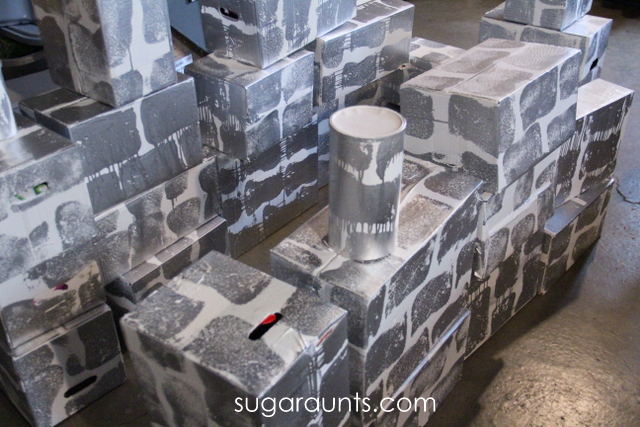
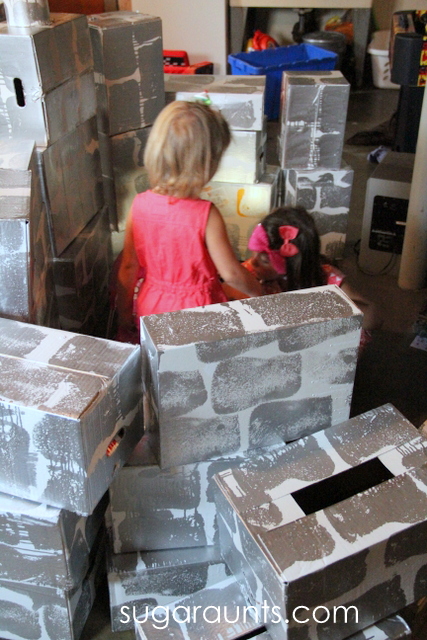
When our crew of family gets together, the cousins go wild playing together. I don’t like to plan a lot of games and activities at our parties, but there are lots of ideas if you need them. I created these open ended castle blocks for the cousins to build and imagine with.
There was lots of castle building and pretend play with these Princesses and Knights.
We had so much fun with our Princess party. Happy Birthday Baby Girl!
Fall is in the air! This time of year, the leaves are turning colors and there’s a crisp and crunchy-ness to everything. If you live in an area that has leaves turning and falling, you know. If you’re more south, you may have to create your own fall inspired leaf art. Either way, these fall tree crafts will entertain! The kids can stamp, print, and paint fall into your home with these four fun fall trees from the Share It Saturday features. Check them out, and be sure to share your creations with us on our Facebook page. We would love to see them!
We love using math concepts that are learned in school into playful activities at home. Learning through play is a great way to strengthen concepts learned in the classroom. We used apples to count, add, and learn one day, all in the great outdoors!
Apple math activity for Kindergartners and Preschoolers
This post contains affiliate links. If a purchase is made through these links, we receive a small percentage in payment at no cost to you.
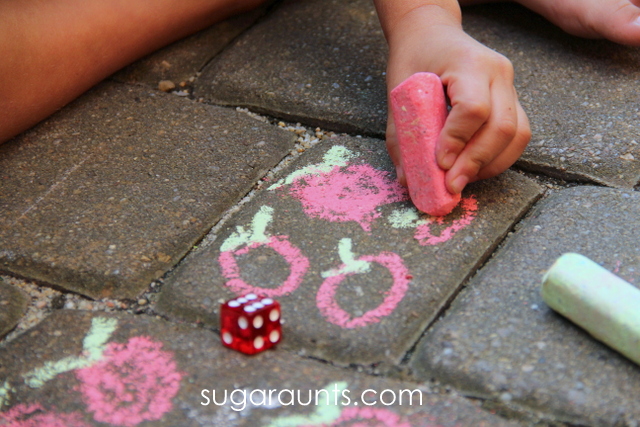
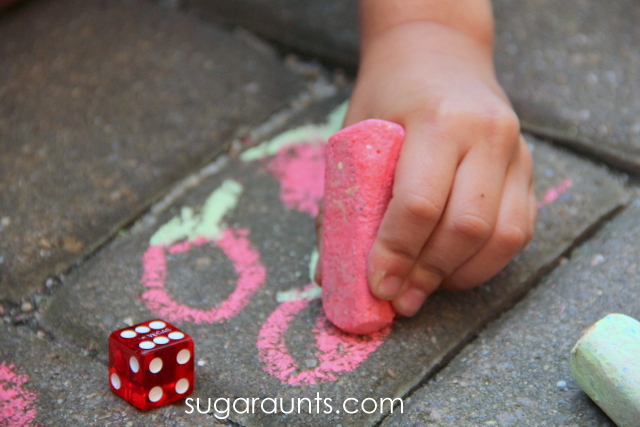
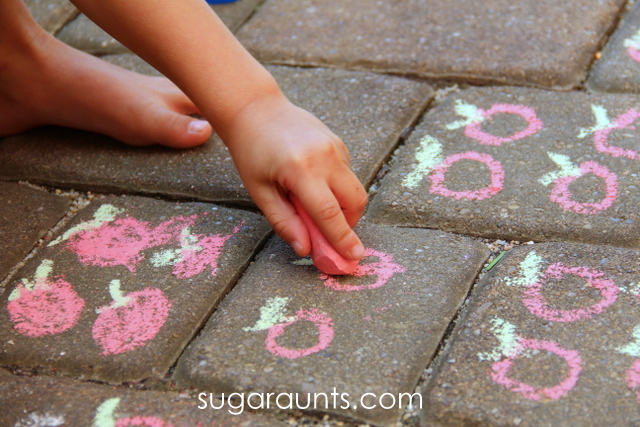
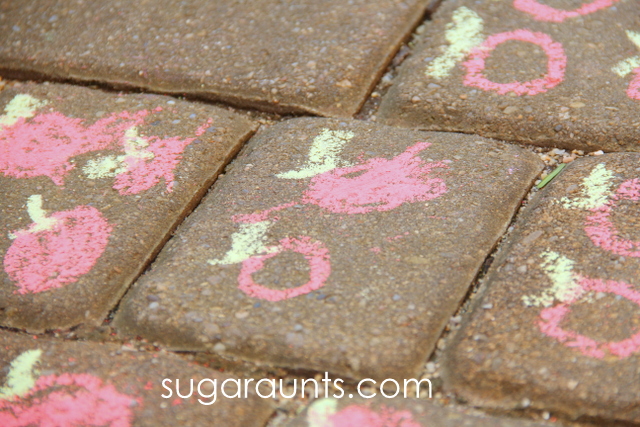
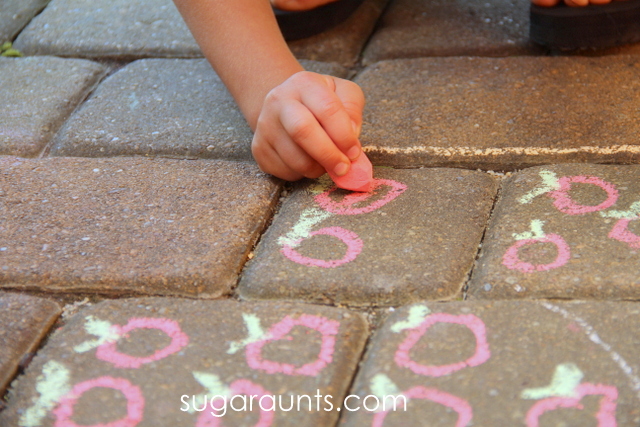
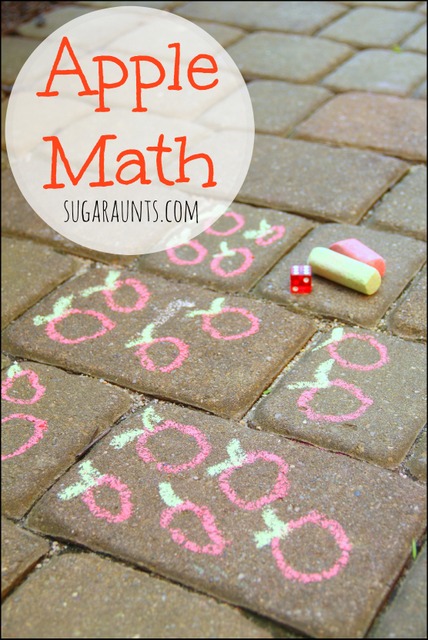
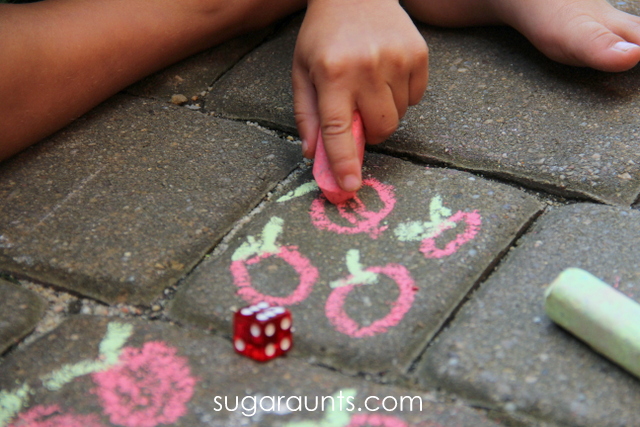
We used Sidewalk Chalk and a dice for this activity. I took the kids outside to the sidewalk one afternoon and drew a bunch of apple shapes. We were ready to play.
Note–you could also draw any shape for this activity: pumpkins, smiley faces, geometric shapes, simple houses…any thing would work.
To play the game, I had the kids roll the dice. They had to count the dots on the dice, or simply look at the dots to determine how many dots there were. Big Sister did a lot of dice activities last year in Kindergarten so she was able to glance at the dice and know how many dots there were. Little Guy counted the dots. This is a great early math skill for preschool aged kids.
Once they counted the dots on the dice, I had them color in the same number of apples to correspond to the number of dots.
We used the squares of our sidewalk to wok on Kindergarten math concepts that Big Sister learned towards the end of her school year. Some of the squares had two apples drawn on them, and others had four or more.
This was a great opportunity to review addition.
She added the apples to make the total match the number of dots on the dice.
Little Guy counted along with Big Sister to count the total number of apples filled in.
Coloring in the apples with the chalk requires use of the small muscles of the hand. The sidewalk surface is resistive and the area they colored in was small. This required precision to stay in the lines. Not to mention, coloring in all of those apples really strengthened the hands!
This was such a fun way to review old math areas for the new first grader and introduce new math concepts to the preschooler. Like this math activity? Try a few of these ideas:
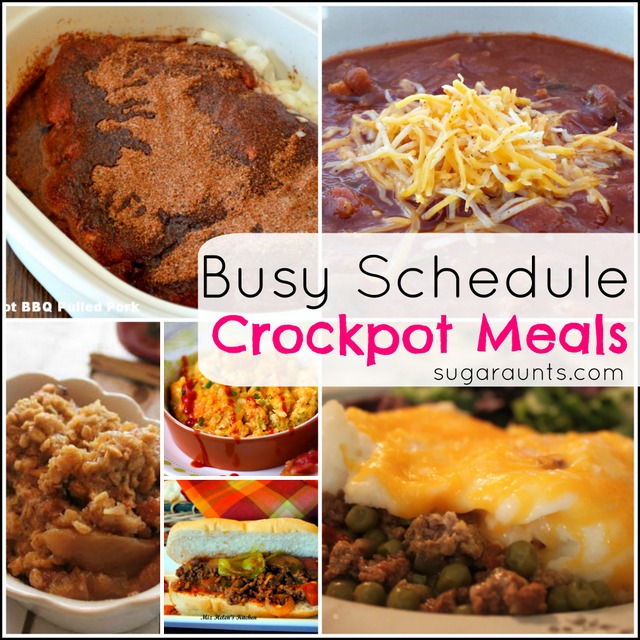
This time of year, it’s about schedules. School schedules, evening activities, weekend family time, homework, and busyness! We pulled together a few must-make recipes from The Wonderful Wednesday blog hop that all use the slow cooker! Crock pot cooking is the way to go this time of year when the weather cools and comfort food sounds so good. Pull out these ingredients in the morning before the kids get up, throw dinner together in the crock pot and go about your day. Dinner is done!





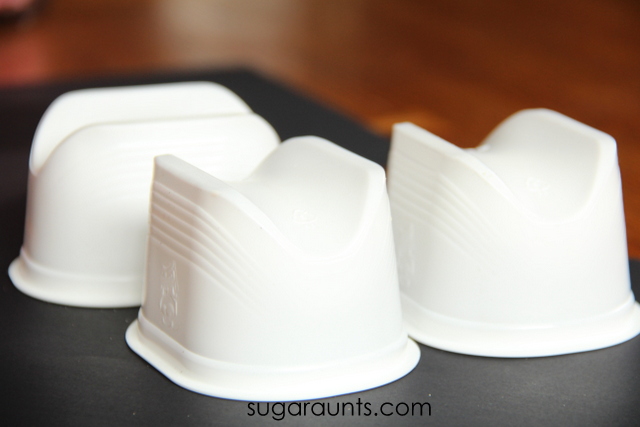
 containers but you could use any smallish, white cups.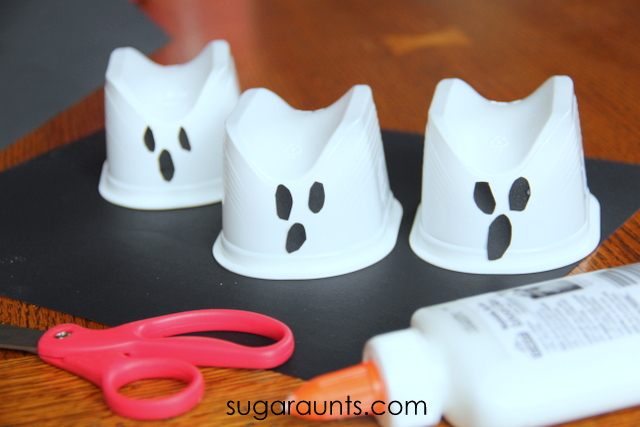
 . Use a few dabs of
  to secure them in place for eyes and a mouth. These cute ghosts are done!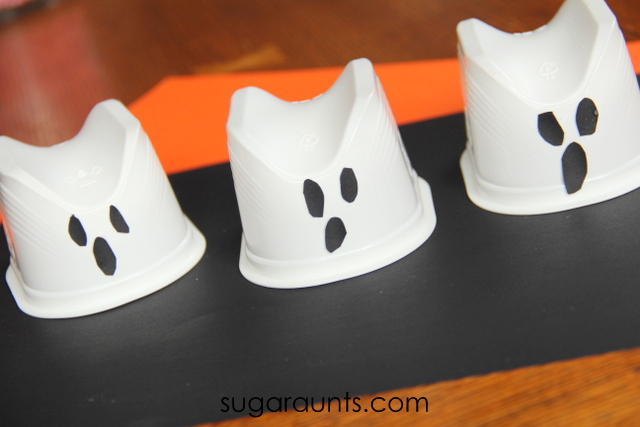
 to hang the ghosts to the ceiling in our dining room. Just tape one end of the fishing line to the top of the ghost and the other to the ceiling. The kids loved seeing the ghosts hanging from our dining room each meal!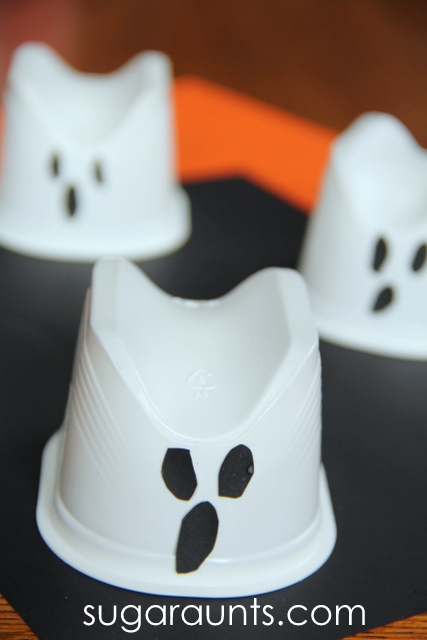




 and let Baby Girl stamp away.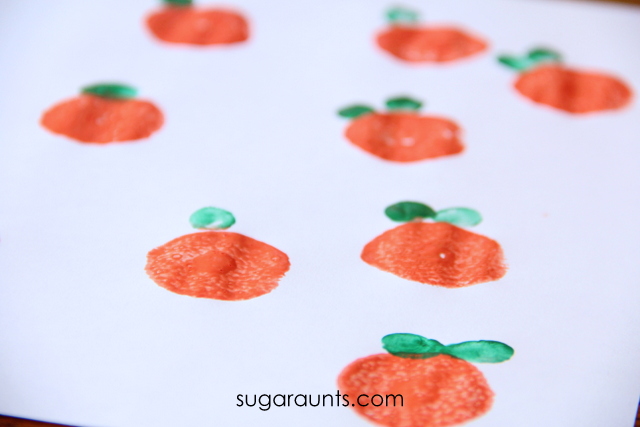


 . Sort out the brown ones. Eat the rest.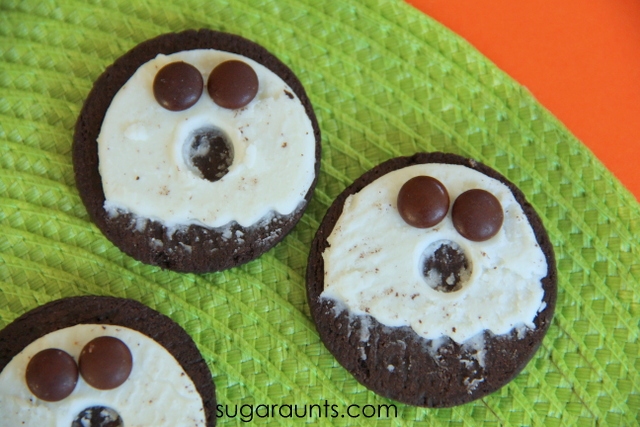
 to keep them in place. Use a large straw to press out a mouth from the cookies. Your ghosts are done!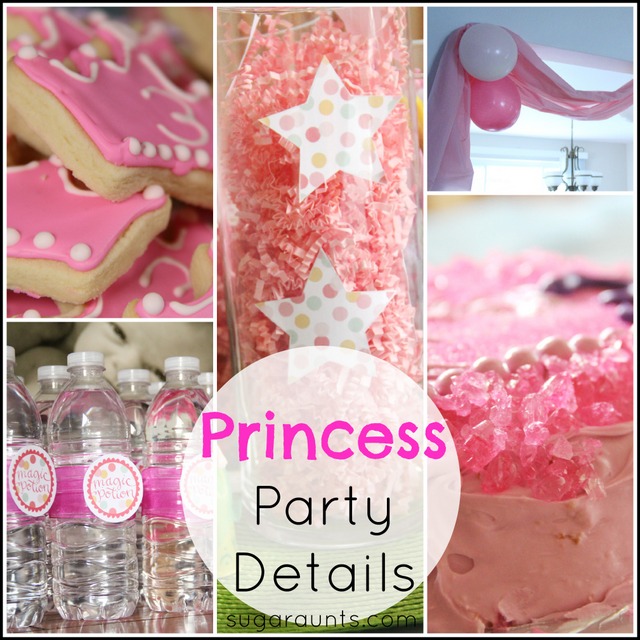







 and a
and a for this activity. I took the kids outside to the sidewalk one afternoon and drew a bunch of apple shapes. We were ready to play.