Colleen Beck, OTR/L is a pediatric occupational therapist and the owner and author of The OT Toolbox website. She manages all of The OT Toolbox social media accounts and runs the popular newsletter.
Read about Colleen's experience and career as an occupational therapist, including how The OT Toolbox began on our About The OT Toolbox page: https://www.theottoolbox.com/about-us/
Colleen created The OT Toolbox in 2011 and since then has written thousands of blog posts designed to support therapy providers, educators, parents, counselors, admin, and caregivers in promoting the healthy development of kids.
Check out Colleen's blog posts below:
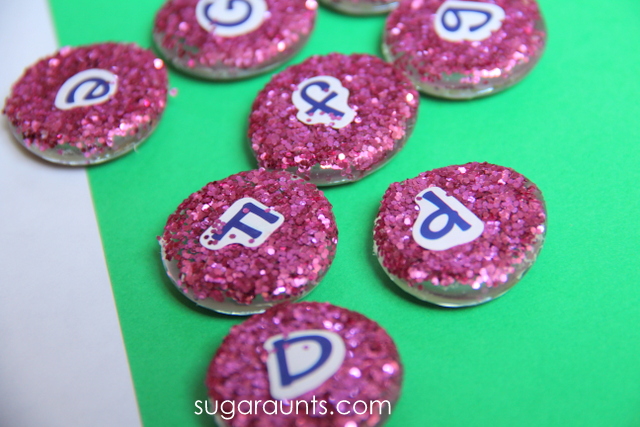
These DIY letter manipulatives were very easy to make. The kids and I have been playing with these letters for a few weeks now. We love playing with learning elements and we’ve done a lot of letter identification activities. This one was fun to make and for playing!
Letter Manipulatives
Letter manipulatives are a hands-on tool for supporting letter identification in young kids. This is a great preschool activity that can be used as a pre-writing activity. Helping kids to identify letters with alphabet manipulatives supports early literacy skills.
Alphabet manipulatives like the ones we made below are fun for helping kids to match uppercase and lower case letters, too.
They can be used in handwriting tasks or as a writing prompt while working on letter formation.
This letter learning activity was a lot like our DIY color glass gems. They are so much fun for sorting, patterning, play on the DIY light box. We used a similar manner to make these glitter letters. These large glass gems are great for play and learning. We’ve written letters and shapes on them, and painted them, created art with them.
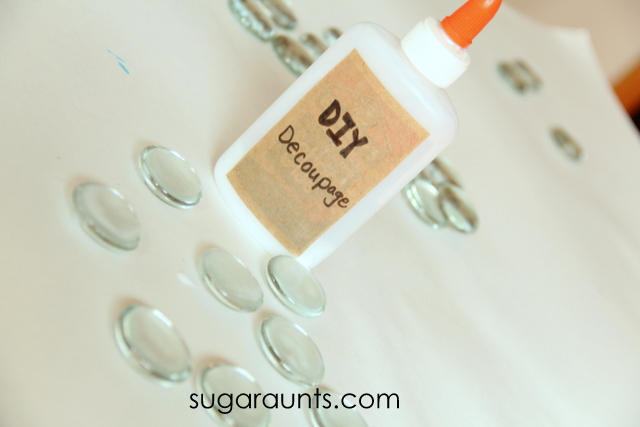
If you haven’t made your own DIY decoupage, this is one thing you need to try. We use this stuff all the time.
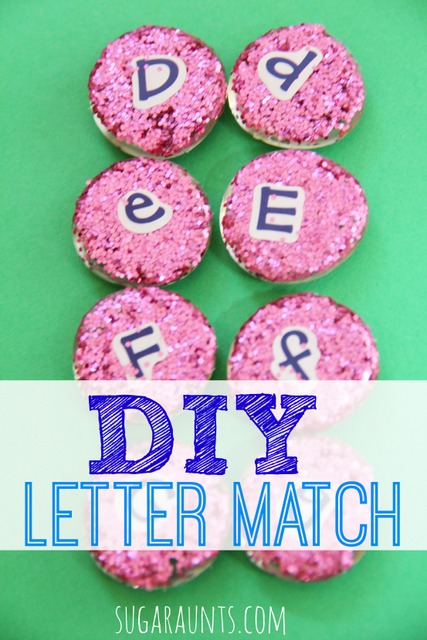
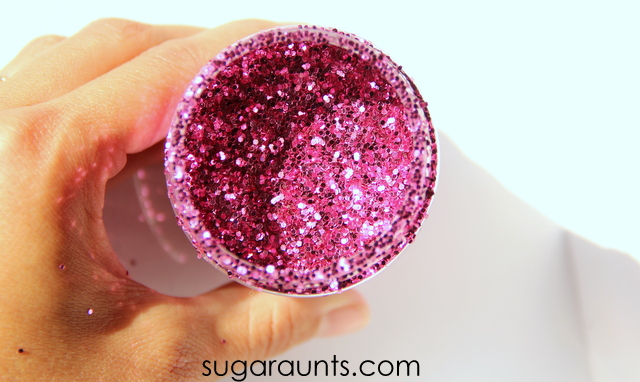
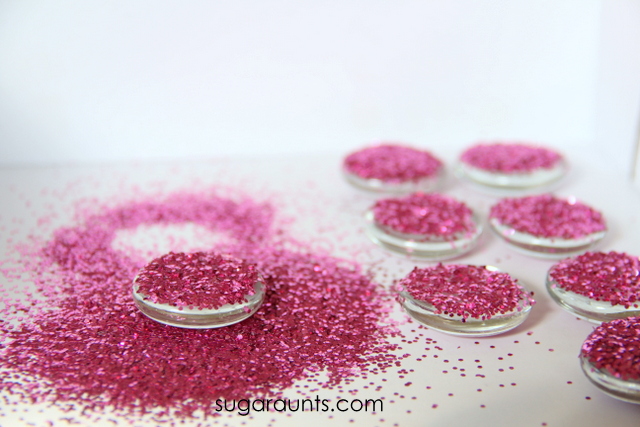
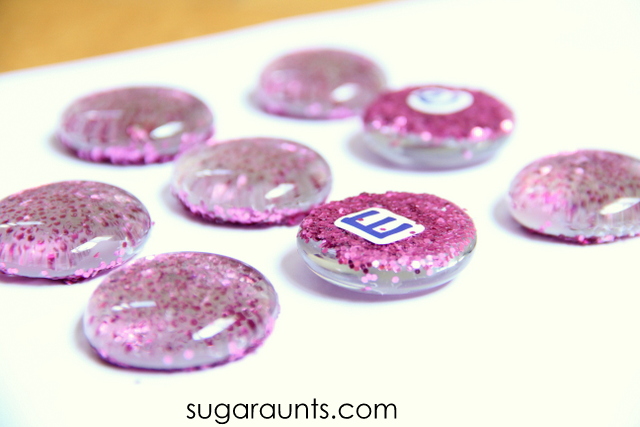
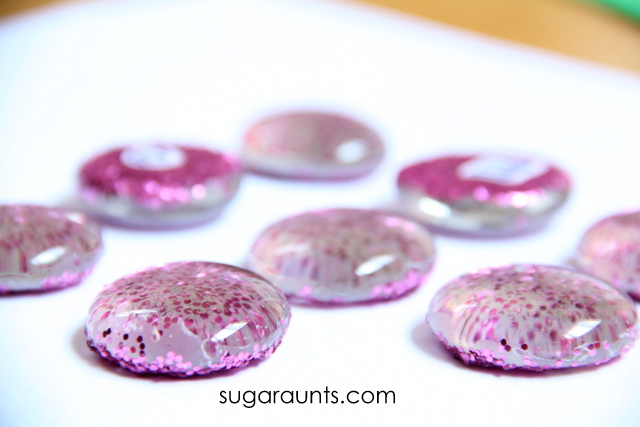
Paint the flat side of the glass gems with decoupage. Cover with glitter.
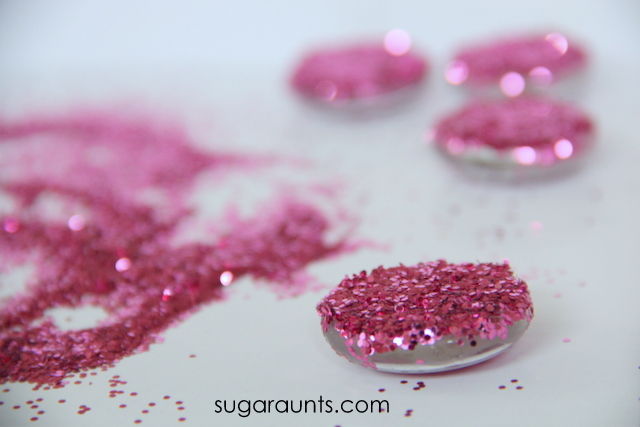
Shake off the excess glitter. Coat with another layer of decoupage.
Stick on letter stickers and cover with another thin coat of decoupage.
Let those beauties dry.
When the letters were dry, we played letter memory, sounded out the sounds of the letters, and matched the letters. This is a great way to play and learn letter identification, letter sounds, pre-reading, visual scanning skills, and more.
We haven’t tried putting the letter manipulatives on the light table yet, but I think they will look great!
Work on letter formation, letter identification and handwriting skills with our Fine Motor Letter Kit! Perfect for hands-on letter learning.
Colleen Beck, OTR/L has been an occupational therapist since 2000, working in school-based, hand therapy, outpatient peds, EI, and SNF. Colleen created The OT Toolbox to inspire therapists, teachers, and parents with easy and fun tools to help children thrive. Read her story about going from an OT making $3/hour (after paying for kids’ childcare) to a full-time OT resource creator for millions of readers. Want to collaborate? Send an email to contact@theottoolbox.com.
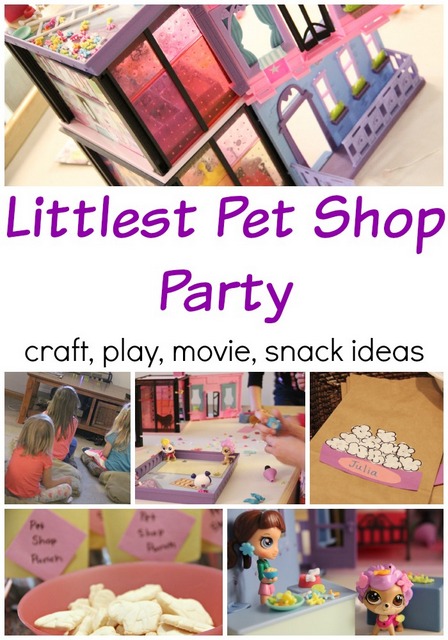
My daughter (age 7) is a HUGE planner. She loves to create, plan play ideas, write lists, plan parties, and organize. My favorite scenario that she pretends and plans is her pet shop/beauty shop/school/day care. (Really, that sounds like a genius operation!)
When we had the opportunity to plan a Littlest Pet Shop Party for a few of her friends, I was very excited to tell her about the fun we would be having. We got busy planning and she grabbed her pen and started making lists for party planning. The invite list, the food, the activities…this is her kind of fun! (And lets be honest, her mom’s too. We love our parties!)
Littlest Pet Shop Party Ideas
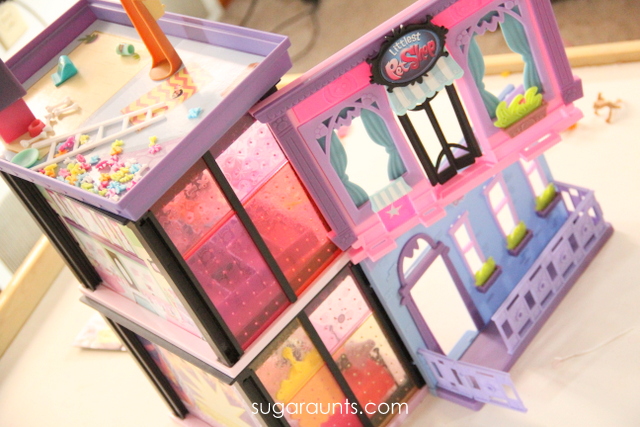
I love that Big Sister can be who she wants to be with her ideas. This party was such a fun way to expand on some of her interests with friends. The Littlest Pet Shop empowers fans to Be Who They Want to Be, so this was a perfect fit for her big ideas! From creating their own cities to customizing style sets and figures, the Littlest Pet Shop fans can create, decorate, and glamorize as they like. With over 100 pets, there is a lot of fun and imagination to be had! The city skyline can be arranged horizontally or vertically for unique fun and pretending.
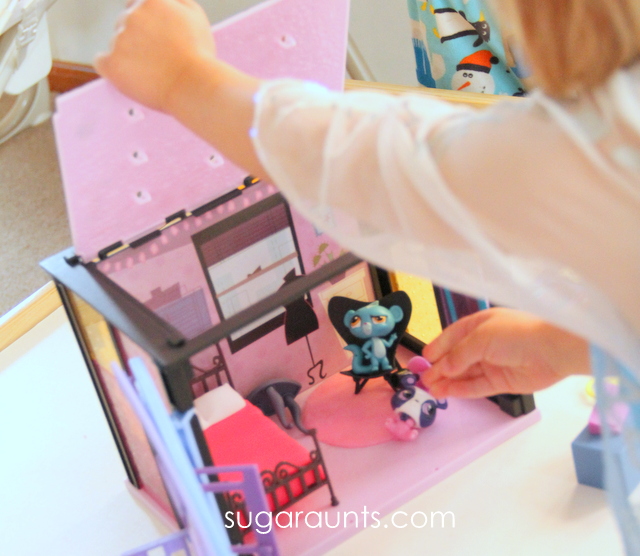
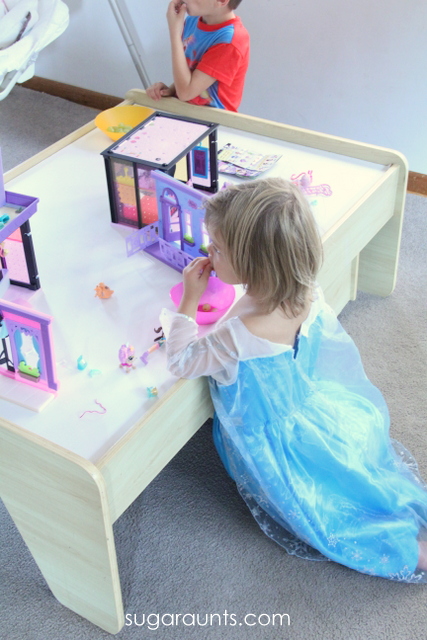
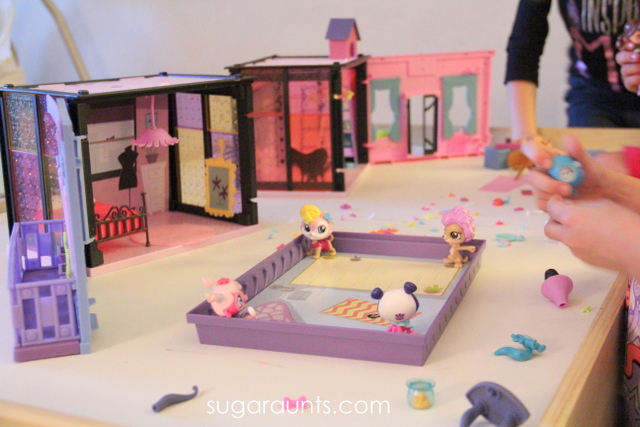
Our Littlest Pet Shop party was so much fun. Big Sister invited a cousin and a few friends (who happen to be HUGE Littlest Pet Shop fans!) We Customized our Blythe’s Bedroom set with stickers and Deco Bits (unique accessories that can be moved again and again for decorating fun). This is a toy that can be used in so many ways in pretend play.
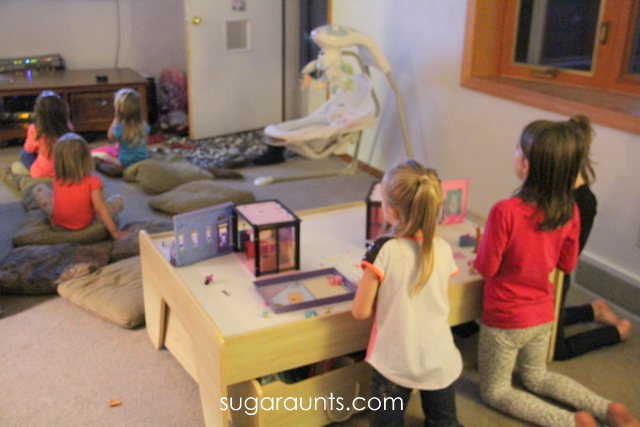
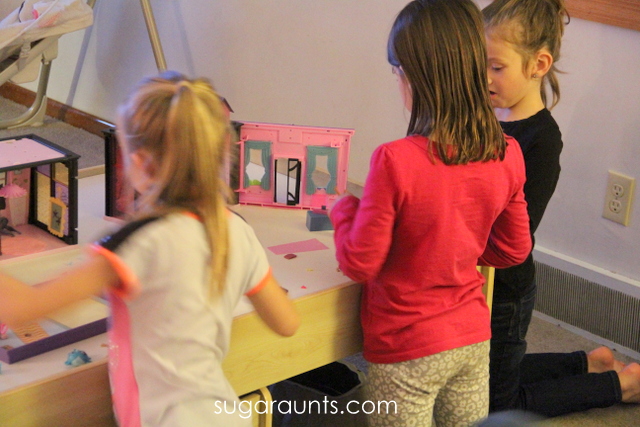
The move-ability of the sets were great for lots of little hands to play. We set them out on our train table before the party so that everyone could get in on the pretend play fun. We loved that the sets could be accessed from all sides and there are play scenes on the back of the sets, too.
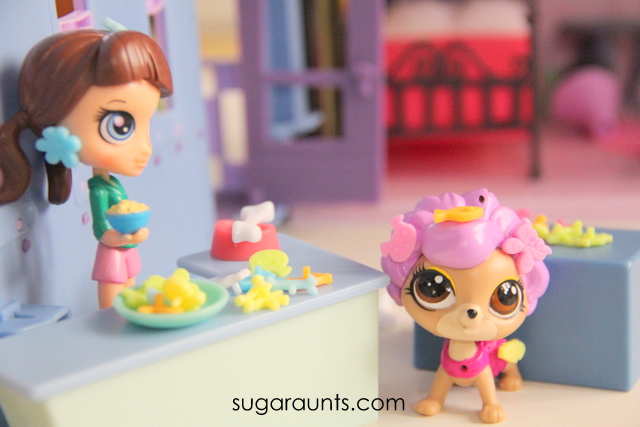
The Littlest Pet Shop style set was big time fun for Big Sister and her shop planning. She pretended to make a shop for dog bones and accessories. There was a lot of purchasing and decorating with the style bits.
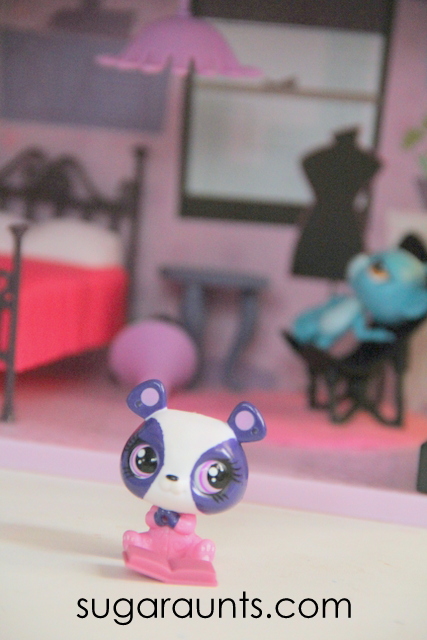
Penny Ling is a favorite in our house. We used this little cutie to design our world digitally, too with the Littlest Pet Shop app. Hold the toy, scan with your smart phone, and play!
Littlest Pet Shop Party Food
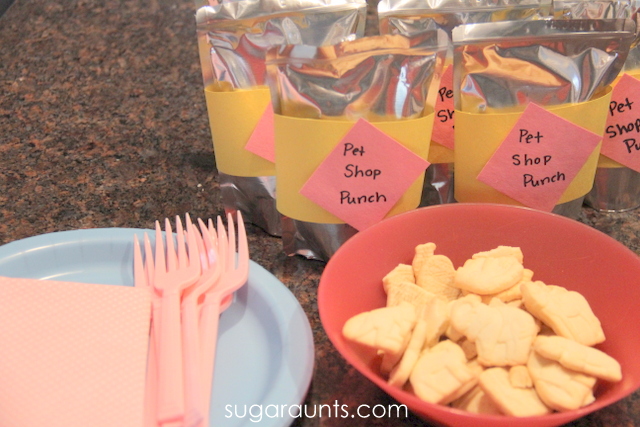
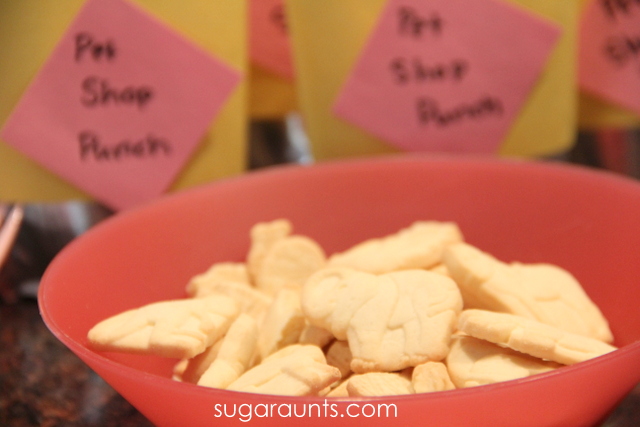
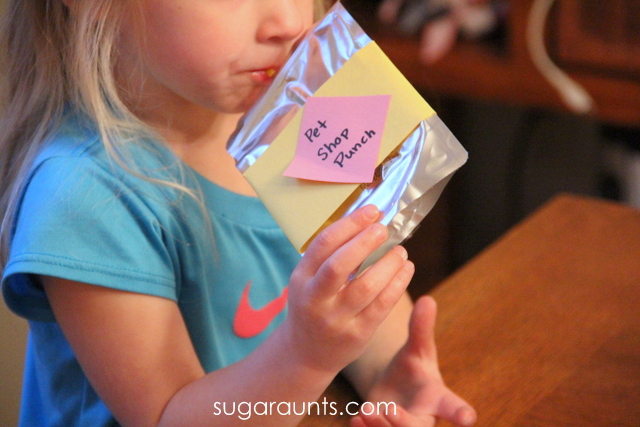
We served the girls chicken nuggets, noodles, and carrots, but every party needs a few snacks. We served up Animal crackers and “Pet Shop Punch”.
What Pet Shop animals can you match up to the animal crackers?
Littlest Pet Shop Craft
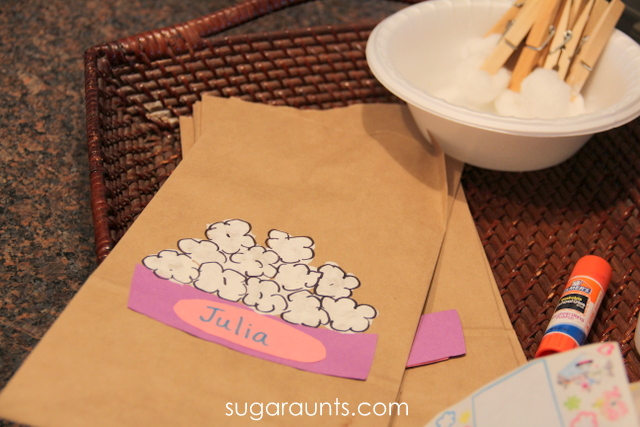
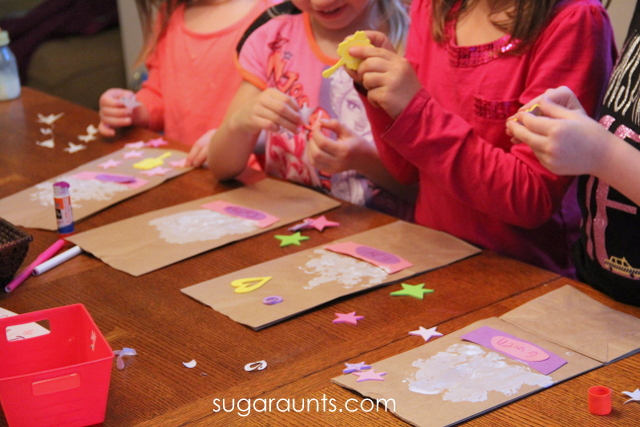
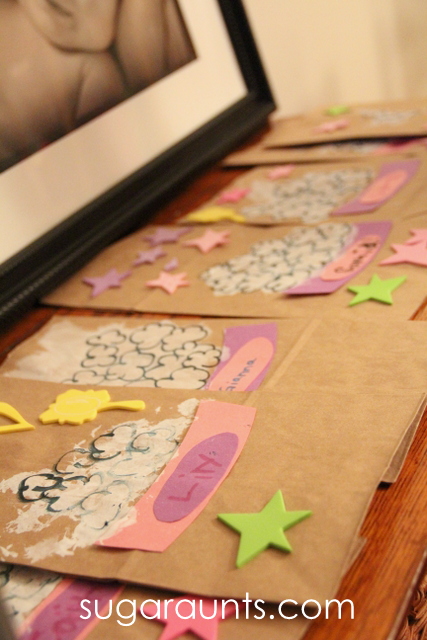
We made popcorn bags as a Littlest Pet Shop craft. The girls were big craft-fans, so this was fun! I had an example of our popcorn crafts set out and the girls got busy with their painting. We used these as popcorn bags for our movie later during the party.
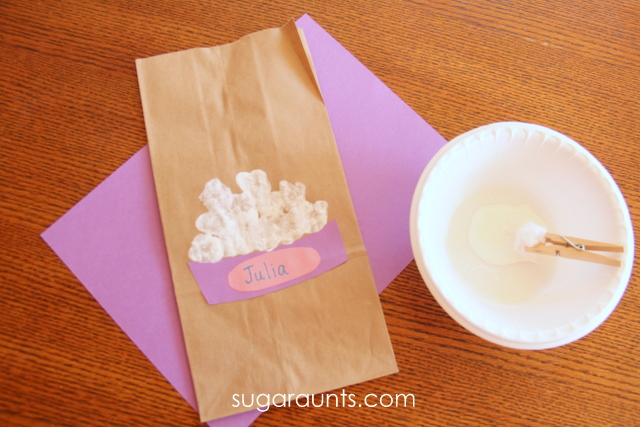
To make our Littlest Pet Shop popcorn bags, we glued on purple and pink pet bowls with an oval for the girls’ names. They glued the pieces into place and then painted on the popcorn. Popcorn in a pet bowl? Perfect party snack for Pet Shop fans!
Next, we painted on popcorn. We used cotton balls clipped onto a clothes pin. This made a great handle for the girls to paint popcorn on the bags. Dab the paint dry and let the project dry completely before drawing on black outlines to the popcorn. Alternately, you could glue on popcorn to the bag.
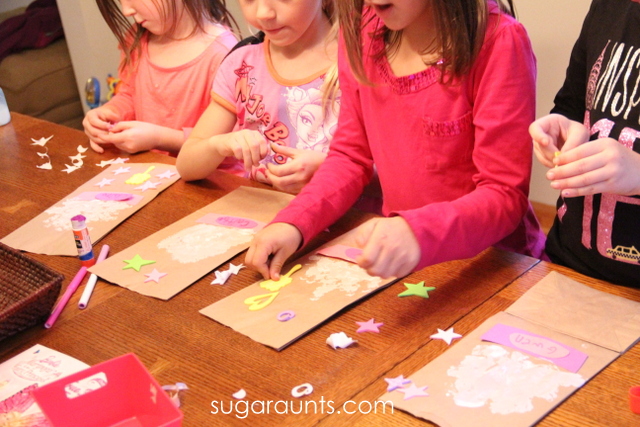
We decorated a bit more with stickers.
The popcorn bags dried while the girls played with pets.
Littlest Pet Shop Party Play
Cute movie alert!
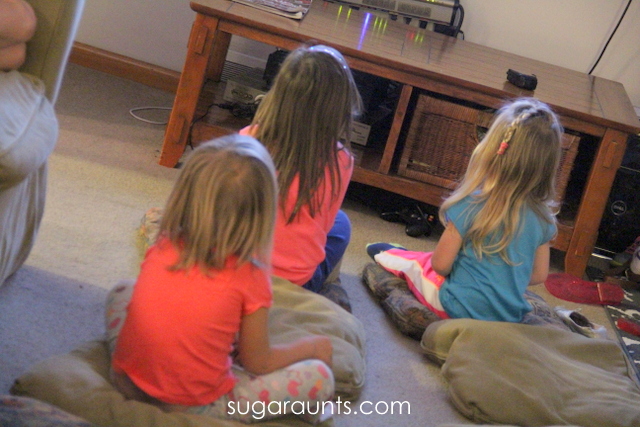
Girls watched the video on couch cushions spread out on the floor and took playing breaks at the play sets. It was so much fun watching their pretend happening (and getting in on the action-a Mom’s gotta relive her pretend play days on long ago! Plus, it’s just fun!)
These girls were loving the movie! The popcorn was a hit for movie snacking.
This play set has been in pretend play action for weeks, now. We’ve been arranging, re-arraigning, sorting, decorating, and styling our pets and loving it!
First grade math is fun stuff! It’s all new to us as Big Sister works her way through first grade. She’s our oldest and so it’s neat to see how much she’s learning in such a short time in school. We’ve done math activities throughout her Kindergarten year and we’ll be supplementing the first grade curriculum at school with our own fun twist on math activities at home. Learning through play makes homework easier and fun.
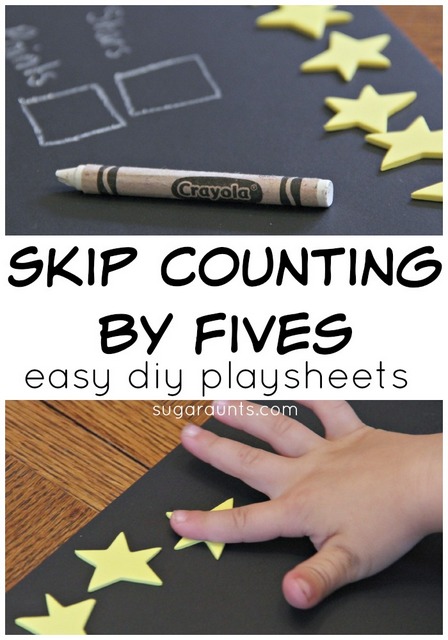
The beginning weeks of first grade brought counting to 120 and skip counting by 5s and 10s. We did this skip counting activity using stars to skip count by 5s.
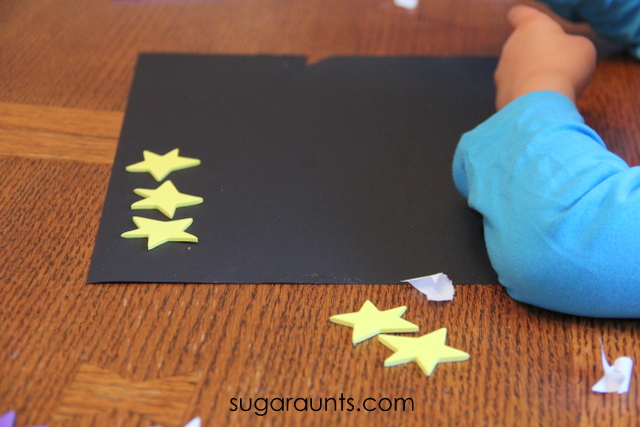
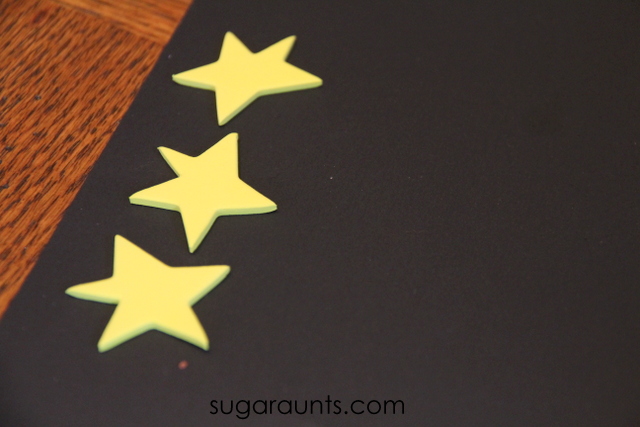
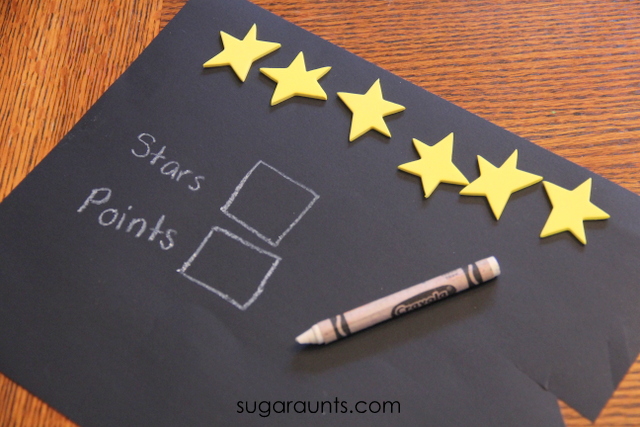
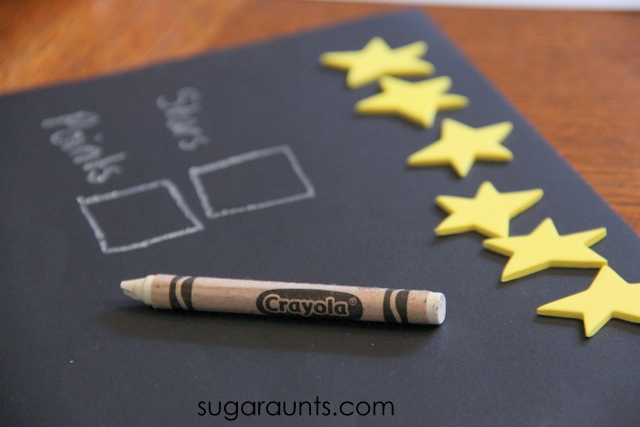
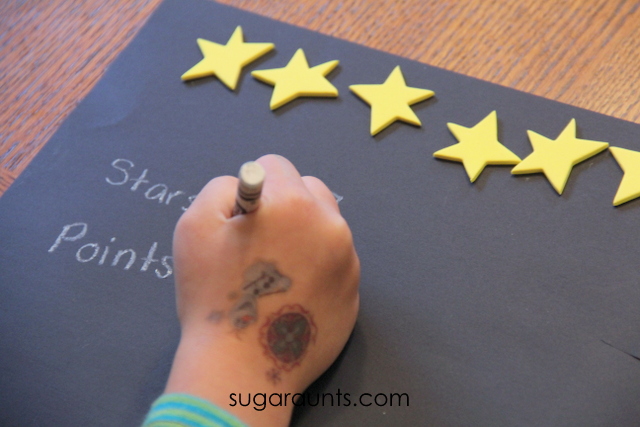
We started by using foam star stickers and a black piece of construction paper. This “play”sheet (a fun way to play with a not-quite-worksheet) let us count and play as we learned.
Big Sister peeled the backs from the stickers and stuck the stars in a line.
Count those stars.
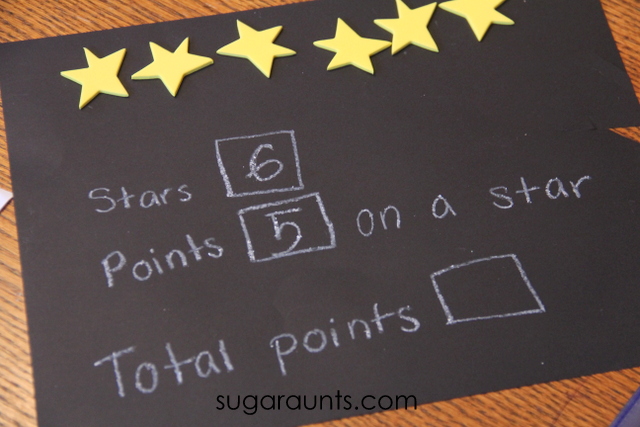
I wrote out on our playsheet the number of stars and the number of points.
We talked about the stars and how they have five points. We practiced counting a few of the stars to see how they made counting by 5s easier.
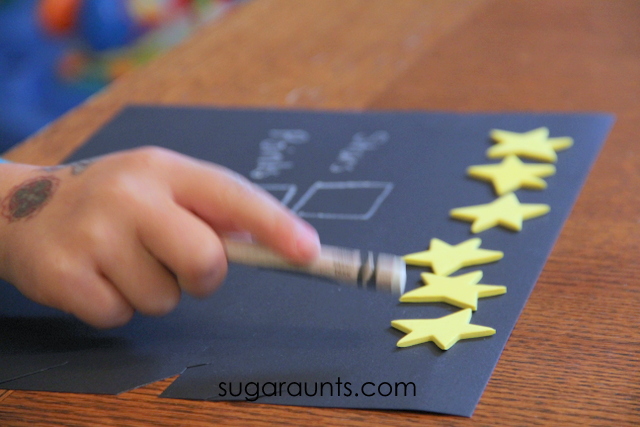
Big Sister counted out the stars and then counted out the points by counting by fives.
Tattoos are optional for this activity 😉
We made a few more playsheets with stars for counting, using princess colors. I kind of like the stary night sheets, though.
Let us know if you do this activity!
Like this post? Stop by and follow along on our Playful Math Pinterest board:
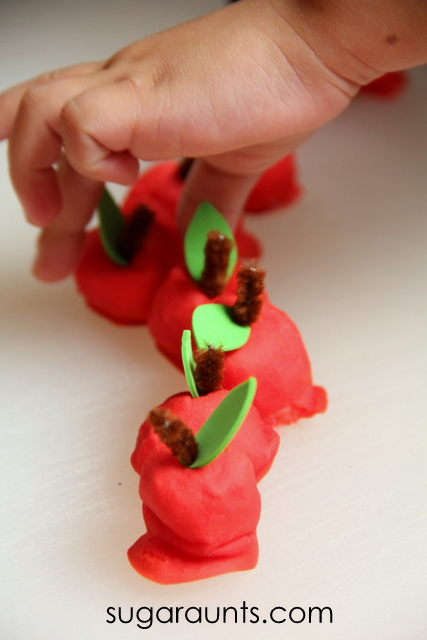
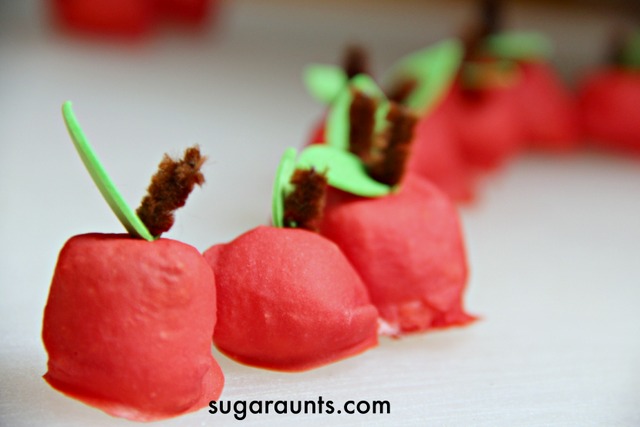
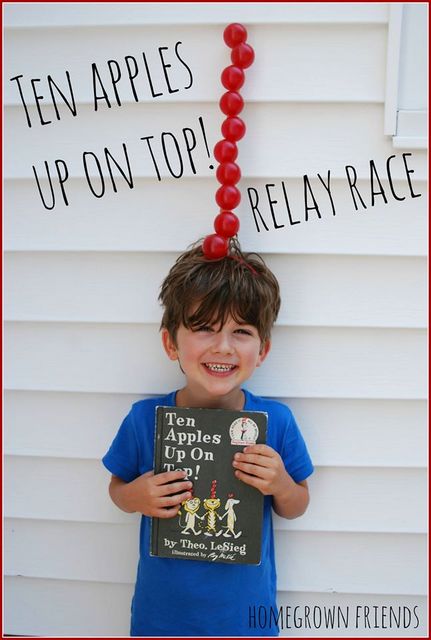
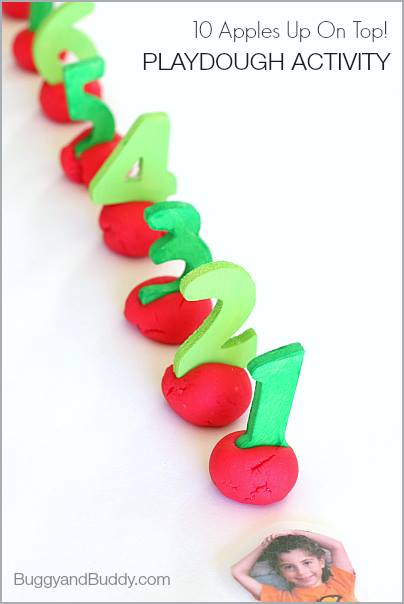
This Ten Apples Up on Top activity was a huge hit with my kids, because they love the book, so making baked cotton ball apples was a fun way to play through the book. And as a pediatric OT, I loved the fine motor and heavy work input that was an added benefit. You can add this to apple activities that you are doing in occupational therapy sessions or at home. These baked cotton ball apples would be a great addition to our apple pie sensory bin, and they would be fun for hands-on play with our Fine Motor Therapy Kit for visual motor, handwriting, and fine motor play.
Here’s what we did…
Ten Apples Up on Top Activity
Did you ever do an activity with the kids that was such a hit, that the kids ask to re-do the activity over and over and over again? This one is it for us. There is rarely a day that goes by that I don’t hear about our smashing apples activity. Especially if we happen to see a hammer. Oh, this baked cotton ball activity was a fun one for us!
We’ve never made baked cotton balls before, but have had the idea bubbling for a while. When we heard that the Preschool Book Club‘s book for this week would be Ten Apples Up on Top, we knew it would have to be an apple themed baked cotton ball activity. We even made these waaaay before all of the other book activities in the second series of books.
Like back in June. If you’ve never made baked cotton balls before, this is a MUST-DO activity!
This post contains affiliate links.
How to make Baked Cotton Balls
Are you familiar with baked cotton balls? This sensory tool is a DIY sensory material that kids love, and for so many great reasons. Actually, mixing up and making the baked cotton balls is as much of a therapy task as playing with them!
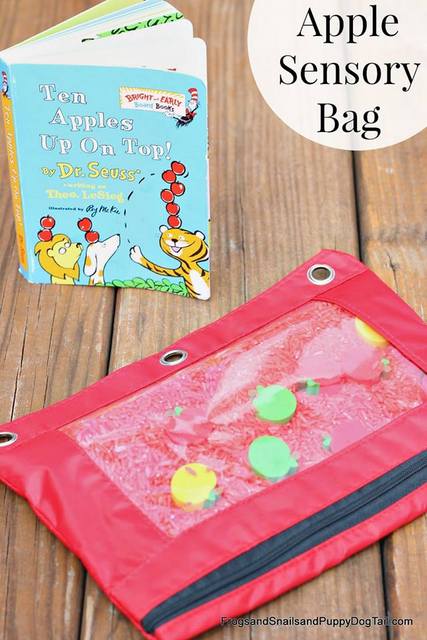
First read Ten Apples Up On Top! by Dr. Seuss. This is such a fun book for counting and playing along with the story.
How to make baked cotton balls:
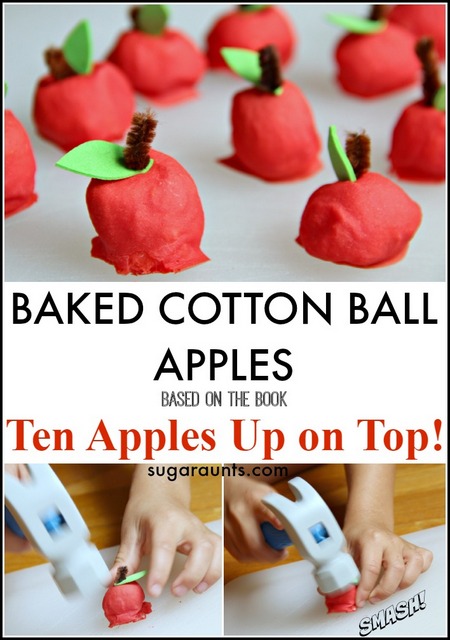
Begin by mixing together one cup of flour and one cup of water. This is a great activity for the kids. Scooping, stirring, direction following, sneak tasting (my kids aren’t the only ones who go crazy for flour, right!??).
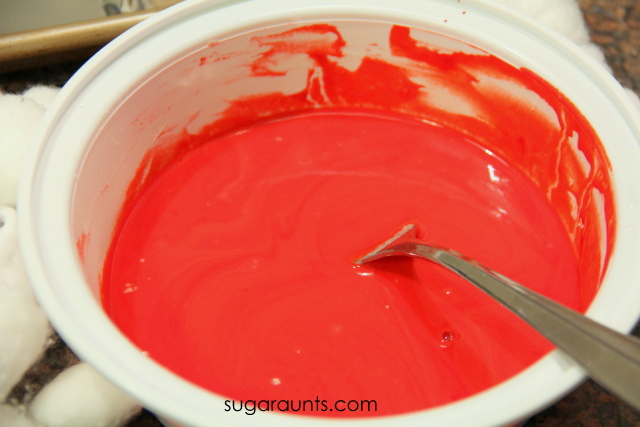
Pour in a bunch of red food coloring. We typically go with Wilton gel colors for all of our dying activities, but I knew I wanted a really deep red color. It seems like red coloring requires SO much dye to get a good shade of red. I ended up using a bottle from the dollar store and used about half of the bottle of food dye. This was maybe 20 drops? Add enough to get a nice red color.
Mix in the food coloring.
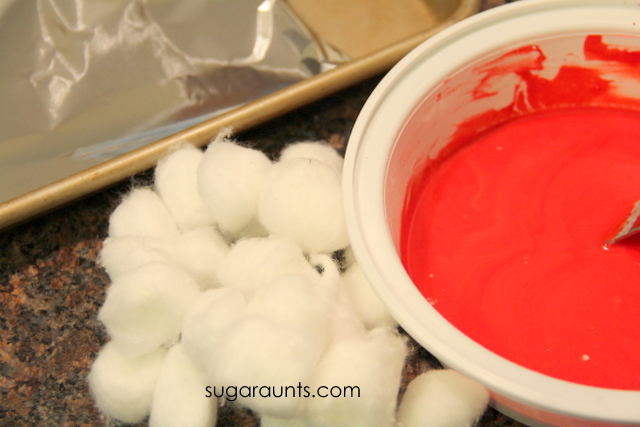
4. Now is the cotton ball part. Grab up your stash of cotton balls.
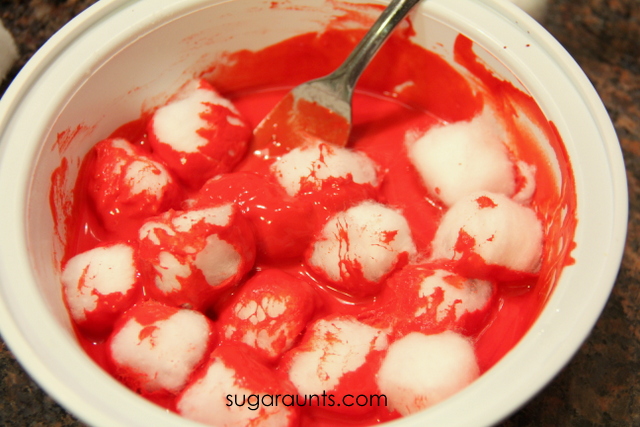
5. Mix them around to coat all of the cotton balls.
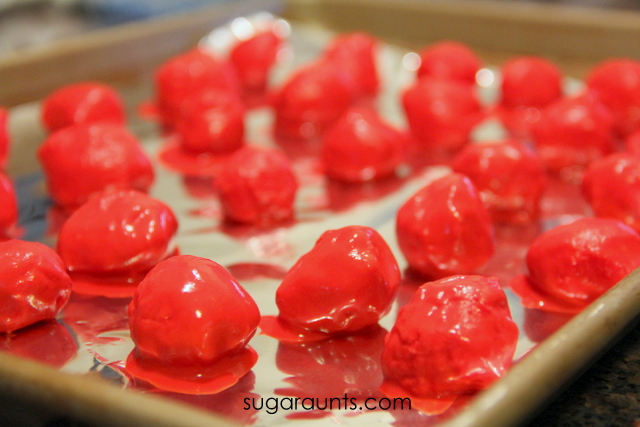
6. Place a layer of aluminum foil on a baking tray and place the cotton balls on the tray for baking. I used two forks to pick up the coated cotton balls and was able to let excess flour coating drip off before placing the cotton balls onto the foil.
You’ll want to let as much excess drip off before putting them on the sheet to avoid the sharp edges and flat bottom once the cotton balls bake.
7. Pop the baking sheet into the oven for around 60 minutes at 300 degrees F.
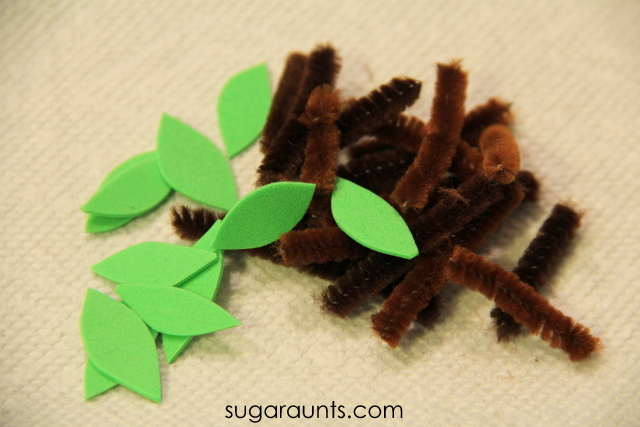
While the cotton balls are baking, snip up the leaves and stems for the apples. We used brown pipe cleaners and green crafting foam.
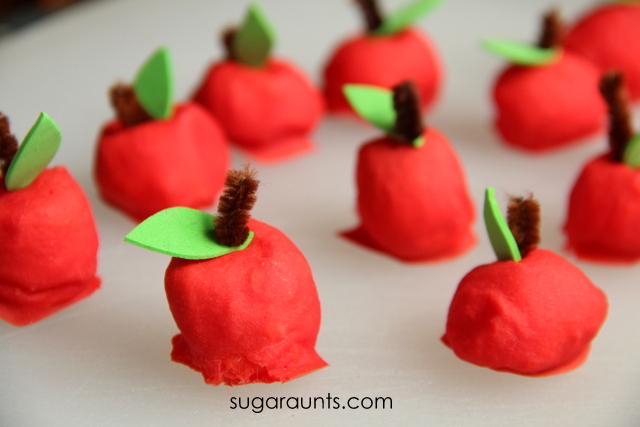
When the apples are done, pull them out of the oven and let them cool for a bit. They will be nice and hard. You’ll need to snip the bottom edges of the apples to remove any sharp edges that dripped to the base before baking.
To attach the leaves and stems, lay the leaves on the apple top and poke the pipe cleaner through the foam sheet and into the cotton ball. The kids were able to help with this part, but assisting with stem attachment did not allow this mama to take any pictures 😉
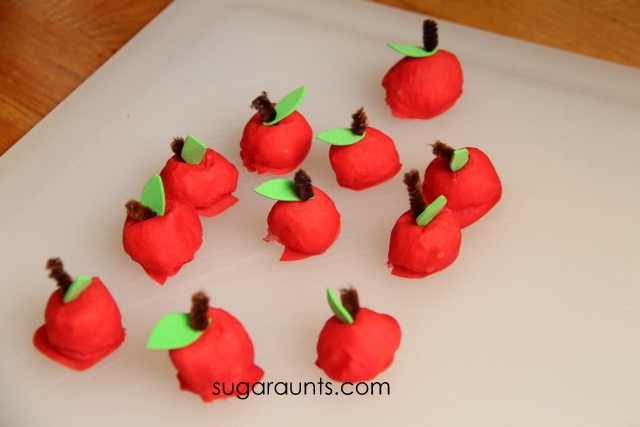
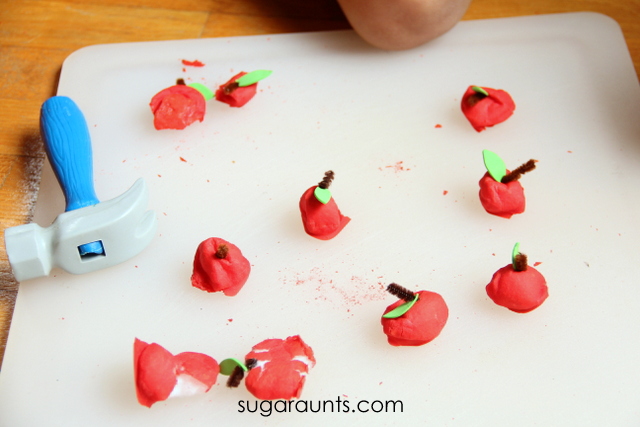
Our crop of apples were ready for playing with!
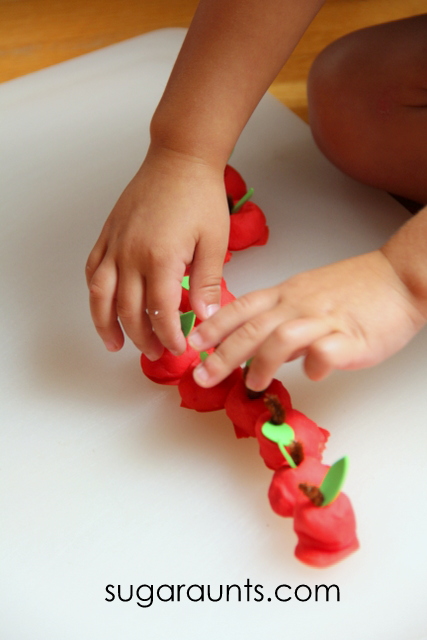
We followed along with the book as we read to stack up apples one by one. What a great way to learn and play with math facts, counting, number order, and simple adding. Little Guy LOVED this activity.
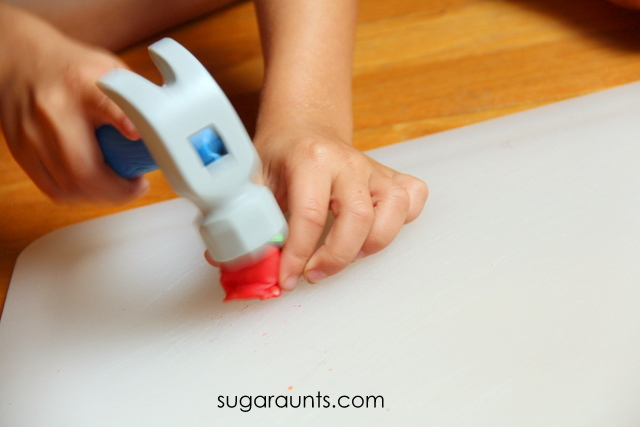
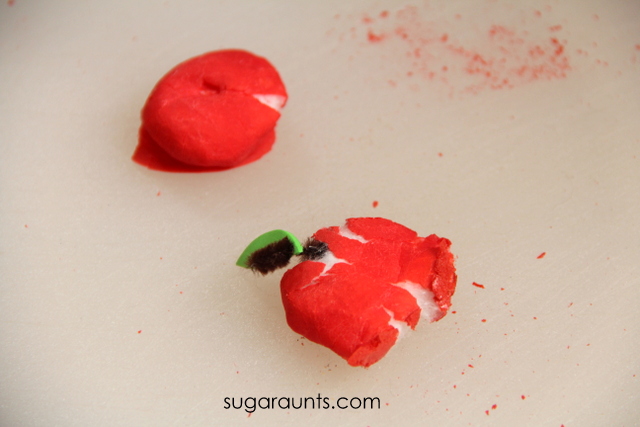
We got to hammering the cotton balls and this was the really fun part! The baked cotton balls have a hard outer edge that allow for a satisfying crunch when smashed, and a squishy, cottony center. What a fun way to explore and play.
We used a plastic hammer, but any hammer would do.
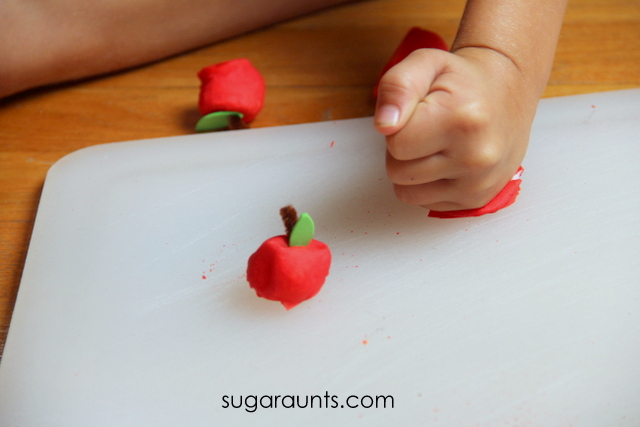
In fact, fists work just as well for smashing.
We had a smashing afternoon.
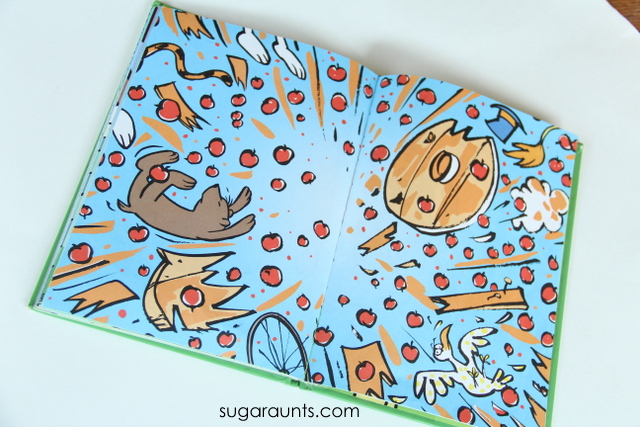
The remains of our cotton ball smashing reminded us of this page in the book. Be sure to let us know if you make baked cotton balls! We would love to hear about your experience with this sensory and fine motor activity!
Stop by the other Preschool Book Club bloggers to see their takes on Ten Apples Up On Top!
Colleen Beck, OTR/L has been an occupational therapist since 2000, working in school-based, hand therapy, outpatient peds, EI, and SNF. Colleen created The OT Toolbox to inspire therapists, teachers, and parents with easy and fun tools to help children thrive. Read her story about going from an OT making $3/hour (after paying for kids’ childcare) to a full-time OT resource creator for millions of readers. Want to collaborate? Send an email to contact@theottoolbox.com.
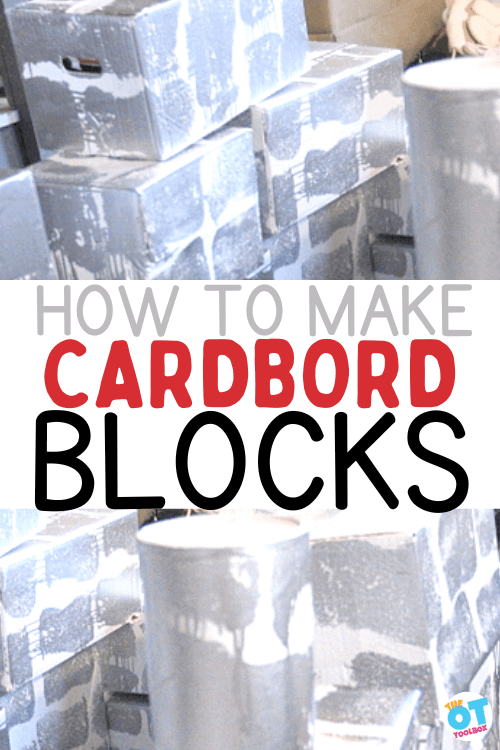
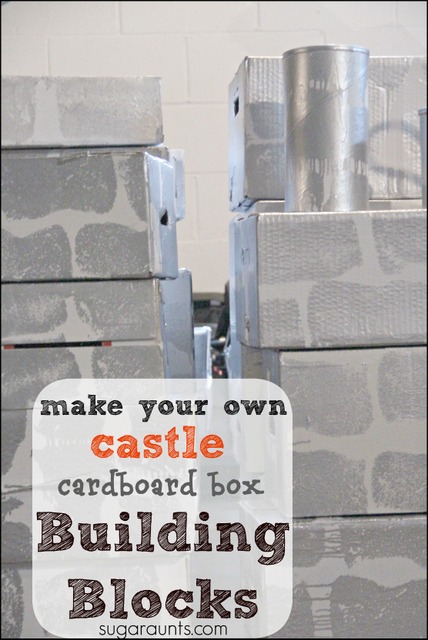
If you’ve ever found yourself with a stack of empty Amazon boxes, then this DIY cardboard bricks project is for you. We made giant cardboard blocks many years ago and the creativity that resulted was enormous! As a pediatric occupational therapist, I love to recommend toys that support development. Block activities and building bricks are always on therapy toy lists. So, when my own kids were involved with the creating process to actually make these cardboard blocks, we took the skill-building of fine motor blocks to a whole new level. Let’s take a look at how to make cardboard bricks and various ways to play with them.
DIY Cardboard Bricks
When it comes to children’s imagination, there are certain toys that inspire creativity…building blocks are one of those creative toys!
And, you’ve probably seen large cardboard blocks in toy stores or as an option. But did you ever stop to think about the developmental benefits of playing with large cardboard building blocks?
Skills developed by playing with Cardboard Blocks
There are so many skills that are developed in the young child by playing with just this one type of toy:
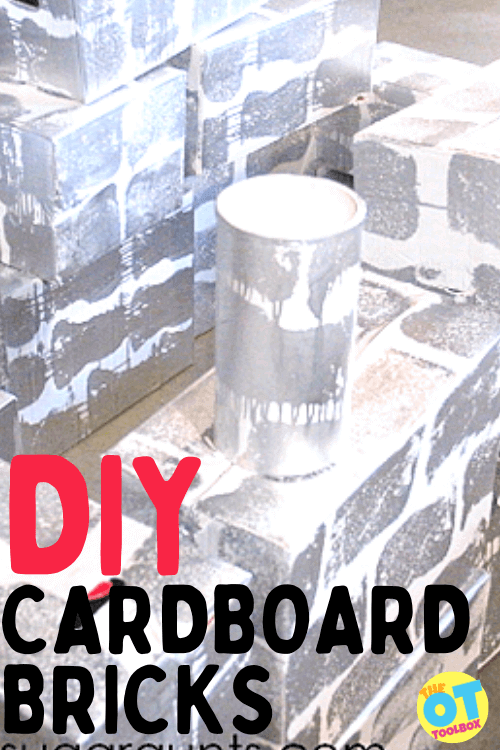
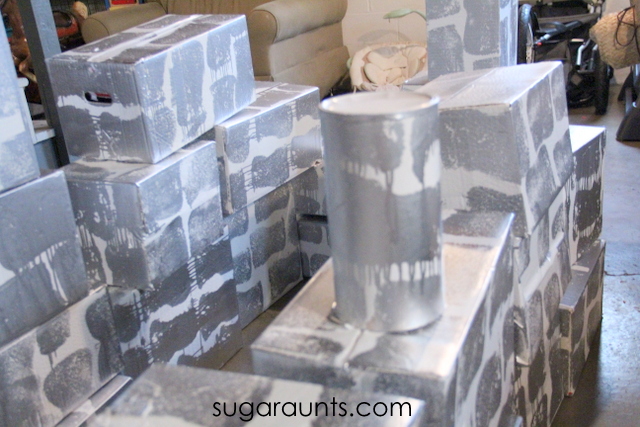
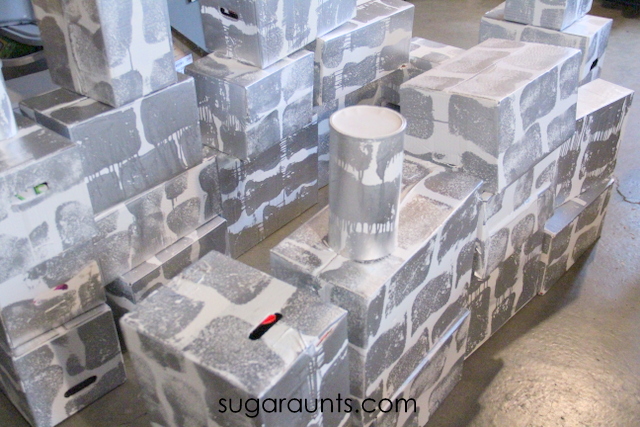
We used silver paint to create a fairy tale type of cardboard brick, but you could use red paint to create a brick house type of building brick.
1. Save boxes of various sizes- First, save a collection of cardboard boxes. When collecting boxes to upcycle, think about durable cardboard building blocks because these toys will be used over and over again by children. They will get beat up!
Some ideas for boxes that make great DIY bricks include:
Diaper boxes
Amazon delivery boxes
Tissue boxes
Cardboard tubes (paper towel tube or cardboard toilet paper roll)
Cardboard oatmeal cylinders
Empty cereal boxes
Any rectangle, square, or cylinder shaped box!
I started by gathering up a bunch of cardboard boxes. Between a couple of sisters and sisters-in-law, I had enough diaper boxes to make this giant stack. (There are a lot of cousins in diapers around these parts).
Next, it’s time to turn those boxes into giant cardboard building blocks.
Amazon affiliate links are included below.
2. Paint the boxes- I used left over white wall paint to cover all of the diapers. This was a quick job with a paint roller brush. Lay the boxes out on a large tarp in the yard and paint the top and two sides. When the paint has dried, rotate the boxes and paint the other three sides.
As an alternative to painting, you could also wrap the boxes in white wrapping paper. Rolls of white paper are available at many dollar stores. Or, you can sometimes grab holiday wrapping paper on clearance after holidays, as a very inexpensive option. Just wrap them up like a package.
3. Add details to the big blocks- Once the white paint has dried, use a large bone sponge dipped in a tray of silver paint. Dab the sponge shape onto the white boxes to make “bricks” of the castle walls. Our silver paint dripped a TON at first. Once I got the hang of how much paint to use on the sponge, it went much better. Too much paint, and you’ll have lots of drips.
If you opt to wrap the blocks up in white paper over painting, you can draw on details like vines. Stamp the white wrapping paper with grey paint using the sponge.
4. Start playing- After the blocks are created, it’s time for the fun part: building with the giant blocks!
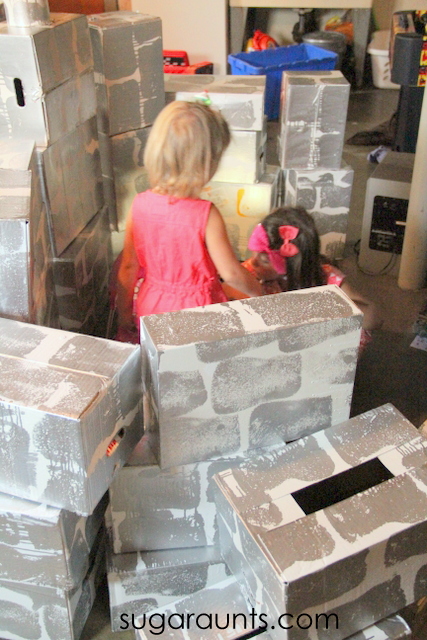
Your young construction workers and little architects will love the creative options to stack the cardboard bricks, create walls, towers, and houses. Then, talk about cause and effect when the block towers inevitably fall down.
These DIY toys are a great addition to playtime!
Use the bricks with toddlers, preschoolers, and older kids too. I personally would love a small calm down space to support self-regulation in young learners, too.
DIY GIANT BUILDING BOCKS
These castle blocks were used at the party for princesses and knights. We’ve been using them ever since in daily play in our basement. We even have a booby trap set up by Little Guy right now.
One of the activities we had planned for the kids were these giant castle blocks made from diaper boxes. These were fun for the cousins to play with, imagine with, build, knock down, and build again! I hope this DIY cardboard brick idea is an inspiration to you!
Colleen Beck, OTR/L has been an occupational therapist since 2000, working in school-based, hand therapy, outpatient peds, EI, and SNF. Colleen created The OT Toolbox to inspire therapists, teachers, and parents with easy and fun tools to help children thrive. Read her story about going from an OT making $3/hour (after paying for kids’ childcare) to a full-time OT resource creator for millions of readers. Want to collaborate? Send an email to contact@theottoolbox.com.
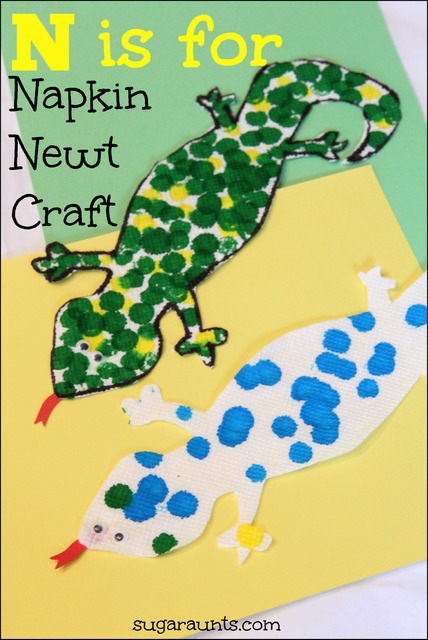
We love making cute crafts and our dining room wall can attest for that. There’s a nice gallery of kid art going on on all four walls (and the ceiling, too!) and this cute newt craft is sure to make the wall!
We’re joining bloggers from all over in the 31 days of ABCs series hosted by All Done Monkey. Each day, a blogger has been publishing a blog post based on a letter. We’re up next with N and our napkin newt.
Newt Craft:
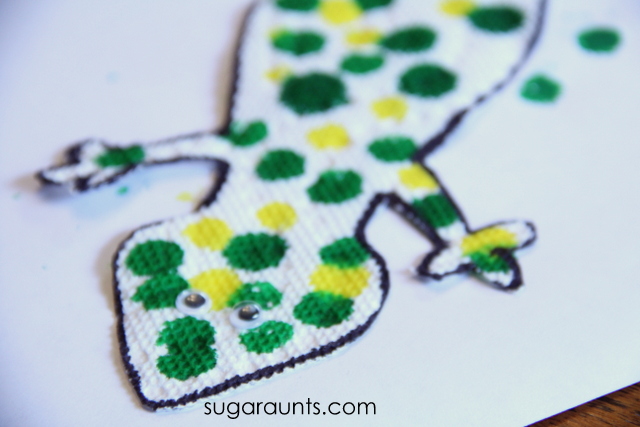
To make your newt, you’ll need a few supplies. We used napkins, googly eyes, paint dab markers, glue, and red card stock. We received the googly eyes and paint dab markers from www.craftprojectideas.com.
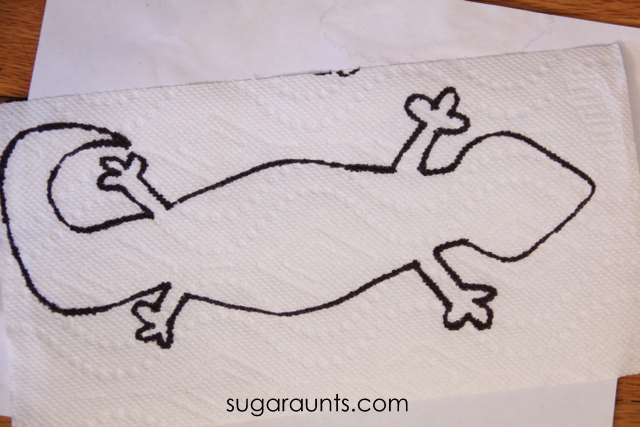
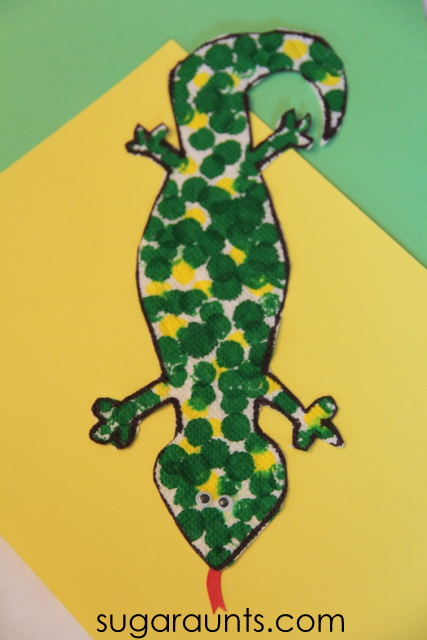
Start by drawing a simple newt shape on the napkin. I used a marker, but a pen would work, too.
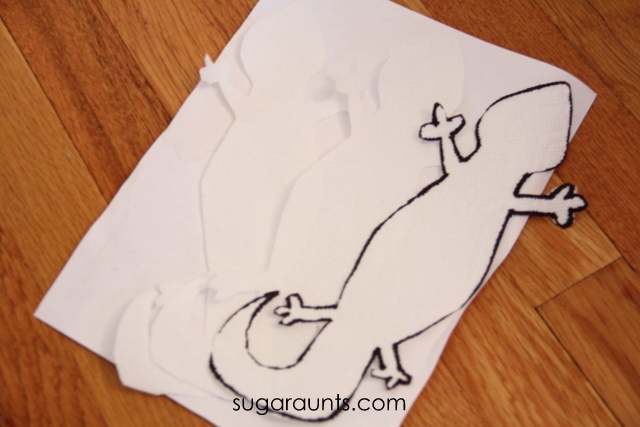
If you have a bunch of newts to make for a preschool class or siblings, stack up a few sheets of napkins. Grab your sharpest scissors and cut out the newts. This is a job for a parent, but an older child could cut this complex shape. Hold the napkins together tightly as you cut around the toes.
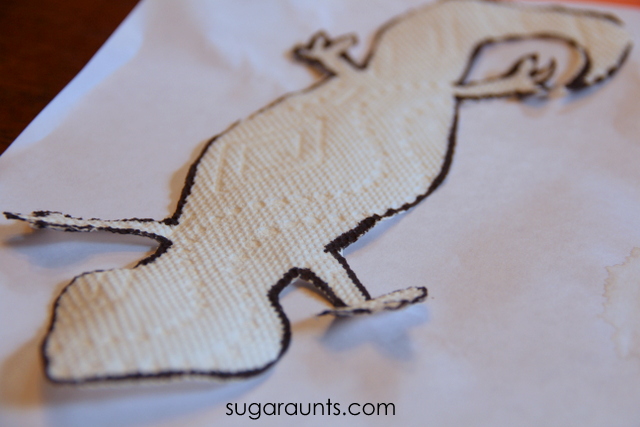
We liked how our napkin newt’s texture looked like scales.
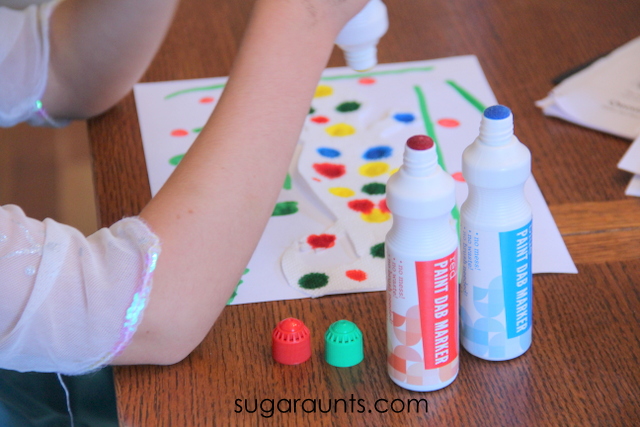
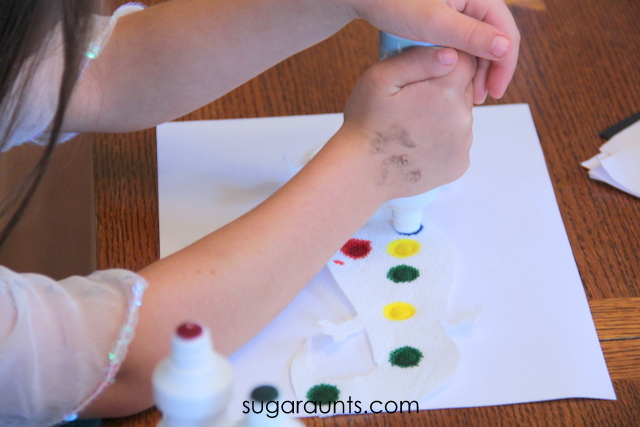
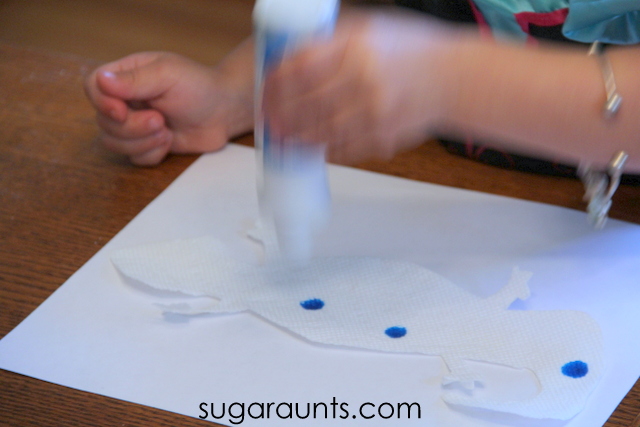
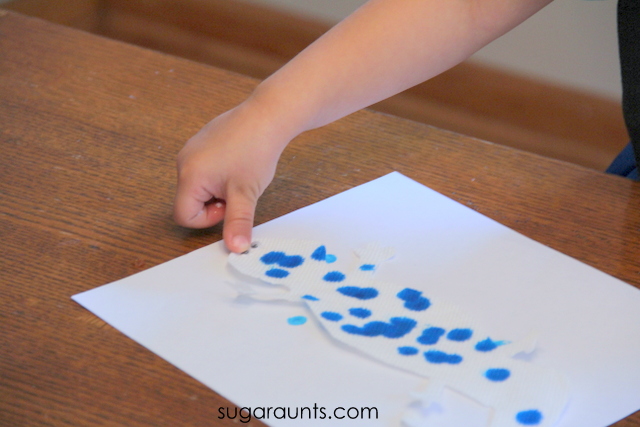
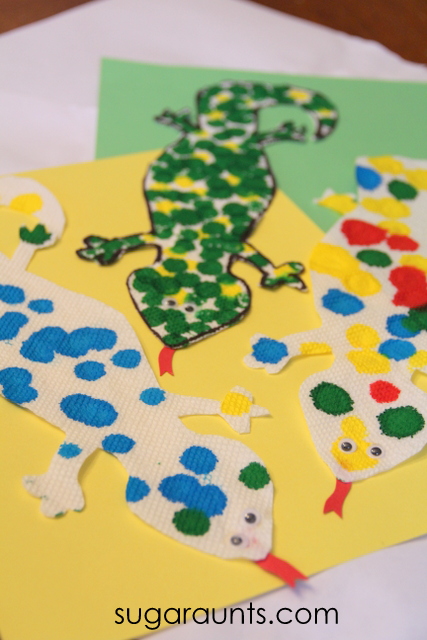
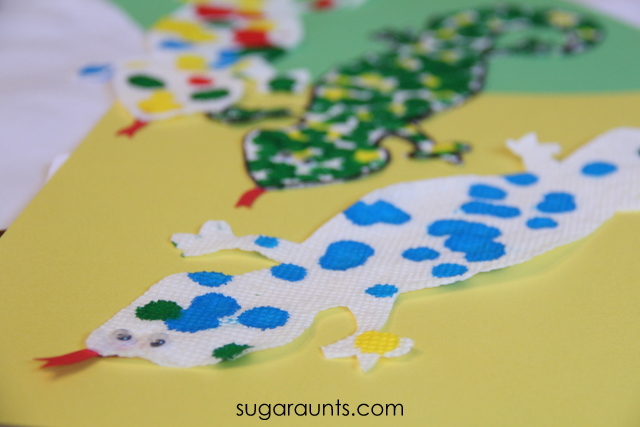
Next, use your paint dab markers to dab on spots. We went with different colors, and each child made their newt differently.
It was fun to see my daughter’s personalities coming out in their craftiness. Big Sister was deliberate and colorful with her painting.
Baby Girl painted in typical Baby Girl fashion…fast and furious and with STYLE!
Next, glue on googly eyes.
These newts are almost done. We talked about the letter N and how Newt and Napkin both start with “N”. We said a bunch of other words that start with “n” as we crafted.
Snip tongues from the red card stock and glue to the back of the newts. Super cute newt!
Let us know if you make this craft. We would love to see your version! Stop by our Facebook page and tell us all about it.
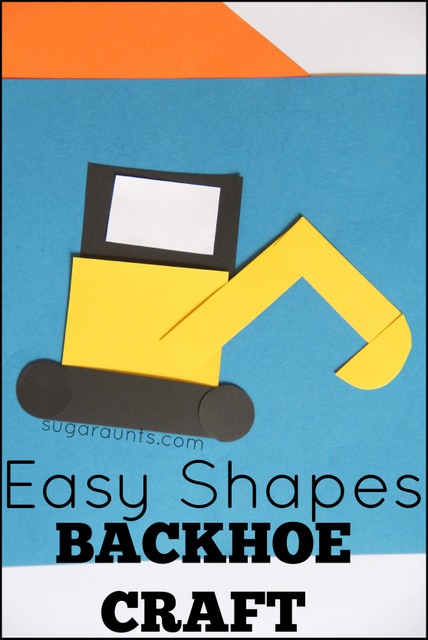
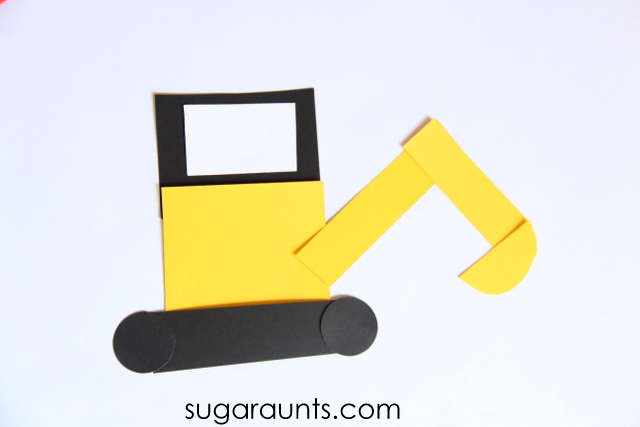
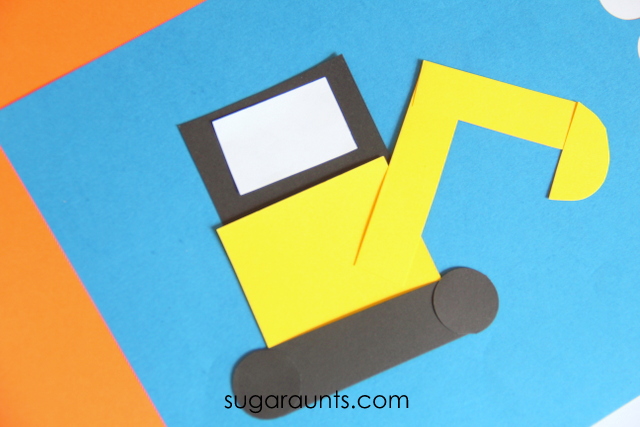
We’ve been making a few Easy Shapes crafts with vehicles recently. A school bus or fire truck craft are fun ways to create and learn shapes with little ones. The crafts are great teaching opportunities for vehicle lovers! We made this Backhoe craft with simple shapes:
Backhoe craft for kids:
This post contains affiliate links.
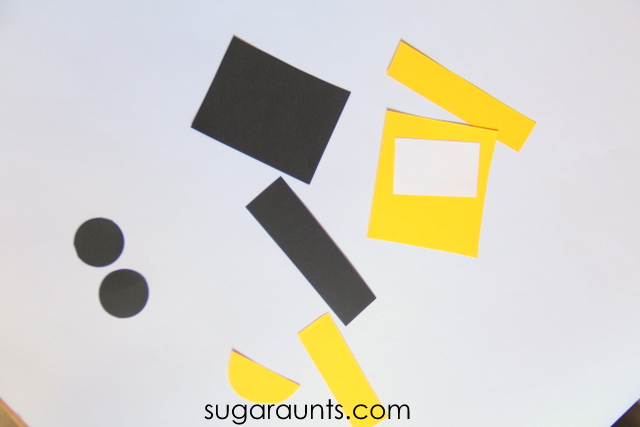
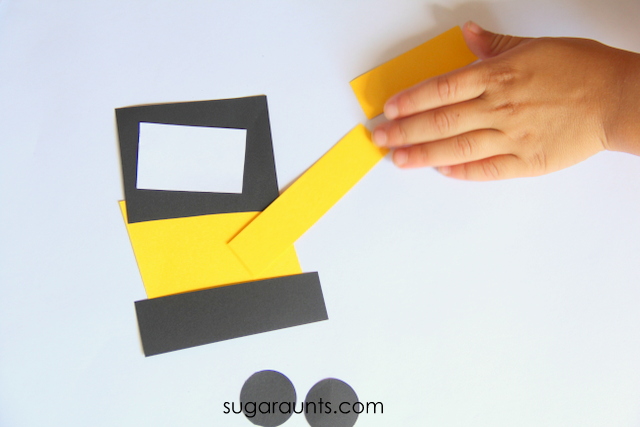
We started with yellow and black cardstock and cut some simple shapes to make the backhoe. Rectangles, circles, squares, and semi-circles make up this backhoe.
Baby Girl (almost 3) made this like a puzzle. I showed her how to make the backhoe and then she had to build hers. She could copy my model or build her own. We talked about the names of the shapes as we went. Little Guy (age 5) enjoyed remembering how to make the backhoe and then building the construction vehicle on his own without a model. This is a great way to practice visual memory.
Visual Memory Activity
Visual memory is the process of recalling visual information. You depend on visual memory to copy letters in a word, recalling how a letter looks, and in reading. Recalling how this construction vehicle was built was a fun way for Little Guy to work on these skills.
When you make crafts with kids, there is glue involved. We use glue sticks, glue in bottles, glitter glue, and a dried cereal/milk combination that turned glue on the surface of the dining room table. Just kidding about that part. Sometimes.
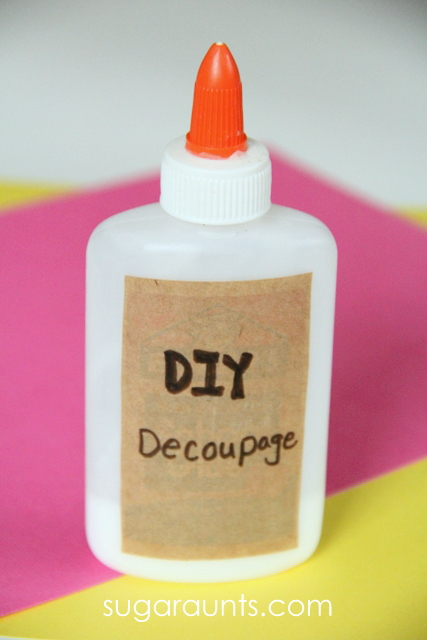
We wanted to share a decoupage glue that we use all the time in crafts and activities with the kids (And without the kids. A mamas gotta craft.) This DIY decoupage glue is easy and quick to mix up, and simple to use in all kinds of crafts with the kids. You’ll want to make up a bottle of this decoupage and keep on hand for all sorts of craftiness.
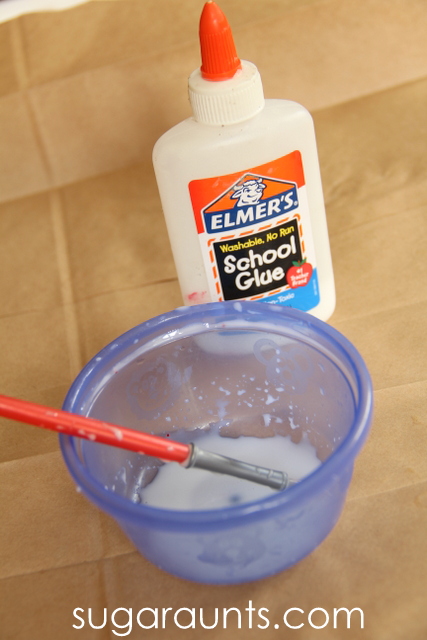
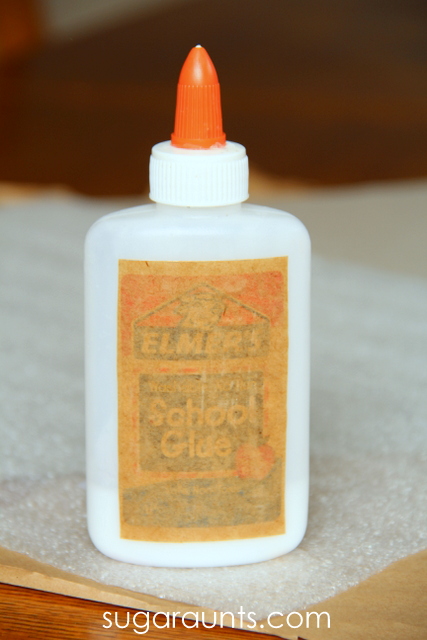
Start with regular glue. We used a bottle that was about half full. You’ll want to have enough room in the bottle or find a different container to store your decoupage. To make decoupage, add water to the glue at a ratio of 2:1. I just eyeballed the amount of glue in the bottle and added twice as much water.
Next, put the cap back on the bottle and shake it up. Use a paint brush to swipe the walls of the bottle clean and really get the glue mixed in with the water. Your decoupage is done!
How easy is that!?
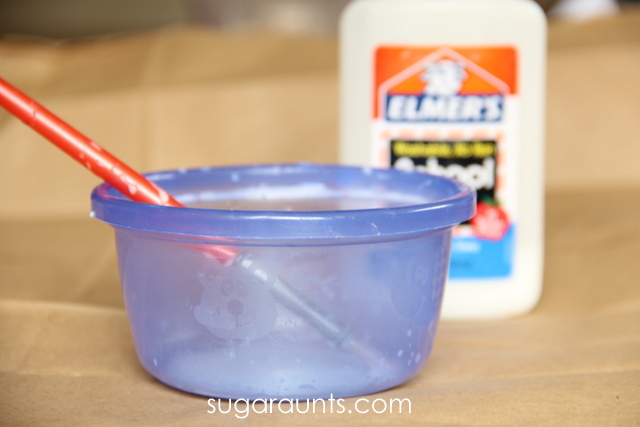
When you want to use the decoupage on projects, simply pour a little into a bowl and paint the glue onto your project with a paintbrush. This is a great way to craft with the kids. They love painting glue onto things. Maybe they just like painting. Or glue. Or making messes. Whatever combination of those things it is about crafts…the kids love.
I used our decoupage to paint on the label on our decoupage. Simply paint a thin layer of decoupage onto the bottle, place the label on, and paint a thin layer of decoupage over the top and around the edges of the paper.
We’ll soon be sharing lots of crafts and activities where we used our decoupage. Stay tuned!
We’ve been having so much fun lately making all sorts of play dough. There’s so much to do with play dough…from pretending, to working on fine motor skills…play dough is one of our favorite ways to play. And the fun ways to make play dough; Oh boy things can get crazy in the play dough workshop (aka my kitchen). We’ve mixed up dough with everything from crayons to cola.
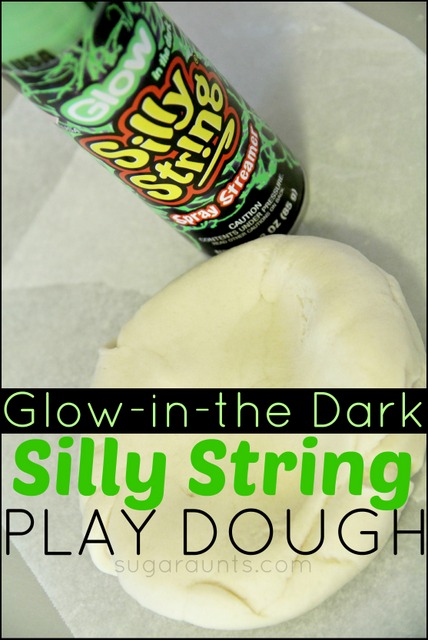
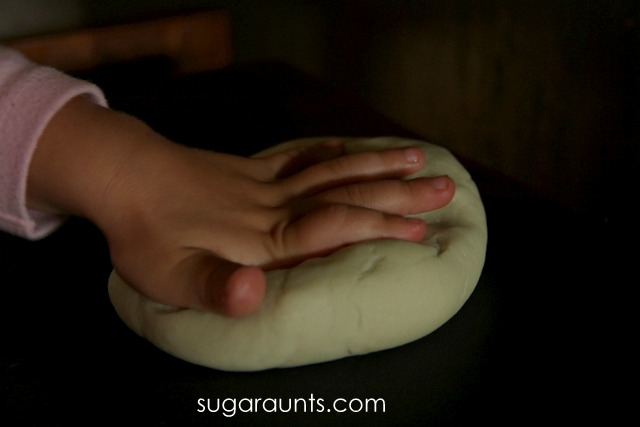
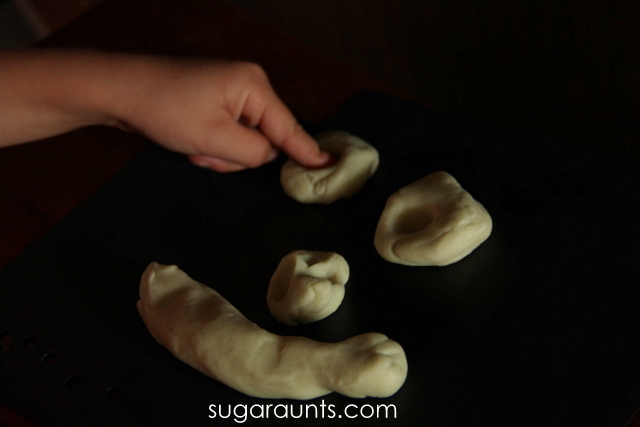
This time, we were on a mission to create our very own Glow-In-The Dark play dough. This was fun!!
This little experiment turned into a fun adventure with the kids. We brainstormed all kinds of ways to turn our play dough into glowing dough. Little Guy’s idea of lightning bugs was thoughtful, but a little yucky. And cruel to glowing bugs. So where to start with making glowing dough?? We packed up the minivan and headed off to Target.
The sales clerk gave us the eyebrow when we said we needed anything that glowed. But this was a mission for creativity. We grabbed up glow in the dark stickers, duct tape, nail polish, and silly string.
We were looking for things that could be added to dough to make a glowing dough. While doughs that require a black light for luminosity are very cool, we don’t have a black light. And, lots of parents out there don’t have the budget for a black light, so glowing dough was the way to go for us.
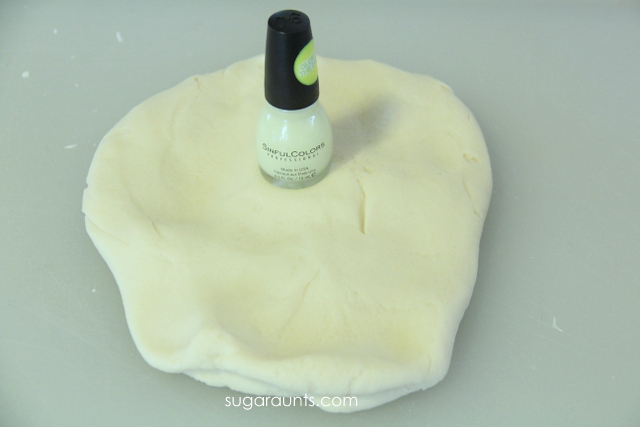
We started our experiments with the nail polish.
Please don’t make play dough with nail polish. Won’t glow. And the fumes, yikes! Round two.
Silly String Play Dough~
We started by mixing up a batch of our homemade play dough recipe with a small modification. We were out of cream of tarter, so I substituted a half cup of flour for the cream of tarter. I also cut the recipe in half. This is important for the glowing of the dough, as we only used one can of silly spray. More dough would require more silly string for a glowing shade. Our play dough ingredients were:
2 cups flour
3/4 cup salt
1 and half cup water
1 Tbsp oil
It’s important to note that different ingredients and temperatures/humidity will result in different play dough consistencies. The most important part of this dough recipe is the kneading. You’ll need to knead it a lot for smooth play dough. Repeat that: Need to knead. Need to knead. 😉 If your dough is too sticky, add more flour.
This is a no-cook dough. The warnings on the Silly String say to keep away from heat. I wan’t taking any chances with warm dough, so no-cook it was. Mix together the ingredients for the dough and knead, knead, knead. When you’ve got a nice play dough consistency, it’s time for the fun part. Silly String! (This link is not the brand we used, but should work. We used a bottle of 3 oz glow in the dark Silly String found at Target). Little Guy waited very patiently for this part. If patiently means reminding mom that we need to spray the silly string, then it was patiently. 😉
Spread the dough out on wax paper and spray! We sprayed to whole bottle onto the dough without any attempts to spray each other. Success.
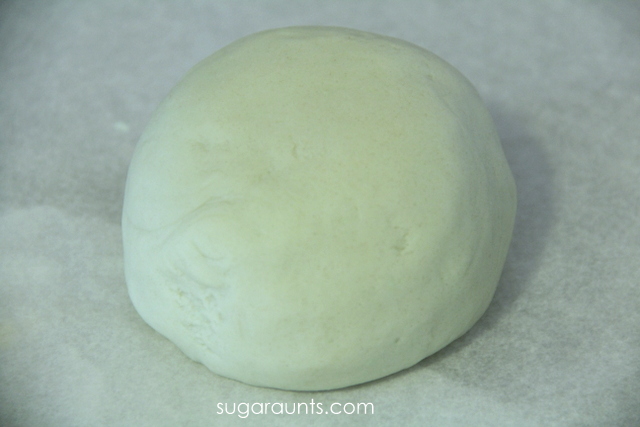
Roll the dough edges into the center and mix in that silly string. we did not have any dying of skin with the silly string, but feel free to wear gloves if you like. The nice part about the silly string is the non-toxic notice on the side. Non-toxic=awesome.
We did not add any coloring to our dough. The greenish shade of the silly string dough was enough, but it would be fun to experiment and see what a bright green food coloring would do to the dough. You might want to add another bottle of silly string to your dough for a more vivid glowing dough. If you add more silly string, you’ll need to add more flour to take away the stickiness.
Once, mixed take that dough into a dark closet to check it out! I did notice that our dough was more vivid if we “charged” under a light first. This stuff was very cool! The kids were pretty impressed with the glowing dough.
NOTE~ The “glow” is not extremely strong. This dough would not be able light your way on a dark night. It will be visible in a dark room. It will not enable you to see across the room. It will glow enough to see. It will not turn your dark living room into a glow-in-the-dark disco party. It will last about 2 weeks in a sealed plastic bag or container, with “charging” to get the glow. It will not make a great flashlight on Halloween. It will be very fun to play with!
And when the dough gets stuck to the couch, you can now see it in the dark. Yay!




 and cover with another thin coat of decoupage.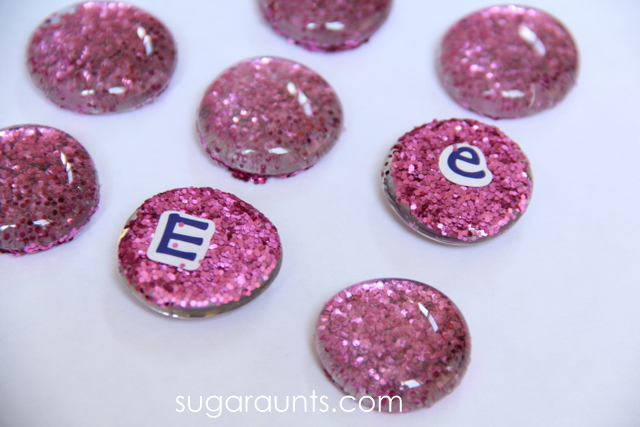




 by Dr. Seuss. This is such a fun book for counting and playing along with the story.