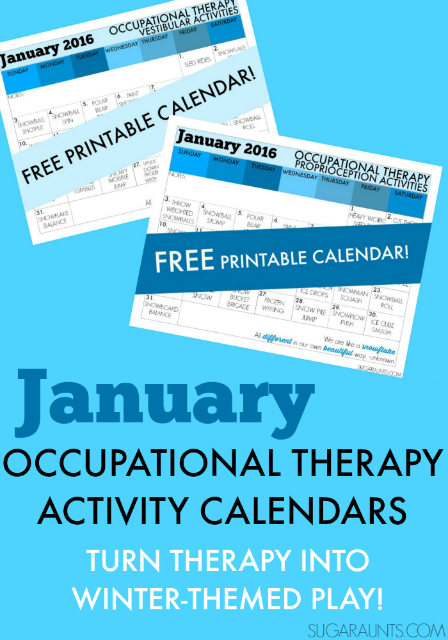
Last month, we created a calendar of Occupational Therapy ideas using a Christmas theme. It was such a hit among our readers (that’s you!), that I decided to create a monthly version of sensory integration activities. Be sure to read our blog post on Ayres Sensory Integration for more information on this theory.
What’s better is that these SI activities are geared to turn therapy into play. Children of all ages can participate in their Occupational Therapy goal areas with themed activities while working on proprioceptive and vestibular input. These activities are designed to address gross motor, fine motor, and visual perceptual skills through January’s winter theme of snow, snowballs, snowflakes, and ice.
Occupational Therapists are skilled at turning therapy into play in order to make goals of therapy fun. Kids can work on areas they need to develop with fun and playful winter activities. You’ll find many recommendations for winter play with a focus on sensory integration.
Be sure to stop back each month for a calendar of Occupational Therapy and playful activities!
NOTE: These activities are meant to be a resource. No child is alike and so no therapy regime is alike. Please contact you physician and Occupational Therapist for individualized evaluation and treatment. These activities are designed to provide creative treatment ideas only.
I’ve tried to keep many of the vestibular and proprioceptive activities the same or similarly themed for each day.
The links below will show ways to work on vestibular and proprioceptive activities and has descriptions on how to work on each area with the day’s theme. Many children have specific proprioception or vestibular needs. Other children benefit from a combination of these treatment areas. The activities linked below show ways to hit these areas in a combination or separately.
I’ve included other resources with each linked activity as well, so be sure to check out each activity for proprioception and vestibular therapy ideas. Make sensory integration fun by turning therapy into play!
These calendars are meant to provide a general plan for daily vestibular and proprioceptive input. We all have best intentions when it comes to our day’s schedule and sometimes life challenges our plan for the day. No problem! You can easily switch activities with another day’s activity and adjust activities according to your family’s needs.
Just a small amount of proprioception and vestibular activity are enough to help with regulating a child’s sensory needs.
One activity each day should be effective for most children, so add these themed activities to the sensory diets you’ve got in place to turn therapy into play this winter. HOWEVER, all children should be assessed by an Occupational Therapist to assess individual needs and abilities.
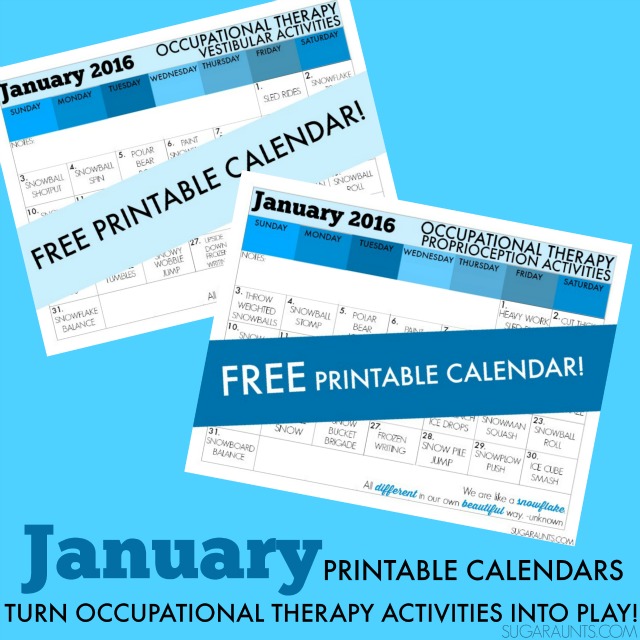
January Winter Calendar: Proprioception Activities turning therapy into play
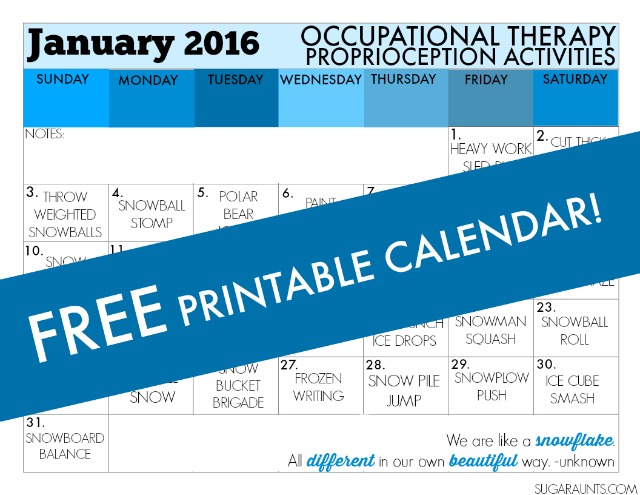
Proprioception Activities with a Winter Theme:
The proprioceptive system involves receptors in joints and muscles that tell our body how much effort to put into a task. The system allows us to know how to move and use our bodies in response to stimulation from the environment. Children with proprioceptive difficulties may bump into other children, break pencils when writing because they press too hard, show “no fear”, crash into objects, appear uncoordinated, appear lazy, chew clothing/pencils/anything, among other signs.
Proprioceptive input can be achieved through heavy work activities that adjust the child’s level of arousal and “wake up” or calm the body’s system. Activities that involve pushing, pulling, jumping, blowing, squeezing, pinching, throwing, skipping, crawling, and lifting can be achieved through play.
1. Heavy Work Sled Pull- For a proprioceptive work activity, load a sled up with books (or another child!) Pulling a loaded sled is a heavy work activity that is calming to the sensory system. Try pushing the sled with arms or legs, too. Take the sled outside and pull it on snowy slopes for added resistive work.
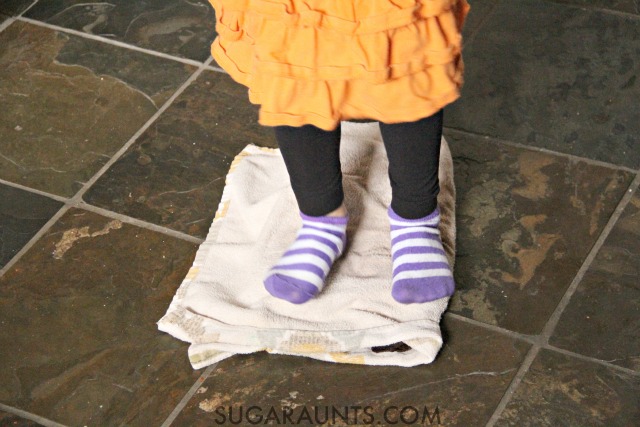
4. Snowball Stomp- Stomping with the legs is a great way to incorporate proprioception into the lower extremities. Make snowballs and STOMP on them for a fun and playful heavy work activity. Don’t have snow? Try making baked cotton balls and stomp on them. Have you ever made baked cotton balls? It is a super sensory and creative way to work on so many fine motor skills. Simply coat cotton balls in a flour/water mixture and bake them until hared. They will have a hard shell that is perfect for pulling, tearing, and stomping on. Read more about making baked cotton balls here.
5. Polar Bear Igloo- Get into the polar bear theme and build a polar bear igloo using couch cushions. Cover your cushion igloo fort with a white blanket to make an igloo. Pulling heavy couch cushions to build a fort is a great whole body proprioceptive workout. This heavy work activity is calming, but the warm igloo will be an even more calming area to relax and organize a child’s body.
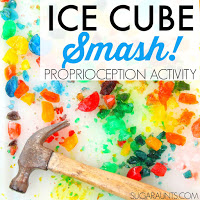
6. Paint Snowflakes- Create masking tape resist snowflakes with tape and blue paint. Pinch and peel the tape from the roll and stick it into a snowflake shape on white paper. Now add a dab of blue paint onto the paper. Use a heavy cardboard box to smash the paint on the snowflake. Moving a box full of books is a proprioceptive activity that provides heavy work to the whole body.
7. Build a snowman- Rolling snow into a snowman is a great proprioception activity. If you don’t have snow, use several blankets to fold and roll into snowman-ish balls. Lift those blanket balls to build a snowman indoors. You’ll probably need to prop your blanket snowman against a wall to keep him standing.
8. Blanket Bundle- Lay a blanket out on the floor. Roll the child up in a blanket, burrito style. Now roll them back and forth on the floor. This works best on a carpeted floor. Add extra blanket layers and pillows for more proprioceptive input.
9. Indoor Skiing- Coming soon! (I promise!)
10. Snow Angels- Snow angels are an excellent way to provide proprioceptive input! Pushing snow or heavy blankets with the arms and legs is a powerful proprioception activity for kids. You’re providing heavy work input to the legs and arms as they abduct and adduct. Don’t have snow to make snow angels outside? No problem! Incorporate proprioceptive work into this activity by using heavy blankets on a carpeted floor.
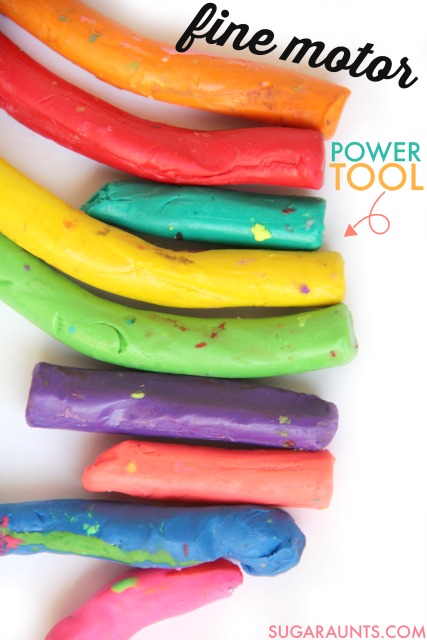
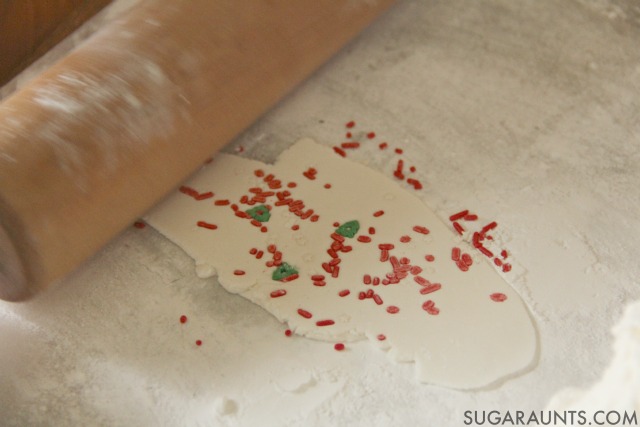
11. Snowman Soda Dough- Soda Dough is a fun activity that provides proprioception to the small muscles of the hands as the child rolls small snowmen. You can find the recipe here.
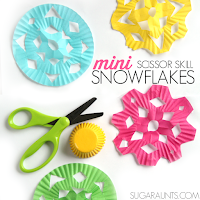
12. Cut Icicles– Cut multiple layers of paper to create indoor icicles while providing proprioception to the hands.
13. Boot Dash {link coming soon!}
14. Snowshoe Walk {link coming soon!}
15. Polar Bear Crawl- Animal walks are a great way to incorporate proprioception into play. Show your child how to crawl like a polar bear on hands and knees. This position is a great way to provide proprioceptive input to the shoulder girdle and hips. Add a heavy blanket or towel over your child’s back for additional deep pressure.
16. Build a Snow Maze- If you’ve got snow in your area, this snow maze activity is a fun way to add heavy work to play. (My kids are still talking about our snow maze!) If you haven’t had snow in your area, build a maze using rolled an piled blankets, pillows, and couch cushions. Move the items around to construct a maze right in your living room.
17. Skate on Thin Ice {link coming soon!}
18. Snowy Walk- Just walking around in snow is a proprioception activity in itself! Enjoy the sights, sounds, and smells of a snowy day during an outdoor winter nature walk.
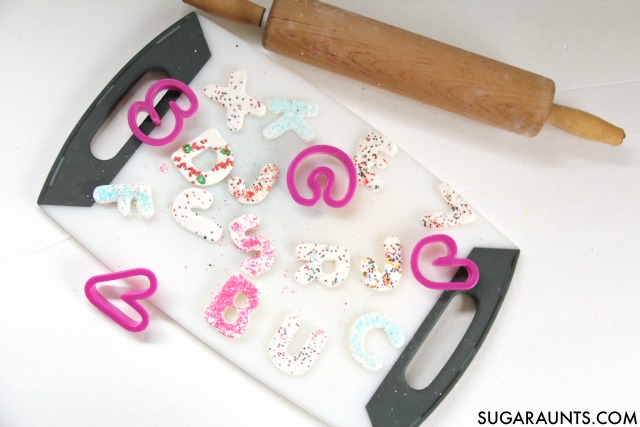
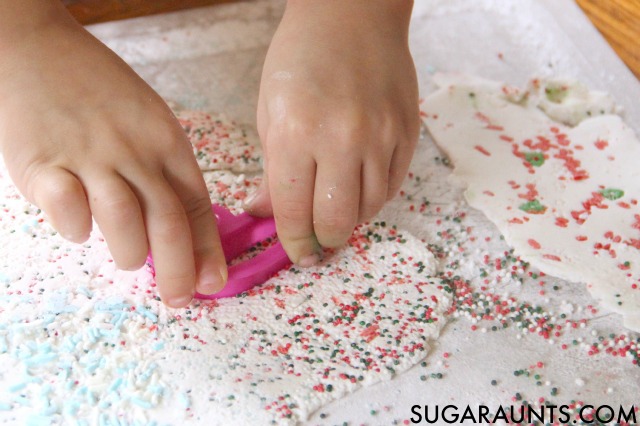
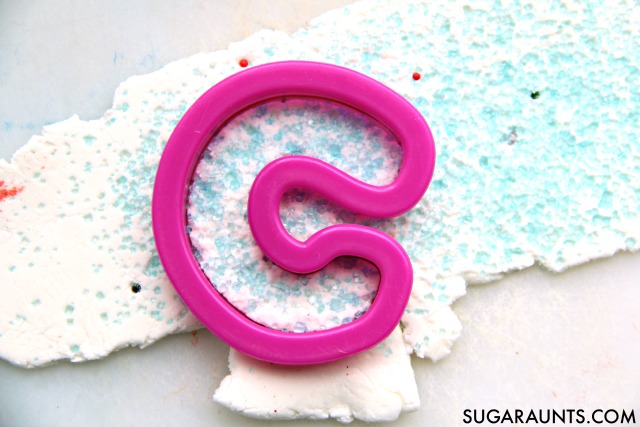
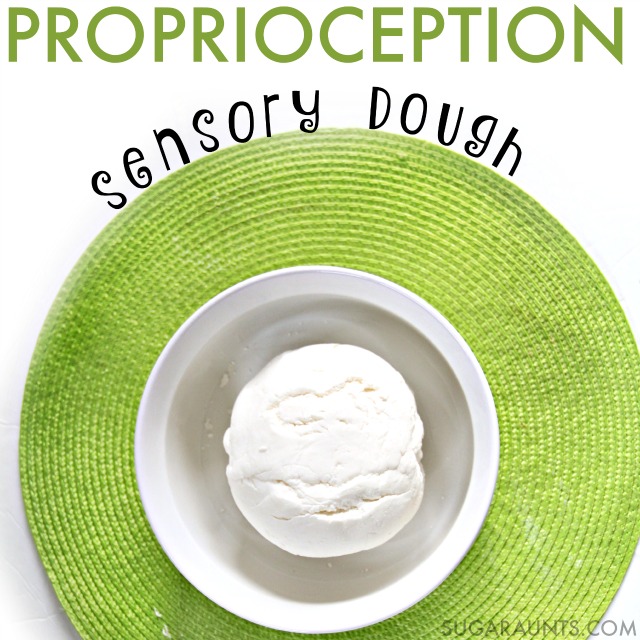
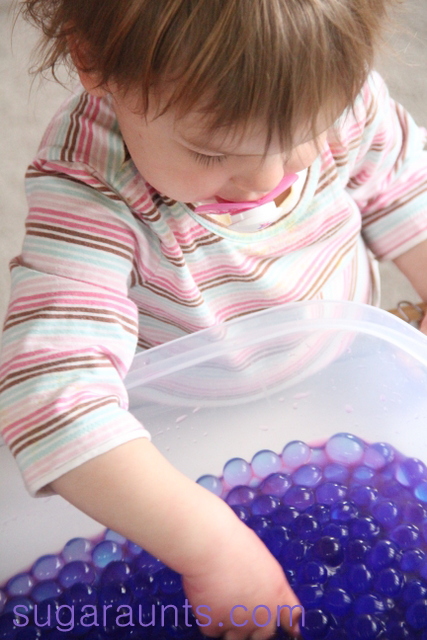
19. Snow Bin- Create a proprioception sensory snow bin with resistive materials like rice or homemade proprioception dough. Add scoops, cookie cutters, and plastic utensils to work on proprioception to the hands and arms. Push glass gems, beads, or other small items into the dough for more play.
20. Dance Party- Get the kids moving with a winter dance party! Add a proprioception component to your snowy winter dance party by adding wall push ups, floor push ups, and push-pull movements.
21. Hole Punch Ice Drops- Punching holes with a paper hole punch is an excellent way to provide proprioceptive input to the hands. Use this activity as a fine motor or handwriting warm up activity to wake up the muscles of the hands. use white paper to punch mini snowflakes and ice droplets. You can scatter these on blue paper covered in glue to create a snowy scene.
22. Snowman Squash- {link coming soon!}
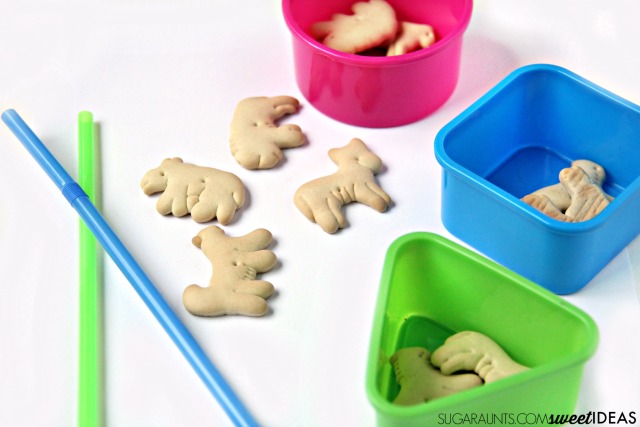
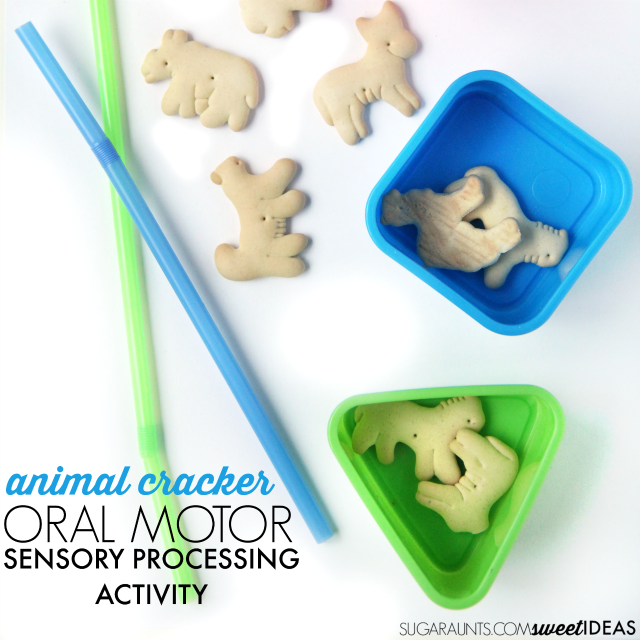
23. Snowball Roll- For this activity, you’ll need masking tape, cotton balls, and a straw. Tape out a line across the floor. Use the straw to blow the snowman snowballs (the cotton balls) along the line while crawling. Adding the straw provides proprioceptive and oral motor input, too. Consider more ways to add proprioception to this activity: Have your child sit on a scooter as the adult pulls the child along with a towel. Another child can push a child’s back as they scoot along the line. Have the child sit on a square of cardboard and move their way along the line using their feet. Roll a weighted ball along the line.
24. Snowman Says- Play “Simon Says” with a winter theme by calling it “Snowman Says”! Add proprioception directions to the game like calling out:
- Animal Walks
- Wall Push Ups
- Tug of War with a blanket
- Jumping
- Hugs
- Stomping
25. Shovel Snow- Shoveling snow is a great way to provide proprioception to the whole body. If you’ve ever shoveled snow, then you know it gets all of the muscles moving…even muscles you didn’t know you had. And the sore body for the next two days keep reminding you! Have your child shovel small scoops of snow to clear a sidewalk. They can help out in the neighborhood by shoveling neighbor’s walks, too. If you are lacking in the real snow department in your area, take the shovel indoors. Use a clean shovel to scoop and move piles of towels, small toys, or even shredded paper.
26. Snow Bucket Brigade- Fill buckets with snow and create a bucket brigade with neighbor hood kids. Use all of that snow to build a snow fort. If you don’t have snow in your area, make an indoor bucket brigade using bean bags, toys, balls, or other small items. Children can dump the buckets’ contents into an empty laundry basket. Pouring the weighted buckets is a great rhythmic and calming activity.
28. Snow Pile Jump- Use outdoor snow to create a pile of snow. Jump into the snow with both feet. Show the child how to try to land on their back or on their side. They can also jump into the snow with one foot or two, or on their knees. No snow in your area? No problem! Create a snowy pile using bed pillows, couch pillows, or foam and cover it with a thing blanket or bed sheet. Jump into the “snow pile” from a trampoline. Use both feet, one feet, and knees to jump.
29. Snow Plow Push- For this activity, use a large cardboard box. Play snow plow by turning the box or laundry basket on it’s side and have the child push the basket around the room, pushing on all fours. They can scoop up balls or other items, including heavier items like pillows for heavy proprioceptive work.
31. Snowboard Balance- Create a homemade balance board like this one for proprioceptive and gross motor input. OR, make an ice wobble disc!
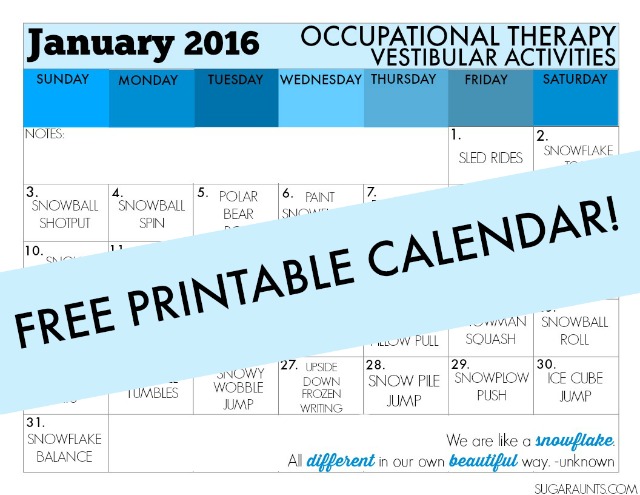
January Winter Calendar: Vestibular Activities turning therapy into play
Vestibular Activities with a Winter Theme:
The vestibular system involves the body’s ability to adjust and move in space based on organs within our inner ears. Problems with vestibular integration may exhibit by difficulty with balance, or a gravitationally insecure child.
You may see a child who craves movement, can’t sit still, seeks excessive movements, or is hyperactive. They might have trouble planning movements, crossing midline, or difficulties with reading and writing. Vestibular activities can be completed in therapy goals through play:
1. Sled Rides- Have your child ride a sled while sitting up, laying flat on their belly, an laying on their back. Pull your child around a yard covered in snow, down gentle slopes, and up small hills. The changes in grade challenges the vestibular system. Don’t have snow? Bring this activity indoors! A plastic sled works great on carpeted floors. Pull your child as they sit/lay in all positions. Add a bit of bumpy terrain by building a “ramp” with couch cushions and a blanket. Don’t forget to spin the sled for circular spinning motions.
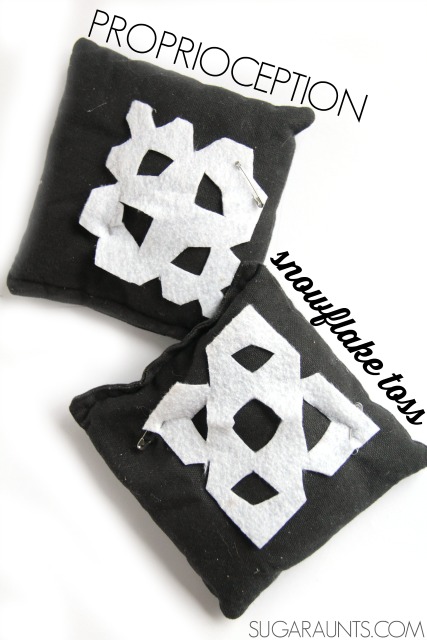
2. Snowflake Toss- Use an inflated balloon to toss and hit from above and the sides. Encourage your child to extend their head and neck back to see a high “snowflake” and down low as they hit the low tosses. Bending, reaching overhead, and swooping side to side allow vestibular motions with a playful function.
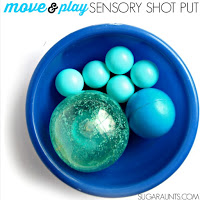
3. Snowball Shot Put
4. Snowball Spin- Curl up like a snowball and get ready to spin! Use a large piece of cardboard for fun break-dancing, snowman-style! Show your child how to turn and move on the cardboard and slide in all directions and planes. For a challenge, draw or paint snowflakes on the cardboard. These are targets for hands and feet and provide a visual motor planning, visual tracking, hand-eye coordination, and crossing midline components! You can number the snowflakes to incorporate more skills. This is an activity that is sure to inspire smiles!
5. Polar Bear Roll- Lay on the floor and roll like a polar bear (log roll style). Use pillows to create obstacles and bumpy targets. Put items on both sides of the room and transfer the objects by only rolling. Rolling is an organizing activity for children.
6. Upside Down Snowflake Paint- Place a large sheet of butcher paper or newspaper on the floor. Have your child hang over a large therapy ball or ottoman to paint on the paper. You can also push dining room chairs together to create a place to hang. Try turning the child over so they are laying on their back and painting overhead with an extended head and neck. When your snowflake paintings have dried, hang them on the ceiling to encourage more neck and head extension as you gaze up at your snowy work of art! TIP: Try this snowflake stamping art activity to incorporate fine motor skills.
7. Bounce a Snowman- Bouncing a ball is rhythmic and calming. Bounce three different sized balls (the snowman’s bottom, middle, and head). Bounce the balls one at a time, then try to bounce two balls at once to encourage bilateral hand coordination. Add ping pong balls (the snowman’s eyes and buttons!) for a challenge. THEN, change the vestibular input by sitting on the balls and bouncing the child or showing them how to bounce up and down. A large therapy ball works well for this activity but other options include blow up beach balls, rubber balls, and kick balls.
8. Blanket Roll-Roll the child up in a blanket on the floor. Roll the child back and forth the whole way across the floor. Be aware of overstimulation and be sure to only do this activity for 10 rolls before taking a break. Now pull the blanket’s end so that the child is moving in the direction of their feet or head. Try pulling the child as they lay on their belly and then on their back.
9. Indoor Skiing-Coming Soon (I promise!)
10. Snow Angels– Cover a hard floor with a bed sheet. Ask the child to lay on the blanket and do snow angels. The thin sheet on a hard floor will provide little resistive feedback (which is what you want if you are working on proprioception activities!) Do angels while standing and while laying on a large therapy ball or over an ottoman, too.
11. Snowman Hop Scotch- Draw a snowman on a sidewalk or driveway. If it has recently snowed, draw a snowman in the snow with a stick. If the temperatures are too cold to play outdoors, draw a snowman on a large sheet of cardboard or create a snowman on the floor using masking tape. No matter where you make your snowman hop scotch board, don’t stop at just three circles! Make your snowman as high as you like! Play hop scotch with the snowman shape for jumping and hopping vestibular input. For a challenge, draw buttons on each circle. Children can count the number of buttons as they play hopscotch.
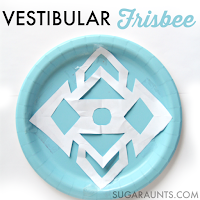
12. Snowflake Frisbee
13. Boot Spin {link coming soon!}
14. Snowshoe Walk {link coming soon!}
15. Polar Bear Crawl- Crawl on all fours like a polar bear. Add throw pillows and a body pillow, as well as rolled blankets to add a balance course. Ask them to hang their head down low as they crawl, then stand up on their knees like a polar bear. Changes in head position is calming and organizing for the vestibular systems integration of sensory input.
16. Snow Maze Obstacle Course- If you’ve got snow outside, build logs of snow for climbing over, walking along, and rolling over. Pile up a lump of snow for climbing on and sliding down. Get creative with building piles of snow and showing your child how to slide, drop, swoop, jump, roll, and crawl around, over, and through. Kids can position themselves in all planes for a variety of vestibular input. If you haven’t got snow in your area, create an indoor snow maze. use pillows and blankets to make “snow piles”.
17. Skate on Thin Ice- {link coming soon!}
18. Snowy Spin
19. Snow Slide- Use a large sheet of cardboard to create a snowy slide on the steps. You can also pile up a few couch cushions and pillows to create a ramp for sliding. If you’ve got snow outdoors, cardboard makes a great sled! Try sliding while sitting, laying, and spinning for more vestibular play.
20. Snow Dance Party- Turn up the music and spin, twirl, shake, stretch, jump, and sway to the music. Play music listening games like Freeze Dance. Turn the music off and everyone needs to freeze in the position that they are in. Try dancing with scarves and hoola hoops for more movements.
Other Winter Dance ideas:
- Spin and twirl around a frozen lake
- Pick up “ice cube” cotton balls and leap across the room to another “ice cube” as kids collect the ice cubes.
- Frozen Bottom: dance to music and someone stops the music. When the music stops, everyone drops to the floor and sits on their bottom.
- Winter Clothes Dance- Everyone dances until someone stops the music. When the music stops, everyone grabs an article of winter clothing and puts it on. You can have available a sweater, scarf, mittens, hat, earmuffs, coats, etc.
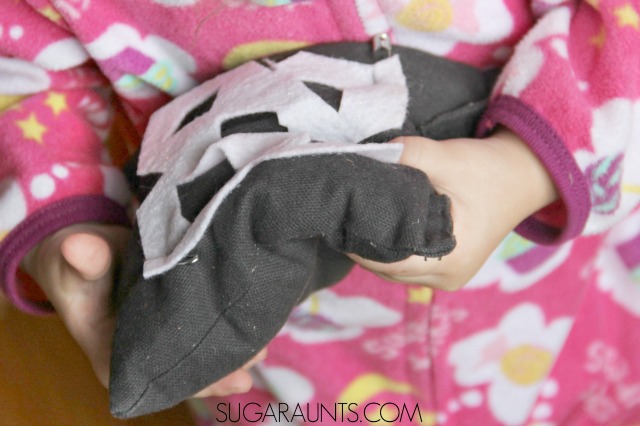
21. Snowflake Pillow Pull- Cut snowflakes from a small square of felt. Pin these to a body pillow. Children must lay on the body pillow, holding onto the snowflakes. An adult can pull the body pillow around the room as the child hugs the pillow. An alternate activity is to have the child sit on a a snowflake on the pillow as they hold on to the sides. Being pulled around on a moving seat is a calming vestibular activity for kids.
22. Snowman Squash- {link coming soon!}
23. Snowman Roll- Do somersaults along the floor. Tape a line of masking tape on the floor and have your child somersault along the line. Use the line to roll balls across the room, using ping pong balls and larger balls. Use a wheeled scooter to roll along the line. Scoot along the tape with the scooter while blowing a cotton ball “snowman” with a straw.
24. “Snowman Says”- Simon says with a snowman theme is a fun way to incorporate vestibular and proprioceptive input and adding the components of your child’s needs into a playful game.
Try some of these Snowman Says movements:
Vestibular: Twirl your arms.
Bend at the waist and reach between your legs.
Jump
Hop
Skip
Roll
Dance
Spin
Somersault
25. Shovel Tumbles- Use a sandbox shovel to toss a ping pong ball “snowball” into a target such as a bucket or an empty laundry basket. For added vestibular input, add a tumbling movement to the activity as the child tries to keep the ball in the shovel while they tumble.
26. Snowy Wobble Jump- You can up the vestibular input by placing a mini trampoline on the wobbly cushion base. Jump on the trampoline or jump off of the trampoline. Put a cushion or pillow on the trampoline and jump on that.
27. Upside Down Frozen Writing- Encourage head tilt and alternate planes by writing while hanging over a chair or stack of couch cushions. Writing in the prone position puts the hands at a more optimal writing position than hanging from supine.
28. Snow Pile Jump- Use outdoor snow to create a pile of snow. Jump into the snow with both feet. Show the child how to try to land on their back or on their side. They can also jump into the snow with one foot or two, or on their knees. No snow in your area? No problem! Create a snowy pile using bed pillows, couch pillows, or foam and cover it with a thing blanket or bed sheet. Jump into the “snow pile” from a trampoline. Use both feet, one feet, and knees to jump.
29. Snow Plow Push- For this vestibular activity, use a large cardboard box. The child can climb into the box and an adult can pull them around. Take the cardboard outside on a snowy hill. If you don’t have a cardboard box large enough to hold your child, use a laundry basket. Play snow plow by turning the box or laundry basket on it’s side and have the child push the basket around the room, pushing on all fours.
30. Ice Cube Jump
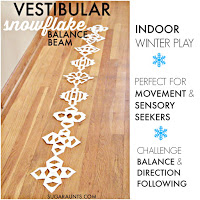
31. Snowflake Balance
Hopefully these activities will help with Vestibular activities. Be sure to visit each activity for more vestibular ideas.