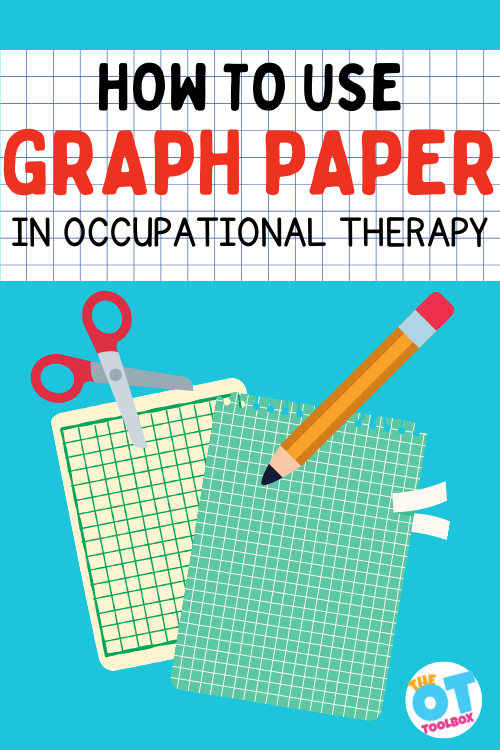
Do you know how to use graph paper to meet specific OT goal areas? We can use grid paper in occupational therapy sessions to develop many goal areas. Did you ever see a student using graphed paper in occupational therapy and wonder about the pre-gridded paper purpose in supporting goals? Not only is graph paper a type of adapted paper for some, it can be a tool too! There are so many different reasons to use this type of paper to support specific handwriting or visual perception needs. Here we are discussing using graph paper and why this type of therapy tool can be helpful.
Graph Paper Purpose in OT
Graph paper comes in many sizes! Specific activities can be easily graded in difficulty just by making it easier when boxes are large and of course more challenging as boxes become smaller in size.
Graph paper can be used as a tool to support many areas of development:
Try these paper activities in occupational therapy sessions or at home. Here are ideas on using graph paper to meet specific goal areas in OT or at home:
Graph Paper for Visual Perception
Tasks like forming letters the correct size, using margins, aligning lists or columns are all visual perceptual areas of handwriting. You can use grid paper to support these needs.
Graph paper is great to use for math problems! Simply place one number in each box and line them up so numbers are easily read and there’s a spot for each number in your answer. Your math work just might be easier to do and it will for sure be easier to read.
Graph paper for visual motor skills
Related to the visual perception aspect is the contribution of motor skills. In order to copy shapes, copy and write words, recreate graphs, plot lines, etc. one needs visual motor skills.
Graph paper can be used to address visual motor skills with these activities:
Create a plot diagram. Use a ruler to connect lines.
Copy shapes and designs using the grid blocks on the paper.
Form block letters with or without a model.
Cut shapes and trace the shape using the graph paper template.
Create symmetry drawings by folding the graph paper in half.
I love to use graph paper for imitating drawings. I will draw an odd shape or maybe even a specific item and ask a student to copy my drawing by counting and using the boxes to replicate my shape. Students can also draw their own shape and try to “stump” the therapist or other player.
If the adult/other player is creative, s/he can label the boxes with letters and numbers across the top and side edges (kind of like a BINGO board) and the student is asked to fill in box A-1, or C-3, etc. to create a picture that will mysteriously become visible at the end. The one helping here must do a little homework on their own first to make sure the colored in boxes will actually create a picture.
Draw shapes–
The student can also be instructed (verbally or with written cues) to draw shapes, lines, letters, etc. in certain boxes or at the intersection of certain lines (e.g. put a yellow circle in box A-1, or draw a tree at line F-7 or similar).
This helps to follow written instructions, draw a specific shape, and locate the correct space on the graph paper. Be creative and make it fun!
Graph paper Letter Size Activity-
Finally, it would be an injustice to graph paper if I didn’t mention the use it can play in creating letter boxes for a box and dot handwriting task. Your student may already be familiar with this through OT sessions.
Graph lines can be used to outline the space in which a letter sits, using one single box for lower case letters. Upper case letters and lower case tall letters: (t, d, f, h, k, l, b) will need to include the box ON TOP to make it a one wide by a 2 tall defined space.
Lower case letters that are descending below the line, or tail letters (q, y, p, g, j) must include the box BELOW, making it also a one wide by 2 space, but the box on bottom goes below the line on which the letters are written.
Missing letter activities-
Making up a “key” of words, or a game, have the student place the letters in the proper defined word space that has letter boxes outlined or maybe even just the word outlined. This may be a fun way to practice spelling words.
Cutting activity-
If nothing else, you can always use graph paper to practice cutting on the lines, creating a colored picture, making paper air planes, or crumpling into a ball to play a game. Graph paper is one style of cutting paper with a graded resistance we talk about in our scissor skills crash course.
I’m sure your student can think of many non-traditional things to do with it on his/her own!
If you don’t have graph paper on hand, below are resources I have found which may be helpful.
The Handwriting Book is a comprehensive resource created by experienced pediatric OTs and PTs.
The Handwriting Book covers everything you need to know about handwriting, guided by development and focused on function. This digital resource is is the ultimate resource for tips, strategies, suggestions, and information to support handwriting development in kids.
The Handwriting Book breaks down the functional skill of handwriting into developmental areas. These include developmental progression of pre-writing strokes, fine motor skills, gross motor development, sensory considerations, and visual perceptual skills. Each section includes strategies and tips to improve these underlying areas.
Strategies to address letter and number formation and reversals
Ideas for combining handwriting and play
Activities to practice handwriting skills at home
Tips and strategies for the reluctant writer
Tips to improve pencil grip
Tips for sizing, spacing, and alignment with overall improved legibility
Colleen Beck, OTR/L has been an occupational therapist since 2000, working in school-based, hand therapy, outpatient peds, EI, and SNF. Colleen created The OT Toolbox to inspire therapists, teachers, and parents with easy and fun tools to help children thrive. Read her story about going from an OT making $3/hour (after paying for kids’ childcare) to a full-time OT resource creator for millions of readers. Want to collaborate? Send an email to contact@theottoolbox.com.
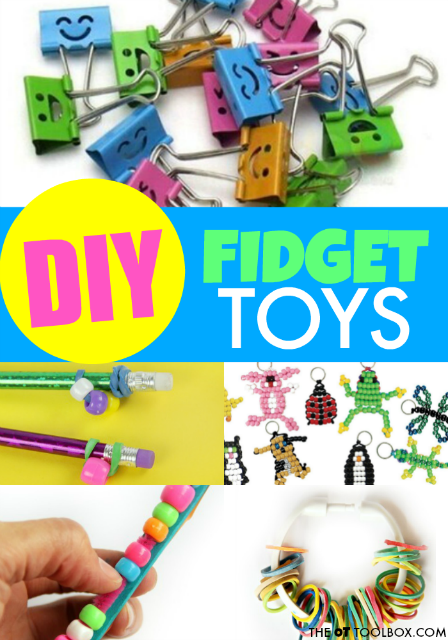
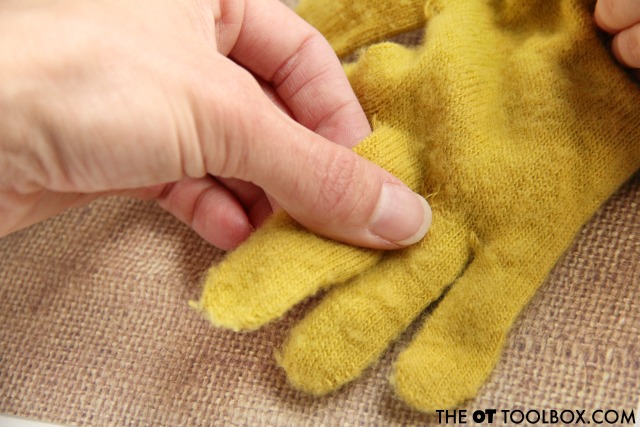
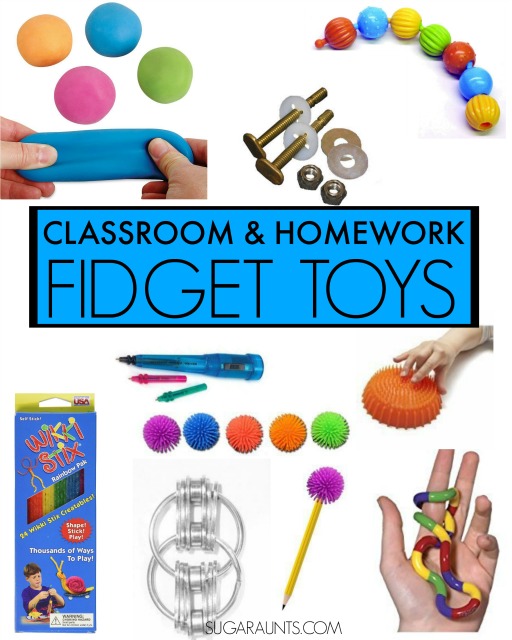
These DIY fidget toys are homemade fidgets that kids can make. Use these fidget items to help kids pay attention and focus in the classroom or home. Add these ideas to your occupational therapy toys that support kids through play while targeting self-regulation skills.
DIY Fidget Toys
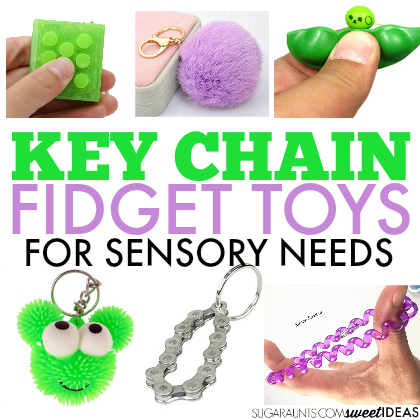
Fidget toys are in the hands of many school-aged kids. Students without sensory or attention needs are playing with fidget toys on the playground, on the school bus, and in the classroom. You can find spinner fidgets, and so many other fidget toys in many stores and online, but what about the DIY version?
The thing about some store-bought fidget tools is that they are noisy and call attention to the user. Fidget toys have become more popular in recent years, allowing those that truly need them for meeting sensory and motor needs to be more mainstream.
In fact, using a few of these games with paper clips are good ways to fidget with the fingers using everyday materials.
However, that can be another issue when a student has a fidget tool in the classroom. It can draw attention to the student because other students see the itm as a toy rather than a tool to support learning.
Coming up with quiet fidget toys that help the child meet their sensory and movement needs without creating more noise or attention in the classroom can be tricky. Here are more ideas for quiet fidget toys for the classroom.
So what is the obsession with these fidget toys?
The fidgets are intended to provide kids with a means to occupy their hands so that they can focus during tasks that require attention. There are many children who need fidget tools in order to complete work. Most of us know the feeling: the urge to doodle when talking on the phone or the tendency to tap a foot during a lengthy work meeting.
Fidgeting is a tool that helps us to actually pay attention and focus on the task at hand in many situations. Fidgeting during homework or in the classroom is a common behavior.
You have probably seen kids (and maybe your own kids) spinning these spinner fidget toys.
The fidgets that are in every school and classroom these days are beneficial to some students. For others, they are a cool new toy. For those that require a fidget tool to focus or attend, or have sensory needs requiring the hands and fingers to move, other fidget toys may work just as well.
Fidgeting during work stimulates the brain, allowing a child to complete school work or homework.
Fidgeting is mindless play or touching fingers, pencils, hands…anything that allows a person to focus on the task at hand. Kids that are fidgeting are seeking calm, and focus so that their brain can complete a task.
The problem is when the brain’s urge to fidget distracts a child from school tasks. They might be so wiggly and moving that they just can not sit still and focus in a functional manner. Fidgeting can be managed with less distracting techniques which can allow the child to accomplish the homework, and move on to other things.
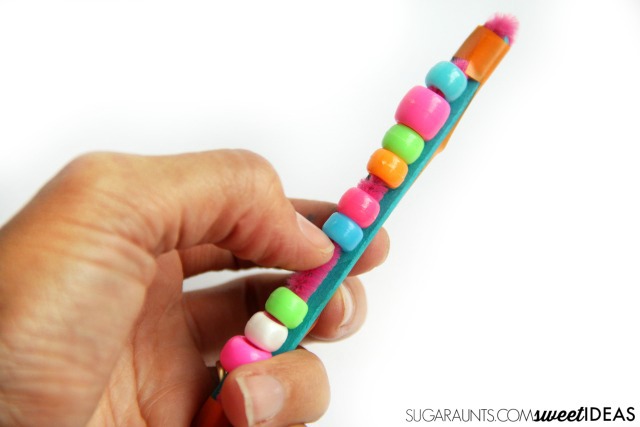
Make a paper fidget toy that doubles as a fine motor workout! These paper flextangles are too cool!
How to Make Fidget Toys
Getting kids involved with making homemade fidget toys is part of the fun. There are fine motor benfits involved in this process, too.
First, select the type of DIY fidget you would like to use to meet specific needs.
Next, select materials. You may need pipe cleaners, beads, balloons, or nuts and bots.
Prepare a work space. Set out the materails on a table or desk.
Students can select the materials they would like to use.
Create a fidget tool using the materials.
The nice thing about fidgets is that with the growth of YouTube as a resource, there are many videos on how to make fidget toys out there. Use one of those available videos as your inspiration, or use the materials you have on hand.
If one thing is for certain, it is possible to make a DIY fidget toy using anything!
Try these suggestions for homework and classroom fidget tools.
What are your favorite DIY fidget toys? Do you have any favorite tools that work for your child, student, or client?
fidget tool or a fidget toy?
Here is your disclaimer on the wording of this blog post…
The term fidget toy is very well known these days, with the popularity of spinner fidgets. However, there is a distinction between a fidget toy and a fidget tool. When there is a therapeutic need for a product, it is a tool. A therapy tool is one that helps meet goals, results in independence through intervention. Something that looks like a toy can be a tool for the child with sensory needs, fine motor challenges, attention difficulties, or any other problem areas.
Fidget tools are those that help kids cope, meet sensory needs, and get the input they need so they can focus, pay attention, and move. In this blog post, I am using these terms interchangeably, for best search results. In other words, people complete a Google search for fidget toy, not a fidget tool, and I want this information to be found on Google so that the kids who need a fidget tool are well-served!
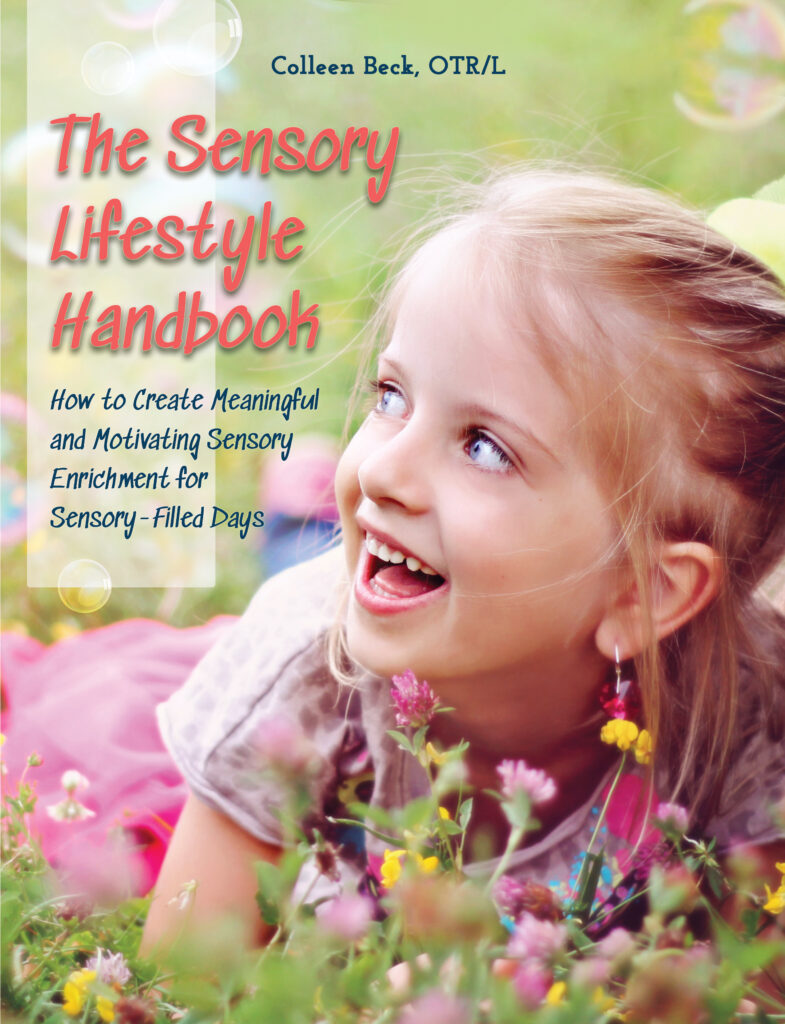
Need to add DIY fidget toys to a sensory diet? Wondering how to integrate a sensory diet into everyday tasks? A sensory lifestyle may be more of what you are looking for! DIY fidget toys fit right into a sensory lifestyle with ease and flexibility.
Read all about how to create a sensory lifestyle here:
The Sensory Lifestyle Handbook walks you through sensory processing information, each step of creating a meaningful and motivating sensory diet, that is guided by the individual’s personal interests and preferences.
The Sensory Lifestyle Handbook is not just about creating a sensory diet to meet sensory processing needs. This handbook is your key to creating an active and thriving lifestyle based on a deep understanding of sensory processing.
Colleen Beck, OTR/L has been an occupational therapist since 2000, working in school-based, hand therapy, outpatient peds, EI, and SNF. Colleen created The OT Toolbox to inspire therapists, teachers, and parents with easy and fun tools to help children thrive. Read her story about going from an OT making $3/hour (after paying for kids’ childcare) to a full-time OT resource creator for millions of readers. Want to collaborate? Send an email to contact@theottoolbox.com.
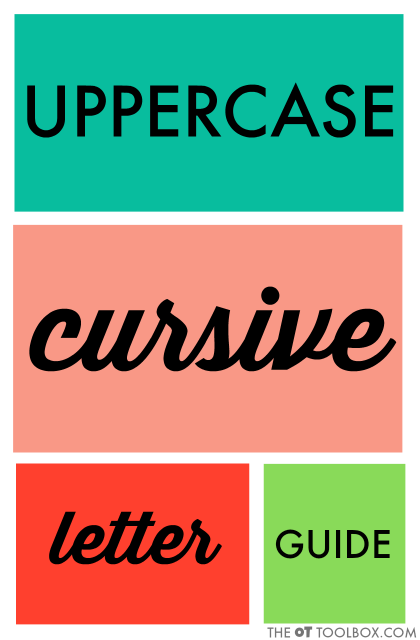
Teaching kids to write uppercase cursive can be quite tricky. Upper case cursive letters are part of handwriting and everyday written expression, but when it comes learning the motor plan for forming uppercase letters in cursive writing, establishing fluent writing is needed for accuracy. Below you’ll find tricks for teaching uppercase cursive letters and uppercase cursive letter formation.
Upper Case Cursive
In this blog post, we refer to the terms “upper case cursive letters” and “uppercase cursive”. The semantics of describing capital letters in cursive is simply for understanding the material, and meeting the needs of all individuals seeking resources on teaching upper case letters in cursive formation.
Let’s get started with the uppercase cursive writing resources and tips.
Some uppercase cursive letters are not used as often as their lowercase counterpart.
When kids learn to write their name in cursive and become proficient at their cursive signature the uppercase letter is just part of the writing motor plan becomes natural and a personal part of a personal style.
There are many uppercase cursive letters that can easily be forgotten simply because they are not used very often!
This post is part of our 31 day series on teaching cursive. You’ll want to check out the How to Teach Cursive Writing page where you can find all of the posts in this series.
For more ways to address the underlying skills needed for handwriting, check out the handwriting drop-down tab at the top of this site.
Uppercase Cursive LetterS
Some students develop a natural speed and personal writing style and will prefer to write in cursive. Other students will write only their signature in cursive. Still other students develop a natural speed and personal style and may mix upper and lower case cursive letters.
If you look at the average adult handwriting you may notice that there is a mixture of printed and cursive letters. The goal being functional written work, this is fine for adults and individuals who are writing for speed such as high school students.
However, consistent and accurate formation is needed for formal written work in cursive.
Like the cursive letter families for lowercase, the uppercase letters are divided up into groups of families based on pencil strokes.
Teaching kids to write cursive upper case letters is broken down by formation and pencil strokes. We’ve listed the letters out in groups below to support letter formation and motor planning skills.
The descriptions are designed to promote the easiest formation style of cursive letters, eliminating extra lines such as the beginning loop of uppercase cursive letter C.
The letters that are exact replicas of their printed counterparts are designed to ease transition for letters that are not commonly used in written work. This is a tactic of the Handwriting Without Tears letter order strategy.
Uppercase Cursive Letters D, F, T
Cursive D, F, and T are Uppercase Cursive letters with a downward start.
These letters include D, F, and T. These letters all start with a downward stroke of the pencil. Let’s break these letters down by formation and pencil strokes.
Uppercase cursive D begins down followed by a loop to the left upwards with a curved back to the baseline and a big round curve to finish off the top.
Uppercase cursive F starts in the middle of the letter with a downward stroke followed by a curve to the left and a crossline. Then on top is a crossline topper.
Uppercase cursive T starts with a middle down work stroke in the middle of the letter followed by a curve to the left and no crossline. Then on top is a crossline topper.
Uppercase Cursive A, C, E, O, and Q
Upper case cursive A, C, E, O, and Q are considered “Right curve start uppercase letters” because the pencil stroke starts in the right upper corner. This group includes uppercase letters that start on the right side and curve left. Consider the formation of these letters much like the formation of a printed c.
Uppercase cursive A starts at the right top line and curves to the left with a big C motion to the baseline. The pencil then curves up to close a letter causes at the top line. Retrace back down in loops a way to connect.
Uppercase cursive C starts with a right curve start at the top uppercase C
Uppercase cursive E starts with a right curve start at the top line. It includes two small curves pausing at the middle line before curbing again to the left to the baseline.
Uppercase cursive O is a right curve start beginning at the top line and curving in a big city motion to the baseline. It continues around to close the lot start has a small loop at the top.
Uppercase cursive Q is a right curve start letter beginning at the top line and curving in a big motion to the baseline. Q continues around to close the top of the letter and has a small loop at the end. It then has a kickstand line to complete the letter.
Uppercase Cursive B, P, R, L
These letters are considered “Rocker start uppercase letters“. Uppercase B, P, R, and L begin with a small curving motion to begin the letter at the top line.
Uppercase cursive B starts with a rocker start followed by a straight line down to the baseline. It retraces up to the top line and curve around right to the middle line. Pause and curve around right to the baseline.
Upper case cursive P is a rocker start cursive letter. The letter starts with a rocker line to the top. Straight line down to the baseline. Retrace up to the top line. Curve around with a small curve to the middle line.
Upper case cursive R is a rocker start cursive letter. The letter starts with a rocker line to the top. Straight line down to the baseline. Retrace up to the top line. Curve around with a small curve to the middle line. Kick out to the baseline with a slant.
Upper case cursive L is a rocker start letter that continues with a small loop down to the baseline. The line continues with a small group and diagonal line to connect as it swings away to the baseline.
Upper Case Cursive I and J
Next up in teaching cursive capital letters are the “Left curve start letters“. These letters switch pencil stroke directions and have a starting point on the opposite side of the other letters previously covered. There are just two letters start with a left. These include uppercase letter I and J. Both letters start with the pencil moving in a left line direction.
Uppercase letter I is a left curve start letter. The letter starts at the baseline and swings in a loop to the left and turns at the top line. It continues the tall loop back to the baseline, but continues the motion until reaching the middle line. The pencil pauses and pulls in toward the loop at the midline.
Uppercase letter J is a left curve start letter. The letter starts at the baseline and curves left and then up to the top line. It swings straight back down to the baseline and pass the baseline with a table. The line then swings left and then curves up and away to connect.
Upper Case Cursive H, K, M, N, X, W
Next up are the “Top loop start letters“. Several letter start with a top-starting loop that continues down. These letters include capital H, K, M, N, X, and W.
Uppercase cursive H begins with a top loop that continues down to the baseline. The pencil picks up and starts again at the top line. The pencil stroke goes straight down to the baseline and then swings away to touch the initial pencil line. It swings in a loop and then connects over to the second line.
Upper case cursive H is one of a few letters with two pencil strokes where the pencil picks up to continue a letter. Most cursive letters and all other cursive letters use only a single pencil stroke.
Uppercase cursive K is a loop start letter. It begins at the top with a link to the right on the lease straight line down to the baseline. This is much like the uppercase letter H. However with the K, the second line starts at the top line and continues in to cross the first line with a small loop and then continues out again to the baseline.
Upper case cursive M is a loop start letter that begins at the top line with a loop. The line continue straight down to the baseline and stops. It retraces up over the climb to the top with a bump and continues down to the baseline again. The pencil strip retraces back up that one to the top line and bumps over to the baseline
Upper case cursive N is a loop start letter that begins at the top line with a loop. The line continue straight down to the baseline and pauses. It re-traces back up and curbs away with a bump at the top line. The line continue straight down to the baseline and stops.
Uppercase cursive X is a loop start letter that begins with the loop at the top line followed by a diagonal line down to the baseline. The pencil is picked up and continued at the top line and has a diagonal in the opposite direction to cross at the middle of the X.
Upper case cursive W is a loop start letter that begins at the top line with a loop. The line continues down with a bottom bump inverted bump at the baseline that continues up to the middle line and beyond to the top line. The line is retraced back down with an inverted pump at the baseline. The line continues back up to the top line.
Upper case cursive U, V, W, Y, Z
The last remaining uppercase cursive letters are ones that are very similar information to their lowercase counterparts. They are quite similar in most cases to their printed letter.
These letters include U, V, W, Y, Z
Uppercase cursive U is an exact replica of its printed counterpart.
Uppercase cursive letter V is an exact count a part of its printed counterpart.
Uppercase cursive W is an exact replica of its printed counterpart.
Uppercase cursive Y is an exact replica of it’s lowercase cursive counterpart.
Uppercase cursive Z is an exact replica of the lowercase Z form.
Uppercase Cursive letter practice
Now that you have the specific letter formation directions down and the order to teach uppercase cursive letters, the next step is practice!
Creating a motor plan for automatically creating letters supports handwriting speed, autonomy, and legibility. Practice makes perfect, after all!
But how do you help kids (or adults) create that motor plan for uppercase letters?
Adding sensory motor handwriting strategies! Use the ideas below as a practice component for practicing uppercase cursive writing.
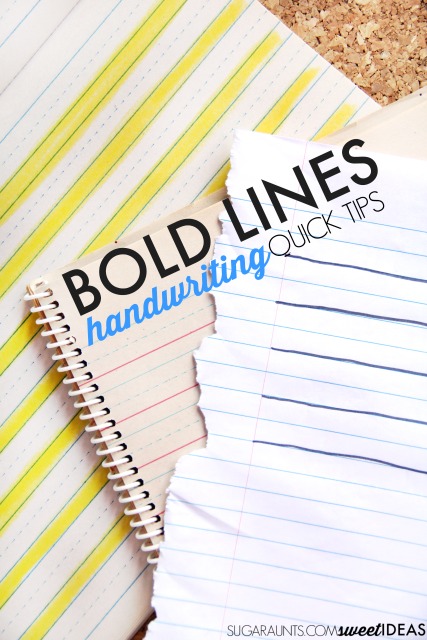
Bold Lines Handwriting Trick– Work on forming uppercase cursive letters on the lines using this bold lines trick.
DIY Desk Letter Strip– Make an uppercase cursive letter strip to using forming letters correctly and grouping uppercase cursive letters into families based on the way the pencil strokes go.
Need more uppercase cursive tips? Try the Handwriting Book:
The Handwriting Book is a comprehensive resource created by experienced pediatric OTs and PTs.
The Handwriting Book covers everything you need to know about handwriting, guided by development and focused on function. This digital resource is is the ultimate resource for tips, strategies, suggestions, and information to support handwriting development in kids.
The Handwriting Book breaks down the functional skill of handwriting into developmental areas. These include developmental progression of pre-writing strokes, fine motor skills, gross motor development, sensory considerations, and visual perceptual skills. Each section includes strategies and tips to improve these underlying areas.
Strategies to address letter and number formation and reversals
Ideas for combining handwriting and play
Activities to practice handwriting skills at home
Tips and strategies for the reluctant writer
Tips to improve pencil grip
Tips for sizing, spacing, and alignment with overall improved legibility
There are many reasons why writing uppercase cursive letters are so difficult for many students. While cursive is a fluent progression from printed handwriting and an easier form for many students, there can be some issues that impact legibility and fluency with forming the uppercase version of these cursive letters.
Cursive letters are not used as often as the lowercase counterparts. Because of this, it can be challenging for kids to consistently remember how to form uppercase letters in cursive.
Practicing letters to create the muscle memory is the way to get there. Practice those upper case cursive letters and they will become fluent and legible!
Colleen Beck, OTR/L has been an occupational therapist since 2000, working in school-based, hand therapy, outpatient peds, EI, and SNF. Colleen created The OT Toolbox to inspire therapists, teachers, and parents with easy and fun tools to help children thrive. Read her story about going from an OT making $3/hour (after paying for kids’ childcare) to a full-time OT resource creator for millions of readers. Want to collaborate? Send an email to contact@theottoolbox.com.