Cutting Playdough

cutting playdough

This cutting playdough activity is a fine motor hand strengthening activity that builds scissor skills, bilateral coordination, and more! We love using play dough snakes to target these skills, but in this blog post, we’re talking all things cutting playdough with scissors!

cutting playdough

Cutting play Dough

By cutting playdough with scissors, you can quickly target several areas:

Little Guy is just learning how to hold the scissors, how to coordinate both hands together when cutting, how to open and shut the blades of the scissors to cut smooth lines, and how to stay on a line when cutting. 
 
This little activity is perfect to work on all of those things.
 
Plus, he thought it was a ton of fun to Cut. Play Dough. With. Scissors.

 
cutting playdough


First, roll out the play dough into a “play dough snake“…this is a perfect fine motor strengthening activity for little hands.
 
Mom, You then use the blades of the scissors to press lines into the “snake”.


Why cutting play dough?

 
The child will hold the play dough snake with his assisting (non-dominant hand).  Using the helper hand in a coordinated manner can be tricky for the new cutter.  A fun way to practice (like this activity) is a real confidence booster. 
 
Holding the scissors in a vertical position is sometimes, a big part of the problem with accuracy of cutting paper along lines.  Cutting the play dough snake usually will automatically correct a horizontal or diagonal position of the scissors.  Practice will help to carry-over the positioning when cutting paper. 
 
The nice wide and short lines in the play dough snake are great for practicing line awareness and the “open/shut” motion of the scissors when cutting.  Plus, the slight resistance of the play dough really provides feedback to the child. We cover this in our post on graded precision.
 
Just be sure to do this activity with your child.  This shouldn’t be an unsupervised activity…a little finger can get caught in the scissors easily.
 
 
This one looked like so much fun that Big Sister had to join in too 🙂


Expand the activity to cut play dough with scissors

One way to make this activity more difficult, or to add resistance to the playdough for greater hand strengthening is to freeze the play dough. Popping it in the freezer makes the dough more resistant, adding greater feedback through the hands.

More fine motor activities:

Working on fine motor skills, visual perception, visual motor skills, sensory tolerance, handwriting, or scissor skills? Our Fine Motor Kits cover all of these areas and more.

Check out the seasonal Fine Motor Kits that kids love:

Or, grab one of our themed Fine Motor Kits to target skills with fun themes:

Want access to all of these kits…and more being added each month? Join The OT Toolbox Member’s Club!

Colleen Beck, OTR/L has been an occupational therapist since 2000, working in school-based, hand therapy, outpatient peds, EI, and SNF. Colleen created The OT Toolbox to inspire therapists, teachers, and parents with easy and fun tools to help children thrive. Read her story about going from an OT making $3/hour (after paying for kids’ childcare) to a full-time OT resource creator for millions of readers. Want to collaborate? Send an email to contact@theottoolbox.com.

How to Use Graph Paper

graph paper uses

Do you know how to use graph paper to meet specific OT goal areas? We can use grid paper in occupational therapy sessions to develop many goal areas. Did you ever see a student using graphed paper in occupational therapy and wonder about the pre-gridded paper purpose in supporting goals? Not only is graph paper a type of adapted paper for some, it can be a tool too! There are so many different reasons to use this type of paper to support specific handwriting or visual perception needs. Here we are discussing using graph paper and why this type of therapy tool can be helpful.

Graph paper uses in occupational therapy for handwriting and other areas.

Graph Paper Purpose in OT

Graph paper comes in many sizes!  Specific activities can be easily graded in difficulty just by making it easier when boxes are large and of course more challenging as boxes become smaller in size. 

Graph paper can be used as a tool to support many areas of development:

How to Use Graph Paper

Try these paper activities in occupational therapy sessions or at home. Here are ideas on using graph paper to meet specific goal areas in OT or at home:

Graph Paper for Visual Perception

Tasks like forming letters the correct size, using margins, aligning lists or columns are all visual perceptual areas of handwriting. You can use grid paper to support these needs.

Graph paper is great to use for math problems! Simply place one number in each box and line them up so numbers are easily read and there’s a spot for each number in your answer. Your math work just might be easier to do and it will for sure be easier to read.

Graph paper for visual motor skills

Related to the visual perception aspect is the contribution of motor skills. In order to copy shapes, copy and write words, recreate graphs, plot lines, etc. one needs visual motor skills.

Graph paper can be used to address visual motor skills with these activities:

  • Create a plot diagram. Use a ruler to connect lines.
  • Copy shapes and designs using the grid blocks on the paper.
  • Form block letters with or without a model.
  • Cut shapes and trace the shape using the graph paper template.
  • Create symmetry drawings by folding the graph paper in half.
  • Create pencil control exercises to work on precision with pencil use.


I love to use graph paper for imitating drawings. I will draw an odd shape or maybe even a specific item and ask a student to copy my drawing by counting and using the boxes to replicate my shape. Students can also draw their own shape and try to “stump” the therapist or other player.


If the adult/other player is creative, s/he can label the boxes with letters and numbers across the top and side edges (kind of like a BINGO board) and the student is asked to fill in box A-1, or C-3, etc. to create a picture that will mysteriously become visible at the end. The one helping here must do a little homework on their own first to make sure the colored in boxes will actually create a picture.

Draw shapes

The student can also be instructed (verbally or with written cues) to draw shapes, lines, letters, etc. in certain boxes or at the intersection of certain lines (e.g. put a yellow circle in box A-1, or draw a tree at line F-7 or similar). 

This helps to follow written instructions, draw a specific shape, and locate the correct space on the graph paper.  Be creative and make it fun!

Graph paper Letter Size Activity-

Finally, it would be an injustice to graph paper if I didn’t mention the use it can play in creating letter boxes for a box and dot handwriting task.  Your student may already be familiar with this through OT sessions. 

Graph lines can be used to outline the space in which a letter sits, using one single box for lower case letters.  Upper case letters and lower case tall letters: (t, d, f, h, k, l, b) will need to include the box ON TOP to make it a one wide by a 2 tall defined space. 

Lower case letters that are descending below the line, or tail letters (q, y, p, g, j) must include the box BELOW, making it also a one wide by 2 space, but the box on bottom goes below the line on which the letters are written. 

Missing letter activities-

Making up a “key” of words, or a game, have the student place the letters in the proper defined word space that has letter boxes outlined or maybe even just the word outlined.  This may be a fun way to practice spelling words. 

Cutting activity-

If nothing else, you can always use graph paper to practice cutting on the lines, creating a colored picture, making paper air planes, or crumpling into a ball to play a game.  Graph paper is one style of cutting paper with a graded resistance we talk about in our scissor skills crash course.

I’m sure your student can think of many non-traditional things to do with it on his/her own!

If you don’t have graph paper on hand, below are resources I have found which may be helpful.

More handwriting tips

The Handwriting Book is a comprehensive resource created by experienced pediatric OTs and PTs.

The Handwriting Book covers everything you need to know about handwriting, guided by development and focused on function. This digital resource is is the ultimate resource for tips, strategies, suggestions, and information to support handwriting development in kids.

The Handwriting Book breaks down the functional skill of handwriting into developmental areas. These include developmental progression of pre-writing strokes, fine motor skills, gross motor development, sensory considerations, and visual perceptual skills. Each section includes strategies and tips to improve these underlying areas.

  • Strategies to address letter and number formation and reversals
  • Ideas for combining handwriting and play
  • Activities to practice handwriting skills at home
  • Tips and strategies for the reluctant writer
  • Tips to improve pencil grip
  • Tips for sizing, spacing, and alignment with overall improved legibility

Click here to grab your copy of The Handwriting Book today.

Colleen Beck, OTR/L has been an occupational therapist since 2000, working in school-based, hand therapy, outpatient peds, EI, and SNF. Colleen created The OT Toolbox to inspire therapists, teachers, and parents with easy and fun tools to help children thrive. Read her story about going from an OT making $3/hour (after paying for kids’ childcare) to a full-time OT resource creator for millions of readers. Want to collaborate? Send an email to contact@theottoolbox.com.

Snowman Collage

snowman collage using junk mail

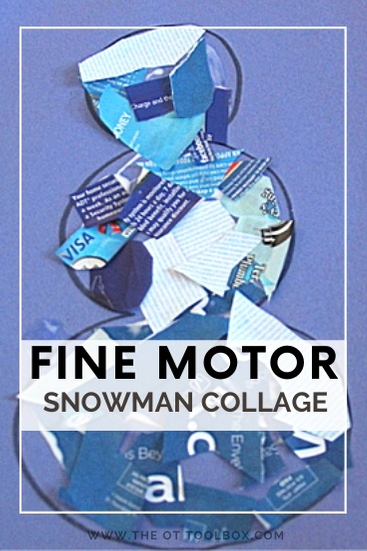
Helping kids develop fine motor skills doesn’t require a bunch of fancy therapy equipment or carefully selected developmental toys. Here, I’ll show you how to use junk mail to help kids improve motor skills. This snowman collage is a winter craft that kids can use to work on areas like scissor skills, eye-hand coordination, visual motor skills, and hand strength! It’s a fun indoor activity for winter when the kids need something different to do. Grab that junk mail, we’re going to build a snowman!

Fine motor snowman collage using junk mail to help kids with motor skills and visual motor skills.

Snowman Collage Craft

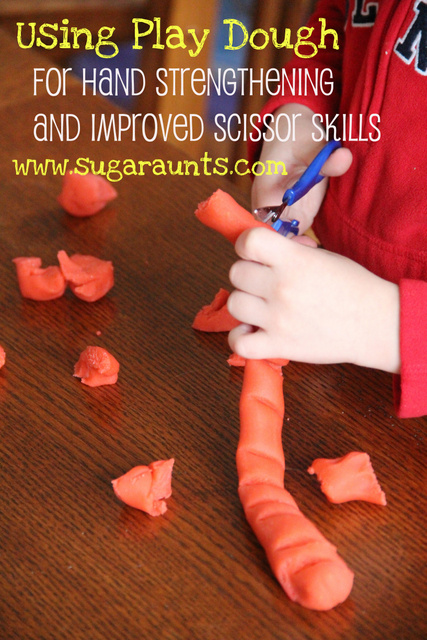
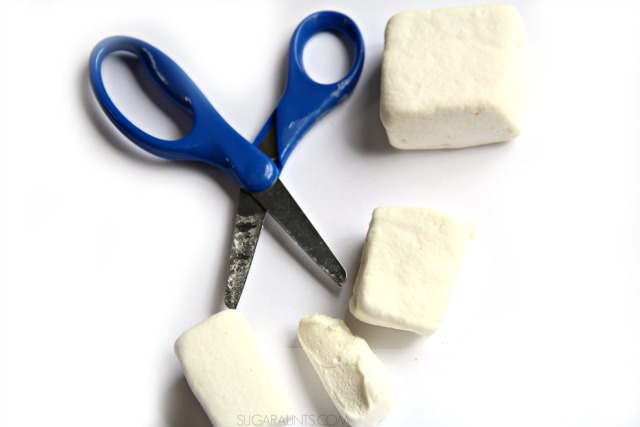
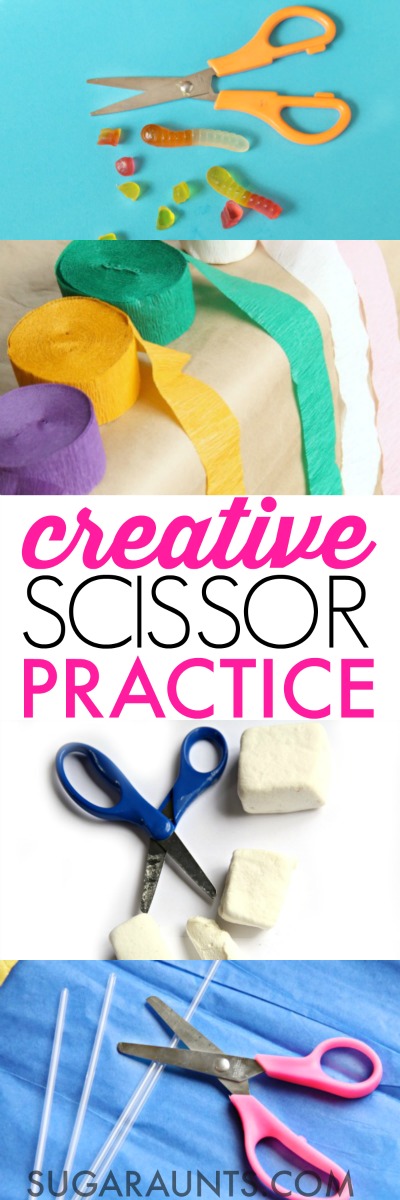
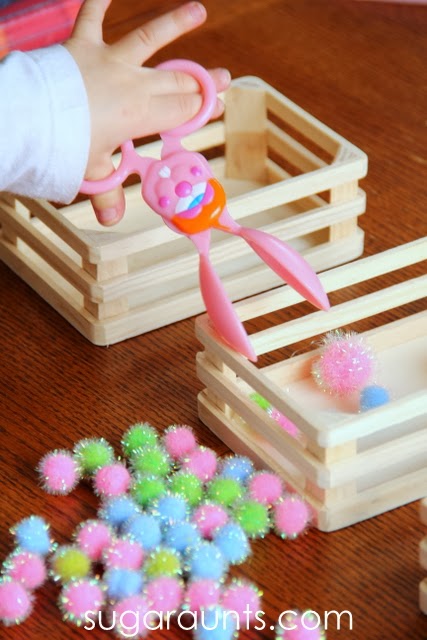
We got a bunch of junk mail today with random neighborhood coupons inside… When my kids were younger, they loved to use scissors to practice cutting. And, actually, using the coupons found in junk mail to practice scissor skills, is actually a very functional and easy way to practice cutting along lines.

Junk mail is easily accessible and a material found in most homes. So, why not use it to help kids develop fine motor skills?

Junk Mail Craft

While we used junk mail to create a snowman collage, this craft technique can be used for any shape or theme.

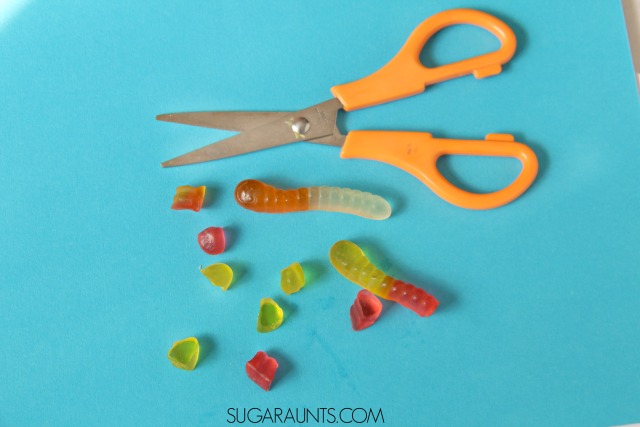
Kids can use junk mail to work on snipping paper with scissors, eye-hand coordination, and visual motor skills. Try these strategies using junk mail:

  • Work on snipping along the edges of paper to create a fringe- This is a great bilateral coordination activity for preschool aged children and new scissor users.
  • Work on cutting along lines or coupons for early scissor skills- Cutting coupons or basic shapes is an early scissor skill activity. Junk mail often times includes flyers that are made from cardstock or heavy materials, as well as thinner materials, so it’s easy to progress through a graded activity to meet the needs of all levels of kids.
  • Cut out pictures- Use junk mail to cut out pictures or shapes. This is a nice way to work on simple to complex cutting skills. Progress from easy or basic shapes to more complex shapes.

For more scissor skills activities and how to progress along various grades, check out these Scissor Skills Crash Course.

To further along from basic scissor skills, use the junk mail materials to create a collage craft. You could use the steps below to make any shape or theme, making it a great addition to weekly therapy themes or preschool themes.

Snowman Collage

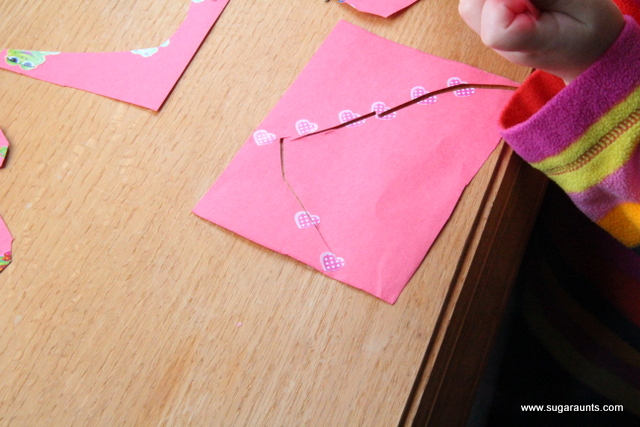
For our snowman craft, I first drew a snowman shape onto blue paper. This part could be graded as well. Use a larger shape for younger children or make a smaller shape for addressing more refined skills and precision.

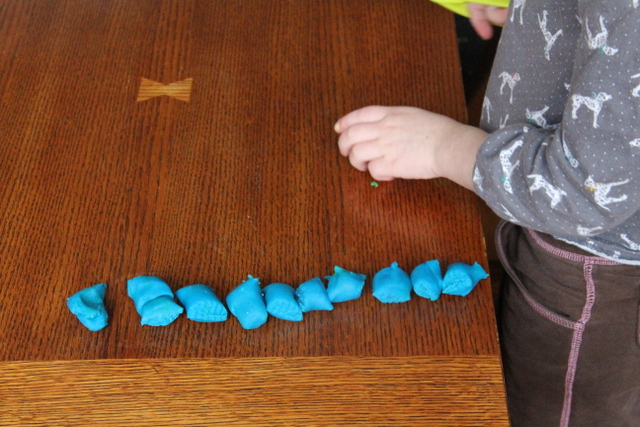
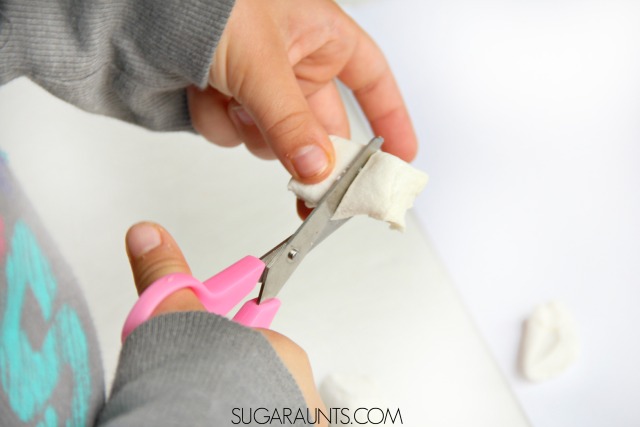
Next, ask your child to cut out blue and white pieces of junk mail. This is where the craft gets open-ended. You can let kids snip random shapes, or you could request that they cut all squares. I love that this scissor skills craft fits with all levels and needs.

When kids are sorting through a stack of junk mail for specific colors, they are developing a variety of skill areas:

  • Eye-hand coordination
  • Visual scanning
  • Finger isolation (page turning)
  • Precision and refined grasp (manipulating one page at a time)
  • Visual attention and visual memory

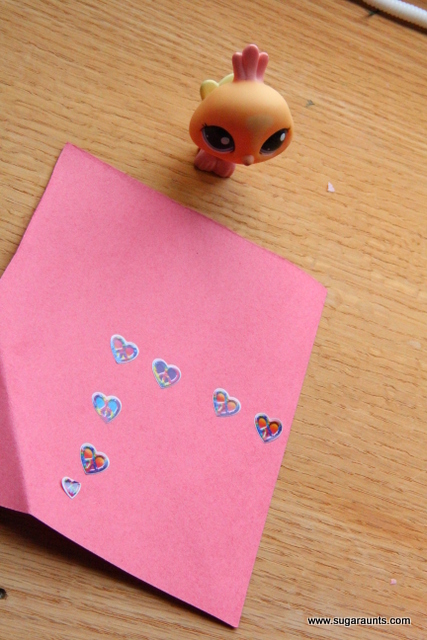
Next, you will need squeeze glue from a bottle. As a pediatric occupational therapist, I love the use of a squeeze glue bottle over a glue stick for so many reasons. By using a squeeze glue bottle, kids are building refined use of skill areas:

  • Refined grasp
  • Hand strength
  • Eye-hand coordination
  • Arch strength
  • Open thumb web-space
  • Visual motor skills

You can focus on certain areas with use of a squeeze glue bottle by asking kids to place glue onto specific spots. Just use a marker to dot throughout the shape. Kids can then place glue dots on those specific spots.

If working with glue bottles is a helpful activity for the children you serve, you will love the Glue Spots Exercises in the Winter Fine Motor Kit.

Next, kids can place their junk mail pieces onto the glue and within the collage area to create the snowman.

Snowman collage craft using junk mail is a nice way to help kids work on fine motor skills using materials found in the home.
Use junk mail and squeeze glue bottle to help kids with fine motor skills using junk mail.

Ask kids to line up strait and curved edges along the curved lines of the snowman. This is a great way to work on visual motor skills.

To grade this activity to make it easier, make the lines of the snowman thicker with a black marker.

Cute junk mail collage snowman for preschoolers

You can see that we completed this craft on the floor, making it a shoulder strengthening activity as well.

Make a junk mail snowman craft to help kids with scissor skills and fine motor skills.

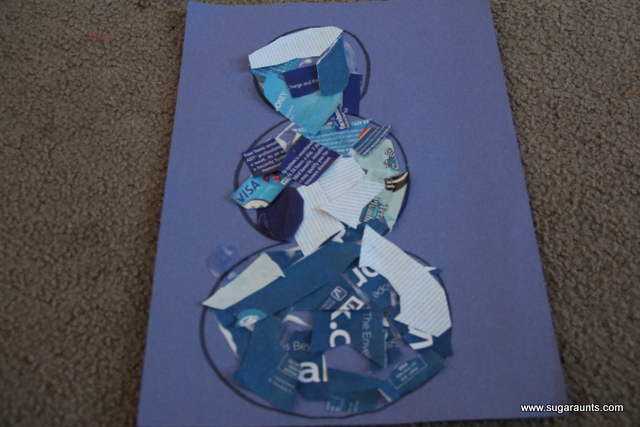
  That’s a pretty cute snowman…and great for practicing those snipping skills!

Want more ways to boost fine motor skills with a snowman theme or winter theme? The Winter Fine Motor Kit is on sale now!

winter fine motor kit

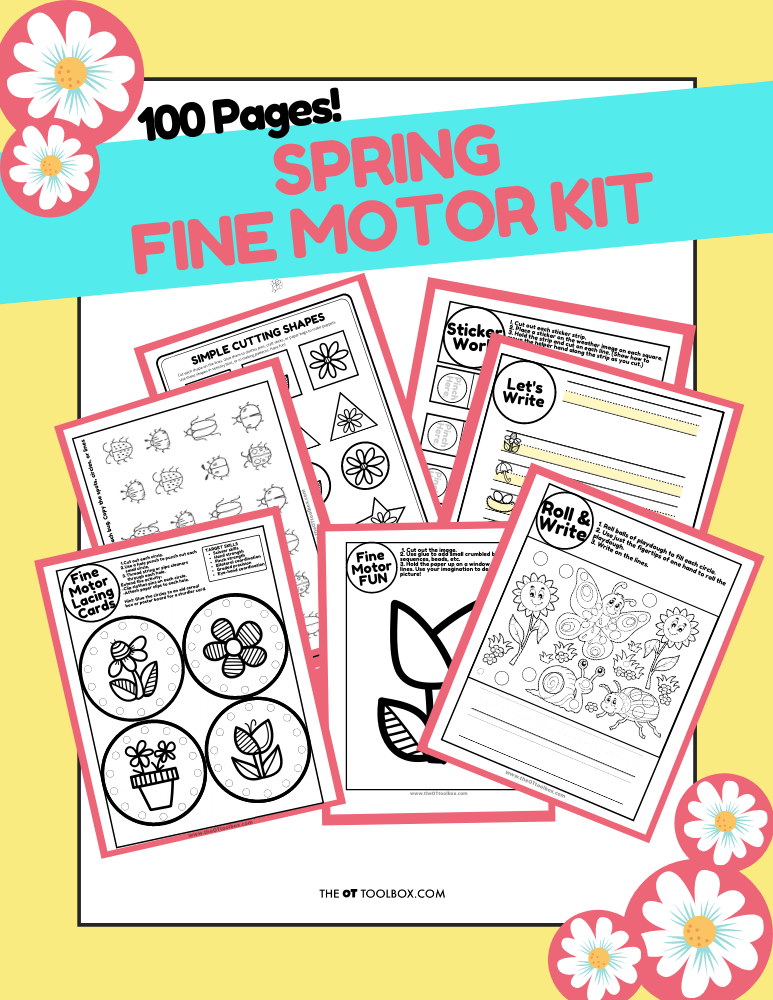
This print-and-go winter fine motor kit includes no-prep fine motor activities to help kids develop functional grasp, dexterity, strength, and endurance. Use fun, winter-themed, fine motor activities so you can help children develop strong fine motor skills in a digital world.

More than ever, kids need the tools to help them build essential fine motor skills so they develop strong and dexterous hands so they can learn, hold & write with a pencil, and play.

This 100 page no-prep packet includes everything you need to guide fine motor skills in face-to-face AND virtual learning. Includes winter themed activities for hand strength, pinch and grip, dexterity, eye-hand coordination, bilateral coordination, endurance, finger isolation, and more. 

Click here to grab the Winter Fine Motor Kit!

Colleen Beck, OTR/L has been an occupational therapist since 2000, working in school-based, hand therapy, outpatient peds, EI, and SNF. Colleen created The OT Toolbox to inspire therapists, teachers, and parents with easy and fun tools to help children thrive. Read her story about going from an OT making $3/hour (after paying for kids’ childcare) to a full-time OT resource creator for millions of readers. Want to collaborate? Send an email to contact@theottoolbox.com.


Creative & Fun Ways to Help Kids Cut With Scissors

Teaching and modifying for scissor skills is absolutely one of my favorite treatment areas in working with pediatrics.  Today, I’m excited to share creative tips on helping kids with scissor skills.  These ideas work with any type of scissors. From snipping paper to cutting complex shapes, there is a lot to cover!


These ideas are some of my favorite tips and tools and you’ve got them all in one place.  It’s part of my 31 Days of Occupational Therapy series, where you can find treatment ideas using free and almost free materials that you probably already have in your home.  These cutting ideas use items you probably already have in your house.

Creative Scissor Skills ideas and tips for helping kids work on cutting with scissors, from an Occupational Therapist

Creative Ways to Help Kids Cut With Scissors


Take a quick look around Pinterest and you will see a gazillion ways to practice scissor skills with kids.  


But, you can hand a kiddo a pair of scissors and have them snip away and they still might need a little extra help with cutting on the lines.  Did you know there are a bunch of skills that a child needs to master in order to cut a multi-angled shape like a house from paper?  


In order to hold scissors and cut on lines, a child needs to use a precision grasp on the scissors, separate the two sides of the hand, position the scissors with a perpendicular position to the paper, flex the thumb with graded dexterity, perceive force as they cut, utilize bilateral integration, demonstrate motor planning, utilize eye-hand coordination, and show integration of visual motor skills.  Whew!  I’m tired just thinking about all of that work a kiddo is doing when they cut out a shape!

Scissor Grasp and Accuracy in Cutting Paper

Before a child can cut a shape from paper, they must use an appropriate grasp on the scissors.  Provide visual and verbal cues for holding the scissors correctly and notice a few things:

  • Does the child can open and close the scissor?
  • Do they position the scissors consistently on their dominant hand? 
  • Does the child open and close the entire hand when cutting, or just the thumb side of the hand.
  • Do they have the scissors positioned on their hand correctly?
  • Are they holding the scissors in a perpendicular position to the paper?
  • Are the middle, ring, and pinkie fingers bent into the palm?


If any of these areas are a concern, you’ll need to work on scissor grasp.  Stay tuned, because we’ve got scissor grasp ideas in the line up and coming soon to the blog!
 
Now, if your little scissor user has a good grasp on the scissors, is interested in cutting with scissors, and is ready for some practice, try these creative ideas for working on scissor control, accuracy, and avoiding cutting their therapist or parent helper:
Creative Scissor Skills ideas and tips for helping kids work on cutting with scissors, from an Occupational Therapist

Fun Scissor Skills Ideas For Kids

Try cutting these materials for creative scissor practice: 
 
NOTE: These creative scissor ideas are not in order of difficulty.  That is another blog post 😉  This list is meant to be a resource of creative cutting practice ideas. Click on the links to see how we used each material in a fun way in the past!
 
Creative Scissor Skills ideas and tips for helping kids work on cutting with scissors, from an Occupational Therapist
Practice Scissor Skills by Cutting Paper Materials: 
Toilet paper

Construction Paper

Cardstock
Oaktag
Index Cards
Food Wrappers like Labels
Coupons
Paper Plates
 
Creative Scissor Skills ideas and tips for helping kids work on cutting with scissors, from an Occupational Therapist
Practice Scissor Skills by Cutting Household Items:
Flower Stems

Cloth

Aluminum Foil
Cheesecloth
Chip Bags
Sandpaper
Fabric
Wax Paper
Plastic Wrap
Plastic Bags
Sandwich Baggies
Cotton Swabs
Toilet Paper
Cardboard Tubes
Napkins
Baby Wipes
Herbs
Grass
Leaves
Thin Twigs
Rubber Bands
Cotton Balls
Plastic Beads
Paint Chips
Cupcake Liners (like this and this)
Sponges
Creative Scissor Skills ideas and tips for helping kids work on cutting with scissors, from an Occupational Therapist
Practice Scissor Skills with Crafting Materials:
Foam Crafting Paper like this.
Ribbon
Thin string
Scrapbook Paper
Cotton Batting
Tape
Thin Balsa Wood
Felt
Creative Scissor Skills ideas and tips for helping kids work on cutting with scissors, from an Occupational Therapist
Practice Scissor Skills with Food Materials: Use the cutting practice during food preparation in Cooking With Kids experiences!
Sliced Bread
Twizzler candies.  See how we did it over on Instagram.
Sliced Cheese
Deli Meat
Gummy Worms
Thinly Sliced vegetables like cucumbers, zucchini, carrots
Marshmallows
Pasta
Toast
Lettuce
Dough
Green Beans
Creative Scissor Skills ideas and tips for helping kids work on cutting with scissors, from an Occupational Therapist
So the ideas in this post are purely for practicing MORE scissor activities while working on and encouraging your child’s appropriate scissor grasp.  Line Accuracy, smooth cutting strokes, and difficult cutting shapes are other areas (Again, coming soon to a blog near you…this one!) All of these ideas will make cutting with scissors easier for your child in a fun and creative way.  And prevent snips to your fingers as you help your favorite scissor user!

Creative Scissor Skills ideas and tips for helping kids work on cutting with scissors, from an Occupational Therapist
 
More activities you will love: 
 

Why You Need Bunny Tongs for Developing Scissor Skills

Bunny tongs activity for fine motor skills

When I worked as an Occupational Therapist with pediatrics, I did a ton of work on scissor skills and pre-scissor skills. It was one of my favorite things to work on with school-based kiddos. There was an item in my therapy bag that I (and the kids) LOVED for scissor practice: bunny tongs. These are a great Easter activity for occupational therapy sessions, but we actually use them all year round. Here’s my OT tip: if you see a pair of these bunny tongs in the egg-dying section of stores around Easter time, GRAB THEM!

You’ll also want to check out our other Bunny Activities:

Bunny Tongs for Scissor Skills

Now being at home with my own kids, it’s so much fun to pull out my OT stash of supplies and play.  We pulled out a few things recently and the kids had a blast playing.  And if you follow this blog, you know we do a ton of fine motor activities

This is the ONE item you want to pick up from the Dollar Store this spring.  It’s a must-have for OTs working in the schools or with kids on scissor skills.

You’ll want to check out our resource on how to hold scissors for more tips on the grasp aspect. The one thing I love about using the bunny tongs as a tool to support scissor skills is that it is a fun way to work on the mechanics of holding scissors.


Beginner scissor skills using bunny tongs
 

Scissor Skills with Tongs

 
If you see these Bunny Tongs at the store this Spring, GRAB them up!  These are awesome for scissor skills and besides being completely cute, they are SO fun to play with. 
 
Adorable bunny + working on developmental skills= AWESOME!
 
These bunny tongs are out this time of year because they are really intended for dipping Easter eggs. 
 
We’ve never actually used them for egg dying, but I’m guessing it’s a pretty cool way to dye eggs, too.  I did find them on amazon (affiliate link), so if you can’t find these guys in the store, they are always available online. 
 
New scissor users will love to sort and manipulate crafting pom poms with bunny tongs.

I set up this sorting activity for the kids one day using our bunny tongs.  Scissor skills were really worked on with the repetition of picking up lots of assorted pom poms and sorting them into crates.

Bunny tongs for working on scissor grasp in young kids
 
Baby Girl LOVED this activity. She went through and sorted pom poms at least three separate times.  You can see how she’s got her ring finger and pinkie finger extended out as she opens the tongs in the picture above. 
 
This is a great time to work on pre-scissor skills with her, so that as she does start with snipping with real scissors down the road, she maintains an appropriate and effective grasp on the scissors.
 
Tuck a crafting pom pom into the palm of the hand to improve scissor skills.

Tuck a small object into the hand when using the bunny tongs to work on grasp on scissors.

Tips for Cutting with Scissors

Not a great picture, but popping a crafting pom pom into the palm of her little hand is a great way to correct that grasp on the tongs (or scissors).  This way, the child opens and closes the tongs/scissors with the thumb and pointer/middle fingers in an effective and more controlled manner.  This will help with scissor control and line awareness.

If you’ve got a little one who cuts with scissors and snips all over the place, with their pinkie finger and ring finger extended out as they open the scissors, try this trick. 

You can use any small item like a little eraser or pebble in the palm of their hand.  It’s a good physical prompt to remind them to keep their hand closed as they cut with scissors.

Kids can sort and manipulate crafting pom poms to work on beginner scissor skills.

Little Guy wanted in on this action too, and once Big Sister came home from school, she sorted the pom poms too.  This was just fun!

Kids can sort pom poms using tongs for fine motor play

Baby Girl resorted to just using her hands to sort later in the day.  Still great for color matching and identification.   we’ll definitely be doing this activity again.  It was a huge hit for my kids as much as it was a hit for all of the school-based clients I’ve worked with over the years.  It’s the cuteness of that bunny!

Spring Fine Motor Kit

Score Fine Motor Tools and resources and help kids build the skills they need to thrive!

Developing hand strength, dexterity, dexterity, precision skills, and eye-hand coordination skills that kids need for holding and writing with a pencil, coloring, and manipulating small objects in every day task doesn’t need to be difficult. The Spring Fine Motor Kit includes 100 pages of fine motor activities, worksheets, crafts, and more:

Spring fine motor kit set of printable fine motor skills worksheets for kids.
  • Lacing cards
  • Sensory bin cards
  • Hole punch activities
  • Pencil control worksheets
  • Play dough mats
  • Write the Room cards
  • Modified paper
  • Sticker activities
  • MUCH MORE

Click here to add this resource set to your therapy toolbox.

Spring Fine Motor Kit
Spring Fine Motor Kit: TONS of resources and tools to build stronger hands.

Grab your copy of the Spring Fine Motor Kit and build coordination, strength, and endurance in fun and creative activities. Click here to add this resource set to your therapy toolbox.

Colleen Beck, OTR/L has been an occupational therapist since 2000, working in school-based, hand therapy, outpatient peds, EI, and SNF. Colleen created The OT Toolbox to inspire therapists, teachers, and parents with easy and fun tools to help children thrive. Read her story about going from an OT making $3/hour (after paying for kids’ childcare) to a full-time OT resource creator for millions of readers. Want to collaborate? Send an email to contact@theottoolbox.com.

Using Stickers to Help with Scissor Skills

There are so many fun ways to use stickers for fine motor skill development.

Stickers can be used in scissoring to work on accuracy, scissor control, snipping paper, manipulating the paper to turn corners and curves when cutting.  It can be really tricky for a kiddo to manage all of those areas if they have any fine motor/visual motor/eye-hand coordination…or any trouble area(s) that effects their ability to accurately maintain line awareness when cutting paper.
And for pre-schoolers, it can be really fun to use stickers in a cutting activity.
Anything that makes things different. Or silly.
It makes an activity Interesting!

We used some heart stickers in honor of Valentine’s Day…

(and also because we have millions of them)

to make some curves, squares, and angled lines…and to practice a little cutting!
This little bird stopped by to watch 🙂

What else can you do with stickers when practicing cutting…

~Cut along a line of stickers, like we did.
~Use a sticker only at the corners of an angled shape (the corners of a triangle) to signal when the child should turn the paper.
~Place stickers along the edge of the page, to show where the child should hold the paper with his “helping hand”, and signal when he should move his hand along.  This would be a good guide for kids with trouble coordinating both hands when cutting.
~For the child who needs help knowing when to open/shut the scissors to snip with smooth cuts, place stickers along the line signaling when to open/shut the scissors.  This can be a visual cue to assist the child.
~Using Fiscar scissors (or other scissors that have a smaller thumb opening): Sometimes kids will get mixed up about which opening their thumb goes in when they hold the scissors.  If they are holding the scissors upside down because of this, it can lessen the control they have when they cut.  Place a sticker on the scissors to they know which hole they should put their thumb into.
~Practice scissor control:  Place stickers randomly around a page and have the child cut from the edge of the paper up to a sticker and then stop before they cut into the sticker.
This was an easy and fun little activity!

Colleen