Letter Reversals…they are a major cause for handwriting concern by most parent’s standards. Here we are covering information about writing letters backwards and what is normal for letter reversals in development. We also have some great tips for addressing common letter reversal struggles and even reversal activities that can help with visual perception handwriting struggles. Read on!
Letter b and d reversals: These specific strategies cover letter b and d reversals.
Letter p and q reversals: You’ll find more specific letter reversal information in this post on reversing letter p and q.
Also check out these activities to work on backwards letters.
Writing Letters in Reverse
Do letter reversals mean dyslexia? Not exactly! Dyslexia means problems learning to read, spell, and write. However, there is much more to reversals than what meets the eye, and should be assessed before jumping straight to the conclusion of dyslexia. Be sure to read our resource on Dyslexia and occupational therapy for more information.
One creative tool to support the skills needed for this area of development is our new color by letter worksheet. Just print and go and work on letter identification and matching skills.
Check out all of our letter formation worksheets for more free printables to target letter forming.

Letter Reversals Normal Development
Reversals are age appropriate up until 7-8 years of age!
That’s right! Letter reversals are normal up to a certain age range. And when kids write letters backwards it is actually typical development in handwriting skills. Working on letter reversals in occupational therapy (and other visual perceptual areas) can be a common occurrence for school-based OTs…but just because kids are writing letters backwards, it doesn’t mean there is a true problem indicating a need for intervention.
It takes our brains that long to integrate all the skills needed to form a letter correctly and automatically during written expression. Skills needed range from phonetic awareness, ability to imitate pre-writing strokes, automation of letter formation, and higher level cognitive skills for multi-tasking.
Some kiddo’s develop these skills faster than others. Some kiddo’s struggle with these skills and may receive support services such as occupational therapy or pull out services with their school’s reading specialist before age 7.
Services provided before age 7 are typically preventative and because the child has shown struggles in the foundation skills needed for reading and writing, such as phonemic awareness, challenges with pre-writing strokes and shape formation (visual motor integration), poor fine motor skills, dominance concerns or underlying vision concerns.
What is a letter reversal
The term Letter reversals refers to several things related to reversing letters in reading or writing:
- Writing a specific letter backwards, when they replace a letter with another such as forming a letter b as a d or a letter p as a letter q
- Writing a letter upside down or flipped, such as forming a u as an n
- Reading a letter backwards, as when kids replace a d with a b
- Writing letters backwards as when kids write letters h, n, s, z, etc. in a mirror image
- Transposing letters or switching the order of letters when writing
- Reversing or writing numbers backwards
Common Letter and Number Reversals
So, knowing that it is quite common developmentally, to reverse letters and numbers up until age 7 or 8, it can also help to know which letters are commonly reversed in writing.
Letter Reversals List
These letters and numbers are often times transposed for one another:
- b and d
- n and u
- w and m
- s and z
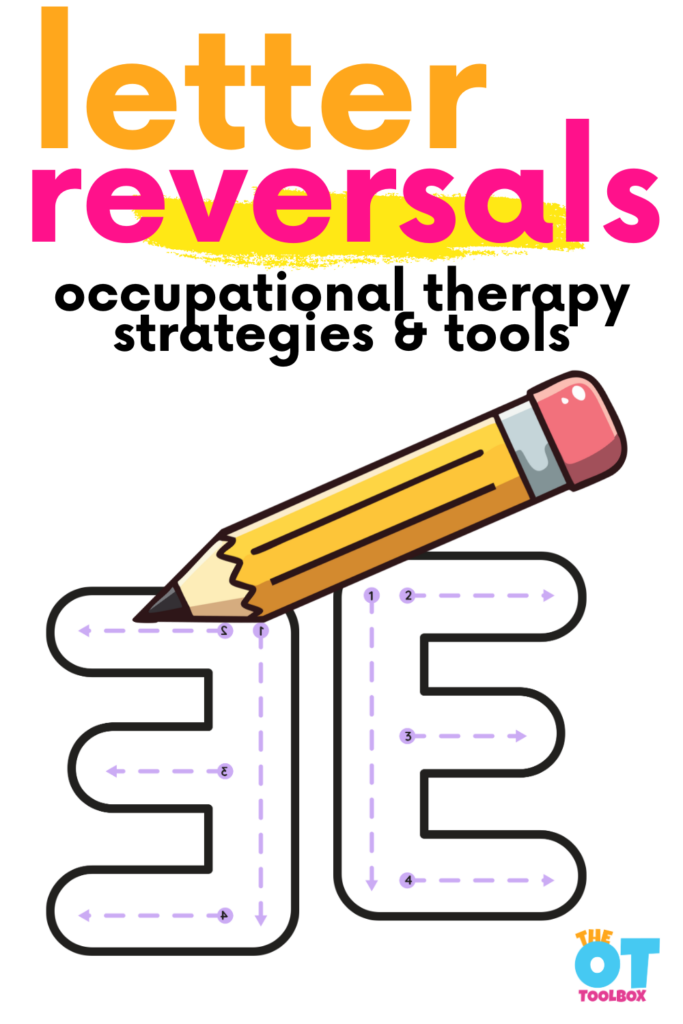
- 3 and E
- 2 and 5
- s and 5
It’s easy to see why the letters and numbers listed above are often reversed. They all contain similar pencil strokes. For children that are just learning to write, spatial integration can be still developing. Kids are getting the muscle memory in place can replace one letter or number for another.
These letters are often written backwards:
- b
- c
- d
- e
- f
- h
- j
- k
- p
- q
- r
- s
- u
- z
Each of these letters has a starting point at the top and pencil strokes that then go into a different direction. Children that are still developing handwriting skills are establishing the motor plan for direction changes with the pencil. The can sometimes “guess” the correct direction which results in letters being written backwards.
Numbers that are commonly written backwards include:
- 2
- 3
- 4
- 5
- 6
- 7
- 9
Each of these numbers also have a direction change which could easily be confused.
In many cases, working on letter and number formation so the muscle memory is established with fix reversal issues. Using multisensory formation activities helps to establish that motor plan.

Phonetic Awareness and Letter Reversals
The current theory among the educational community is that reversals start with phonemic awareness. If a child is lacking phonemic awareness, they may struggle with letter identification and spelling needed for fluent written expression. Similar struggles may also be seen with numbers, resulting in a negative impact on math skills.
In my clinical experience, I have found that children with high rates of ear infections and PE tubes (ear tubes) struggle with sound awareness. If the kiddo is unable to hear the sound of the letter clearly and consistently, it leads to poor sound awareness.
I have also found that children with difficulties with attention and auditory filtering often pair the wrong letter sound with wrong letter. This is important to note in sessions as it may require remediation by a speech therapist or reading specialist if available. Here is more information and activities for auditory processing.
While phonetics play a large role in reversals, many other foundational skills may influence whether a child will struggle with reversals or not.

Hand Dominance and Letter Reversals
Hand dominance is typically fully developed by five years of age. Right at the same time most children are learning and mastering the formation of letters and numbers. It also coincides with the start of kindergarten, or formal education where children who are struggling may be noticed for the first time. Writing with both hands can be a common struggle and an indicator of hand dominance challenges.
Children with handedness issues, whether it’s mixed dominance or delayed development of dominance, are more likely to struggle with left versus right tasks.
This plays into reversal concerns as many of these children cannot consistently discriminate left from right, leading to b’s and d’s, p’s and q’s being flipped. Often times, they are unable to recognize that they have made the mistake as their brain is registering the letter as they meant it to be.
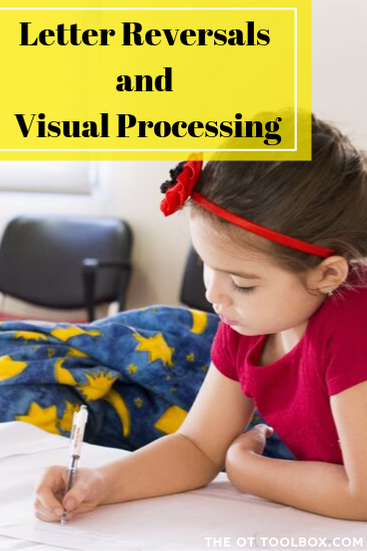
Letter Reversals and Visual Processing
Vision is can be one of the biggest challenges facing children who struggle with reversals. Chances are, they have had an underlying vision concern that goes unaddressed or unrecognized during the critical learning period of letters and their sounds.
You will find much more information on visual perception in our free visual perception lab series.
(Children in the U.S. typically begin to learn letters and sounds between 3 and 4 years of age when they enter preschool programs. Curriculums now expect children to know their letters, sounds and how to write them upon entering kindergarten.)
Due to their vision deficit, the child may not consistently see the same image of the letter each time, or may not see the letter that is being taught due to “wandering” eyes or poor abilities to focus on the letter. The kiddo now has a poor foundation from which to build on, due to difficulties with recalling from their visual memory what the letter looks like, and pairing it with the correct sound.
To add to vision deficits, vision is not just what we see, or how the eye’s work together. It is also a motor task of taking information in with the eyes and reproducing an image, or in this case, letters on paper. This skill is known as visual motor integration and also plays a role in reversals.
Here are free visual perception worksheets that can address a variety of visual skills.
Visual Motor Integration and Letter Reversals
Visual motor integration allows us to write, draw and paint freely. To do all of these things, we go through a set development of producing pre-writing strokes and basic shapes in imitation to freely producing them from our memories and eventually becoming automatic. Here is more information and activities related to visual motor skills.
Most children learn to imitate these strokes and shapes at a young age from top to bottom and left to right. However, some children do not learn it this way or their brains are not “wired” to follow this pattern of development.
Children who deviate from this pattern may have difficulties with reversals as they struggle to learn and integrate letter stroke combinations in the correct order. When this happens, they struggle to write fluently and reversals may begin to appear.
Signs of poor visual motor integration skills that could lead to reversals include:
- Segmental Drawing—drawing a shape one stroke at a time instead of integrated
- Bottom to top orientation when drawing
- Right to left orientation when drawing
- Difficulties crossing the midline during drawing tasks
- Rotation of the paper to adjust for angle execution
- Failed attempts to imitate basic shapes after the child has stated what the shape is
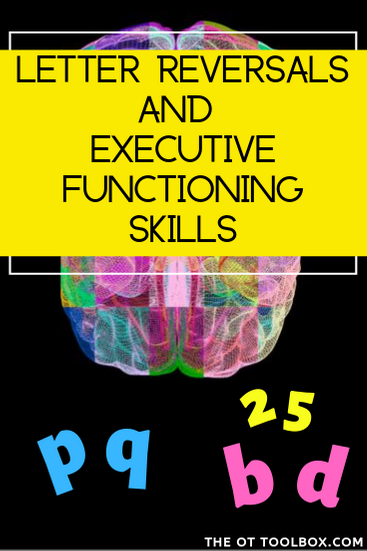
Executive Functioning and Letter Reversals
Executive functioning skills refer to our higher level thinking that includes attention, multi-tasking and memory, among many other skills. Writing requires all of these skills to be working at their best. If a child is struggling with any of these skills, they may demonstrate reversals and poor overall handwriting.
Reversals and poor handwriting may be the result of the child being unable to recall the strokes of the letter, the sequence of the strokes, what the letter looks like, where to start the letter, how big to make the letter, what each letter sound is, how to spell a word and complete their thought.
Oh, and lets add in that they have to remember how to hold their pencil correctly. For a kiddo who is struggling, this is a CHALLENGE.
There are so many more things that go into writing that may lead to reversals then what I have listed, but are too many to list out.
The main concept of executive functioning is that if the child cannot make it all work together, from fine motor to phonemic awareness to visual motor, they are more likely to struggle with reversals in their work.

Letter Reversal INterventions
It is important to recognize that reversals may be the sign of underlying deficits with foundational skills and should be addressed when they are noticed. The sooner that these underlying deficits are addressed the better off the kiddo will be. Once a child has had a long enough time period to practice incorrectly, it will be that much harder to break the “bad habits” and correct the reversals.
You will find many letter reversal interventions in this blog post.
- This resource on letter b and d reversals is a helpful read on how specifically to work on these commonly reversed letters. You’ll find multi-sensory writing strategies to address b-d letter reversals.
2. Try “building” letters to establish the motor plan needed to create muscle memory. Use different colors to help children see the ways that the pencil moves when writing letters and numbers. This letter construction activity explains more about this process. This letter building strategy, paired with other forms of multi-sensory handwriting and teaching letters in groups based on the ways the pencil moves can make a big impact.
Addressing some of the other co-existing issues discussed in this article can be a start.

3. Address the motor planning in handwriting necessary for letter and number formation. Strategies that develop motor planning skills utilizing multi-sensory approaches can help with letter reversal.
With handwriting practice of letters with visual, auditory, and kinesthetic sensory channels at the same time, the weaker channel may be reinforced (Berninger, 2000).
Multi-sensory letter reversal strategies include:
- Use writing in shaving cream or on a shaving cream sensory bag
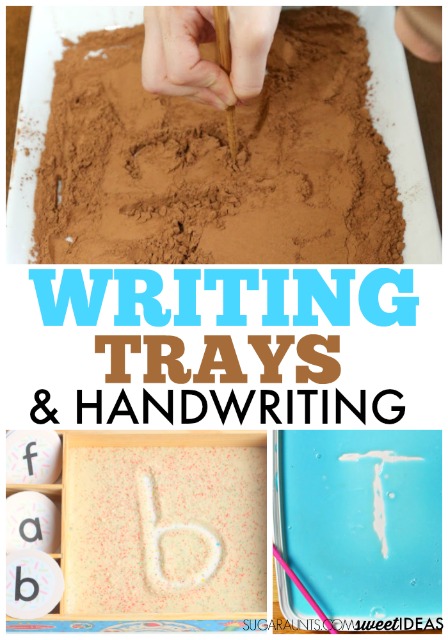
- Use sensory writing trays to practice letter formation
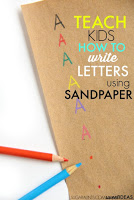
- Use sandpaper to work on letter formation
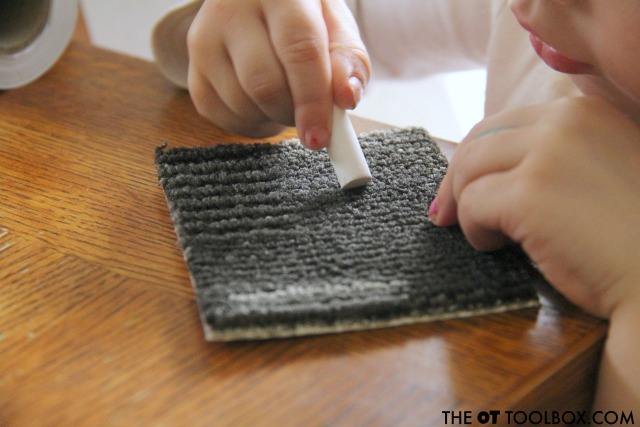
- Practice number and letter formation with chalk and carpet squares
- Other letter formation strategies can help with letter formation through multi-sensory means.
4. Work on visual perception with toys and games, and activities to address specific visual perceptual skills or visual motor skills.
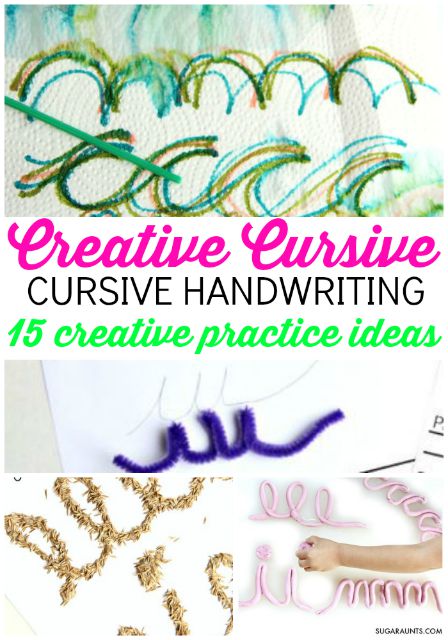
5. Use cursive writing in some cases. Here are creative ways to teach cursive and our entire cursive writing series.

6. Gain a better understanding of visual processing and all of the “pieces” of the vision puzzle that play into letter reversal and other concerns by joining thousands of other therapists, teachers, and professionals in the Visual Processing Lab.
7. Use this Vision Screening Tool to identify and address specific vision concerns such as letter reversals.
8. Try some of these activities to address visual motor integration and eye-hand coordination.
9. Try rainbow writing.
Have concerns? Talk to your child’s teacher or occupational therapist to address your concerns.

Understanding Letter Reversals in Young Children
Letter reversals are common in young children as they begin learning the letters of the alphabet. During early writing development, children are still building an understanding of directionality, or the ability to understand left-to-right orientation and the correct direction of the letters. Because of this, it is typical to see reversed letters, especially in preschool and kindergarten.
The most common letter reversal patterns include confusing letters like b/d, p/q, and sometimes n/u. These reversals occur because children are still learning how the parts of the letter are formed and how each letter is oriented on the page.
When Are Letter Reversals a Concern?
Letter reversals are developmentally appropriate in young kids through early elementary years. However, by around second grade, most children begin to demonstrate more consistent correct letter formation and fewer reversal errors.
If letter reversal issues continue beyond this stage or interfere with writing and reading, it may be helpful to provide extra practice and targeted support. Persistent letter confusion can impact fluency, confidence, and classroom performance.
Why Do Letter Reversals Happen?
Letter reversals are often related to developing visual and motor skills. Children are learning how to recognize the orientation of symbols and reproduce them through writing. This requires coordination between visual perception, motor planning, and memory.
Some children may also rely on verbal cues or physical prompts, such as using lips to sound out words while trying to recall the correct letter shape. Others may struggle with understanding spatial relationships, which impacts how they form letters like letter m or other multi-stroke letters.
Supporting Correct Letter Formation and Directionality
Helping children develop correct letter formation and understanding the direction of the letters can reduce reversals over time. Clear instruction and consistent modeling are key.
Strategies include:
- Teaching letters using consistent starting points
- Using visual cues to reinforce directionality
- Breaking down the parts of the letter into simple steps
- Practicing letters in a multisensory way
Providing strong visuals (such as arrows, starting dots, and highlighted lines), can help children understand how letters are formed and improve accuracy.
Letter Reversal Strategies for the Classroom
In the classroom, teachers can support students by embedding handwriting instruction into daily routines. This includes modeling letter formation, providing guided practice, and offering structured opportunities for repetition.
Helpful strategies include:
- Posting visual alphabet charts with directional cues
- Using consistent handwriting programs for instruction
- Offering small group support for students with letter reversal issues
- Providing extra practice opportunities during centers or writing time
Consistency across instruction helps children build automaticity and reduce errors over time.
Activities to Reduce Letter Confusion
Hands-on activities can support children who experience letter confusion. These activities strengthen memory and reinforce correct patterns.
Try:
- Tracing letters with finger paths
- Writing letters in sand, shaving cream, or play dough
- Matching letters with similar shapes and discussing differences
- Practicing frequently reversed letters in short sessions
Additional Information for Parents and Educators
It is important to remember that letter reversals are a normal part of development for many young children. With time, practice, and supportive instruction, most children naturally outgrow these patterns.
If concerns persist, additional support from an occupational therapist can help address underlying skills such as visual perception, motor planning, and fine motor coordination.
Providing consistent guidance, clear visuals, and opportunities for practice can help children gain confidence and improve their writing skills over time.

Contributor: Kaylee is a pediatric occupational therapist with a bachelors in Health Science from Syracuse University at Utica College, and a Masters in Occupational Therapy from Utica College. Kaylee has been working with children with special needs for 8 years, and practicing occupational therapy for 4 years, primarily in a private clinic, but has home health experience as well. Kaylee has a passion for working with the areas of feeding, visual development, and motor integration.