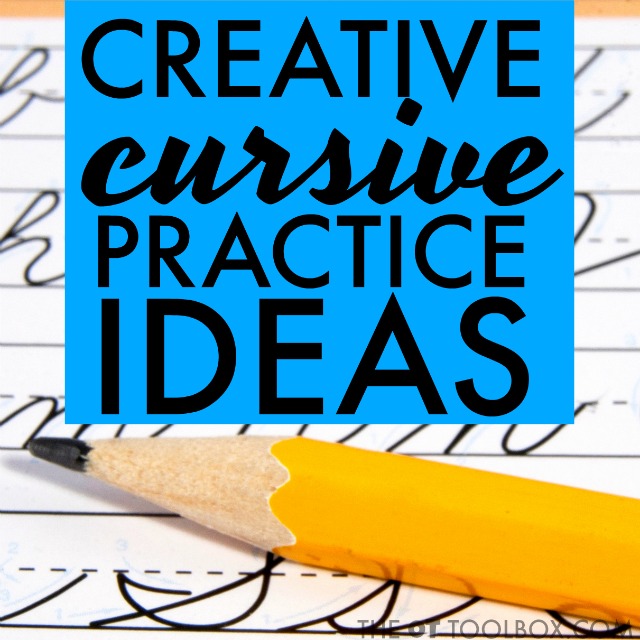
One way to work on cursive handwriting legibility is for students to check for mistakes. When kids are just learning to form cursive letters, they can look back over handwriting sheets to self-assess for formation mistakes, connection errors, placement on lines, or other errors. These cursive handwriting self-assessment strategies is an easy way to ensure carryover of handwriting skills.
Cursive Handwriting Self-Assessment
Try these strategies to help kids check their own handwriting:
Every cursive letter has its own form and way of being connected. When students are learning and they are aware of these rules of cursive handwriting they can notice mistakes when assessing handwriting work.
Ask students to look at a sample of written work. It can be their own or someone else’s. Ask students to notice the letters in the hand writing. They should see that the letters are slanted in the same direction, have spaces between the words, and connect the cursive letters that are connecting to each other. Ask them to look at a sample of writing and make sure that the cursive writing follows the rules that they have learned.
Students can check their own writing or a neighbor’s writing after writing and practicing a series of letters or cursive letter families.
Cursive Self-Assessment for Letter Closure
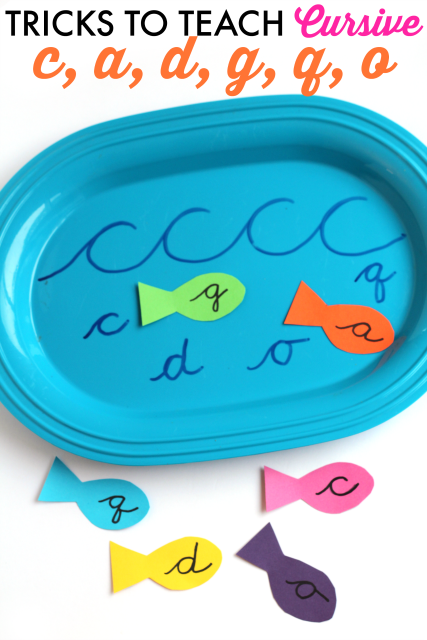
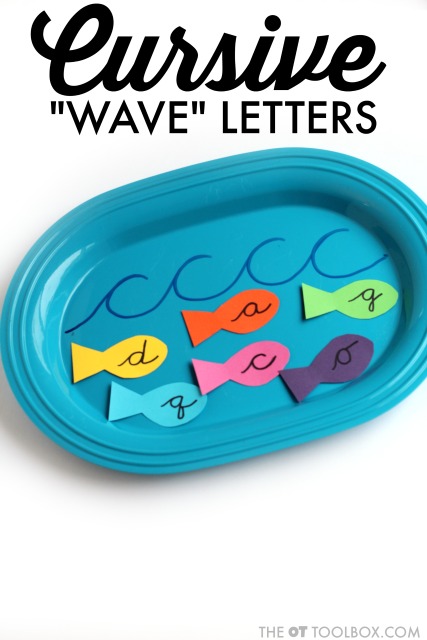
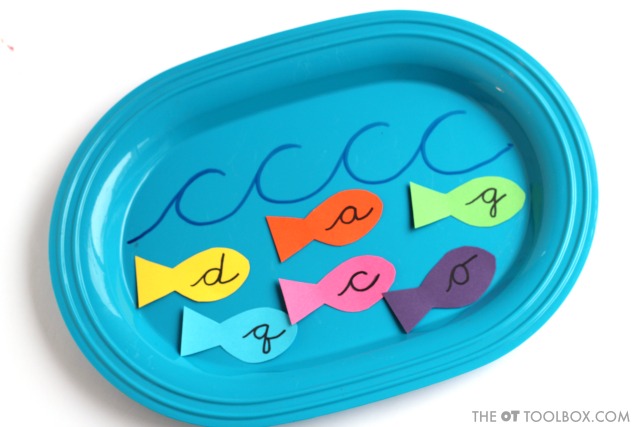
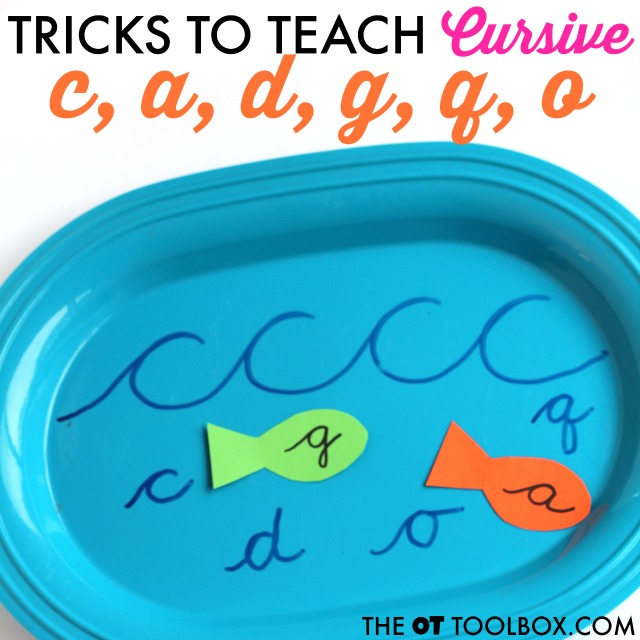
Some letters need to be closed such as cursive wave letters a, d, o, g, and q. Have students use a highlighter to make sure these letters are closed at the top. If these letters are not closed they can look like other letters. For example,cursive a can look like a cursive c if it’s not connected and closed at the point where the line pauses to trace back over itself.
Cursive d that is not connected at its re-trace point can look like a cursive c and a tall lowercase cursive t that hasn’t been crossed.
Cursive letter o can look like a cursive c and a small hook if it is not connected and closed properly.
Cursive q can look like a cursive c and a tale of a j if it’s not connected at the retrace point.
Students can use a highlighter to dot on any areas where these letters are not closed.
Cursive Self-Assessment for Loops
Some letters have loops. These letters should have loops but not big ones. Letters with loops include cursive b, e, f, h, j, k, l, q, y, and z.
If a cursive l does not have a loop, it can look like a tall line of a t that has not been crossed.
If a lowercase d does not have a loop, it can look like a c and an i that has not been dotted.
If the loops are too big, cursive can get sloppy and difficult to read. If loops are just lines, they can look scratchy and difficult to read.
Cursive Self-Assessment for Dots
Some letters have dots that need to be in place. These letters include lowercase letter i and j. Have students make sure that the dot is in place for these letters. If the letters are missing a do,t an i can look like a u when connected with other letters.
If j does not have dot or is formed with a wide base, it can look like and i with a tail.
Ask students to look back over their work and notice any missing dots. They can use a colored pen or pencil to add in any missing dots. They can check for all dots in place by making a colored dot at the end of each line that has it’s dot in place.
Cursive Self-Assessment for Connecting Lines
Some letters have connecting lines that need to go straight across to the next letter. These letters include lowercase b, o, v, and w. If these letters do not connect with a strait bridge, they can look like other letters.
For example a b that is missing its bridge can look like a cursive l.
A v that is missing its bridge can have a letter floating next to it. Lowercase letter o that is missing it’s bridge can look like a cursive c.
Ask students to use a highlighter or colored pencil to mark the bridges on each letter. If bridges are missing they can highlight or dot to mark where the bridge should be to connect these letters to its neighbor.
Cursive Self-Check for Crosslines
Some letters have a crossline. This includes lowercase t and uppercase letter F. If the cross is missing on these letters they can look like different letters for example cursive t can look like a squashed l if it is missing its cross.
Uppercase letter F can look like a T if it is not crossed at the correct point.
Students can look over their handwriting sample and make sure all crosslines are in place. They can point to each letter and finger trace lines. Some students like “marking” their paper just like their teacher might with a red pen. Students can make a small “-” line at the end of each line that has their dashed crosslines in the correct spaces.
Cursive Self-Check for Tails
Some letters have tails that go below the baseline. This includes letter f, g, j, p, q, y, and z. If these lower case letters are missing their tail they can float above the baseline making cursive handwriting difficult to read and raised above the line. A lowercase p can look like an uppercase P if it is not drop below the baseline. A lowercase f can look like a lowercase p if the tail on the F is not dropped below the baseline.
Occasionally cursive handwriting errors can result in spelling mistakes for students who are beyond the practice stage of cursive writing.
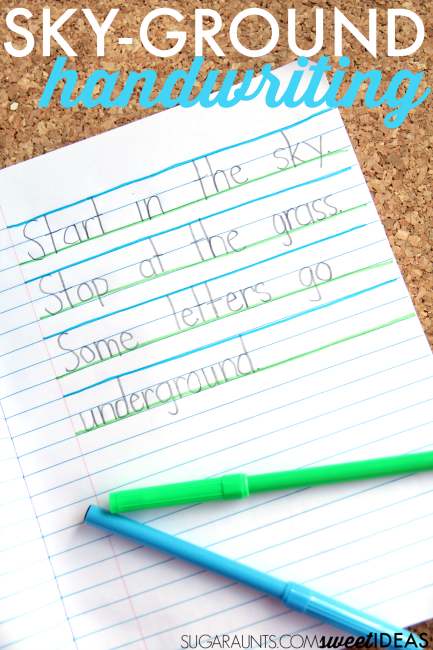
Students can check for tails that drop down over the lines. Sometimes, specialized paper is appropriate. Try printing out adapted paper from this ultimate list of free adapted paper. It’s a great place to find free printable versions of adapted paper. Add a visual prompt to regular paper using different colored markers like in this DIY sky-ground paper.
Cursive Writing Self-Assessment Journal
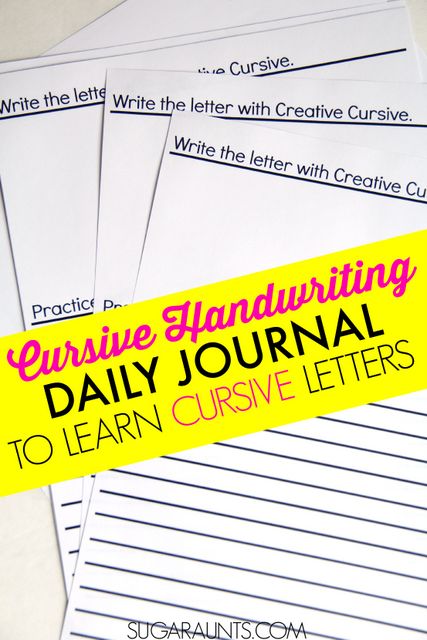
Students can create a cursive writing journal to assess handwriting progression over time. Provide students with a folder that includes pockets on the sides. Students can keep loose leaf paper in this folder. Papers should be self-assessed frequently over time. Once the student has a collection of cursive writing samples they can look back over there their writing. This is helpful because as a student progresses they’re able to notice mistakes or cursive letter formation errors that they used previously that maybe did not stand out as well. Self assessment should occur in a positive manner, meaning that marks are not taking off as a child is learning cursive. Rather, progress should be monitored for overall improvements and carryover.
What are some ways that you have used to invite students to self-assess their handwriting? Try these ideas to help kids learn cursive writing: