Colleen Beck, OTR/L is a pediatric occupational therapist and the owner and author of The OT Toolbox website. She manages all of The OT Toolbox social media accounts and runs the popular newsletter.
Read about Colleen's experience and career as an occupational therapist, including how The OT Toolbox began on our About The OT Toolbox page: https://www.theottoolbox.com/about-us/
Colleen created The OT Toolbox in 2011 and since then has written thousands of blog posts designed to support therapy providers, educators, parents, counselors, admin, and caregivers in promoting the healthy development of kids.
Check out Colleen's blog posts below:
Most of us have glass gems sitting around the house. (Don’t have any? See where we got them super cheap below!) These glass gems came in handy when we were practicing first grade math recently. Math and common core standards can be a tricky thing with terms like composing and decomposing numbers. They can throw us old moms and dads for a loop when we are helping out with homework duty (or following guidelines in homeschooling curricula). Today’s post for our 31 Days of Learning with Free (or almost free) Materials was a fun and easy way to practice difficult first grade math concepts in a fun way!
This post contains affiliate links.
How do you Compose and Decompose numbers (First Grade Math):
To start with, we used clear glass gems that we found in the dollar store. You can get a pound of gems for a dollar which will go a long way in math and other activities with the kids. You can quickly purchase the gems here for convenience.
What is “composing numbers”?
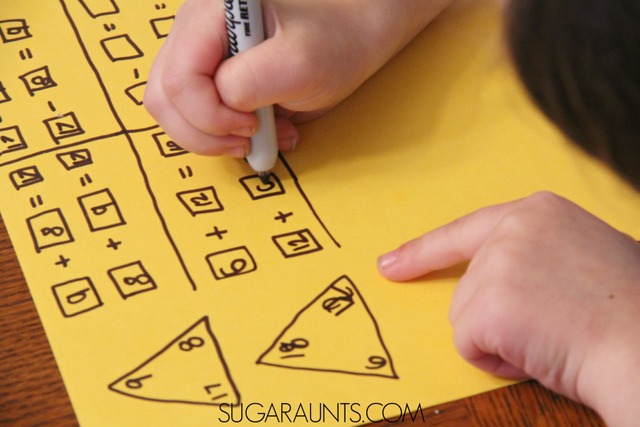
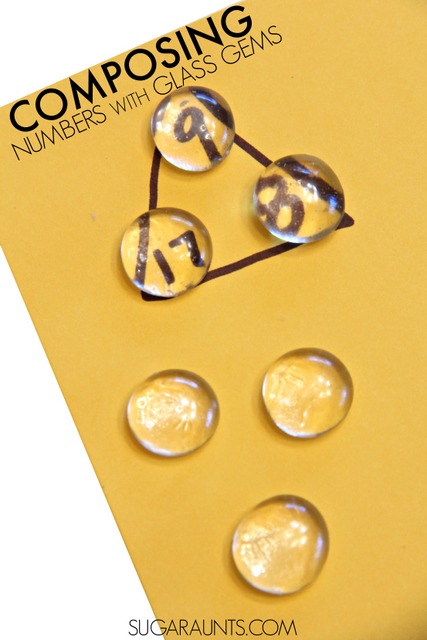
To practice our composing and decomposing of numbers, we pulled out a handful of the glass gems and paper with a marker. I drew a triangle and wrote two numbers in two corners of the triangles. My oldest daugher (in first grade at the time) used the gems as counting manipulatives. She added the two numbers up by counting the glass gems and wrote the total in the empty corner of the triangle. This adding numbers together, or building a number is called composing a number. Another way to say composing numbers is to think about putting numbers together. My daughter came home from school talking about how to “put together” numbers.
What is “decomposing numbers”?
To decompose the number, we wrote another triangle and started with a higher number and a lower number. She used the clear glass gems to subtract by counting out the manipulatives. This taking apart of a number is called decomposing a number. You can think about decomposing numbers by “taking apart” a number.
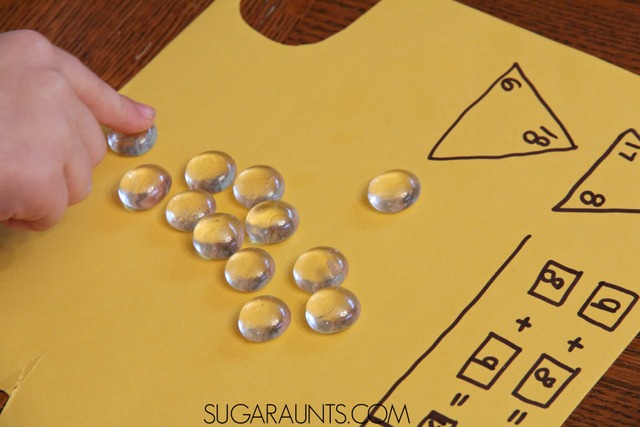
We then wrote out the addition and subtraction sentences using boxes with the composed and decomposed numbers. It is interesting to see the light bulb go off as your child realizes that a number can be built in many ways, but if you take away a specific amount of gems (or subtract), there is only one number that can “fit” in that corner of the triangle. Likewise, if you subtract either number from a composed triangle statement, you will always get the other corner’s number (assuming the math has been done correctly).
You can extend this activity out more by filling in just one corner of the triangle. Draw a page full of triangles. Ask your child to put together, or compose, that number in as many different ways as they can. Work on decomposing a number by filling in just one corner of a triangle. Draw a page full of triangles. Ask your child to take apart, or decompose, that number in as many different ways as they can.
Did you know you could trace letter cookie cutters to help kids with handwriting and fine motor skills needed for writing with a pencil?
You can work on the skills needed for handwriting by using letter cookie cutters! Working in the schools as an occupational therapist, I loved to work on handwriting. I loved coming up with creative techniques for individuals who had specific needs. Many times, a trick that worked for one child didn’t help at all with another. Kids are so different and so a teacher, therapist, or parent needs to have a lot of tricks up their sleeves when it comes to teaching kids to write.
Handwriting involves many skills. From the visual motor skills, to the motor coordination needed to manage and move a pencil, forming letters, writing on the lines, and spacing out letters and words can be a disaster if any of these areas are difficult for a child.
Throw in physical difficulties like weakness or sensory issues, and you’ve got a real problem with writing. And we all know that when a child feels something is hard, they don’t want to try.
It can make a mama want to pull her hair out just to work on something like handwriting. This fun little handwriting activity that we are sharing today can provide something different to work on the skills needed for handwriting. Work on pencil control, bilateral hand coordination, visual motor skills, and more with something as simple as cookie cutters!
Trace Letter Cookie Cutters
This post contains affiliate links.
Help Handwriting and Pencil Control with Cookie Cutters!
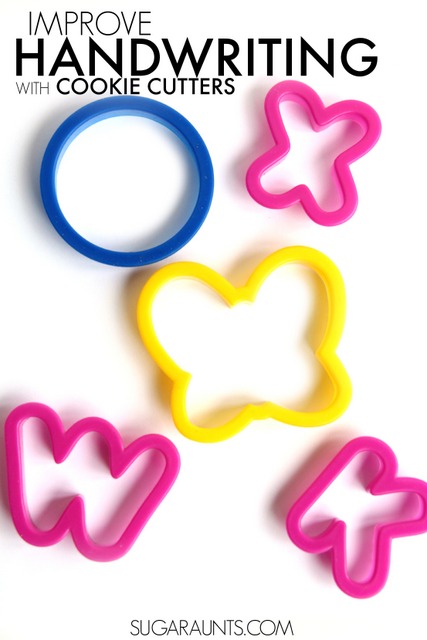
Grab a few cookie cutters from your kitchen cupboards and get ready to start practicing handwriting. We used these alphabet cookie cutters but you can use any cutters that you have on hand. Because we already had these, they worked for us! (And as a side-not, this post is part of our 31 Days of Homeschooling Tips series this month. We are sharing 31 days of learning at home with free (or almost free) materials. You can see them all here.
So how can you use cookie cutters in handwriting? Grab a cookie cutter and a pencil or crayon. It is fun to use different types of writing utensils for this activity too. Use a pack of colored pencils or a rainbow of markers to make colorful letters and shapes.
Bilateral hand coordination in handwriting
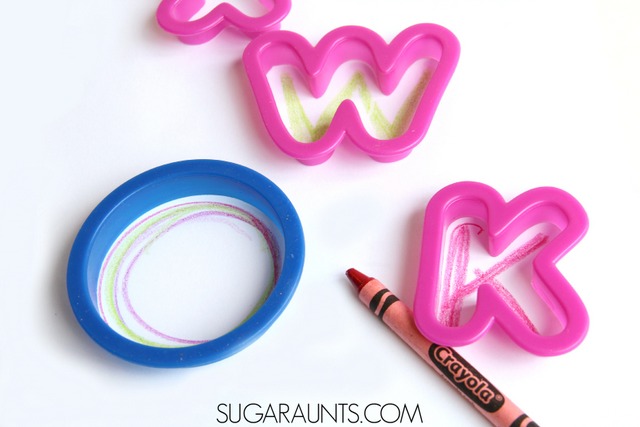
Have your child choose a cookie cutter. Any shape works, so one that they like will keep their interest. Encourage your child to hold the cookie cutter flat on the paper with their non-dominant hand. Holding the cookie cutter flat and firm is an important part of this activity and is an essential part of neatness in handwriting. When writing with a pencil and paper, one must hold the paper flat and steady on the table or desk. This coordinated use of tow hands together is bilateral hand coordination and can be difficult for some kids. Encourage your child to hold the cookie cutter steady on the paper as they trace the inside of the cookie cutter. They will have to move their hand around as they trace the shape, and that is a good way to coordinate those hands together, much like the paper must be managed when writing. You may have to move the paper around to comfortably write from line to line, or to fill in sections of a worksheet, or erase. These changes in movement wile holding the paper with the non-dominant hand can be difficult for some kids, so this activity should help to work on bilateral hand coordination in writing in a fun way.
Tripod grasp in handwriting
A tripod grasp on the pencil is effective in handwriting. As children grow older, they are required to write more and at a faster pace. Sometimes kids who are writing with an ineffective grasp struggle to keep up with note-taking tasks due to fatigue and weakness. This cookie cutter handwriting task will help to encourage a tripod grasp as they attempt to trace inside the cookie cutter. Encourage your child to trace as close to the inside of the cookie cutter as possible. They will need to manipulate the pencil with the small intrinsic muscles of the hand to get the pencil marks close to the cookie cutter edge.
Letter formation in handwriting
Younger kids can work on tracing their finger in the letter and number cookie cutters to work on formation. Encourage them to trace the letter several times and always using the correct sequence to make the letters (start at the top and jump the finger back up to the top to start new parts of the letters) and use verbal cues as they “write” the letter. Do this several times to achieve a motor plan. Then give your child a crayon or thick marker and have them draw the letter as if it were a stencil. You can even throw the cookie cutters into a bin of corn like we did with our corn and cookie cutters sensory bin. Don’t have the alphabet cookie cutters?
Use any shape cutter for tracing and line awareness, pencil control, and hand-eye coordination.
I am an early bird (make that a caffeinated early bird). I wake up early and get things done. Before kids, it was household things, an early morning run before work, or just reading. After four kids, I am still waking up early, but productive tasks are not being checked from my to-do list. Now, those early mornings are spent changing diapers, fixing breakfast, wiping spills, getting kids dressed, wiping more spills, snuggling sleepy babies, wiping spills… The tasks may have changed from a few years ago, but the morning is still a time of productive (and some days, not-so-productive) work. This job called Motherhood is a tough one that is repetitive, thankless, but oh so important. Through it all those early mornings were and now REALLY are fueled by coffee.
So, when this mama is running all day long chasing kids, breaking up arguments, and wiping up all of those spills (WHY do kids spill so many things??!!) and the early mornings lead into sleepy afternoons, I need a mini-break. It is so exhausting when the kids are in that tired/hungry/bored time around 4:00 pm. It can be easy to let the exhaustion get to you. Sure, you can throw on a movie or encourage a little rest time, but with four kids, someone always needs something. I can’t recall a moment when all four kids napped at the same time. I’m not one of the lucky moms whose three year old and four year old still nap. They just. keep. going. Quiet time in their rooms turn into a little someone yelling or pounding on the door about a dire emergency. Or a spill.
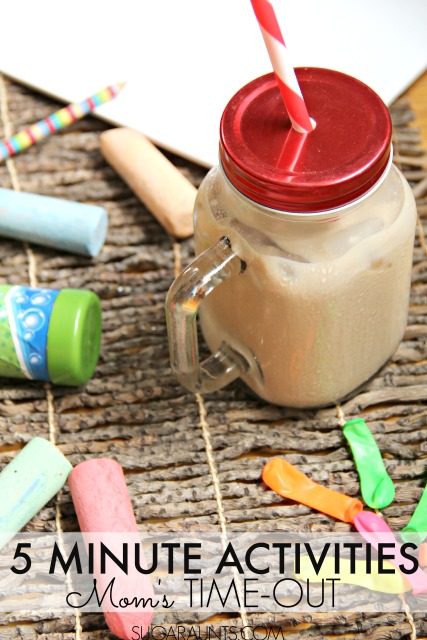
I can’t keep going full steam without a mini-rest. Some days are HARD to pull it together and be the patient, kind, loving, peaceful, joyful mom that the kids need. Moms need time-outs too! We’ve got some ideas to keep the kids busy for five minutes while mom gets a break (and a little caffeinated pep to keep you going through dinner). Grab a cup of iced coffee, give the kids a quick activity in their rooms, and re-fresh yourselves. Ignore the spills for a minute and take a deep breath. You’ve got this!
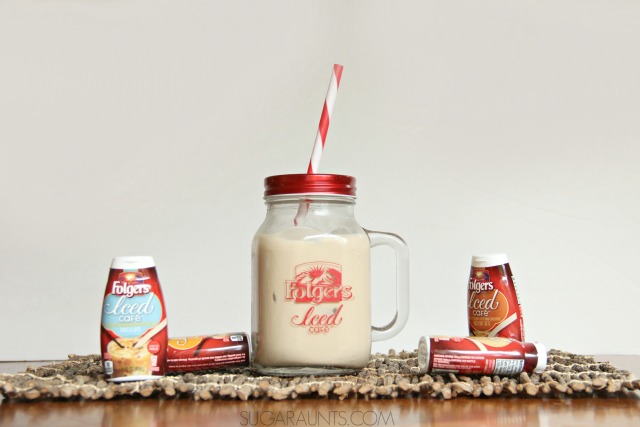
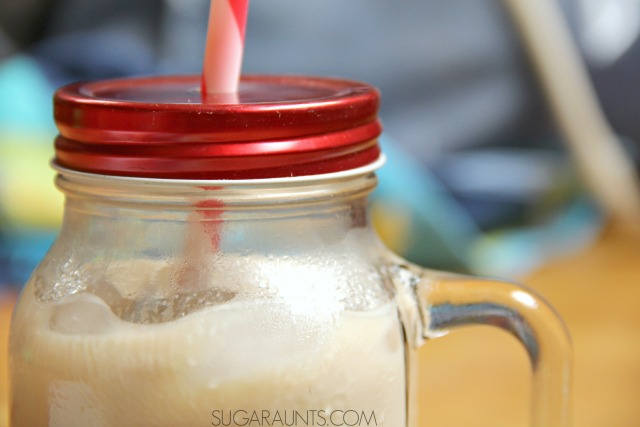
I am SO excited to share my love of afternoon mini-break time and iced coffee with you. I was able to try Folgers® Iced CaféTMCoffee Drink Concentrates. They are a new line of concentrated coffee, sweetener, and flavor that are all conveniently combined in a portable package. Moms need convenience when it comes to getting a few moments to herself so the quick prep makes it a winner for me! I loved that I can add the concentrates quickly into an ice cold glass of milk and enjoy a little pick-me-up to beat the afternoon fatigue. What makes them even better is that no sugar or preservatives are added to the portable squeeze bottles. I have been loving all of the available flavors (Original Latte, Vanilla Latte, Caramel Macchiato and Hazelnut Latte) but the Caramel Macchiato iced coffee in a cute glass mug and a straw makes my min-break seem even more luxurious. The kids know that the sight of coffee in the afternoon is a mom-only drink by now so for at least 5 minutes, the spills should be at a minimum. “Should” being the key word.
Grab Make Summer Fridays even cooler with new Folgers® Iced CaféTMCoffee Drink Concentrates and a little me time (even if it is only for five minutes!) while the kids are busy:
5 minute activities for kids who don’t do quiet time:
Grab a stack of books and a timer. Have your child read or look at pictures for five minutes. When the timer goes off, join your child and read together.
Hand your child a box of sidewalk chalk and a baby doll or pretend figure. Encourage your child to draw a picture with the chalk and place the baby doll or figure into the sidewalk art. Watch from the side for 5 minutes as you sip your iced coffee.
Set up a healthy snack.
Pull out a piece of paper and a fun pen. Ask your child to draw a picture or write a letter to someone special. A grandparent, neighbor, cousin, or friend would love to receive mail! After five minutes, join your child and help them address their mail.
Spread out a stack of easy puzzles. Kids need to do all of the puzzles in the stack before they are done with their mini-quiet time. When they are done, join them and do the puzzles in reverse by taking the pieces out and building them on the table. For silly giggles, do the puzzles in slow motion and at super speed together!
Pull out bubbles and head outside. Grab your iced coffee and just watch the excitement. Let the bubble spills happen. And they will. Just watch the giggles and the fun. Then grab a bubble wand and join in on the fun!
While we don’t homeschool, many of the activities and learning ideas you’ll find on our blog are related to educating and extending learning themes at home. Many of our favorite posts are used by homeschooling parents. We’re excited to join 25 other bloggers in a month of homeschool topics and tips. We’ll be sharing 31 Days of Learning at Home with Free or almost free items. You can read about it here and see all of our posts each day in July.
Be sure to sign up for our newsletter so you don’t miss a post from us!
Are you looking for homeschooling tips for moms? Well, this is a great resource for just that! There are 26 homeschooling bloggers, who came together to provide our readers with 31 days of homeschooling tips, touching on 26 different topics.
31 Days of Homeschooling Tips for Moms
We encourage you to take your time on these 26 topics chosen to inspire, encourage and empower our homeschooling readers. We would love to have you pin the post that inspire you, share the series that encourage and pass along these 31 day series to empower those you know who could benefit the most from them.
We all need homeschooling inspiration from time to time, right?
The hostess for this series would like to invite you to join our Facebook group inspired by this series, where we will provide addition homeschooling tips in addition to what is included in these series.
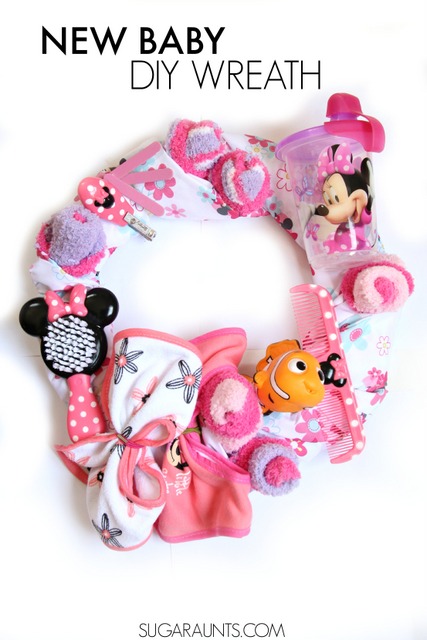
A new baby brings so much excitement to a home! When a baby is joining older brothers and sisters, sometimes the excitement of a baby shower doesn’t happen. Sure, the new thing to do is to throw a Sprinkle for a mama-to-be. But often times, a mother of a new baby with older kids doesn’t have a Sprinkle thrown for her. We made this DIY New Baby Wreath that would be the perfect gift for a baby shower or a baby that is not the first one in the house! Make this wreath for a friend that might need a few new items that get used. A baby is new to the world and new to a house. A little something new for the baby and mama will bring a smile to a friend’s face!
New Baby Gift Wreath
We have a friend who recently had her FOURTH baby girl. What a special bunch of sisters those girls will grow up to be! Having two other sisters myself (the AUNTS behind this blog!), I know how much fun it is to grow up in a house full of girls. My friend has all of the baby essentials by now. But with this special and sweet little baby, I wanted to give her a gift that would make her smile: something a little different and a re-stock of some things that might be needed by the time a fourth baby arrives in the house!
We went shopping and picked up a few Disney Baby items. My three year old is friends with some of the older girls in this family, so she had fun picking out items to add to our DIY Baby Wreath. We chose from the Disney Baby line:
Fitted sheet
Baby brush
Baby socks
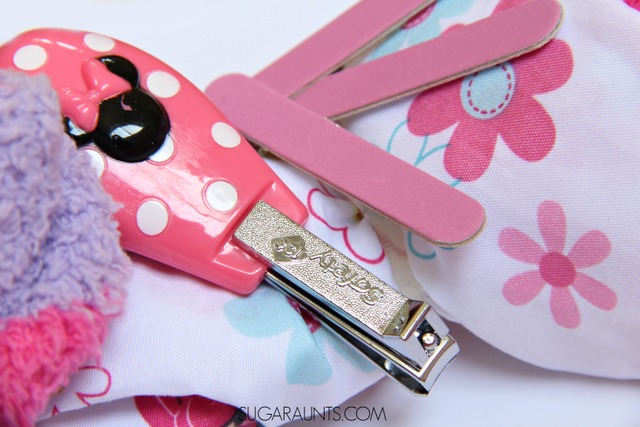
Nail clippers and nail files
Sippy cups
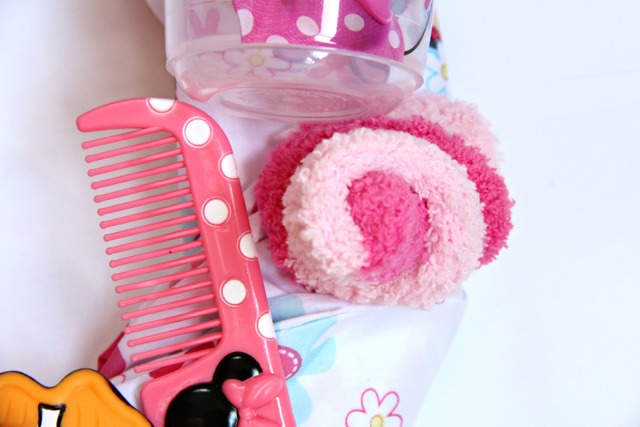
Comb
Bibs
Bath toy
You’ll also need: wreath frame, glue dots, clear plastic zip ties.
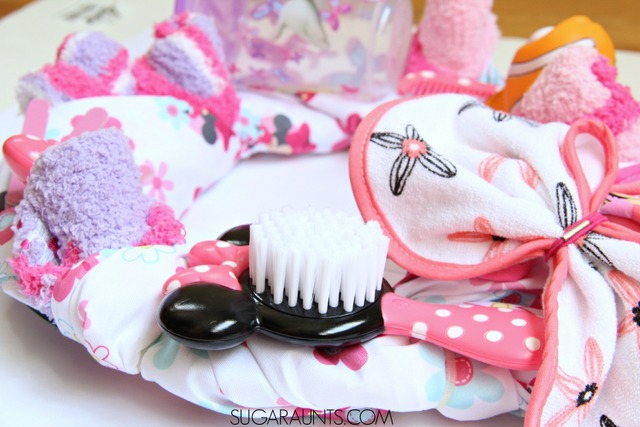
To make our wreath, we wrapped a fitted sheet in a fun pattern around a wire wreath frame. Use plastic zip ties to secure the sheet.
Next, start adding the baby essentials to the wreath! We used glue dots for some items and the clear plastic zip ties for other items.
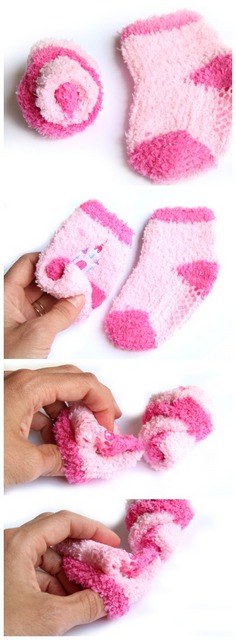
You can create roses from baby socks very easily. These will really add to the wreath and are a fun touch.
How to Make Roses with Baby Socks:
To make roses using baby socks, simple roll up a sock. You only need one sock to make a rose, depending on the thickness of the sock.
1. Start at the toe and roll up to the ankle opening of the sock.
2. Grasp the ankle opening and wrap it around the bottom of the roll, much like you would flip socks when you are folding socks together.
3. Separate the rolled part slightly to arrange the rolled parts to look like a rose.
Then attach to the wreath! We used a glue dot to secure the socks in place on the wreath.
Use a rubber band or hair tie to create a bow from bibs. Simply scrunch up several bibs and secure in the center. Position on the wreath and secure from the back of the bow with a zip tie.
What do you think? Do you know a mom-to-be (or a mom-AGAIN-to-be) who might love a Disney Baby Welcome Baby Wreath?
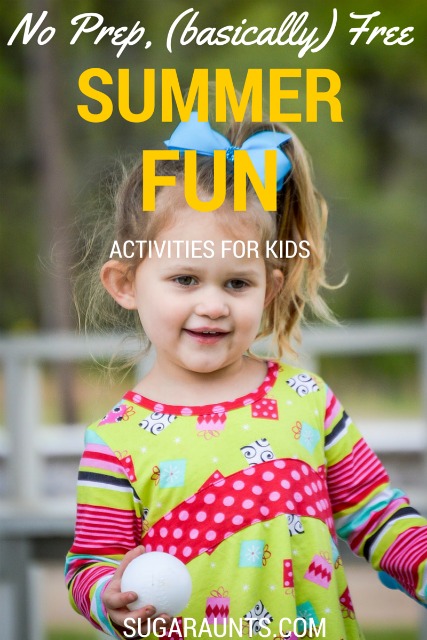
Summer is upon us. For me, I am at home with my four kids and playing, (trying) to stay on top of the laundry, feeding constantly hungry mouths, planning hikes and park visits, scheduling play dates, visiting the library, and trying to keep this little blog business afloat. The kids do a great job of unstructured free play and come up with some pretty wild imaginative ideas. They are playing school, cops, library, and pirates on almost a daily basis. Then there is the daily coloring and TV tag in the yard that keeps the kids creating and moving. We also find ourselves pulling our hair out with bickering kids, whining, and boredom. A little inspiration in EASY and basically free activities for the kids is needed sometimes. Use this list of essentially Free Summer Fun Activities for those times when the kids need a little encouragement to create, play, and get along. Because we all know that sometimes distraction can change a sour attitude into smiling happy kids!
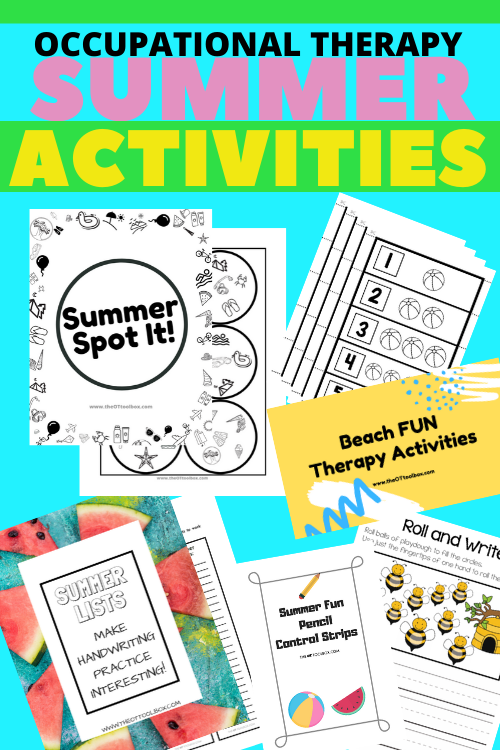
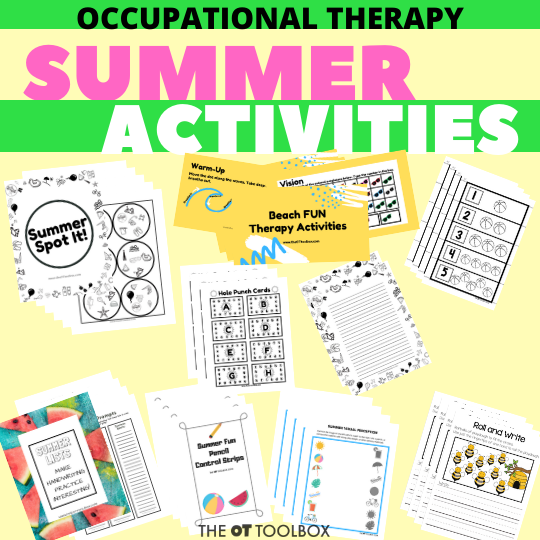
You’ll also be interested in our new Summer Occupational Therapy Activities Packet. It’s a collection of 14 items that guide summer programming at home, at school, and in therapy sessions. The summer activities bundle covers handwriting, visual perceptual skills and visual motor skills, fine motor skills, gross motor skills, regulation, and more.
You’ll find ideas to use in virtual therapy sessions and to send home as home activities that build skills and power development with a fun, summer theme. Kids will love the Summer Spot It! game, the puzzles, handouts, and movement activities. Therapists will love the teletherapy slide deck and the easy, ready-to-go activities to slot into OT sessions. The packet is only $10.00 and can be used over and over again for every student/client!
Play Pizza Tag: one person is “it” and chases the others. Players run from “it” and can stay safe from being tagged by naming pizza toppings and touching the ground.
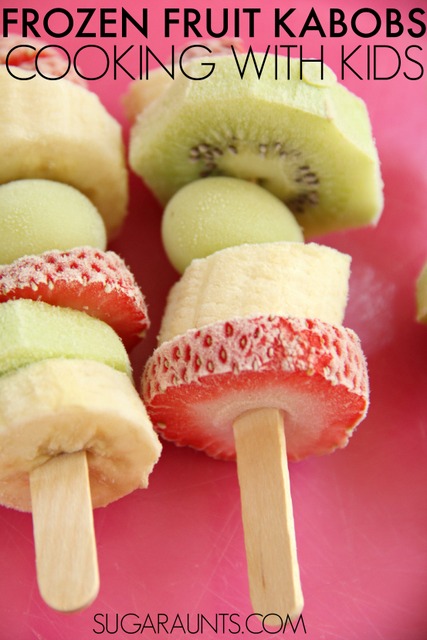
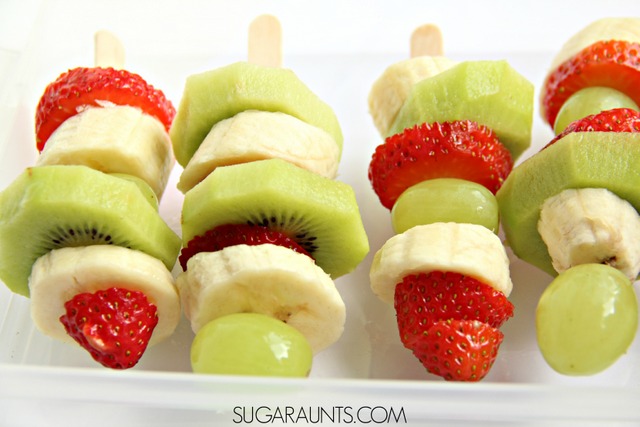
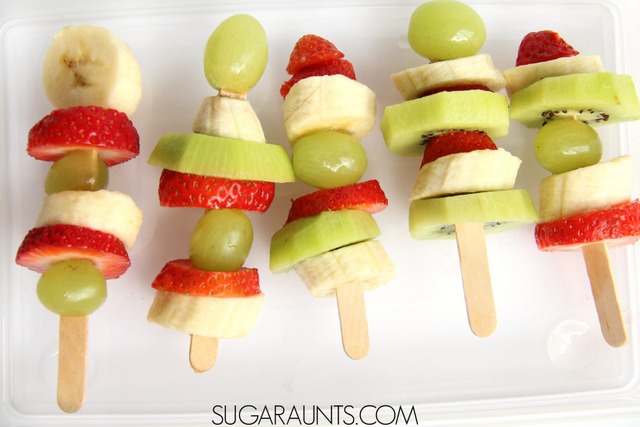
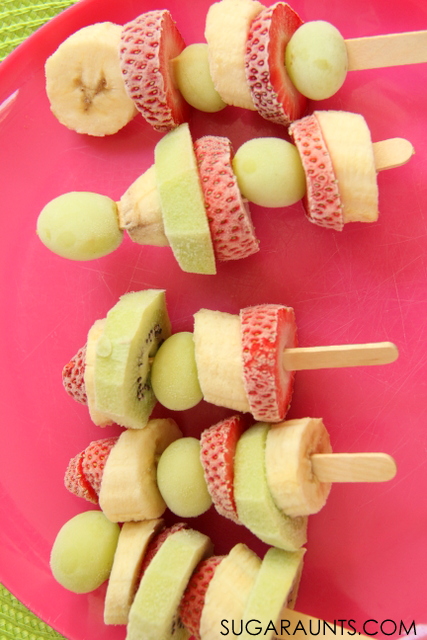
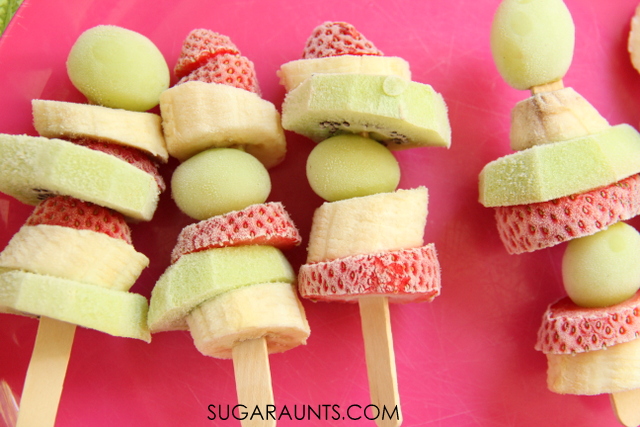
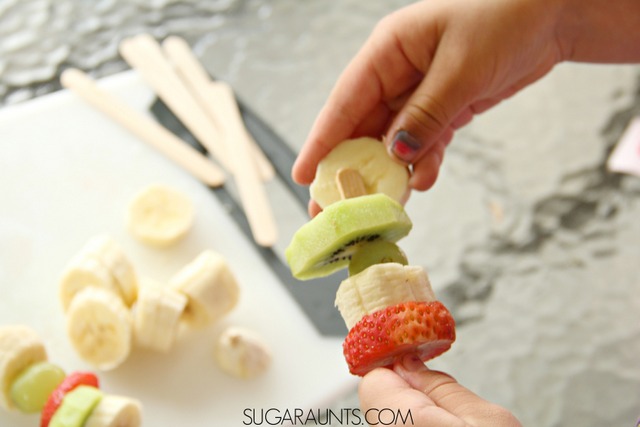
Have you seen our cooking with kids A-Z posts? We’re cooking our way through the alphabet along with a few other kids’ activity bloggers. We’re up to K for Kiwi and sharing our favorite summer recipe: Frozen Fruit Kabobs! These are always a hit in our house, but especially during the hot summer months, the kids love these frozen fruity treats that are a healthy alternative to popsicles. This is definitely a recipe that younger kids can make. My preschooler was able to do most of the prep and all of the spearing on her own. The hardest part of this recipe is waiting for the fruit to freeze!
CHECK THE SUMMER ACTIVITIES FOR KIDS OF ALL AGES LISTED BELOW!
You’ll also be interested in our new Summer Occupational Therapy Activities Packet. It’s a collection of 14 items that guide summer programming at home, at school, and in therapy sessions. The summer activities bundle covers handwriting, visual perceptual skills and visual motor skills, fine motor skills, gross motor skills, regulation, and more.
You’ll find ideas to use in virtual therapy sessions and to send home as home activities that build skills and power development with a fun, summer theme. Kids will love the Summer Spot It! game, the puzzles, handouts, and movement activities. Therapists will love the teletherapy slide deck and the easy, ready-to-go activities to slot into OT sessions. The packet is only $10.00 and can be used over and over again for every student/client!
Summer Healthy Treat for Kids: Frozen Fruit Kabobs!
{This post contains affiliate links. This allows us to buy stuff like fruit. And popsicle sticks.}
Kiwi Fruit Kabobs
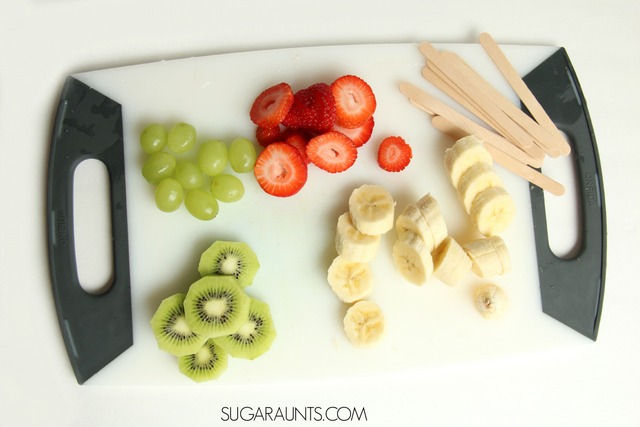
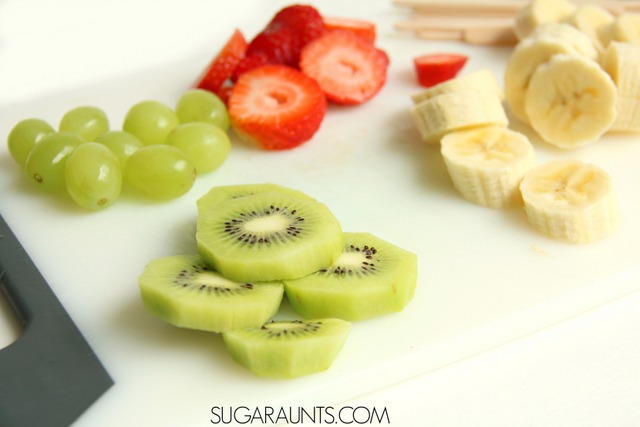
These fruit kabobs are beyond easy. Grab a handful of craft sticks and your favorite kid-friendly knife. You’ll want to use fresh fruit that your child loves, but also try a few new fruits. It’s a great way to introduce something new. In our case, my older kids have had kiwi before–and my three year old has too, but could totally not recall ever eating it. Other fun new fruits to try may be star fruit, mango, or pineapple.
Slice and wash the fruit. The kiwi are a little harder to peel and slice, but ours were not extremely soft.
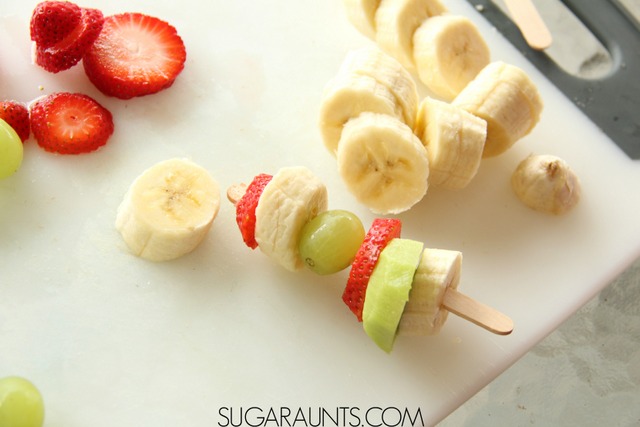
Start pressing the fruit onto the craft sticks. We used craft sticks for the child-friendly safety factor. You could definitely use kabob skewers for a snack created for adult or teens, but because we were making a popsicle-like treat for kids, we went with the safer version.
For easy skewering of the fruit with the craft sticks, we found that if we put the strawberry and kiwi slices flat on the cutting board and poked the craft stick down into each slice, they went on the stick much easier.
Have the kids arrange their fruit kabobs however they like. It was fun to hear each kids’ take on their fruit kabobs. We had a rocketship and strawberry hats among our fruit kabobs.
Place the fruit kabobs in a flat container. We used our snap and stack containers for a shallow kabob holder while in the freezer. Place the lid over the fruit and wait for them to freeze.
Once they are frozen, enjoy! The kids will love the frozen fruit treats that they made and mom will love the healthy alternative to popsicles!
“This post is part of a social shopper marketing insight campaign withPollinate Media Group® and Glad, but all my opinions are my own. #pmedia #pressnsealhacks
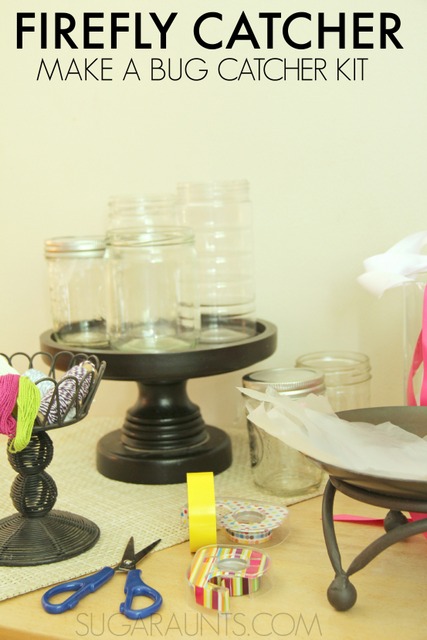
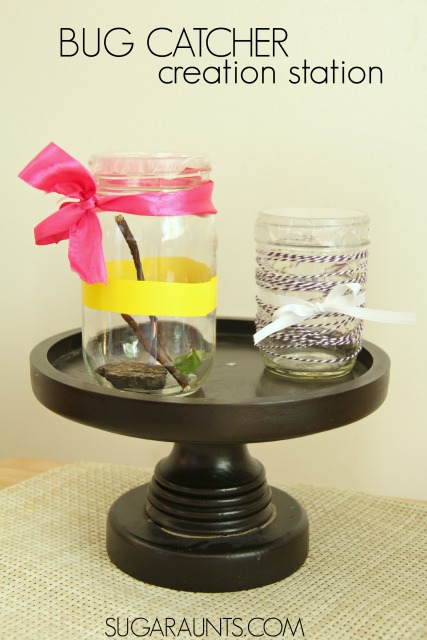
Summer means fireflies (do you call them lightning bugs in your house?) on warm nights with the kids running around the yard. We are such huge fans of lightning bugs, and really all types of bugs–that we decided to create a firefly catcher…or 8! This firefly catcher creation station was a HUGE hit in our house and would be the perfect craft for a summer play date or bug-themed party.
Host a firefly bug catcher creation station:
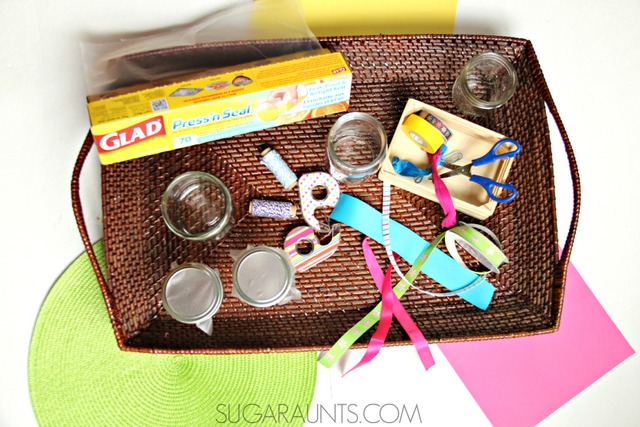
You’ll need just a few materials to get the kids creating and excited to make their firefly catchers. We stopped at Walmart and picked up:
Added extras like sticks, leaves, and stones for the fireflies
You’ll need recycled jars and containers for the firefly homes.
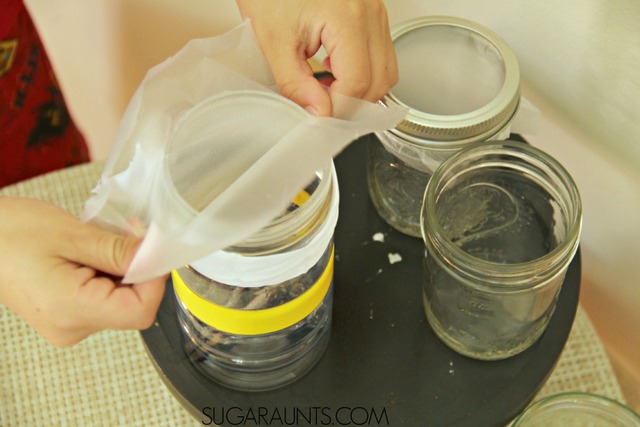
Set up a table with all the firefly catcher items. Be sure to cut the Glad Press’n Seal into small square shaped pieces to fit the tops of your containers.
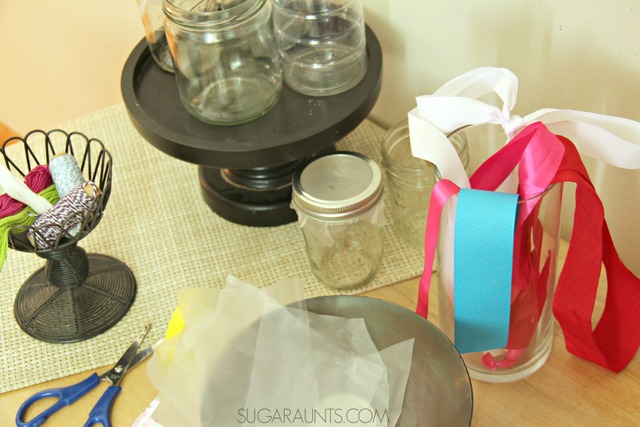
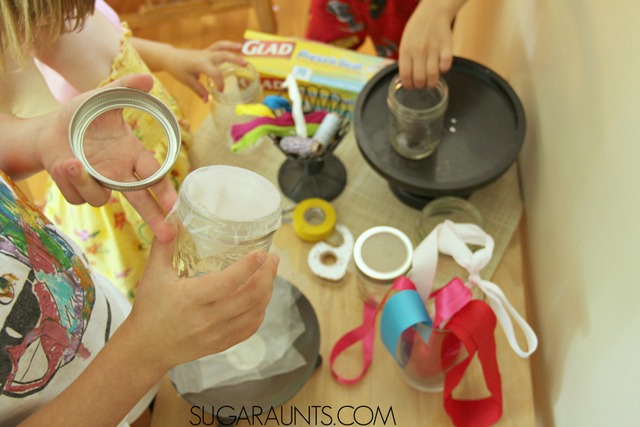
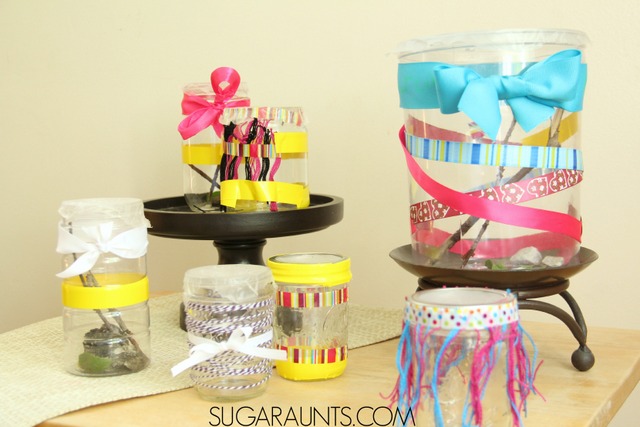
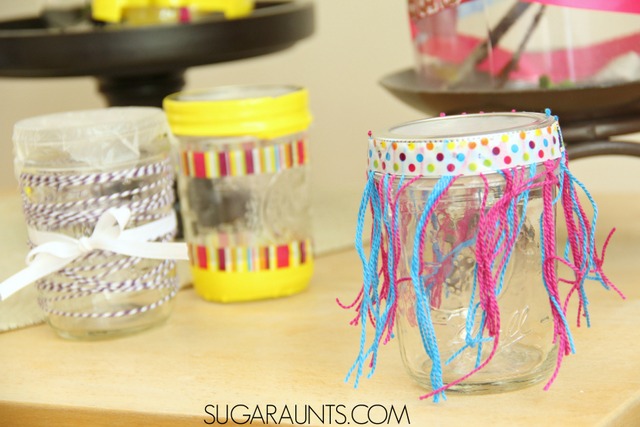
These kids were excited to get started. They decorated the containers with tape, ribbon, and string.
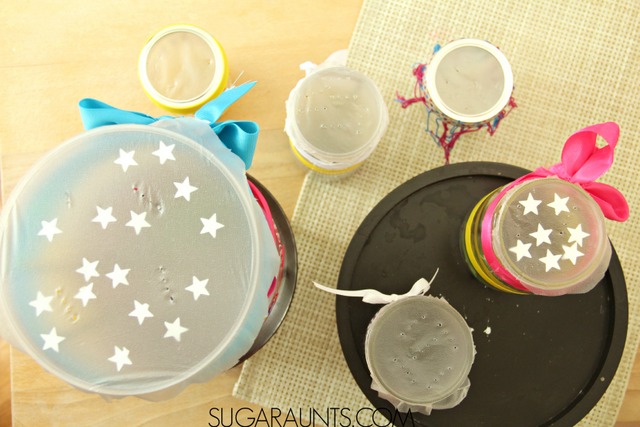
Once you’ve got the jars decorated as you like, place a piece of Glad Press’n Seal over the top. It’s resealable and will make a great lid for the bug catchers. Use a fork to poke holes in the Glad Press’n Seal for breathing holes. You can remove the covering during the bug catching and simply pull it back into place to keep the lightning bugs happy in their new temporary home!
My son decided to add star decorations using a star-shaped hole puncher and printer paper. The paper stars stuck right to the Glad Press’n Seal and reminded us of a stary night. Hopefully the lightning bugs thought the same!
These firefly catchers are gorgeously decorated in ribbons, bows, tape (even electrical tape!)
These lightning bug catchers are (almost) too pretty to catch bugs! We had a lot of fun running around the yard catching fireflies and capturing memories together. These bug catchers will be used a lot this summer!
Love this? Pin it!
Be sure to stop by and follow our Facebook page where you can see tons of crafts and activities for kids from all over the internet. Feel free to share pictures of your firefly catchers with us there!
This month’s sensory dough is Fizzy Dough! This was a fun one for us, because we combined one of our favorite doughs (baking soda dough!) with sensory science AND cursive handwriting….Whaaaa? Yep! We got them all in here on this post for you, and it was a fizzy blast!
This is a great hands-on activity that can help with the letter formation portion of cursive handwriting. Getting the tactile sensory input can leave a lasting impact on the lines needed to form letters. It’s a great way to make learning cursive not so boring!
What is Fizzy Dough?
What is Fizzy Dough…was the first thing we thought when we saw this month’s sensory dough theme. Apparently anything that fizzes and is moldable can be a fizzy dough. SO, we decided to do a twist on our soda dough recipe. We actually ran out of the corn starch needed for the recipe and added in flour so it became a new soda dough for us.
To make the soda dough:
Combine 1 cup flour, 2 cups baking soda, 1 cup water, and a few drops of food coloring in a sauce pan. Cook over medium heat. Stir until it looks like mashed potatoes. Remove from heat and place in a glass bowl. Cover with a cloth until cool.
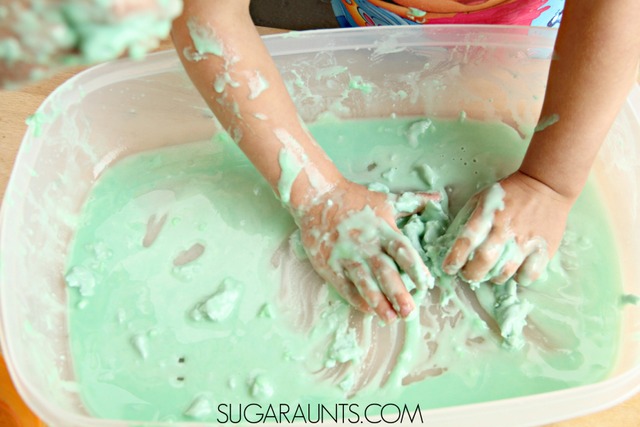
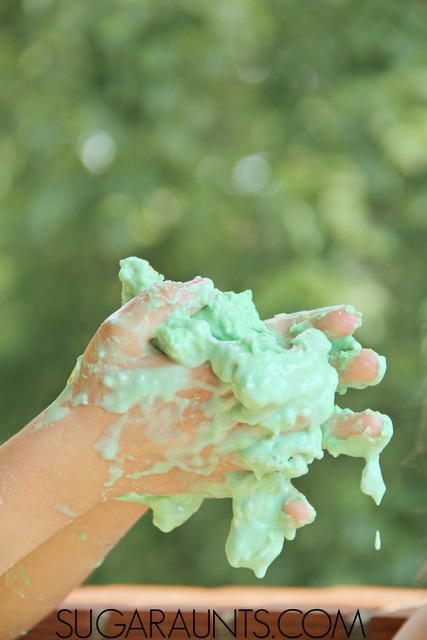
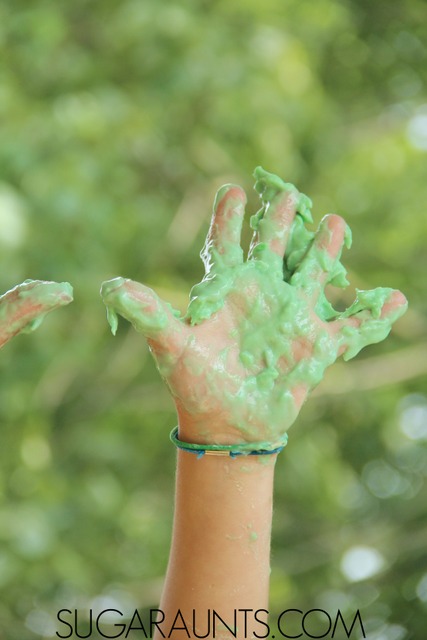
Next comes the fun part: Making the fizzy dough into FIZZY dough! Simply add vinegar for a bubbly reaction that is very fun to watch and play with. We put our dough into a bin and poured and painted vinegar all over the dough. It became a squishy sensory mess of a dough, but still squishy. Add more vinegar for a thinner substance. My kids loved squishing it between their fingers.
How gloriously messy!
Teach letters with fizzy sensory dough
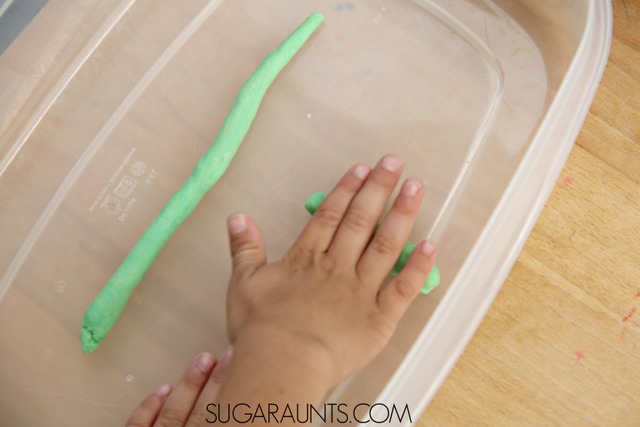
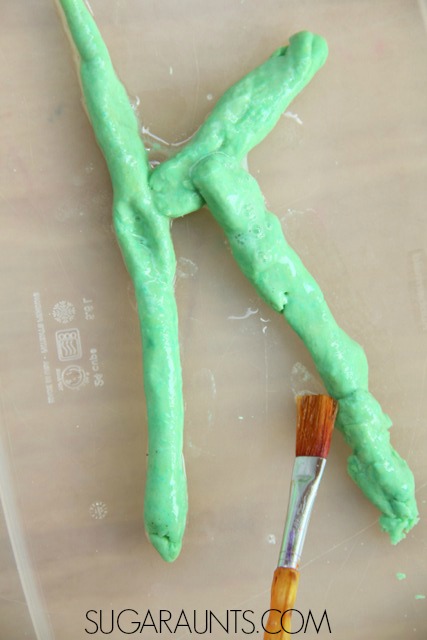
We extended the activity a bit by adding a pre-handwriting and cursive letter formation aspect to our sensory dough. My 5 year old rolled out snakes and made lower case letters. We fizzed them for the sensory fun of it. Dip a paintbrush in a cup of vinegar and “paint” the letters for letter formation practice. Be sure to encourage your child to paint the letters in the correct way to practice letter formation and handwriting.
How to teach cursive letters with sensory dough
When it comes to learning cursive, there is the whole, “Where do I start?” My oldest daughter is asking to learn cursive and I’m excited to teach her.
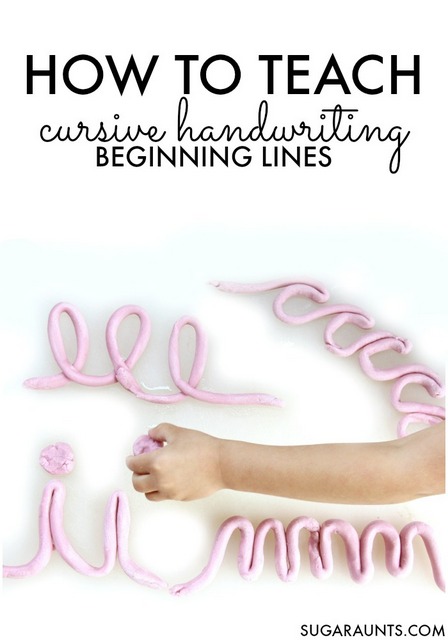
We used our fizzy dough as a starting point to learn the beginning lines and curves of cursive handwriting. Learning the letters can be easy for kids, but the connecting lines can be a bit confusing for kids who are used to printing words. Form a long “snake” with the fizzy dough by rolling it on a table surface. You want the “snake” of dough to be long enough to form several cursive letters in a row. Use the dough to form beginning cursive strokes: a series of lower case letter “i”, letter “t”, letter “m”, letter “l”, letter “c”, and letter “u”. Connect the letters like we did in the picture above to allow the child to get a handle on the flow of the cursive letter lines.
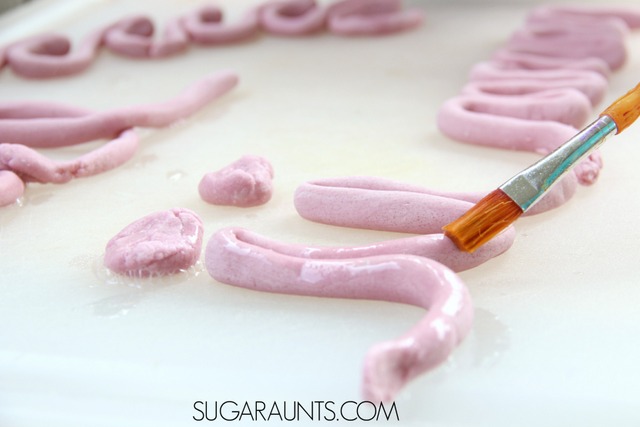
You can draw a line on paper or wax paper to make a form for the child to place the dough over. Then add vinegar for a fizzy and sensory reaction. They will love to see their cursive letter lines fizz and the sensory fun of learning cursive handwriting.
Then use a paintbrush to dip and paint the cursive letters and cursive forms with vinegar for a fizzy, sensory reaction.
See all of the Fizzy Dough in the series this month: