Colleen Beck, OTR/L is a pediatric occupational therapist and the owner and author of The OT Toolbox website. She manages all of The OT Toolbox social media accounts and runs the popular newsletter.
Read about Colleen's experience and career as an occupational therapist, including how The OT Toolbox began on our About The OT Toolbox page: https://www.theottoolbox.com/about-us/
Colleen created The OT Toolbox in 2011 and since then has written thousands of blog posts designed to support therapy providers, educators, parents, counselors, admin, and caregivers in promoting the healthy development of kids.
Check out Colleen's blog posts below:
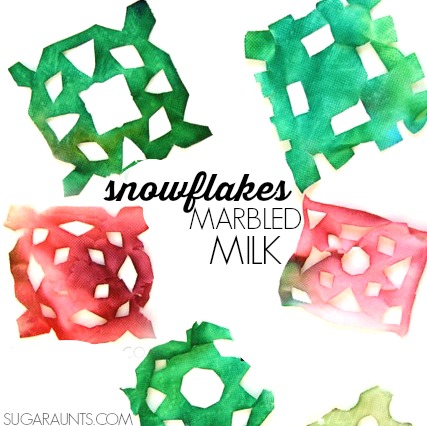
Have you seen the magic milk experiment? This Marbled Milk painting is a little like the magic milk experiment, and such a neat activity for the kids (I think I loved it just as much!) When the weather is cooler and the house is filled with paper snowflakes, a pop of color makes the winter season even brighter! Marbled milk paint is a creative painting activity with a bit of science mixed in.
We’ve done a similar milk and soap science and art project in our published book. This is such a fun way to explore science and art! A true STEAM activity for kids!
Snowflakes dyed with Marbled Milk
This post contains affiliate links.
We first saw the Magic Milk experiment over at Coffee Cups and Crayons. Our process ended up being a bit different than theirs, so if you’ve never seen the full effects of the Magic Milk experiment, it’s definitely something you will want to check out.
We omitted an ingredient in our dying process and skipped the “magic” I suppose…but this Marbled Milk dye is pretty magic in itself, I would say!
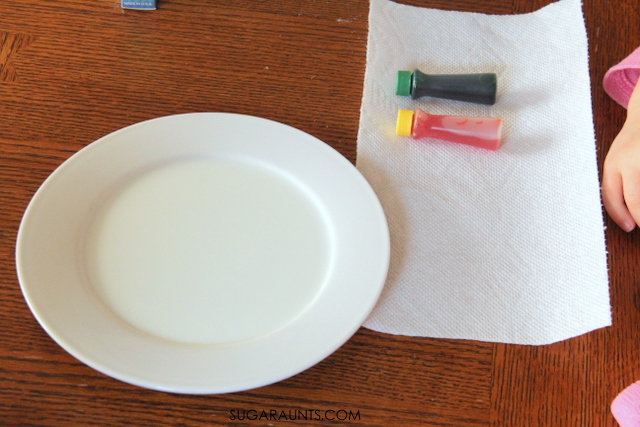
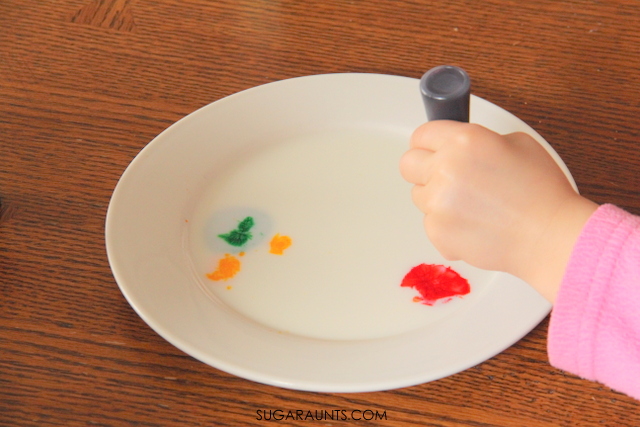
We started with a little milk poured onto a bread plate. You will also need liquid food coloring in a few colors.
Drip the food coloring in different areas of the plate of milk.
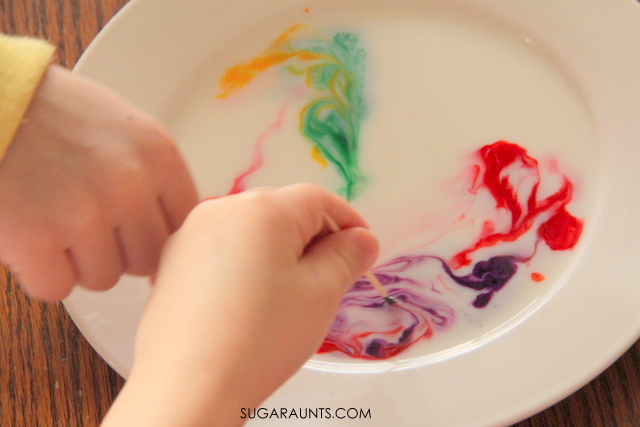
Swirl the food coloring around with toothpicks. It was fun to see the swirling of the food coloring in the milk.
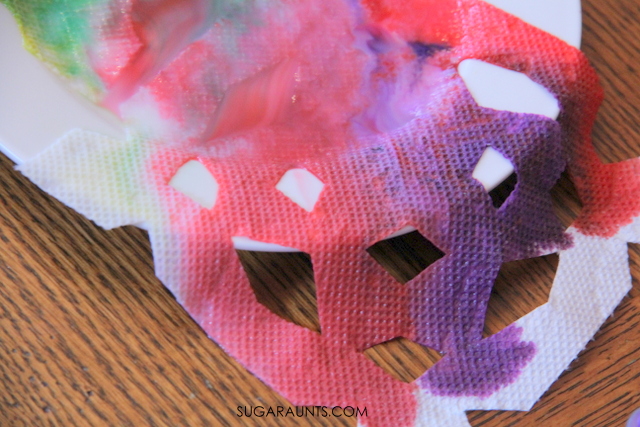
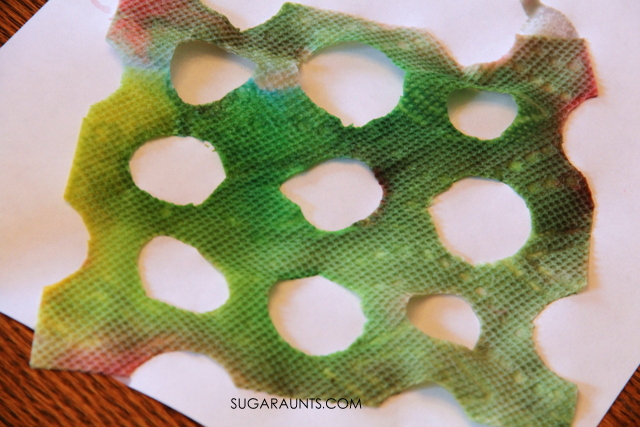
At this point, we pulled out a handful of snowflakes we had snipped from paper towels. Drape them into the milk and watch the colors creep across the paper towel.
It’s amazing how fast the colors creep across the towel and how they become marbled all on their own. We were sure to keep the colors from being a brown mess in the milk and when we swirled the food coloring, were very gentle.
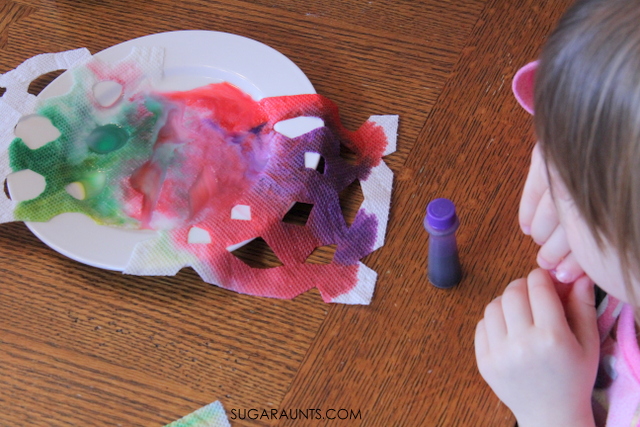
Drape the wet snowflakes across cooling racks with a dish towel below to catch any drips. Let them snowflakes completely dry. They will dry hard and a little crispy on the edges.
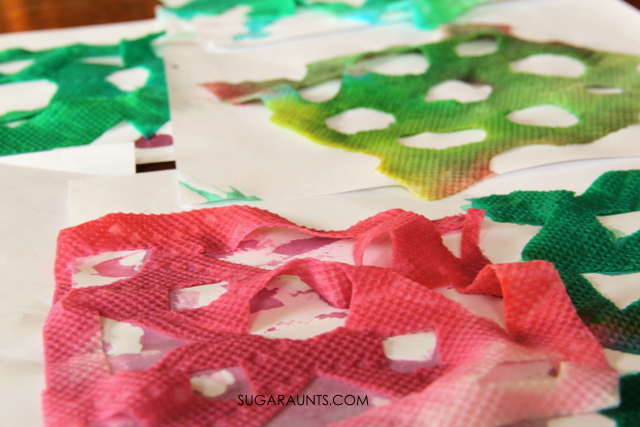
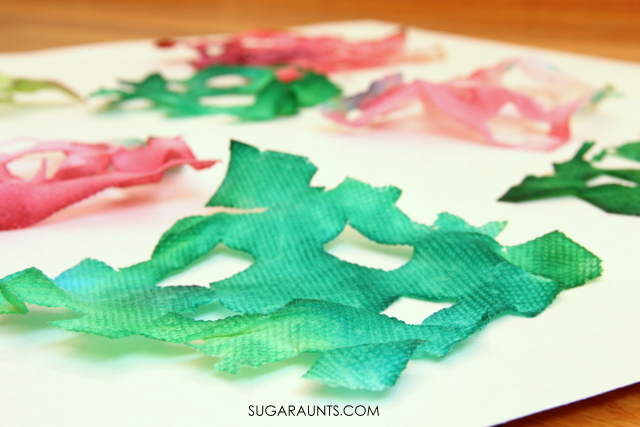
These marbled milk snowflakes decorated our window for a while (until a certain three year old pulled them down!) We’ll be making these again for sure. Let us know if you do, too!
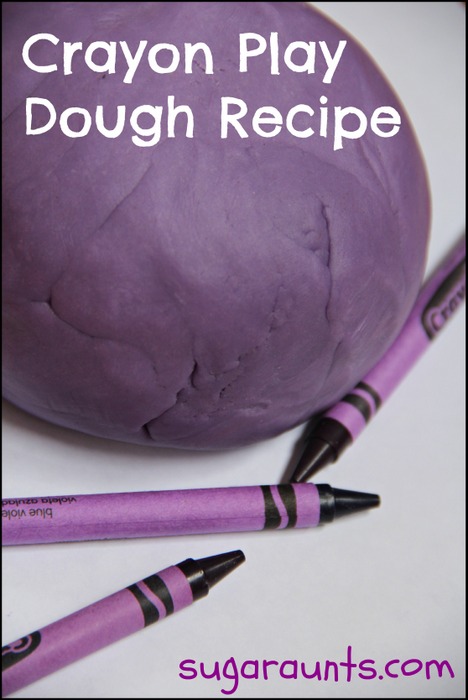
We are slightly obsessed with making crayon play dough recipes. It all started with our crayon play dough. We were brainstorming for an activity to go along with the book, Harold and the Purple Crayon and we made homemade play dough using crayons as a main ingredient. We love this dough so much because of it’s soft and smooth texture and it’s bright and bold color.
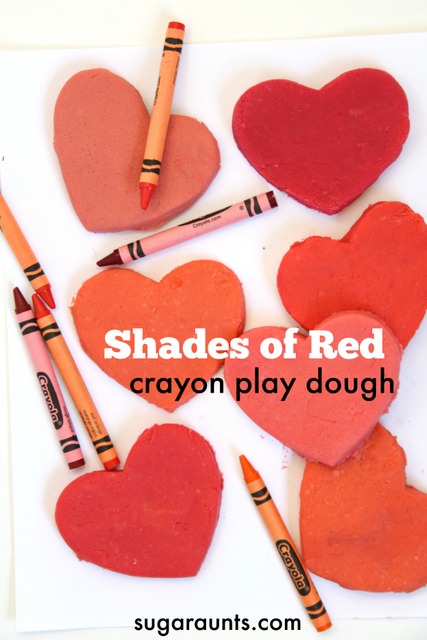
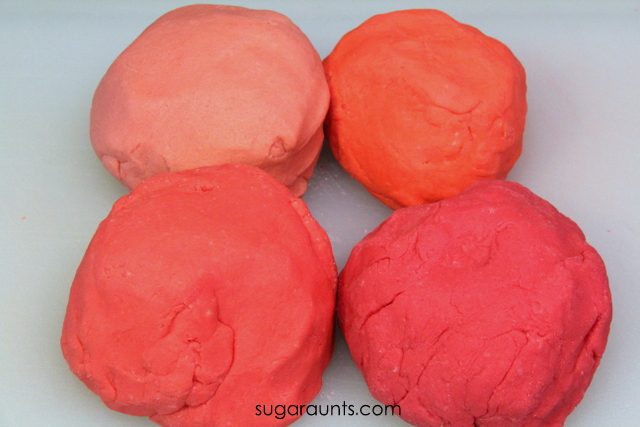
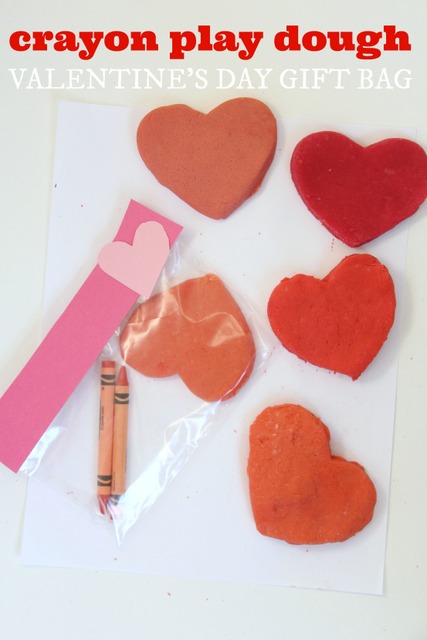
We decided to try a new version of our crayon recipe and make shades of red crayon play dough. This is perfect for Valentine’s Day, but we’ll be using this play dough long after February 14th!
(This post contains affiliate links)
Red Crayon Play Dough Recipe
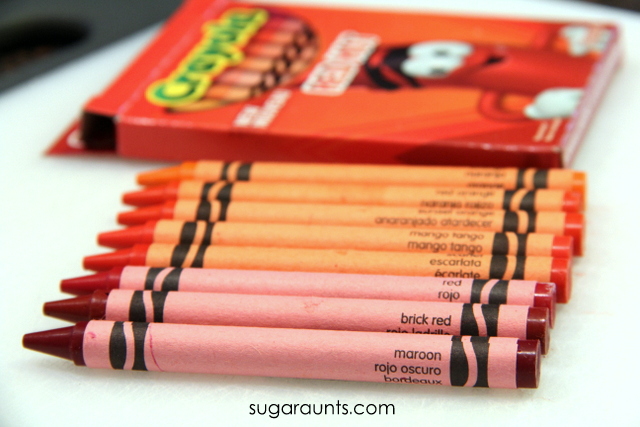
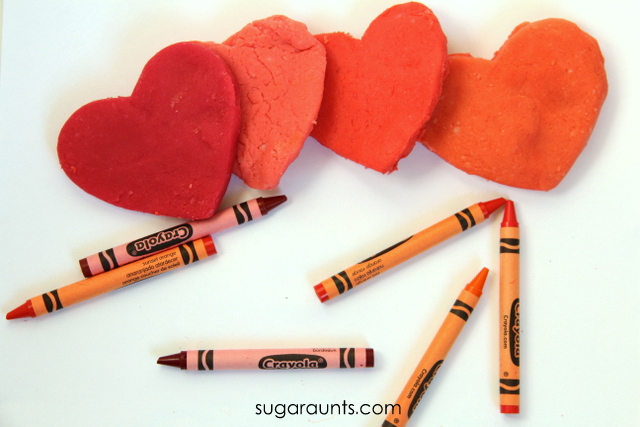
We grabbed a couple of packs of these Red Hot crayons and knew they had to be used for all red play dough. You can use broken crayons that are floating around the house, though.
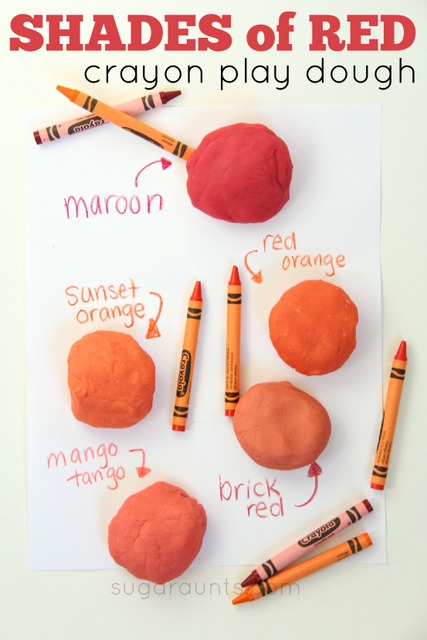
This pack has some pretty red shades. Red, maroon, brick red, mango tango…the bonus of using crayons for dying play dough is that you get a pure, bright, and bold color. Even reds (which don’t always come out brightly colored with other play dough methods) are vivid.
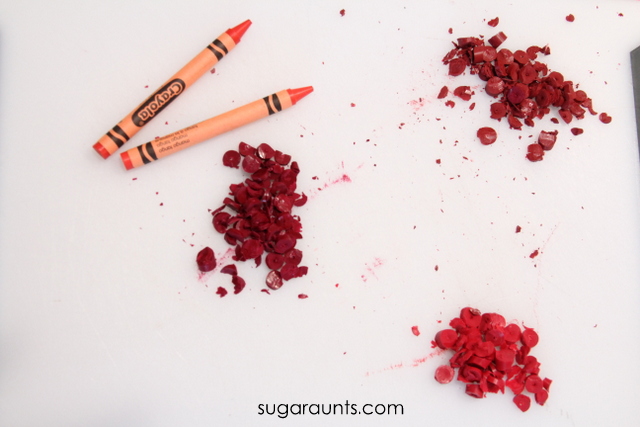
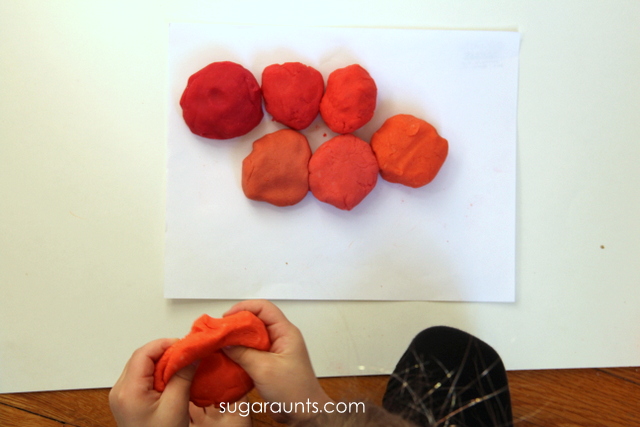
Start by chopping the crayons into small pieces. I used two crayons for each shade (so we ended up using two packs of the Red Hot crayons to make eight shades of red crayon play dough.
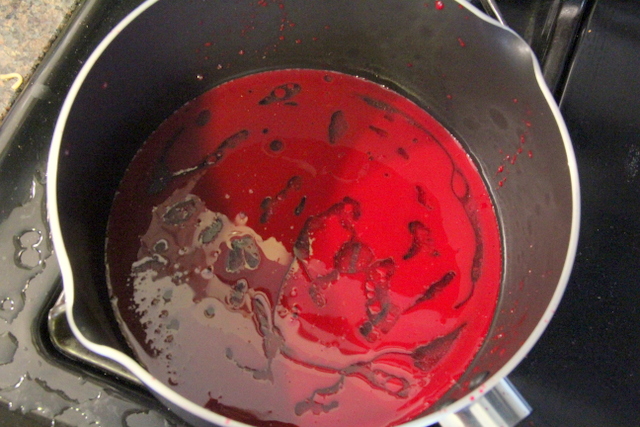
Once you chop up the crayons, melt into the oil over a stove. After the crayons are melted, slowly stir in the water. You can then add the dry ingredients and keep stirring until the dough pulls together. Be sure to mix with a spoon or whisk as you slowly pour in the dry ingredients.Dump the play dough onto a floured surface and let it cool for a few minutes. Once the dough has cooled enough to knead, you will want to knead until the dough is smooth and even in texture.
There are a few problems you might run into when you’re making crayon play dough. If you have white spots in the dough after kneading, it means the flour wasn’t mixed in evenly. Keep kneading the dough and it will eventually get all of the flour flecks mixed in.
If the dough seems too dry, you can add a bit of oil and knead some more.
If the dough seems too moist or oily, add a bit of flour and knead.
Always add small increments to get the right texture, with a lot of kneading in between.
Crayon hearts for Valentine’s Day!
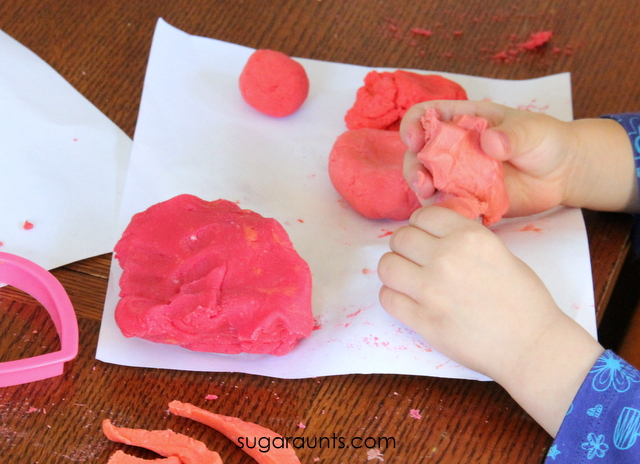
Little Sister loves play dough so all of these shades of red are making her happy!
We even made a few Valentine’s Day treat bags using sandwich bags and pink paper. Pop the play dough into the baggie and fold over the opening. Tape a strip of paper with a heart for a cute non-candy Valentine’s Day treat bag!
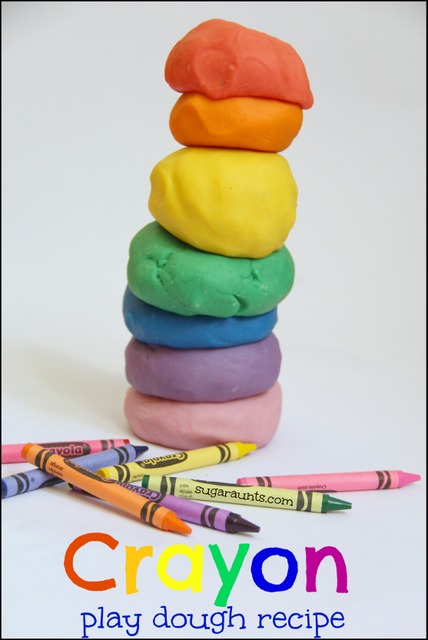
If you like the idea of using your broken crayon pieces in something as fun and creative as play dough, then you will love to try a few different ideas, too. We’ve given crayon play dough a run for it’s fun and tried a few different versions. Check them out and if you make a batch, let us know how you get creative with crayon play dough!
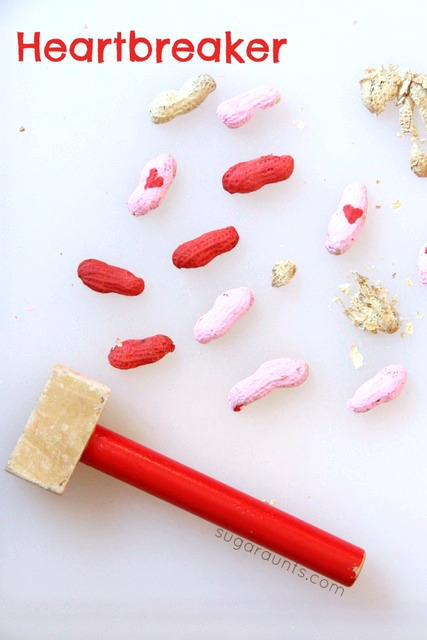
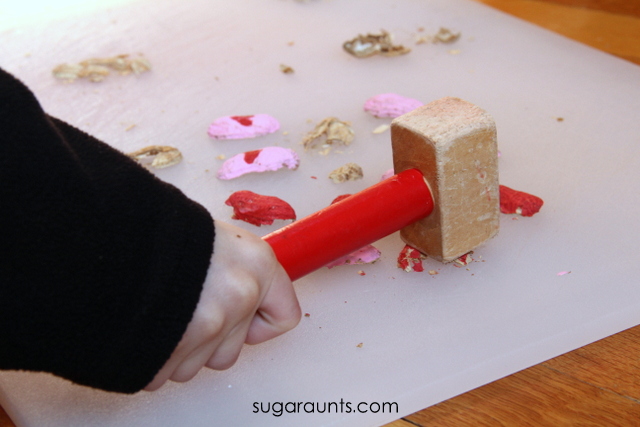
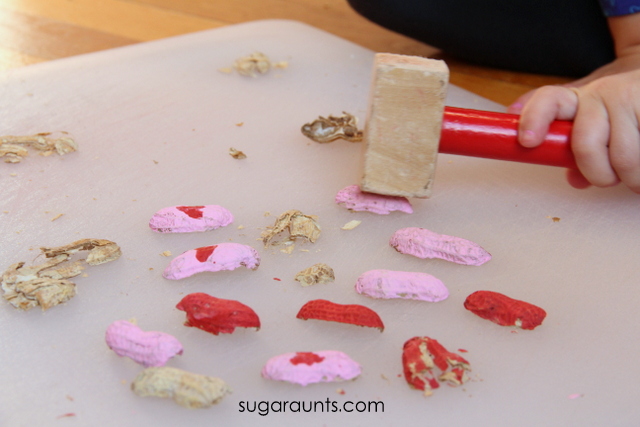
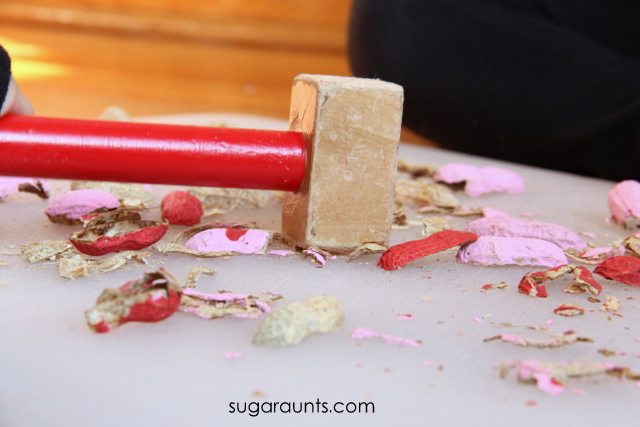
Smashing peanut shells is a messy but fun fine motor and sensory motor activity for kids!
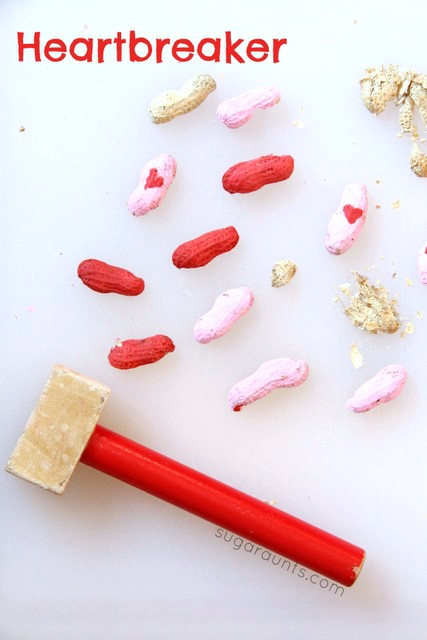
Sometimes, you need to let out a little steam. Valentine’s Day comes with a season of hearts, pink, and love everywhere. This heart breaker Smashing Peanut Shells activity is perfect for the broken hearted…or for just having fun with a fun holiday! Add it to an occupational therapy Valentine’s Day themed session or two.
Smashing Peanut Shells with a Hammer
DISCLAIMER- This sensory play activity has sensory benefits, but it is not for everyone! Be cognizant of peanut allergies as the activity can leave peanut residue in the air or play space. Children who may place small items in their mouth should not participate in this activity. Use protective eyewear such as safety goggles as the peanut shells may fly. As ALWAYS, use common sense when choosing an activity to do with a child. The OT Toolbox is not responsible for your use of this activity.
Now that the important stuff has been addressed, let’s get onto the fun stuff. I love to pull sensory play into our activities.
This smashing peanut shells activity was a great one for getting out a little aggression and adding a little proprioception into our day. Kids will need to use their visual perceptual skills for this activity as well, so this was definitely a way to work on sensory in a very fun Valentine’s Day-themed way!
This post contains affiliate links.
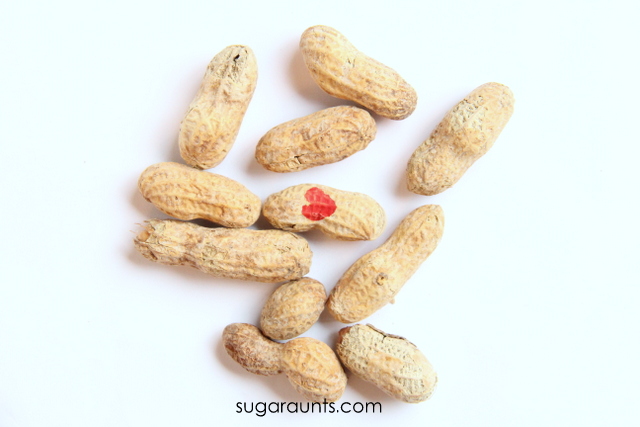
We started with just a few items. A bag of peanuts, red and pink
I started by cracking some peanuts. The kids were happy to join in for a snack they love. Let those kids crack their peanuts! Cracking peanuts is a fabulous fine motor activity. When we had a pile of shells, I gave them a quick rinse under cool water to remove the salt and any peanut dust. We popped the shells into an oven set at 200F for about 10 minutes to quick dry the shells. You could let them sit overnight as well.
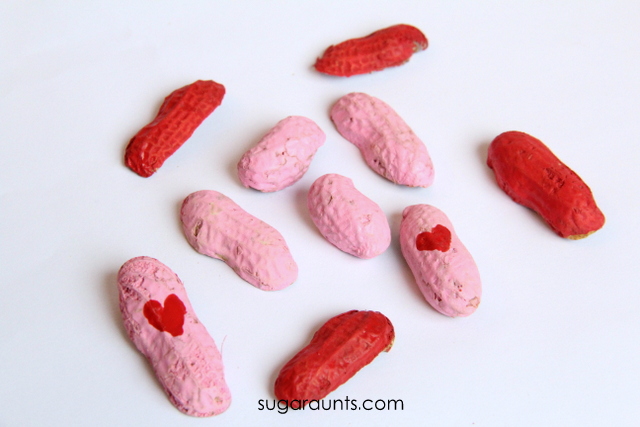
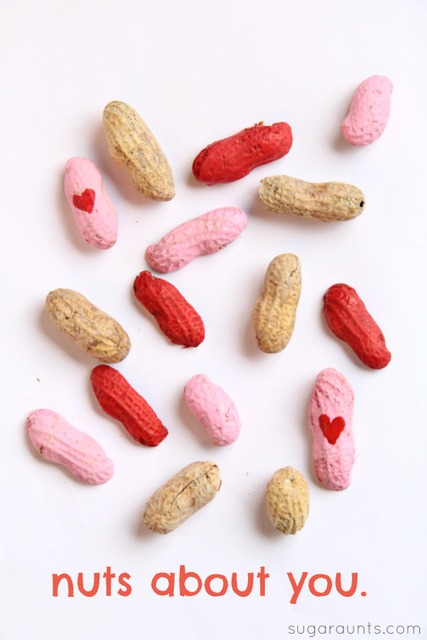
Once the shells are dry, pull out the paints. I painted hearts on a few, and painted the rest red or pink. Little Sister (age 3) helped out with this part. She is my paint-loving kid. Painting the peanut shells was a fun twist on her favorite activity and a pretty cool way to be creative.
Let the paint dry. Admire the adorable-ness.
Valentine’s Day Proprioception Activity
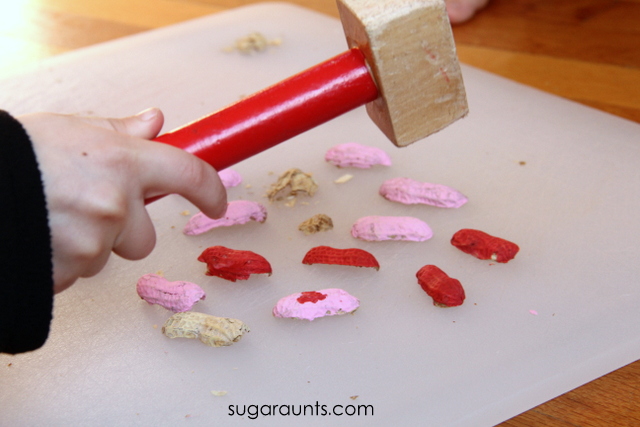
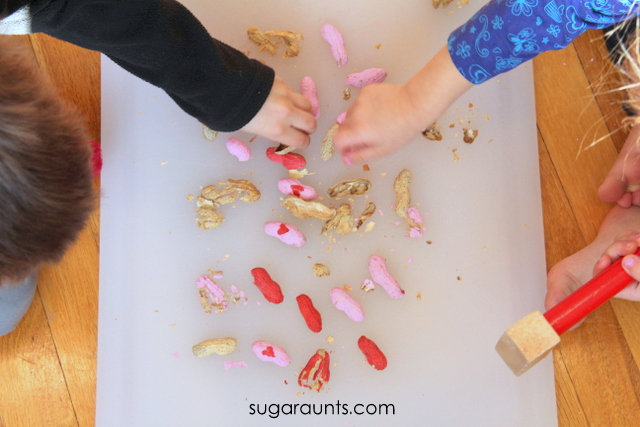
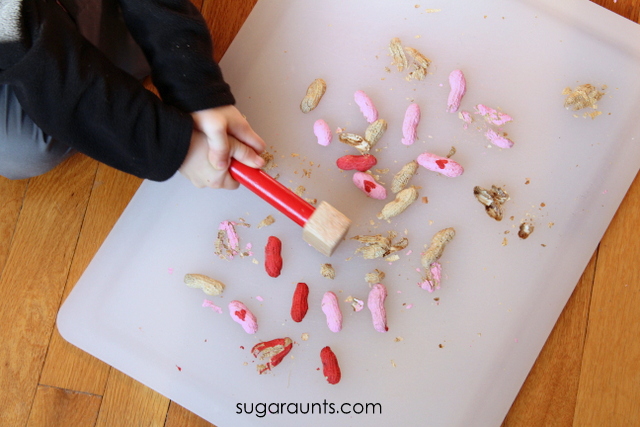
Now for the fun part! My kids were anxiously waiting for those peanuts to dry! Once we were ready to start, I pulled out our big cutting board and we got started with our shell smashing fun.
This activity is awesome for proprioceptive input.
What is proprioception?
Proprioception is a sensory process of the body that allows input to be regulated and responded to with motor movements and positions. Whaaat, you ask?
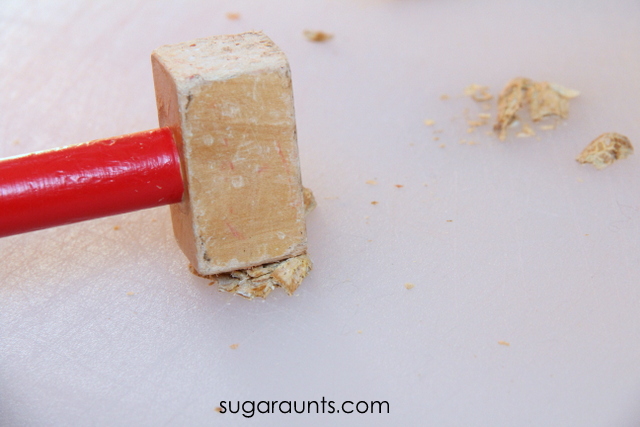
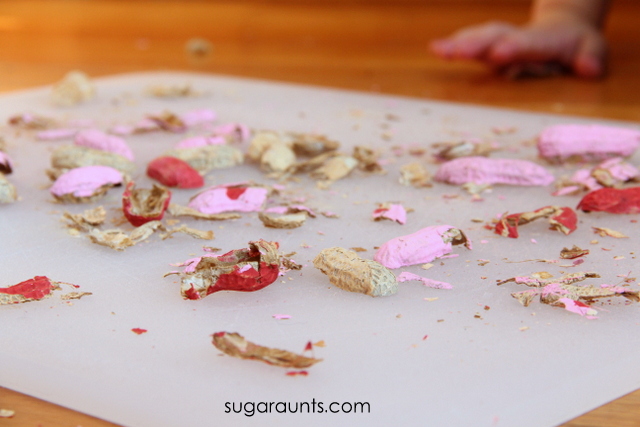
SMASH! CRUNCH!
Valentine’s Day Visual Perceptual Activity:
Visual perception is anther piece of the sensory systems in the body, and this Valentine’s Day activity is a great way to practice visual scanning and eye-hand coordination.
What is visual perception?
Visual perception is the ability for the eyes to process information, resulting in sight. Visual perception includes many abilities including scanning, figure ground, tracking, visual memory, visual closure, form constancy, visual discrimination, and eye-hand coordination among other skills that allow us to see and use that information for function.
Locating the red and pink nuts on the surface of the cutting board requires visual scanning. Using the hammer in a coordinated way to bring it down and hit it requires eye-hand coordination.
What a lot of systems the body is using to do a simple (and fun!) activity!
\
But, if you are concerned with bits of shells and the mess is a concern for you, I would consider doing this activity outside.
Other options would include a large shallow pan or working on a table cloth that can be shook out over the garbage can.
Also note that kids with allergies should not participate in or near this activity. As always, use your best judgement with your kids. If they tend to put small items in their mouth, this is not an ideal activity. Hold onto it, Pin it.
And come back to it at another time. All activities that we document on this blog are supervised. The information on this website should not be used as medical advice. Please contact a therapist for an individualized evaluation if therapeutic advise is needed.
Side-note: (This is your warning!) This activity makes a MESS! As much effort as I used to keep the dust and nut fragments contained, we still had shell pieces everywhere! I had the kids playing right on our hardwood floors, so clean up wasn’t too bad. A quick sweep up with the broom did the job.
I’m nuts about YOU, readers!
The proprioceptive system receives input from the muscles and joints about body position, weight, pressure, stretch, movement and changes in position in space. Our bodies are able to grade and coordinate movements based on the way muscles move, stretch, and contract. Proprioception allows us to apply more or less pressure and force in a task. Instinctively, we know that lifting a feather requires very little pressure and effort, while moving a large backpack requires more work. We are able to coordinate our movements effectively to manage our day’s activities with the proprioceptive system. The brain also must coordinate input about gravity, movement, and balance involving the vestibular system.
Banging that hammer and smashing those nuts requires work to smash the nut shells. You can place the hammer on the nut and press down to get a satisfying “crunch” or you and hold the hammer over your head with both hands and swing it down HARD on the peanut shell. Either way is fun (and we tried both techniques!)
Colleen Beck, OTR/L has been an occupational therapist since 2000, working in school-based, hand therapy, outpatient peds, EI, and SNF. Colleen created The OT Toolbox to inspire therapists, teachers, and parents with easy and fun tools to help children thrive. Read her story about going from an OT making $3/hour (after paying for kids’ childcare) to a full-time OT resource creator for millions of readers. Want to collaborate? Send an email to contact@theottoolbox.com.
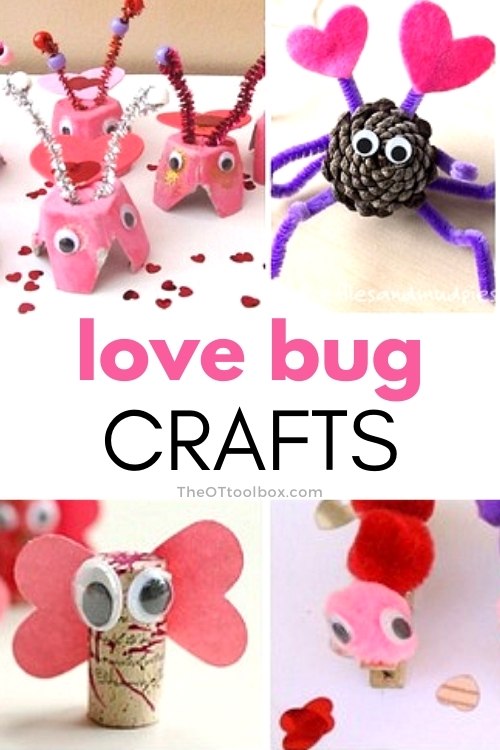
If you are searching for a Valentine’s Day occupational therapy activity, then a love bug craft ideas is it. These love bug Valentine crafts are beyond cute, but they are also powerful fine motor crafts that help kids develop, refine, and strengthen fine motor skills. Check out the craft ideas below and choose one that strengthens the skills you are specifically looking to improve.
Love Bug Craft
The hardest part about setting up these cute bug crafts is to decide which to make. I wanted to pull together some love bug craft ideas from around the net to help you find exactly the craft that helps kids develop specific fine motor skills.
When kids work on crafts like the ones described here, they have the opportunity to build many fine motor skills that are needed for tasks like handwriting, manipulating and managing clothing fasteners, coloring with endurance, manipulating toys and materials in play, and participating in daily tasks with coordination. Here are some fine motor skills that love bug crafts can help kids develop and refine:
Precision and dexterity
Eye-hand coordination
Pinch and grip strength
Separation of the sides of the hands
Arch development
Endurance and strength
Open thumb web space
Finger isolation
Is there anything cuter than a Love Bug craft for kids? These Valentine’s Day love bug crafts would make a great activity for school parties, play dates, or any day leading up to Valentine’s Day!
Love Bug Valentine Crafts
This Sticky play love bugs from Best Toys 4 Toddlers pairs the fine motor power of stickers with a cute bug craft. When kids peel and place stickers, they are building precision and neat pincher grasp that is needed for dexterity in tasks. read more about the benefits of playing with stickers here.
This Pine Cone Love Bugs from Fireflies & Mudpies helps kids build hand strength and bilateral coordination. By manipulating and twisting pipe cleaners, children can develop the skills needed for handwriting, cutting with scissors, and manipulating clothing fasteners like shoe laces.
While this bee craft is considered an insect, it still works as a cute love bug! Use this bee craft idea to help kids work on precision, bilateral coordination, open thumb web space, and separation of the sides of the hand as they peel and stick bandages to make a bee.
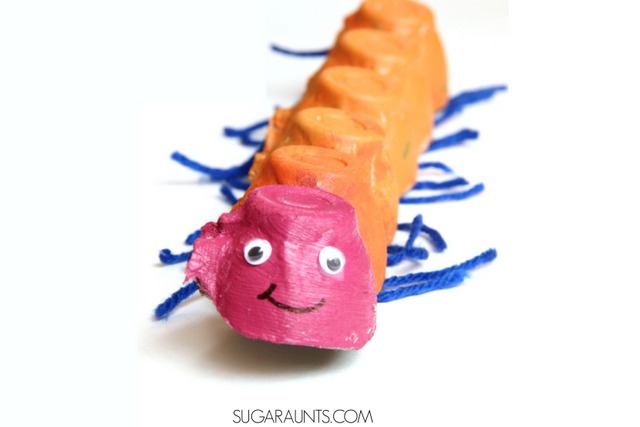
An Egg carton love bugs craft from Kitchen Floor Crafts is a fun way to help children with precision and eye-hand coordination as they thread pipe cleaners into egg cartons and beads onto pipe cleaners. This precision task develops arch strength, separation of the sides of the hand, and an open thumb web space, all of which are needed for a functional pencil grasp.
There is power in play dough! This Play Dough Love Bugs from Fantastic Fun and Learning uses play dough to create love bug crafts in a fine motor activity that kids will love. When children play with play dough, and better yet, add manipulatives to play dough, they are building so many fine motor skills. Work on precision, eye-hand coordination, tripod grasp, and more with this fun love bug craft.
Make this caterpillar craft using an egg carton, and work on eye-hand coordination, hand strength, bilateral coordination skills, and much more.
These Cork Love Bugs from No Time For Flashcards are a cute way to work on neat pincer grasp as kids manipulating and place the small craft pieces. It’s a powerful eye-hand coordination activity, too.
These Fingerprint Love Bugs from I Heart Arts and Crafts help kids with scissor skills, bilateral coordination, and finger isolation. These fine motor skills carry over into many functional tasks.
Although ants are in the insect line, these ant crafts are great ways to build fine motor skills, too.
Extend the bug theme with this visual closure bug activity that helps kids develop visual perceptual skills needed for reading and writing.
And for more hands-on bug pretend play, make a quick bug sensory bin. This fine motor activity helps kids with pouring, scooping, and manipulating sensory bin materials with their hands. Pair the bug sensory bin with a Valentine’s sensory bin and you’ve got yourself a love bug theme!
Want more Valentine’s Day Activities that help build motor skills?
The Valentine’s Day Fine Motor Kit is here! This printable kit is 25 pages of hands-on activity sheets designed to build skills in pinch and grasp strength, endurance, eye-hand coordination, precision, dexterity, pencil control, handwriting, scissor skills, coloring, and more.
When you grab the Valentine’s Day Fine Motor Kit now, you’ll get a free BONUS activity: 1-10 clip cards so you can challenge hand strength and endurance with a counting eye-hand coordination activity.
Colleen Beck, OTR/L has been an occupational therapist since 2000, working in school-based, hand therapy, outpatient peds, EI, and SNF. Colleen created The OT Toolbox to inspire therapists, teachers, and parents with easy and fun tools to help children thrive. Read her story about going from an OT making $3/hour (after paying for kids’ childcare) to a full-time OT resource creator for millions of readers. Want to collaborate? Send an email to contact@theottoolbox.com.
It’s so much fun to watch the kids in their pretend play. They love pretending to play school, restaurant, house, Frozen, and so many fun ideas. I love to eavesdrop on their pretend play. One thing they play almost every day is restaurant, complete with aprons, notebooks for taking orders, and “tea” (“tea”=water in a cup…with little floating things…it’s this mom’s favorite part when they say, “Really drink it, Mom!” Yep, it’s the best part. Not really.)
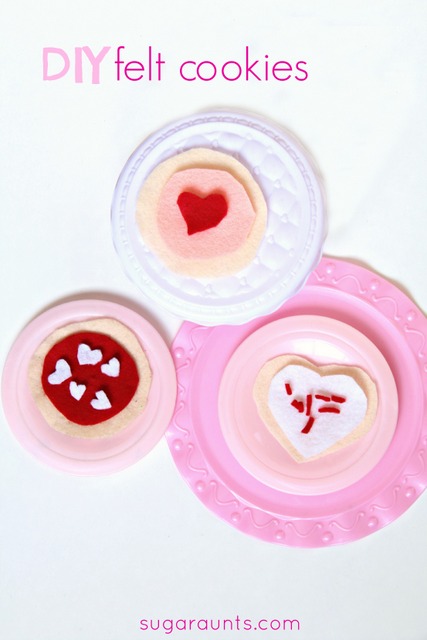
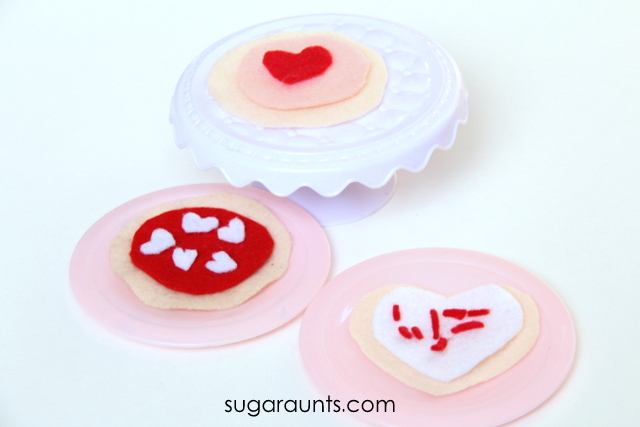
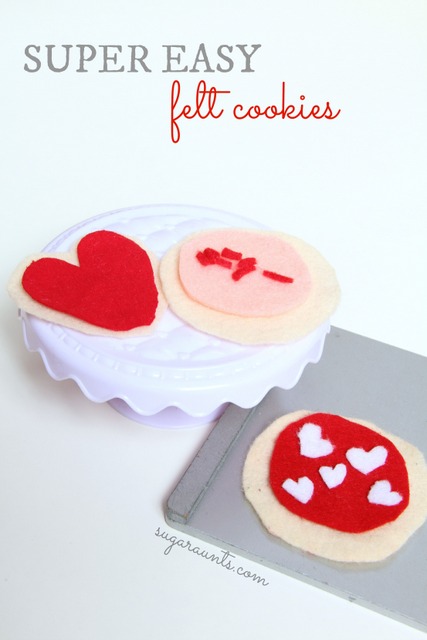
We’ve created no-sew felt cookies years back and they are used in pretend play almost every day. We made a new set of Easy DIY felt cookies for Valentine’s Day that is pretty, pink, and probably going to be used every day as well.
No-Sew Felt Cookies for Pretend Play this Valentine’s Day
This post contains affiliate links.
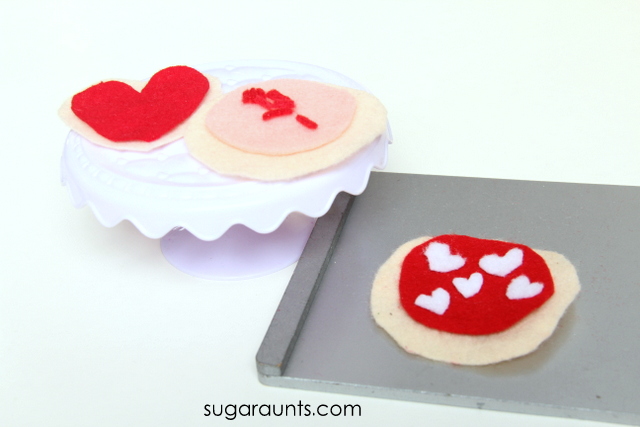
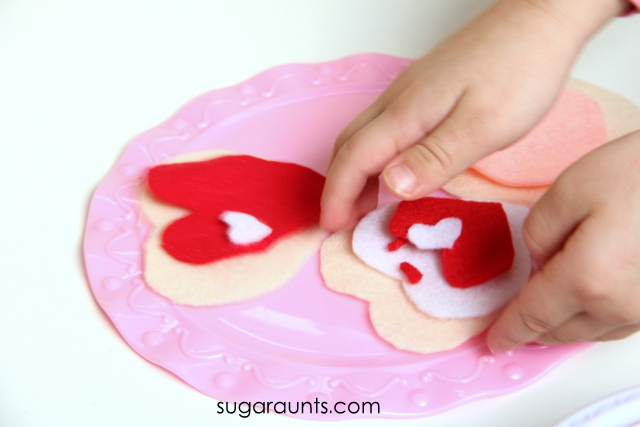
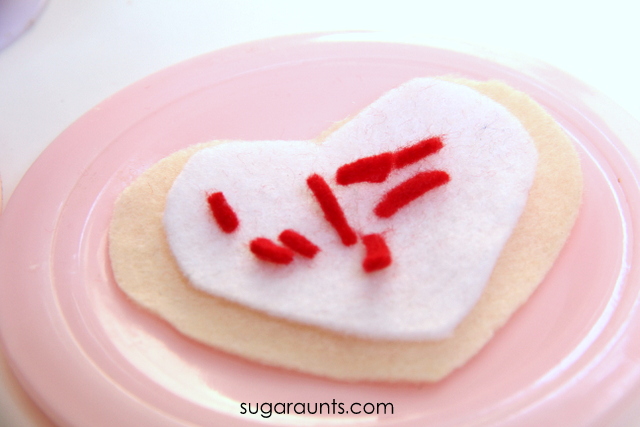
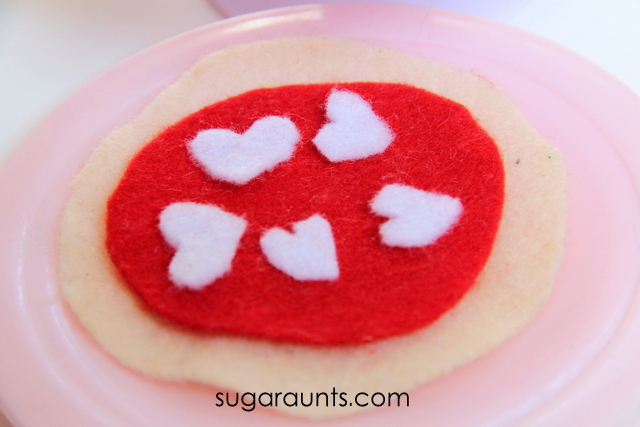
These felt cookies so easy to put together. When it comes to making imagination play activities for the kids, easy is key. And no-sew is even better! We started with felt sheets in pink, white, red, and beige. Cut them into circles, hearts, and little bits for sprinkles. It’s that easy! We pulled a few pieces in from our kitchen set to pretend to bake cookies, and added a few spatulas and spoons from the real kitchen.
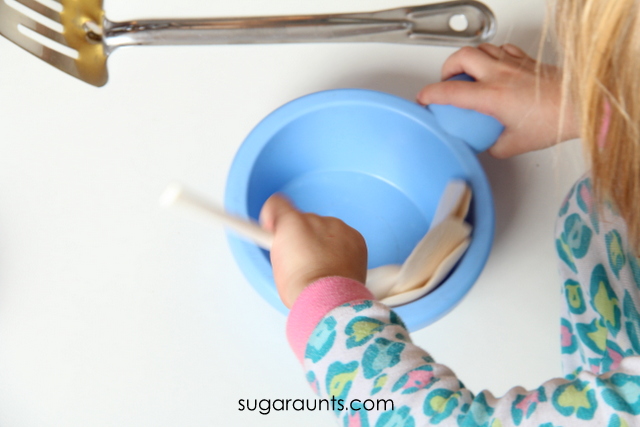
Little Sister whipped up the felt dough in a bowl.
Pop them into the oven and bake.
And decorate! I’ve been served quite a few batches of delicious felt cookies these days.
Let us know if you make these easy felt cookies!
More pretend play activities you may be interested in:
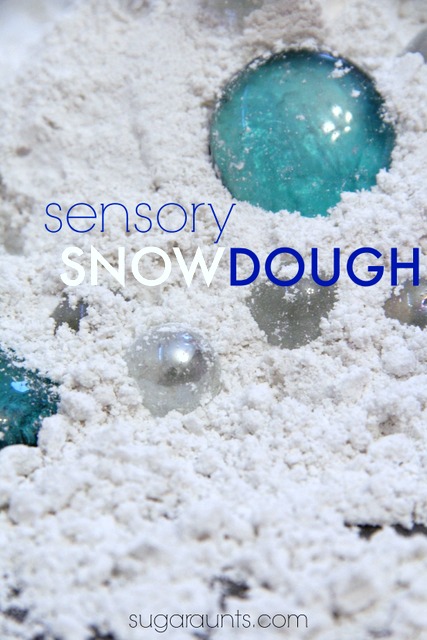
Today I have a fun sensory play experience for kids who need a tactile challenge, or just want some hands-on sensory play! This indoor snow is a fake snow recipe that is easy to make, but has TONS of developmental benefits. The pretend snow recipe is so easy (just 3 ingredients in this snow dough!) that kids can make it too. Let’s play! This is a winter sensory bin idea that kids love!
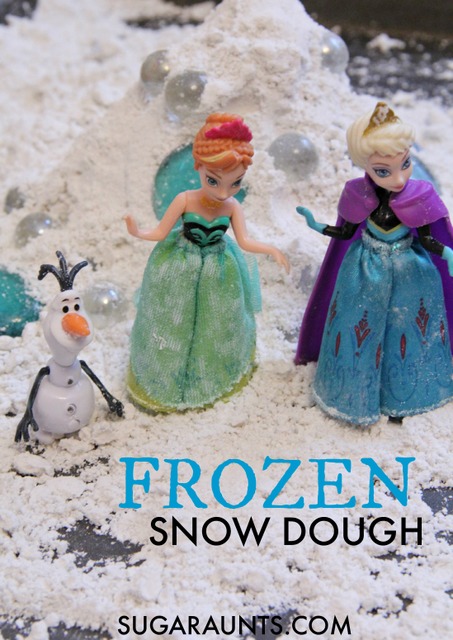
There are so many benefits to playing with Sensory dough, and using sensory materials like play dough with add-ins is one of our favorite ways to play. We love concocting play dough, salt dough, and sensory doughs of all kinds. This pretend play activity has another theme, too: Frozen!
What is snow dough?
Snow dough is any “fake snow” type of sensory material. There are a lot of snow recipes out there. We’ve made a different version of sensory snowy dough before, using shaving cream. But, you could use a variety of materials to get a just-right fake snow material.
Pretend snow is a great way to encourage pretend play with a sensory twist when the weather is too cold to get outside to play in the real snow…or if you’re in an area without wintery cold or snow.
This post contains affiliate links.
Frozen Snow Recipe
I have a couple of Frozen obsessed little girls. So, when I told them we were making a Frozen themed activity, there were shouts of excitement. (And a few rounds of “Let it Snowwwwww!”
How to make Fake Snow for sensory Play:
This is a seriously easy sensory recipe to put together. I had the idea for this recipe when I thought of my sugar cookies. To make the royal icing, I use my KitchenAid mixer and mix mix mix for a long time.
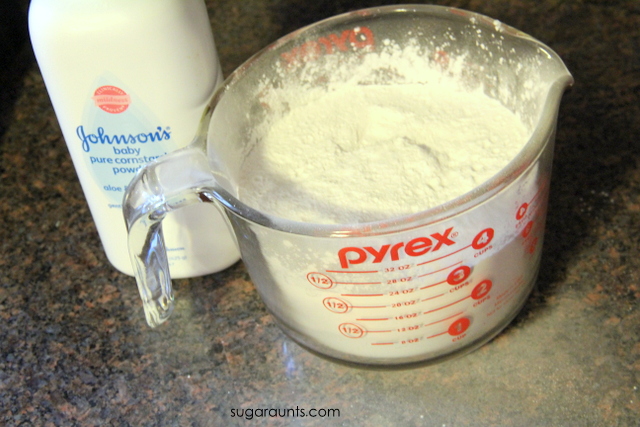
This fake snow recipe calls for a just three ingredients:
3 cups baby powder
1/2 cup warm water
2 Tbsp vegetable oil
To make the fake snow:
Slowly scoop or pour the baby powder into the mixing bowl. Add the warm water one tablespoon at a time with the mixer running on it’s lowest setting. Start stirring with your spoon to get the powder and water mixture started.
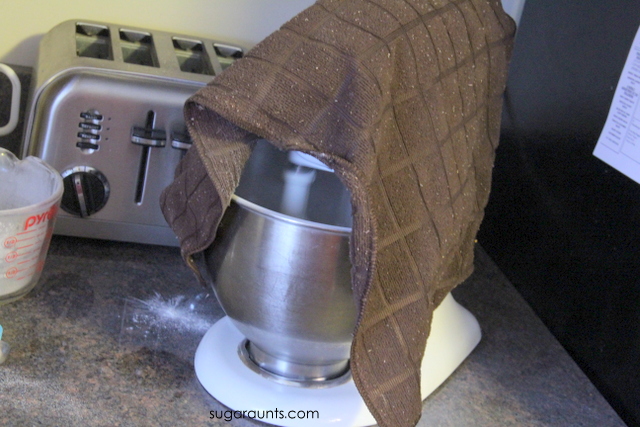
The powder will puff up in the air if you turn the mixer up too high, too quickly. I draped a dish towel over the mixer because even on the lowest setting, the powder clouded up a bit.
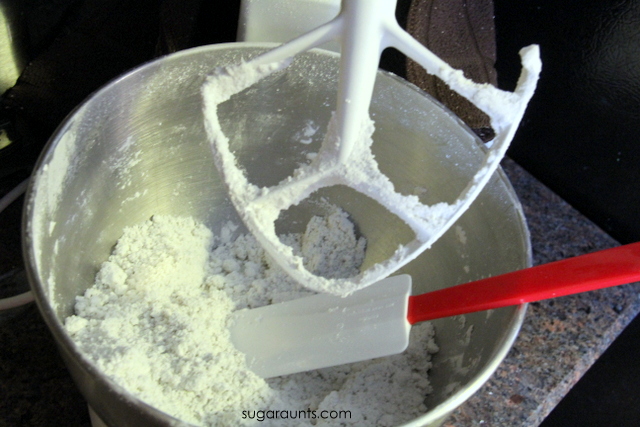
After all of the water is mixed in, add the two tablespoons of oil. At this point, the mixture should be a crumbly texture.
Turn the mixer speed up to a medium speed and let the mixer run for 4-5 minutes. You could definitely mix this dough by hand, but the mixer added more fluff to the sensory dough.
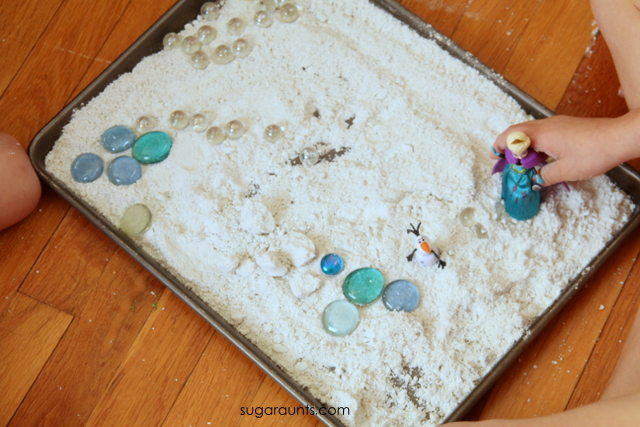
My girls got into the Frozen theme pretend play right away.
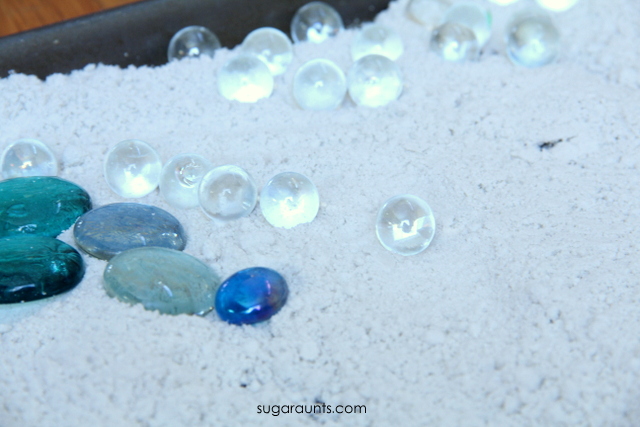
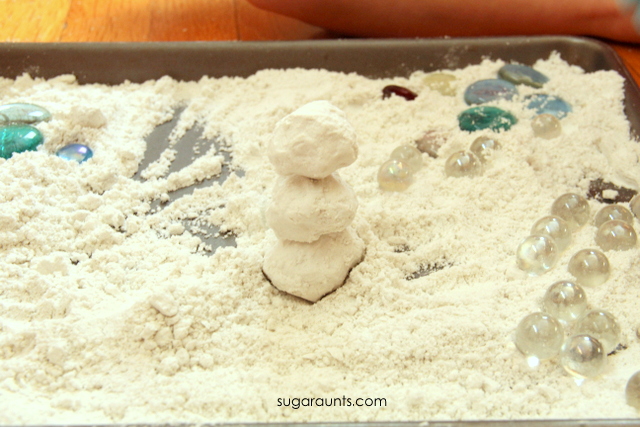
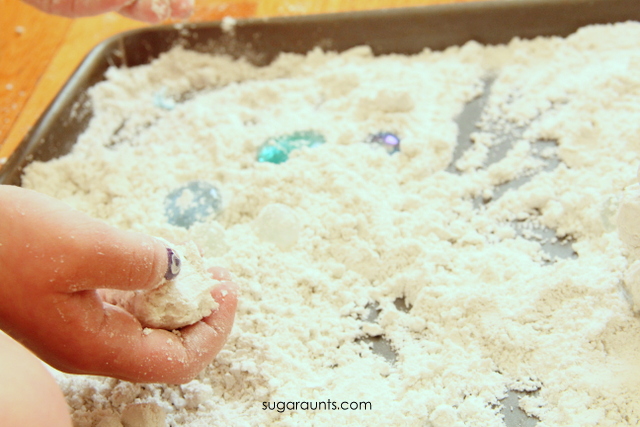
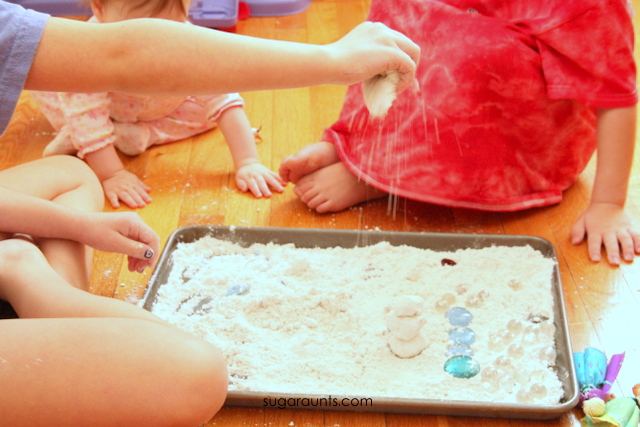
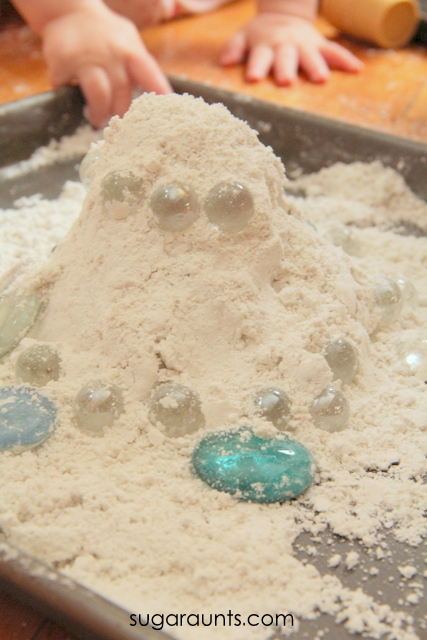
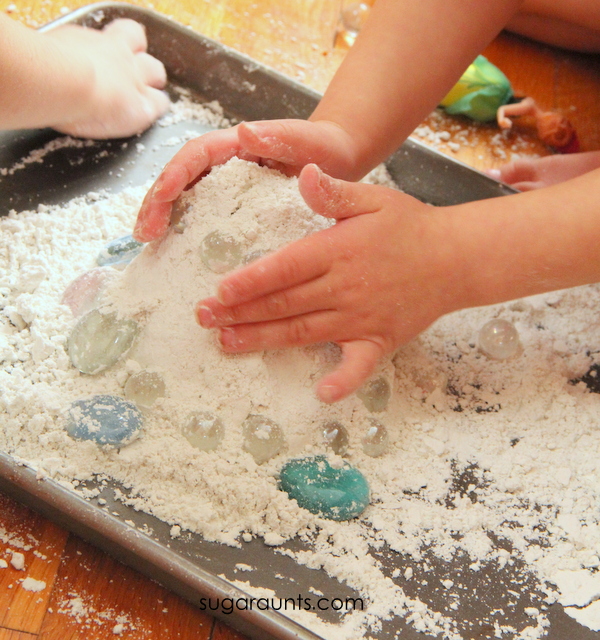
This dough is mold-able and you can form little snowballs or even build a snowman.
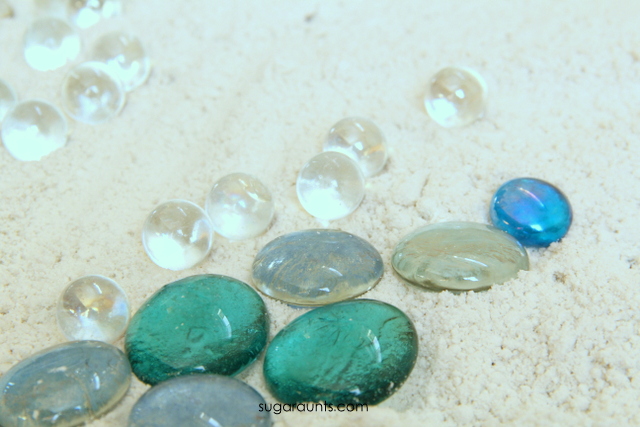
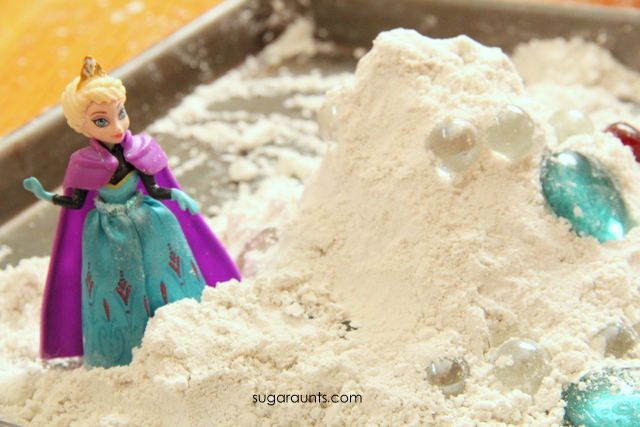
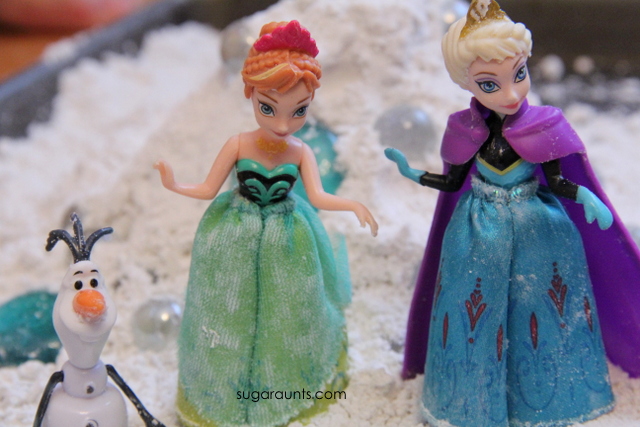
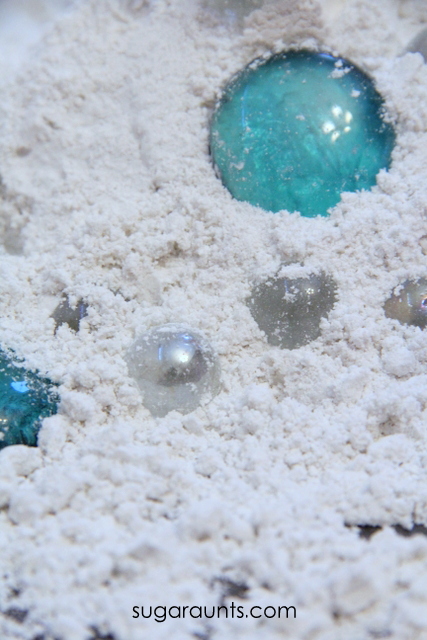
We built Elsa’s ice castle and decorated it with the gems.
The two sisters that live in my house pulled out their Frozen figures sisters and had SO much fun playing Frozen. The pretend play that happened in this small world was so much fun to watch!
This pretend play snow was the perfect sensory play activity for when there’s a wintery blizzard outside.
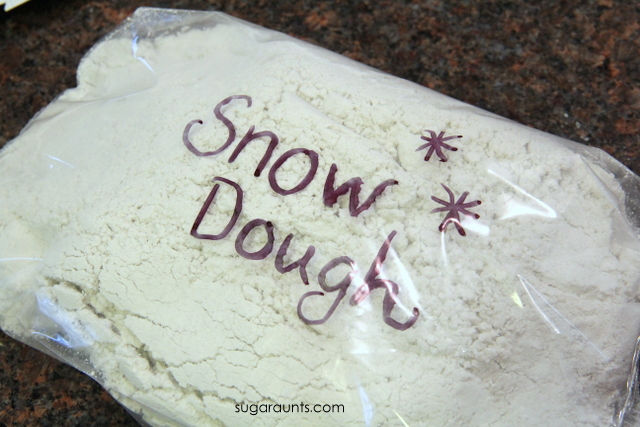
When we were finished with our pretend play, we packaged up the snow dough and delivered it to friends who are also huge Frozen fans. Pass on the sensory play!
Snow Sensory Bin
This fake snow is the perfect base for a snow sensory bin, with other themes, too. Use the cards and sight words in the Winter Fine Motor Kit, to challenge kids in scissor skills, reading, sight words, sequencing, storytelling, and visual perceptual skills. The Winter Fine Motor Kit has simple and complex shapes with all kinds of Winter themed images including mittens, arctic animals, penguins, snowflakes, and more. These shapes and words can be hidden in the fake snow sensory bin for kids to hide, find, and hide again.
To up the fine motor work further, add tongs, scoops, small bowls and bins, and more.
For more ways to work on scissor skills, along with all of the fine motor skills needed for scissor use and handwriting, try the Winter Fine Motor Kit. It’s loaded with cutting activities, lacing cards, coloring, clip activities, fine motor art, and fun ways to help children develop pre-writing hand strength, dexterity, and motor skills.
Use the fine motor activities, lacing cards, toothpick art, and crafts in the Winter Fine Motor Kit. It’s a 100 page packet with all winter themes, and you’ll find winter fun there!
Colleen Beck, OTR/L has been an occupational therapist since 2000, working in school-based, hand therapy, outpatient peds, EI, and SNF. Colleen created The OT Toolbox to inspire therapists, teachers, and parents with easy and fun tools to help children thrive. Read her story about going from an OT making $3/hour (after paying for kids’ childcare) to a full-time OT resource creator for millions of readers. Want to collaborate? Send an email to contact@theottoolbox.com.
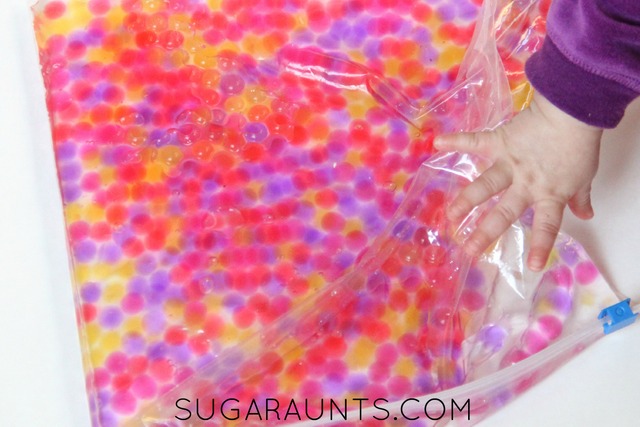
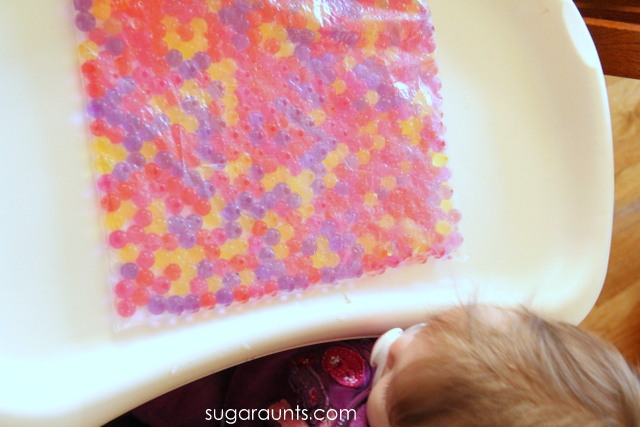
We are big fans of sensory play around here. When you’e got younger kids who see the big kids having fun in creative play, they want to get in on the action too! Now, I’m not saying that my 7 month old want so jump in the sensory bins…Ok, yes she does…but she wants to grab everything and explore and learn her environment. I put this sensory baby play activity together just for her in a baby-safe way so that she could explore a little sensory play. Baby-style!
Baby play is fun to put together and it’s even more fun to watch little ones explore and learn from new experiences. This water bead activity was no exception!
Baby Sensory Play Idea
This post contains affiliate links.
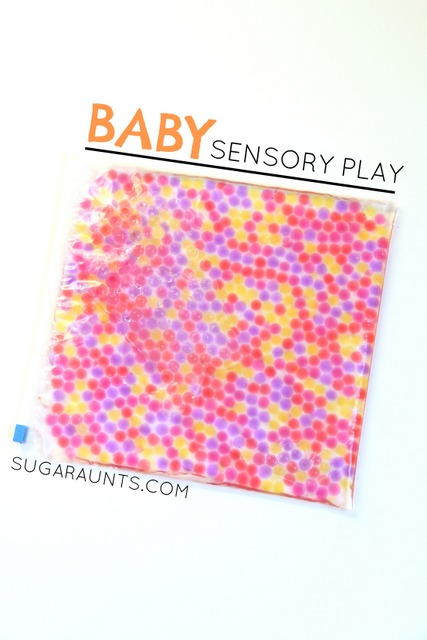
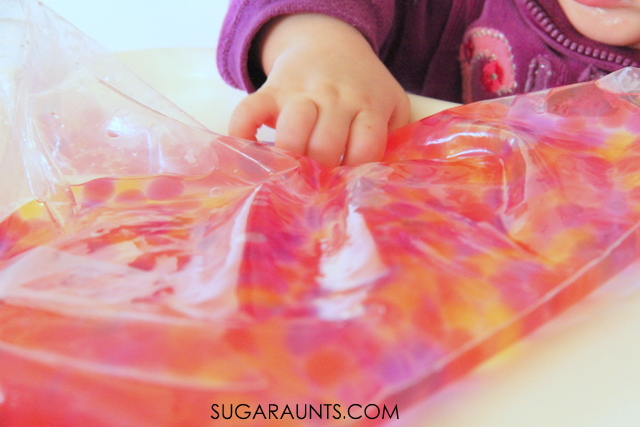
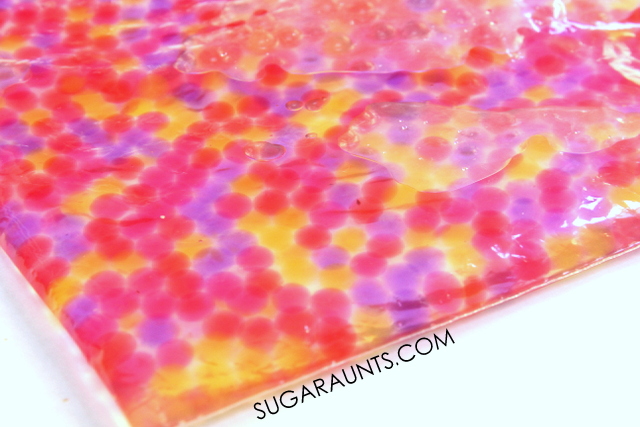
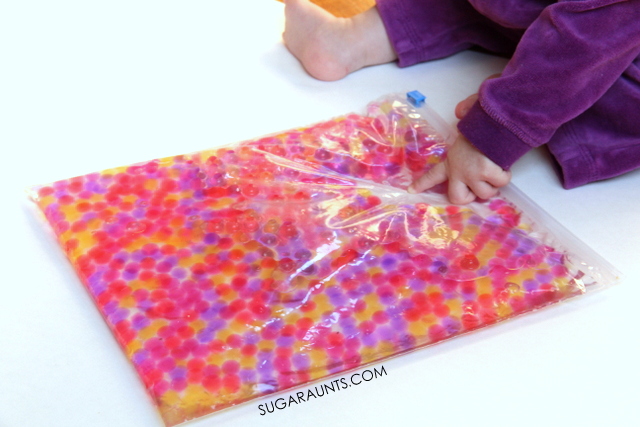
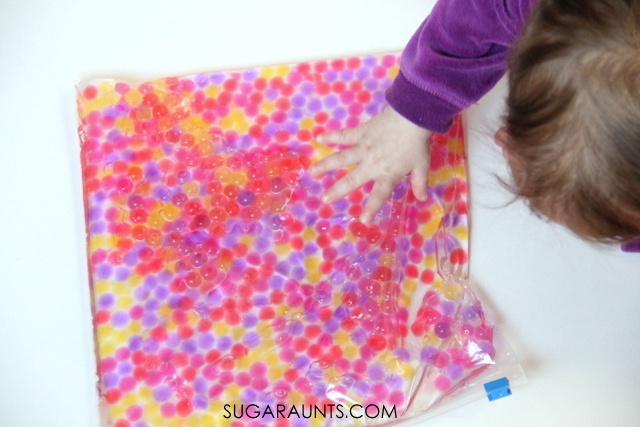
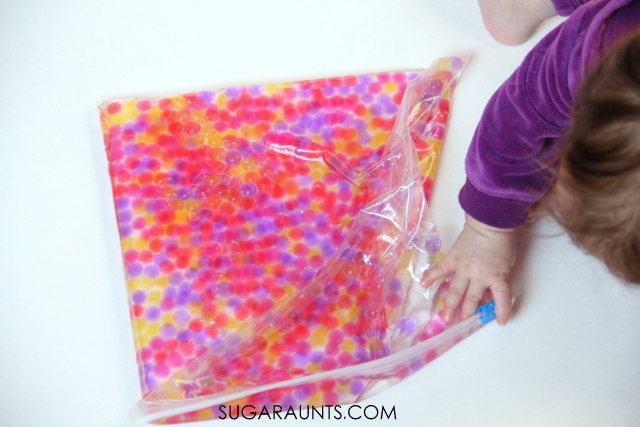
This activity was so easy to throw together. We had colorful water beads left over from another activity and I put them into a gallon size freezer bag. Seal it up tightly and you are ready to play. My daughter is 7 months old and loved exploring this water bead sensory experience. She grabbed the bag, poked the beads, pulled the bag…it was really fun watching her play!
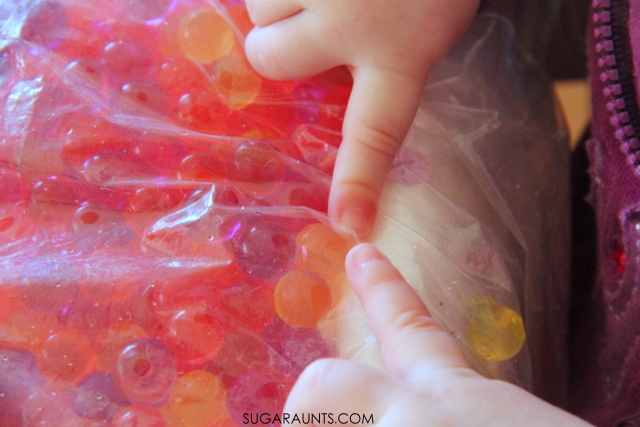
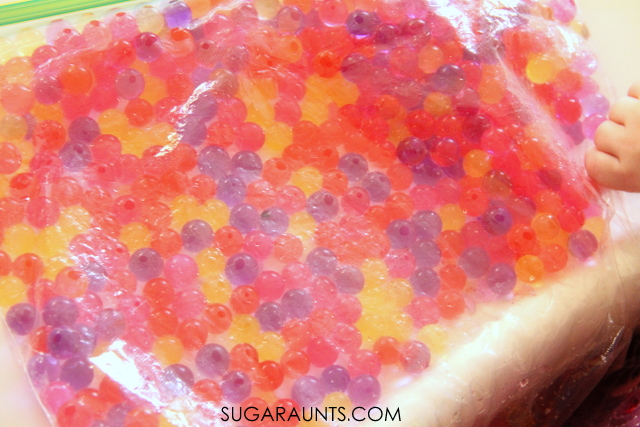
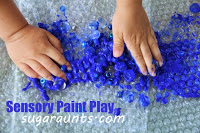
When she got a little bored of the bag, I added a bit of water to the plastic bag. It became a whole new sensory experience for her. The colors seemed to pop more and they floated around a bit. I put her on the floor with the water beads and she started exploring all over again.
Safety Note: This is an activity that requires adult supervision. Never leave your small child alone while playing with water beads. You may want to seal up the bag with strong tape in order to further provide a safety measure. All activities that you see on this site are supervised. Be sure to use your judgement when doing these activities with your child. The OT Toolbox LLC is not at risk for any activity that you see on this web site. By reading this blog and doing the activities you see here, you are agreeing to this statement.
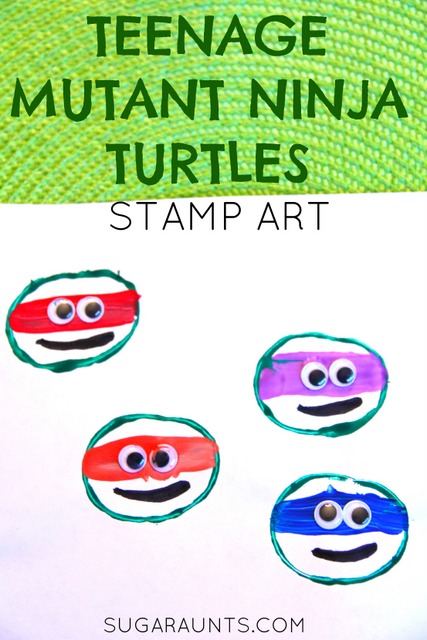
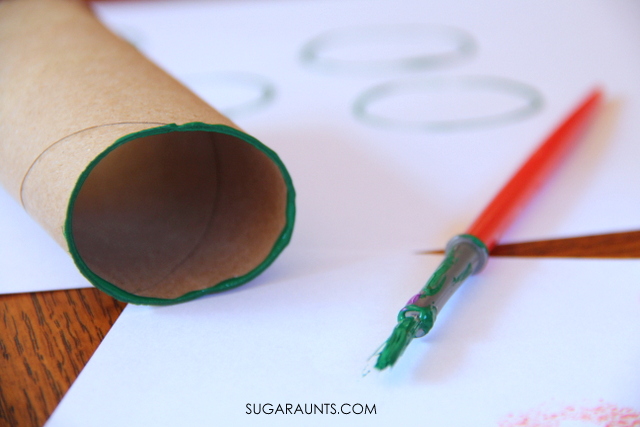
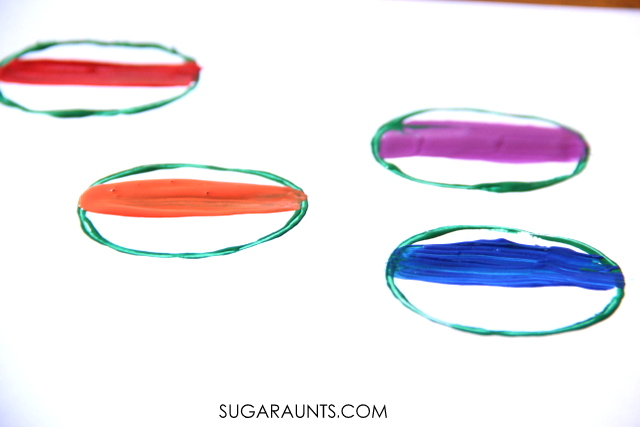
This is an easy paper roll stamp art craft. Grab a cardboard tube from the recycle bin. Give it a little bend to make it a nice turtle-y oval shape. Pour some green paint on a paper plate. Stamp the paper tube into the paint and press onto white paper.
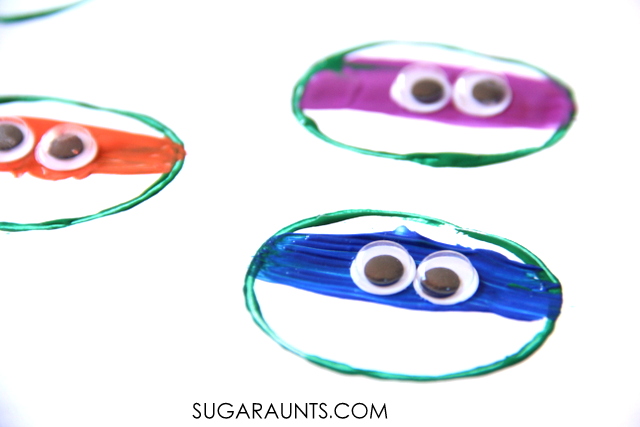
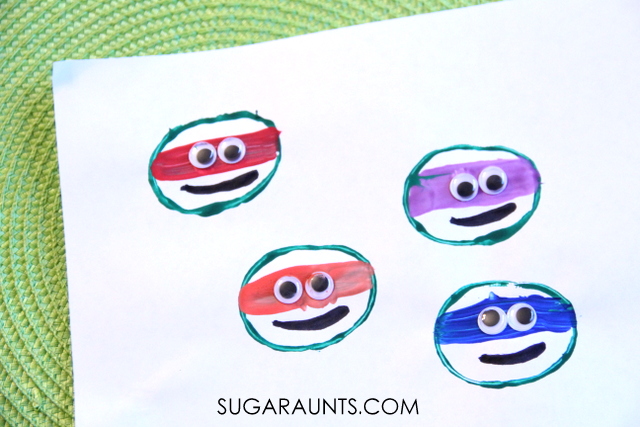
Glue a pair of wiggly eyes on each ninja turtle face. (We received ours from www.craftprojectideas.com). Your Ninja Turtle craft is done! I love how easy this craft is. My Little Guy (age 5) is not always too keen on craft time, so when it’s a Ninja Turtle craft and quick and easy, it’s a sure hit with him.
More Teenage Mutant Ninja Turtle craft you may be interested in:
We have been loving tea recently in our house. After Christmas, the whole house came down with a bug, and sore throats and coughs hit us all. A cup of tea (decaffeinated for the kids!) with a bit of honey helped a lot. With Valentine’s Day coming up, this Beau-TEA-ful tea bag is an easy way to spread cheer and smiles to loved ones! We whipped these up in a few minutes. And enjoyed beau-tea-ful tea for our sore throats.
This post contains affiliate links.
Valentine’s Day Tea
We started with pink and red assorted cardstock and snipped quick little hearts. I wrote “Beau-TEA-ful” on the hearts. Baby Girl helped me pull the paper labels off of tea bags. We taped the hearts on quickly, and we were done! So easy!
This would make a great class gift idea for Valentine’s Day…or a way to spread love and a smile to someone you love!
We’ll be sipping beau-tea-ful tea for a while around here!
Need a few Valentine’s Day activities to go along with your tea? Try these:
Colleen Beck, OTR/L has been an occupational therapist since 2000, working in school-based, hand therapy, outpatient peds, EI, and SNF. Colleen created The OT Toolbox to inspire therapists, teachers, and parents with easy and fun tools to help children thrive. Read her story about going from an OT making $3/hour (after paying for kids’ childcare) to a full-time OT resource creator for millions of readers. Want to collaborate? Send an email to contact@theottoolbox.com.