Books and activities are one of our favorite ways to play and explore books. We recently read Make Way for Ducklings by Robert McCloskey. This is a book written in 1941 that was totally new to us. It quickly became a new favorite in our house! As we read the book about Mr and Mrs. Mallard’s search for their new home, we became very excited to explore the story through sensory play. We decided to create a sensory table based on Make Way for Ducklings and did we ever have fun!
This post contains affiliate links.
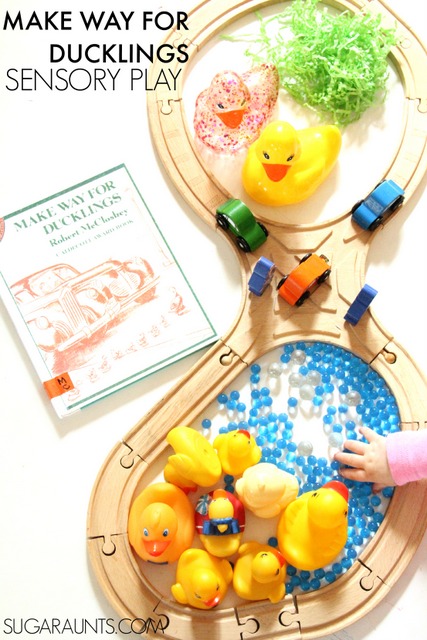
Make Way for Ducklings Book and Sensory Play
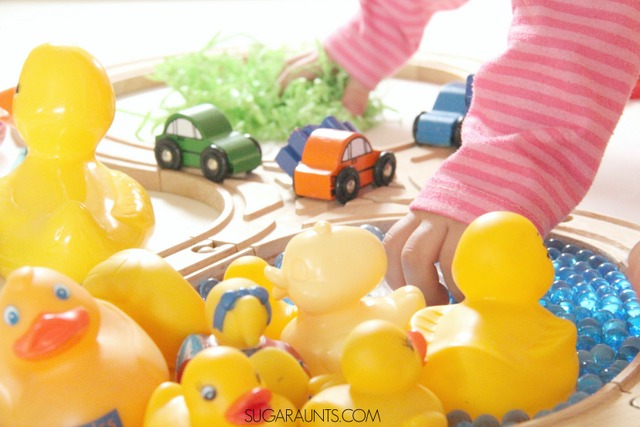
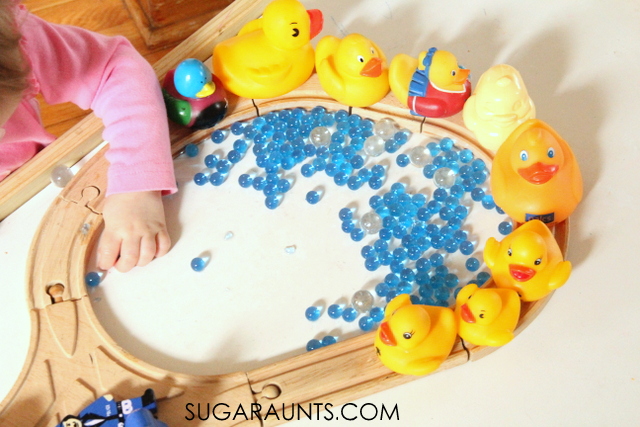
We read Make Way for Ducklings a few times before we made this sensory table activity. It is such a fun book with a sweet story about a pair of mallards that are looking for a new home for their growing family. When the ducklings are born, the mama duck needs to get her large family through the busy streets of Boston to a beautiful and safe park. We decided to make a sensory play activity right on our Train Table. We use our
  train table almost everyday for creative play of some kind. This sensory play was perfect on the train table as we acted out the story. Three kids could reach, move, explore, and play as we re-told the story.
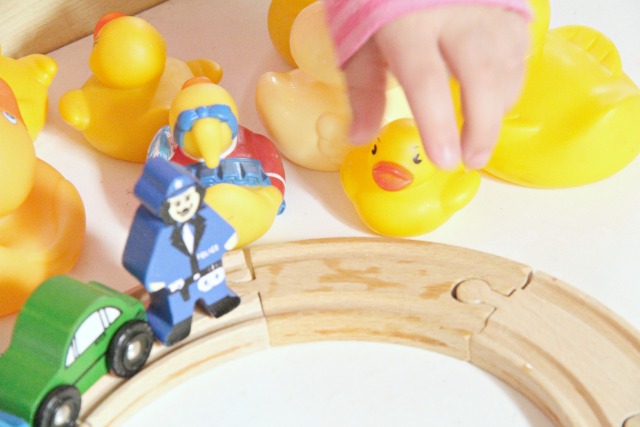
We used a few items for our sensory story play:
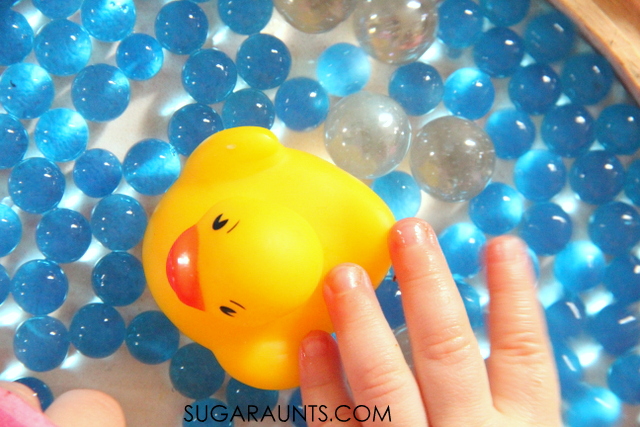
rubber ducks
wooden train tracks to enclose our sensory play area and use as roads for the busy streets of Boston.
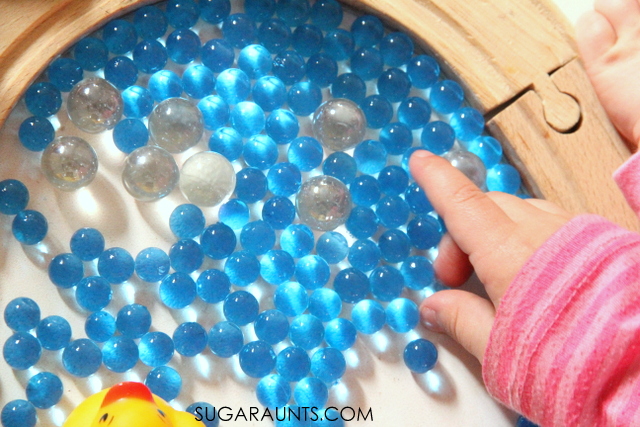
blue waterbeads (Have you played with these yet? SO cool!)
cars
policeman figures
green shredded paper
clear glass gems
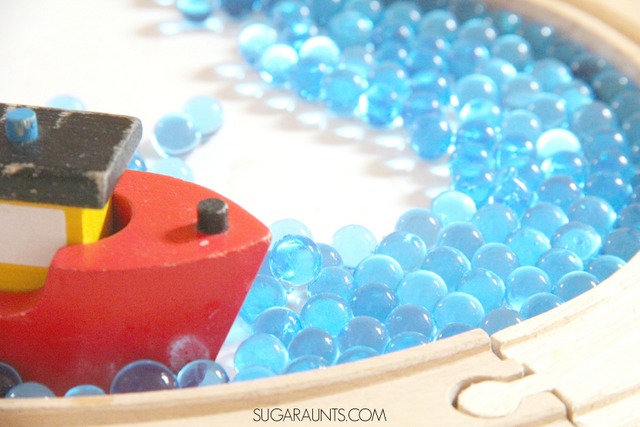
Boat
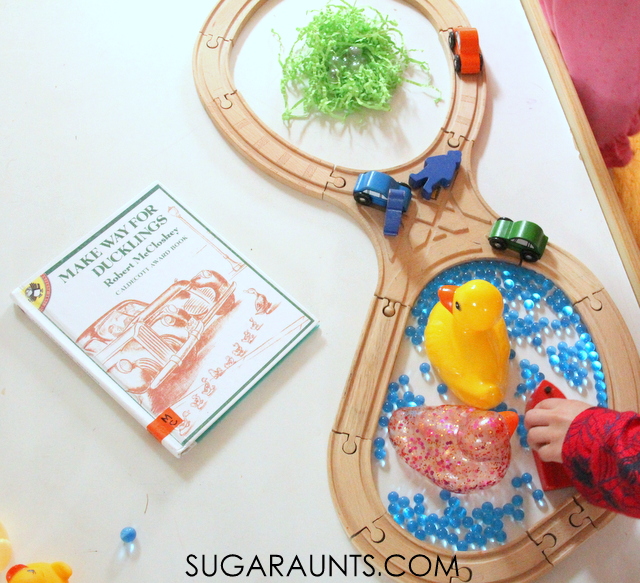
We pulled out the book and started reading, playing, and re-telling the story.
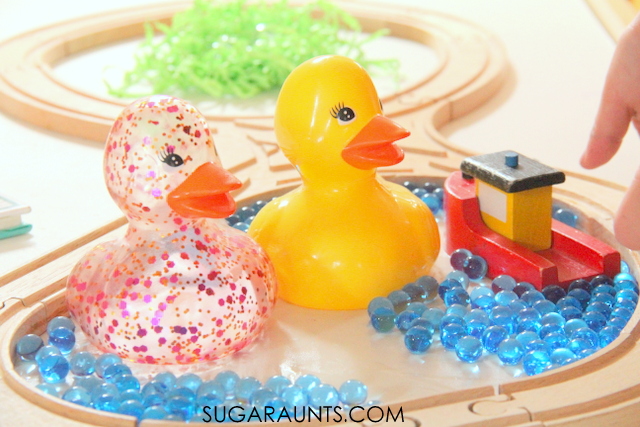
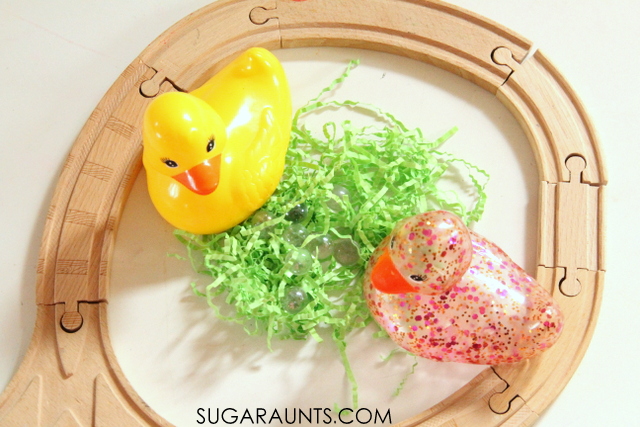
Mr. and Mrs. Mallard love the pond in Boston Public Gardens. It would be the perfect place to make a new home for their family! There is even a boat in the pond full of people who feed the ducks peanuts.
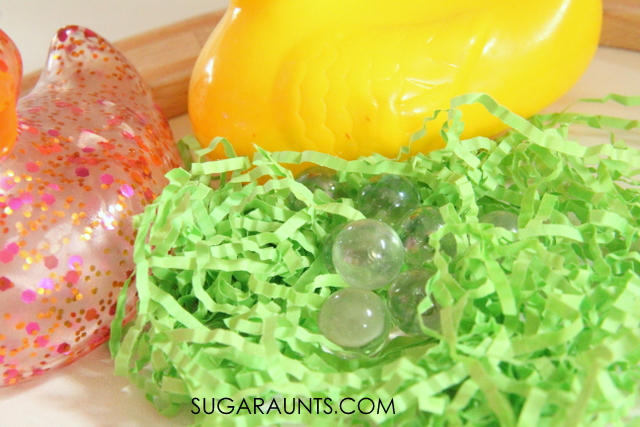
The mallards travel a little ways to make a nice, safe nest. Mrs. Mallard sits on her eggs until they hatch. The glass gems made perfect “eggs” and we were able to count them just like Mrs. Mallard does.
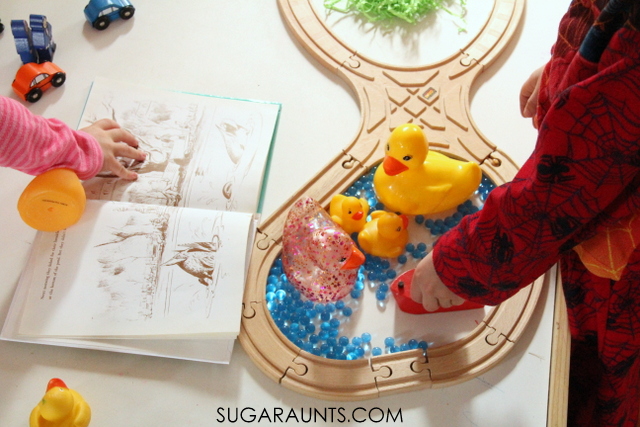
Then the eggs hatched and seven ducklings were born.
Mrs. Mallard taught the ducklings to swim and waddle in a line.
The ducklings followed Mrs. mallard back to the pond along the busy streets.
The policemen stopped traffic to allow the ducklings to cross.
And the Mallard family lived at the pond!
Exploring this book with sensory play was such a fun way to extend one of our newest (old)favorite books!
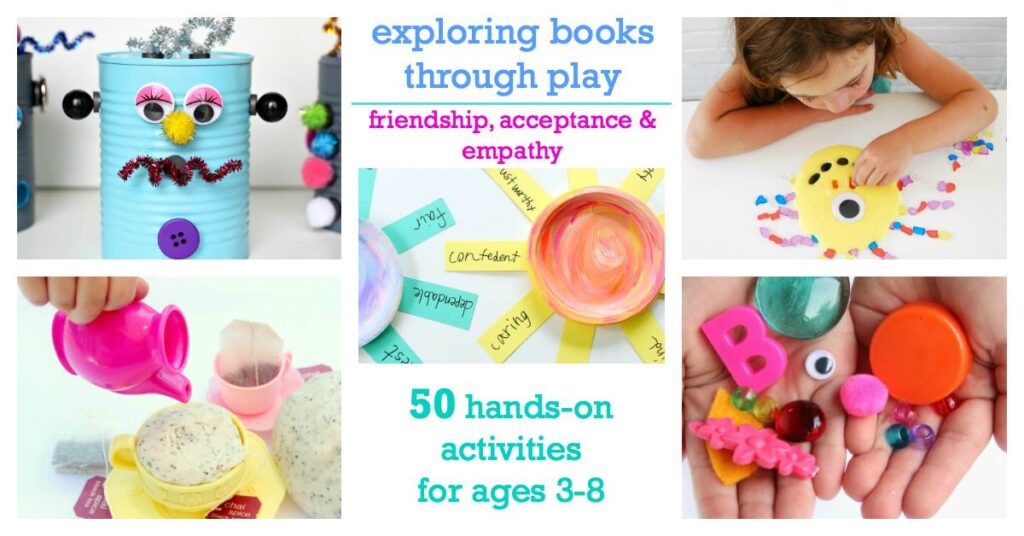
This post is part of a new series we’re joining all about Book Themed Play Dates! If you’ve ever thought of planning a play date based on a book, this is the series to follow to get great snacks, games, crafts, activities and more based on a great book each month.
Love exploring books with hands-on play?
Grab our NEW book,
Exploring Books Through Play: 50 Activities based on Books About Friendship, Acceptance, and Empathy, that explores friendship, acceptance, and empathy through popular (and amazing) children’s books! It’s 50 hands-on activities that use math, fine motor skills, movement, art, crafts, and creativity to support social emotional development.