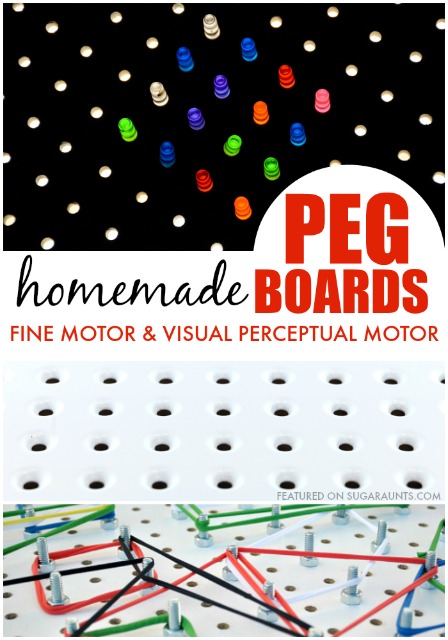
Here you will find pegboard occupational therapy ideas using materials you might have at home. These homemade pegboard ideas are perfect for helping kids develop and refine fine motor skills at home. When I worked as an Occupational Therapist in the schools and in homes, one of my favorite tools in my OT treatment bag was a pegboard. The treatment techniques for a simple pegboard is vast when it comes to many treatment goals in the OT setting. Try adding these pegboard activities to your therapy toolbox!
From fine motor skills and all that they entail (in-hand manipulation, pincer grasp, tripod grasp, grasp and release, separation of the two sides of the hand, arch development, open thumb web space, thumb opposition, bilateral hand coordination) to visual perceptual skills (form copying, eye-hand coordination, visual discrimination, visual motor planning, copying on various planes, and letter and number formation)…pegs and pegboards are an Occupational Therapist’s secret weapon!
Today in the 31 Days of Occupational Therapy series, I’ve got homemade pegboard ideas for you. Yep, you can make your own pegboard on the cheap for creative fun and learning, all the while, working on more skills than you can count!

(Affiliate links are included in this post.)
Homemade Pegboard Ideas for Occupational Therapy Activities
Now. There are a ton of geoboard activities out there on the webs. Search around for Geoboards and you’ll find tons of fine motor activities where kids can manipulate and work strings, rubber bands, ribbons, and more on geoboards. They are so great for many fine motor skills, however, I wanted to share with you all of the awesomeness that a pegboard provides by picking up a small peg, manipulating it within the hand, and placing it into a board while copying forms and shapes. It’s such an amazing workout for little hands!
Use perler beads to make your own pegboard and work on precision as well as other fine motor skills. Making the pegboard is part of the fine motor experience.
Use a recycled shoe box like No Time for Flashcards mad a simple geoboard. You can make one as simple or as complex as you like. Punch holes in the shoe box and use small peg-like items: Toothpicks, lollipop sticks, or skewers.
While this activity uses bands to connect the pushpins, I really love the idea of using a shoebox to make your own pegboard. This is something we did with letter stickers.
Create a x-large pegboard using screws and nuts like Crayon Box Chronicles did. You can make yours into a geoboard like they did, or just use it as a fine motor workout by allowing the kids to manipulate the screws and bolts. This activity is another “geoboard” activity, however, the use of the screws and bolts are unique in that the kiddos can manipulate them in a pegboard-like fashion to work on many developmental skills.
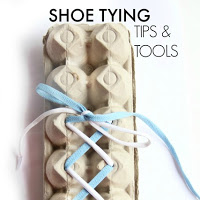
Make your own Lite Brite on the light table like And Next Comes L did. This looks like a fun way to relive your childhood (Did you love your Lite Brite as a kid???) and work on peg board fine motor and visual perceptual skills, too! Use a recycled egg carton and golf tees to make your own simple peg board on the cheap. Push the golf tee pegs in the holes again and again for continued play.
Why Use pegboards in Fine Motor and Visual Perceptual Skill Development?
You read all of the awesome areas that a child can develop by using a pegboard. So, how exactly does a pegboard work on these areas?
Let’s think about a simple pegboard and an assortment of small pegs, like this one. So a child sees the pegboard sitting in front of him and grabs a handful of pegs from the table. Right there, he is working on pick up and grasp release of small items. How does the child pick up the pegs? In a raking manner or one by one?
Depending on the child’s age, this might be an area that you can work on with the student. Encourage your kiddo to use the tips of his finger and thumb to pick up the pegs one at a time. Then pick up one and tuck more into his palm. Have him pick up all of one color and then all of another color for more fine motor work.
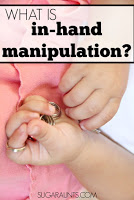
Then, to push the pegs into the holes of the pegboard, the child uses in-hand manipulation to work the pegs from the palm of their hand to the tips of the finger. The kiddo can work on their tripod grasp as they push the peg into the holes.
This is a strengthening activity, depending on how much effort they need to exert on the pegs. You can encourage the child to oppose their thumb to any of the fingers by holding the peg with the tips of different fingers.
Holding the peg between the thumb and the middle finger or ring finger, for example, works on arch development.
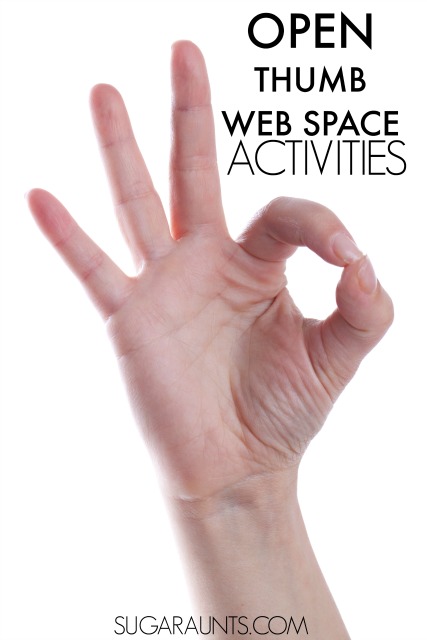
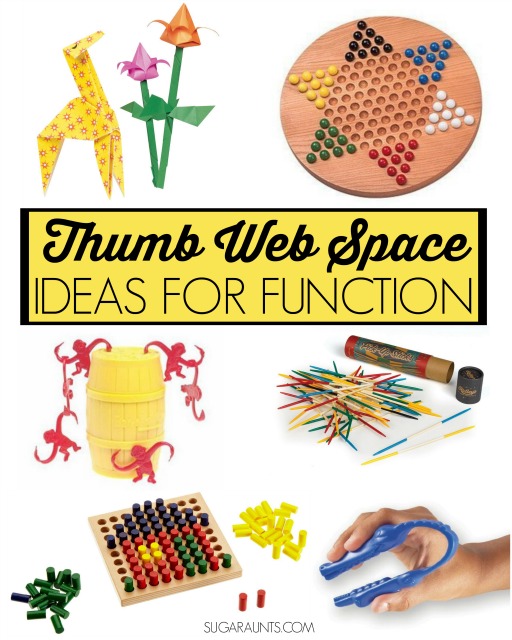
A small peg like a tooth pick is a great way to work on a neat pincer grasp with the tips of the pointer finger and the thumb. It also helps with an open thumb web space for use in functional tasks.
Now, the child can push the pegs into the pegboard randomly. Or they can work on a little visual perceptual function by copying shapes and forms from an example sheet. Position the paper right nest to and above the pegboard for easiest copying. For more difficulty you can move the example further away or place it on a vertical plane.
By copying shapes and letters with the pegboard, kids can work on visual spatial relations, visual discrimination as they find different colored pegs, visual discrimination as they note differences, and figure ground as they look for a specific color peg in a pile of pegs.
Best Pegboards for Fine Motor Skills and Visual Perceptual Skills
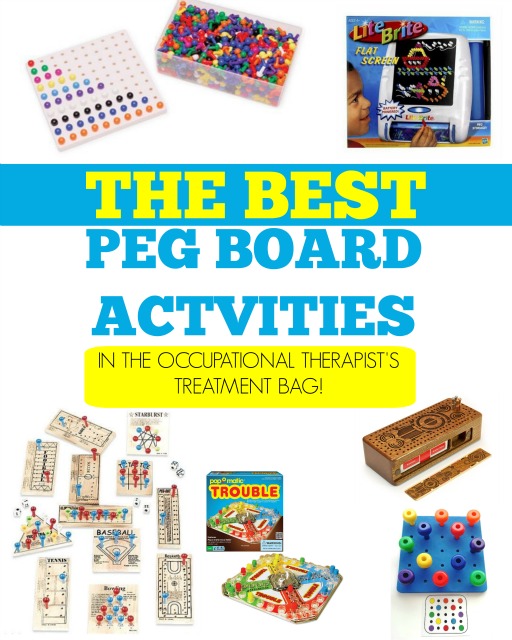
These are some of my favorite pegboard products out there.
Amazon affiliate links are included below.
A Lite-Brite is a big OT recommendation. The slanted surface allows for functional and effective wrist position, and the small pegs are perfect for manipulating.
This Peg Board is perfect for color identification and fine motor work with it’s small pegs in bright colors.
Cribbage is a great game to play with kids that works on fine motor skills. It’s travel size is perfect, too!
You could also try these Wooden Peg Game Assortment for many different pegboard games.
You’ve played Classic Trouble Board Game, right? It’s a peg board game that all kids will love. Occupational Therapists love it for it’s fine motor workout!
You can make a pattern card for any pegboard activity, but this Peg Board Set is nice with it’s prefabricated pattern cards and bigger sized pegs for small hands.


 and move to a thinner pen like
  . Sometimes the visual cue of that bright line is enough to keep letters placed correctly.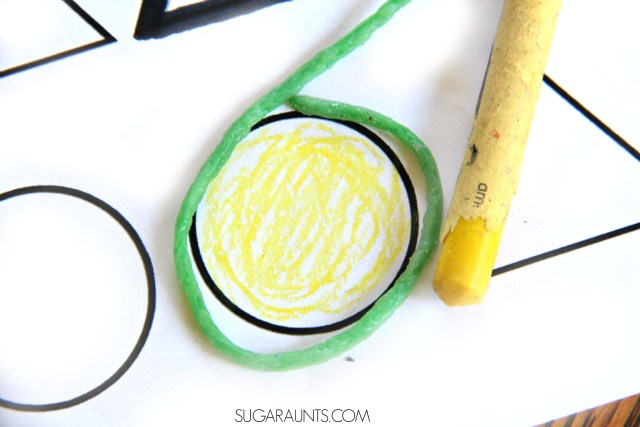
 . This works for coloring and handwriting tasks by providing a movable, physical border.
 or make your own using glue. Simply trace the lines with glue and allow it to dry. The dry glue provides a nice tactile reminder of where to stop writing or coloring.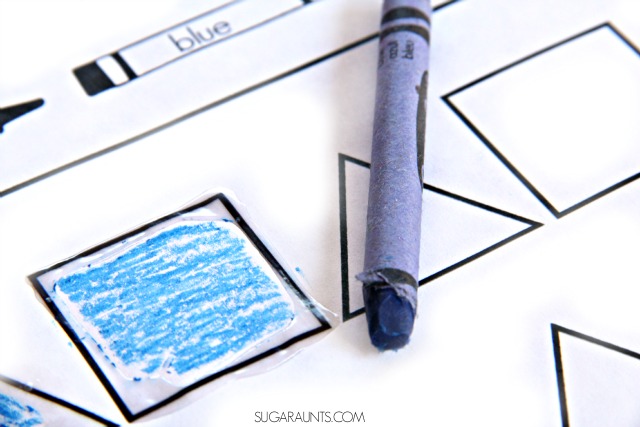
 .
.


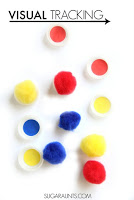
 to work on scanning for numbers going up and down a card.


 in sensory play like we did with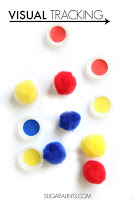

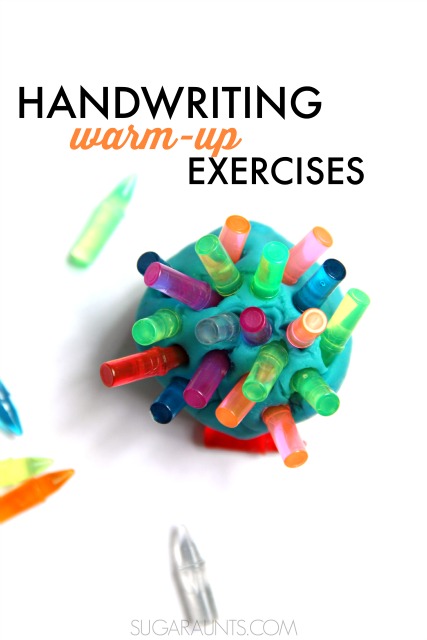
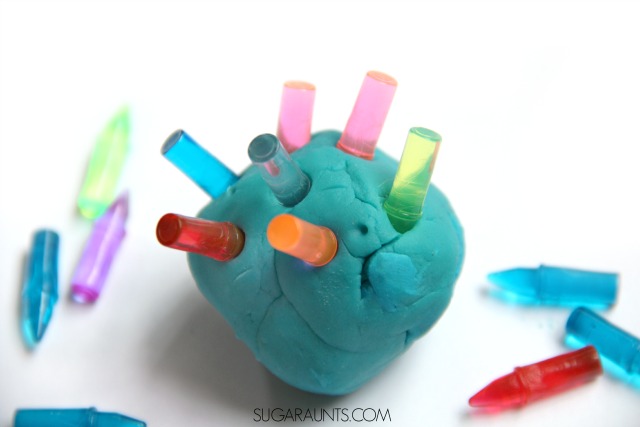
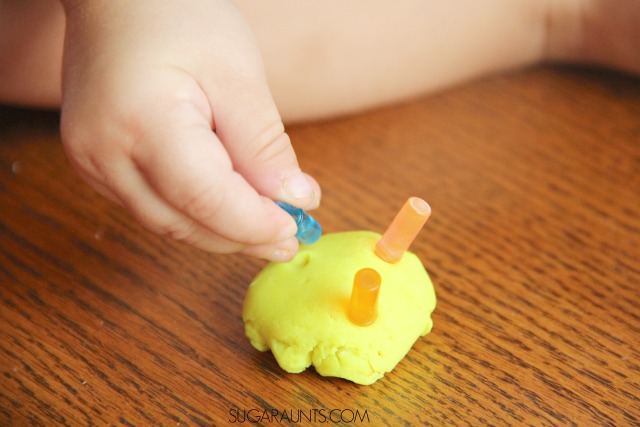
 (Amazon affiliate link) and a ball of play dough. While these pegs are something we had at home, you might not have them available. Other items you could use in this exercise are toothpicks, cut cotton swabs, cut lollipop sticks, or any small peg.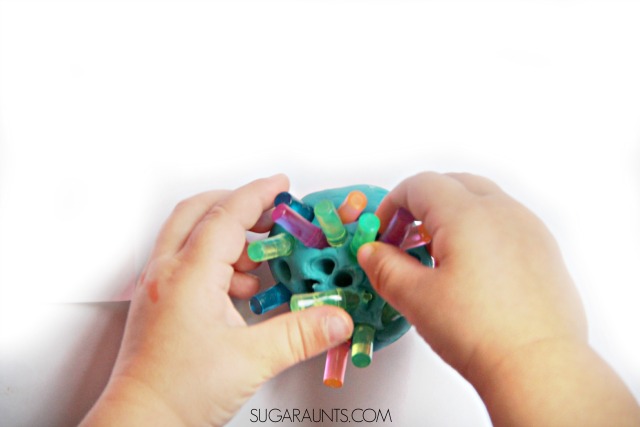
 . Make your own! Use our free printable to make
  . Make your own using








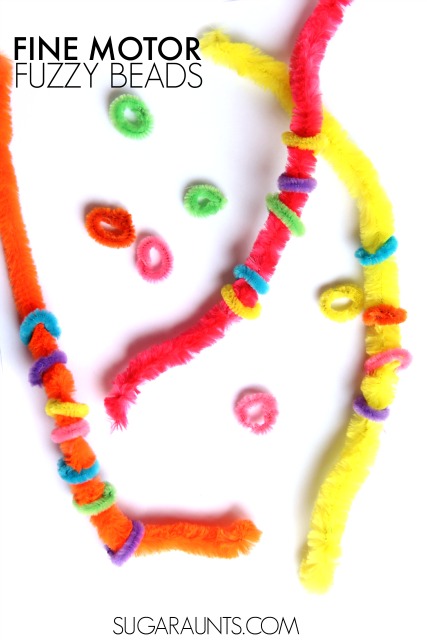

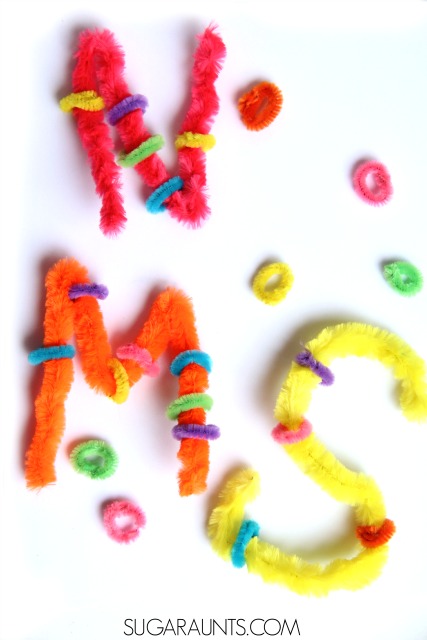
 and start cutting them into small pieces. Cutting pipe cleaners is a fun way to get the kids snipping different materials besides paper. My kiddos thought cutting the pipe cleaners was a fun activity and loved watching the little pieces fly as they snipped. It takes a bit of muscle oomph to cut through the pipe cleaner so it’s a great fine motor strengthening exercise. You’ll want the pipe cleaners to be about an inch long. Some can be bigger, too.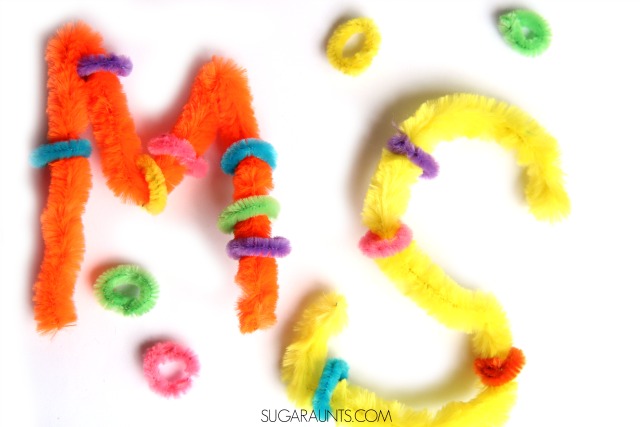



 .
. 
 looks like fun. Crease the paper between the thumb and pointer finger.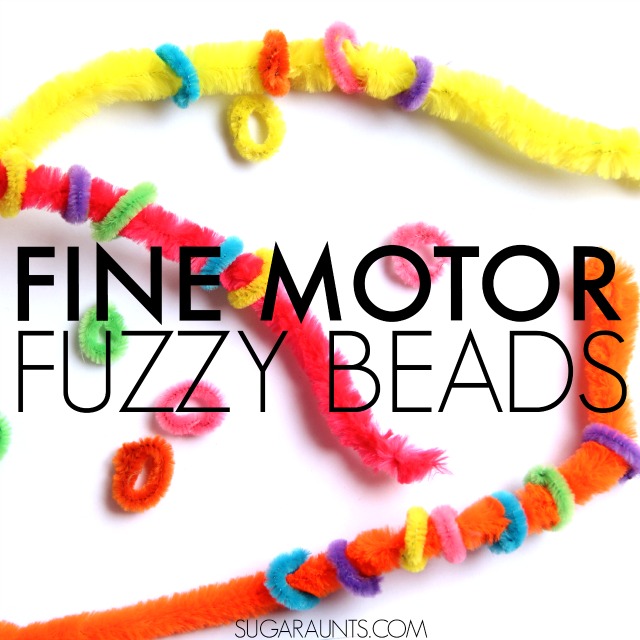




 are gorgeous and bright!
  . What a creative way to work on fine motor skills!
  and make your own using the tips above.

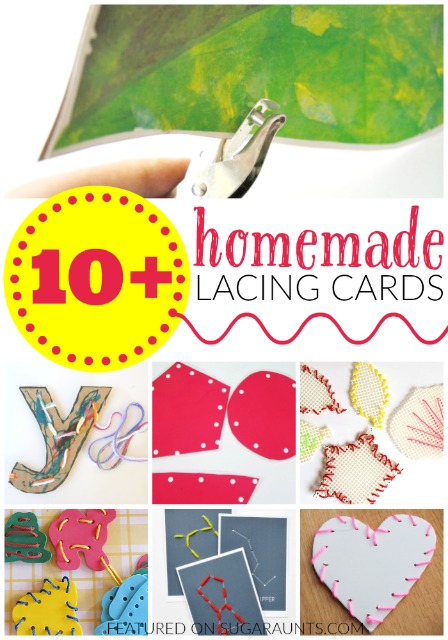
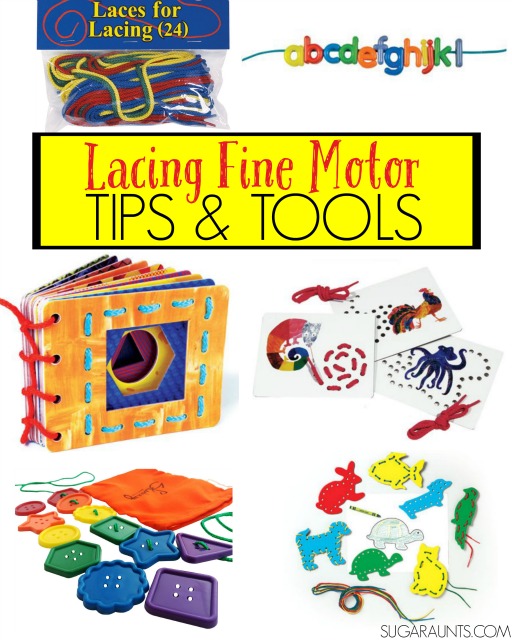
 for their open ended-ness! Kids can learn shapes, patterns, colors, and sequencing by lacing hem together.