Color Sorting with Dyed Pumpkin Seeds

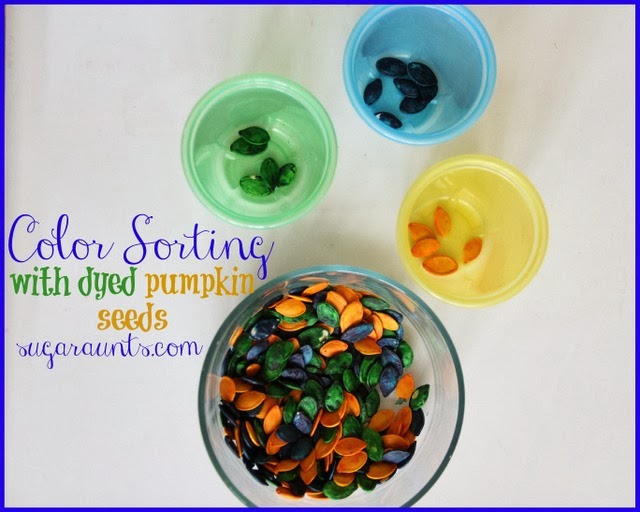
Playing with Pumpkin seeds and Color Sorting with Dyed Pumpkin Seeds were something I thought about as soon as we carved our jack-o-lanterns this year.  We sorted the seeds into a super sensory playing activity that ended up having a great learning component too!  We ended up using our dyed pumpkin seeds in so many playful ways over the last few weeks.  We’ve sorted, created patterns, made collage art, and more.  We will definitely be dying (as well as roasting) our pumpkin seeds every year from now on!
Color Sorting with Dyed Pumpkin Seeds
(Note: This post contains affiliate links.  That means we receive monetary compensation when purchases are made through the links on this blog.  Our opinions and ideas are in no way affected. As always, we thank you for your support and community on Sugar Aunts.)

Have you ever dyed pumpkin seeds before?  This was our first time, so it was a learning experience.  And, we haven’t even made too many batches of roasted seeds either that we LOVED.  We posted the question to our Facebook page asking for roasted seed recipes.  We got some great replies and ended up trying  a little dying and a little roasting!

(we roasted our seeds for eating with a little olive oil, salt, and paprika.  Perfection!)

To dye the seeds, I put a handful of dry seeds in a plastic baggie and added a few drops of food coloring.  All it took was a few shakes of the bag to cover the seeds.  I wasn’t sure if vinegar would be needed to get the dye to “stick” to the seeds, but it seemed to work ok without.  A few kiddos enjoyed shaking baggies (and jumping around the house with them…)!  We made blue, yellow, and green…only because those were the colors of liquid food dye I had on hand.  Once they were covered with color, we poured the seeds onto a cookie sheet covered with paper towels and let them dry. 

Drying required a full 24 hours and a couple of re-scattering to make sure all of the seeds were uncovered.  Once they were dry, we were ready to play!

Color Sorting with Dyed Pumpkin Seeds

Color Sorting with Dyed Pumpkin Seeds

This was a great activity for Baby Girl and Little Nephew (both 2 years old).  I had this set up one day after the kids woke up from their naps.  A few of our The First Years 4 Pack Take And Toss Spill Proof Cups
were perfect to match the colors of our seeds. 

Color Sorting with Dyed Pumpkin Seeds

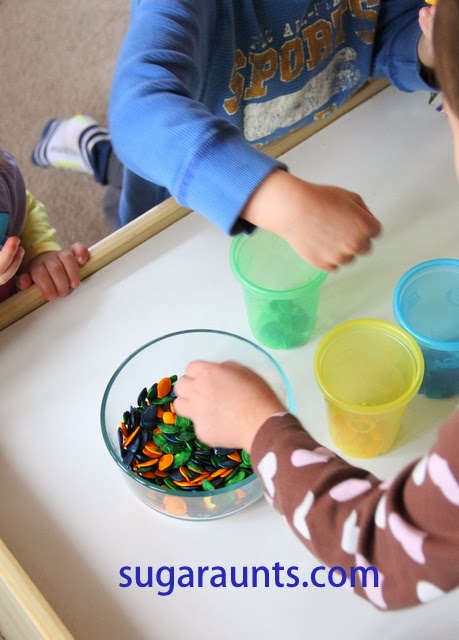
They had so much fun with this!  Little Nephew really enjoyed this activity.  He played for a long time sorting the seeds (and a lot of not sorting, too…just dropping the seeds into cups).

Color Sorting with Dyed Pumpkin Seeds
There were a lot of hands involved in this activity.  It was a good thing we had three different colors  and cups!
Watch this space to see what else we did with our colorful pumpkin seeds!

Turkey Napkin Rings

Turkey napkin ring craft

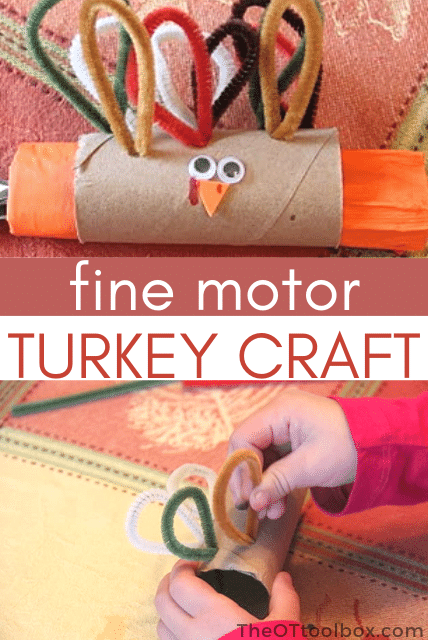
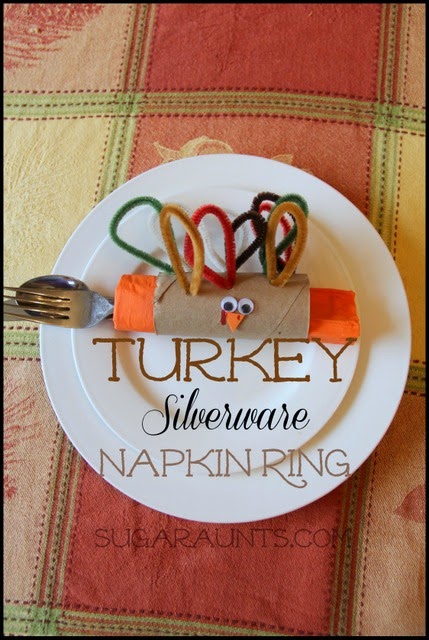
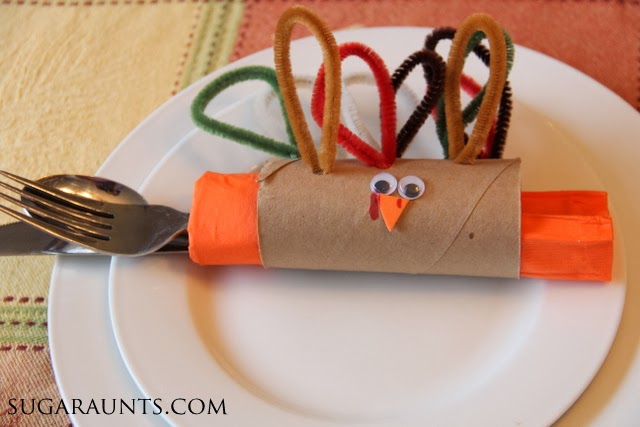
Another Turkey craft happened in our house!  This time we made a Turkey Napkin Ring.  And just in time for your Thanksgiving dinner place settings 🙂  This is another cardboard turkey craft that uses a recycled paper roll…much like this toilet paper roll turkey post that we updated recently. Today’s cardboard tube turned into a turkey napkin ring that would look amazing at the family Thanksgiving table.

Turkey napkin ring that kids can make! This Thanksgiving table craft is so much fun for the kids table!
Thanksgiving Turkey Silverware Napkin Rings

Turkey Napkin Rings

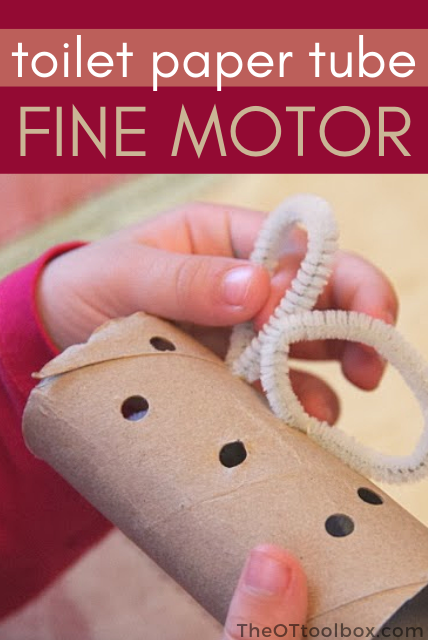
We started with a paper roll and a hole punch.  The holes were easy to punch toward the ends of the roll. To reach the center, you will have to bend the roll a bit and double up the cardboard while punching the holes.  That was pretty tough to do, but not impossible. 

I think next time we make these, I would cut the paper tube to maybe 3 to 4 inches long.  Then, it would be easy to punch holes along the length of the tube.  

This turkey napkin ring craft is a great way for kids to develop fine motor skills.

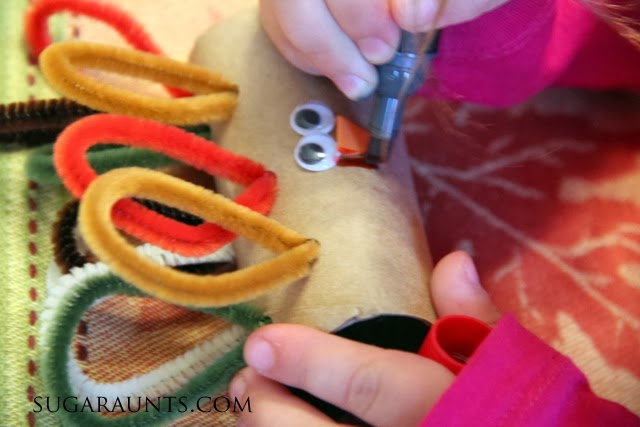
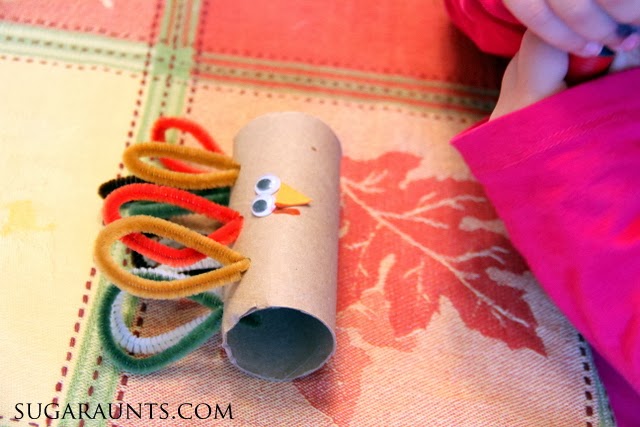
Big Sister took care of pushing the feathers into the holes.  We used fall colored pipe cleaners to give the turkey a fall festive look.  We cut the pipe cleaners in half first.

Cutting pipe cleaners is a great hand strengthening activity for kids working on hand strength and scissor skills.  They need to squeeze the scissors with a gross grasp and really encourage strengthening of the arches of the hand. 

Kids can make this turkey napkin ring craft with a cardboard tube and pipe cleaners.


After our pipe cleaners were cut in half, Big Sister folded the pipe cleaner in half (without creasing the fold) and pushed both ends of into the holes.  Another great fine motor activity! 

She was able to use a tripod grasp to push the pipe cleaner into the holes…and had a lot of fun!  We doubled up a few of the holes for extra feathers (and a little more restiveness when she pushed the pipe cleaners into the holes…extra fine motor work!)  

Use cardboard rolls for crafts like this turkey napkin ring that kids can make for Thanksgiving dinner.


The turkey is looking pretty good!  Glue a couple of googly eyes and a beak.  We used a scrap of foam sheet cut into a little triangle.   

Turkey craft for kids turns into a turkey napkin ring for the dinner table.

  Big Sister added the wattle to the turkey with a marker…and added a little red dot to the beak.  “That is his nostril, Mom.”  

How cute is this toilet paper roll craft that turns into a paper roll napkin ring.

  Pretty cute!  

Use this turkey napkin ring craft as the Thanksgiving kids table decorations!
Kids

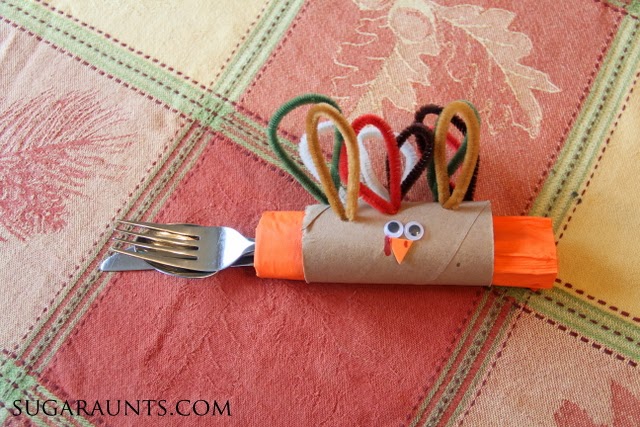
Wrap a set of silverware in a paper towel (or fabric) and the turkey is ready to join the table settings!

Use the turkey napkin ring craft as a Thanksgiving kids table craft.

This would make a great Thanksgiving kids table craft for kids to make and build right at the kids table!    

It’s also a great fine motor activity for kids using a toilet paper roll!

Wouldn’t this look completely cute along with the Turkey Juice Box covers from yesterday’s post??  

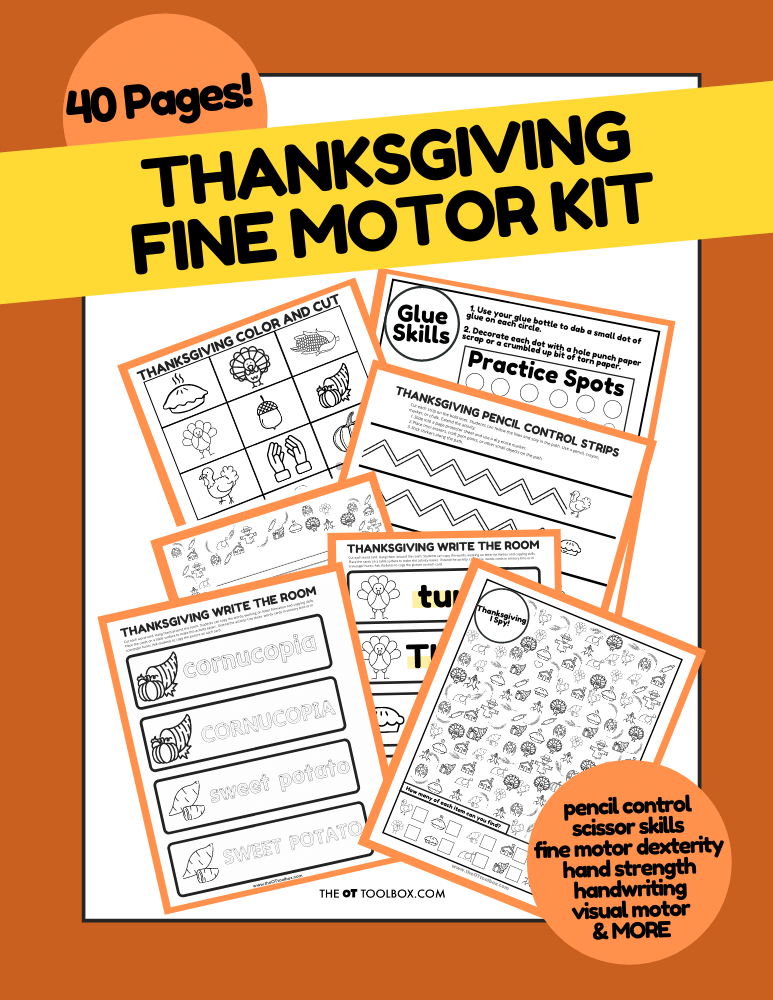
For more Thanksgiving activities for kids, try this Thanksgiving Fine Motor Kit. It’s on sale now and covers handwriting, pencil control, coloring, scissor skills, bilateral coordination, eye-hand coordination, and more:

Thanksgiving Fine Motor Kit
Thanksgiving Fine Motor Kit…on sale now!

Thanksgiving Fine Motor Kit…on sale now!

Colleen Beck, OTR/L has been an occupational therapist since 2000, working in school-based, hand therapy, outpatient peds, EI, and SNF. Colleen created The OT Toolbox to inspire therapists, teachers, and parents with easy and fun tools to help children thrive. Read her story about going from an OT making $3/hour (after paying for kids’ childcare) to a full-time OT resource creator for millions of readers. Want to collaborate? Send an email to contact@theottoolbox.com.

Dinosaur Craft and Pretend Play

Dinosaurs and pretend play are two of the favorite things to play in this house.  This craft was such a fun combination of the two and we had an absolute blast creating these dinos…And playing with them!

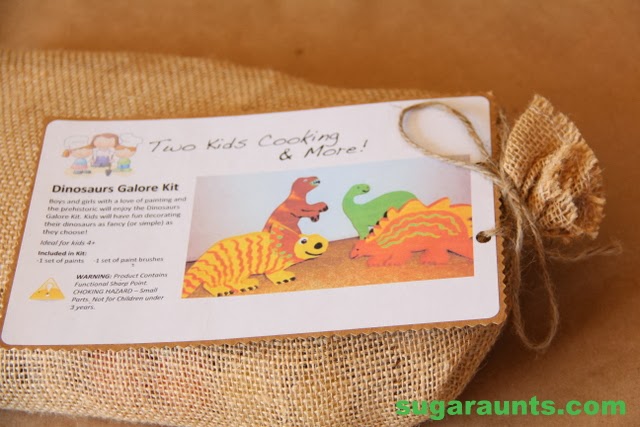
This dinosaur craft kit is such a fun craft.  We loved seeing this come in the mail. The excitement in our house was pretty high when this package came!

Dinosaur Craft

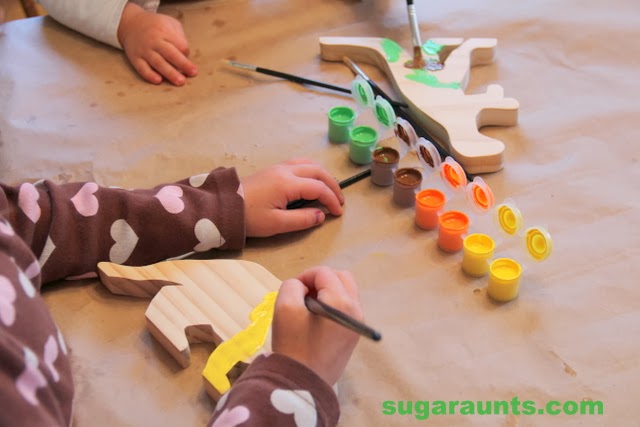
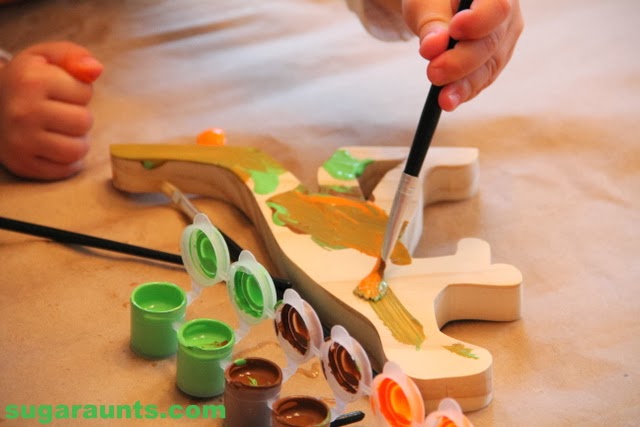
Everything sent in the kit was high quality…from the solid wood dinosaurs to the thick and brightly colored paint, I was very impressed with this craft kit!  The whole kit came packaged up in a super cute burlap bag and once untied, we were ready to get crafting!
We had my three kids here and Little Niece and Nephew.  They were all so excited that they got to paint their own dinosaurs. 
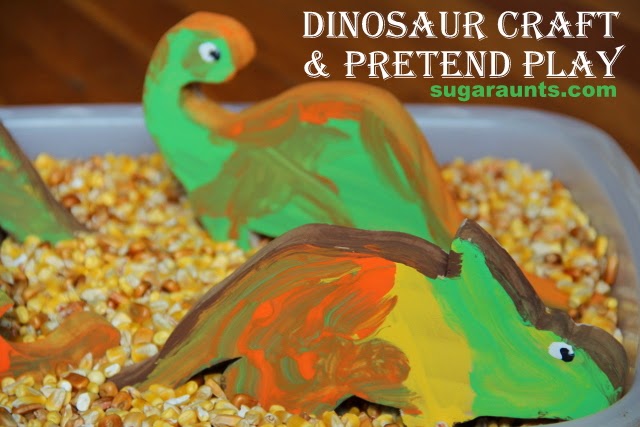
We went with a child-led painting process here.  And together thought that since we really don’t know what color dinosaurs reeeeeallly were, why not make them however we wanted??
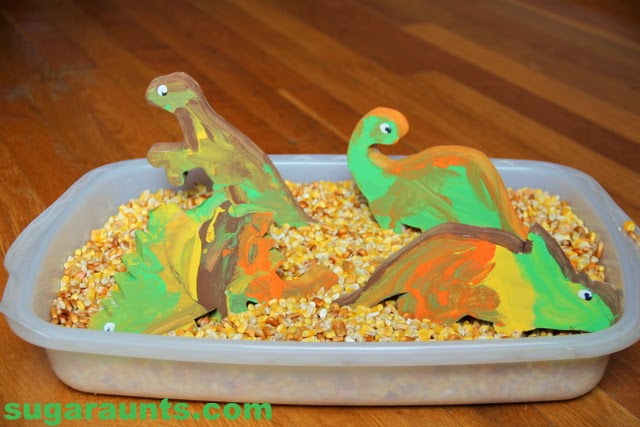
Our dinosaurs turned out to be a pretty mix of colors!
This craft kit is such a great quality that it would be a great piece to add to a nursery as shelf decoration.  We used our dinosaurs in pretend play.  The wooden pieces are very sturdy and are holding up really well to lots of busy hands.
They played on a table together as a family…
…And hung out in a corn sensory bin too. 
We even took these guys outside to play in the leaves.  We’ve been using our dinosaurs in pretend play almost every day since the paint dried!

Fine Motor Pincer Grasp Color Match

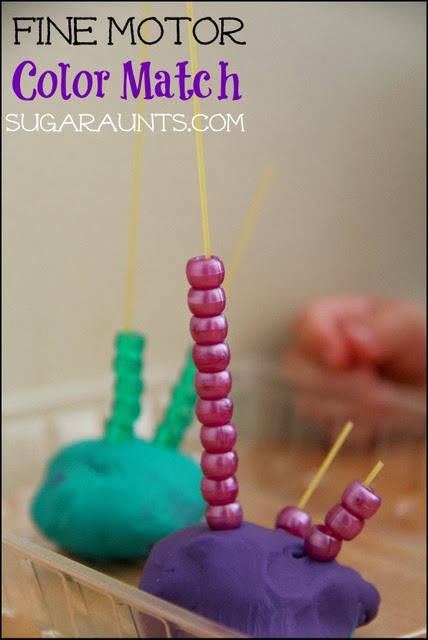
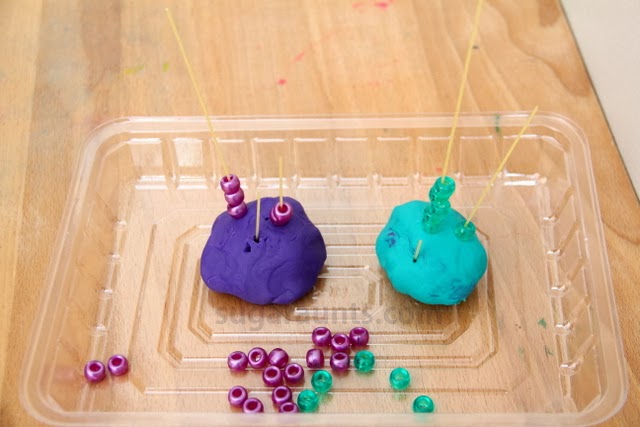
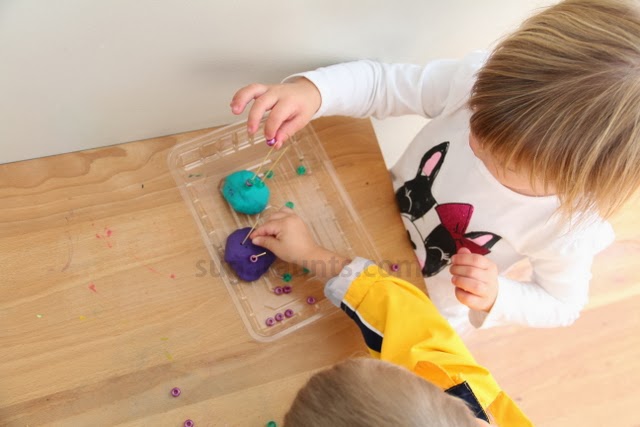
This fine motor pincer grasp activity uses colored beads to work on fine motor skills while kids color match beads to play dough. When threading beads onto dry pasta (or skewers, toothpicks, or other “sticks”) stuck into play dough, children improve various skills necessary for pencil grasp and functional grasp.  Use this simple fine motor activity to improve visual motor skills, pincer grasp, in-hand manipulation, separation of the sides of the hand, and more.
This was a fun play time activity for the little ones in our house.  We had fun with fine motor play while working on colors, matching, and fine motor skills.
use play dough and beads to help kids with color matching while addressing fine motor skills like pincer grasp, in-hand manipulation, separation of the sides of the hand and other visual motor skills.

Fine Motor Pincer Grasp Color Match Activity

Play dough is such a great learning tool.  The kids always love when play dough is pulled out.  This one took two colors and some spaghetti noodles. 

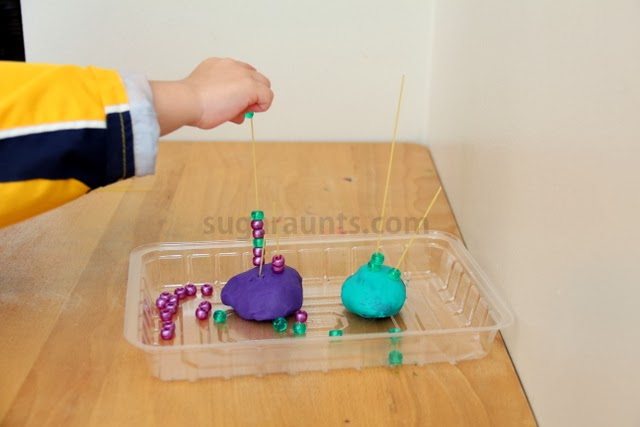
  Instead of stacking cereal on our spaghetti noodles, we went with colored beads and two colors of play dough.

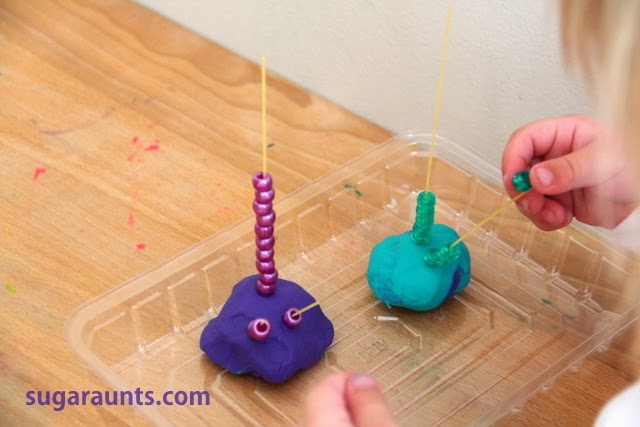
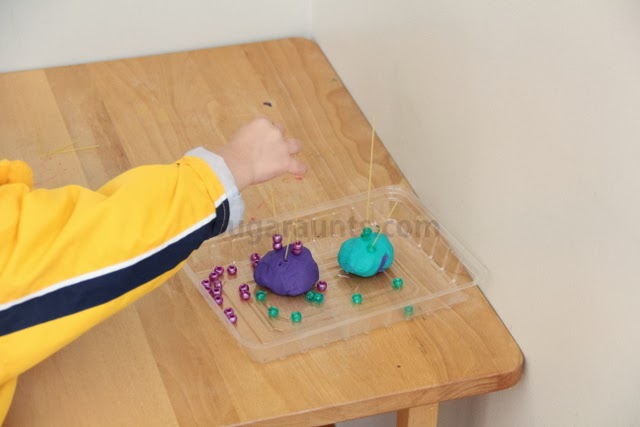
I put two colors of play dough on a plastic tray and stuck some dry spaghetti noodles into the dough.  Scatter some beads around and we are ready to play!  I put a few beads onto the same-colored dough to show an example of matching the colors.
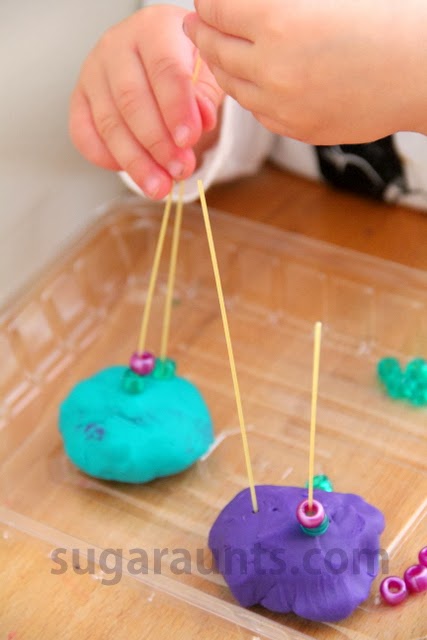
Baby Girl and Little Niece and Nephew (both newly 2 years old) LOVED this!  They really astonished me that they could match the colored beads right away to the correct dough.
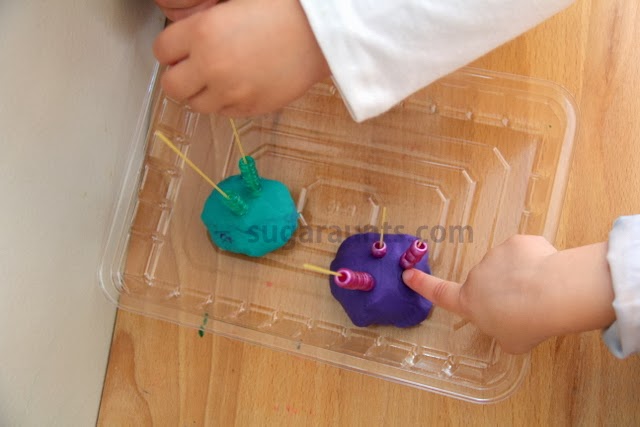
They really got into this activity.  There were hands everywhere for a while, reaching for beads and noodles!

Pincer Grasp

What made this a great activity for the littlest ones was the pincer grasp that they worked on when picking up the beads.  They had to manipulate the beads within their hand to get the bead onto the thin noodle. 
Pincer grasp is using the thumb and index finger to pick up small items.  This grasp is important for development when children are holding a string to thread in lacing tasks or for managing a button.  These two little ones didn’t care much about how they were holding the bead…They just knew they were having fun 🙂

Color Match with Play Dough

This was such a fun activity for our little ones.  Loads of learning happening here!  Colors, matching, sorting, even patterns for the older ones.  Baby Girl and Little Nephew really got excited about the colors.  They would say “purple!” and “green!” Not necessarily for the correct colors, but it was pretty fun…and cute 🙂

Have you done a version of the noodles in play dough activity?   We’ll be doing this again for sure with all the fun we had!

Looking for more Fine Motor activities?  You might love these:

Elmo Birthday Decorations

Elmo birthday decorations

Looking for Elmo birthday decorations for a Sesame Street Party? This is the place for fun! We had an Elmo birthday party years ago, but I still love these ideas for engaging activities that support creative play and development!

Elmo birthday decorations

Elmo Birthday Decorations

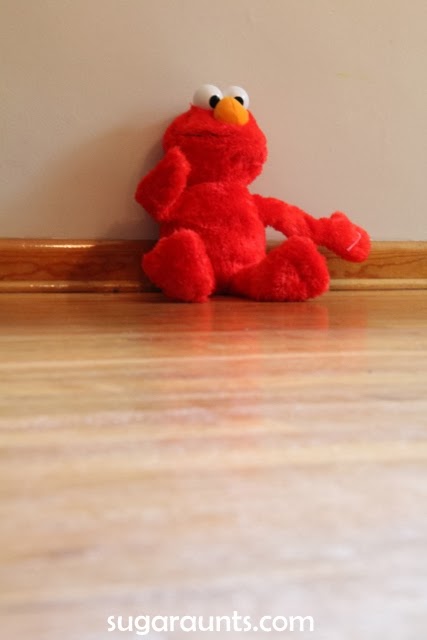
We celebrated a special little lady’s 2nd birthday this month when Baby Girl turned 2.  Baby Girl LOVES Elmo and so her birthday had to have an Elmo theme!

 
I guess technically she’s not exactly a Baby Girl any more (especially because we have another little one who will be joining us in the spring!)  A new blog name will have to come about for Baby Girl at some point, but she’s still my baby girl for now 🙂
 
This party was low key and simple in the set-up because Mama just was not feeling it with the all day morning sickness and being Exhausted!  The Elmo fun still stood out and Baby Girl was so excited when her party day arrived!


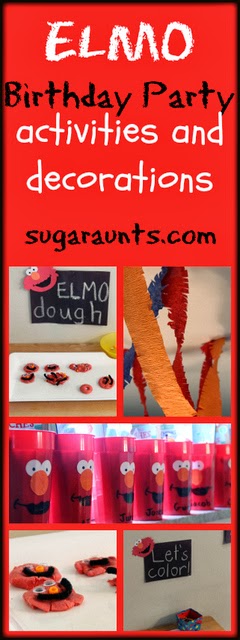
Elmo Birthday Party Activities:

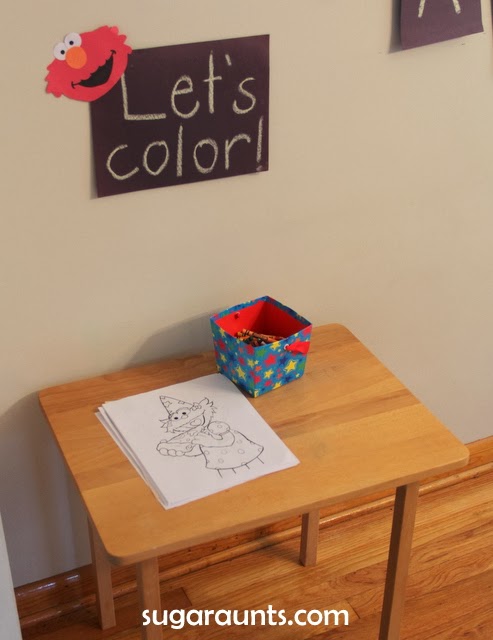
One fun Elmo party activity is to simply color! Elmo loves crayons so print off a few Elmo coloring pages (or Sesame Street coloring pages). Add crayons, and let the kiddos color!
 
We copied some sheets from a Sesame Street coloring book and had a little coloring station set up for the kids.  Simple, easy, fun!  I made the Elmo face and used that for the invitation and throughout the party décor.
 

Elmo Play Dough

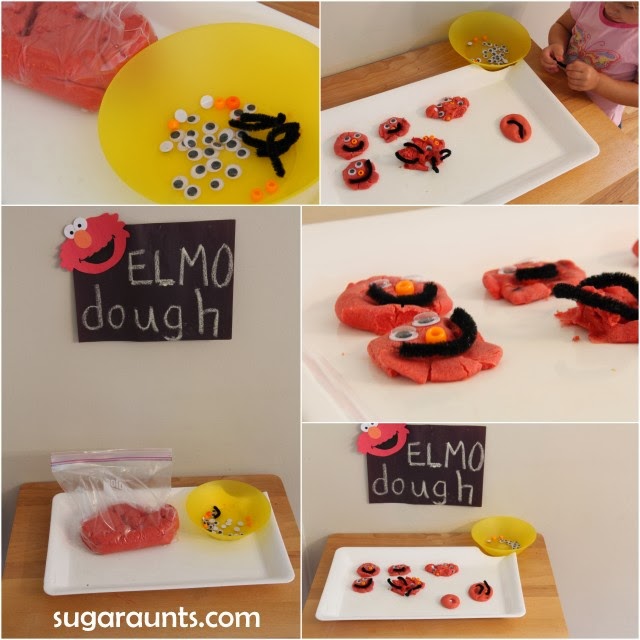
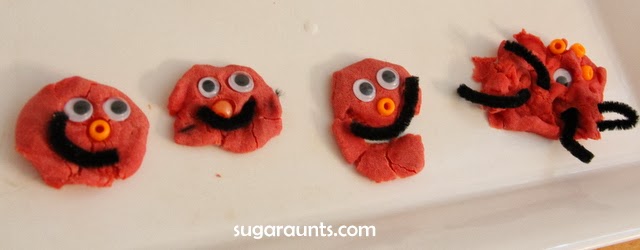
Another area for creative play we had at our Sesame Street party was Elmo play dough. There are many benefits of play dough so adding this activity to a party is a great way to sneak in fine motor skills and other areas of development for preschoolers and toddlers.

To make Elmo Play Dough, use our play dough recipes to make a nice soft dough. Then add in manipulative items: 

  • Black pipe cleaners
  • Googly eyes
  • Orange craft pom poms for noses

To make an Elmo in play dough, show the little ones how to make a flat pancake using the red play dough. They can use both hands to pat the dough into a round circle shape. 

Then, the young learners can add facial details using the pipe cleaner to make a smile, the googly eyes, and the craft pom pom to make a nose. 

This activity supports the development of fine motor skills as well as offers heavy work through the hands. Read more about fine motor play dough ideas.

Finally, when the party is over, use the dough in some play dough activities for more motor skill development.

 
Elmo Play Dough!
 
This Elmo dough was so fun.  Baby Girl played with this for days after the party.  I had a huge bag of red play dough and a bunch of little pieces for the kids to make Elmos. Or anything. 
 
There were some pretty fun creations made!  Googly eyes, orange beads, and black pipe cleaners curved for smiles made little cute little Elmos! We let the faces dry and had some fun with the little guys days later after they sat out and air dried.
 
 
( (The last little guy on the right is how I felt by the end of the party 😉 )


Elmo Party Decorations:

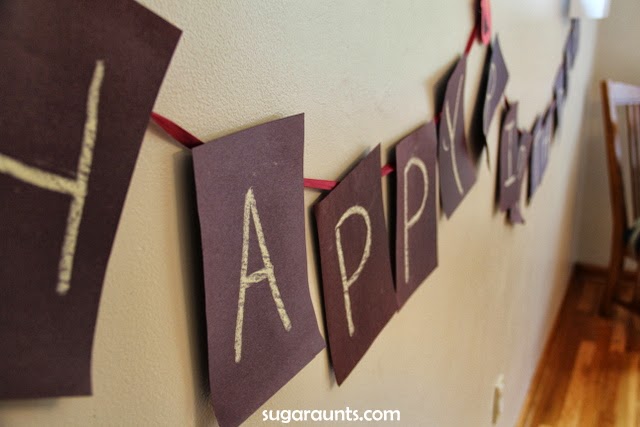
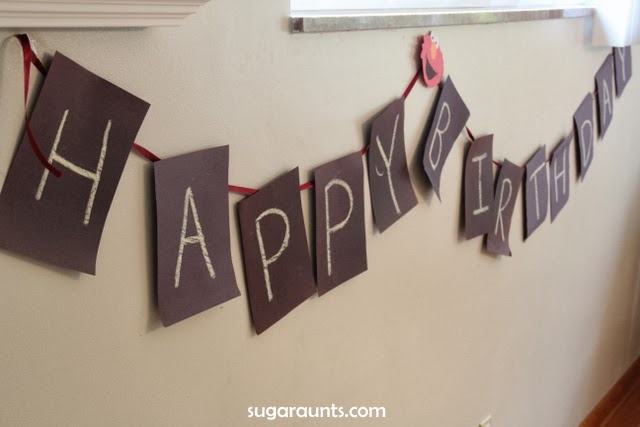
For this Sesame Street Party, we made an Elmo banner using black paper with letters written on in chalk to spell Happy Birthday. It’s an easy Elmo theme party addition that can be put together quickly.

 
The birthday banner was a last minute decoration put together SO easily.  Write Happy Birthday out with chalk on black construction paper and tape to ribbon.  Done.


Elmo Balloon Arch- We added a few orange, red, and blue streamers for more room decor. These would look great on an Elmo balloon arch, too. Grab one of the (Amazon affiliate link) balloon arch kits available on Amazon and just add red balloons.
 
Simply blow up red balloons, add them to a balloon arch support and tuck in red and orange streamers for more details to the Elmo balloon arch.
 
We put up a few streamers around for extra birthday fun.
 

Elmo Birthday Party Favors

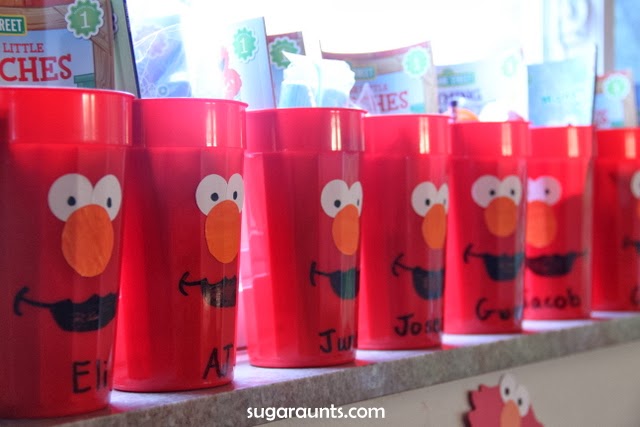
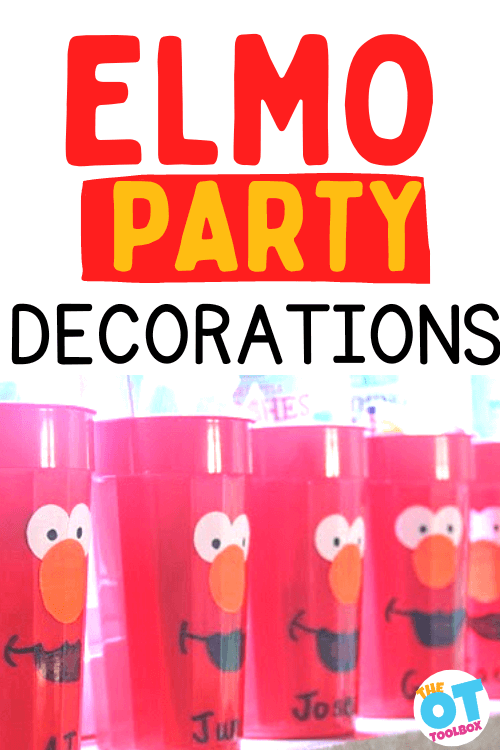
Use red cups and add Elmo faces to the front. These are easy to make. All you need are a few materials:

  • Red cups
  • White label paper (the type that has a sticky back)
  • Black permanent marker
  • Orange marker
  1. To make these Elmo cups, cut out circles from the white label paper. Stick them onto the cup for the eyes. 
  2. Next, add a black dot on each eye for Elmo’s pupil. 
  3. Then, color a large area on the label paper with the orange marker. Cut out circles to make Elmo’s orange nose. Stick the nose slightly on top of Elmo’s eyes.
  4. Use the black marker to draw a smile on the cup. Use an image online to copy the shape of Elmo’s smile.
 
Then, you can fill the cups with treats for a party favor. I found these cups at a grocery store for 10 cents for a two pack as an end of summer clearance sale.  Can’t beat that!  Throw some peanut butter crackers, fruit snacks and other little things in there and it’s done too 🙂 
 
The Elmo face was label paper that I cut into circles for eyes and noses and the smile I drew on with a permanent marker.
 
 
This little party was such a fun day for such a sweet and fun-loving little girl. 
Happy Birthday Baby Girl!

Corn Husk Stamping Fall Art

Use some Indian corn here and used a few pieces of the husks to create fun stamping art project. 

Fall Art: Corn Husk Stamps

 This little fall art craft was fun to let the kids just go and create art as they liked!
Corn Husk Stamping: Fall Art for kids

Corn Husk Stamping: Fall Art for kids
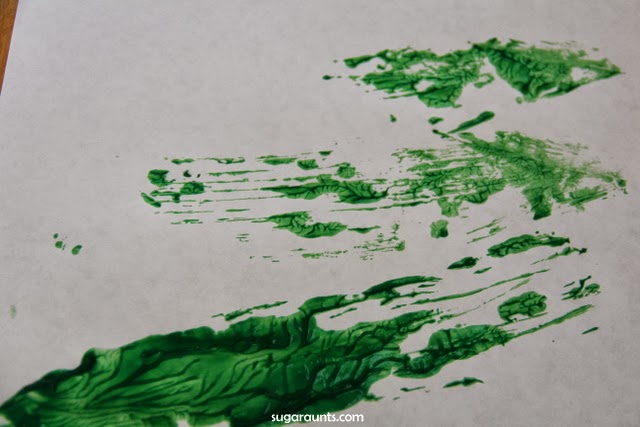
I set out a few dried corn husks and paint on paper plates.  They could stamp the husk into the paint, paint it on with a brush, and stamp away.
Corn Husk Stamping: Fall Art for kids

The paintings turned out so pretty in fall colors.  We loved the texture that showed up in the stamps.  It was neat to see what the kids came up with in this process centered art.

Corn Husk Stamping: Fall Art for kids
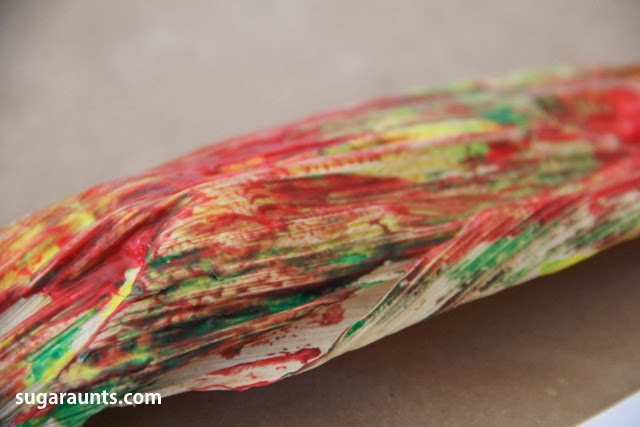
The painted husks turned out pretty cool too 🙂

Color Shape Sorting, Patterns, Counting

This sorting and pattern activity is a great fine motor and visual motor task for young learners. I love that the fine motor aspect builds pre-writing skills as well as math skills. You’ll also want to grab our color and count worksheet for more fine motor work with math and patterning as well as sorting objects.

Moldable Color, Shape, Sorting, Counting, and Patterns!

Disclosure: This post contains affiliate ads. We receive a compensation when a sale is made by clicking through from our blog.  All opinions are our own.

Color Shape Sorting, Counting, Patterns with Wikki Stix

We love playing with Wikki Stix.  We’ve used them in so many fun ways.  One day, Little Guy and I made some shapes and did a little sorting.

Color Shape Sorting, Counting, Patterns with Wikki Stix
 
Little Guy was sure to tell me if the shape didn’t quite look right.  “Mom, that square doesn’t look square-y”.  We counted how many of each shape we had.
 
Color Shape Sorting, Counting, Patterns with Wikki Stix
 
Little Guy made up a subtraction game as he put them into the box.  He counted each time he took a shape away and said “…minus one iiiiiiiiissss….”  He had so much fun doing this little game!
Color Shape Sorting, Counting, Patterns with Wikki Stix

After we finished with the shapes, he said we should do a pattern.  We pulled all of the wikki stix into strait lines and he came up with the pattern.  This was a fun quiet time activity for both of us!


Creative Sight Word Practice with String

Big Sister has been practicing her sight words a lot!  we keep practicing and practicing and she is really confident in her ability.  Knowing my little girl, she needs to feel confident in order to try new things.  If she thinks something is hard (even something she’s never tried before) it is just rough from the start.  All this practice is really working for her.  We don’t go crazy, just one practice each day with an added little twist to make it fun.
We practiced four words one afternoon with an added item…string!

Creative Sight Word Practice with String

I cut lengths of three different colors (only because I didn’t have four colors).  We used the string a few different ways. 
I made two columns of the sight words, one with the upper case version and the other column with the lower case version.  Big Sister used the string to match up each pair.
This was a hands on version of a lot of worksheets that you see in Kindergarten workbooks.  This activity allows the child to visually scan left to right (important for a beginner reader!) and to encourage visual memory.  For a child that is having trouble identifying a new sight word, this is a great way to promote visual memory of the spelling of the words and the way the word looks.  
For a younger child, this would be fun for letter/number identification or shape identification and matching.  There are so many variations that could be done with this simple activity!

Next, I scattered the words around on the table and showed Big Sister how to use the string to circle the words.

Big Sister had follow directions to circle “am” with the yellow string, “the” with the blue string, and “my” with the red string.  We did several steps for multi-level direction following, but this could be done step-by-step.  You could even just hand the child any random color and ask them to circle a specific word.   This is a good activity for visual scanning as they search for the word on the table.
We used the string in one other way.  I taped the string to the backs of the words like the top picture of this post shows.  We used the string to pull the word across the table and read what the card said.  It was a fun way to “fish for sight words”!
How many ways can you think of to use string as a learning tool?

Sight Word Bottle Cap Stampers

Bottle Cap Sight Word Stamps
This was a quick activity using Big Sister’s sight words.  She’s been learning so much in Kindergarten!  Being our oldest we are SO amazed at the words she can pick out now and KNOWS just weeks into school!  It seems like our little girl was just a pink little baby fresh from the hospital and now…she is beginning to READ! Woah, how did this happen?!?
Big Sister has been bringing four words home every two weeks for extra practice.  We have flash cards, but does that get boring or what? 

Sight Word Bottle Cap Stampers

This activity was very easy to set up and Boom.  Instant sight word practice, with a fun twist!
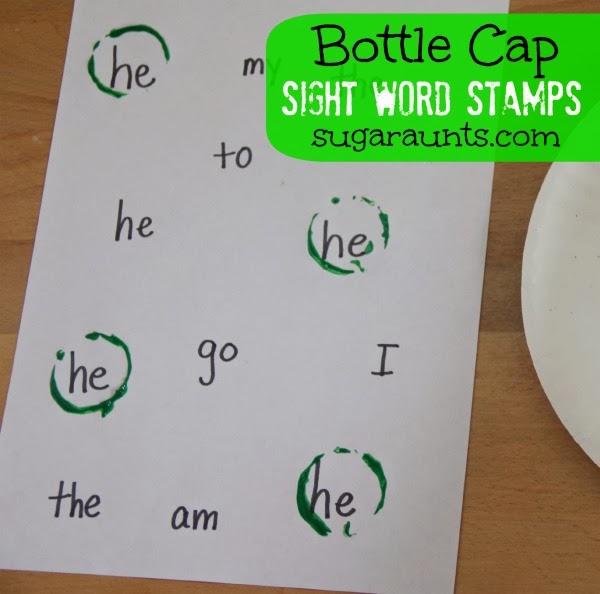
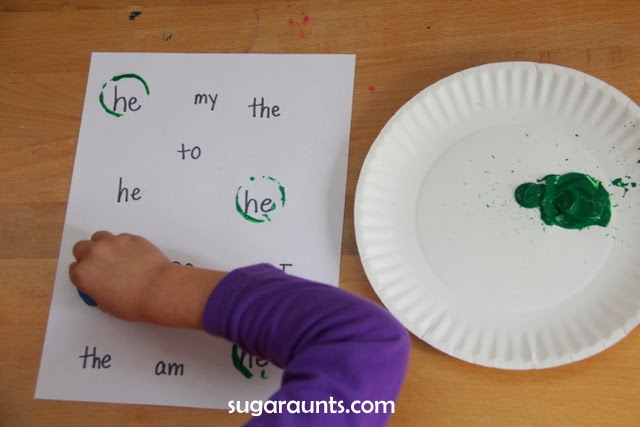
I wrote out some of her sight words on a sheet of paper and put a splat of paint on a paper plate.  We used a cap from our Recycled materials craft bin to circle stamp the word “he”.  She had so much fun with this.  We did a few more sheets, stamping out different sight words.
Bottle Cap Sight Word Stamps
We’ll definitely be doing this one again as we get more sight words sent home.  This could be built on in so many ways.  Different colors for specific words, placing the paper on an easel, copying an example with different colors…How many ways can you think of to expand this activity?

Looking for more ways to practice sight words?  You also might like:

Beginner Sight Word Letter Match

Sight Word Manipulatives

Sight Word Scavenger Hunt

No-Mess Sensory Spelling

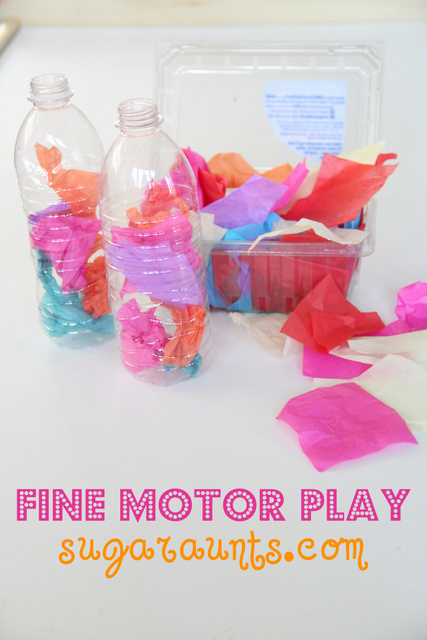
“I Spy” Sensory bottle