Water Bead Sensory Box

This is an OLD blog post. We do not recommend doing this activity or any activity that uses water beads as a sensory toy.
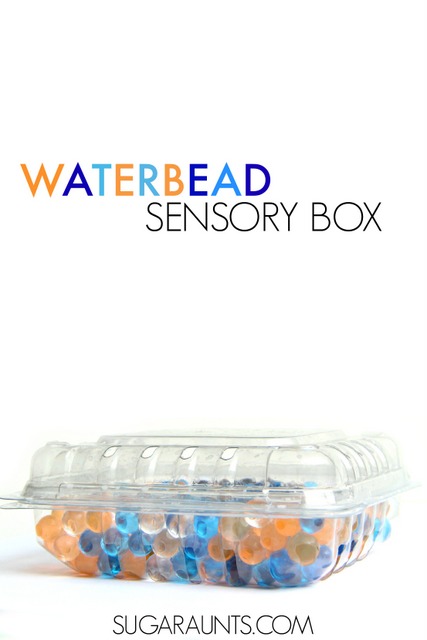
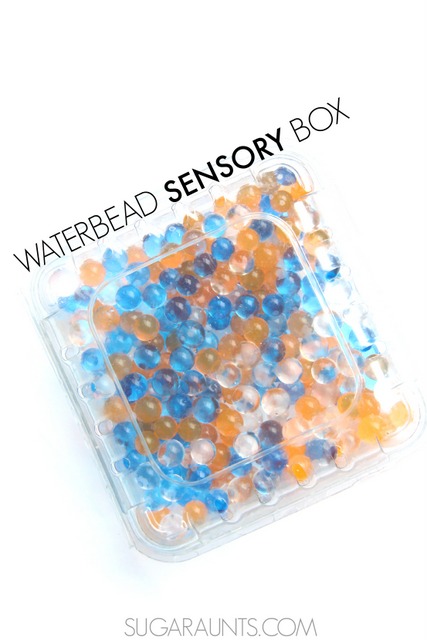
We do a ton of sensory play in our house and always have a pack of water beads ready to go for a water bead sensory activity.  So the inquiring little baby-sized hands want to get in on the sensory fun.  We made this Water Bead Sensory Box that is perfect for Toddlers and Babies.


Safety Note : ALWAYS supervise your children (of all ages) with activities such as these.  While we have made our sensory box safe for kids, please use your judgement when playing with and exploring with your kids.  This blog and it’s authors are not responsible for injury or harm that may occur as a result of this or any activity/craft that is found on this site.
Water bead sensory box

We’ve made a water bead sensory activity before, and this one is another to add to the sensory play.  (We’re including affiliate links in this post for items that you might need to make this activity.)
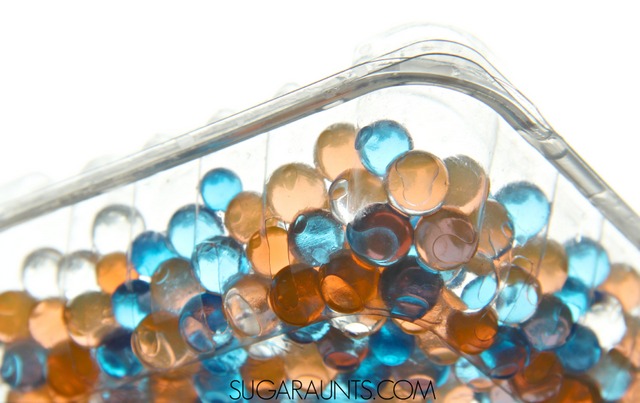
Water bead sensory box
We started with just a few materials to make our water bead sensory box.  Grab a plastic fruit container with a lid from the recycle bin.  We used a blueberry container, and any berry container would be perfectly sized for the sensory box. 
The container should be on the thinner side and clear, with a lid.  You will need to enlarge water beads in water for 4-6 hours.  Once they have grown to full size, pour them into the plastic container.  Then, use super glue around the edges of the plastic container. Press firmly and allow the glue to fully dry before using the sensory box. We added a layer of hot glue using a hot glue gun (LOVE my hot glue gun!) to the edges of the plastic lid opening. You will need to allow time for the hot glue to fully dry as well.
 
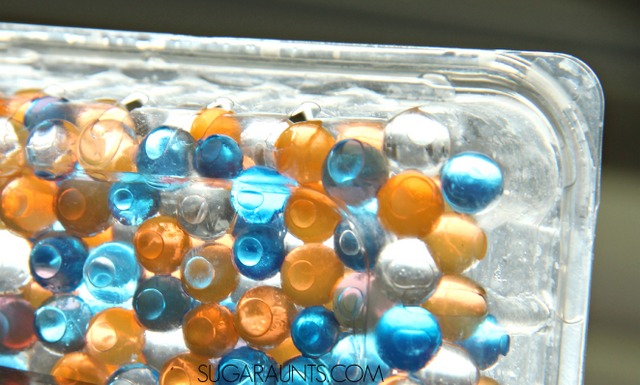
Water bead sensory box
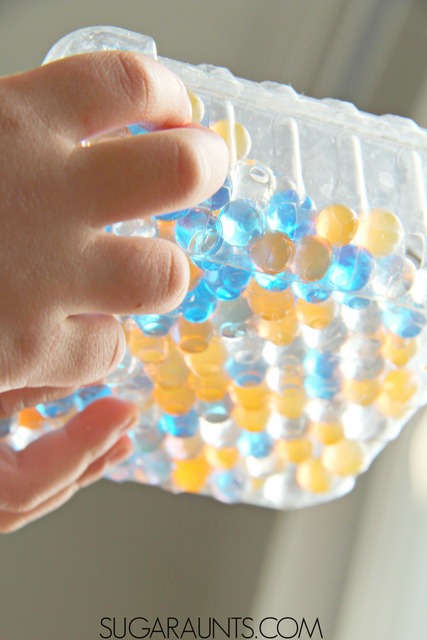
Once the glues have dried, you are ready to explore and play with the sensory box.  Play in a well lit area to explore the colors of the water beads.  This was such a fun way for the little one to explore a sensory material in a safe way.  As the box is tilted around and shaken, the beads move and create a great sound.  
 
Water bead sensory box
 
To extend this activity out, add learning to the sensory box.  Add words like we did in our sight words sensory bottle to practice spelling and sight words.  Before gluing add foam pieces with numbers to create a math activity.  Add letters or small items to create an I-Spy toy.  
 
The water beads will stay hydrated for longer than they usually do when exposed to air.  Even though there are holes in the recycled berry container, the water beads do not shrink as quickly as they normally do.  Have fun!
 
What ways would you play with this sensory box?
 

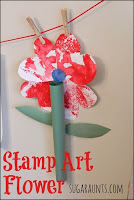
Bow Stamp Art Flower Craft

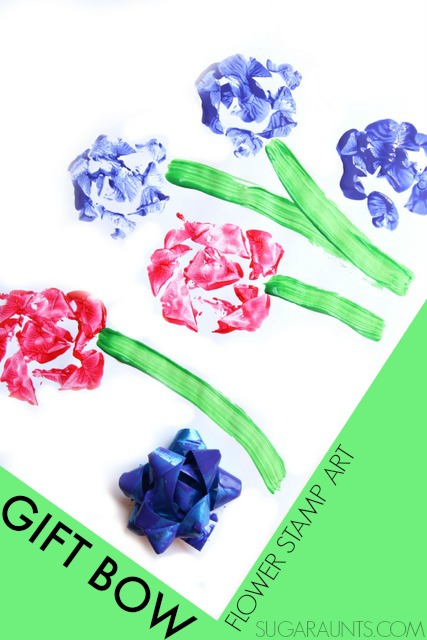
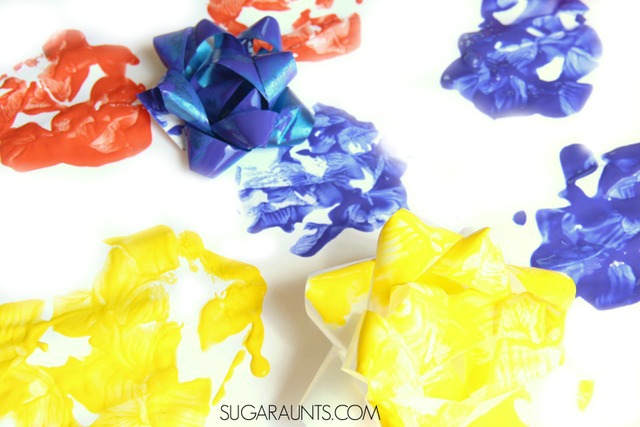
Our recent Painting with Pinwheel art was such a hit that we had to try another stamp art activity.  We made this gift bow flower stamp art craft in honor of a special little one in our house who is celebrating her first birthday.  Using the gift bows as a stamp made the cutest flower art.  This craft is perfect for preschoolers (and kids of all ages) when making flower art!  I think it would make a pretty special DIY birthday paper wrapping too!
This is one of our favorite hand eye coordination activities for toddlers because there is no right or wrong way to make this toddler painting art!

Make flower art using a gift bow to stamp! Cute idea for a flower craft or DIY wrapping paper.


To make your Gift Bow Flower Art:

 
Pick up just a few materials.  We’re including affiliate links for your convience here.  You’ll need 

paint (LOVE this brand!) poured onto a plate or into bowls.  Grab a handful of gift bows and start stamping!

Preschoolers love this craft for it’s easy art creation and it’s such a fun and easy process art activity.  There is no right or wrong way to make the flowers.  When you’re satisfied with the flowers, take a swipe of green paint and make a few stems.  Our flower art decorated the dining room for a few days.   Maybe we’ll make a roll of DIY wrapping paper the next time around!
 
Let us know if you make this creative art project.  You’ll find lots more creative art painting ideas on our Creative Painting Pinterest board.  Be sure to follow us there! 
 
More creative stamp art you might enjoy:

DIY Tambourine Craft

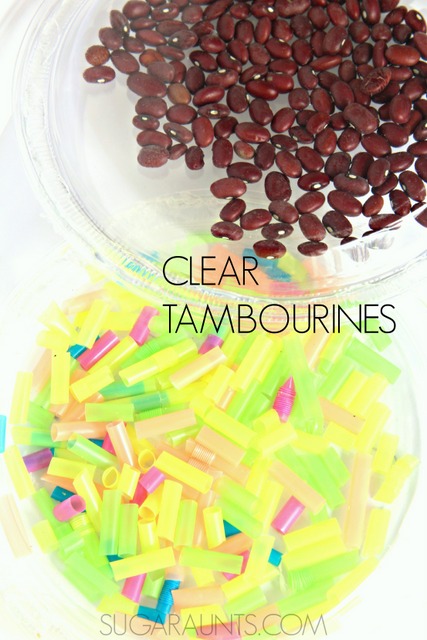
Want to make a recycled tambourine? We’ve got you covered with our plate tambourine craft from years ago. We used recycled clear plates for a colorful tambourine that the kids loved!

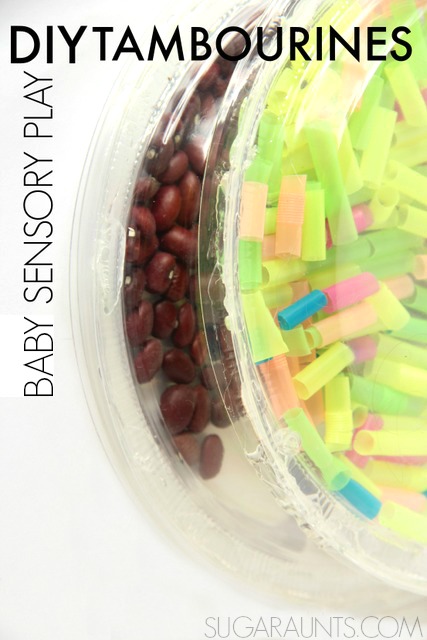
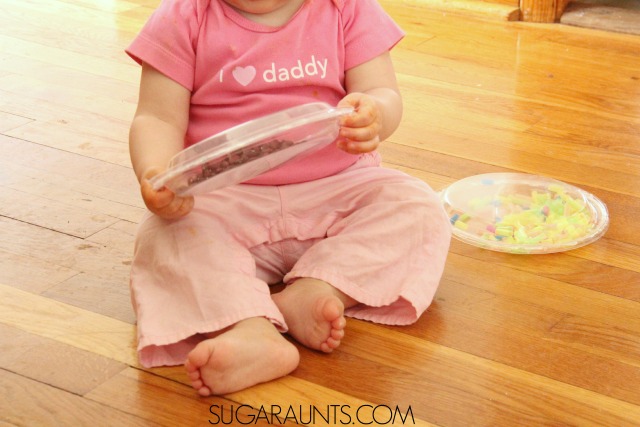
We made these clear DIY tambourines as a baby sensory toy that was a big hit with all of the kids. The clear plastic plates made sensory play fun with a visual and auditory aspect.  Using recycled materials in craft and play is one of our favorite ways to create! We also recommend making a bottle xylophone for more colorful and beautiful music!


Clear tambourines for music and baby sensory play
 

Recycled Tambourine Craft

 
How to make DIY recycled tambourines for music and toddler sensory play…
 
You’ll need just a few items to make a plate tambourine:
  1. Clear recycled plates 
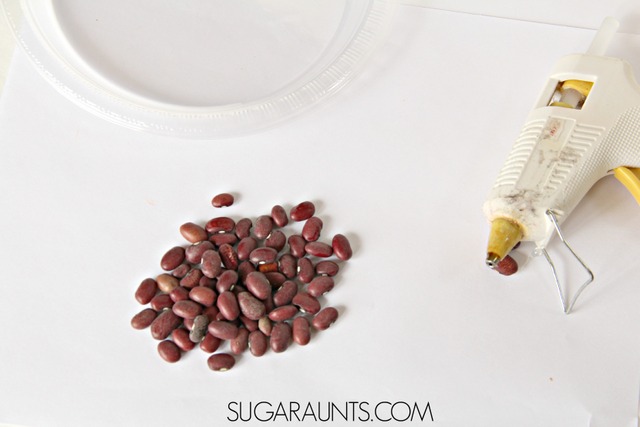
  2. Hot glue
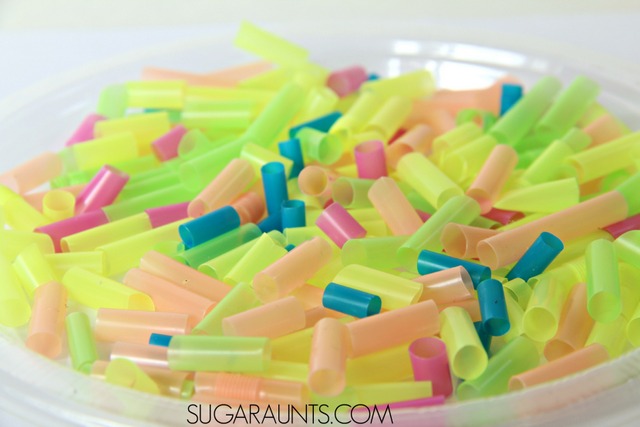
  3. Items to add inside the tambourines. Ideas include dry beans, dry corn, dry split peas, dry rice, or cut up pieces of straws.
 
 
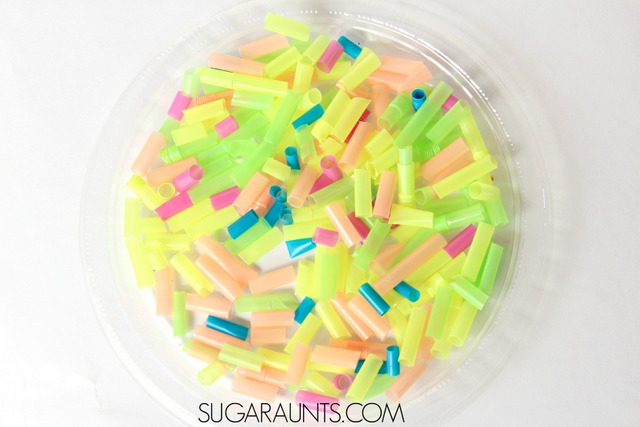
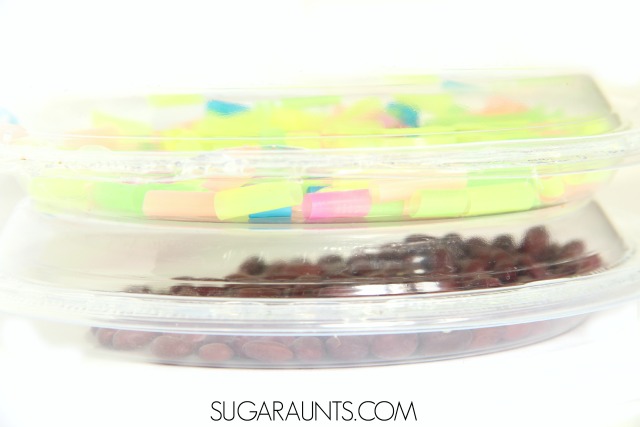
This is an easy DIY project that kids of all ages will love.  Use recycled clear plastic plates, a hot glue gun, and filler.  We used red beans and cut straws to fill our tambourines.  
 
I wanted bright and bold colors for our clear tambourines.  Other fillers might include: dried split peas, chick peas, black beans, or beads.


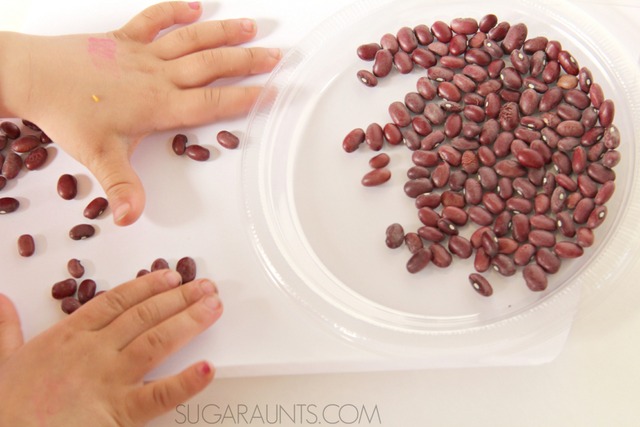
Fill one of the plates with the beans.  Little Sister loved helping with this part.


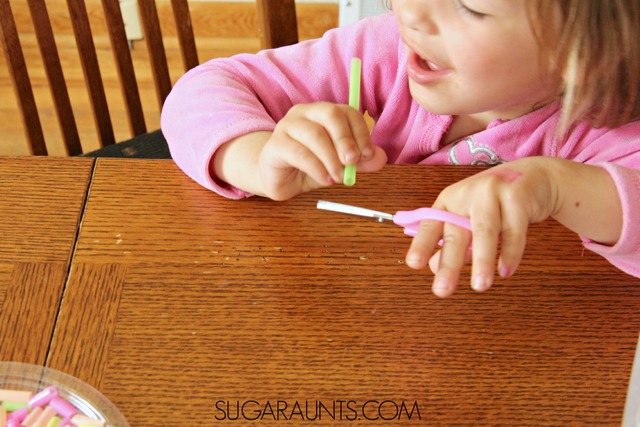
She helped me by cutting colorful straws into small pieces.  She loved watching the bits of straws shoot across the table as she snipped each one.  What a great scissor activity for preschoolers!


These brightly colored straws make great tambourine filler.


Use the hot glue gun to spread glue along the whole edge of the lip of one plate.  Be sure to put the hot glue on the plate that is filled with filler.  Then place the empty plate on top of the hot glue.  Don’t try to flip the full plate onto the empty plate.  You’ll end up with spilled beans and hot glue burns.  Don’t ask how I know this 😉
 
Firmly press the whole outside edges together until the glue hardens.


Baby loves these clear tambourines for shaking sensory play!


Other DIY instruments that we loved include:

Recycled Seedling Planter Animals Craft

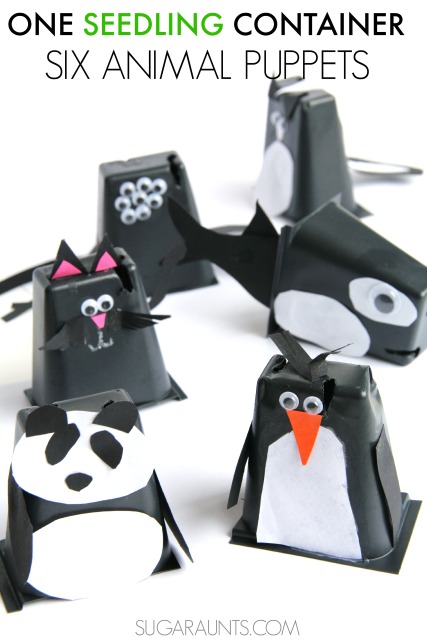
It’s no secret that we love to create crafts and activities using recycled materials.  Especially during April and right before Earth Day, we wanted to make a recycled material craft.  We pulled out recycled seedling planter containers to create animal crafts.


I always have left over seedling planter containers in the garage from gardening and flower planting.  If you garden, then you know that a pack of flowers or plants usually comes in a seedling container or 4-6 plants.  Once you plant your seedlings, you are left with a plastic container.  You can either toss it into the recycle bin, or save it for another project…like our cute animal crafts!

recycled seedling planter animal craft puppets


This post contains affiliate links.


Recycled Seedling Planter Containers crafts

Use recycled seedling containers to make puppets!
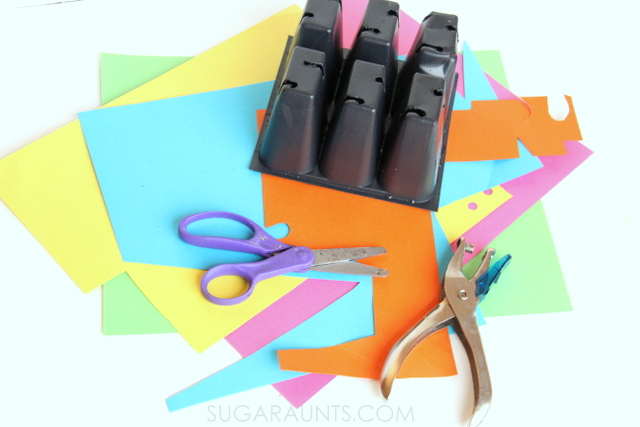
To make your seedling animal crafts, you’ll need a few materials:
Seedling Starter Trays that you’ve saved from planting
glue
assorted cardstock
extras like googly eyes, yarn, ribbon (use left over scraps!)

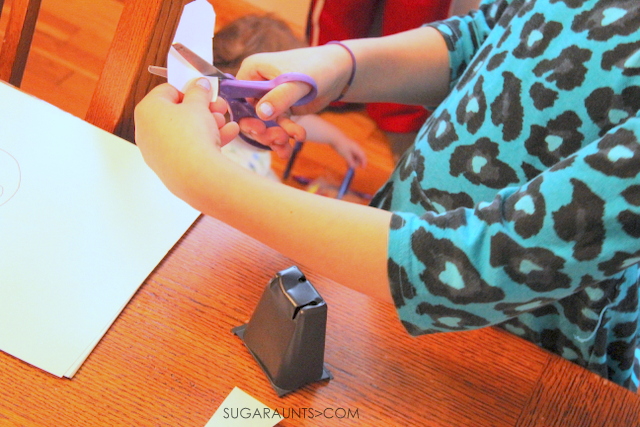
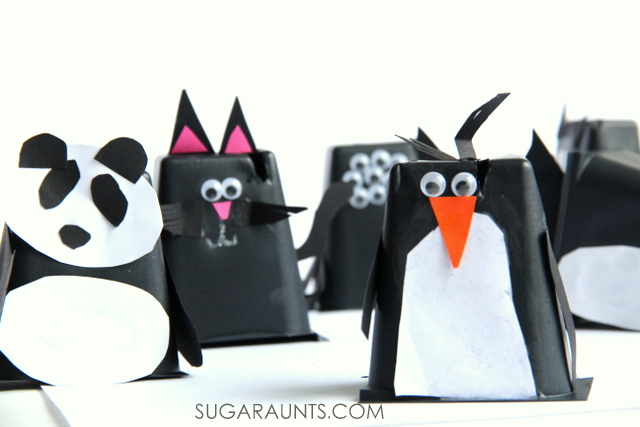
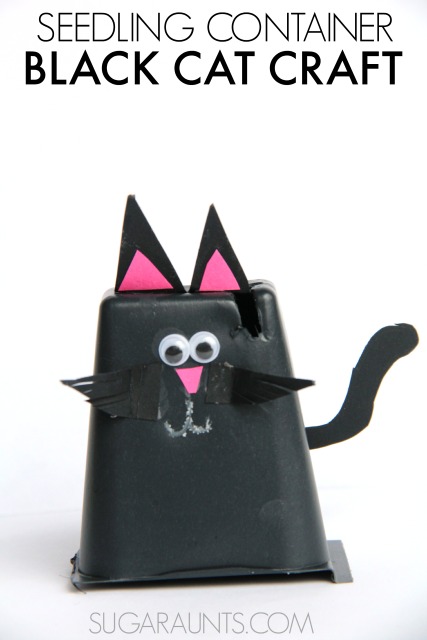
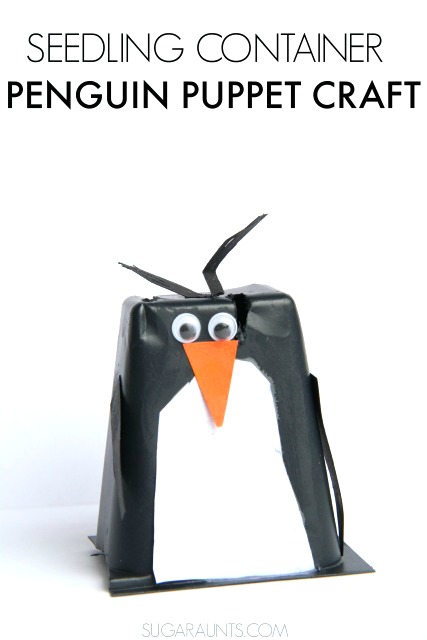
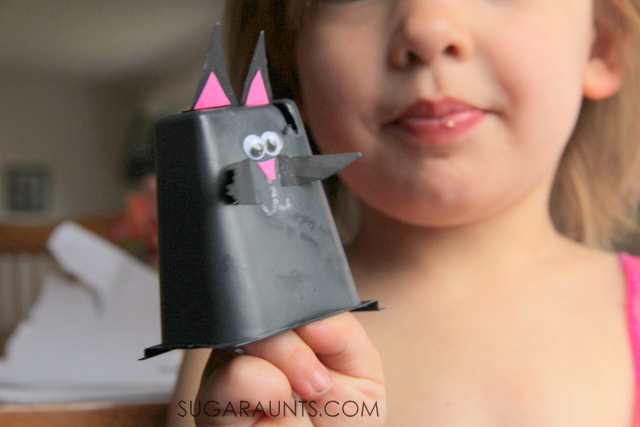
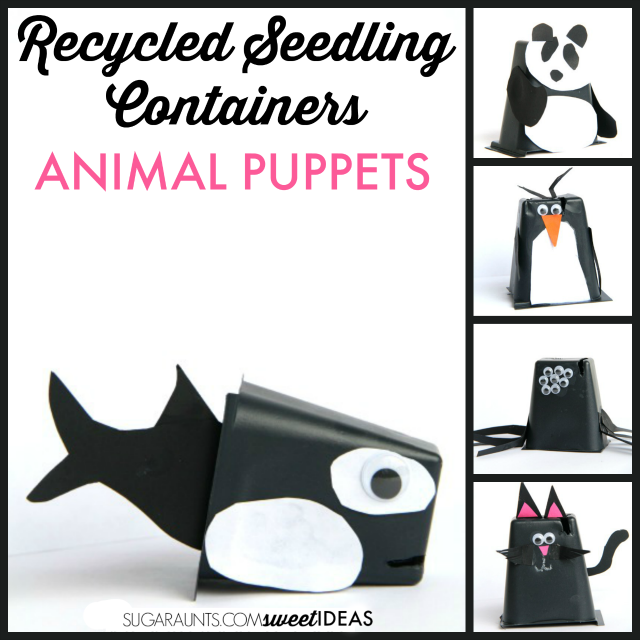
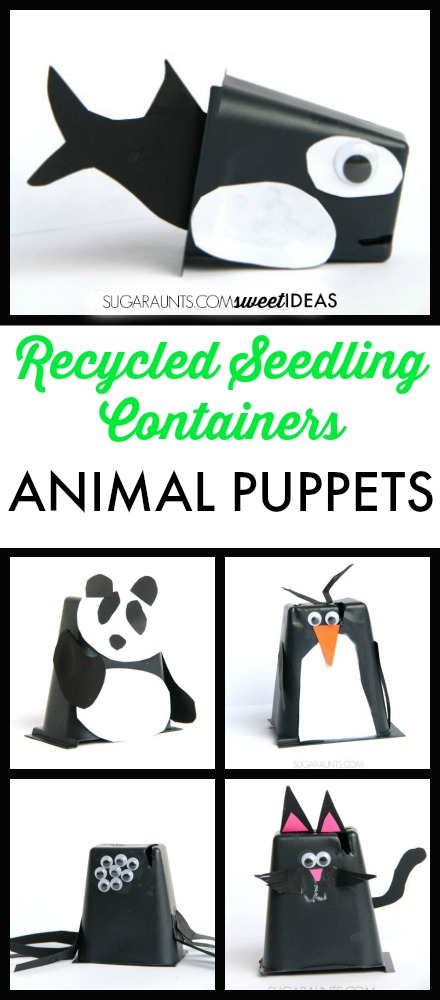
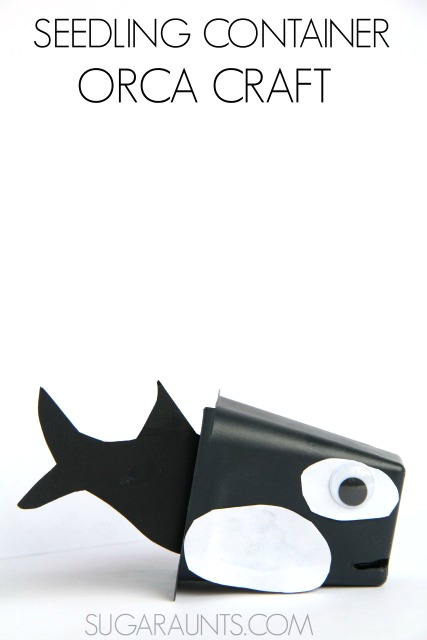
Cut the seedling planters into one sections.  Our planters were black so we decided to create black animal crafts.  Seedling sections became penguins, black cats, and even an orca whale.

Cutest animal puppets made from recycled seedling planters

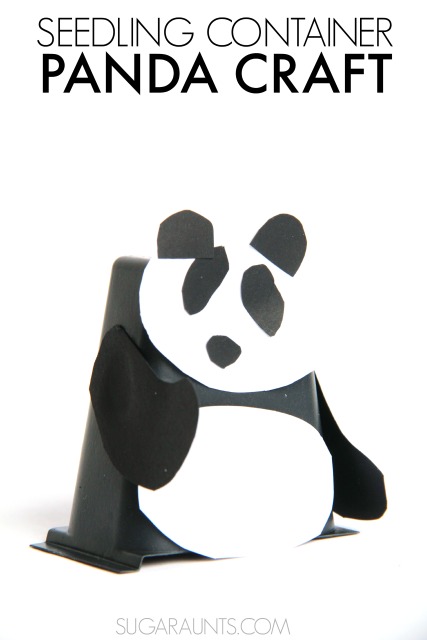
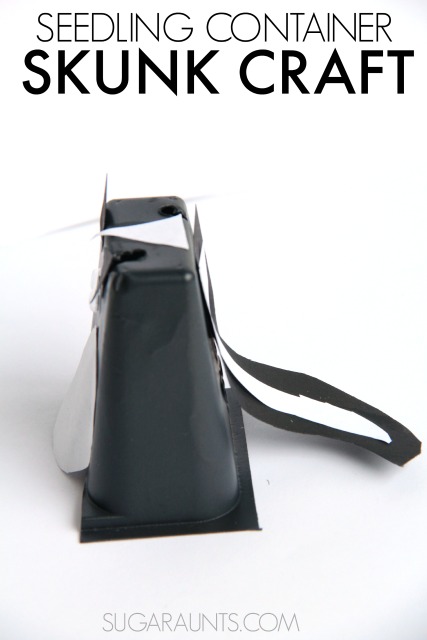
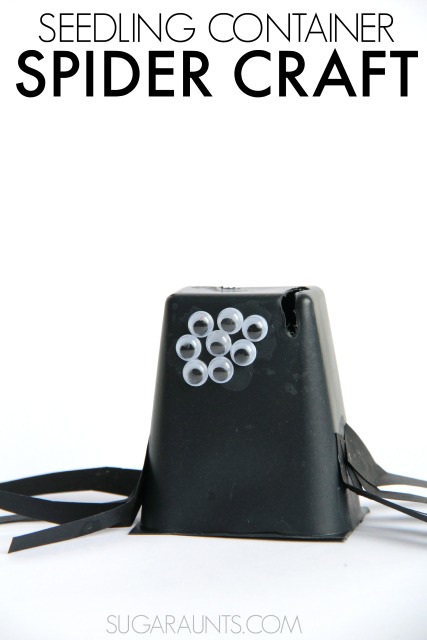
We also made a spider, skunk, and panda.

Black cat puppet craft made from recycled seedling containers!
So many cute animals!  A black cat…
Panda puppet craft made from recycled seedling containers!

 We made a panda…
Skunk puppet craft made from recycled seedling containers!
…and a skunk.
Spider puppet craft made from recycled seedling containers!
A spider…
Penguin puppet craft made from recycled seedling containers!
Penguin…

Orca (Killer Whale)  puppet craft made from recycled seedling containers!
And the cutest orca (Killer Whale) craft!

Our seedling planter animals turned into cute puppets for all sorts of imagination and pretend play scenes.  We added these to a sensory bin for a small world activity, too.

Recycled seedling container animal puppets craft

This post is part of the 60 day junk play challenge on Best Toys 4 Toddlers.


Looking for more recycled crafts? Try these: 
Spring chick juice box cover~ tip to tip grasp, multi-textural craft for Spring

Rainbow recycled cardboard tube craft~ fine motor skills, imagination, pretend play, language skills


Rainbow binoculars~ imagination, pretend play, fine motor skills


Cardboard tube turkey napkin ring~ fine motor work 


Fine motor color sorting activity with recycled grated cheese container~ tripod grasp, color, pattern, and sorting learning skills. This is a great early math activity!

In-hand manipulation activities ~uses a grated cheese container and a recycled two liter drink container to develop in-hand manipulation and translation skills.

Ducklings Sensory Play Kids Book

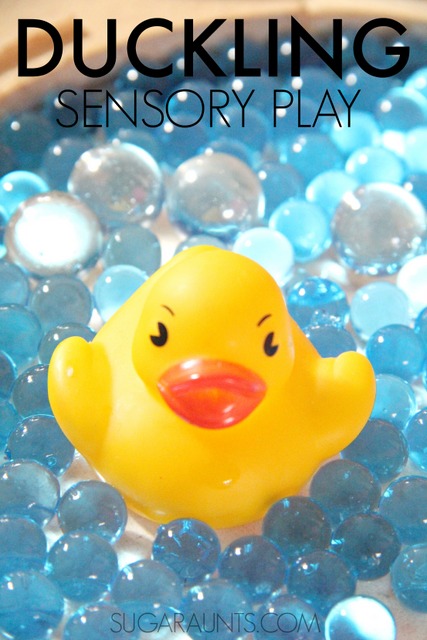
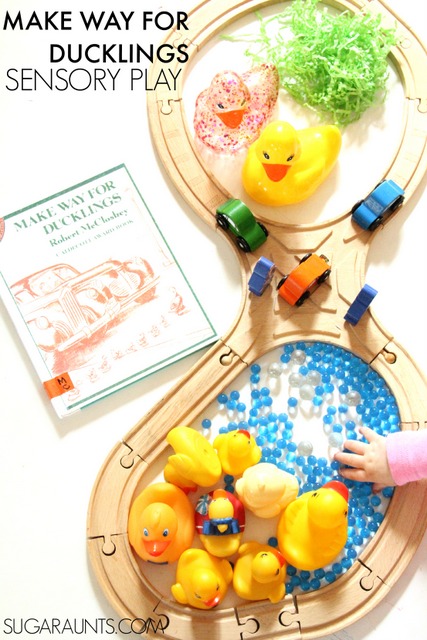
Books and activities are one of our favorite ways to play and explore books.  We recently read Make Way for Ducklings by Robert McCloskey.  This is a book written in 1941 that was totally new to us.  It quickly became a new favorite in our house!  As we read the book about Mr and Mrs. Mallard’s search for their new home, we became very excited to explore the story through sensory play.  We decided to create a sensory table based on Make Way for Ducklings and did we ever have fun!

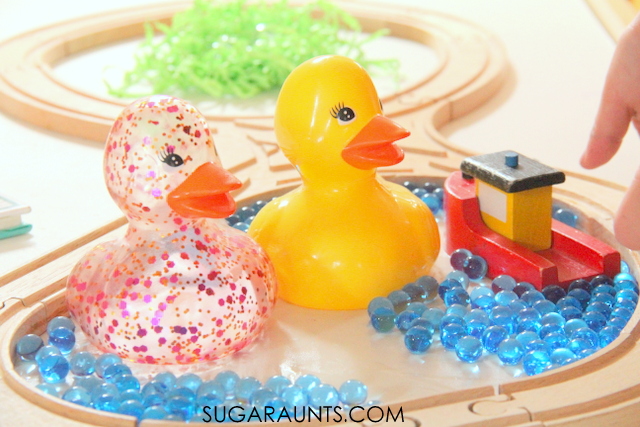
Make Way for Ducklings book sensory play for kids
This post contains affiliate links.


Make Way for Ducklings Book and Sensory Play

 
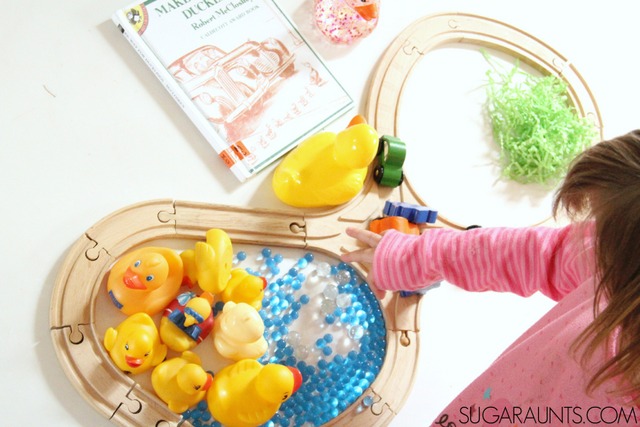
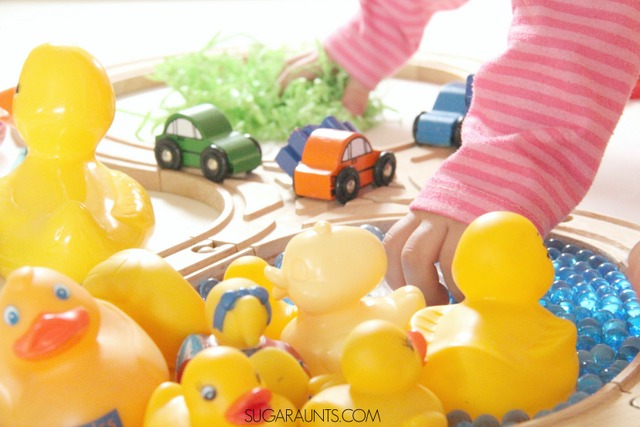
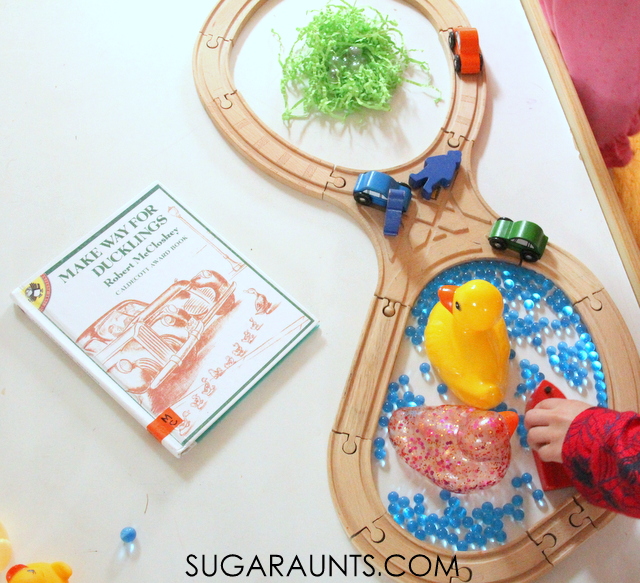
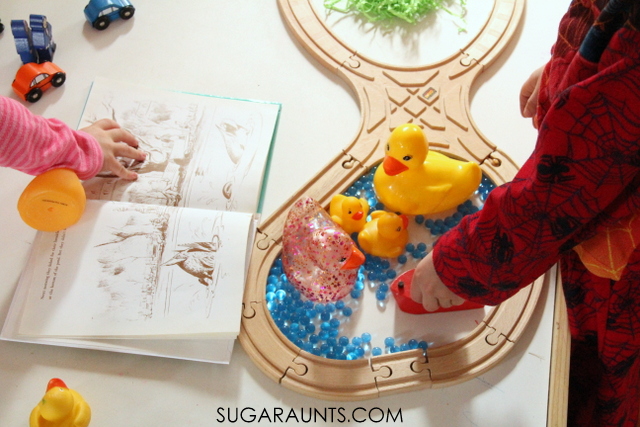
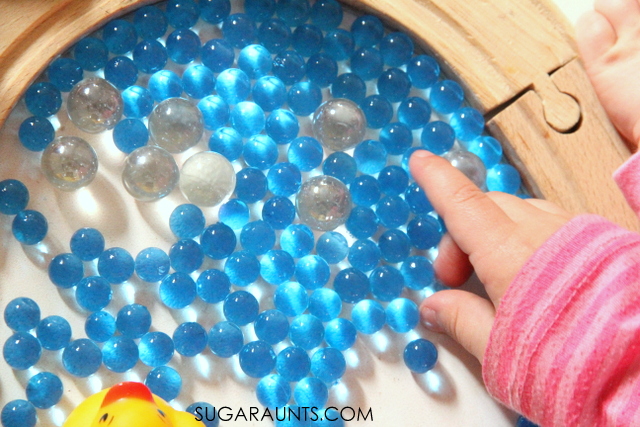
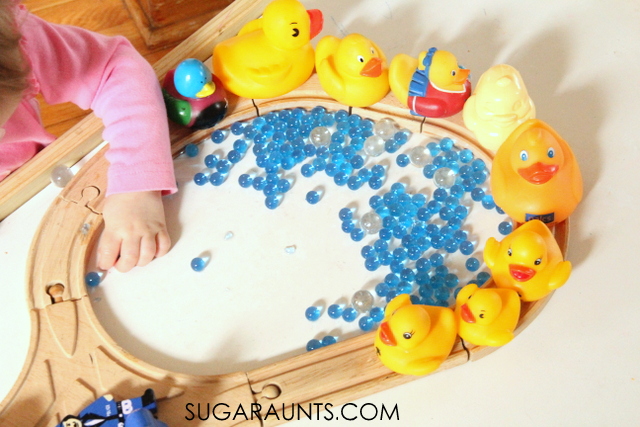
We read Make Way for Ducklings a few times before we made this sensory table activity.  It is such a fun book with a sweet story about a pair of mallards that are looking for a new home for their growing family.  When the ducklings are born, the mama duck needs to get her large family through the busy streets of Boston to a beautiful and safe park.  We decided to make a sensory play activity right on our Train Table.  We use our train table almost everyday for creative play of some kind.  This sensory play was perfect on the train table as we acted out the story.  Three kids could reach, move, explore, and play as we re-told the story.
We used a few items for our sensory story play:

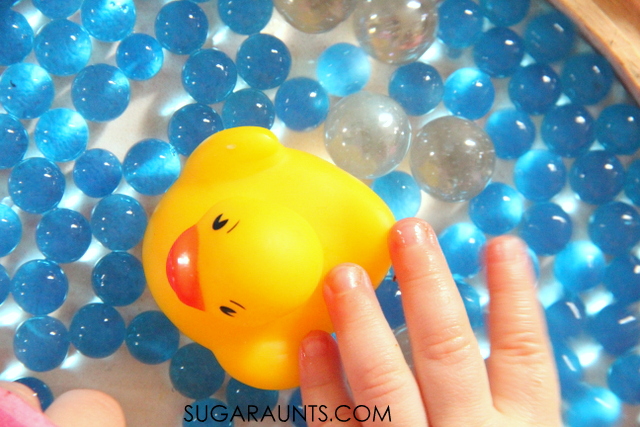
rubber ducks 
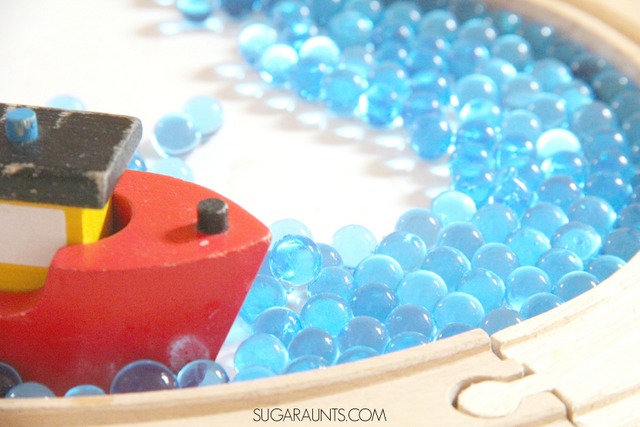
wooden train tracks to enclose our sensory play area and use as roads for the busy streets of Boston.
blue waterbeads (Have you played with these yet? SO cool!)
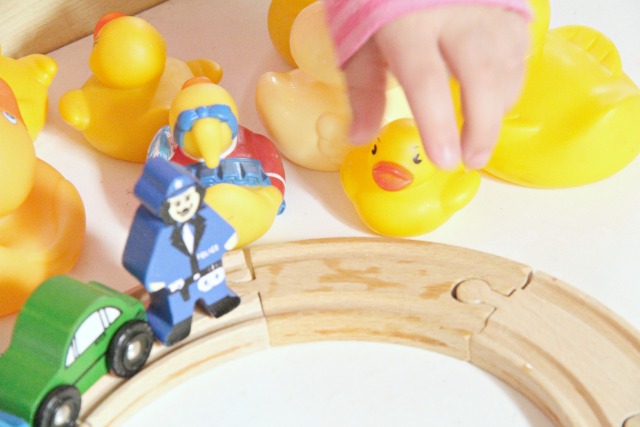
cars 
policeman figures 
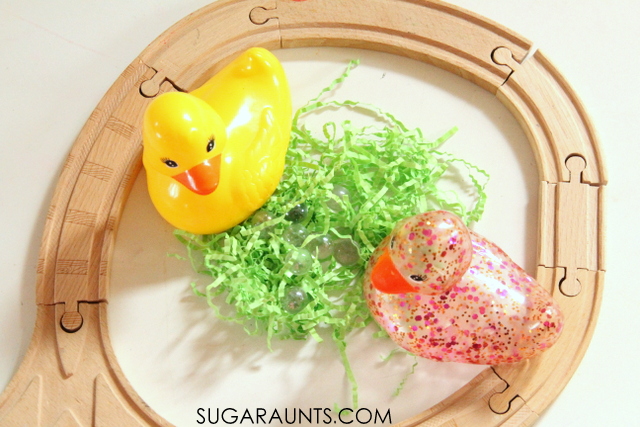
green shredded paper 
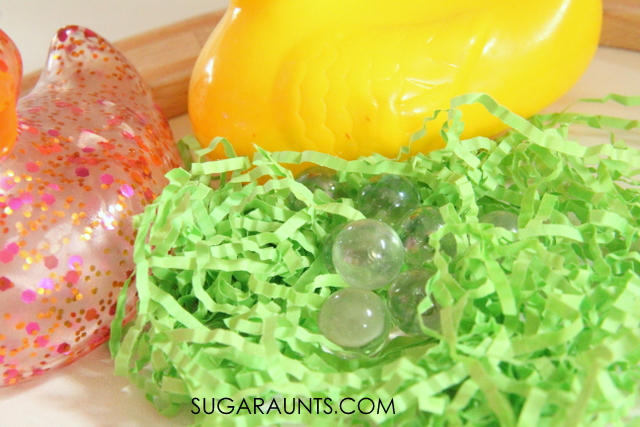
clear glass gems 
Boat

We pulled out the book and started reading, playing, and re-telling the story.
Mr. and Mrs. Mallard love the pond in Boston Public Gardens.  It would be the perfect place to make a new home for their family!  There is even a boat in the pond full of people who feed the ducks peanuts.
The mallards travel a little ways to make a nice, safe nest.  Mrs. Mallard sits on her eggs until they hatch.  The glass gems made perfect “eggs” and we were able to count them just like Mrs. Mallard does.
Then the eggs hatched and seven ducklings were born.
Mrs. Mallard taught the ducklings to swim and waddle in a line.
The ducklings followed Mrs. mallard back to the pond along the busy streets.
The policemen stopped traffic to allow the ducklings to cross.
And the Mallard family lived at the pond!  
 
Exploring this book with sensory play was such a fun way to extend one of our newest (old)favorite books!
Make Way for Ducklings book sensory play activity. This is a fun way to re-tell a story through sensory play.
This post is part of a new series we’re joining all about Book Themed Play Dates!  If you’ve ever thought of planning a play date based on a book, this is the series to follow to get great snacks, games, crafts, activities and more based on a great book each month.  
Check out the bloggers below for fun activities for Make Way for Ducklings:
 
Duck Snack from Still Playing School
Preschool Math Game from Fun-A-Day
Ducklings Busy Bag from Craftulate
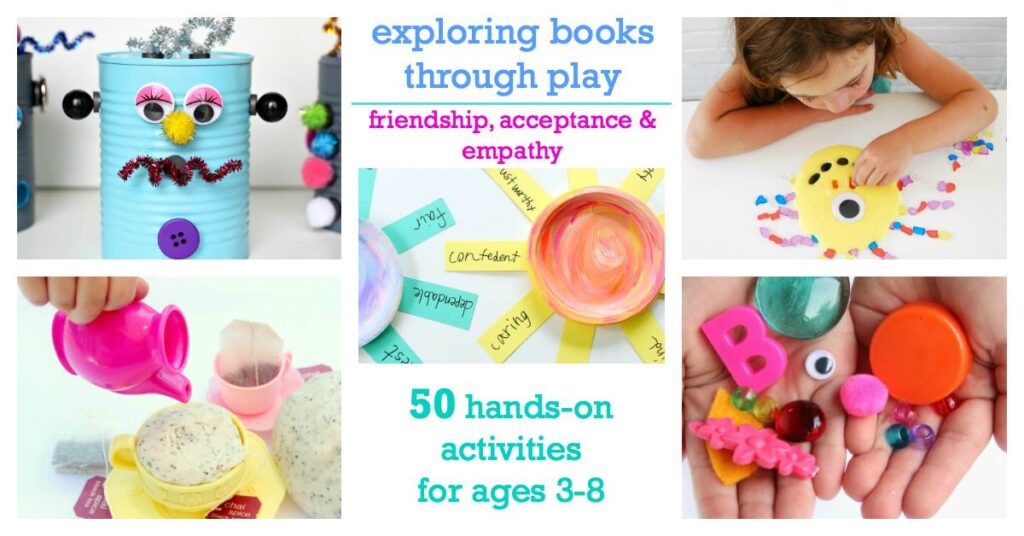
hands-on activities to explore social emotional development through children's books.

Love exploring books with hands-on play?  

Grab our NEW book, Exploring Books Through Play: 50 Activities based on Books About Friendship, Acceptance, and Empathy, that explores friendship, acceptance, and empathy through popular (and amazing) children’s books!  It’s 50 hands-on activities that use math, fine motor skills, movement, art, crafts, and creativity to support social emotional development.

Cardboard Tube Zebra Craft

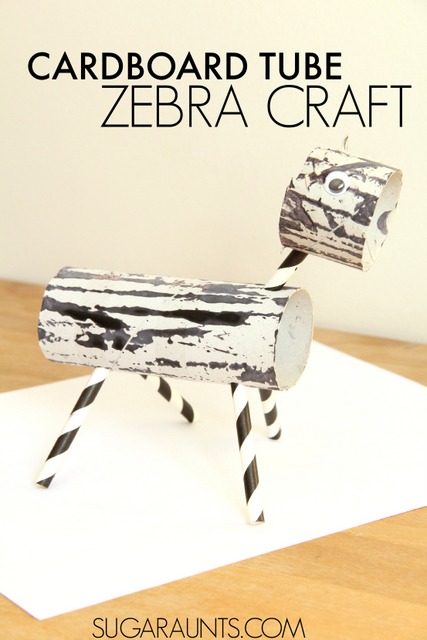
 Today we bring you a Recycled Cardboard Tube Zebra Craft.  We love to make and create play ideas and crafts using recycled materials.  Its a wonderful way to upcycle and save crafting supplies and use recycled materials in a greener and more sustainable manner.  This cardboard tube zebra craft hits the mark!


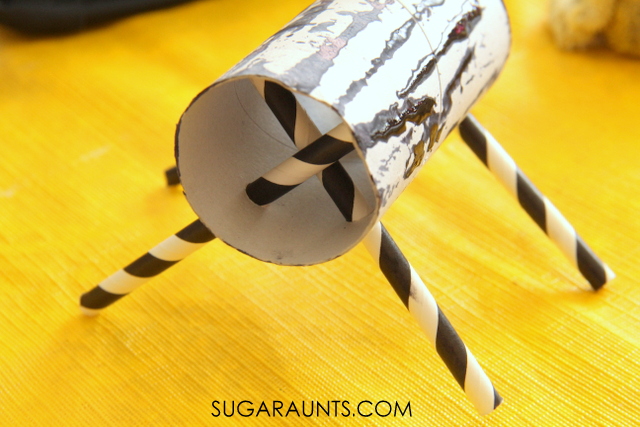
Cardboard tube toilet paper tube zebra craft

Toilet Paper Tube Zebra Craft

We pulled out a cardboard tube to make this zebra, along with a few other items that we’ve used in other play activities.  This post contains affiliate links for a few reusable items you may need.
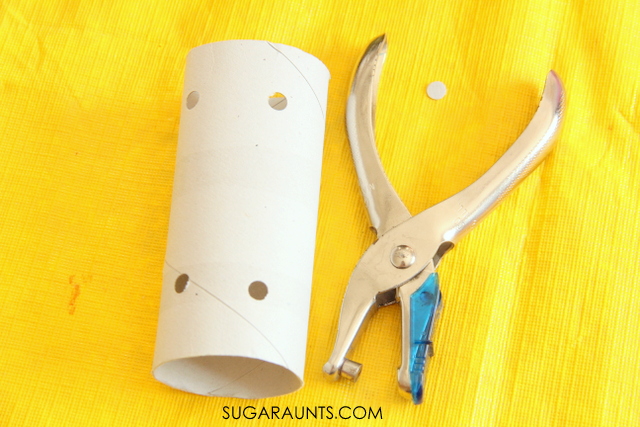
Use a hole punch to make four holes in the cardboard tube as shown in the picture above.
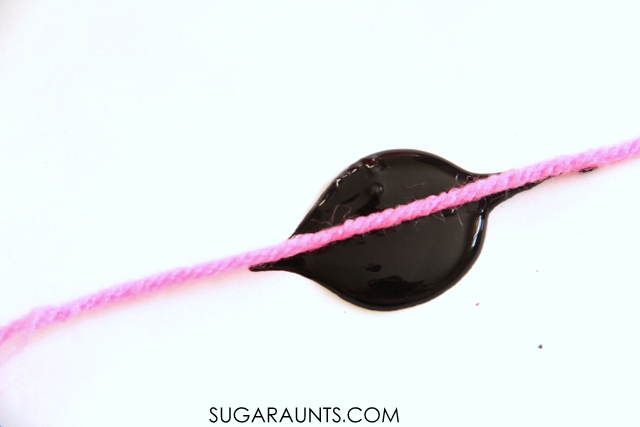
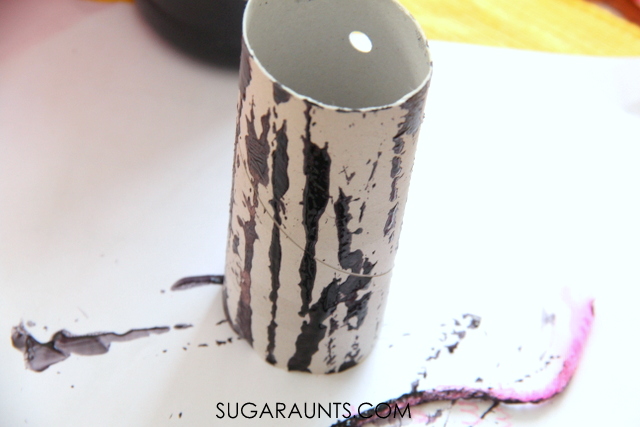
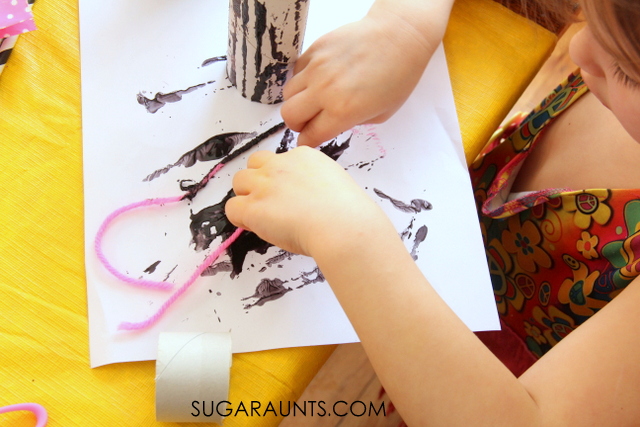
Use yarn draped in black paint to make stripes on the cardboard tube.
This is a messy painting activity, but oh, so fun!
Once the cardboard tube has dried, use black and white paper straws to make legs on the zebra.  Push the straws into the holes in the cardboard tube to support the zebra.
Add a small section of straw and a smaller section of cardboard tube to make a zebra head.  Snip two triangles from the tube to create zebra ears.  Glue on or draw on eyes for the zebra.  Have fun with your recycled zebra craft!
This post is part of the Natural Parenting and Earth Month series hosted by Allternative Learning.

Flower Scissor Skills Craft

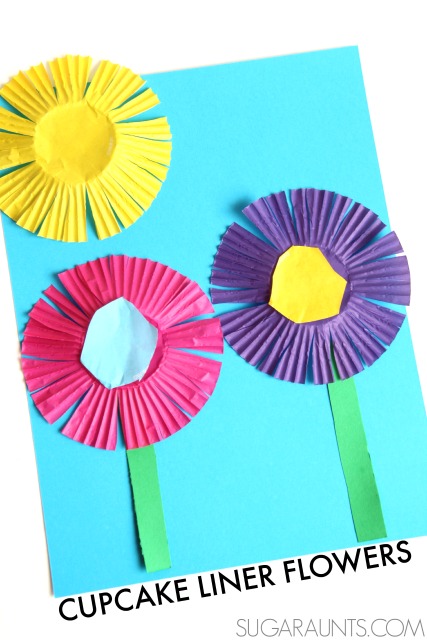
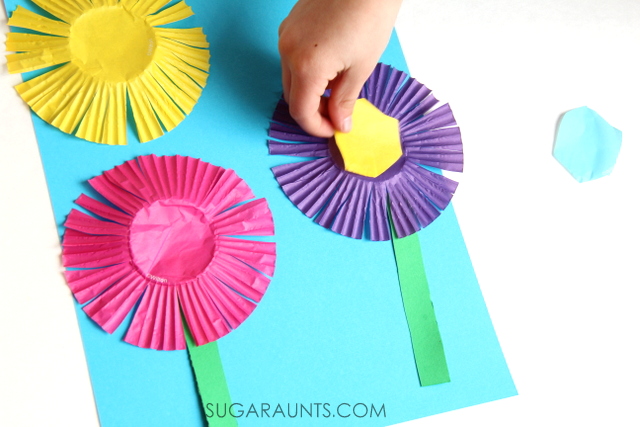
Spring is around the corner, and flower crafts are the sign that real flowers are about to pop up everywhere!  We made this flower craft using cupcake liners while practicing scissor skills one afternoon.  It’s an easy and quick craft that will brighten any room!


Make a spring flower craft and practice scissor skills with kids using cupcake liners.


Spring Flower Craft

This post contains affiliate links.

To make our flowers, we used a few materials:
these cupcake liners (I love the bright colors!)
glue 
and our favorite scissors (These are the best and the ones that I always recommended to my school-aged OT students.)
Scissor Practice Craft for Kids

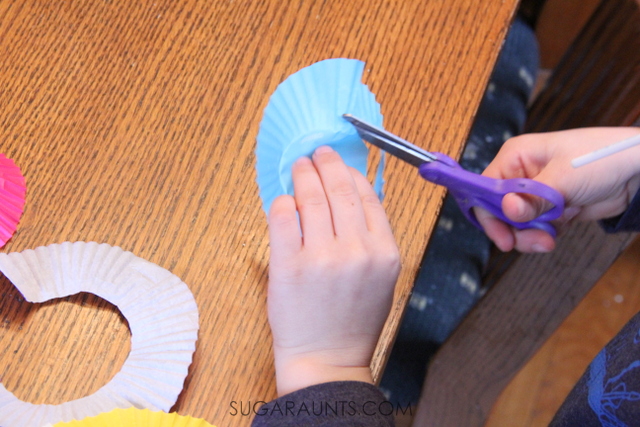
Start by cutting the center circle from the cupcake liners.  Cutting a material like cupcake liners is more difficult than regular paper due to the thinner material and the texture of the liner.  Kids will have to concentrate on cutting the center “line” which is really a fold.  This is great line awareness work and a great way to work on visual motor skills

Have your child snip other cupcake liners in to the center of the circle, but stopping at the fold.  These liners will become the petals of the flowers and the sun’s rays.  Cutting and stopping at a point requires hand-eye coordination and dexterity in scissor use.  They have to be sure to open/shut the scissors effectively to stop at a certain point.

Are you looking for more ways to build and develop scissor skills?  Here are some of our most popular ideas.  You can always explore the Scissor Skills tab at the top of the blog, too. You’ll find it under the Occupational Therapy drop down list. 

Scissor Skills Crafts for Kids:

Sunflower Cupcake Liner Craft


Creative Scissor Skills Activities for Kids


Scissor Skills Crash Course

Cupcake liner flower craft
Glue the petals onto paper and arrange the center circles on top of the outer cupcake liner.  Add the sun and green stems.  

Let us know if you make this craft. We would love to see your Spring art!

More Flower Crafts for Kids:


Cherry Blossom Fine Motor Patterns

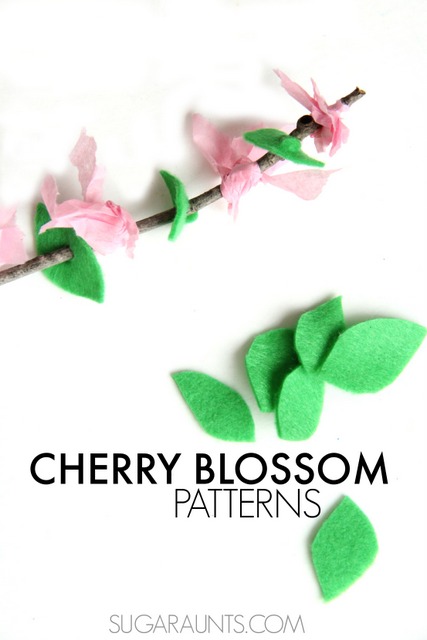
Spring is around the corner and one of my favorite signs of the season are cherry blossoms!  We made this cherry blossom fine motor and pattern activity recently. Practice fine motor skills and pattern math abilities with this easy spring activity, and for more fun Spring activities, be sure to check out the other cherry blossom crafts here on the site.
Cherry Blossom fine motor and pattern activity for Spring. This is a fun activity for Kindergarten and first grade math.
This post contains affiliate links.  See our full disclosure policy.


Cherry Blossom Activity

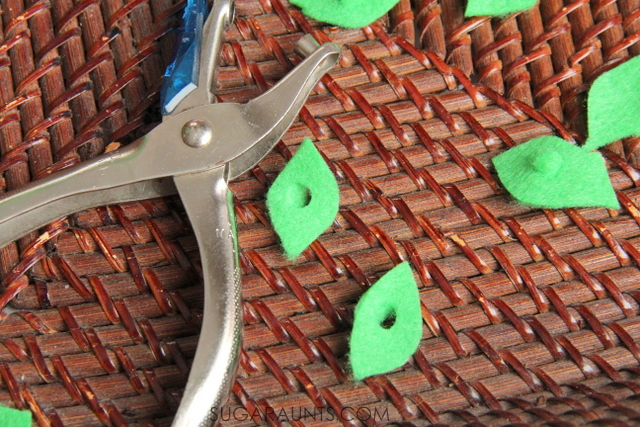
Start with a sheet of green felt. Cut small leaves from the felt and use a hole punch
to punch holes in each leaf. My oldest (age 7) was able to punch the holes, with effort. The felt material requires a lot of hand strength in order to punch a hole. The hole will not tear away from the felt leaf unless snipped with a pair of scissors.
cherry blossom fine motor activity for Spring.

Spring Fine Motor Activity

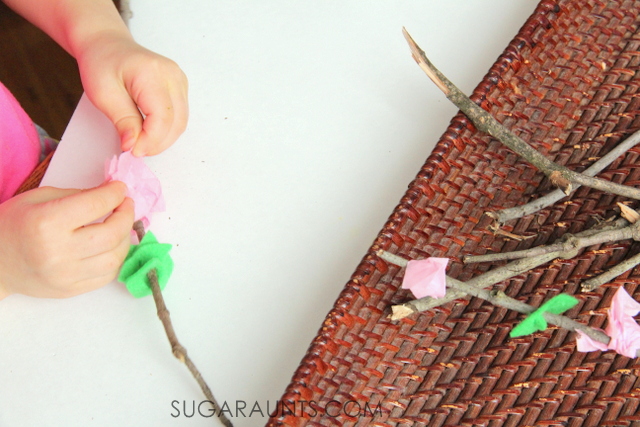
Gather a few twigs from the yard and a sheet of pink tissue paper.  Tearing tissue paper is a great fine motor strengthening exercise.  To tear paper, one needs to use the intrinsic muscles of the hand and a tripod grasp.  Both hands are needed (bilateral hand coordination) in order to hold the paper and tear.  Children need strength and endurance in the intrinsic muscles of their hands in order to maintain coloring and handwriting activities without fatigue.  
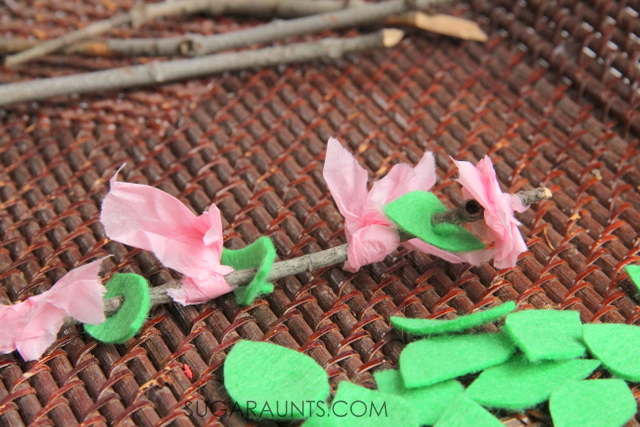
 
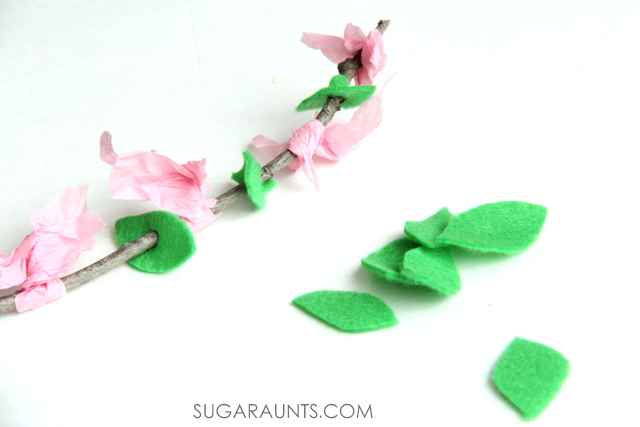
Encourage your child to wrap the tissue paper pieces around the twigs.  Manipulating the paper requires great fine motor dexterity in this Spring activity.  Thread the felt leaves onto the twig using a tripod grasp. 
cherry blossom pattern spring activity for kids

Spring Math Activity

We used the leaves and tissue paper blossoms to create patterns on the twigs.  Patterns are an important part of kindergarten and first grade math.  Work on AB, ABA, ABBA, and ABAB patterns.

cherry blossom fine motor pattern activity
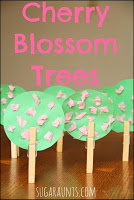
This was a fun way to bring in Spring in our house!  Looking for more Cherry Blossom activities?  Try making these cherry blossoms fine motor trees:

Math Art Activities

These math art activities and math art projects are fun ways to explore and learn! We’ve shared previously, the fine motor benefits in math, so as OT professionals, we love these ideas! Explore the activities below for use in both math AND art!

Math Art

Mathmatics and art have gone together since early artists began creating.  Many great works of art contain mathematics, from buildings and pottery to paintings and statues.  

Today, we’re featuring projects that combine math and art into activities that kids can explore while learning through creative expression.  

Combining the learning aspect with hands-on, creative expression in kids’ activities can be a great way for children who do not enjoy being “artsy” or “crafty” to create.  

These activities are sure to get the kids creating and learning!


What is Math Art?

“Math art” refers to the intersection of mathematics and visual aesthetics, where mathematical concepts and principles are used to create artistic expressions.

It involves using mathematical principles, such as geometry, symmetry, patterns, and fractals, to create art projects or creations.

Art and math can take various forms:

  • Fraction art
  • Graph paper art
  • Sculptures
  • paintings
  • digital art
  • Geometry art
  • Origami art
  • Multiplication art
  • Geometry string art
  • Geoboards
  • More!


Math and Art Activities for Kids:

Try these creative learning projects for developing skills while learning.

Clockwise from the top image:

Concentric Circles activity
Mandala Segments from Highhill Education
Shell Mandalas Math from Nurturestore
Klee from Kids Activities Blog
Parabolic Curve from What Do We Do All Day
Fibonacci Art Project from What Do We Do All Day


What are your favorite ways to create using math and art?