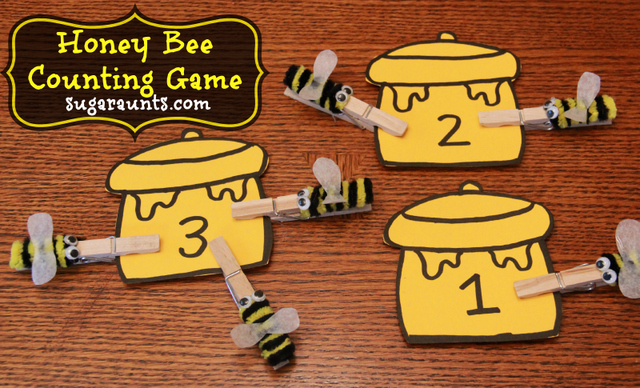
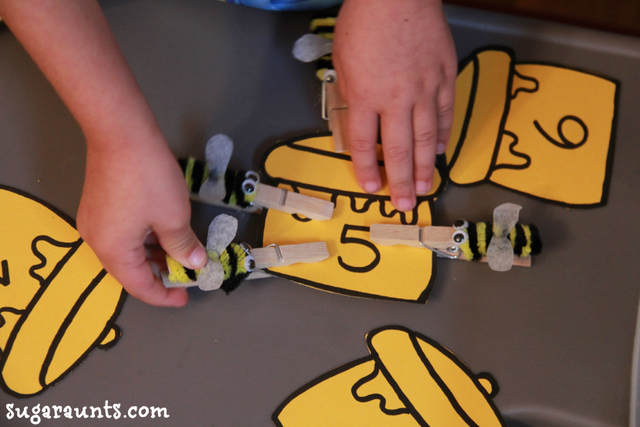
We used our honey bees in a fine motor game where we matched the number of bees to the number on a honey pot. The pinching motion to open the clothes pin is great for strengthening the muscles in little hands. It really develops the arches of the hands and allows the child to improve his or her tripod grasp and handwriting. This was a great activity for Little Guy (age 4), who is learning one-to-one correspondence in counting and number awareness.
When we were given the opportunity to work on a Winnie The Pooh post, the three of us Aunts were SO excited! We (and our kids) are huge fans of Pooh Bear and all of his friends.
Did you watch this video as a child like we did? You might remember the catchy songs and the cute and cuddly friends. Now you can experience again (and with your own children), the friendships, imagination, and adventure of the Hundred Acre Woods when all of your favorite characters come alive in this timeless motion picture.
My kids were delighted with the bee scene in the movie, when Winnie The Pooh is trying his hardest to stop the “rumbly in his tumbly” with a little honey. Little Guy has been singing this tune over and over again. We decided to make some honey bee games and activities to go along with this scene. We love to encourage fine motor, gross motor, and sensory development with our kid’s activities and crafts, and had to include those skills here, too!
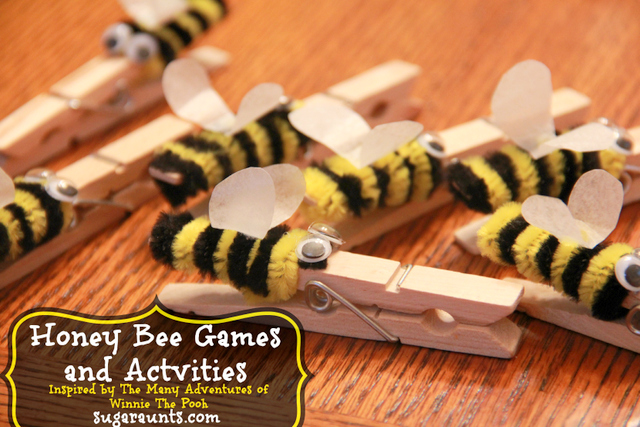
I created honey bee pinch pins that were perfect for our little screening party and could be used in so many ways.
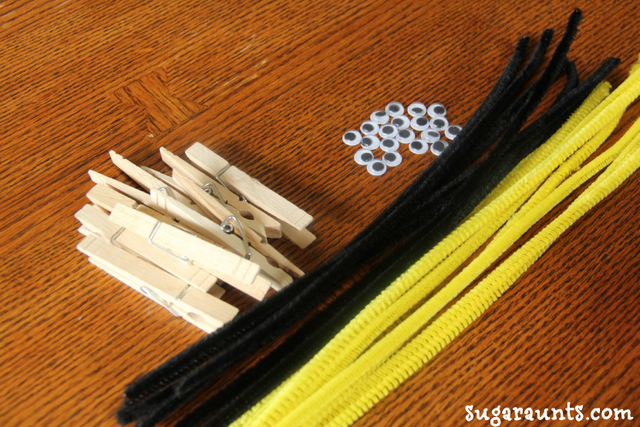
Materials: clothes pins, yellow and black pipe cleaners, googly eyes, wax paper, hot glue gun and glue.
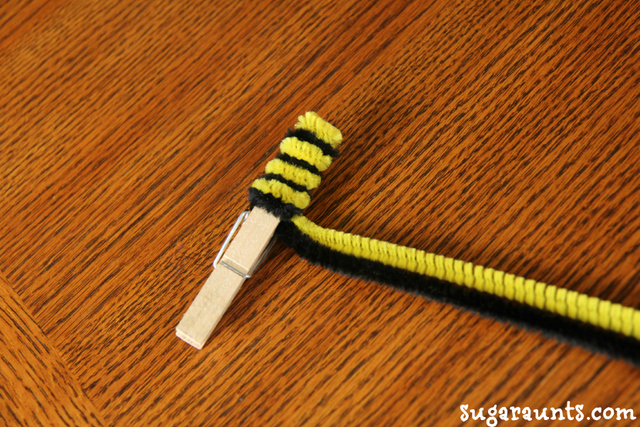
Directions: 1. Pinch together one black and one yellow pipe cleaner. Wrap these around the end of a clothes pin. We used about half of each color pipe cleaner and cut the excess off.
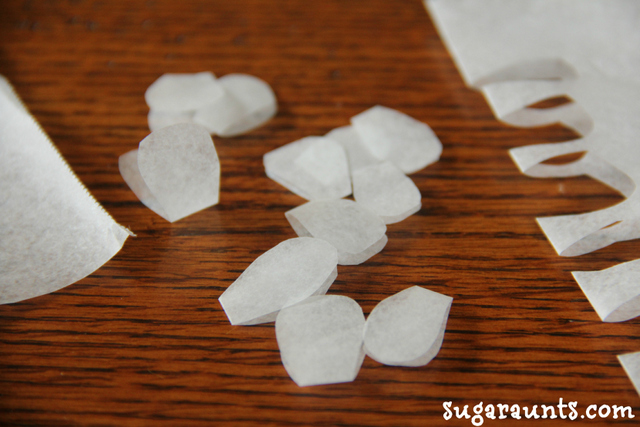
2. Cut wings from wax paper. Use the hot glue gun to glue the wings to the backs of the bees.
3. Hot glue the googly eyes to the front of the bee. Your bee is now ready for play!
Honey Bee Fine Motor Game
We used our honey bees in a fine motor game where we matched the number of bees to the number on a honey pot. The pinching motion to open the clothes pin is great for strengthening the muscles in little hands. It really develops the arches of the hands and allows the child to improve his or her tripod grasp and handwriting. This was a great activity for Little Guy (age 4), who is learning one-to-one correspondence in counting and number awareness.
Honey Bee Gross Motor Activity
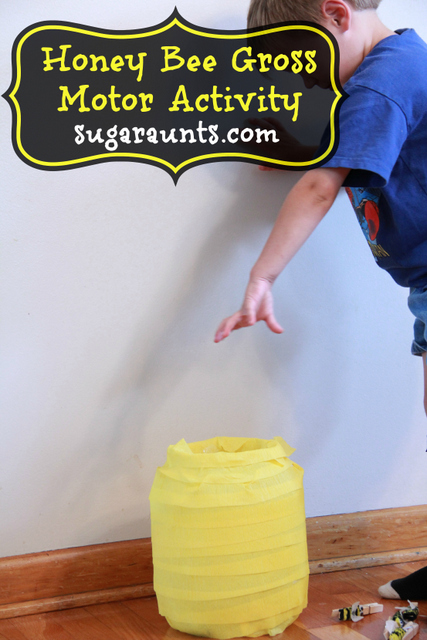
The honey pots were used again when we played a faster paced gross motor game, encouraging the kids to use their large muscle groups. This time, I spread the honey pots out all over our living room floor. I called out a number and the kids would have to race off to find the honey pot with that number. Once they found their honey pot, they then had to run over to a large bee hive that we created from a recycled snack container and crepe paper. I asked them to count out the number of bees to match the number on their honey pot, and drop them into the large bee hive. To make it harder for my preschooler and kindergartener, I had them close their eyes. This gross motor activity was just what they needed to get some energy out on a rainy afternoon! As a bonus, they were developing their eye-hand coordination, and visual scanning skills as they scanned for numbers and counted out the bees. They have already asked to play this game again! This would be such a fun game for a Winnie The Pooh themed birthday party…and I have two little ones to attest for it being fun!
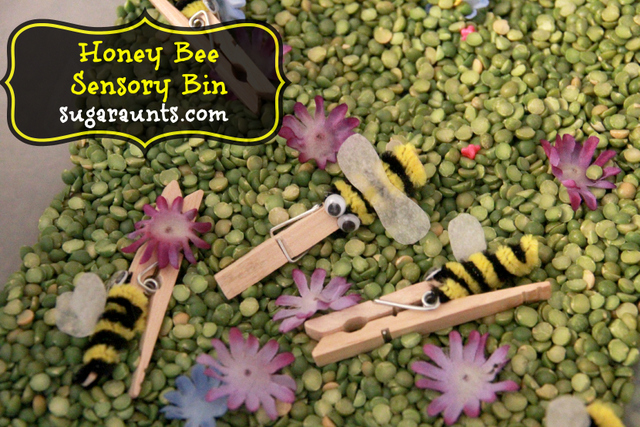
Honey Bee Sensory Play
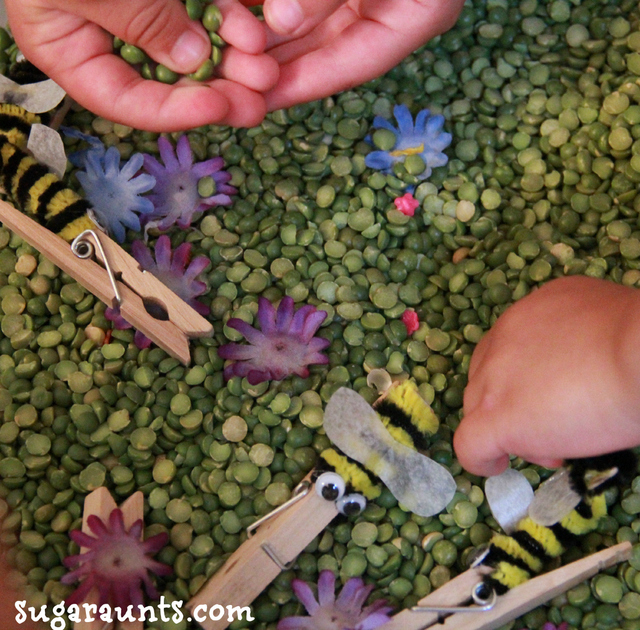
Our honey bees were really loved when they were added into a themed sensory bin. I poured in a bag of dried split peas, a few fake flower petals, and a handful of plastic flower beads for fun sensory exploration. A sensory bin is such a great way to explore different textures, manipulate small objects, and develop language with little ones. My kids loved using the honey bees to pinch the flower petals and buzzzzz around, only to drop the petal back into the bin. This sensory bin stayed out in our dining room for a few days and was played with quite often!
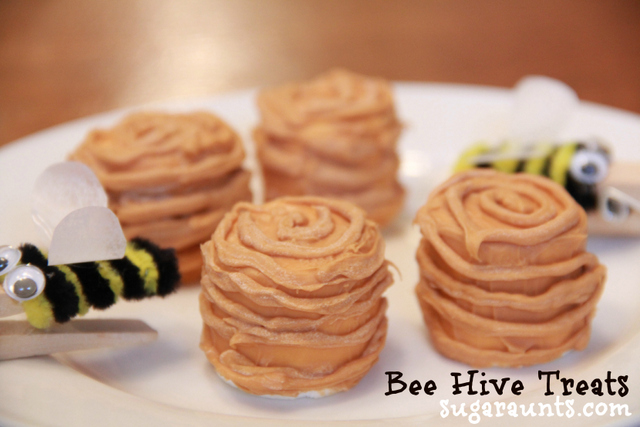
Honey Bee Treat
We had such a great time watching The Adventures of Winnie The Pooh and then playing all of our honey bee games and activities, that we worked up an appetite. I threw together a quick bee hive snack made from a marshmallow and melted butterscotch chips. This was the perfect ending to a fun day. If you are planning a Winnie The Pooh party or movie play date, I hope you will use some of our ideas!