Doll House Christmas

Day 12 of 25 Days of Christmas Play
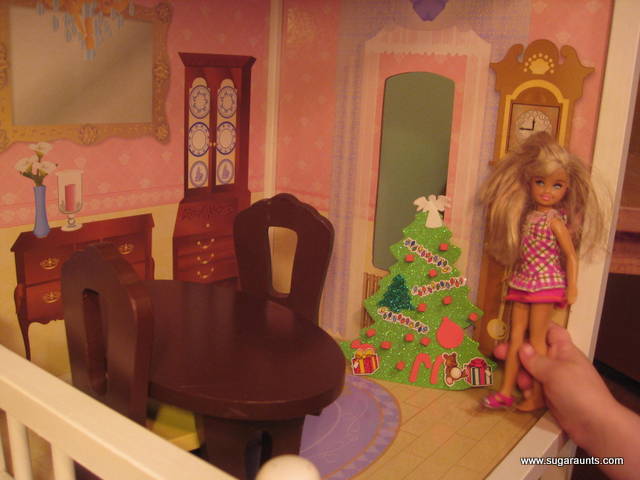
We are busy preparing our house for Christmas and getting ready to Celebrate Baby Jesus’ birthday.  The littlest girls in our  house need to prepare their house too…their Doll House!
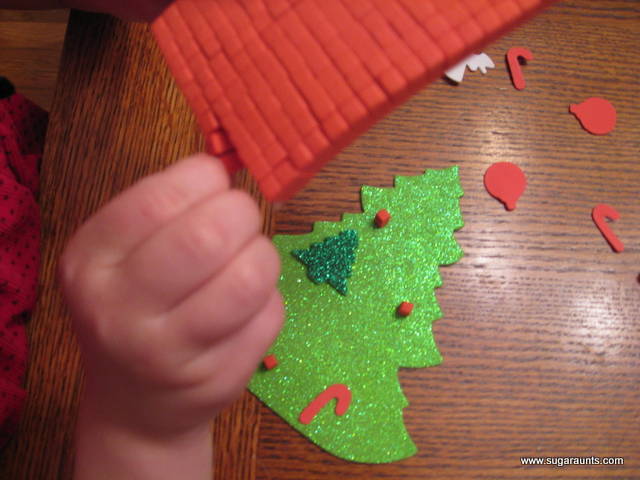
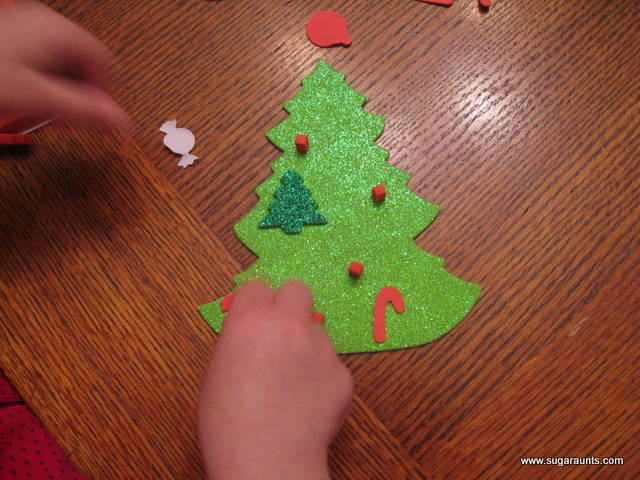
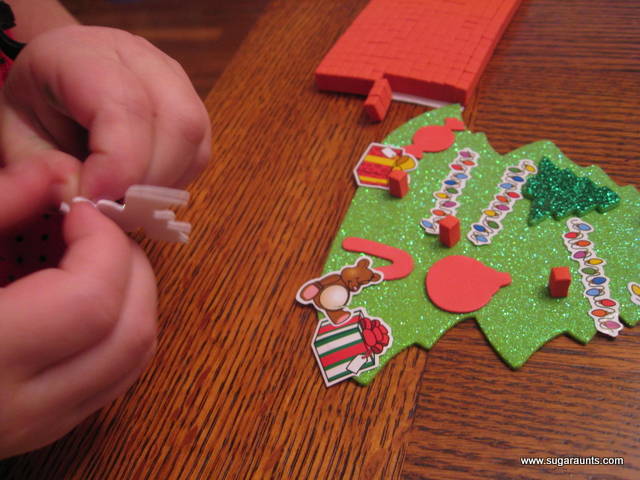
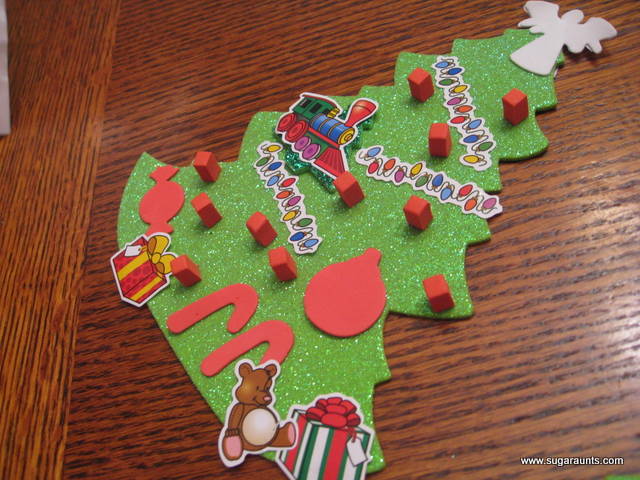
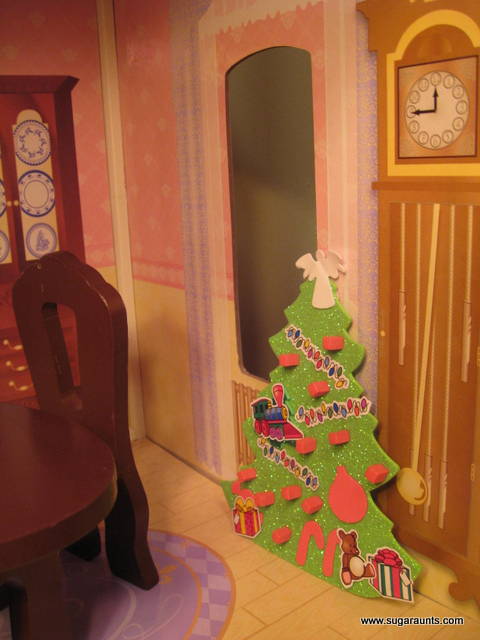
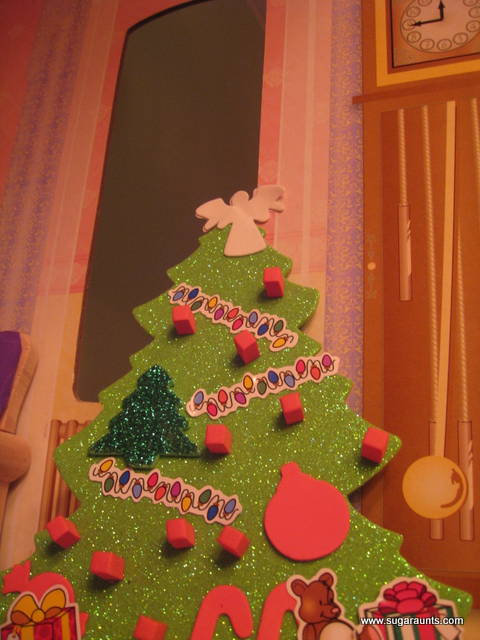
I pulled out this glitter foam tree cut-out and a bunch of stick on decorations for Big Sister to decorate for her doll’s house.  She LOVED the idea and was sooooo excited! 

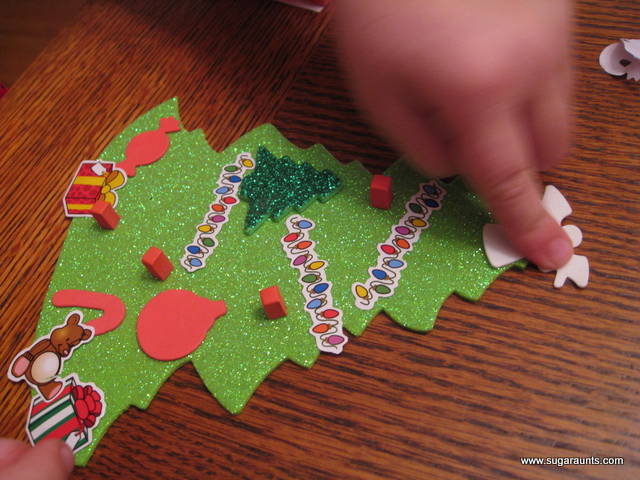
Save the Angel for last!

Now, we are ready for Christmas!

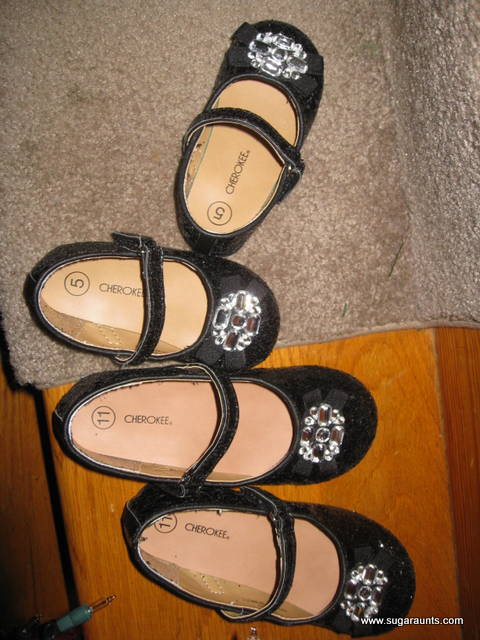
One last picture…I found Big Sister and Baby Girl’s shoes together and lined up on the steps.  Baby Girl loves being like her Big Sister and this was just so sweet to see. 
Love Sisters!

We are getting ready for another week of fun Christmas Play
Colleen

Homemade Nativity Set ** 25 Days of Christmas Play**

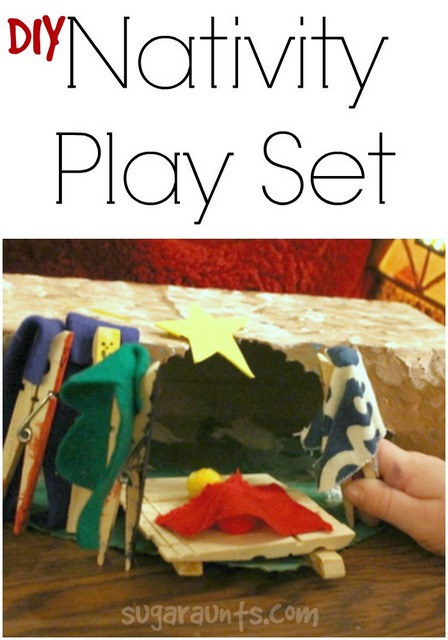
This homemade Nativity Set is entirely kid-make, and uses things you probably already have around the house.  We love this Nativity for it’s creativity inspiring craft, and imagination play that is sure to follow.  This would be a great group craft too-for a Sunday School class.  Make this DIY Nativity now and play all Christmas season!


DIY Nativity Set made by kids for pretend play, imagination, language, and creativity
 
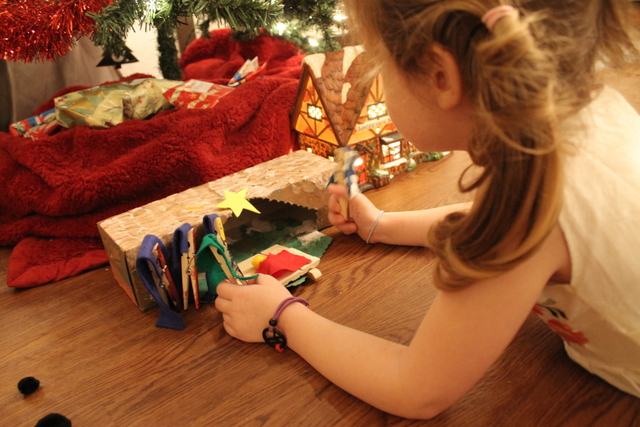
With my 19 month old, anything under the Christmas tree is in danger of being broken. I wanted my 4 year old daughter to be able to play with a Nativity Set, but not have to worry about it getting broken by her brother. We decided to make a project out of this…here is the result:

 To make a DIY recycled Nativity Set with your kids:

 
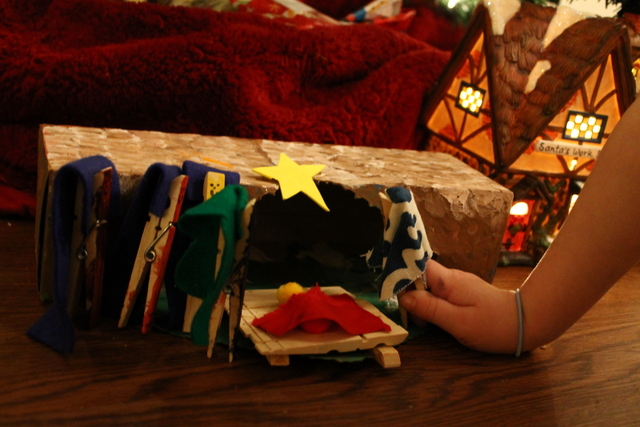
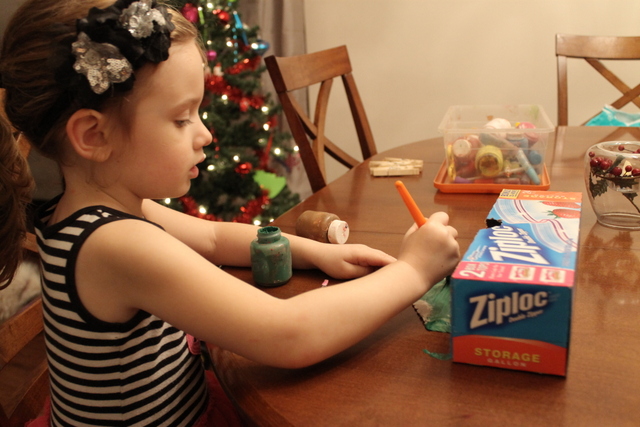
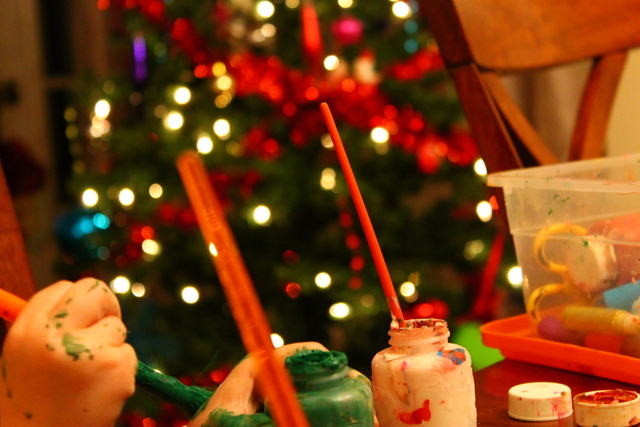
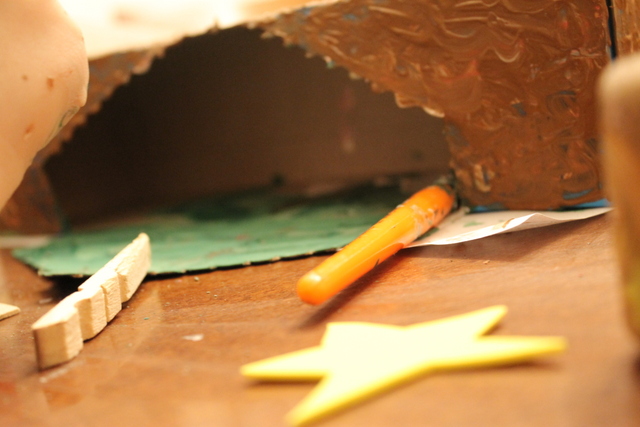
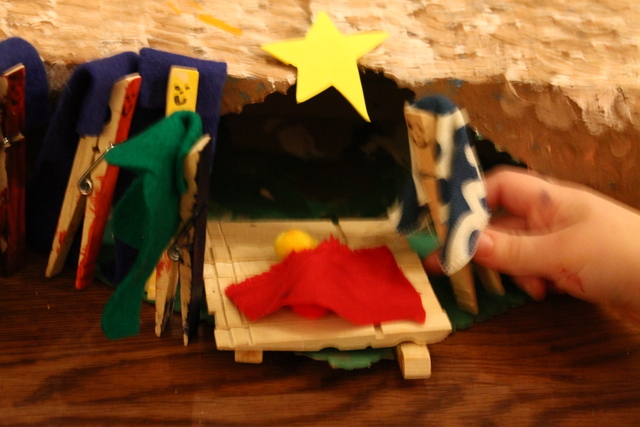
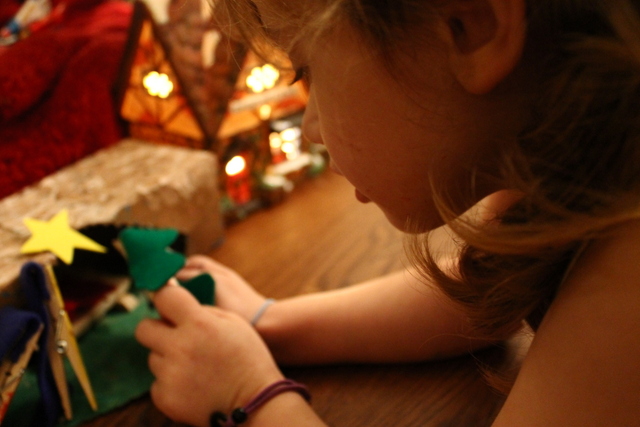
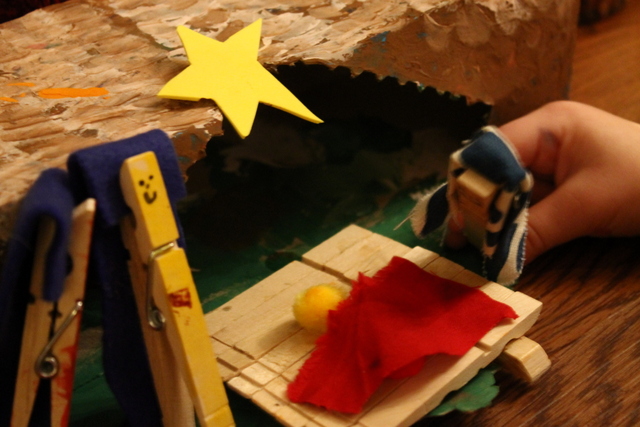
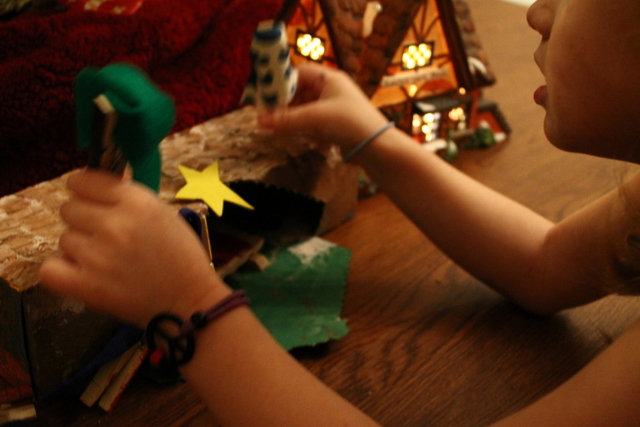
This cute little Nativity Set was made out of an empty cardboard box that my daughter painted green and brown with a little white on top to make the roof look textured like straw.  We gathered some clothes pins covered with cloth and felt to make Mary, Joseph, and the Three Wise Men.
She did all the painting herself!  She was so happy with the way it turned out and I think she did a pretty awesome job 🙂
 
We cut out a foam star to glue on the top, then we let the box dry for a few days. 
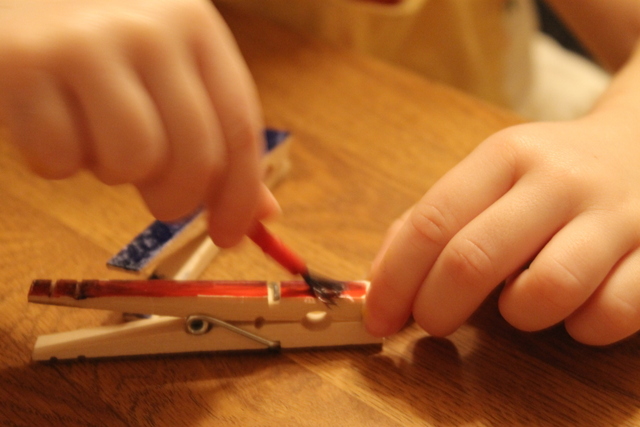
For the people, she painted the clothes pins and gave them cute little faces.
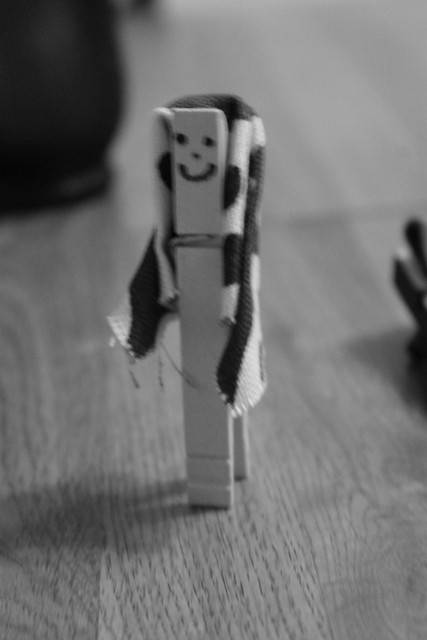
Who couldn’t love this cute little face?
Mary was clothed in some scrap fabric that I collected at a fabric store. You know the little squares they have samples of?  I have a TON that I have collected just for little projects like this.
Baby Jesus’ cradle was more of a raft, but that is ok!  I am so impressed with all the creativity my little girl had when making this.
 
I was listening to my daughter as she was playing and heard her say “Jophes, I think we should call him Jesus”.  Guess we need to work on the pronunciation of Joseph with her,lol!
Mary and Joseph did a little dance on the roof while Baby Jesus was sleeping.
We had so much fun working on this together and now we have a cute little Nativity Set that is easy to pack up (put all of the pieces into the box) and keep out of the way.  But…if someone decides to trample under the tree and break everything in sight…this is something we could easily make again!

Looking for more Christmas play ideas?  Check out all of the fun we had in our 25 Days of Christmas Play series.

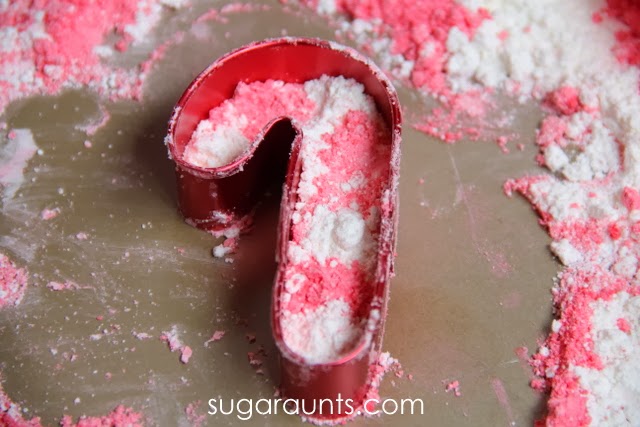
Peppermint Play Dough

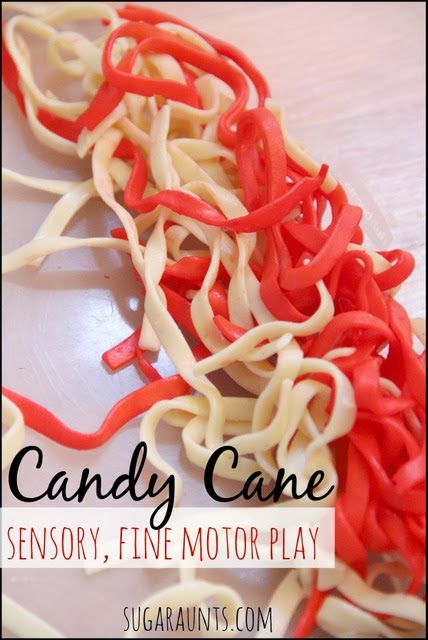
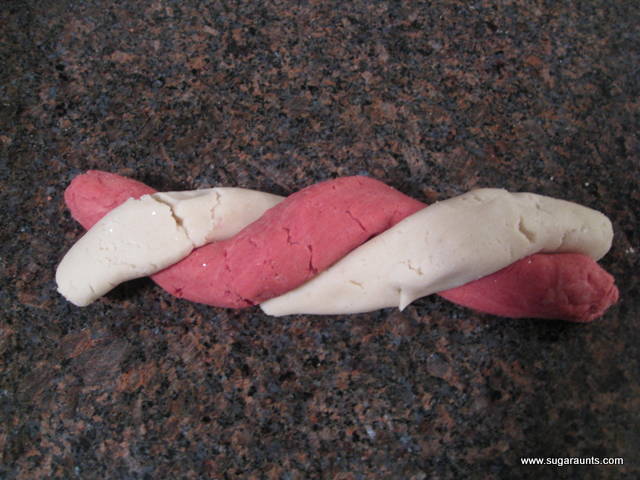
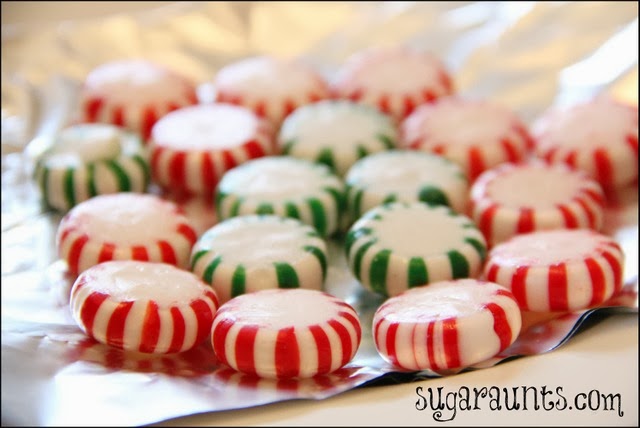
This peppermint play dough recipe is a fun sensory activity for the holiday season. We love to use this scented play dough in Christmas occupational therapy activities. It’s a great activity to use along with our candy cane puzzles and our candy cane moon dough!

It’s a great Christmas fine motor activity, can even be a Christmas sensory activity for this time of year.

 
Day 10 of 25 Days of Christmas Play
 

Peppermint Play Dough 

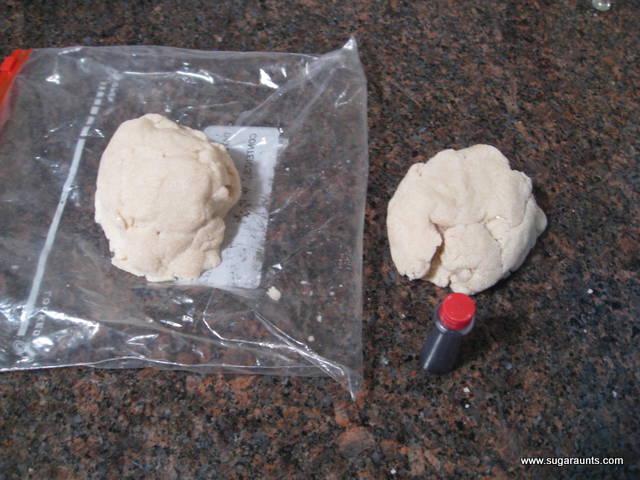
This was super easy to make, considering we used the Scented Snowman Play Dough that we already had in the house…I do have to say though, that since somebody (cough, Little Guy, cough) put the bag of Dough into the freezer…it was a liiiitle dry after thawing out.  Not too badly, though…nothing a tablespoon of vegetable oil didn’t fix!


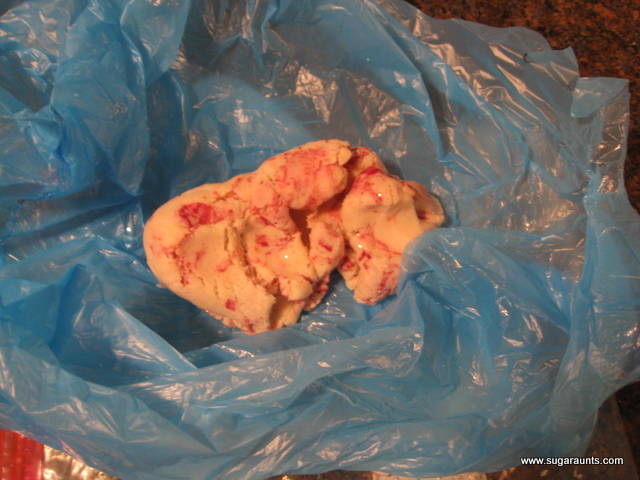
I split the dough into halves and made a little well with my finger in one of the halves.  After putting some red food dye in, and mixing up a bit, it started to look pretty neat!
 
 
A tip: Use a plastic shopping bag to mix the food coloring in.  Unless you want reeeeally red hands!
Getting there:
 
Getting closer: 
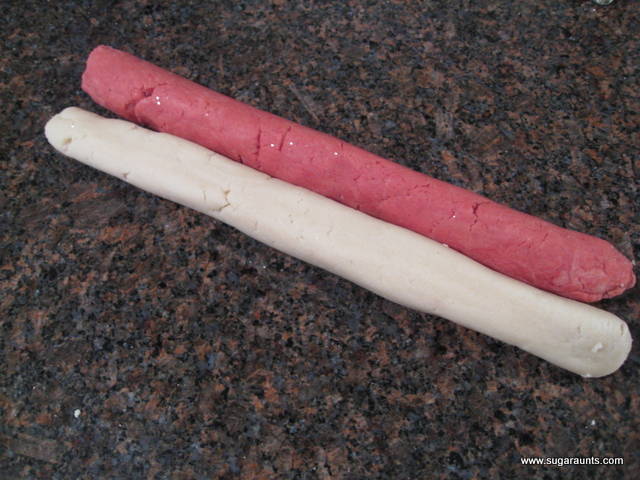
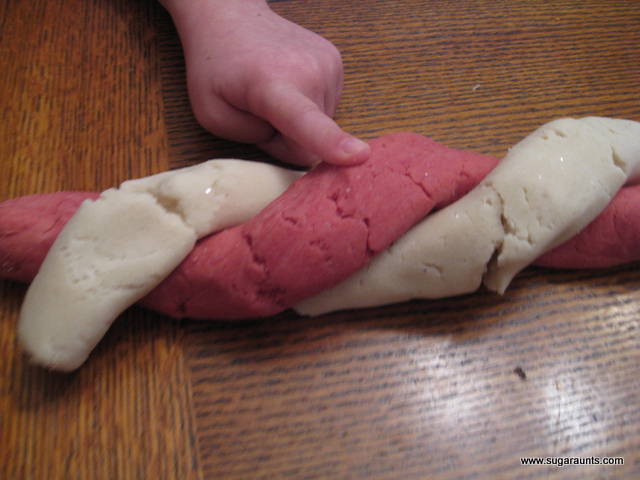
 This is how I had it set up for the kids this morning.  They were so excited to play with the Peppermint Dough!  Oh, and also, mixing the dough around so much makes the scent pretty much non-existent.  The scent just gets mixed in the more it is used.  I do think it would be pretty cool to add some peppermint extract to this for an added sensory experience!
 
 
It has been so much fun coming up with fun play ideas and sharing them with our readers.  We are truly having a blast with this!  Thank you, readers, for all of your kind words and encouragement with this blog that has so far, been really fun and rewarding to do.  We love knowing that our ideas have inspired you!


Looking for done-for you therapy activities this holiday season?

This print-and-go Christmas Therapy Kit includes no-prep, fine motor, gross motor, self-regulation, visual perceptual activities…and much more… to help kids develop functional grasp, dexterity, strength, and endurance. Use fun, Christmas-themed, motor activities so you can help children develop the skills they need.

This 100 page no-prep packet includes everything you need to guide fine motor skills in face-to-face AND virtual learning. You’ll find Christmas-themed activities for hand strength, pinch and grip, dexterity, eye-hand coordination, bilateral coordination, endurance, finger isolation, and more. 

Colleen Beck, OTR/L has been an occupational therapist since 2000, working in school-based, hand therapy, outpatient peds, EI, and SNF. Colleen created The OT Toolbox to inspire therapists, teachers, and parents with easy and fun tools to help children thrive. Read her story about going from an OT making $3/hour (after paying for kids’ childcare) to a full-time OT resource creator for millions of readers. Want to collaborate? Send an email to contact@theottoolbox.com.

Christmas Tree Sensory play

Day 8 of 25 Days of Christmas Play


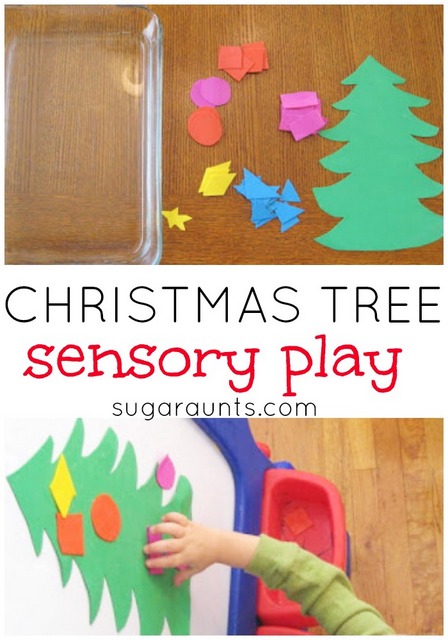
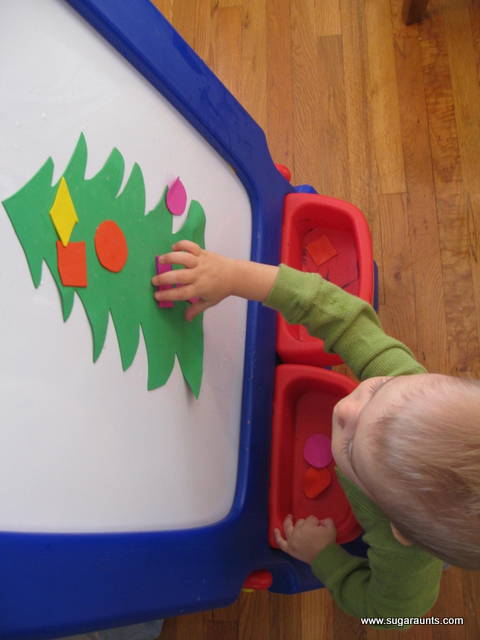
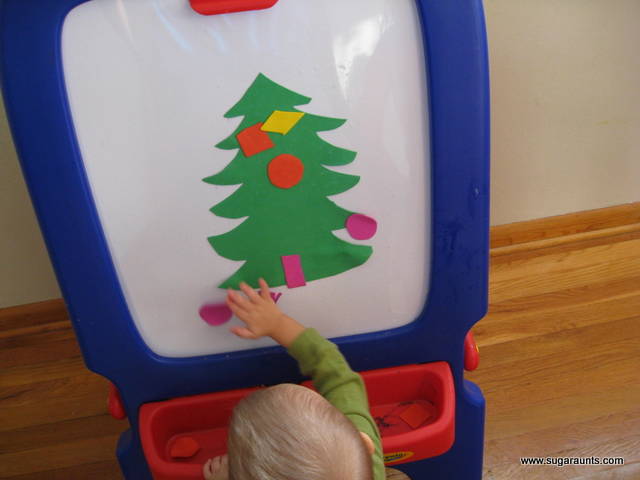
Christmas Tree Sensory Play for learning colors, shapes. This is great for Toddlers and Preschoolers!


This Christmas Tree Sensory Play activity was fun for the senses, cutting, patterning, sorting, and even pre-handwriting!

 
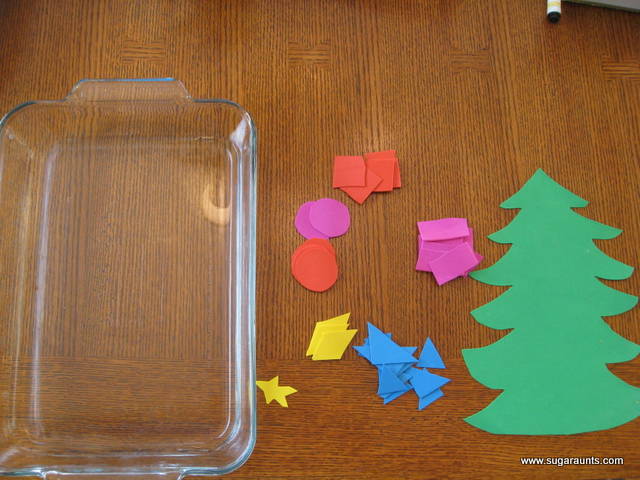
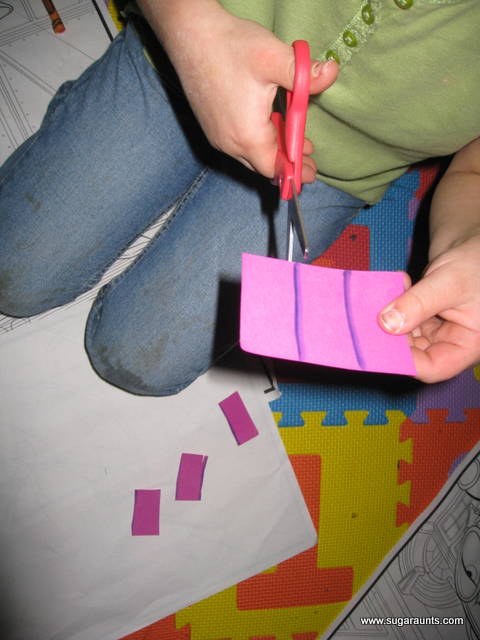
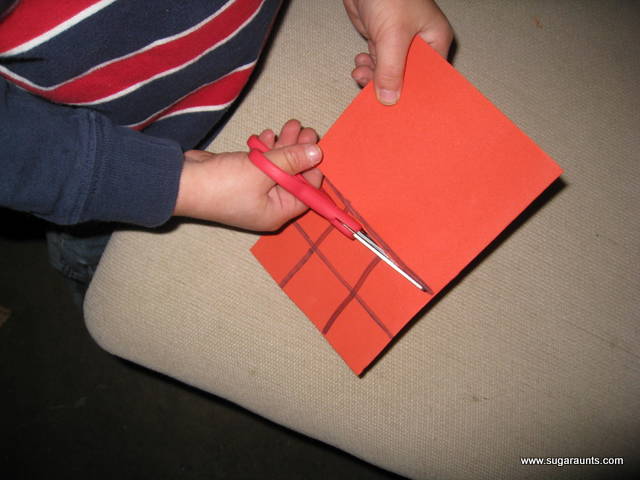
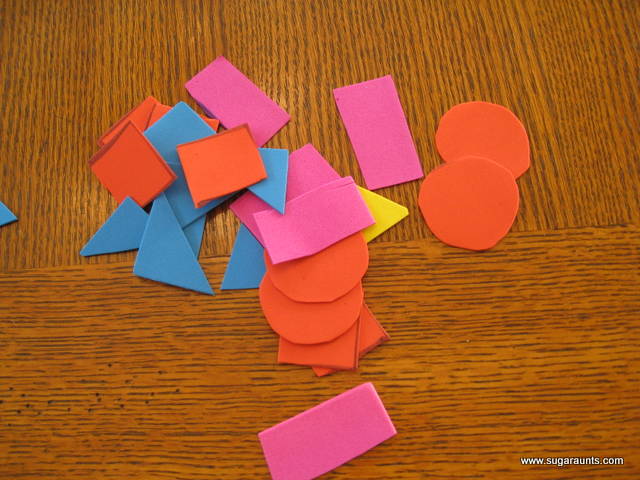
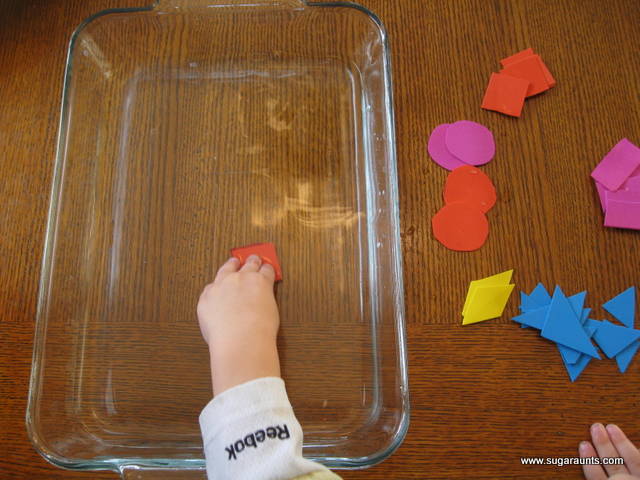
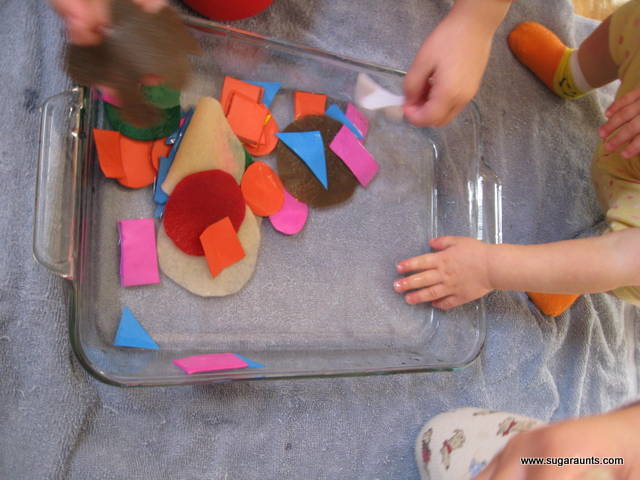
Big Sister showed Little Guy how to cut shapes from foam sheets.  We had these in our crafting bin just waiting for some fun Christmas play…
 

Each color was a different shape so they could be sorted and used in patterns on the tree.
 
 
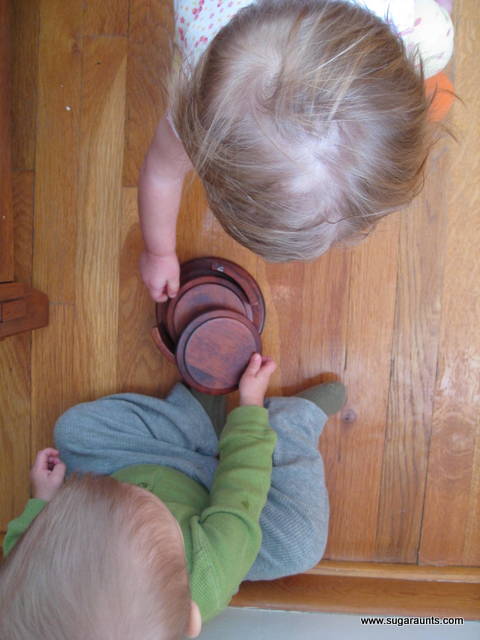
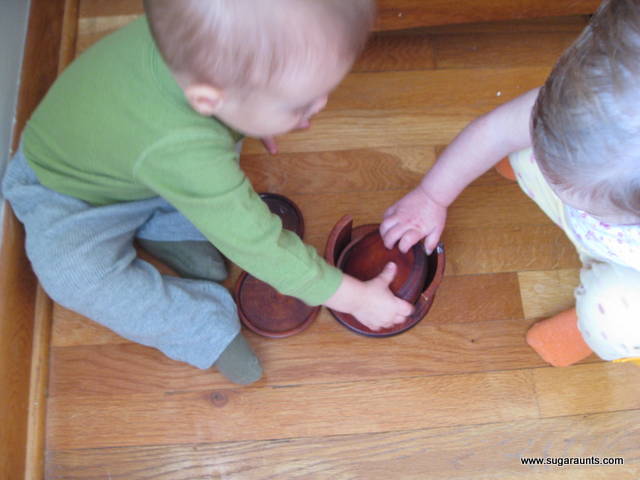
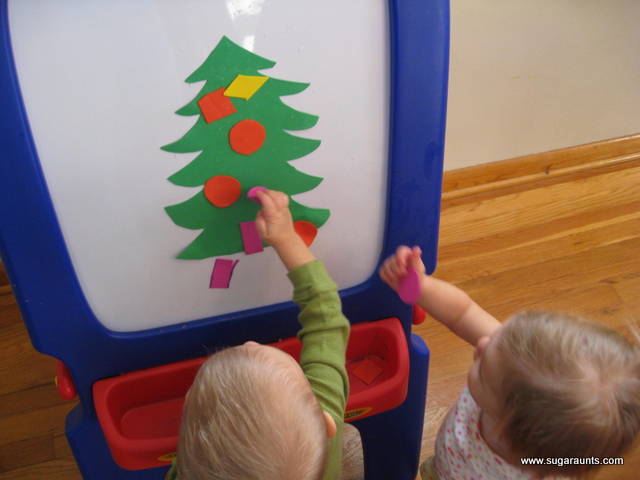
While the Big Kids worked on the cutting and sorting, the Babies had a fun time fighting playing with some coasters 😉


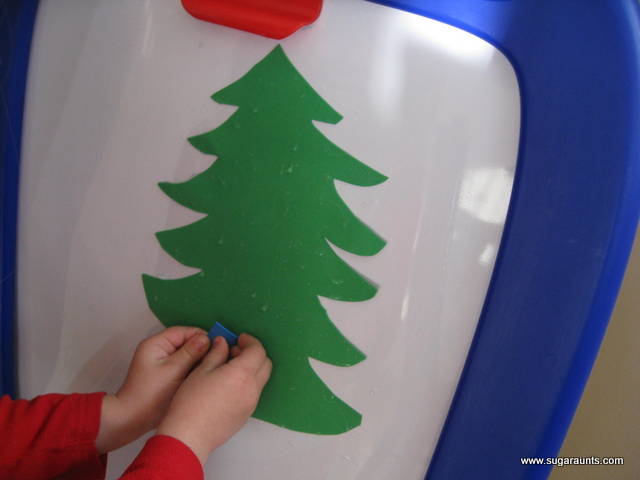
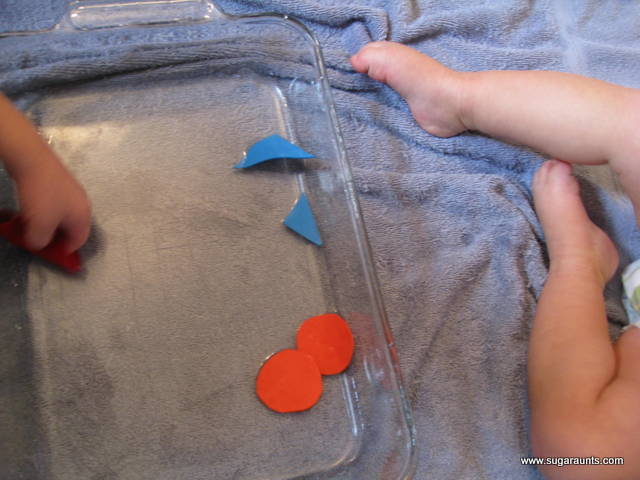
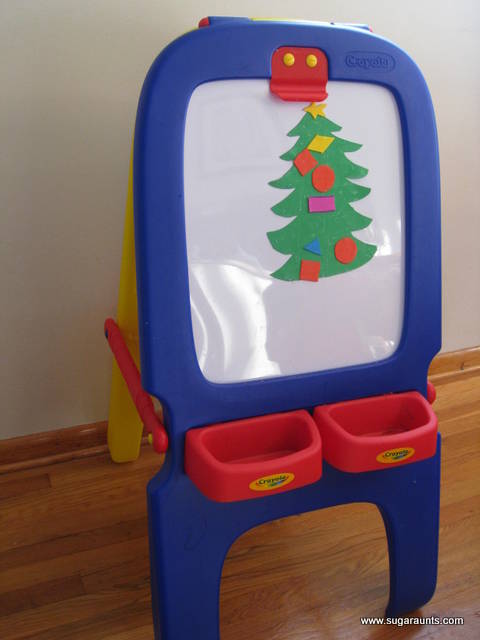
I stuck the tree shape in the water and when the foam sheets are wet, they stick really well to a white board. 


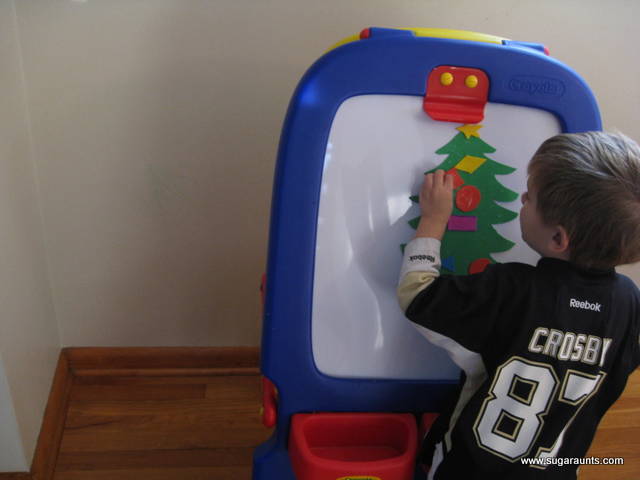
Everyone was so excited when they realized the shapes would stick and had a blast decorating our little tree.  
 
We started out with the tray of water on the table and did some patterns on the tree, putting the colors or shapes one at a time on the Christmas Tree.  


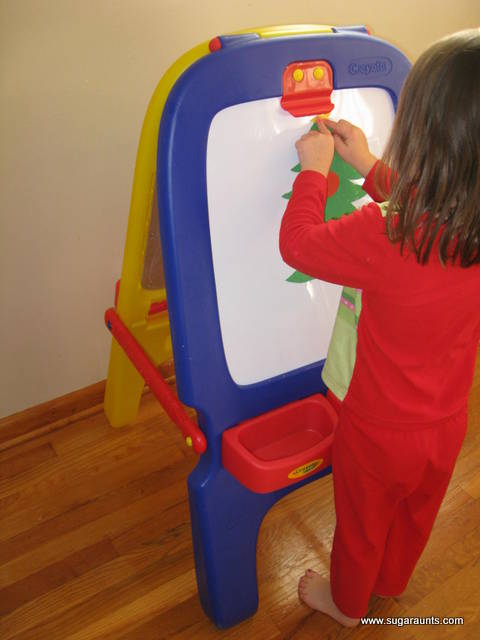
I wanted them to use the easel white board to promote wrist extension (bending the wrist back). This is so important in controlled use of those little fingers when they write, cut, tie their shoes…any fine motor dexterity task.  
 
If a child has a flexed wrist (bent forward), they don’t have the control to manage skills using the small muscles of the hand.  Think about holding a pencil.  If the wrist is bent forward, it is so much harder to write with smooth and controlled pencil strokes.  A slightly extended wrist is much more efficient in any fine motor task.  
 
Working on a vertical plane (like the easel) is perfect for promoting an extended wrist!


 The Babies just had sooooo much fun with this! 


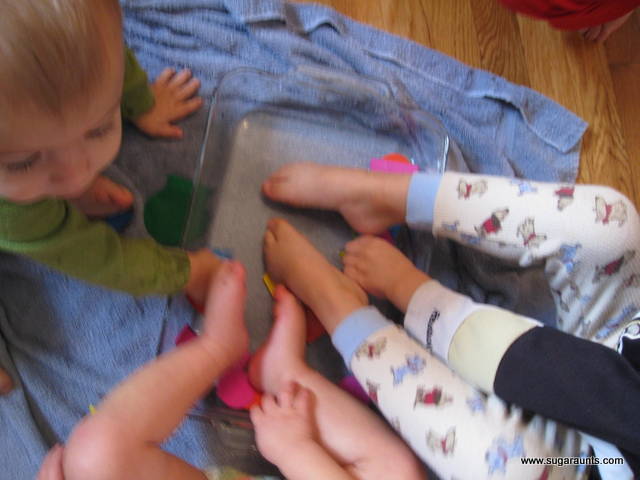
After a bit, we decided to put the whole water tray on the floor…
 
Oh yeah, that was fun! 
 
 
 They had so much fun with this!  The mess really was not bad, with the small amount of water that was in the pan.  Even still, the point of our Christmas Play Series is to have fun with your little ones, enjoy a moment of play, and slow down during this hectic, crazy month.  If you’re too busy worrying about the potential mess in any play activity, it’s not worth it…put it away and try something else.  The kids will sense your stress level and that affects them!  
 
One important thing to keep in mind when doing a (fun) messy play activity… is the sensory inputs, educational aspects, and unique experiences you’re exposing your kiddos to.  Not to mention the bonding experience and LAUGHS that will without a doubt result!


Don’t Stress the Mess!

 
And, at least with this play activity, you can mop up the floor a bit afterwords and combine some cleaning into it 🙂
 
 
Look at all those happy little piggy toes!!
 
I think we are missing the swimming pool days of summer 😉


Have a Fun Day!
 

More Christmas Play activities you may be interested in: 
 

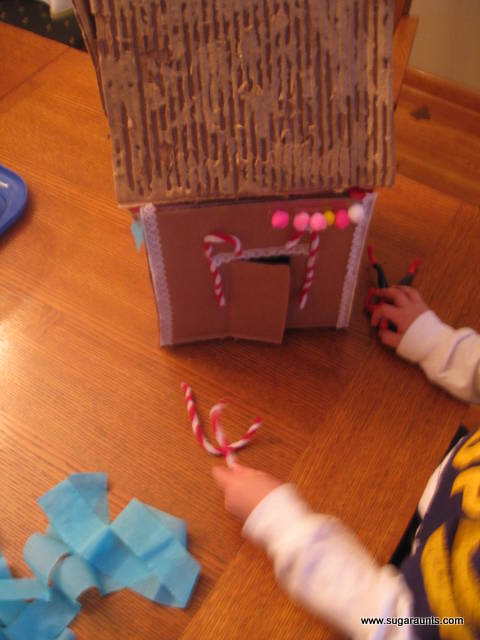
Cardboard Gingerbread House

cardboard gingerbread activity for kids

This cardboard gingerbread house is a process art activity that helps kids create and build fine motor skills with a gingerbread house theme! Pair this with our decorate a gingerbread house Google slide deck for hands-on fun that the kids will love this holiday season.
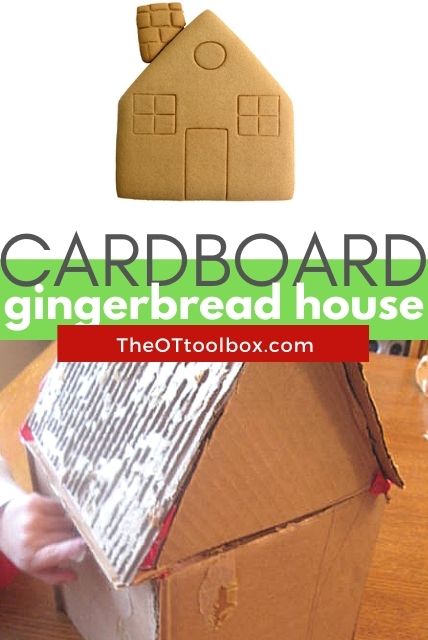
cardboard gingerbread activity for kids

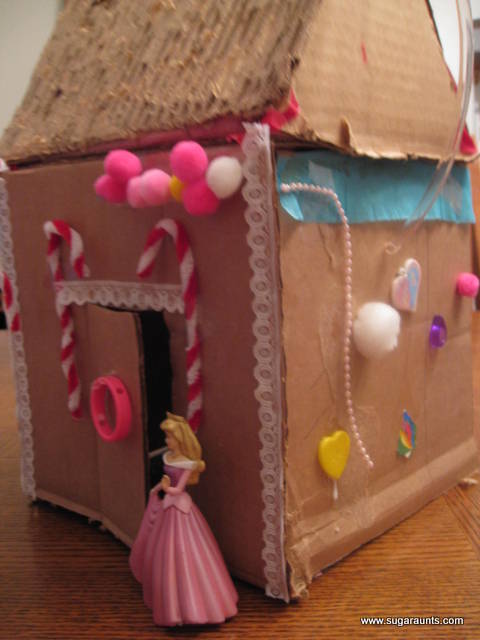
It was really easy and Big Sister and Little Guy played with it for a long time.  The creating part lasted a while when the babies were sleeping.   Sleeping Beauty looooves her new house 😉  

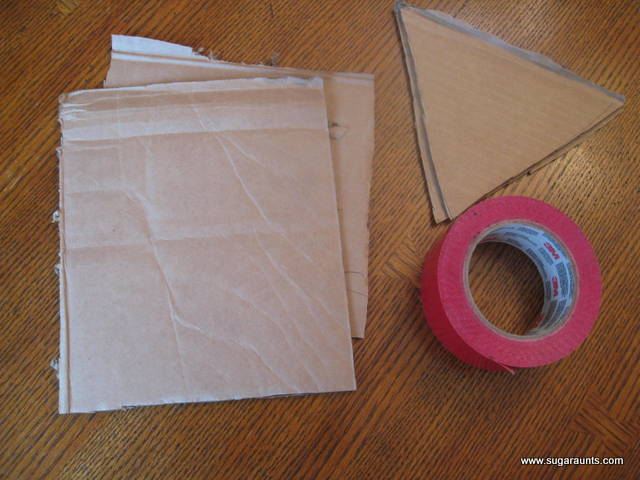
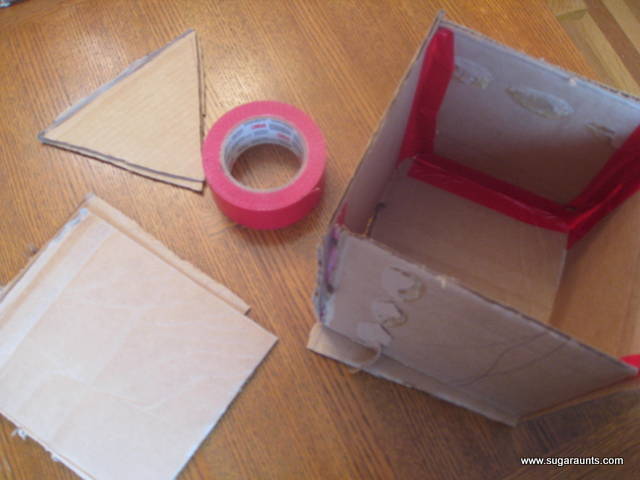
To make it, I cut up a box into enough pieces, just eye-balling the size.  No need for measuring.  The kids don’t notice and you never know when a superhero might accidentally destroy the house 😉

Make a cardboard gingerbread house with kids using cardboard boxes.

How to make a cardboard gingerbread house 

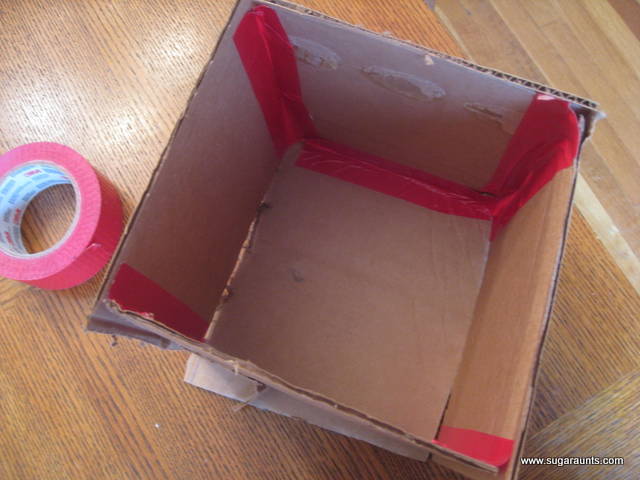
Little Guy wanted me to use his special red duct tape.    

To easily get the house shape, lay the tape on one piece then stick the corner piece onto the strip of tape.)  

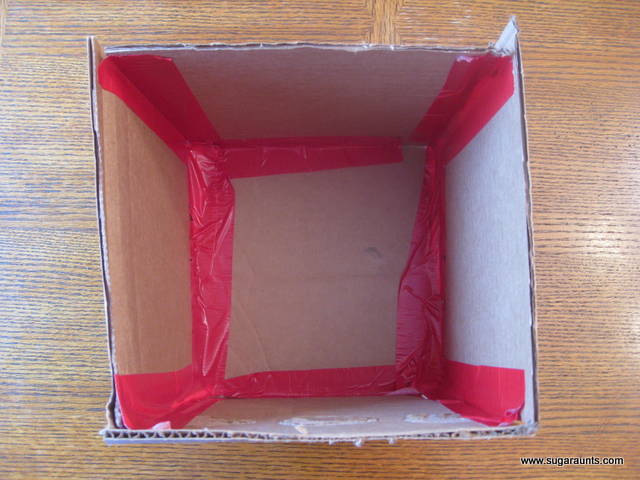
You can make a row of four squares then close up the last shape by putting the tape on from the inside.   

Steps to make a cardboard gingerbread house.

  After all the seams are taped up, turn the whole thing upside down.  You don’t need a floor…so princesses and superheros can get in a little easier…

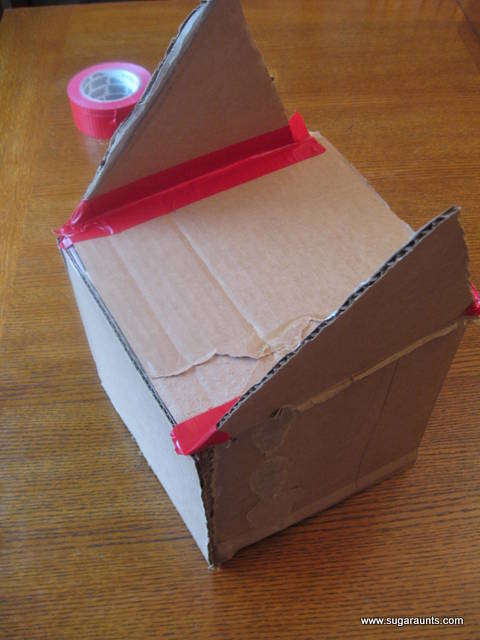
Tape the triangle roof pieces on.

Tape triangle pieces to the cardboard house.
Peel cardboard to make a roof for the cardboard gingerbread house.

 Make the cardboard gingerbread house roof

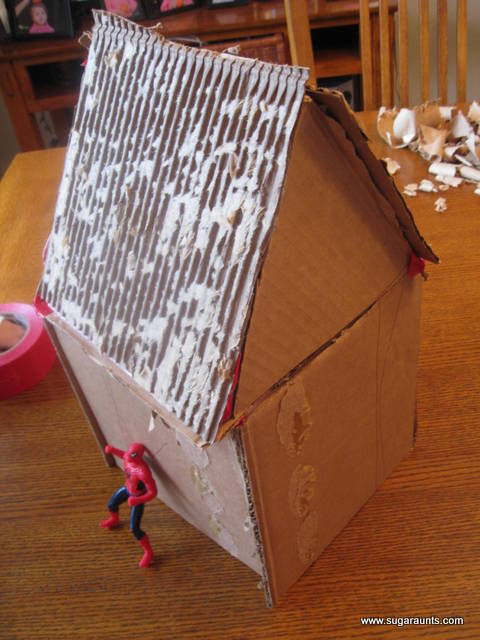
Then, cover with two more squares for a roof.  I pulled one side of the cardboard off for a shingled look.    

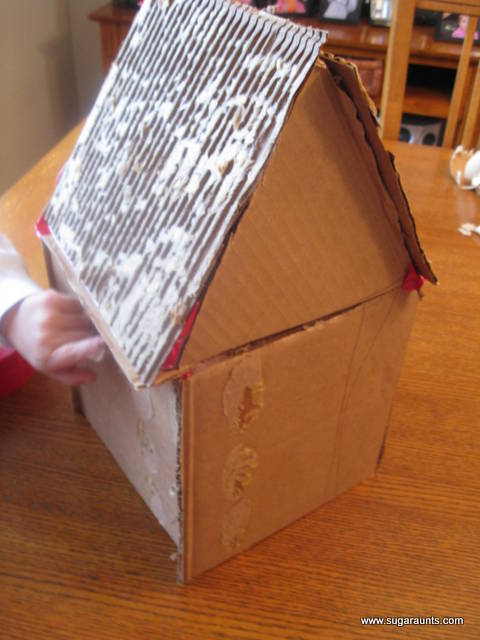
To tape the roof on, work from the inside and tape one roof side on first by taping the inside edges.

Then, stick tape to the edge of the other side of the triangle. Slightly bend the long piece of tape and place the other cardboard roof piece ontop so it sticks to the bent tape.

It looks cute, I think 🙂   Spiderman really liked his new home.

Cardboard gingerbread house for pretend play
Cardboard gingerbread house activity

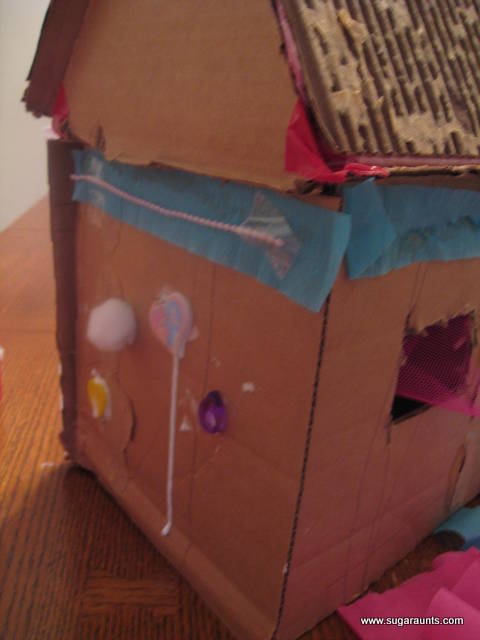
Decorate the cardboard gingerbread house

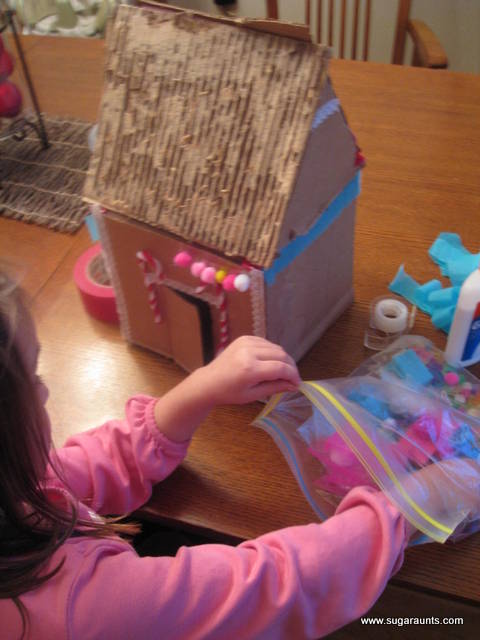
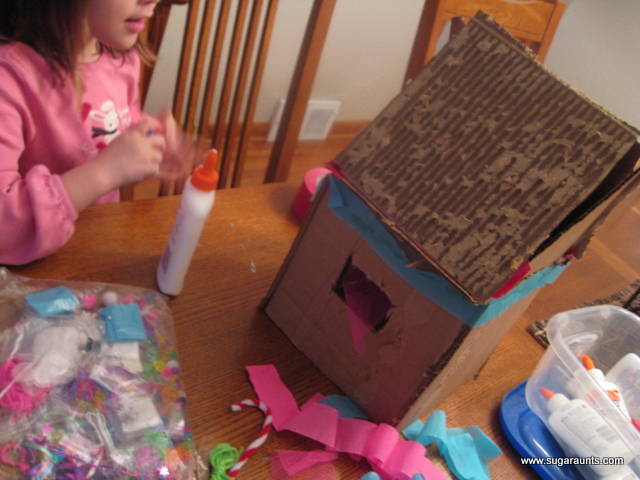
After it was built, I pulled out a bag of mixed crafting materials and a ton of glue.    

Decorate a cardboard gingerbread house with craft materials.

  Big Sister had so much fun.  She went crazy gluing stuff on.  

It was a lot like our process vs. product play activity. 

Cardboard gingerbread house craft for kids

Use colored tape, beads, craft pom poms, pipe cleaners, tissue paper, crepe paper, and other craft materials to decorate the cardboard gingerbread house.

Kids can make a gingerbread house with craft materials.

  We had a fun day with our Candy-less Gingerbread House…but Little Guy said needed a little bit of candy  to east while he was helping to build it.  “You have to eat a Gingerbread house, Mom!”  

We are having so much fun with our Christmas Play activities…Check out the new tab at the top for all of the  25 Days of Christmas Play that we’ve done so far.

Colleen Beck, OTR/L has been an occupational therapist since 2000, working in school-based, hand therapy, outpatient peds, EI, and SNF. Colleen created The OT Toolbox to inspire therapists, teachers, and parents with easy and fun tools to help children thrive. Read her story about going from an OT making $3/hour (after paying for kids’ childcare) to a full-time OT resource creator for millions of readers. Want to collaborate? Send an email to contact@theottoolbox.com.

Magnet Play: Apple theme

This was a play invitation I set up one day for Big Sister and Little Guy.

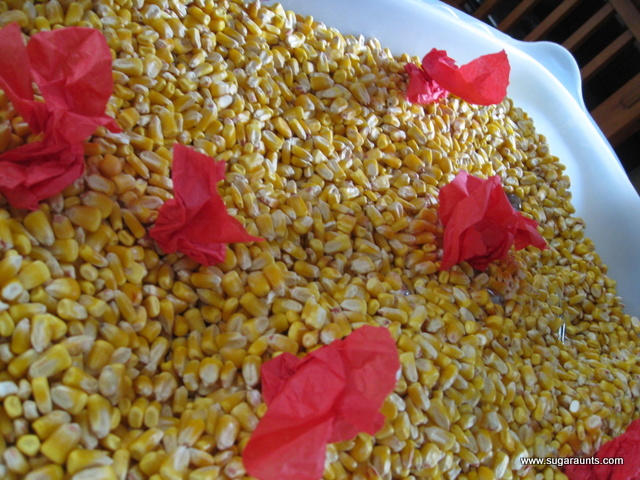
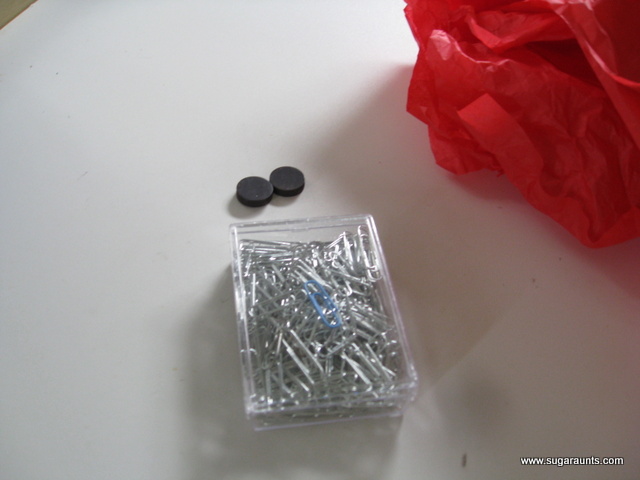
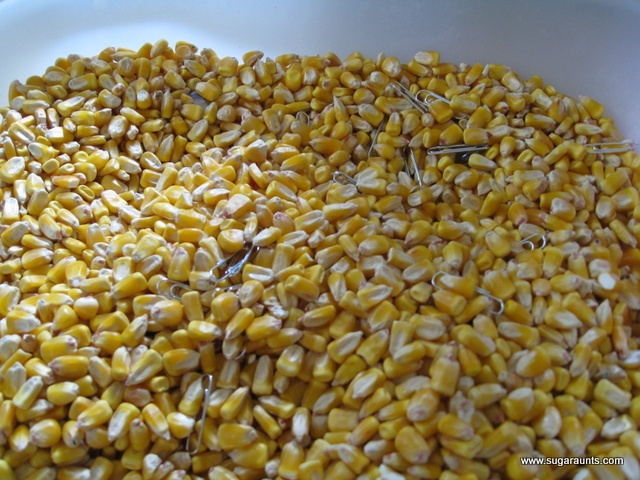
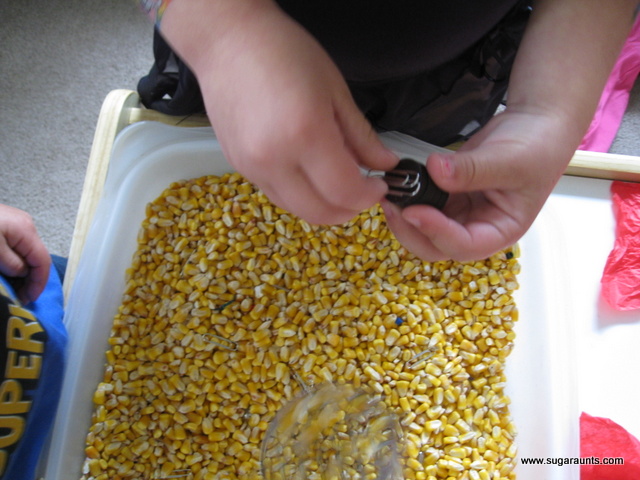
Paper clips, magnets, tissue paper, and the corn bin.
((The Babies were sleeping…tooooo many hazards with this one!))

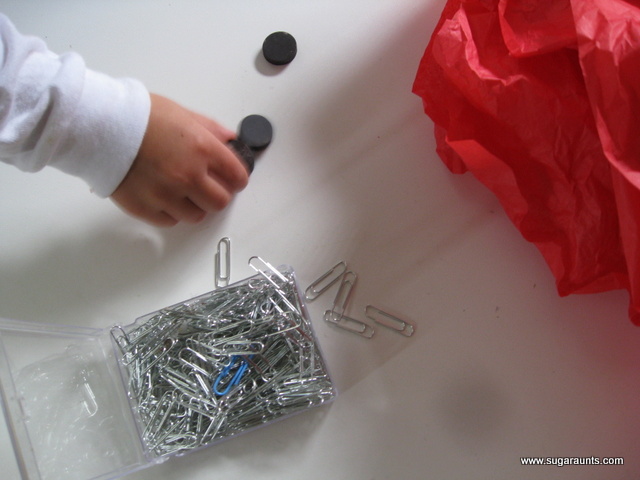
The Big Kids had fun exploring with the magnets.

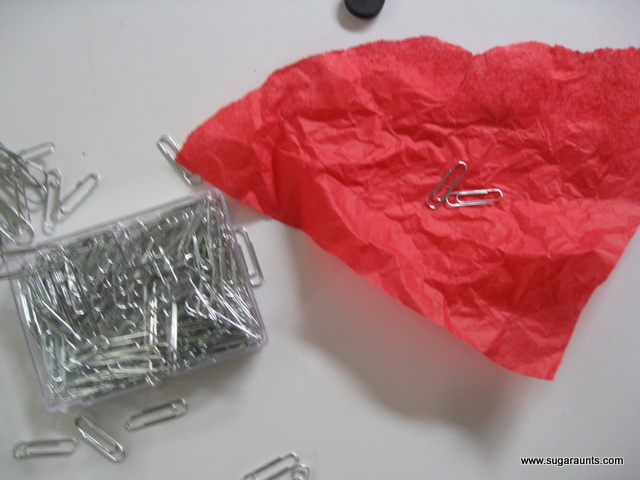
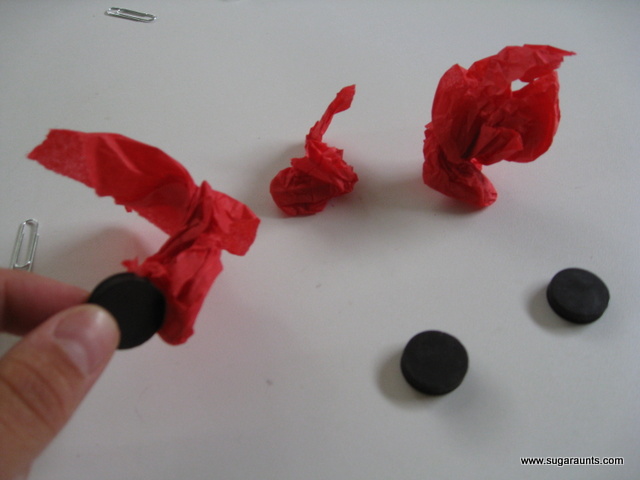
We tore the tissue paper into small squares (Tearing paper into little bits works on those small muscles in the hands).  Put a couple of paper clips into the tissue paper.
And crumble it up into a ball 
We were calling them “apples”. 
Only requiring a small stretch of the imagination 🙂

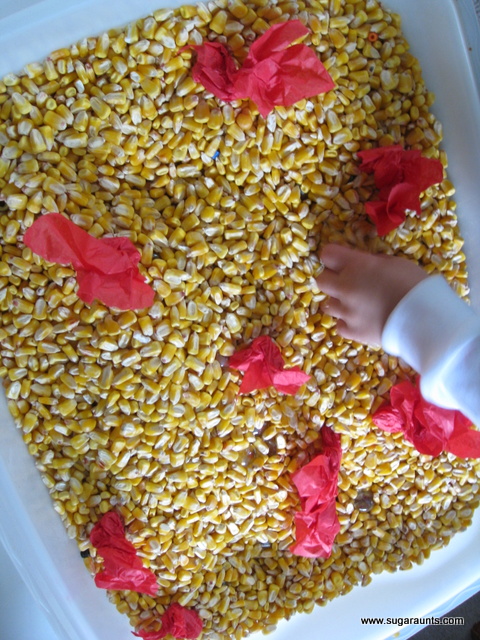
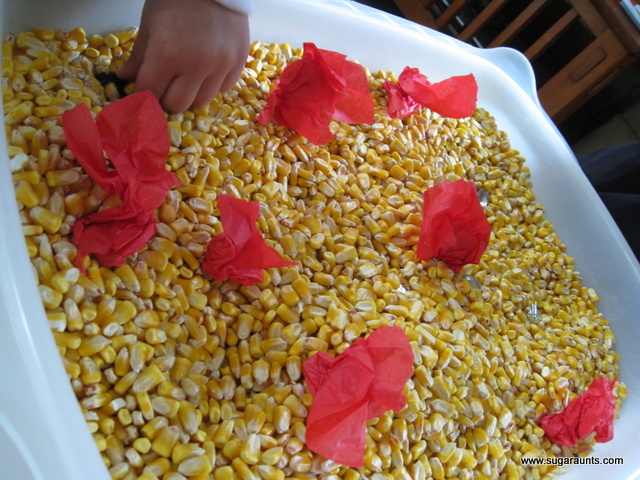
Big Sister and Little Guy went on an Apple Hunt, raking the magnets through the corn to grab up the apples.

It felt pretty neat on the hands to rake through the corn…a great sensory play activity!
We had a hunt for paper clips too…

Enjoy Today!
~Colleen

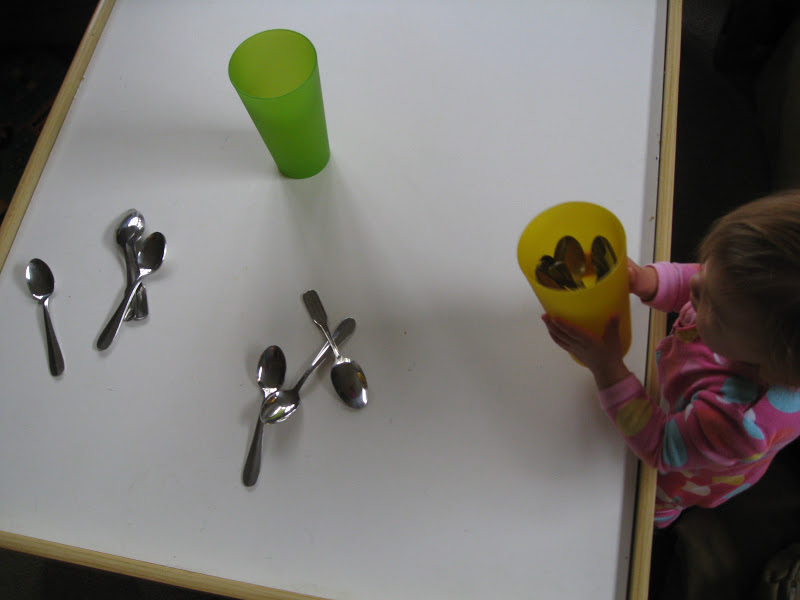
Indoor play: baby edition…spoons and cups

Indoor Play Ideas

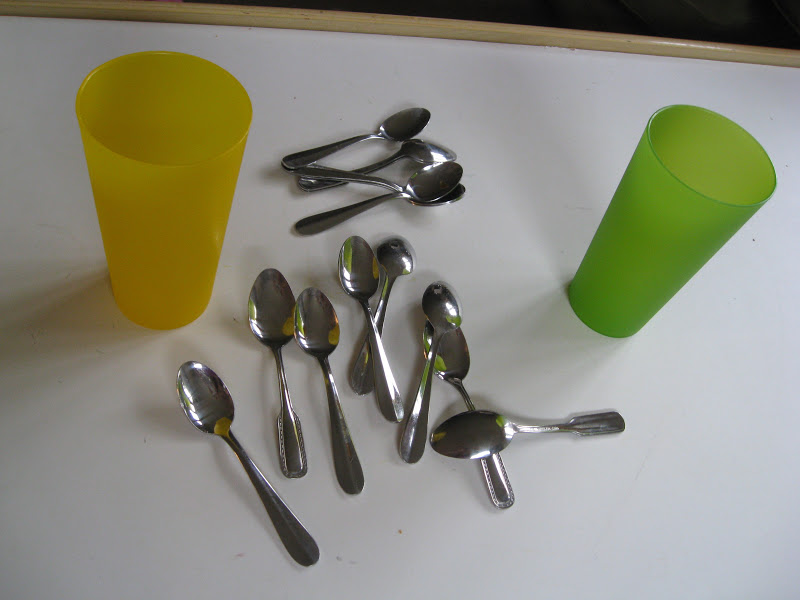
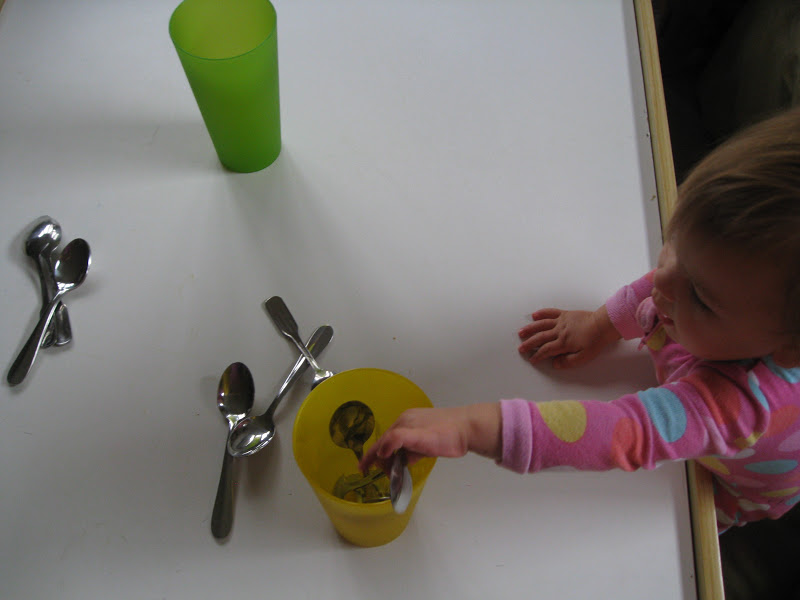
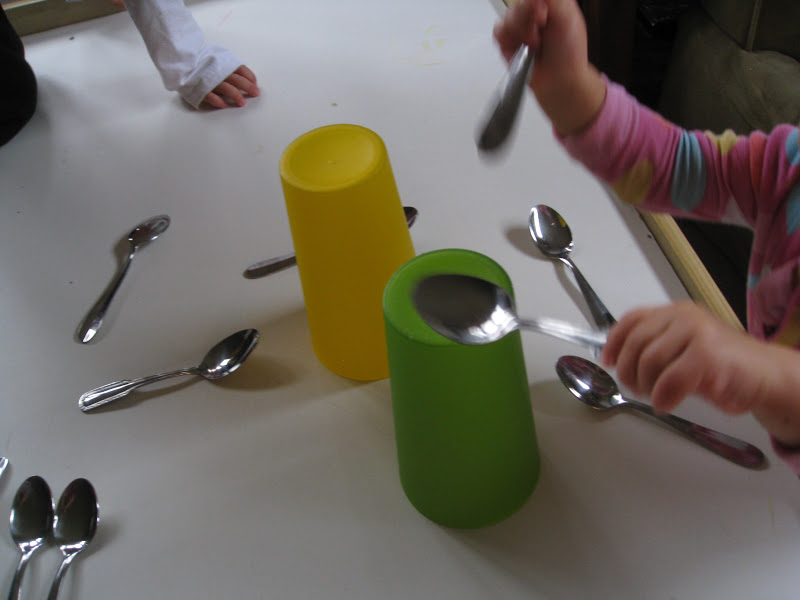
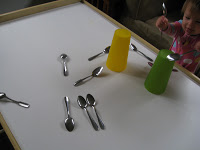
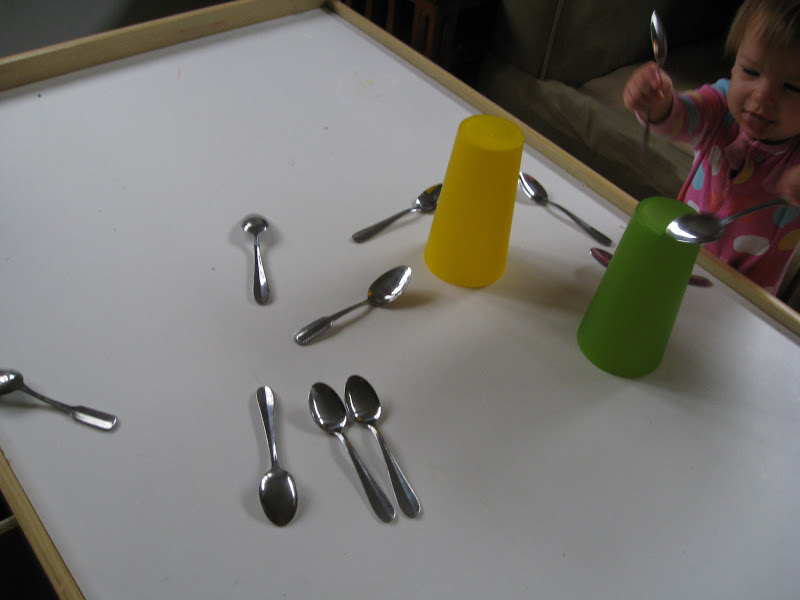
This was a simple invitation to play that I set up for the babies one day after breakfast was finished. 

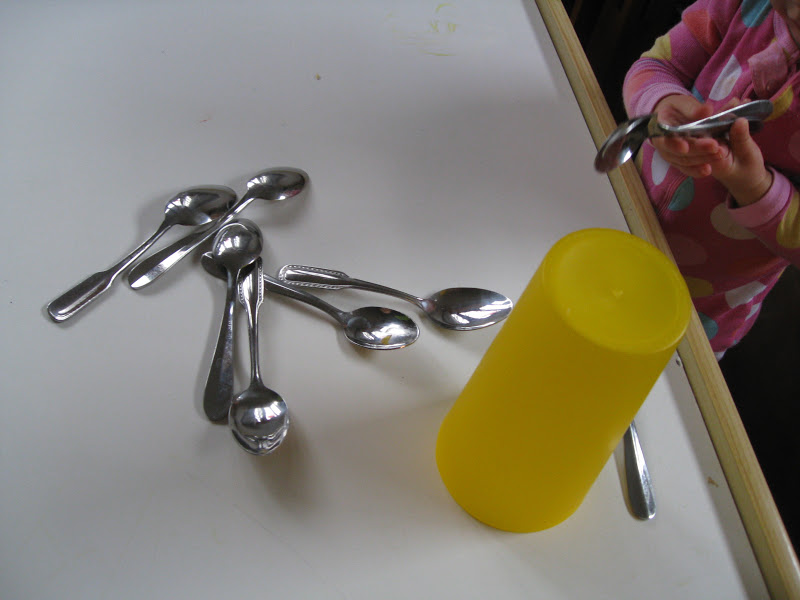
They loved the idea!  Putting spoons in the cup, taking them out of the cups…
Banging the cups off of the table…

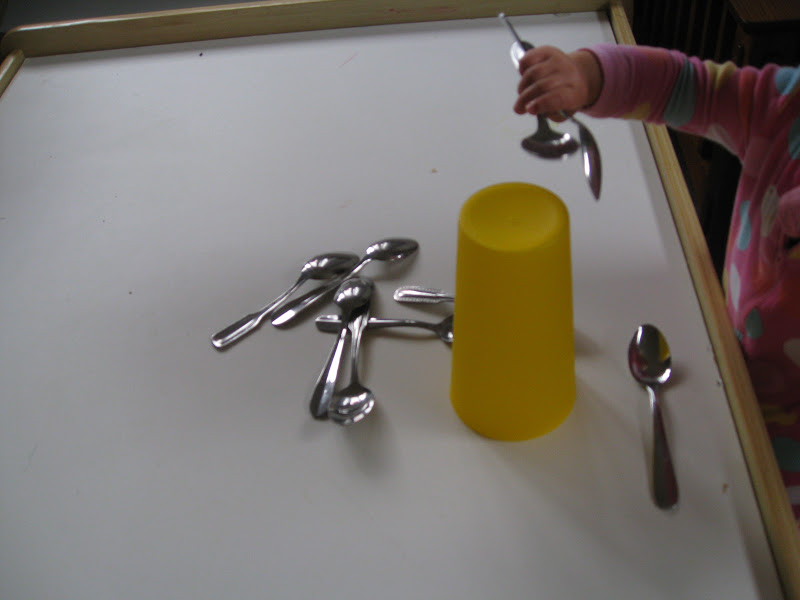
Hearing the loud sound when they rattled the spoons around in the cups.

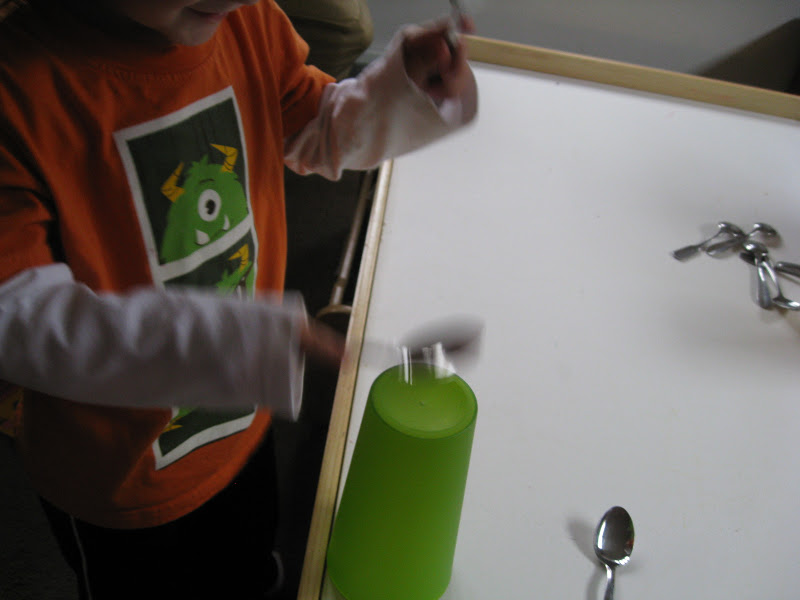
They turned the cups over and started playing drums with the spoons.
Little Guy loves any thing drums, so this was too good to pass up!


This easy play activity entertained for a long time!
Looking for other indoor play ideas??? Try these:
~Colleen

Process vs Product Focused Play

Recently, I went to a continuing education course at Little Guy’s preschool.  It was offered up to parents, teachers, child care workers…all about Education Through Play.  
One tip for educational play was the concept of process play vs. product play.  Product Focused Play is working toward a specific end (“here, copy this cute little brown owl that is sitting on a branch, using this paper plate and those cupcake liners”).
Process Focused Play, the instructor outlined, is creative, open ended, and works on the child’s thought processes. The child is provided with materials and given an open-ended opportunity to create.  Imagine.  Explore materials.  There is no specific end product with process play.  Only, the opportunity to express themselves through language, creativity, open-ended motor development.  As an OT, this is great! …Provide the fine motor dexterity tasks, sensory opportunities, and age-appropriate tools (scissors, pencils, crayons, paint brushes), and assess and observe the child’s abilities in order to develop goals to meet functional levels!

Of course, Product Focused Play (making that specific art project) is SO important for a child’s development too…direction following, cutting a strait/curved/angled line, sequencing, specific media use, and much more…all are needed to succeed in the school setting.  
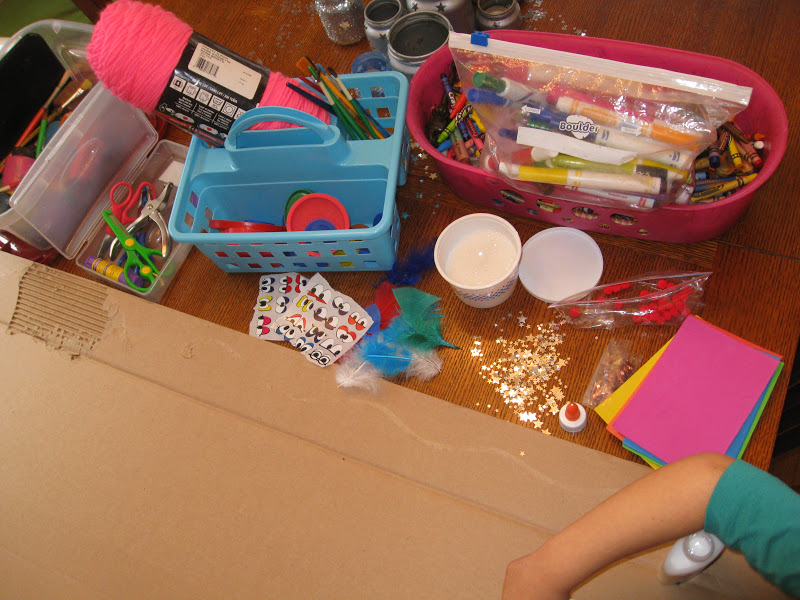
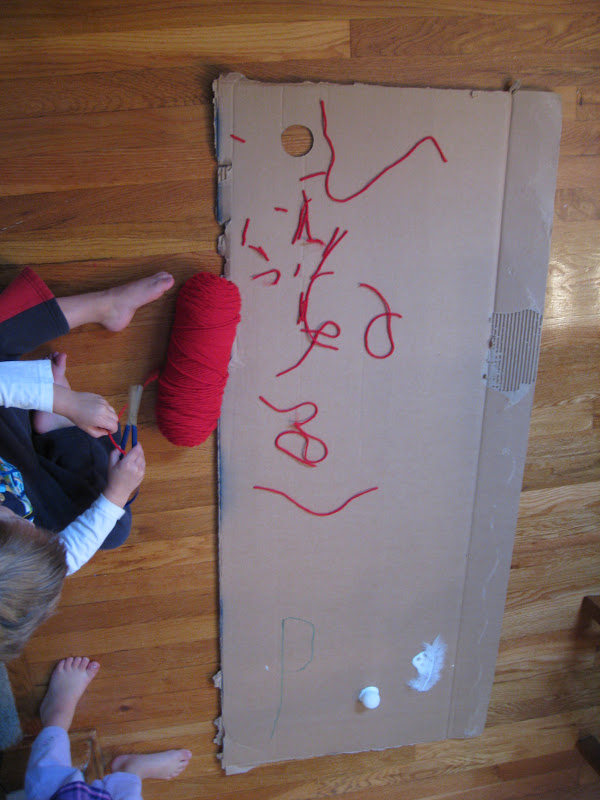
We did a little Process Focused art this week, bringing out all kinds of materials and a big old piece of cardboard.  The kids went to it, learning throughout the process of creating!
The only thing I told them was “make something”.  (I didn’t say this and then go off to change out laundry or put away dishwasher dishes…I sat there with them, engaged in their process, and we talked. About the stuff they were using, about what they were making, about why they were using what they were, and about what’s for lunch…hey, we were hungry!) Language development at its finest!
As they created (and we talked lunch), they had no clue about the number of skills they were refining!
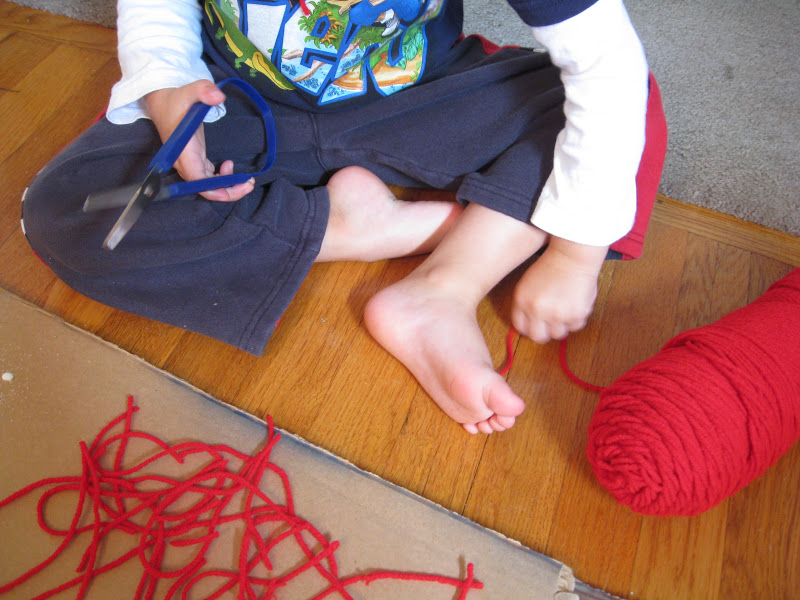
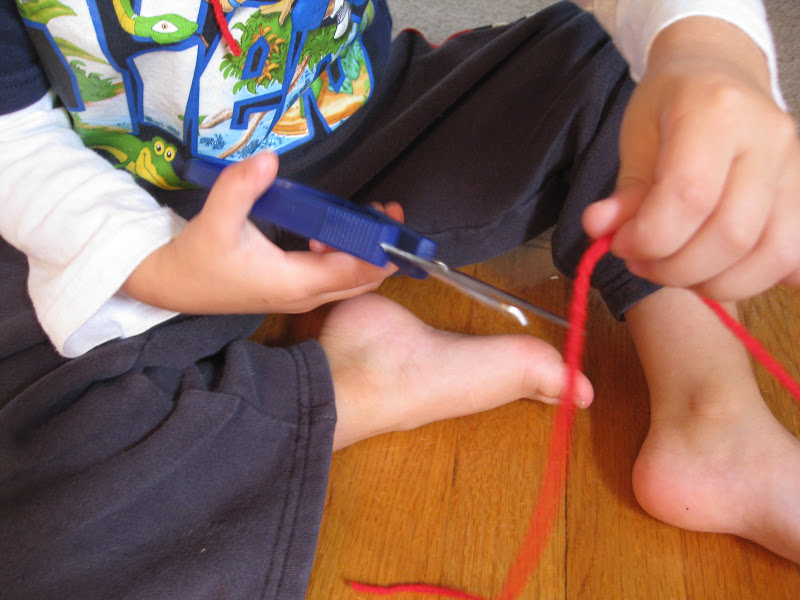
Scissor skills while cutting yarn…

Fine pincer grasp to pick up the yarn, Bilateral coordination to work both hands together…

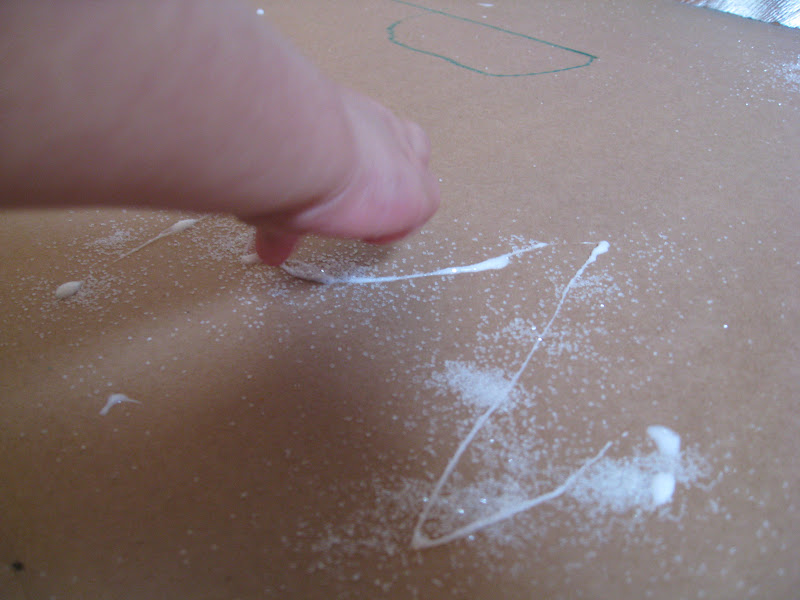
Letter formation, Tripod grasp and Separating the two sides of the hand to sprinkle glitter, Gross hand grasp to squeeze the glue bottle, Sensory exploration…

Tripod grasp to hold the yarn, Eye-hand coordination to cut along the length of yarn, Controlled use of scissors…
No wonder they were hungry!
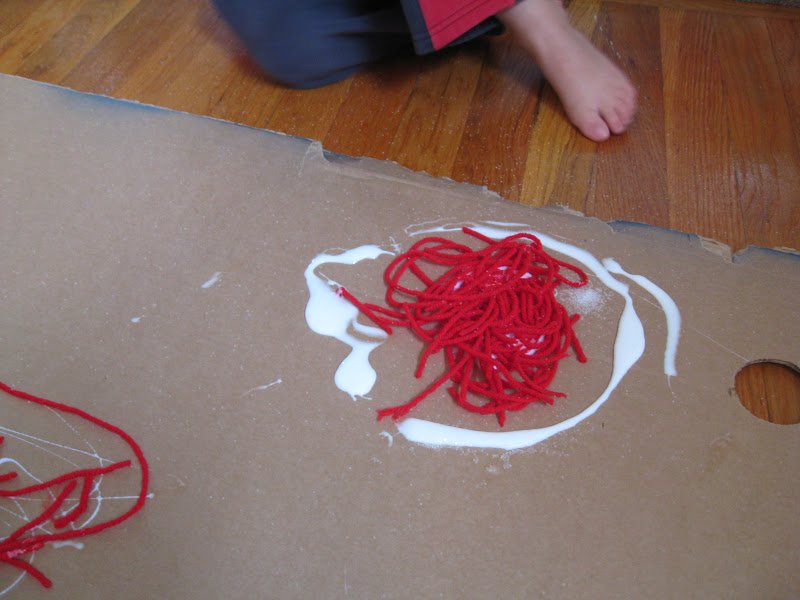
Little guy made a fire with red yarn.  He then decided to add logs all around it and played with this allll day! He used his Lincoln logs to make a house to go with it and the little cowboy and Indian guys to play out all kinds of stories.
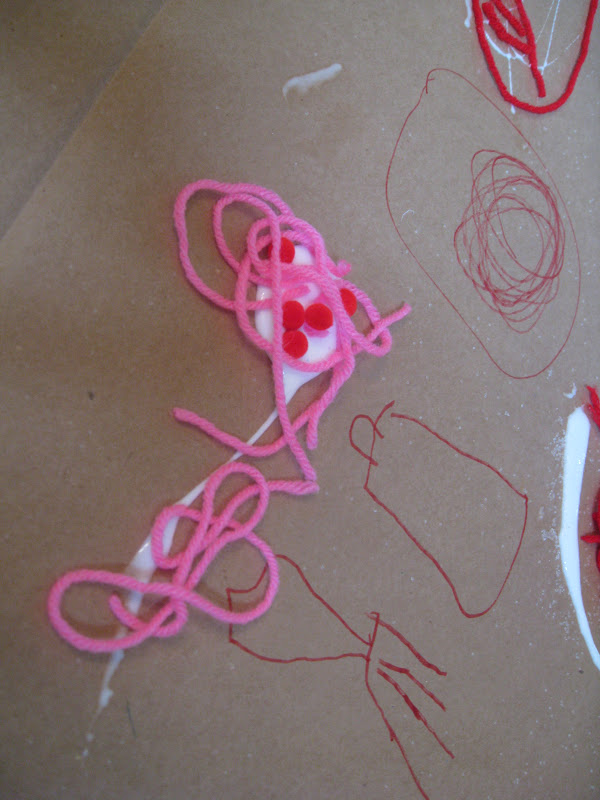
Big Sister made made spaghetti and meatballs.  She drew in a fork, spoon, and salad.  She had her baby dolls eating from this little scene.  
Imagination, Creativity, Exploration
We had a lot of FUN with our Process Play! 
~Colleen

Golf Tees and a Hammer

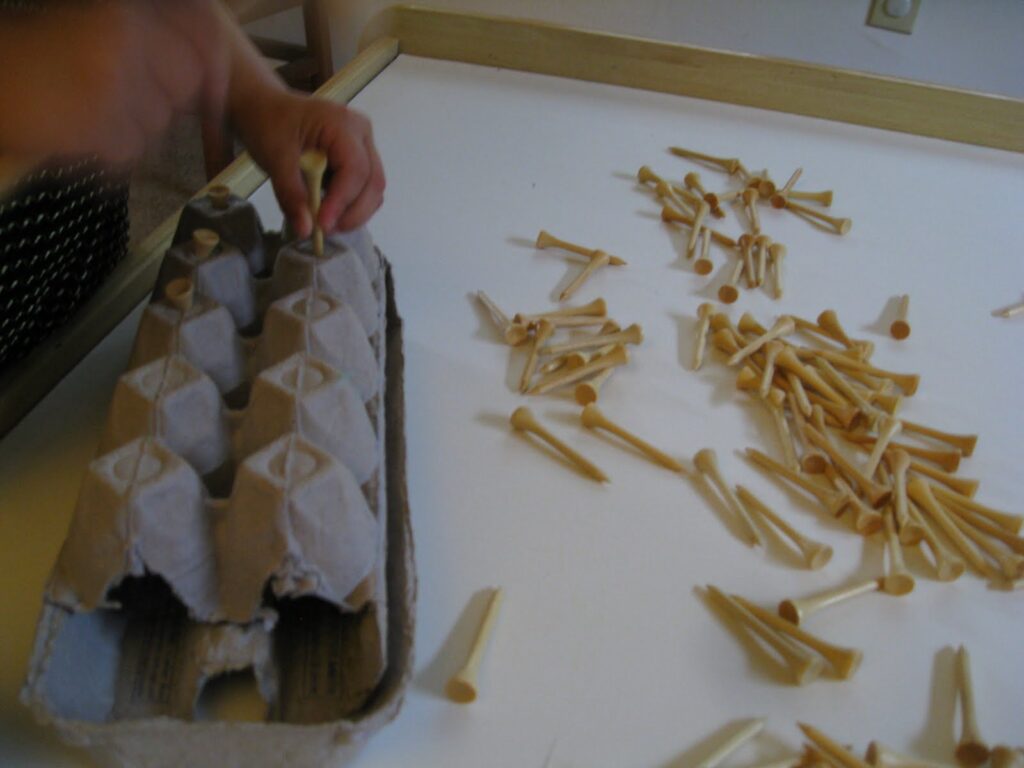
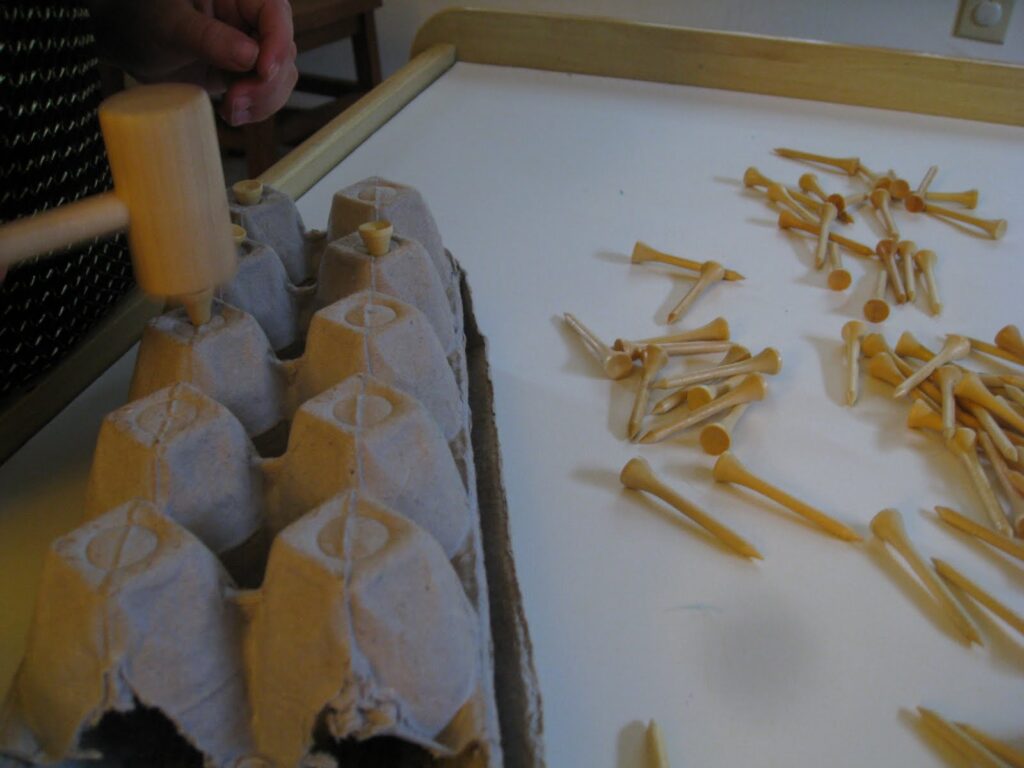
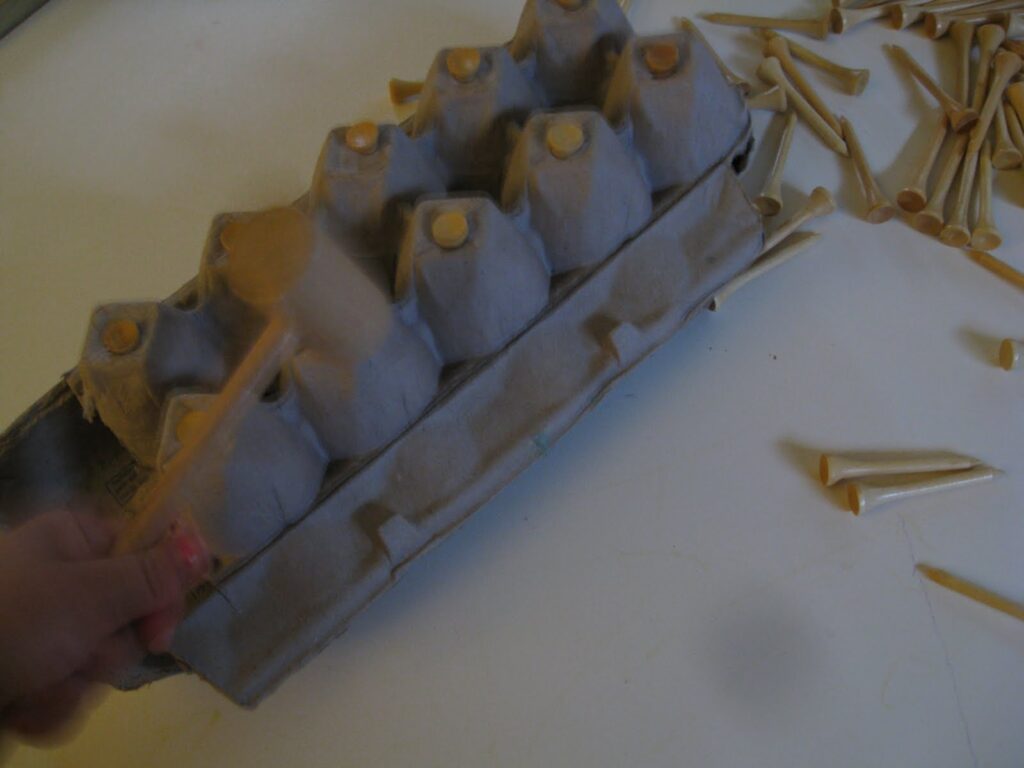
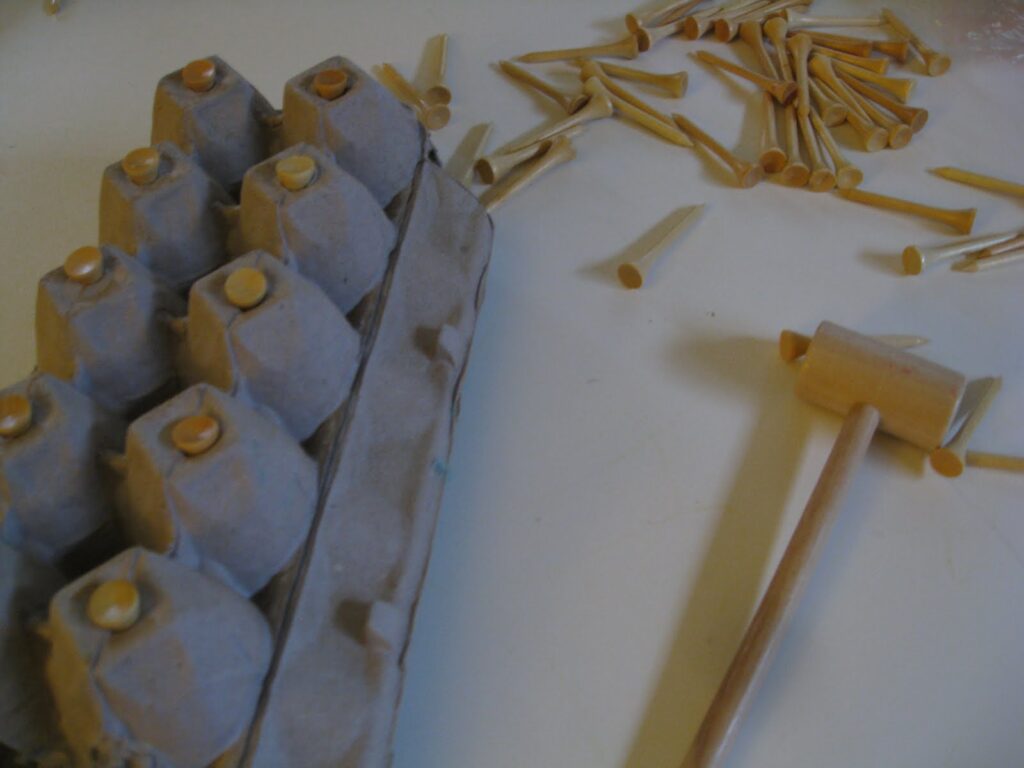
This hammering golf tees activity is one of our oldest blog posts here on the website. I loved showing my toddlers how to use a toy hammer with golf tees in an egg carton. This is a wonderful fine motor activity for kids, and one that is very motivating for all ages!

Hammering Golf Tees

Counting Manipulatives and Fine Motor Skills 
 
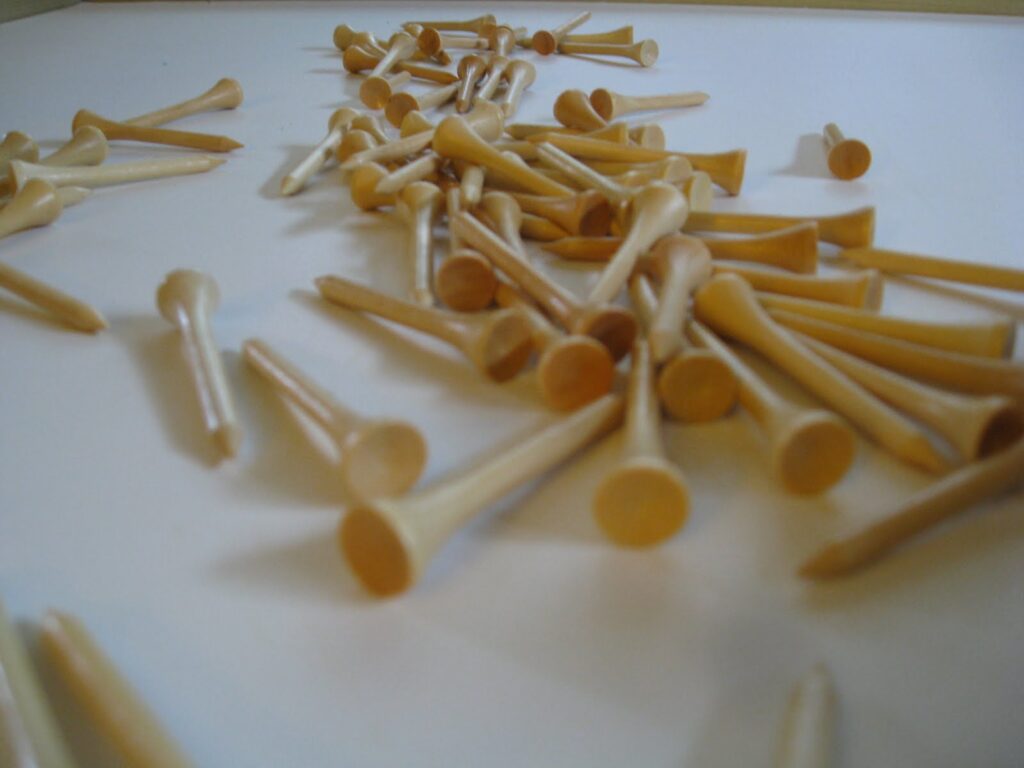
I picked these golf tees up earlier this year during a shopping trip, figuring we would use them for some activity…or actual golfing 😉 They were only a buck for 100 tees. We have these hammers from a Melissa and Doug toy and I thought we could use that to hammer the tees into some egg cartons. 


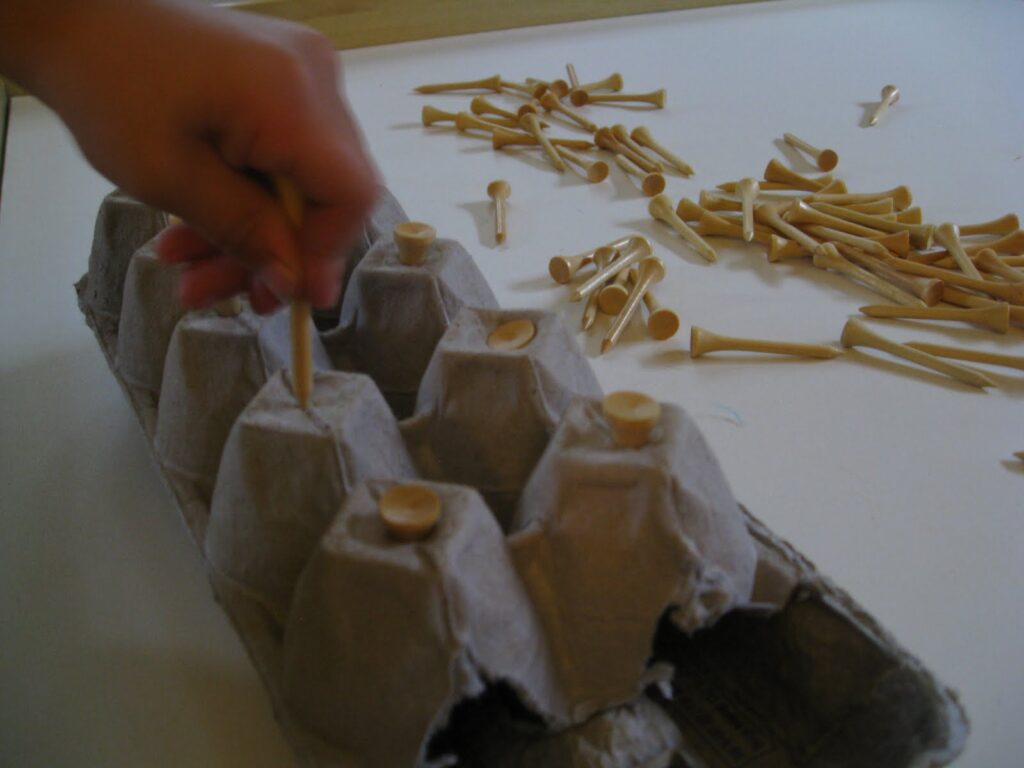
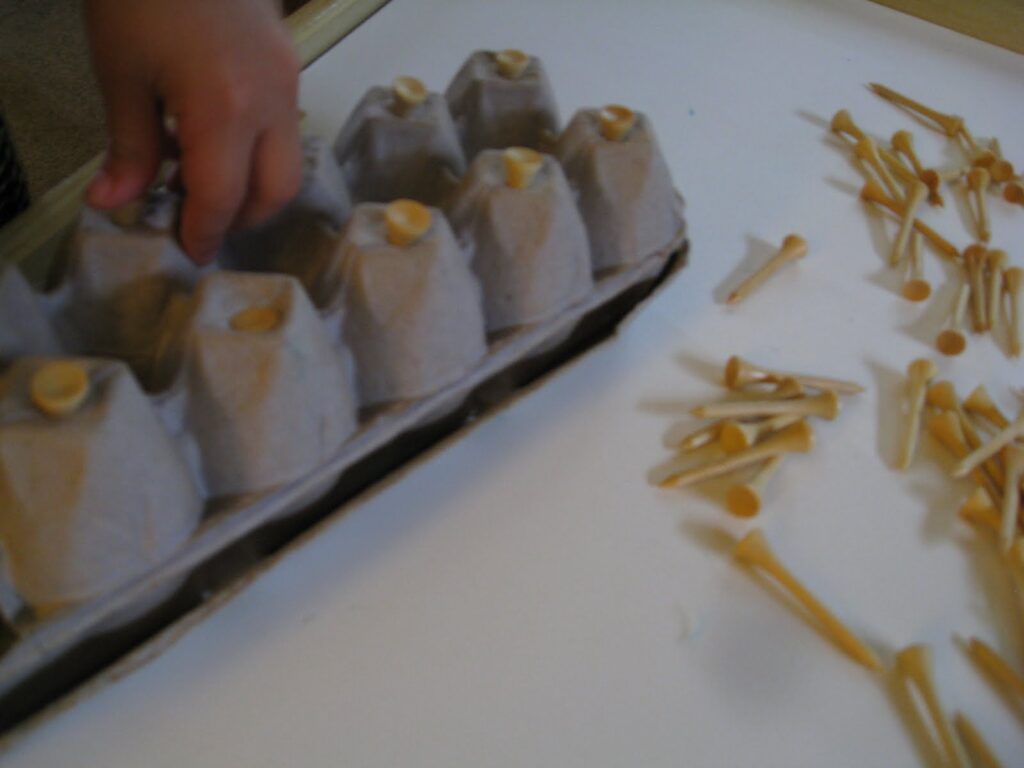
Little Guy used the golf tees (or Golf Teeth, as he called them), to count out how many he needed for the egg carton, learning to count out manipulatives. 
 
He’s working that tripod grasp to hold the tees, pushing them into the egg carton for resistance, building those intrinsic muscles for fine motor dexterity. 


Little Guy LOOOOVED this activity! He said, “Mom, when I grow up, I am going to do this because I’m going to be a Dad and Dads hammer.”  He has been asking to do the “Golf Teeth Hammer Game” every day, several times a day, ever since. 


Look at that Tripod Grasp. This is such a great activity for pre-writing and working on the correct and most efficient way to hold a pencil.


Holding the tee and the hammer provides awesome bilateral coordination (using two sides of the body together) and eye hand coordination.
 
These are needed for so many functional skills in play, dressing, handwriting, shoe tying.


You could do this with a cardboard box or Styrofoam. Putting it on an incline or vertical incline would add an extended wrist for improved grasp on the tee. 


We will be doing this activity again, for sure!
 
Want to work on more fine motor skills with fun and engaging play activities? Grab one of our fine motor kits!


Working on fine motor skills, visual perception, visual motor skills, sensory tolerance, handwriting, or scissor skills? Our Fine Motor Kits cover all of these areas and more.

Check out the seasonal Fine Motor Kits that kids love:
Or, grab one of our themed Fine Motor Kits to target skills with fun themes:

Want access to all of these kits…and more being added each month? Join The OT Toolbox Member’s Club!