I’m so excited to share fun ideas for learning in Babies and Toddlers. The super creative ideas are perfect for the 0-2 year age range, and would be a hit with older siblings, too. I’m definitely saving these ideas for after the baby gets here. Check out these ideas for your Baby or Toddler. You’re sure to have fun time!
Be sure to check out our resource on the best crayons for toddlers. We broke down child development and selected therapist-recommended coloring tools to support child development during the toddler years.
Playful learning ideas for 0-2 years:
Babies love to hear voices, and there is no time like right now to introduce books. These favorite Board books and printables (Totschooling) are sure to be a hit with your Toddler, too.
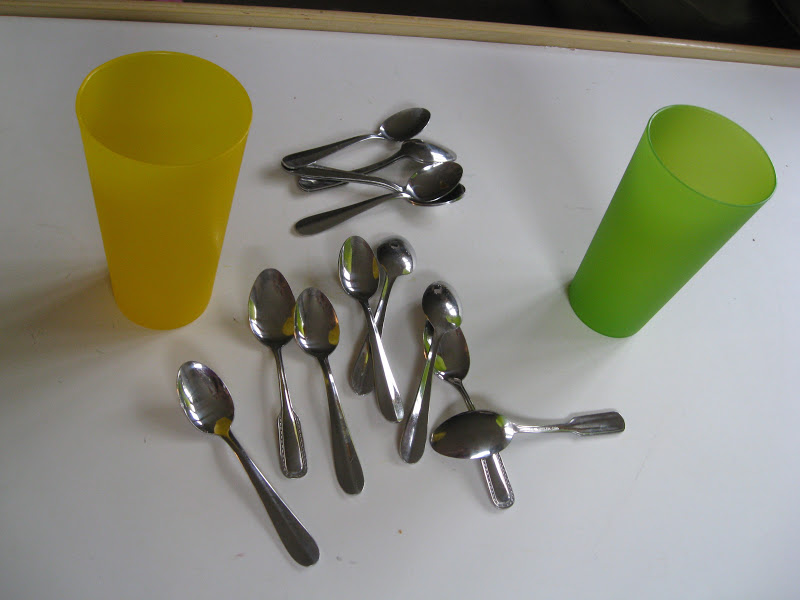
Put together a Kitchen treasure basket for babies (Living Montessori Now) to explore textures sounds, and shapes with baby-safe household items.
When I worked as an Occupational Therapist with pediatrics, I did a ton of work on scissor skills and pre-scissor skills. It was one of my favorite things to work on with school-based kiddos. There was an item in my therapy bag that I (and the kids) LOVED for scissor practice: bunny tongs. These are a great Easter activity for occupational therapy sessions, but we actually use them all year round. Here’s my OT tip: if you see a pair of these bunny tongs in the egg-dying section of stores around Easter time, GRAB THEM!
You’ll also want to check out our other Bunny Activities:
Now being at home with my own kids, it’s so much fun to pull out my OT stash of supplies and play. We pulled out a few things recently and the kids had a blast playing. And if you follow this blog, you know we do a ton of fine motor activities!
This is the ONE item you want to pick up from the Dollar Store this spring. It’s a must-have for OTs working in the schools or with kids on scissor skills.
You’ll want to check out our resource on how to hold scissors for more tips on the grasp aspect. The one thing I love about using the bunny tongs as a tool to support scissor skills is that it is a fun way to work on the mechanics of holding scissors.
Scissor Skills with Tongs
If you see these Bunny Tongs at the store this Spring, GRAB them up! These are awesome for scissor skills and besides being completely cute, they are SO fun to play with.
Adorable bunny + working on developmental skills= AWESOME!
These bunny tongs are out this time of year because they are really intended for dipping Easter eggs.
We’ve never actually used them for egg dying, but I’m guessing it’s a pretty cool way to dye eggs, too. I did find them on amazon (affiliate link), so if you can’t find these guys in the store, they are always available online.
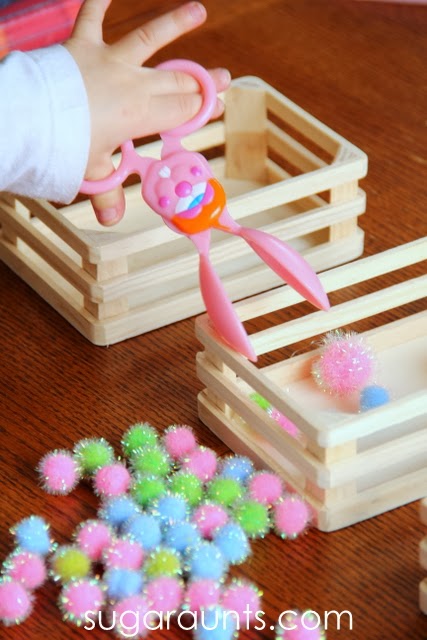
I set up this sorting activity for the kids one day using our bunny tongs. Scissor skills were really worked on with the repetition of picking up lots of assorted pom poms and sorting them into crates.
Baby Girl LOVED this activity. She went through and sorted pom poms at least three separate times. You can see how she’s got her ring finger and pinkie finger extended out as she opens the tongs in the picture above.
This is a great time to work on pre-scissor skills with her, so that as she does start with snipping with real scissors down the road, she maintains an appropriate and effective grasp on the scissors.
Tuck a small object into the hand when using the bunny tongs to work on grasp on scissors.
Tips for Cutting with Scissors
Not a great picture, but popping a crafting pom pom into the palm of her little hand is a great way to correct that grasp on the tongs (or scissors). This way, the child opens and closes the tongs/scissors with the thumb and pointer/middle fingers in an effective and more controlled manner. This will help with scissor control and line awareness.
If you’ve got a little one who cuts with scissors and snips all over the place, with their pinkie finger and ring finger extended out as they open the scissors, try this trick.
You can use any small item like a little eraser or pebble in the palm of their hand. It’s a good physical prompt to remind them to keep their hand closed as they cut with scissors.
Little Guy wanted in on this action too, and once Big Sister came home from school, she sorted the pom poms too. This was just fun!
Baby Girl resorted to just using her hands to sort later in the day. Still great for color matching and identification. we’ll definitely be doing this activity again. It was a huge hit for my kids as much as it was a hit for all of the school-based clients I’ve worked with over the years. It’s the cuteness of that bunny!
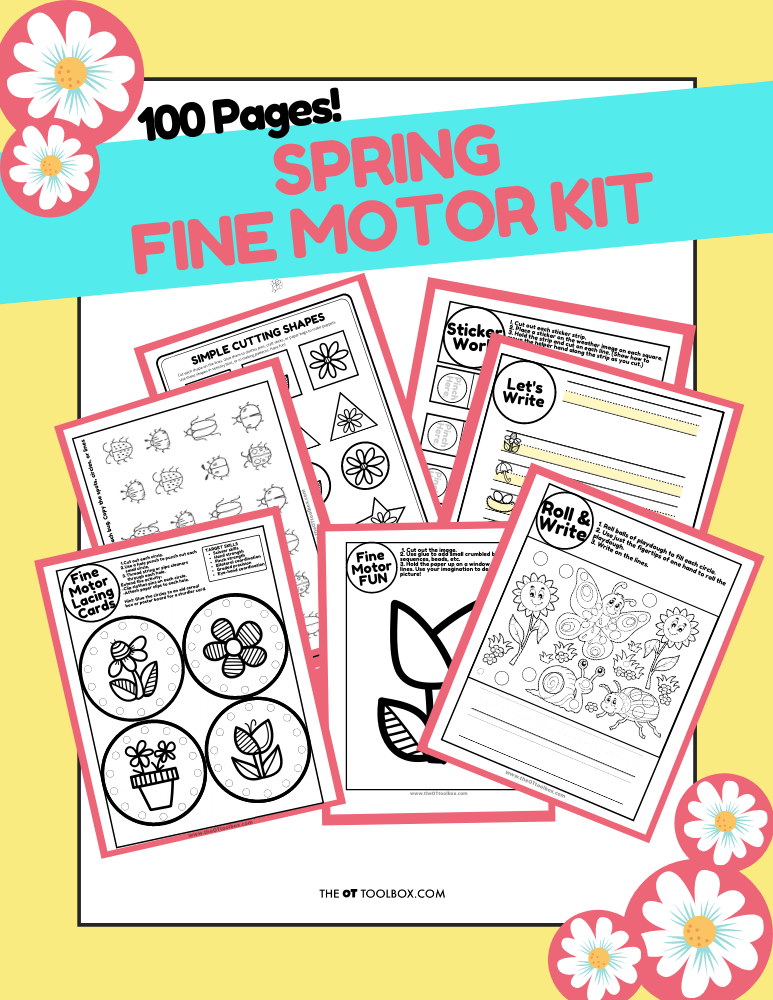
Spring Fine Motor Kit
Score Fine Motor Tools and resources and help kids build the skills they need to thrive!
Developing hand strength, dexterity, dexterity, precision skills, and eye-hand coordination skills that kids need for holding and writing with a pencil, coloring, and manipulating small objects in every day task doesn’t need to be difficult. The Spring Fine Motor Kit includes 100 pages of fine motor activities, worksheets, crafts, and more:
Colleen Beck, OTR/L has been an occupational therapist since 2000, working in school-based, hand therapy, outpatient peds, EI, and SNF. Colleen created The OT Toolbox to inspire therapists, teachers, and parents with easy and fun tools to help children thrive. Read her story about going from an OT making $3/hour (after paying for kids’ childcare) to a full-time OT resource creator for millions of readers. Want to collaborate? Send an email to contact@theottoolbox.com.
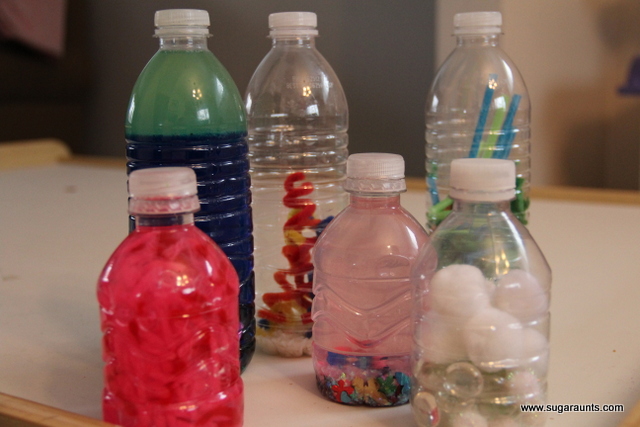
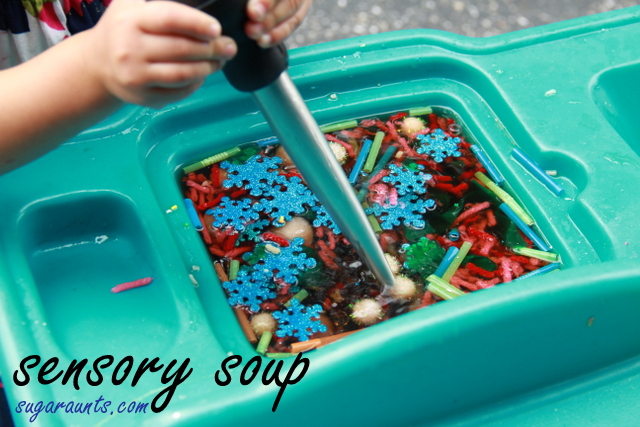
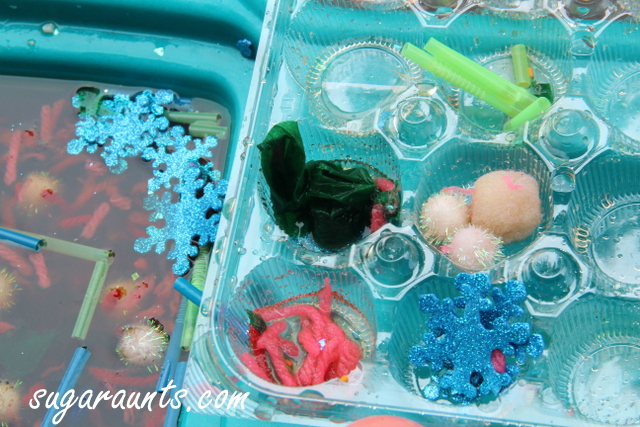
This was a child-led activity after …someone… emptied a bunch of our sensory bottles into the little play sink! I had super glued the lids shut, but a bigger cousin had a great idea to cut the bottles open. Super good problem solving, right? We had all kinds of things in this little sensory sink…pieces of straws, bits of yarn, glitter, foam snowflake stickers, crafting poms…It was very sensory!!
So, what does a mom do…don’t stress the mess, roll with it 🙂
Fine Motor Sensory Play
I added a few utensils from my kitchen to scoop, transfer, and stir…and a couple of containers from our recycle bin. Baby Girl had a blast with this while the big kids were at school.
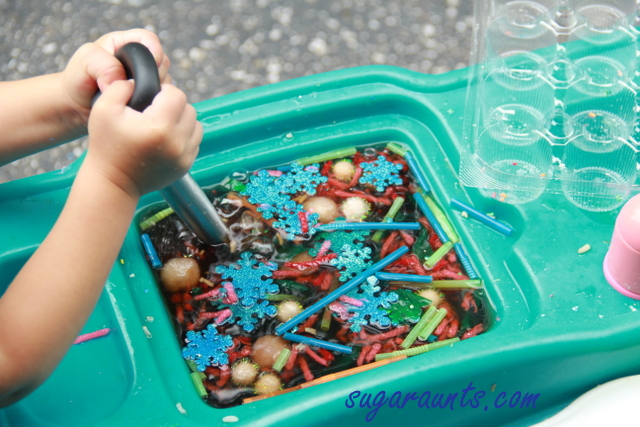
Using the Turkey baster to squeeze is such a great hand strengthening activity! Transferring the objects with a spoon really works on her visual motor skills. Scooping up crafting poms from that sensory water is a great task for an almost 2 year-old.
Sensory Sorting
Baby Girl sorted the objects into sections of a muffin container, with a little verbal cueing from Mom. This is a fun way to incorporate sorting into sensory play…and she loved pretending to cook in her little kitchen!
It was a pretty fun way to recycle our sensory bottles!
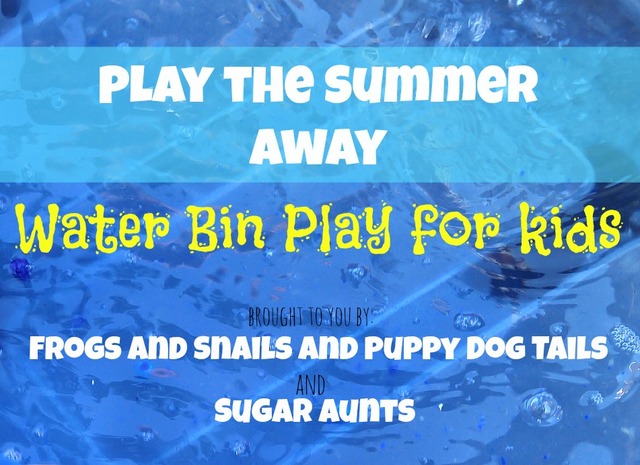
This was our last water bin in our Water Bins for Kids series with Frogs and Snails and Puppy Dog Tails. This was definitely the most fun water bin for us this summer! We ended the series with a splash!
(Yes, had to go there!!)
This is a great addition to a color by letter worksheet. Just print and go and work on so many areas of development.
Letter Water Bin
This week’s theme was Color Matching!
Two of us sisters got together one day this week and had SO much fun with the kids on a hot and sunny afternoon.
We started with a colorful plastic bin and filled it with water. We threw in our bin of colorful magnetic letters (see another fun letter sensory bin here), and egg dying cups in lots of colors.
We started by scooping the letters into the floating cups and trying to catch the matching letter. We asked the kiddos what letter they found, the color, and if the letter color matched the cup.
This activity is a good one for bilateral hand coordination, eye-hand coordination, and fine motor skills. They had to use both hands together in a coordinated manner, while visually tracking the letters as they flowed around in the water. Then, with both hands on the cups, scoop up the letters. How fun!
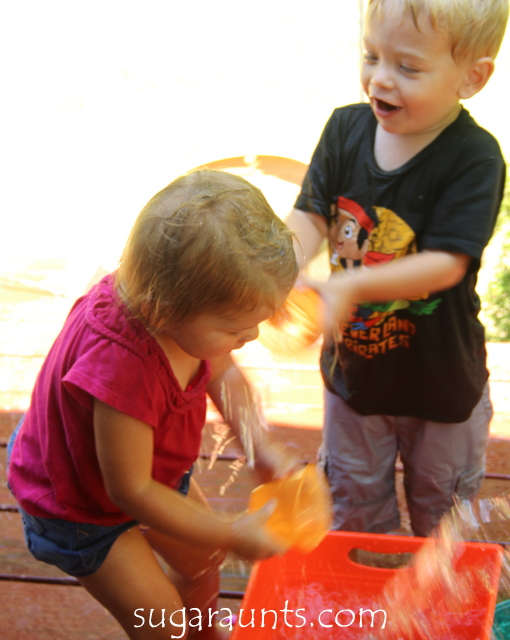
Of course, when these cousins get together, there is sure to be silliness. The two younger ones were the instigators in the splash down.
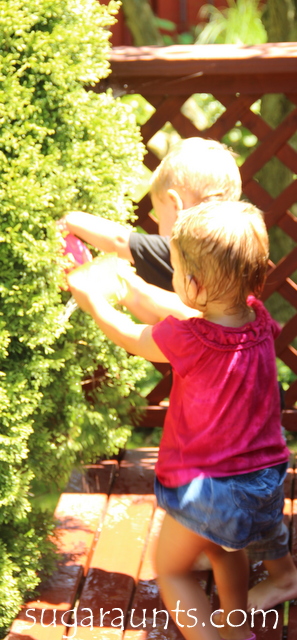
We pulled out a metal curtain rod and stuck a magnet to one end. It stuck to the curtain rod and was able to attract the magnets of the letters. Little Guy LOVED this!
We pulled all of the colored cups out of the water and had the kids “fish” for the letters and put them into the matching cups.
Little Guy could have done this for an hour, I think…if it were not for his fun-loving little Sister and cousin dumping water on everyone.
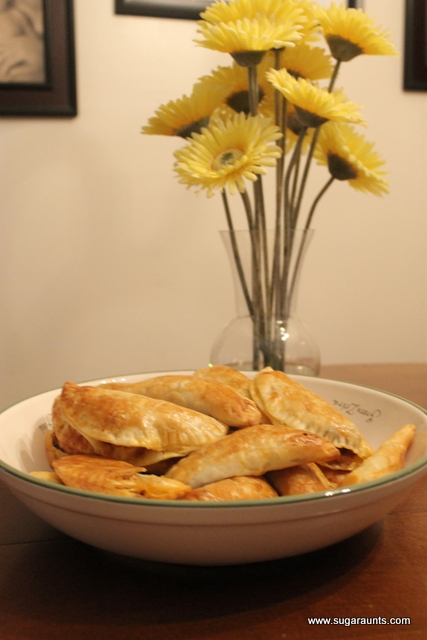
This taco empanadas recipe is a quick and delicious meal you can make using leftover ground beef, chicken, or ground turkey. Leftover taco meat is perfect for making taco empanadas! This Mexican empanada dish is a delicious one for all ages. If you are looking for a cooking with kids recipe that the whole family will love, this one is it!
Taco Empanadas
This recipe is just too easy not to share with you…and the best part is our kids love it (and love to help make it)! I made these one day last week for a play-date and the kids thought they were pretty neat.
You can improvise the filling with anything you think would be good…I have made them with chicken, ground turkey, and the traditional beef empanadas.
Taco Empanadas Ingredients
To make the taco empanadas, you’ll need to first gather your ingredients:
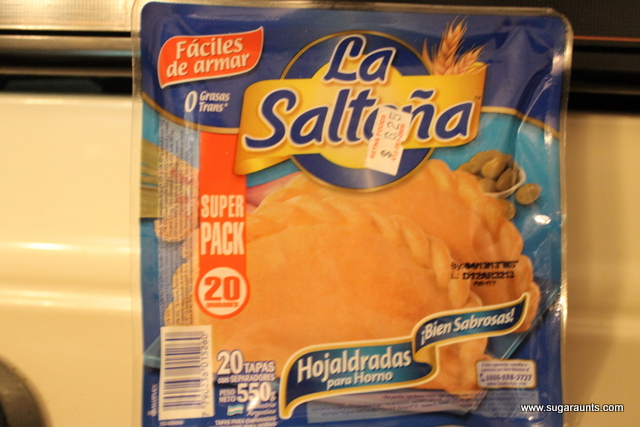
Mexican pastry shells
1-1.5lb ground beef
One package Taco Mix
6oz salsa of your choice
How to make taco empanadas:
Start out with these pastry shells, I get them in the local Mexican store in the refrigerator section. I usually pick up several packages and keep some in the freezer.
2. Brown the ground beef- I browned some ground meat in the slow cooker, added a package of taco mix and half a jar of mild salsa. Let this cook until the meat is browned and it is ready to fill the shells.
3. Spray a cookie sheet with cooking spray so the shells don’t stick.
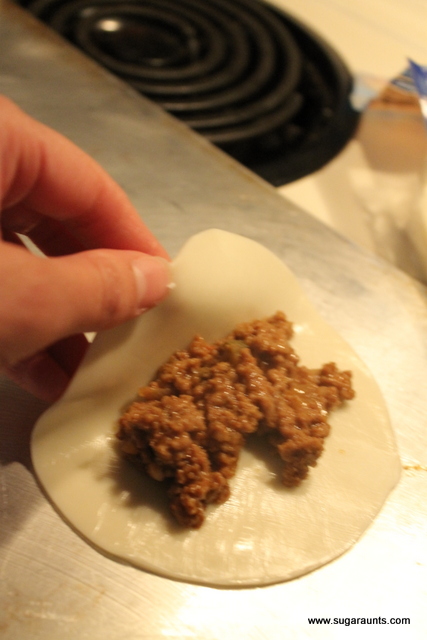
Here comes the part the kids love helping with…
4. Fill the shells with the meat mixture and fold over.
5. Use a fork to press the shells together.
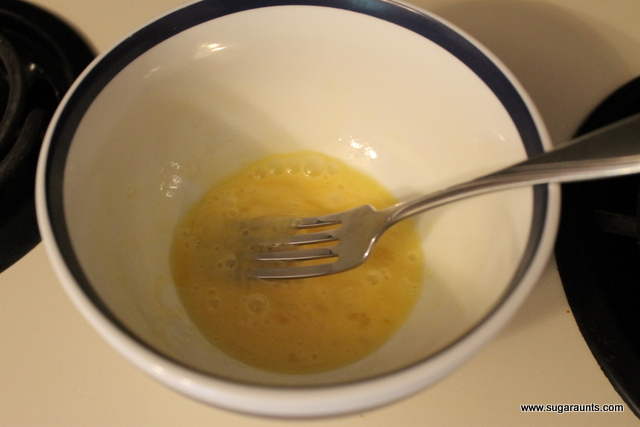
6. Wisk an egg and lightly paint the shells with the egg. My four year old daughter loves helping with this part.
7. Using the fork while pressing into the dough is great for her little fingers.
8. Bake in oven at 375 degrees F for approximately 20 minutes or until golden brown. Delicious!
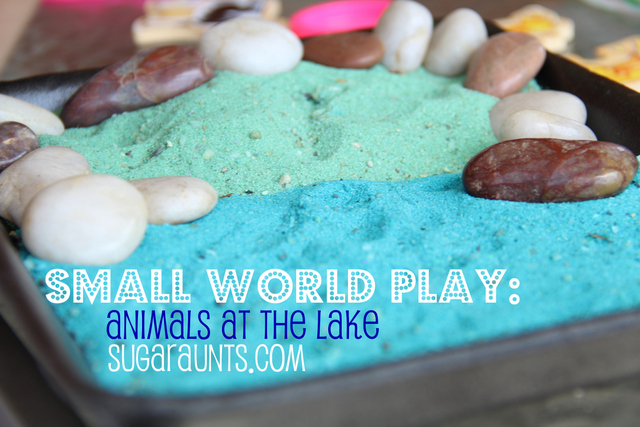
Many years ago, we made a creative ocean and beach small world play activity and it was a Summer hit! Whether you are looking for activities to keep the kids busy at home through hands-on, sensory play, OR if you need Summer occupational therapy activities to use in skill-building, a beach small world is a fun way to play!
Beach Small World Play
Creating a beach small world using miniature animal forms and homemade colored sand can be a fantastic sensory activity for children.
It doesn’t take much to create a small world, and the benefits are huge:
Imagination and Creativity: Small world play encourages children to use their imagination and create their own narratives and scenarios. They can invent stories, develop characters, and build unique worlds, fostering their creative thinking skills.
Language Development: Small world play often involves storytelling and dialogue, which helps children enhance their vocabulary, expressive language skills, and communication abilities. They can practice describing objects, expressing emotions, and engaging in role-play, leading to improved language development.
Problem-Solving and Critical Thinking: When engaging in small world play, children encounter various challenges and obstacles. They learn to think critically, problem-solve, and find solutions to overcome these challenges, fostering their cognitive skills.
Fine Motor Skills: Manipulating and arranging small objects in a small world setting requires precise hand-eye coordination, dexterity, and fine motor skills. Children practice grasping, pinching, and manipulating objects, which can enhance their fine motor abilities.
Social Skills and Cooperation: Small world play often involves collaboration and cooperation when children engage in shared storytelling or role-playing scenarios. They learn to take turns, negotiate roles, and collaborate with others, promoting social skills and teamwork.
Emotional Expression: Small world play provides a safe and controlled environment for children to express their emotions and explore different feelings through their play narratives. They can process and make sense of complex emotions, develop empathy, and practice emotional regulation.
Sensory Stimulation: Small world play often incorporates sensory elements, such as sand, water, or different textures. Engaging with these sensory materials stimulates children’s senses, promotes sensory exploration, and contributes to their sensory development.
Knowledge Acquisition: Small world play can be a great tool for learning about different concepts and subjects. Children can explore nature, geography, history, and various themes as they create their miniature worlds, leading to knowledge acquisition in a fun and engaging way.
How to make a beach small world
With a bit of imagination, parents can transform a small tray or container into a mini seaside paradise.
You’ll need to first gather just a few items to make a beach small world activity:
Animal figures: seagulls, crabs, and dolphins, fish, or other animals
Tray or Container: Select a shallow tray or container that is large enough to hold the materials and provide a play space for your child. It can be a plastic tray, a wooden box, or any other suitable container.
Sand: Use play sand or kinetic sand to create the beach or ocean floor. You can also dye the sand using food coloring like we did to make our homemade colored sand
Water: Incorporate a small amount of water into your small world setup to represent the ocean. You can use a separate container for the water or create a section within the main tray for a shoreline or shallow water area.
Rocks and Shells: Gather some small rocks and seashells to create a more realistic beach or coastal environment. You can collect these from a local beach or purchase decorative ones from a craft store.
Plants and Foliage: Consider adding some greenery or beach vegetation to enhance the sensory setup. You can use fake or dried plants, small artificial trees, or even real seaweed (if available and safe to use).
Tools and Utensils: Provide some child-friendly tools and utensils for scooping, digging, and creating patterns in the sand. Small shovels, spoons, sieves, and rakes can be used to enhance the sensory experience and encourage fine motor skills.
Optional Accessories: Depending on your preference and the space available, you can include additional accessories like toy boats, small beach umbrellas, mini beach chairs, or even a small plastic container to mimic a tidal pool.
As children manipulate the sand, feeling its texture and watching it flow through their fingers, they enhance their sensory development.
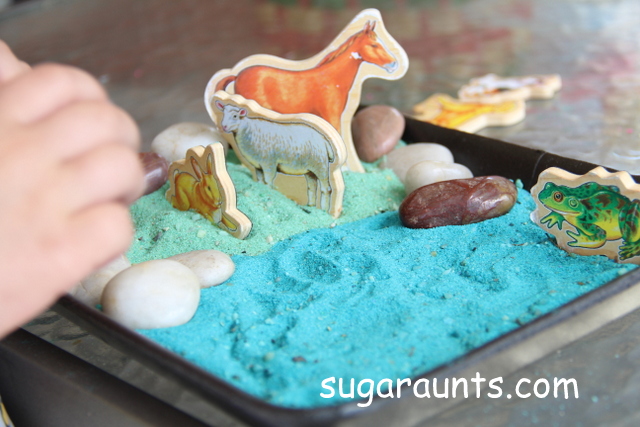
We used our DIY Colored Sand to do a little pretend play one rainy afternoon.
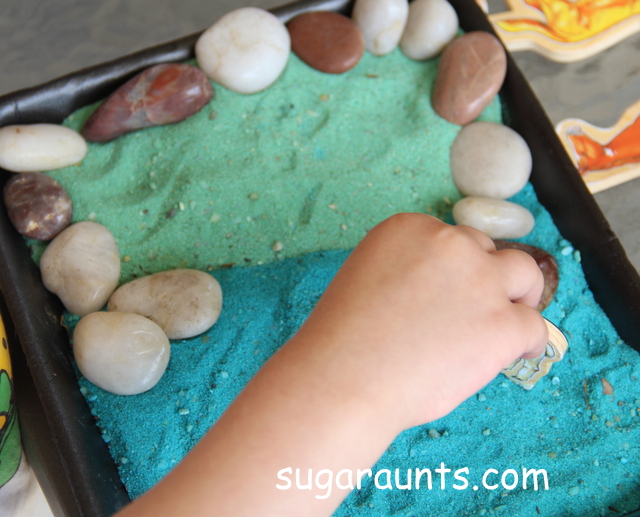
We used our refrigerator farm animal magnets and had fun with our pretend lake. Once you know how to make colored sand, you can use it for so many sensory bin activities!
It was a fun day at the lake 🙂
The bunny went swimming…
And the temptation was too great…we HAD to mix the two colors of sand together.
Looking for more ways to have fun this Summer? Grab a copy of the Summer Kit!
There are so many fun ways to use stickers for fine motor skill development.
Stickers can be used in scissoring to work on accuracy, scissor control, snipping paper, manipulating the paper to turn corners and curves when cutting. It can be really tricky for a kiddo to manage all of those areas if they have any fine motor/visual motor/eye-hand coordination…or any trouble area(s) that effects their ability to accurately maintain line awareness when cutting paper.
And for pre-schoolers, it can be really fun to use stickers in a cutting activity.
Anything that makes things different. Or silly.
It makes an activity Interesting!
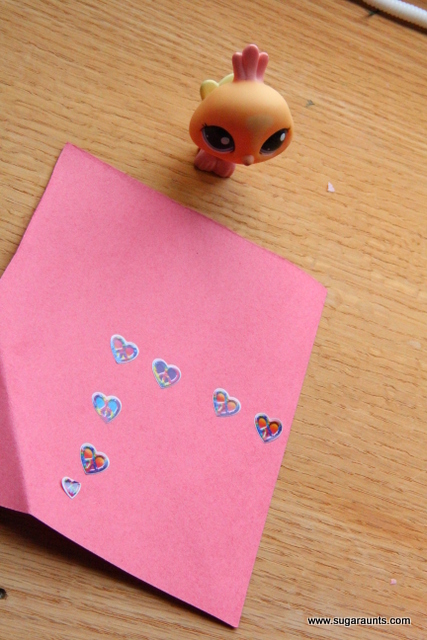
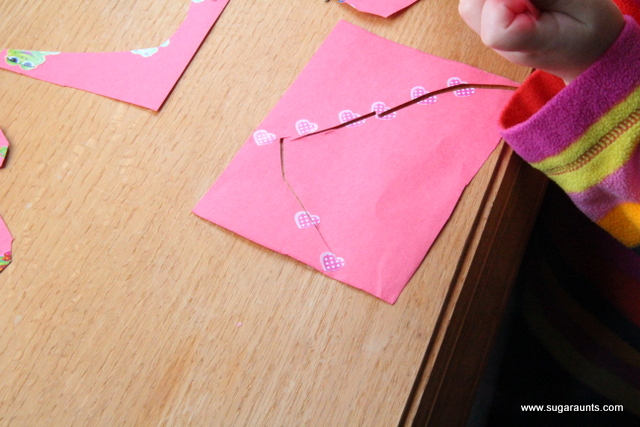
We used some heart stickers in honor of Valentine’s Day…
(and also because we have millions of them)
to make some curves, squares, and angled lines…and to practice a little cutting!
This little bird stopped by to watch 🙂
What else can you do with stickers when practicing cutting…
~Cut along a line of stickers, like we did.
~Use a sticker only at the corners of an angled shape (the corners of a triangle) to signal when the child should turn the paper.
~Place stickers along the edge of the page, to show where the child should hold the paper with his “helping hand”, and signal when he should move his hand along. This would be a good guide for kids with trouble coordinating both hands when cutting.
~For the child who needs help knowing when to open/shut the scissors to snip with smooth cuts, place stickers along the line signaling when to open/shut the scissors. This can be a visual cue to assist the child.
~Using Fiscar scissors (or other scissors that have a smaller thumb opening): Sometimes kids will get mixed up about which opening their thumb goes in when they hold the scissors. If they are holding the scissors upside down because of this, it can lessen the control they have when they cut. Place a sticker on the scissors to they know which hole they should put their thumb into.
~Practice scissor control: Place stickers randomly around a page and have the child cut from the edge of the paper up to a sticker and then stop before they cut into the sticker.
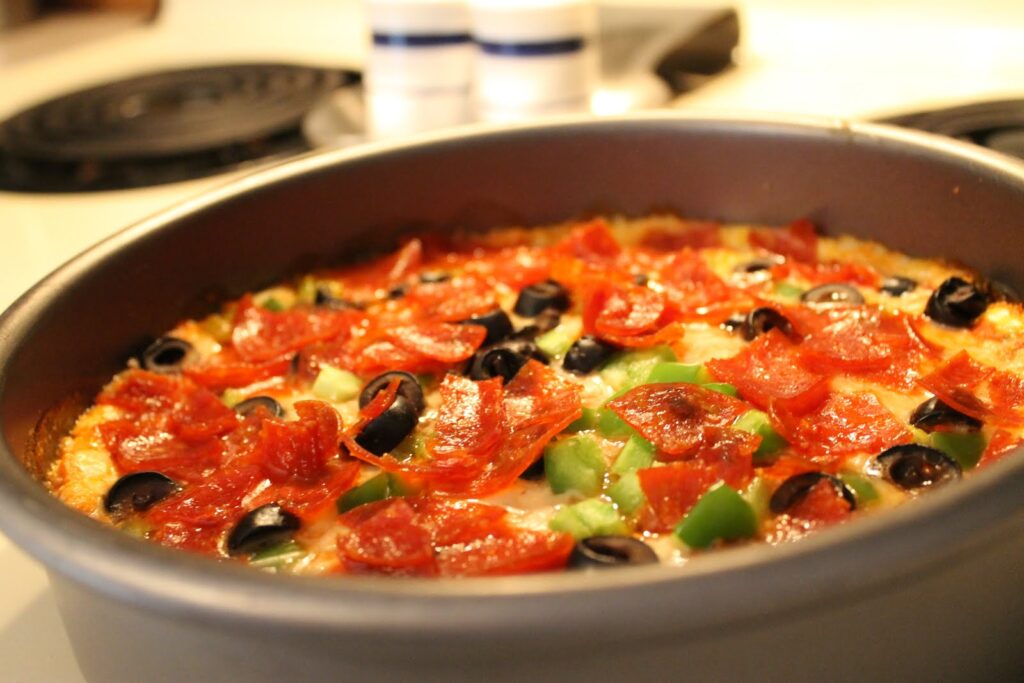
I made this dip for a Labor Day party and it was AMAZING! I will be adding this to my recipe book and making it again. It smells like someone just baked a pizza in the kitchen…it is hot and bubbly and tastes like a warm gooey pizza. You gotta try this! Scoop it up with some bruchetta bread or crackers.
4 ounces cream cheese, room temperature
1/4 cup sour cream
1/4 cup mayonnaise
1/2 cup mozzarella, shredded/grated
1/4 cup parmigiano reggiano (parmesan), grated
1 cup tomato sauce
1/2 cup mozzarella, shredded/grated
1/4 cup parmigiano reggiano cheese shredded/grated
2 ounces pepperoni, chopped slices
2 tablespoons chopped green pepper
2 tablespoons black olives, sliced
1/2 tsp italian seasonings
Directions
Mix the cream cheese, sour cream mayonnaise, mozzarella and parmigiano reggiano and spread it across the bottom of a pie plate.
Spread the pizza sauce on top and sprinkle on the cheese, pepperoni, green pepper and olives.
Bake in a preheated 350F oven until the sides are bubbling and the cheese cheese has melted and turned golden brown on top, about 20 minutes.