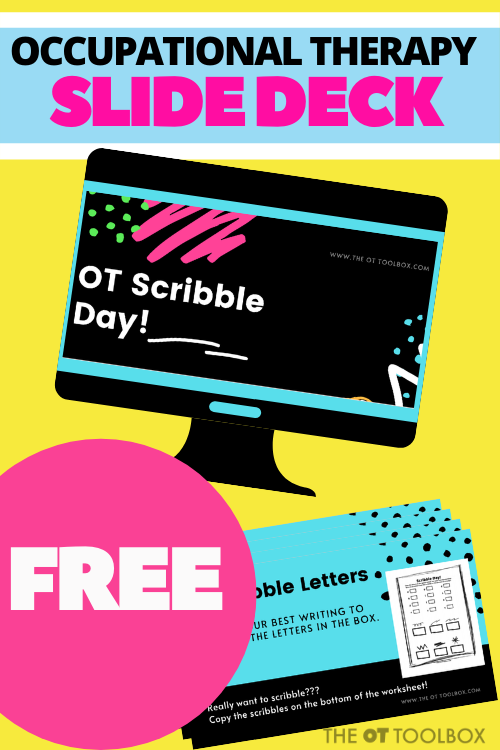
Have you been enjoying the occupational therapy slide decks available here on The OT Toolbox? In case you’ve missed them, the virtual therapy slide decks have been a hit with therapists seeking out OT activities that can easily be used in occupational therapy teletherapy sessions or distance learning sessions using little to no equipment. Today, I’ve got a space theme activities therapy slide deck to share…perfect for the kiddo that loves a space theme in learning or therapy sessions and a therapist or parent who loves to see goal progress! Below, you’ll find access to a free OT slide deck to use in addressing specific OT goals. Just modify the activities to meet the needs of your clients or students. This slide deck is a lot like some of my other recent therapy slide decks...you’re going to love this one!
The outer space activities cover a variety of areas: Fine Motor skills, visual perception, handwriting, and self-regulation…all with a space theme. Each activity in the collection involves movement activities that build specific skills. Scroll to the bottom of this post to enter your email to access the latest free occupational therapy slide deck.
Space Activities for Kids
This space theme activity set is great for younger kids who love all things rocket ships, astronauts, planets, and outer space. I know that there has been a lot of difficulty with getting some kids to pay attention during teletherapy sessions. Some kiddos run off during virtual therapy. Others turn off the screen or refuse to work on the session tasks. This space theme slide deck is great for the kids that need help focusing to work on various skill areas.
Pair this free slide deck with some hands-on, multisensory activities for a space theme:
- Outer Space Theme Therapy Slide Deck (includes self-regulation, fine motor activities, handwriting, and movement activities, all with a space theme for therapy sessions)
- Space Activities– use these hands-on activities to work on motor skills.
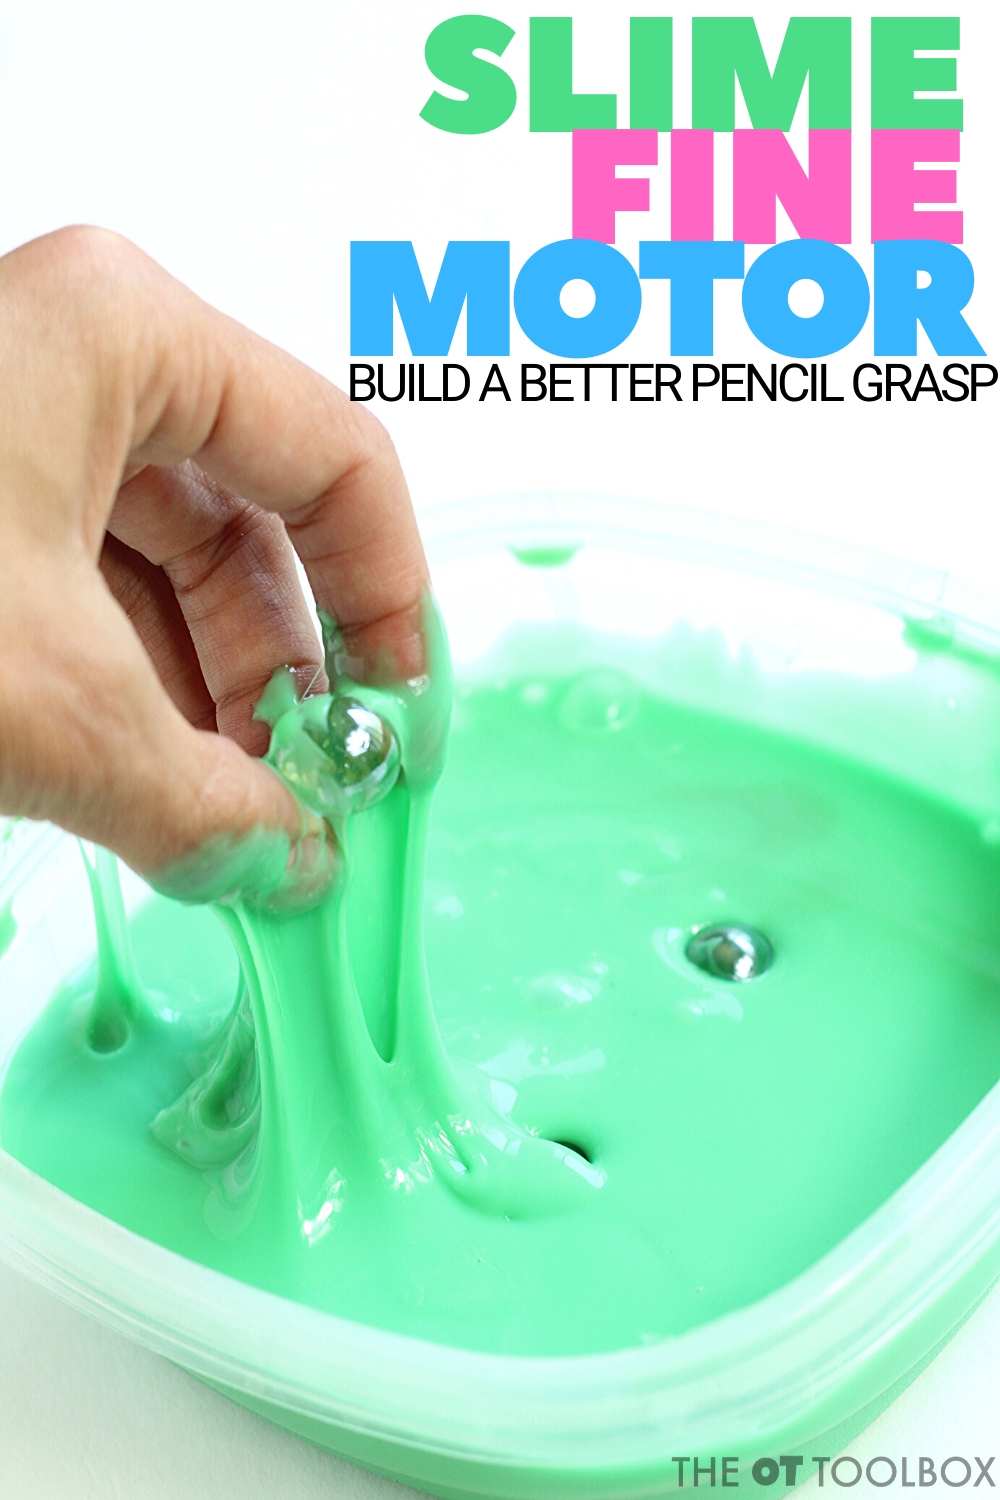
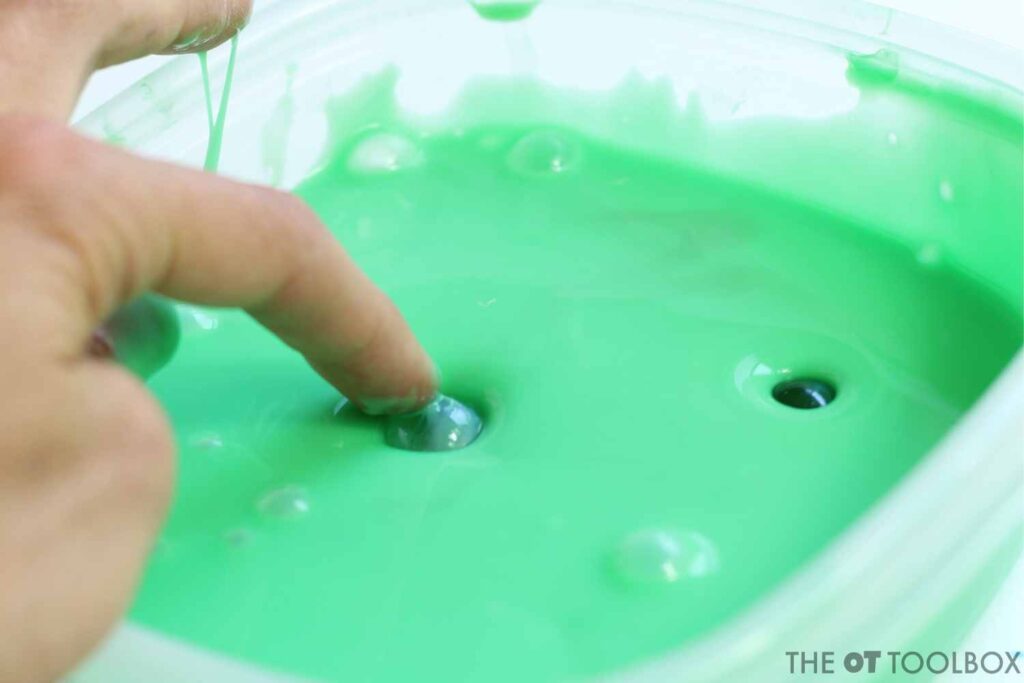
- Galaxy and Outer Space Sensory Activities– Use these sensory activities for sensory play, sensory challenges, and multisensory learning.
- Space Play Dough Mat– work on hand strength, precision, and eye-hand coordination with a free space theme play dough mat.
- Outer Space Visual Perception Worksheet #1- This free printable worksheet addresses visual perceptual skills with planets.
- Outer Space Visual Perception Worksheet #2– Be sure to grab this one, too.
- Martian Spacing Tool for Handwriting– Make a spacing tool with an outer space theme and incorporate fine motor work as well as visual spatial skills in handwriting.
- Bilateral Coordination/Math Space Maze– This space math activity is great for learning concepts, but the therapy benefits are even greater!
- Outer Space Books– This collection of space books are fun for incorporating books into therapy sessions.
AND, a new resource has been added to the shop: Outer Space Fine Motor Mini-Kit.
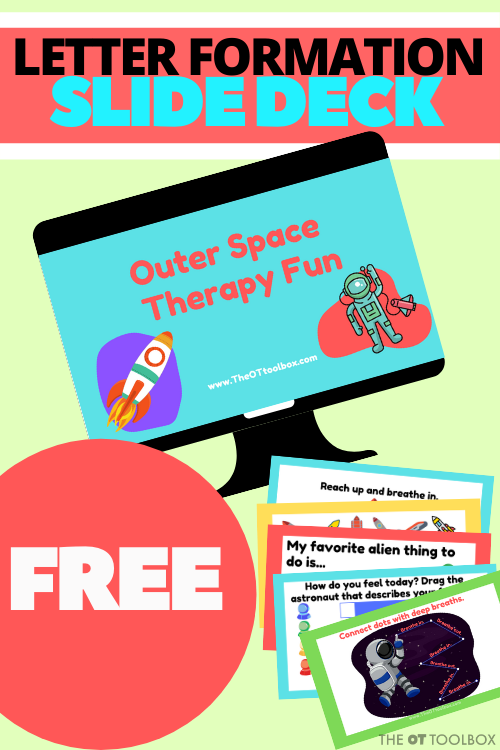
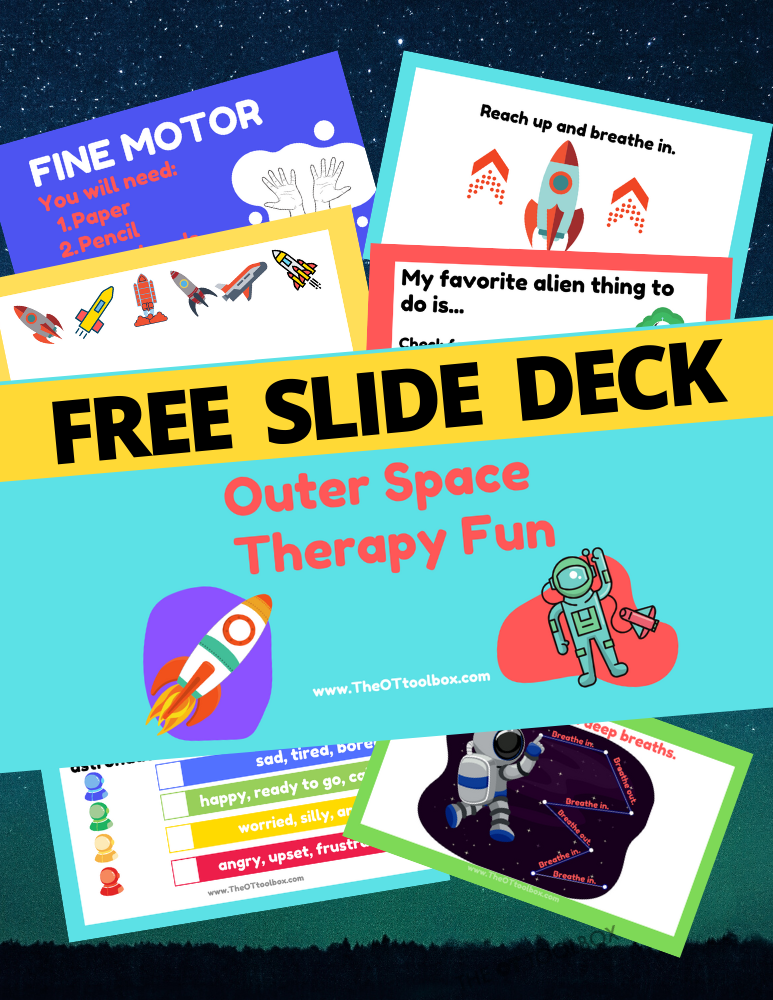
Space Therapy Slide Deck
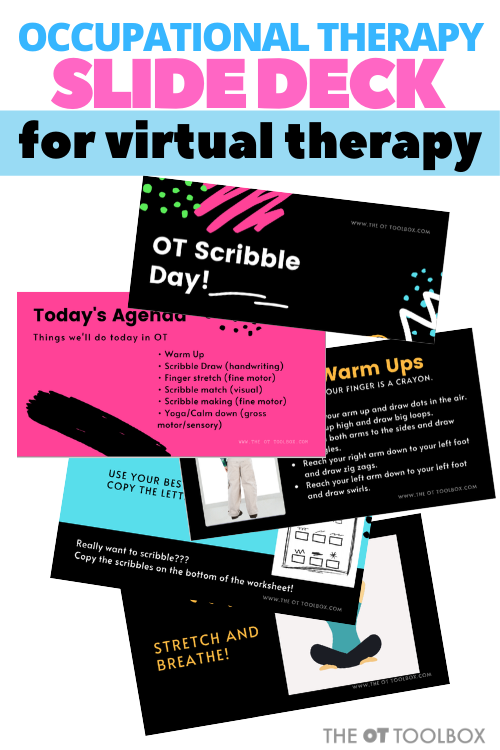
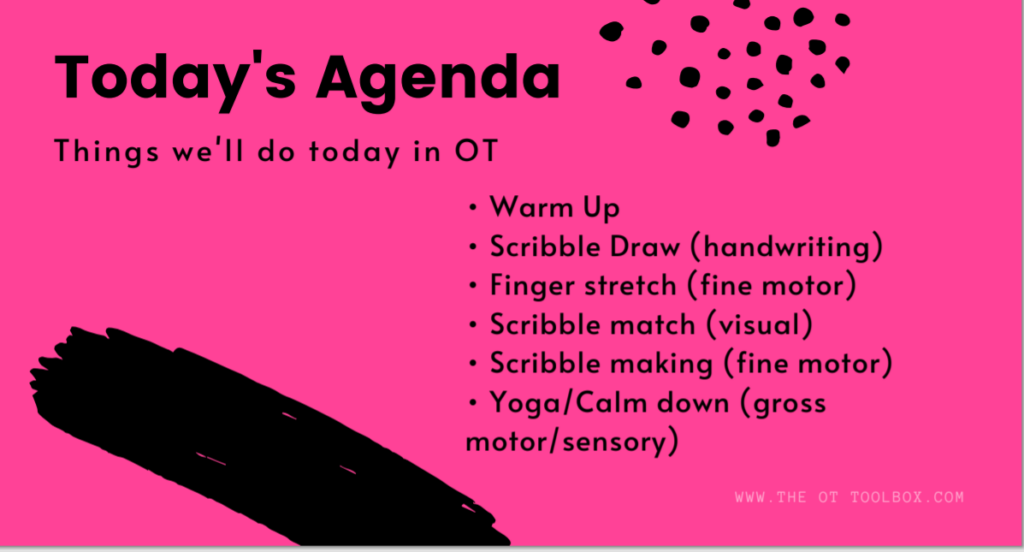
This slide deck is interactive, too making it a fun way for kids to stay engaged during teletherapy sessions. Here’s what’s included:
The slides in this space themed virtual session include a warm up, a writing activity, a fine motor task, a visual perception session, and a calm down/self-regulation check in.

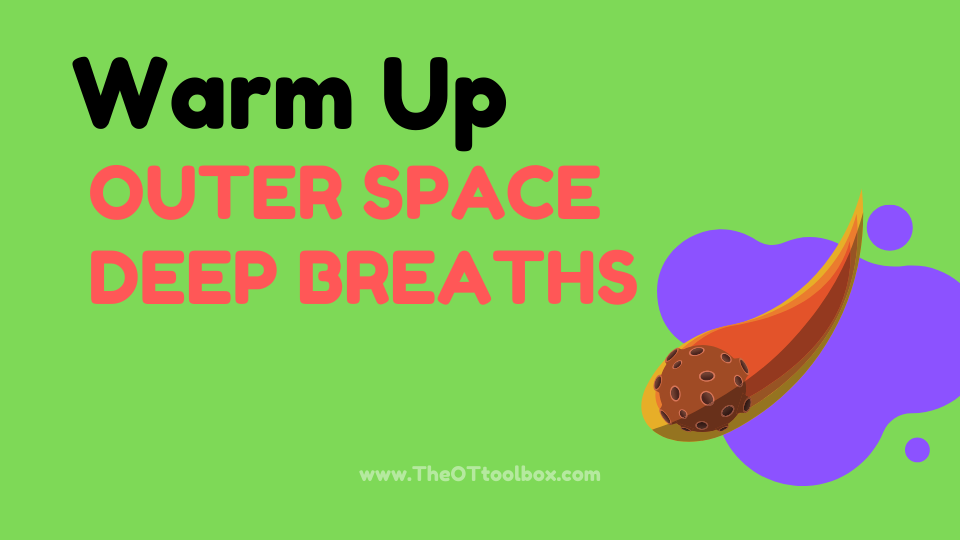
Warm Up Activity- Kids can start the session with outer space deep breaths. This is one of my favorite slides on the slide deck because children can drag an interactive star along a path, working on visual motor skills, motor planning, eye-hand coordination AND deep breathing skills to help with worries or anxiety. This slide is a great way to start off a therapy session or a distance learning session.

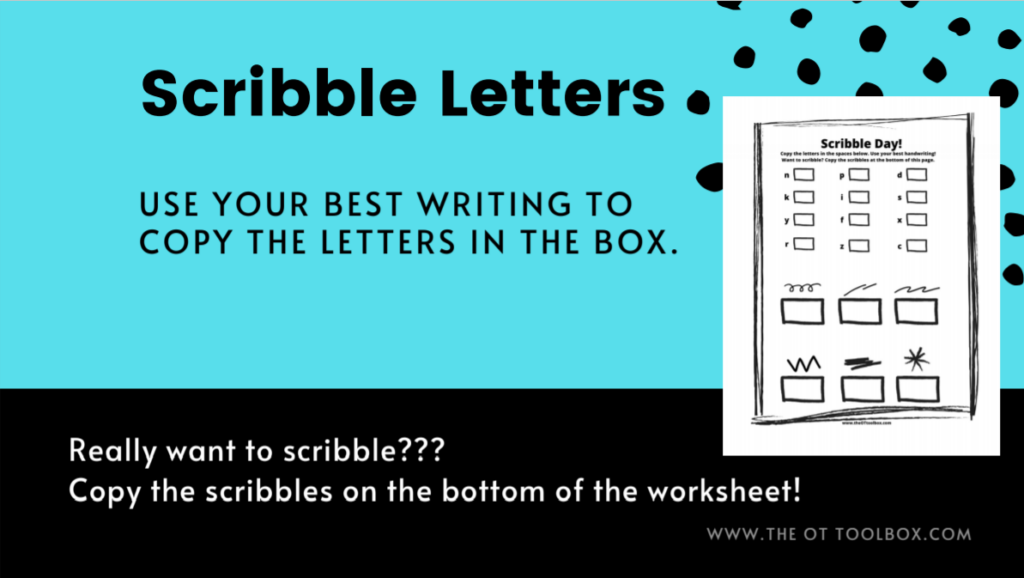
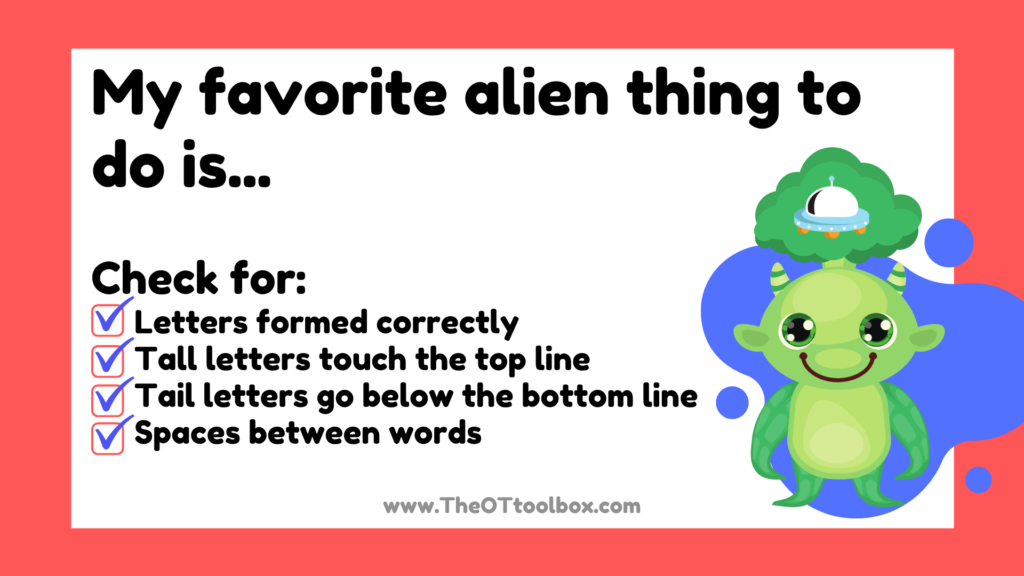
Space Writing Activity- The handwriting portion of this OT slide deck includes three space themed writing prompts. There is a self-check component so children can assess their handwriting for each prompt. Kids working on letter formation, line awareness, spacing, and legibility will benefit from this section of the slide deck.
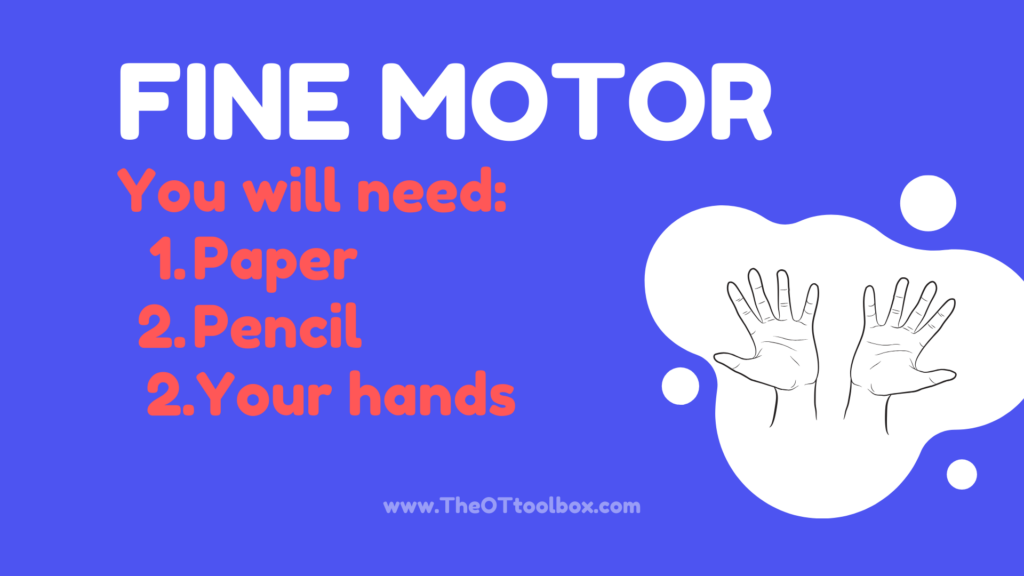
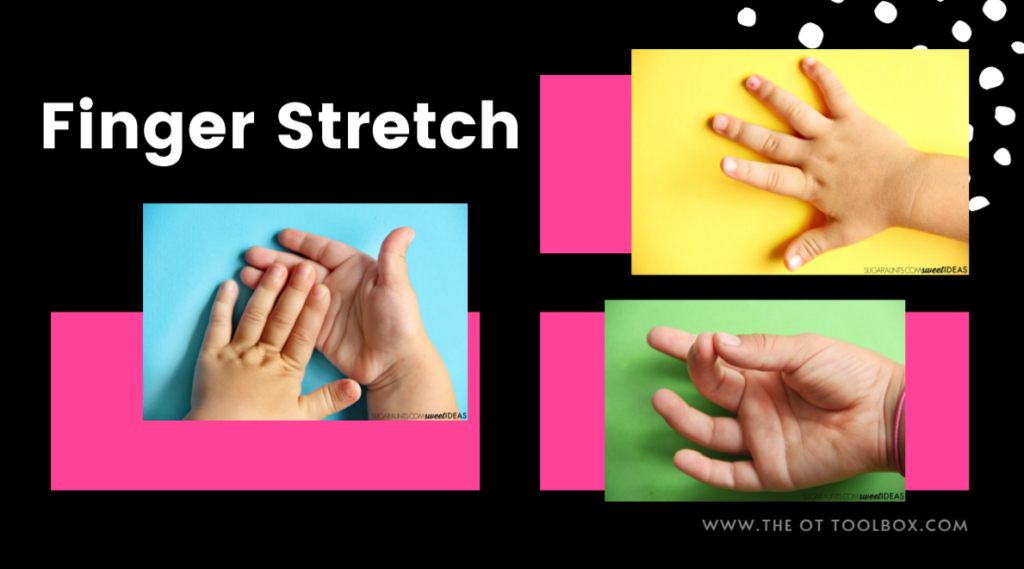
Fine Motor Space Activity- This activity is a fun one, and it uses only a couple of items that children should already have in the home: paper, a pencil, and their hands. Children can follow the directions on the slides along with the therapist to complete a fine motor activity that builds hand strength, coordination, bilateral coordination, arch development, motor planning, precision, an open thumb web-space, and more.


Space Visual Perceptual Skills- The next section of the slide deck includes two slides designed to build visual perceptual skills including form constancy, visual discrimination, figure-ground. Visual processing skills such as visual scanning and visual tracking, and eye-hand coordination are challenged with these slides as children can click on the colored images and drag it to to the shaded shadow match. There are two separate slides in the vision section.

Calm Down- This coping tools section of the outer space slide deck includes deep breathing tools to help kids focus on effective breathing and positioning.

Check-In- Lastly, you’ll find a calm down slide that incorporates the colors of the Zones of Regulation program. Children can complete the calm down movement activities shown on the slides and then choose a color to check in for their state of feelings. They can click on the colored astronauts and drag it to identify their current state.
Want this Space Theme Activity Set?
Enter your email below. If you are currently on The OT Toolbox newsletter list, this will not add you a second time. It will simply send the slides your way. Enjoy!
HERE ARE MORE MOVEMENT ACTIVITIES TO USE IN VIRTUAL OT SESSIONS
Heavy work movement activity cards
Teletherapy activities for kids

Colleen Beck, OTR/L has been an occupational therapist since 2000, working in school-based, hand therapy, outpatient peds, EI, and SNF. Colleen created The OT Toolbox to inspire therapists, teachers, and parents with easy and fun tools to help children thrive. Read her story about going from an OT making $3/hour (after paying for kids’ childcare) to a full-time OT resource creator for millions of readers. Want to collaborate? Send an email to contact@theottoolbox.com.
Know a kiddo that loves all things space, astronauts, and planets? The Outer Space Fine Motor Kit is your chance to develop fine motor strength, dexterity, and coordination skills.
Addressing hand strength, endurance, and precision is out of this world fun! The Outer Space Fine Motor Kit includes:
- Fine Motor Mazes
- Fine Motor Ten Frames for motor activities
- 1-20 Star Counting Cards
- Bead Copying Strips
- Space Alien Directed Drawing Sheets
This fine motor kit includes 24 pages of printable resources. Included in this printable pack are:
- Two pages of color coded bead copying strips
- Two pages of blank bead copying strips
- Four pages of “draw and write” directed drawing activities with a space theme (Includes 3 styles of handwriting lines: highlighted lines, single rule, and double rule)
- Nine pages of fine motor mazes
- 1-20 Outer Space Counting Cards
- Four pages of fine motor ten frames activities
These printable activities extend to work on a variety of other functional areas, too: handwriting skills, numbers, math, adding, subtracting, one-to-one correspondence, scissor skills, coloring, and more.
Click HERE to grab the Outer Space Fine Motor Mini-Kit.