Our theme for this week is Swamp/Alligators/Turtles…and Oh Yeah, this one was fun!
We used these Bath Color Tablets to make our water bin green. They only have primary colors in this set, so we talked a little about what makes green.
It was pretty cool to see the colors fizzing together in to a green swampy water!
Once we had our swamp water, I pulled out a bin of frogs, alligators, turtles, lily pads cut from foam crafting sheets, and bug shaped foam stickers.
Little Guy discovered that he could stick the foam stickers to the walls of the bin. He had a whole little story going on here. The bugs were a family and the alligators came by for a visit…there was a little battle and the bug family and alligator family went their separate ways 🙂
There were hands everywhere playing in this water bin! Sign of great sensory play 🙂
We have these little squeeze water toys that were a pretty fun addition to our swamp water bin. And so good for fine motor strengthening. When a child pinches the squeeze toys between their thumb and fingers, they are strengthening the arches of their hands.
Yes, we can add grass to our swamp.
We have been loving this play series…SO much fun! We’ve been adding our water bins to our Pinterest board:
This was the coolest sensory play! It was play dough. And it was Goop. Combined!
We were given a HUGE (uncolored) bag of extra homemade play dough one day after our day at Vacation Bible School. One of the VBS volunteers made this and I got a little information about it. It had flour and corn starch in it. I am on the mission to figure out the recipe for this one, so I can share with you…it was so much fun to play with!
The dough would stick together and mold, but slime apart like goop does. So neat!
We added the red and blue colors to some of it and had a little
Patriotic Sensory Play!
We took the fine motor play a little further and cut up some patriotic looking straws into little bits. Perfect for tripod grasp!
We still have SO much of this stuff uncolored and ready for play ideas…Watch for another goopy dough post soon 🙂
Use this toddler red, white, and blue easel art activity to address skills needed for fine motor skill development, visual motor skill, bilateral coordination, and visual processing. An easy easel activity like this one is a vertical surface activity that can be done indoors or outdoors for a low-prep developmental activity for kids.
We have been doing a few red, white, and blue crafts and activities this week. Baby Girl had fun with this
Easy Patriotic Activity for the 4th of July.
I put a piece of contact paper on our easel (sticky side out) and took it outside. How is it that an “inside toy” brought outside is immediately super cool and new and fun??
We have a bunch of construction paper scraps in our craft supplies and I pulled out the red and blue ones. We had some white tissue paper pieces in the bag too, and they were added to the easel trays, too.
I stuck a couple of pieces on the contact paper and left it there in the yard for a while. The big kids were busy playing and I was pulling a few weeds. When Baby Girl saw this set up, she knew just what to do.
She got busy making art work!
(While her big brother camped out under the easel. There are Bad Guys everywhere!!)
This is a great Fine Motor activity for toddlers. They manipulate the small pieces of paper, and grasp the edges with a tip to tip grasp (think about the tips of their pointer finger and thumb grabbing at the paper). While they are holding onto the scrap paper, they must use an extended wrist to place it on the elevated slope of the easel. This is so good for fine motor dexterity and development of the small muscles in their little hands.
We had fun enjoying the sunshine and making art. Have you done any Red/White/Blue crafts?
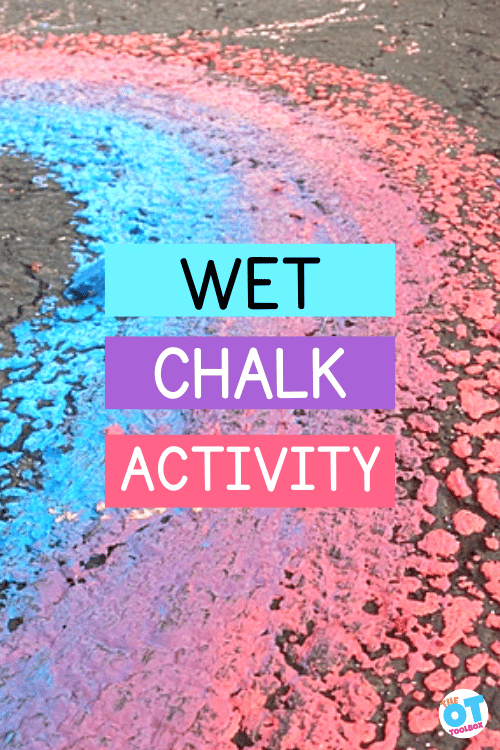
Drawing with wet chalk on a driveway is such a fun sensory experience for outdoor play and one that develops so many areas of gross motor skills, fine motor skills, and visual motor skills through sensory play. Drawing milestones like coloring with chalk is part of childhood but this driveway chalk activity builds many skills!
Wet Chalk
We played outside one cool morning and discovered something really fun…We had left a couple of pieces of chalk outside during an overnight rainstorm.
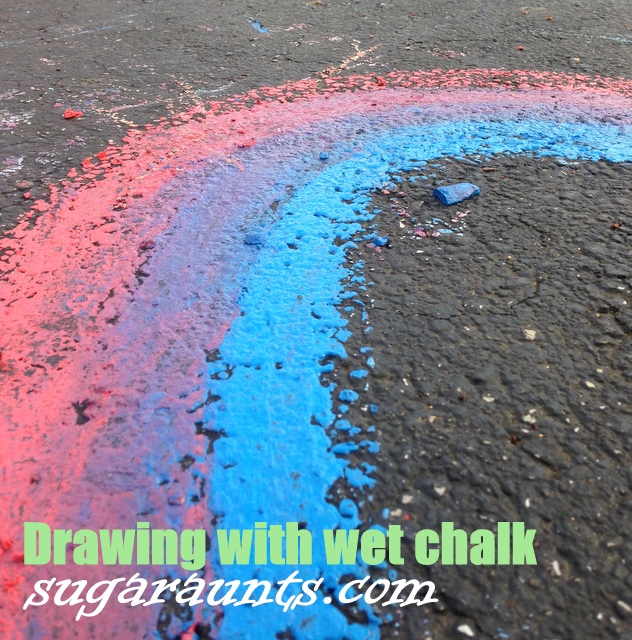
The texture of wet chalk is so cool! It smears on the driveway so easily and is the neatest texture. For children struggling with tactile defensiveness wet chalk is a great sensory experience because you can grade the dryness or the wetness of the chalk texture.
There was only red and blue that were soaked through, but they combined to make a pretty nice rainbow!
How to make wet chalk
There are several ways to make wet chalk to use on a driveway.
Soak driveway chalk in a bucket of water overight or for a few hours.
Draw with chalk on a wet driveway. After a rain works or spray the driveway with water from the hose.
Crush chalk into a powder and mix water into the chalk dust to create a messy, thick chalk paint. This liquid chalk paint recipe explains more on this strategy.
You can select the wet chalk method that works best for you!
Once you have your wet chalk created, you can get started with the chalk art.
Wet Chalk Activities
We’ve created a list of chalk activities here on the website before so any of those ideas would work. But if you want to explore development of other skills, try these wet chalk activities:
Make a chalk rainbow
Make a driveway obstacle course
Create letters and use a wet-dry-try method of writing the letters
We played with this for a while…the chalk drawing even started to dry on the driveway.
I LOVE this picture!
Baby Girl loved this messy play. She got her hands right in there and covered them with the chalky mess.
Outdoor Sensory Play
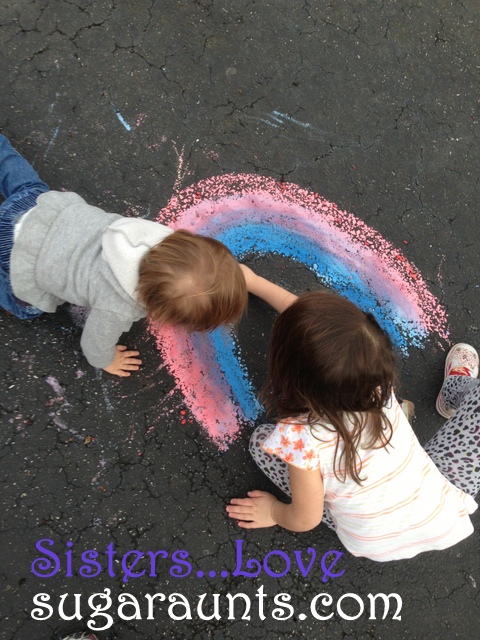
What a great sensory experience! Check out how Baby Girl is on her hands and knees…She’s putting weight through her upper body and down to the hands, and strengthening her shoulder girdle which is so important for fine motor dexterity. All this while exploring the texture of the chalk, manipulating little pieces of chalk, and having fun with her sister!
We kept tracing over the rainbow lines until the chalk became so small…great for working on that tripod grasp!
Big Sister was really aware of the lines of the rainbow when she was tracing. This is fun for a new hand writer who is learning to place letters on the lines of paper ((line awareness)).
Tracing the big arch of the rainbow allowed her to cross midline on a fun activity. Why do kids need to cross midline?? One reason is so that hand writers efficiently allow the dominant hand to do the work during handwriting while moving left to right across the page in a smooth manner.
And of course, you MUST add raindrops to the rainbow 😉
Rainbow Handwriting Kit– This resource pack includes handwriting sheets, write the room cards, color worksheets, visual motor activities, and so much more. The handwriting kit includes:
Write the Room, Color Names: Lowercase Letters
Write the Room, Color Names: Uppercase Letters
Write the Room, Color Names: Cursive Writing
Copy/Draw/Color/Cut Color Worksheets
Colors Roll & Write Page
Color Names Letter Size Puzzle Pages
Flip and Fill A-Z Letter Pages
Colors Pre-Writing Lines Pencil Control Mazes
This handwriting kit now includes a bonus pack of pencil control worksheets, 1-10 fine motor clip cards, visual discrimination maze for directionality, handwriting sheets, and working memory/direction following sheet! Valued at $5, this bonus kit triples the goal areas you can work on in each therapy session or home program.
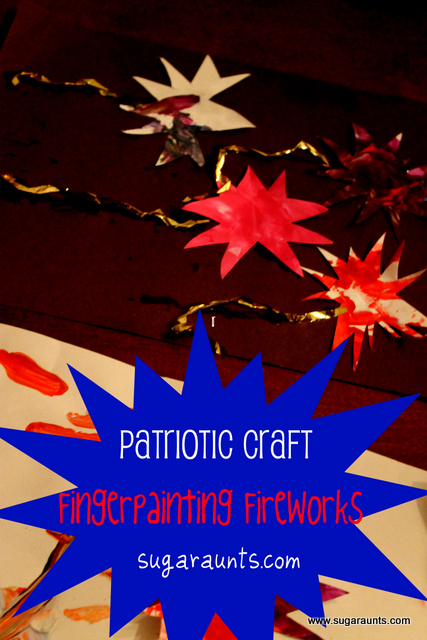
This finger painting fireworks craft is a great July craft for toddlers that can be used to celebrate the Fourth of July with toddlers and preschoolers! Add this one to our favorite creative painting ideas!
Finger Paint Fireworks
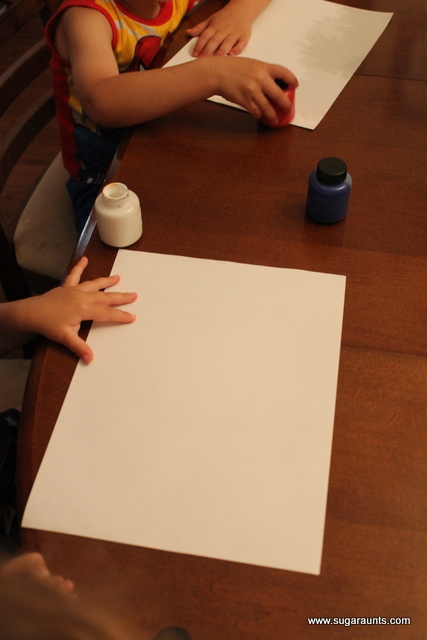
This weekend I had 5 kids (ages 1, 2, 3, 4, and 5) and I had to think of something to keep them all busy. Finger painting is a fun craft for kids all ages, the babies love feeling the different texture of paint on their fingers and playing with the paintbrushes. I pulled out the paper and let them go to town with the washable finger paints!
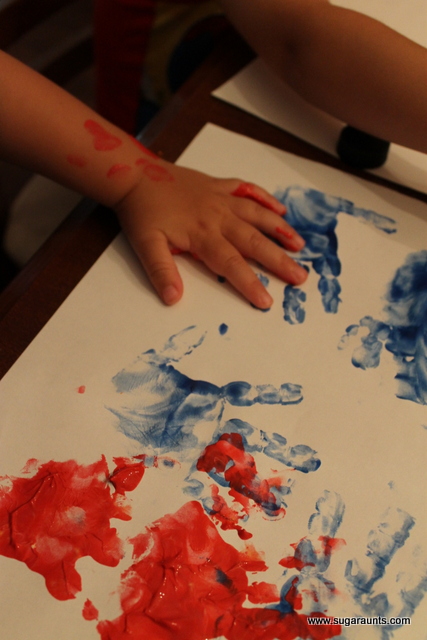
I helped my little guy (2) make hand prints in red and blue.
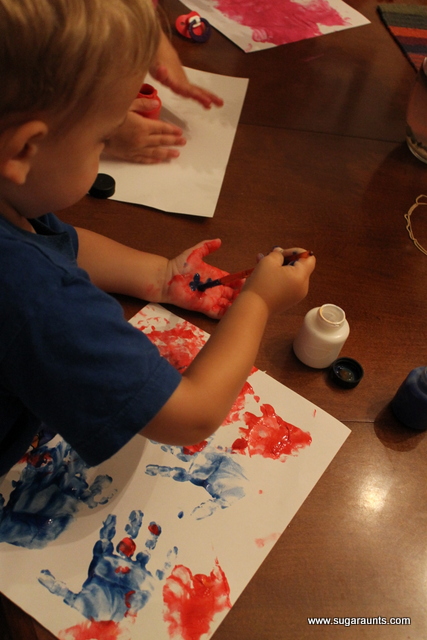
The big kids enjoyed mixing colors while my 2 year old enjoyed painting his hand…and mixing colors in the paint jars…ughh. I think every color is now brown.
This project kept the kids busy for about 30 minutes, enough time for me to put away the dishes and wipe down the table 🙂
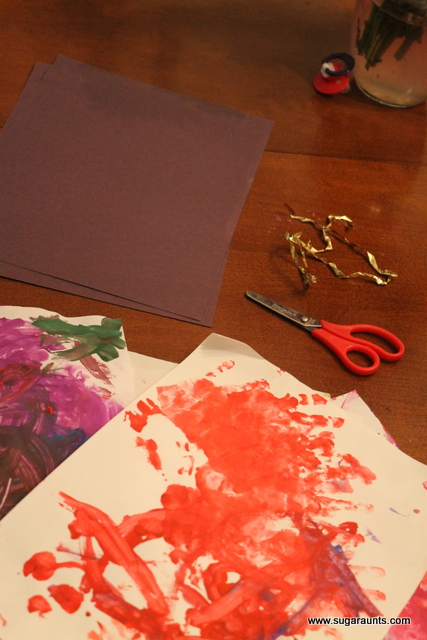
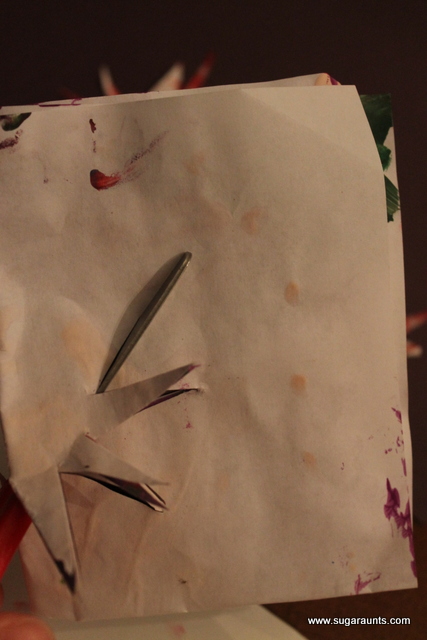
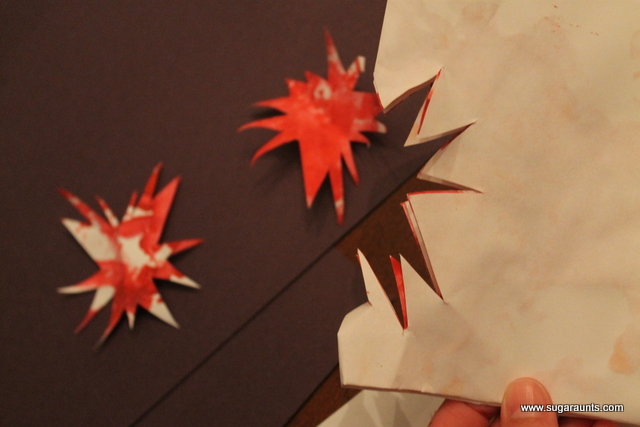
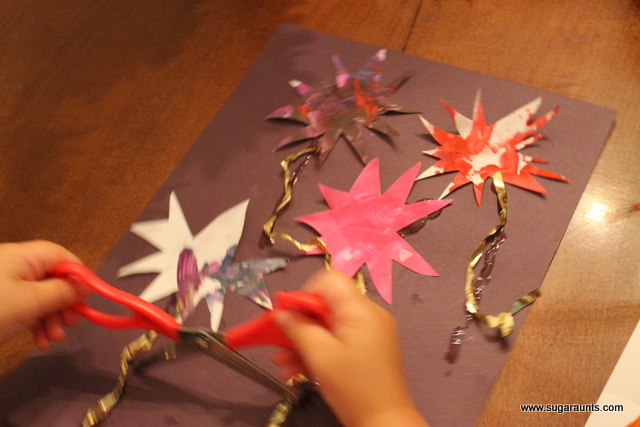
Once the paint was dry we gathered up some black construction paper, gold tinsel from a gift bag and scissors. I folded the paper into a small square and helped the older kids cut out fireworks.
We glued the fireworks onto the paper and made the tinsel stream down from the fireworks. We talked a little about the 4th of July and I told my daughter it was the country’s birthday. The best part was hearing
my daughter recite the Pledge of Allegiance (so cute)!
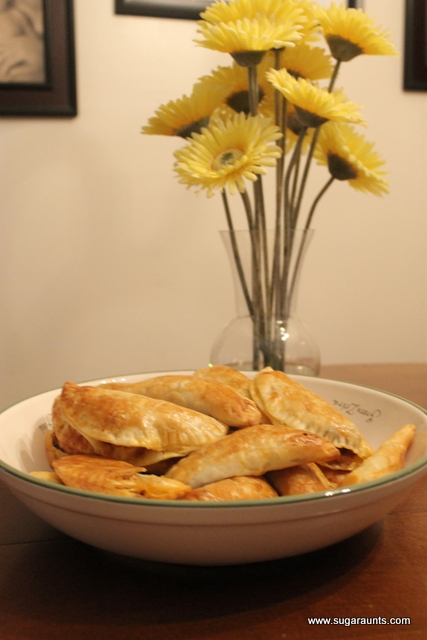
This taco empanadas recipe is a quick and delicious meal you can make using leftover ground beef, chicken, or ground turkey. Leftover taco meat is perfect for making taco empanadas! This Mexican empanada dish is a delicious one for all ages. If you are looking for a cooking with kids recipe that the whole family will love, this one is it!
Taco Empanadas
This recipe is just too easy not to share with you…and the best part is our kids love it (and love to help make it)! I made these one day last week for a play-date and the kids thought they were pretty neat.
You can improvise the filling with anything you think would be good…I have made them with chicken, ground turkey, and the traditional beef empanadas.
Taco Empanadas Ingredients
To make the taco empanadas, you’ll need to first gather your ingredients:
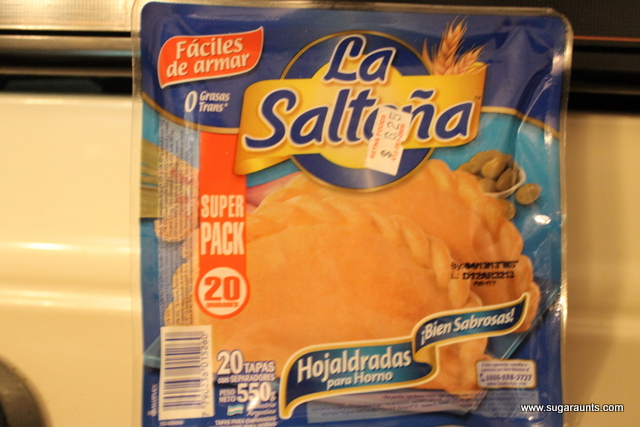
Mexican pastry shells
1-1.5lb ground beef
One package Taco Mix
6oz salsa of your choice
How to make taco empanadas:
Start out with these pastry shells, I get them in the local Mexican store in the refrigerator section. I usually pick up several packages and keep some in the freezer.
2. Brown the ground beef- I browned some ground meat in the slow cooker, added a package of taco mix and half a jar of mild salsa. Let this cook until the meat is browned and it is ready to fill the shells.
3. Spray a cookie sheet with cooking spray so the shells don’t stick.
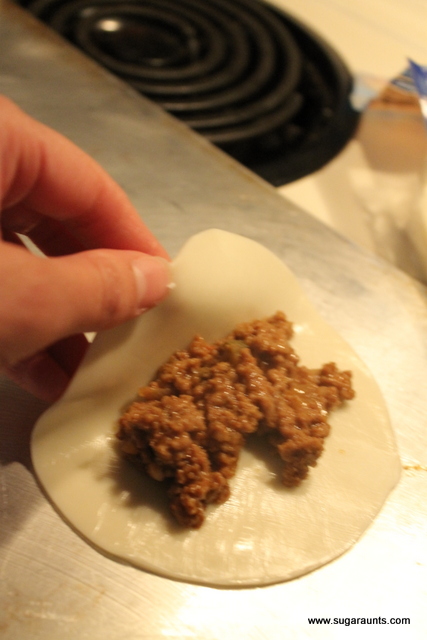
Here comes the part the kids love helping with…
4. Fill the shells with the meat mixture and fold over.
5. Use a fork to press the shells together.
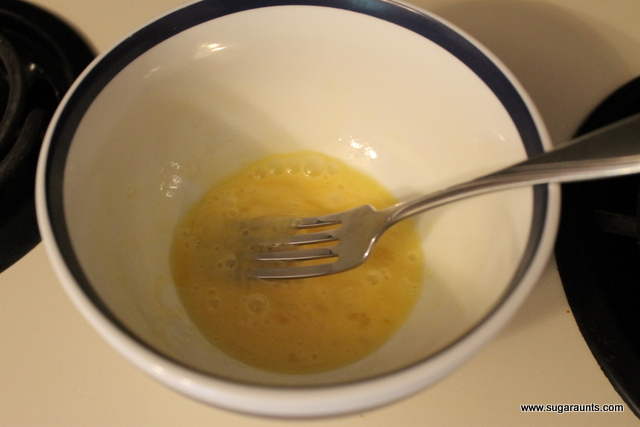
6. Wisk an egg and lightly paint the shells with the egg. My four year old daughter loves helping with this part.
7. Using the fork while pressing into the dough is great for her little fingers.
8. Bake in oven at 375 degrees F for approximately 20 minutes or until golden brown. Delicious!
for an easy little learning activity. Two of us Sugar Aunts were together one afternoon for a little play session with the kids and this was quick and easy to put together.
One bottle of sand.
A handful of foam sheet shapes (we wrote a few beginner sight words on front and back of each shape).
It was perfect for the different age groups of the kids (5, 4, 3, 2, and 1!)
And these kids seem to LOVE anything they can put into something else. The little fingers were everywhere when we told them to drop the shapes into the bottle opening!This is Awesome for tripod grasp skills.
This was great for the 5 and 4 year olds who are learning their sight words. We used some beginner reader words that they recognize (Their current favorite book around here is “Sam I Am”. Seeing those words in a new place is pretty cool way to emphasize reading confidence, I think!)
The 3 year old knows most of his shapes (that rectangle gets him every time!) so this was good for his learning level.
The two year old could point to the colors (and with only three options in the bottle, it was not overwhelming for him).
And for the one year old, this was overall great for language development!
((and super fun to shake !!)
We had fun with our sensory sight word bottle. Have you done one of these? Link them up in the comments, we would love to see them!
Use this fine motor activity to address the underlying skills needed for functional tasks like pencil grasp, scissor use, clothing fasteners, and more in a fun and playful activity that kids will love! We used simple foal curlers and a pipe cleaner to create a tool for boosting bilateral coordination, visual motor skills, motor planning, and more!
We spent a “maybe-it’s-going-to-rain-maybe-it’s-not” afternoon this week making these fun foam bracelets.
Or, maybe it’s just typical Western Pennsylvania weather 🙂
We had a cousin play date this week and between searching for worms, picking flowers, and sandbox play…had fun making these
Foam Bracelets.
We started with foam rollers and pipe cleaners.
The older kids snipped the foam rollers into pieces. I drew lines along the roller with a pen, and they were able to cut along the lines.
Be careful with cutting these. Only older children should cut the rollers, and under supervision. Use your best judgment based on your child’s abilities.
Cutting the foam roll was a neat sensation! It took a little cutting “oomph” concentration. That different texture is great for cutting practice and line awareness.
We used the foam pieces to “bead” onto pipe cleaners. The center hole fits perfectly onto a pipe cleaner. We had a 3 year old, a 4 year old, and a 5 year old who sat for a while and filled up their pipe cleaners with foam beads.
This is a great fine motor task to work on
Tripod Grasp and Bilateral Hand Coordination
in little hands. They were all concentrating so hard on this task!
Little Guy loves the color red! His pipe cleaner was red of course…and he didn’t even notice the PINK foam beads 🙂
We had a fun time with our beading session. And even came up with a few other accessories:
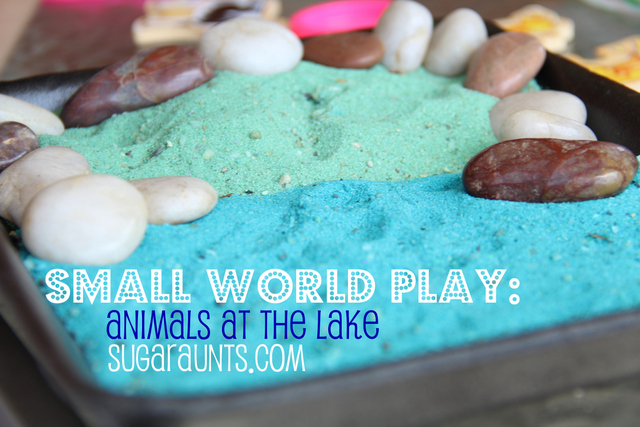
Many years ago, we made a creative ocean and beach small world play activity and it was a Summer hit! Whether you are looking for activities to keep the kids busy at home through hands-on, sensory play, OR if you need Summer occupational therapy activities to use in skill-building, a beach small world is a fun way to play!
Beach Small World Play
Creating a beach small world using miniature animal forms and homemade colored sand can be a fantastic sensory activity for children.
It doesn’t take much to create a small world, and the benefits are huge:
Imagination and Creativity: Small world play encourages children to use their imagination and create their own narratives and scenarios. They can invent stories, develop characters, and build unique worlds, fostering their creative thinking skills.
Language Development: Small world play often involves storytelling and dialogue, which helps children enhance their vocabulary, expressive language skills, and communication abilities. They can practice describing objects, expressing emotions, and engaging in role-play, leading to improved language development.
Problem-Solving and Critical Thinking: When engaging in small world play, children encounter various challenges and obstacles. They learn to think critically, problem-solve, and find solutions to overcome these challenges, fostering their cognitive skills.
Fine Motor Skills: Manipulating and arranging small objects in a small world setting requires precise hand-eye coordination, dexterity, and fine motor skills. Children practice grasping, pinching, and manipulating objects, which can enhance their fine motor abilities.
Social Skills and Cooperation: Small world play often involves collaboration and cooperation when children engage in shared storytelling or role-playing scenarios. They learn to take turns, negotiate roles, and collaborate with others, promoting social skills and teamwork.
Emotional Expression: Small world play provides a safe and controlled environment for children to express their emotions and explore different feelings through their play narratives. They can process and make sense of complex emotions, develop empathy, and practice emotional regulation.
Sensory Stimulation: Small world play often incorporates sensory elements, such as sand, water, or different textures. Engaging with these sensory materials stimulates children’s senses, promotes sensory exploration, and contributes to their sensory development.
Knowledge Acquisition: Small world play can be a great tool for learning about different concepts and subjects. Children can explore nature, geography, history, and various themes as they create their miniature worlds, leading to knowledge acquisition in a fun and engaging way.
How to make a beach small world
With a bit of imagination, parents can transform a small tray or container into a mini seaside paradise.
You’ll need to first gather just a few items to make a beach small world activity:
Animal figures: seagulls, crabs, and dolphins, fish, or other animals
Tray or Container: Select a shallow tray or container that is large enough to hold the materials and provide a play space for your child. It can be a plastic tray, a wooden box, or any other suitable container.
Sand: Use play sand or kinetic sand to create the beach or ocean floor. You can also dye the sand using food coloring like we did to make our homemade colored sand
Water: Incorporate a small amount of water into your small world setup to represent the ocean. You can use a separate container for the water or create a section within the main tray for a shoreline or shallow water area.
Rocks and Shells: Gather some small rocks and seashells to create a more realistic beach or coastal environment. You can collect these from a local beach or purchase decorative ones from a craft store.
Plants and Foliage: Consider adding some greenery or beach vegetation to enhance the sensory setup. You can use fake or dried plants, small artificial trees, or even real seaweed (if available and safe to use).
Tools and Utensils: Provide some child-friendly tools and utensils for scooping, digging, and creating patterns in the sand. Small shovels, spoons, sieves, and rakes can be used to enhance the sensory experience and encourage fine motor skills.
Optional Accessories: Depending on your preference and the space available, you can include additional accessories like toy boats, small beach umbrellas, mini beach chairs, or even a small plastic container to mimic a tidal pool.
As children manipulate the sand, feeling its texture and watching it flow through their fingers, they enhance their sensory development.
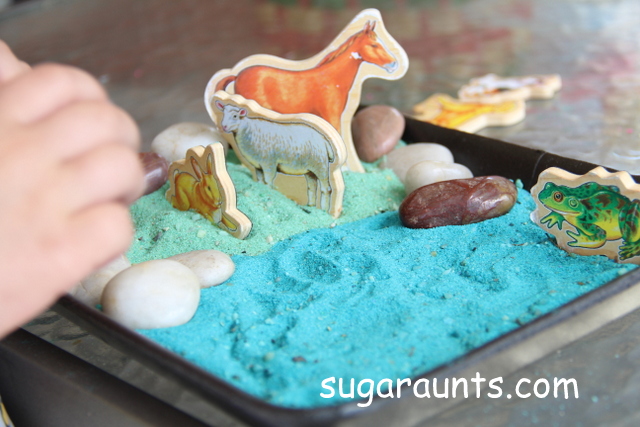
We used our DIY Colored Sand to do a little pretend play one rainy afternoon.
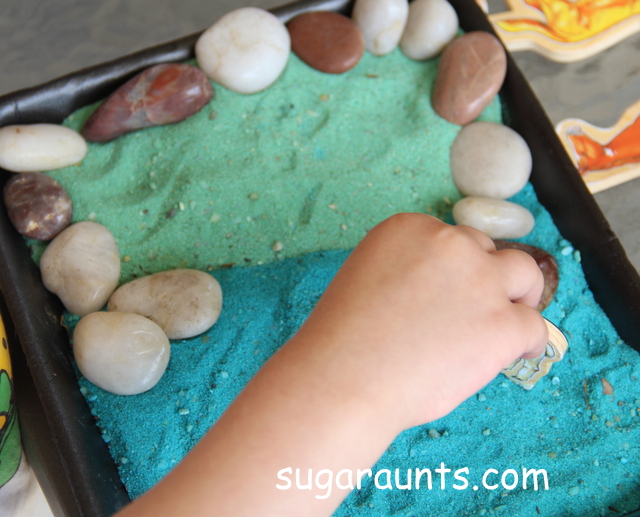
We used our refrigerator farm animal magnets and had fun with our pretend lake. Once you know how to make colored sand, you can use it for so many sensory bin activities!
It was a fun day at the lake 🙂
The bunny went swimming…
And the temptation was too great…we HAD to mix the two colors of sand together.
Looking for more ways to have fun this Summer? Grab a copy of the Summer Kit!