Time Capsule Craft for Summer Memories

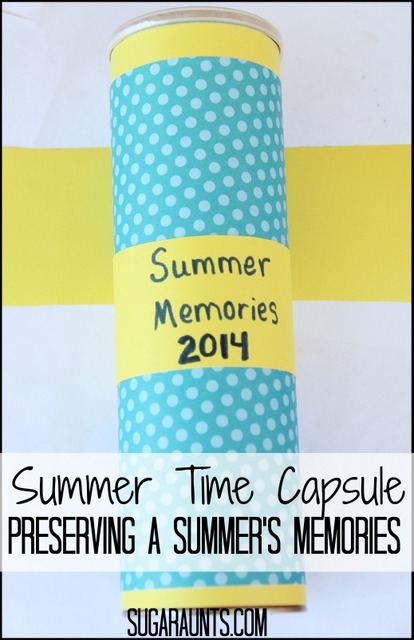
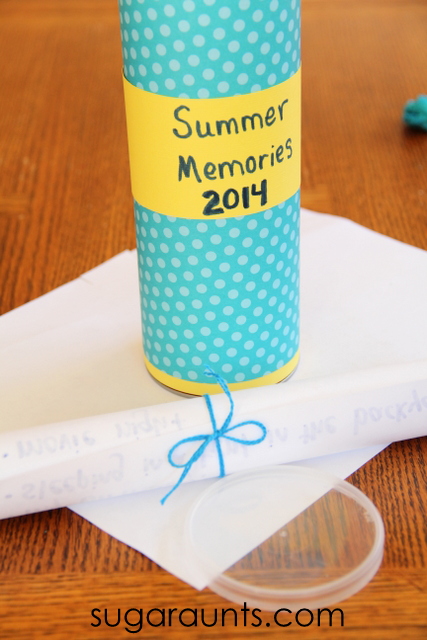
With the start of school and a new month, Summer is quickly winding down.  The summer days seem to fly by when filled with vacations, play dates, park fun, and fun!  How can you preserve those memories?  We created a summer time capsule craft with the kids to hold all of our best summer memories.  We’ll hold onto our time capsule until next summer and remember the fun that summer of 2014 held for us! 

We love creating crafts and activities using recycled materials.  This time capsule uses an item from the recycle bin.


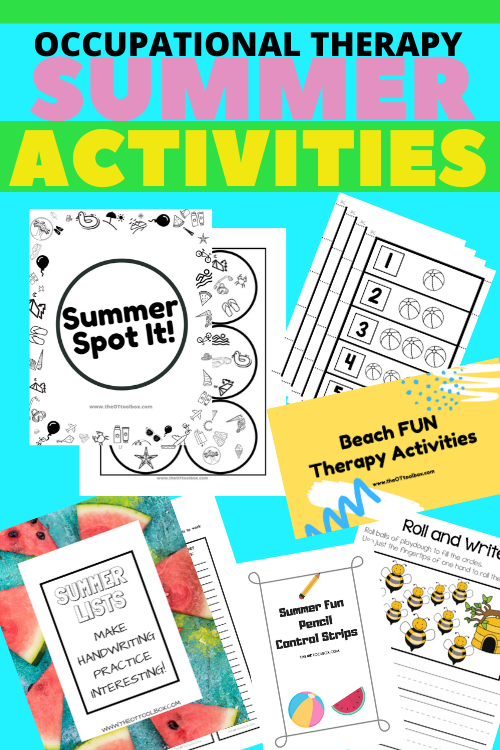
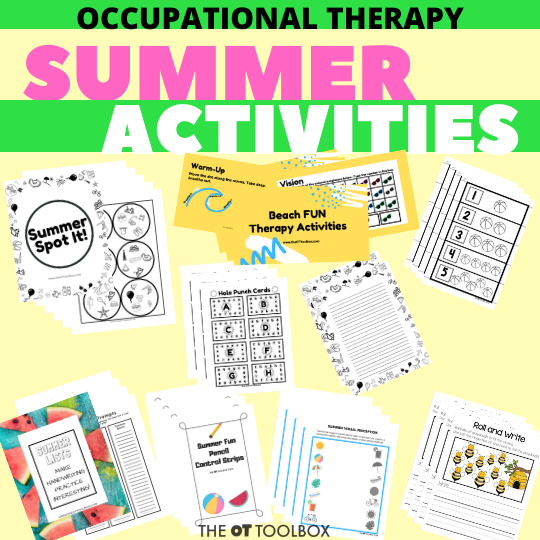
You’ll also be interested in our new Summer Occupational Therapy Activities Packet. It’s a collection of 14 items that guide summer programming at home, at school, and in therapy sessions. The summer activities bundle covers handwriting, visual perceptual skills and visual motor skills, fine motor skills, gross motor skills, regulation, and more.

You’ll find ideas to use in virtual therapy sessions and to send home as home activities that build skills and power development with a fun, summer theme. Kids will love the Summer Spot It! game, the puzzles, handouts, and movement activities. Therapists will love the teletherapy slide deck and the easy, ready-to-go activities to slot into OT sessions. The packet is only $10.00 and can be used over and over again for every student/client!

Grab the Spring Occupational Therapy Activities Packet HERE.

summer occupational therapy activities for kids

Preserve summer memories with a time capsule craft for kids

(This post contains affiliate links for your convenience.)


To make a Time Capsule craft with kids, you will need:

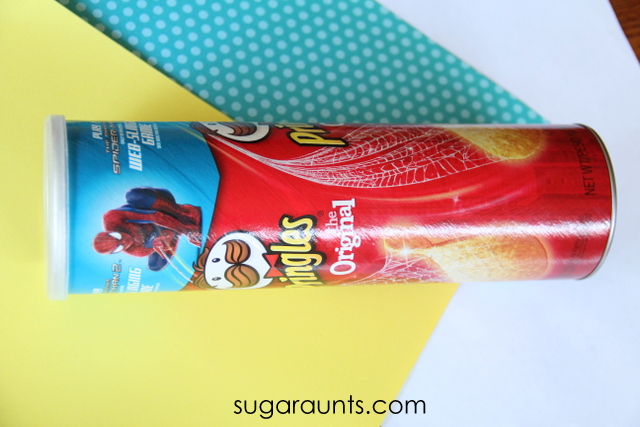
recycled chips cardboard tube

tape
marker
Make a summer time capsule with a recycled chips tube.
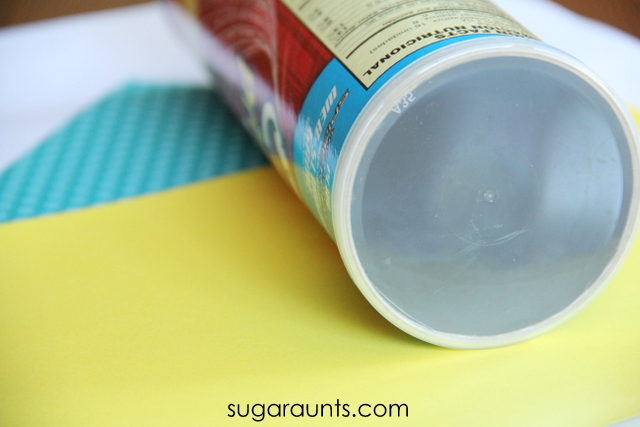
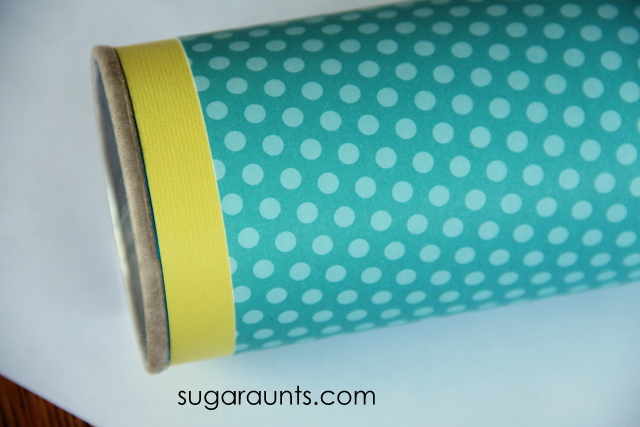
We started by picking out some bright colors of cardstock for our time capsule, and an empty chips tube.
Measure the cardstock to fit the tube.

Tape it into place.  We went with an overlapping look to fit the cardboard tube.  Label your time capsule with a marker.

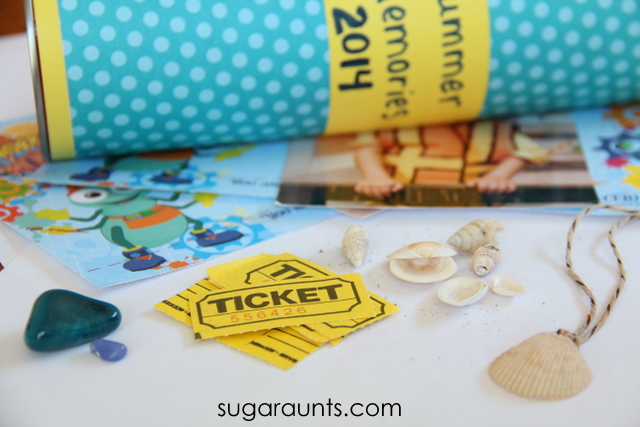
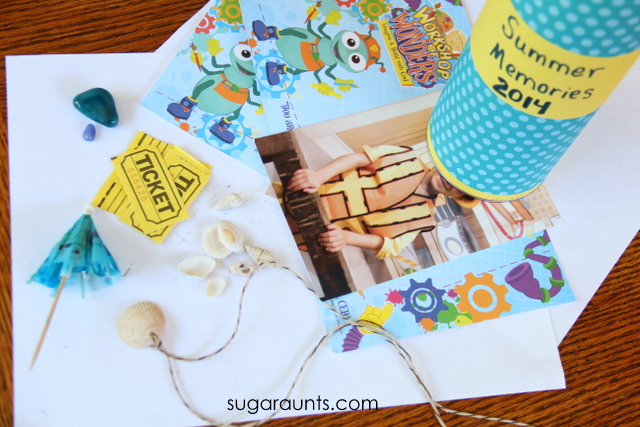
Next, is the fun part.  The kids and I went on a hunt around the house to look for evidence of our summer fun.  We found shells from our beach vacation, pictures, cards from vacation bible school, tickets from our birthday party movie night, and other things that meant summer fun.

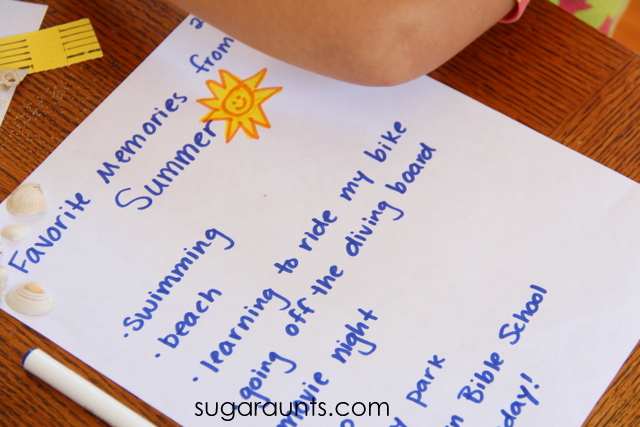
Next, I wrote out a page of summer memories as the kids told me their favorite summer memories.
We rolled up the sheet and put it into the time capsule.

Little Guy (age 5) and Baby Girl (age 2) added all of the summer memories into our time capsule.  Little Guy was pretty thrilled to hear that we would open it up again next summer!

We found a home for our time capsule on a shelf… next to a frame that is waiting for pictures.  Hopefully by next summer, that frame will have photos!
What was a favorite memory from your summer?

Want to take summer play to the next level? Be sure to grab your copy of the Summer OT Activities Bundle!

Summer activities for kids

Sunflower Cupcake Liner Craft

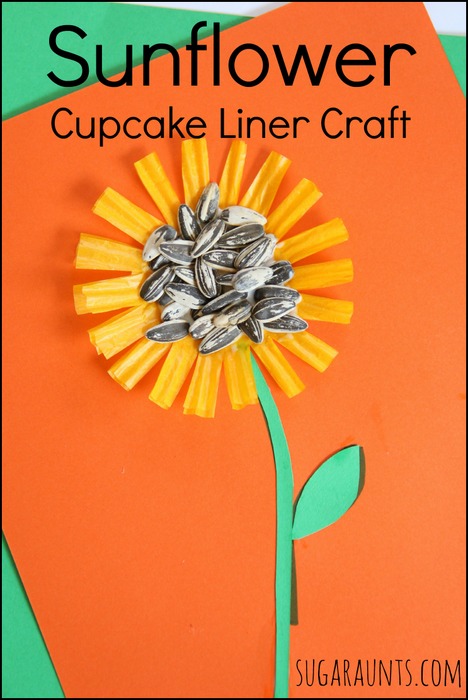
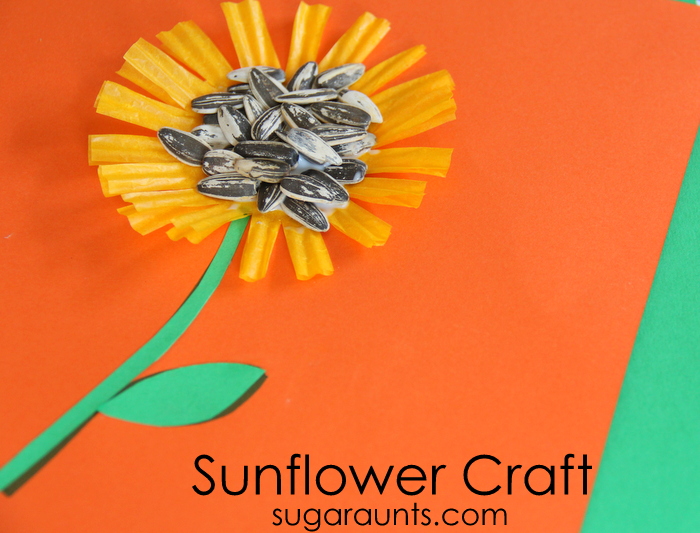
Sunflowers are such a fun flower.  This time of year, you can see giant sunflowers standing tall all over the neighborhood.  We made a super cute sunflower with cupcake liners and sunflower seeds.
Not only is this craft easy, it’s a great way to practice a little fine motor skills, too!


Use a cupcake liner to create a fall craft for kids.

This post contains affiliate links.  That means when you click on one of the links in this post, we will receive a few pennies.  Thanks for your support!


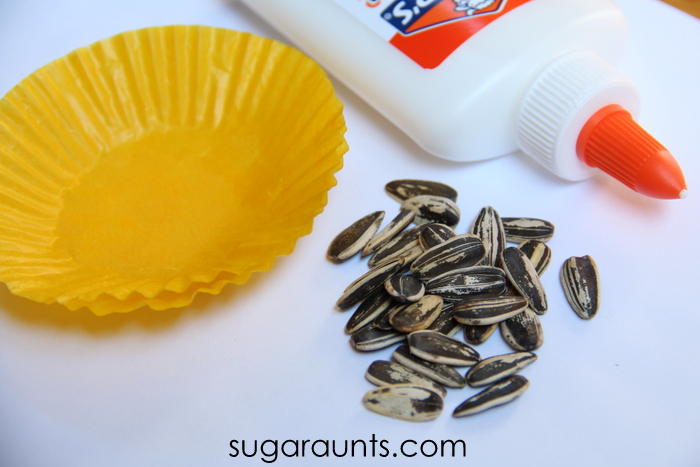
To make a Sunflower Cupcake Liner Craft, you will need:

solid yellow cupcake liners

sunflower seeds (Rinse the salt from the seeds and dry on a towel)

glue

scissors

We used two cupcake liners for a brighter color. This is a great way to teach kids to snip paper. 
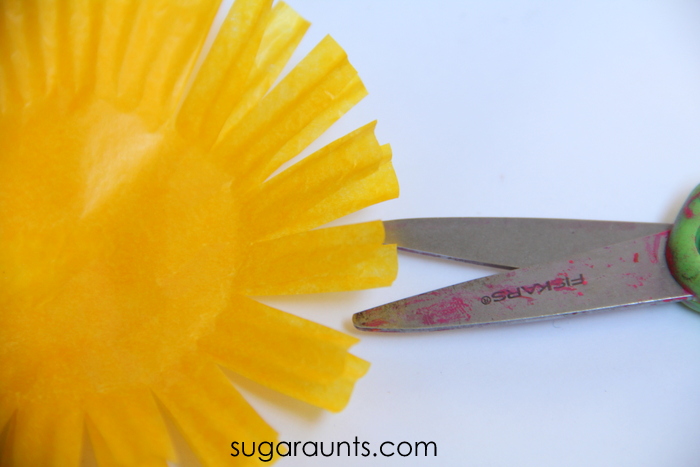
Start by snipping little wedges from the edge of the cupcake liners.  This is a great scissor activity for school aged kids.  The material of cupcake liners is thinner than regular paper and requires more precision when snipping.  The cupcake liner is small and a great way to practice scissor accuracy and bilateral hand coordination.

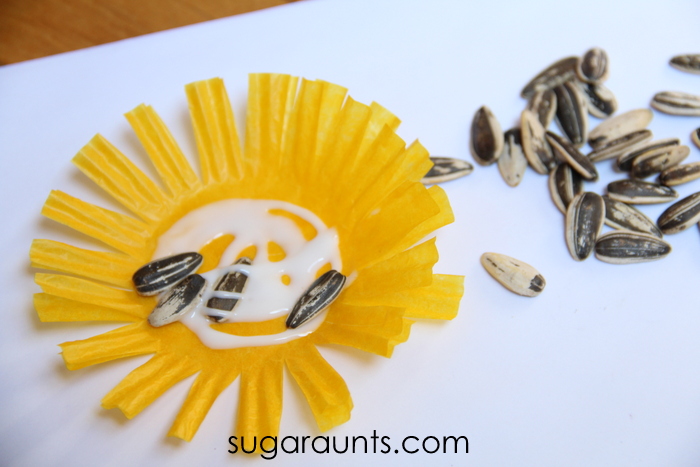
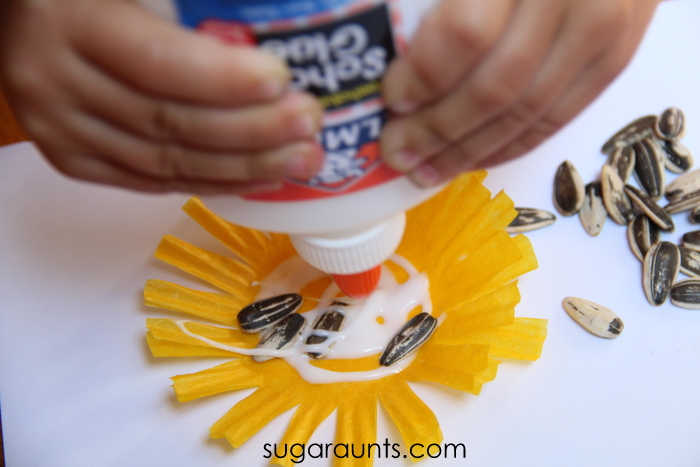
Add glue to the center of the cupcake liner.  Baby Girl though we needed A LOT of glue.  And A LOT of sunflower seeds on our flower.  It turned out looking pretty cute with a bunch of seeds.

More glue.  She is a big fan of glue.

Fine Motor Fall Craft

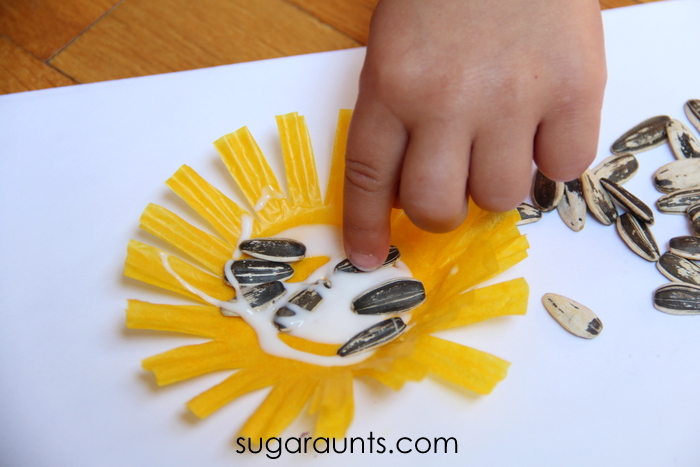
Place the sunflower seeds into the glue.  Manipulating the small seeds is a great way to practice tip to tip grasp and dexterity.  If more fine motor skill is needed, encourage your child to pick up a handful of seeds.  “Squirrel away” the seeds in the palm of the hand and place the seeds into the glue one at a time.  Using the index finger and thumb to transfer the seed from the palm of the hand to the tips of the fingers and into the glue is in-hand manipulation.  This is a vital skill needed for tasks such as manipulating coins, tying shoes, and managing small objects.
We glued our sunflower onto bright orange paper and gave this to Baby Girl’s Great Grand Pappy.  Let us know if you make a sunflower craft like this.  We love to see your projects on our Facebook page.

Looking for more easy crafts?  Stop by and follow along on our Kids Crafts Pinterest board.

Circus Sensory Bin

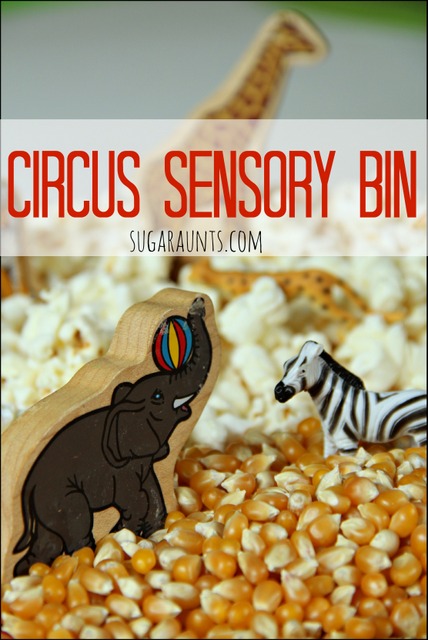
A while back, we were on a bit of a Circus Theme in our pretend play.  We had a bunch of fun with our circus party ideas and read a bunch of circus books.  We did this sensory bin around that time, but are just now getting the chance to blog about it.  This was such an easy sensory activity to throw together that we will definitely be playing this again.

Creative and sensory play for kids with an easy circus theme.

This post contains affiliate links.  Read our full disclosure here.

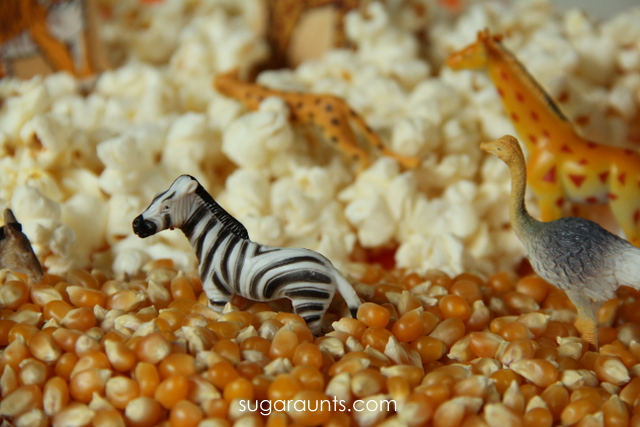
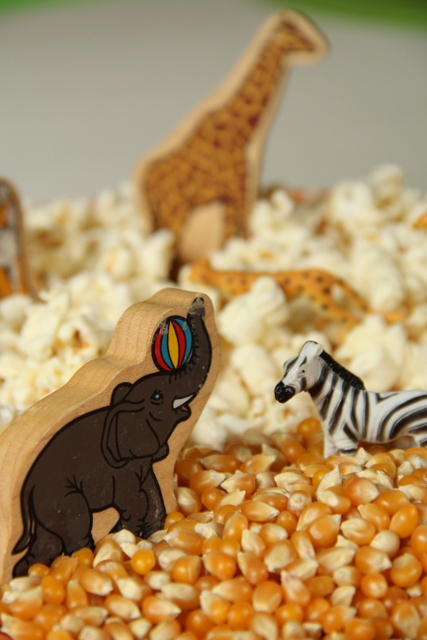
Create a circus themed sensory bin using popcorn!

To create an easy Circus Sensory Bin, you will need:


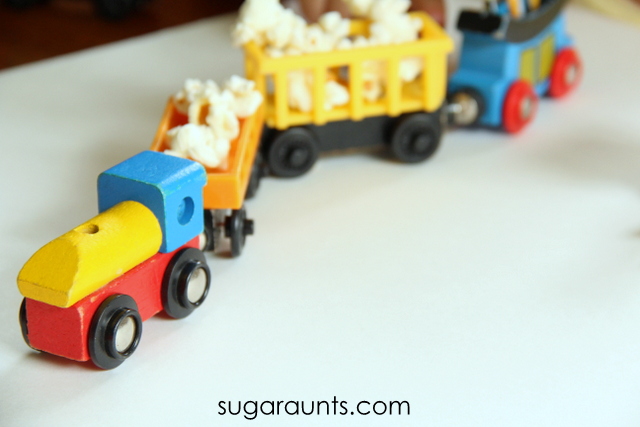
circus train pieces

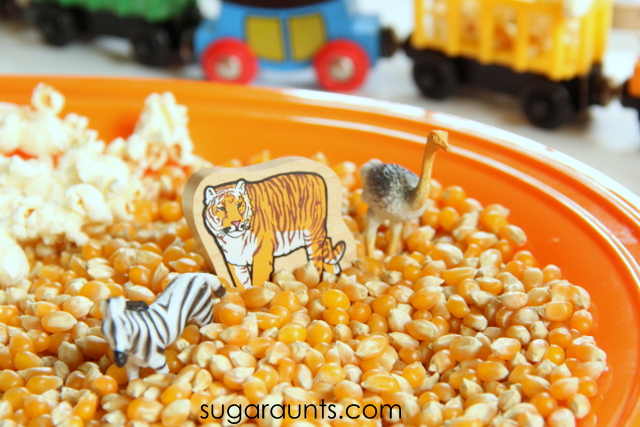
Mini Animals

popcorn


plastic tray

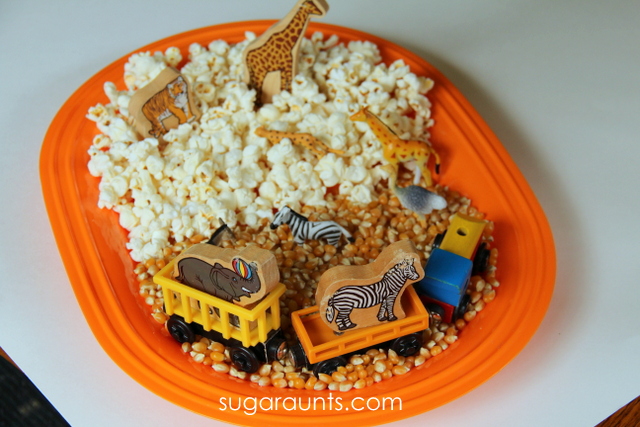
Use circus train and circus animals in an easy sensory bin

I started by popping some corn.  And only ate a few handfuls.  Pop extra.  Snacks are good.

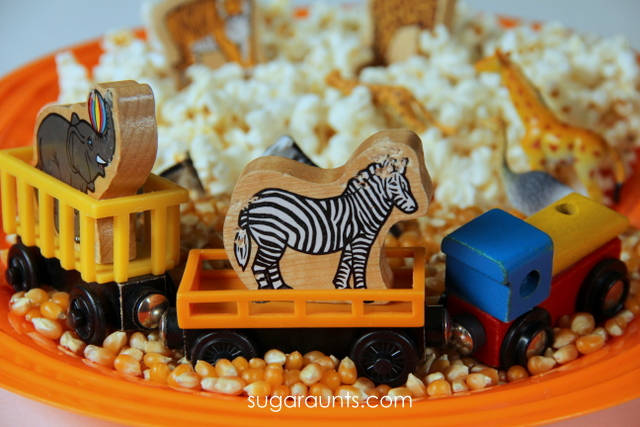
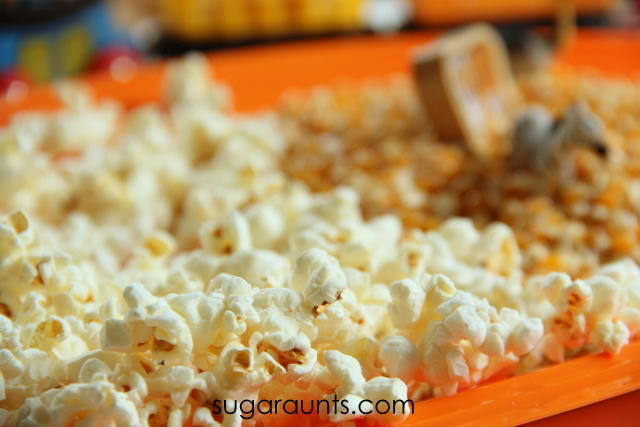
I put some popped and un popped corn onto a plastic tray.  Then, simply added our train set and animals.  The scene was set for imagination and pretend fun!

Kids will love to pretend with mini animals.

The animals in the different textures was such a fun way to explore animal names, animal sounds, and all in an easy sensory bin.

Kids will love to pretend and play while learning animal names and noises.

Baby Girl (age 2) loved this pretend play so much!  Not only did we have a blast playing and learning, she got a snack too!  Bonus!

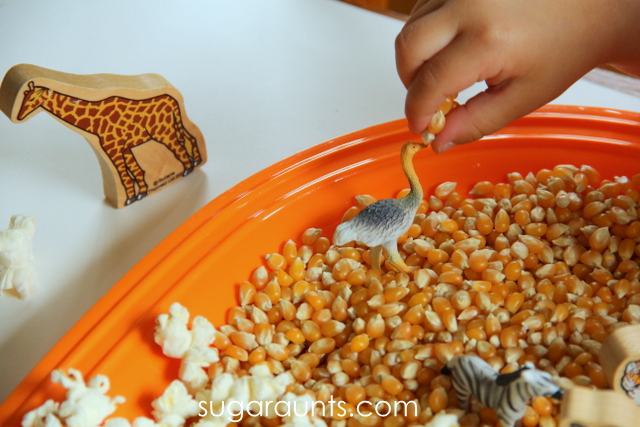
Of course, the animals needed feeding, too.

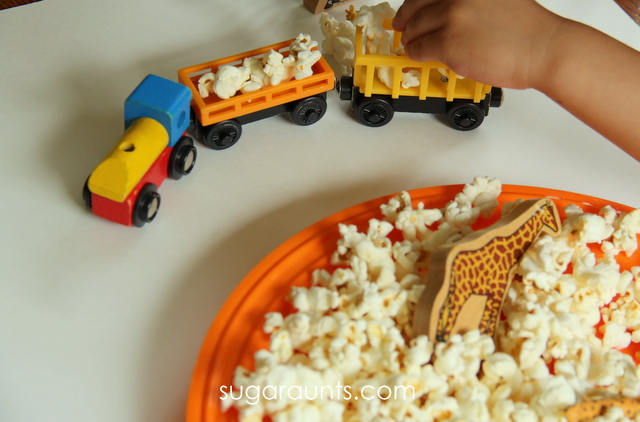
We loaded up the train with popcorn and made deliveries.  Such a fun way to play away an afternoon.

This might be the perfect accompaniment to our circus tent craft.  Sensory play, craft, and snack…sounds like the perfect afternoon with the kids to me!

Note:  Like all of our activities on sugaraunts.com, we encourage playing alongside your kids and in a supervised manner.  Some crafts and activities may present a dangerous situation for children who like to put things into their mouths.  Please monitor your child with this and any activity you see on our website.  Popcorn will present as a choking hazard for small children.  Please use your best judgment if you decide to do this activity with your kids.

You may be interested in our Circus Crafts and Activities Pinterest board for more circus ideas.

94518f049891ff1c8aaaff383574fe67e370df4dfc14a6001e

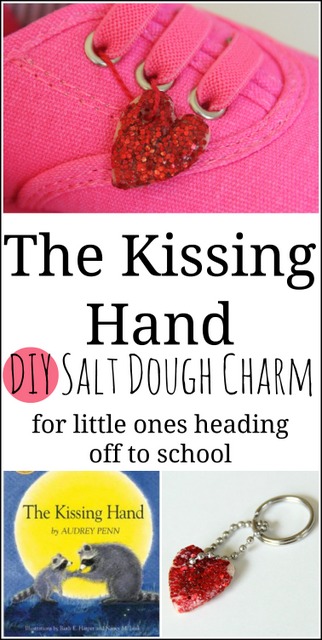
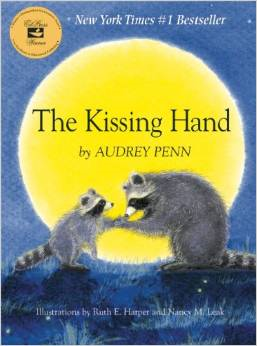
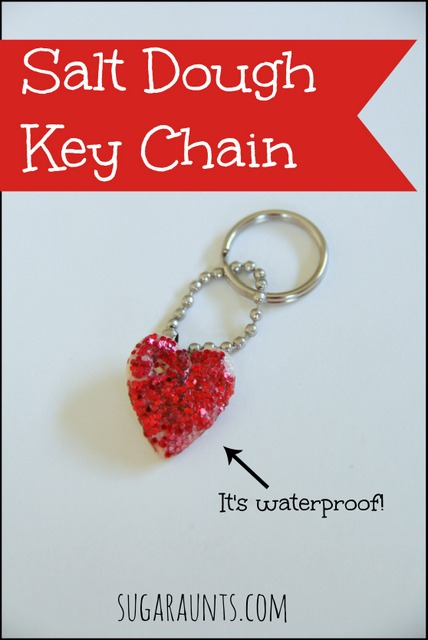
The Kissing Hand DIY Salt Dough Charm

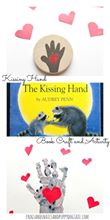
Make a Kissing Hand craft to help kids with separation anxiety when they go back to school or have to leave parents and feel a bit nervous.


We’re back for another installment of the Preschool Book Club!  Last time around, we created crafts and activities for some of our favorite books.  This fall we’re joining the same fabulous bloggers to create crafts, activities, recipes, and learning experiences for top books for the preschool age-range. 
 
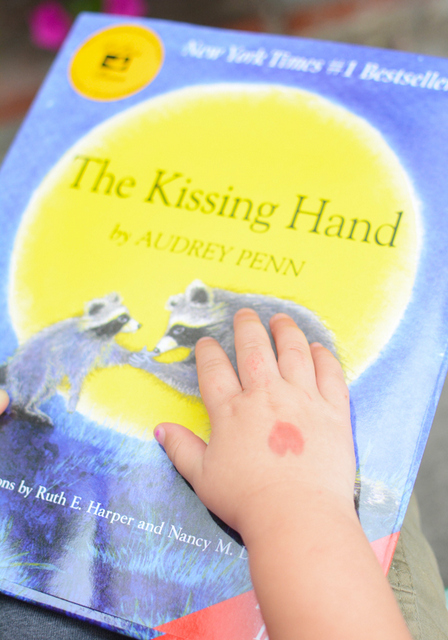
We are so excited to kick off this series with our first book, “The Kissing Hand” by Audrey Penn.  We’ve read this book each year before Big Sister heads off to school, so this book is a meaningful one to us.  This year, this Aunt has three little ones heading off to school. 
 
The transition can be difficult even for the most confident child.  (And the mamas and papas too!)  We decided to make a DIY salt dough charm that can go off to school with your little student and remind them all day long of their mama’s love for them!


The Kissing Hand Craft for Kids

 
Make a salt dough keychain for back-to-school anxieties. This DIY charm craft goes along with the book "The Kissing Hand".


This post contains affiliate links.  Our opinions are in no way swayed.  We appreciate your purchases through our affiliate links as they help to support our little blogging addiction (I mean hobby!).


Salt Dough Recipe

Who doesn’t love the book, The Kissing Hand
by Audrey Penn?  We read the book before we started our salt dough heart charms.
 
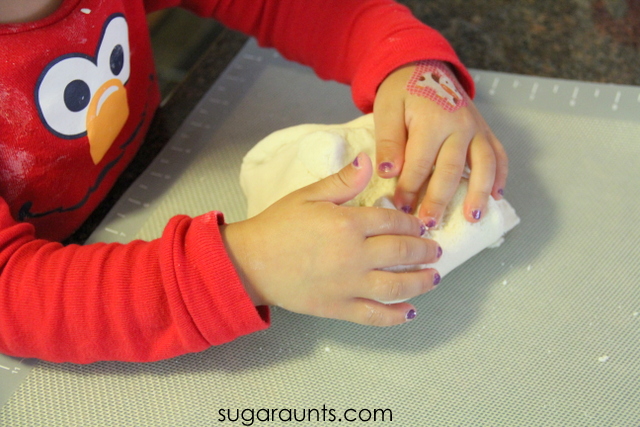
We started by making up a batch of our standard salt dough.  Have you ever made salt dough? It’s the perfect dough for crafts and imagination play.   We mixed 1 cup of salt, 1 cup of flour, and 1/2 cup water.  This was mixed in a bowl to begin with, but it was much easier to just plop the whole lump onto a baking mat and knead the dough until smooth.   
 
 
Mixing that salt dough is a GREAT fine motor activity for strengthening little hands!
 
 
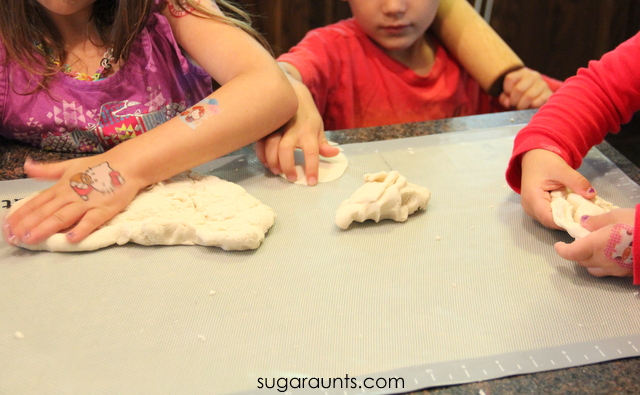
I had lots of helpers willing to roll, knead, and pound our salt dough into a smooth consistency.
 
The next step in making your salt dough charms is to roll a thin sheet of dough with a rolling pin.  Big Sister (age 6) did this part for me with direction.  You’ll want the dough to be pretty thin, since the size of your heart charm will be so small.
 

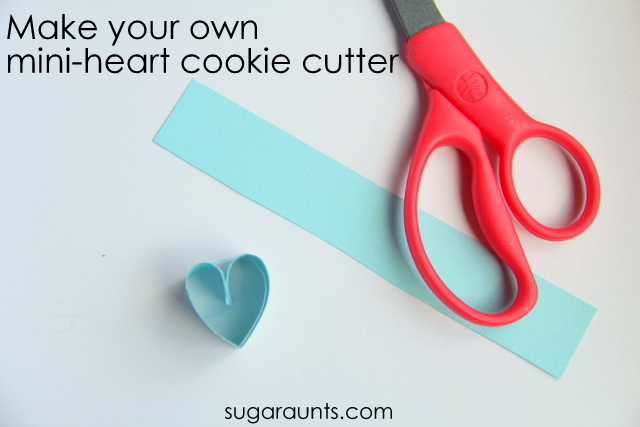
DIY Mini-heart cookie cutter 

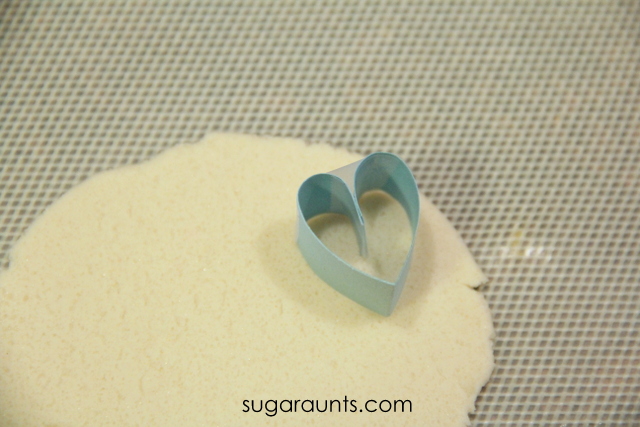
Now to cut your heart charm, you may have a mini heart cookie cutter, but I couldn’t fine mine
don’t…so we made our own! We needed the perfect sized cutter for our heart charms.  Start with a thin strip of cardstock and a bit of tape.  Fold the cardstock into a point and curve the tops in.  Tape the point together and then across the bumps of the top of the heart.  Mini-heart cookie cutter is done!


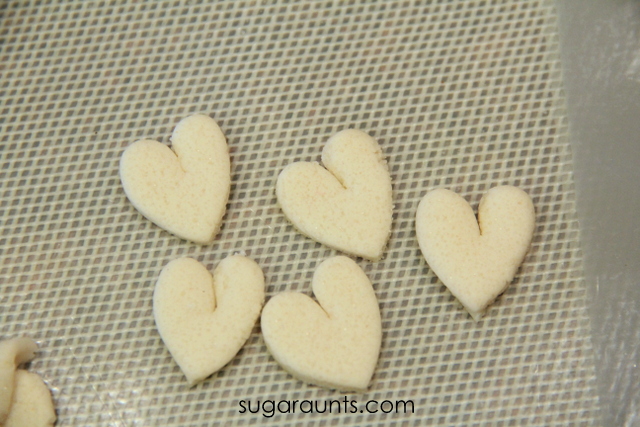
Cut out those mini hearts.
 
 
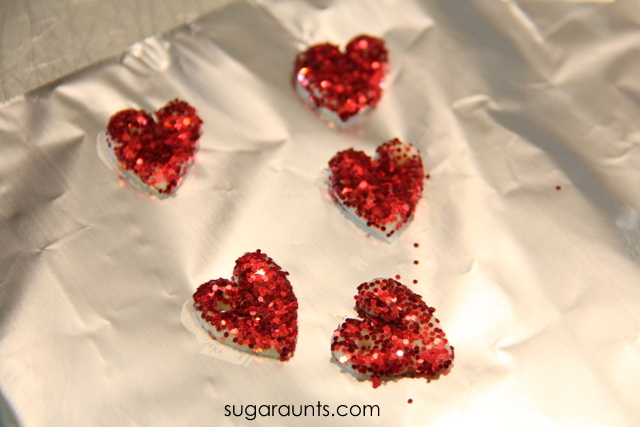
 These hearts are ready to be glitter-ified!


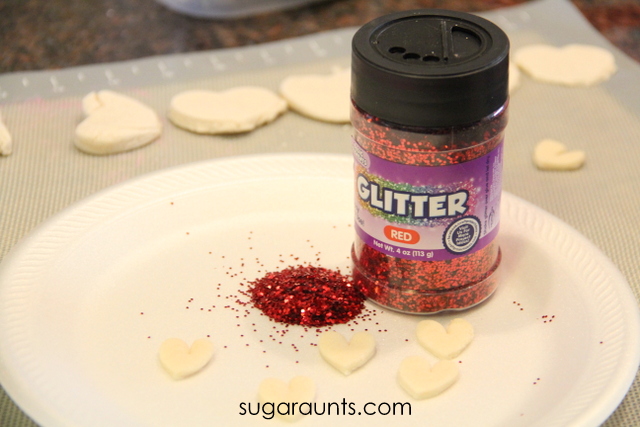
I poured a pile of red glitter that we received from www.craftprojectideas.com onto a plate. 

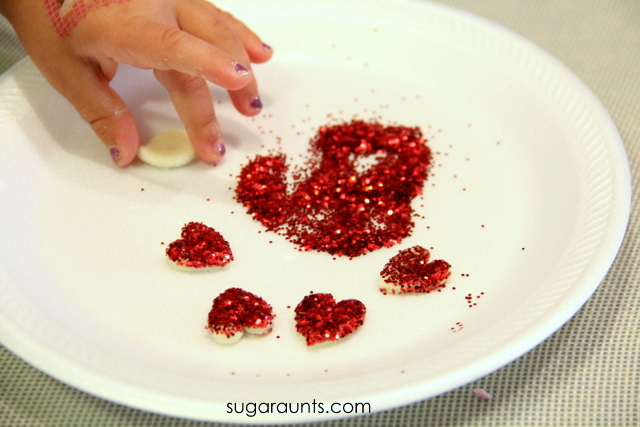
Big Sister helped me to pat, sprinkle, and dab the glitter onto the dough.  Pat a bit of water onto the dough first to get the glitter to really stick well.

 
Put the glittery hearts onto a piece of aluminum foil.  Put into a preheated oven for 1-2 hours at 225 degree F.  Don’t forget to poke a hole in the hearts for the charms.  We used a bamboo skewer to poke a hole in one side of the heart.  You’ll want to keep an eye on the hearts as they bake.  Salt dough can puff up and brown if it cooks too long.  Because the hearts are so small, they won’t need to cook very long. 


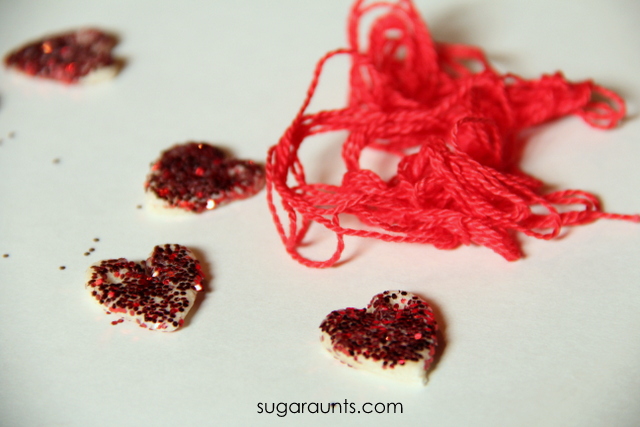
Once the salt dough charms are hardened, I threaded them with some friendship thread that we received from www.craftprojectideas.com.  This was a tricky job that was a little too fine for the kids.  Older children could help with this job, though.
 
Once the hearts were threaded onto the string, I had a thought about my kids going off to school with their little heart kiss to remember mom by all day long at school.  I pictured a downpour of rain and a soggy, glittery, goop pile hanging from their shoe.  OOPS! Salt dough will deteriorate with exposure to water.  So, how to make these little cuties waterproof???
 
After a little thought, I came up with clear fingernail polish.  Big Sister helped me paint both sides of the heats with the nail polish. 


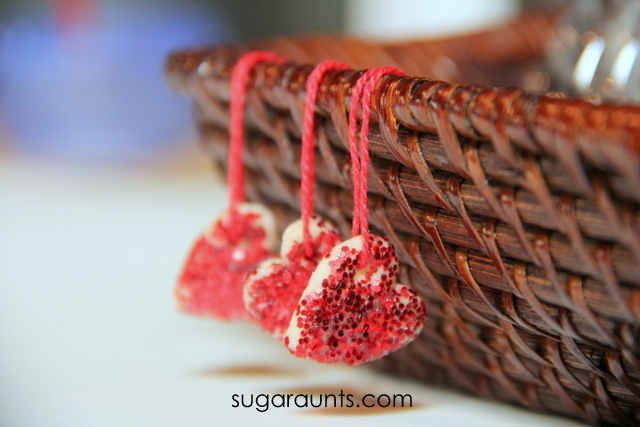
We hung the hearts to dry.


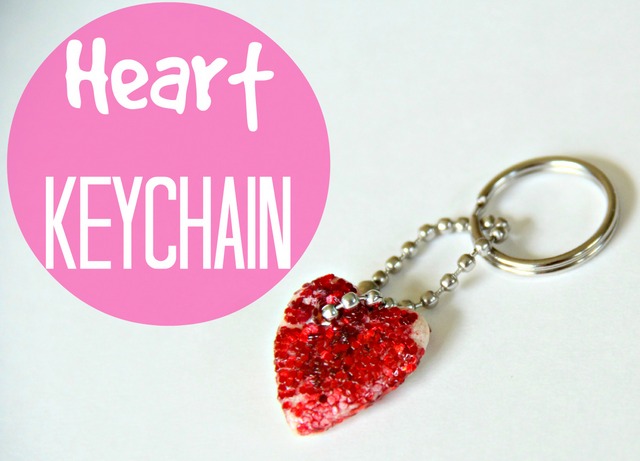
A keychain attachment was put through the hole in the heart, and it was ready for a backpack accessory! 


And for those super rainy days as the kids walk to the bus stop, that waterproof coating will help!


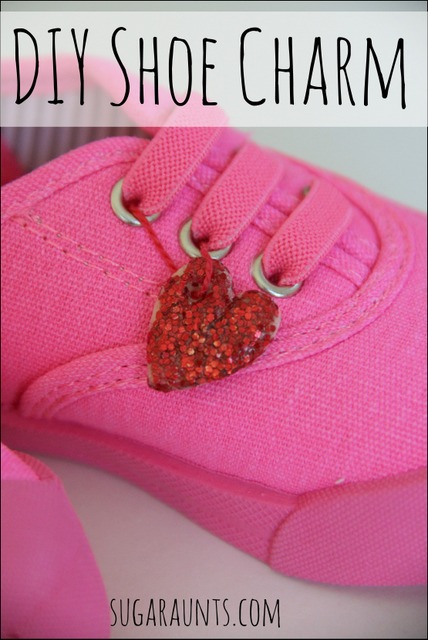
If you would rather make a shoe charm for your little student, the friendship thread worked well to tie it right onto the shoe. 
 
Good luck to all of the students heading off to school this fall.  And best of luck with big hugs to the mamas and papas who have to watch their babies grow up!

Stop by and see the other The Kissing Hand activities in the Preschool Book Club series:


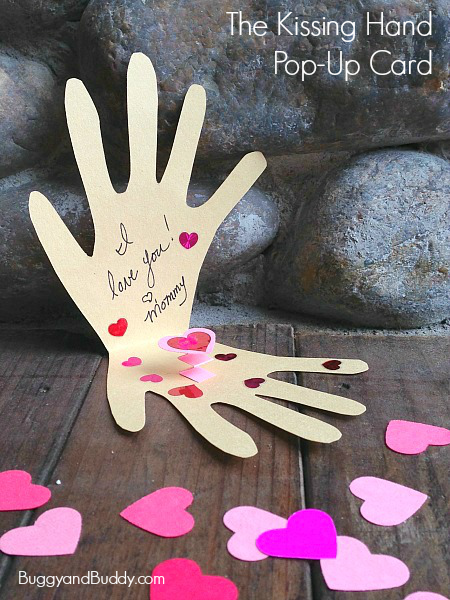
Buggy and Buddy Pop-Up Kissing Hand Card
 
Frogs and Snails and Puppy Dog Tails The Kissing Hand Love Tokens

Homegrown Friends Felt Love Hearts
Meri Cherry Temporary Kissing Hand Tattoos


This Little Piggy Went to the Market craft

Is there a song or nursery rhyme that is a huge hit in your house?  You know the one that is said over and over (and over) again?  Right now we are on a This Little Piggy Went to the Market kick.  Baby Girl (age 2 and a half) loooooooves This Little Piggy.  She will ask me to do the finger play rhyme on both feet and then both hands again and again.  I’ve even heard her saying it to herself…with lots of adorable mistakes.  It’s beyond cute.  I love when she asks me, “Mom, what does this piggy do?” and points to a toe.  What a cutie!
When we made this piggy craft, Baby Girl very excited.  I told her we were making a This Little Piggy craft and she was so happy!

"This Little Piggy Went to the Market" craft for kids

This Little Piggy Went to the Market craft for Toddlers

This post contains affiliate links.  Your purchases through these links help support our blog. 
This craft for toddlers is very easy and a great opportunity for some learning, too.  You can talk to your Toddler about circles and sizes (big and little).  Toddlers are learning concepts such as size awareness and you can show them the big and little circles as you build the pigs.

I started with 5 big circles cut from pink construction paper and 15 small circles.  We counted out the big circles together.

I helped Baby Girl fold ten of the small circles in half.  These will be the pigs ears.

Big Sister helped out a little with counting out our piggy ears.

Baby Girl is all about using the glue stick.  This Little Piggy Went to the Market + glue stick
= Baby Girl’s best day ever!  She went crazy gluing on the big circles, ears, and snouts.

Craft idea for This Little Piggy finger play.

After all of the pieces were glued in place, I drew on little faces.  We had fun saying the finger play while using our five little piggys to join in on the fun.  Baby Girl played with these little piggys all day!

Sparkle Collage Art Painting

Do you have a little one who LOVES all things art and painting?  Baby Girl is all about painting and will get messy with paints every day.  In fact, she asks almost every day to paint (and so we do, almost every day!) This is a great fine motor creative painting tool to support fine motor development skills.
This Sparkle Collage Art painting was very fun for Baby Girl (and me!)  We sat for a long time and just painted away, with loads of sparkly texture added.  What isn’t better with sparkle and sequins???


Sparkle Collage Art

{Note: This post contains affiliate links.  In other words, this blog will receive monetary compensation when any purchases are made through the links in this post.  Our opinions and ideas are in no way affected.  You can read our full disclosure policy here.  As always, we thank you for your support and community here at Sugar Aunts.}
We recieved the spangles free from www.craftprojectideas.com and they really made our paintings shine.  The sparkly shapes were the perfect touch to this multi-textural painting.
Other supplies needed for this activity are Markers, paints,
Spill Proof Paint Cups,
glue, and
paint brushes.

We poured paint into the spill proof cups and dumped in a handful of the spangle mix.  Add a bit of glue and mix it all together.

I drew a few pictures and doodles on with the markers and let Baby Girl start painting.  She started out just using the paint to color in the pictures, but once I showed her how to paint on the sparkles and sequins, she got in on the sparkly fun.

These spill proof cups are big hits in our house.  For this painting activity, we didn’t use the sloped part so we could get at the sequins with the paint brushes.

Painting on those sequins required a little bit of dexterity, but Baby Girl did a pretty good job of it!  It was fun to paint on the sparkly shapes.

How pretty is this??

Older children could draw the pictures themselves and then paint on the sparkles and sequins.
You could also add glitter into your paint.  What a gorgeous work of art this is!

Baby girl was very proud of her painting.  These turned out to be so pretty.

Let us know if you try this painting activity.  We would love to see your works of art!
Looking for more ways to paint in a creative way?  Stop by and follow along on our Creative Painting Pinterest board.  I’m loving all of the creative ideas over there!

Circus Preschool Toddler Theme Summer Camp at Home

We’re joining up with the awesome bloggers in the All Things Kids community to bring your creative and fun ideas to get your summer off to a great start.  So, the kids are out of school and ready for some fun.  The running around in the sprinkler and riding bikes are perfect to start off a summer of freedom.  But, what happens when the first “I’m bored” starts?  We’ve got you covered on ideas to keep the kids moving, learning, and creating this summer.  Each of us All Things Kids bloggers are bringing you ideas for themed activities.  These would be perfect too in place of a summer camp or vacation bible school and just do an at-home summer camp with the kids.  Why not invite a few friends over and start your own backyard summer camp for the kids? 

Backyard Summer Camp

It’s that simple to create a neighborhood summer camp!  Pull up the ideas from the all things kids bloggers and you’ve got 7 weeks of themes covered for a summer of camp fun.  We’ve found the best crafts, activities, snacks, and more all based on each week’s theme.  I’m ready for a backyard summer!
Check out all of the summer camp ideas: Robots, Bugs  Around the World , Animals, Ocean and Beach, Nature, and today’s post by us…Circus!

We’re scouring the net for the best and most creative ways to make your own Circus themed Summer Camp for preschoolers and toddlers.  We’ve got circus crafts, circus snacks, circus fine motor and gross motor activities to get the summer off to great start. 


Circus Theme Crafts

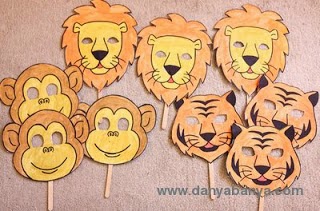
The kids will love a few circus crafts.  These lion, tiger, and monkey masks (Danya Banya) will keep the kids occupied and pretending. Or try this elephant mask craft (East Coast Mommy) for more pretend play.  For more circus animal crafts, try this activity from Inspired Treehouse.  

Kids will love making a craft a day at your backyard camp.  Make this elephant mask (Mamas Like Me) and they can wear it throughout the week. Children can work on so many important developmental areas while developing their scissor skills.  If painting is more your thing, this lion craft (Sassy Dealz) is a super cute circus animal to make.   Need a few more crafts to keep the kids busy with your circus theme?  I love these circus clown costumes (KangarooBoo blog) made with party hats and paper plates.

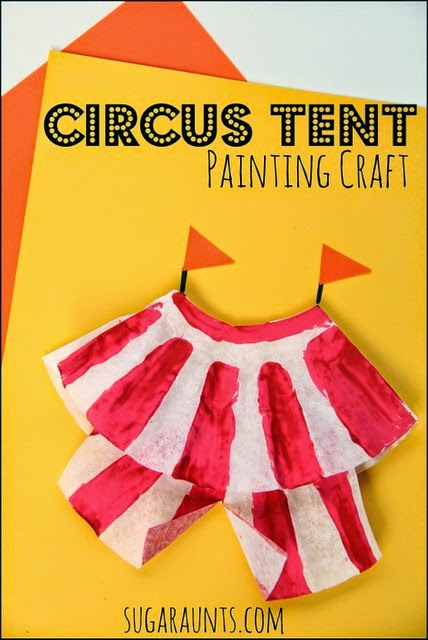
We loved making our circus tent craft.  This trapeze artist craft (Boy Mama Teacher Mama) is equally cute! A handprint zoo (House of Burke) would be a great memento to remember your week of circus fun.


Circus Theme Snacks

A backyard summer camp or themed learning unit definitely needs snacks to keep little ones going and energy levels high.  Here’s a few circus themed ideas for snack time:
  • Goldfish in a bag (You won goldfish!)
  • animal crackers
  • popcorn
  • Sandwiches cut into fun circus shapes with circus cookie cutters (and then reuse those cookie cutters for stamp art painting later in the week!)


  • A
    dd these things to a little peanut butter (or other nut butter) for some protein.


Circus Theme Gross Motor Backyard Activities

I know a few little ones who would LOVE this water gun game (Driven By Décor).  Use a few ping pong balls and a squirt gun for an easy (and summer-ific) carnival game. Inspired Treehouse put together put together three gross motor circus activities.  A ball toss game would be easy to set up with a few bins and some bean bags or balls. 


Circus Theme Sensory Activities

The kids (and moms) will get a kick out of a fun circus sensory activity.  How cool is this popcorn painting activity (Mess for Less)? We put together a few fun ideas for circus sensory bins in our circus party essentials post


Circus Theme Learning

Any circus unit or backyard camp needs circus books!  These are some of our favorites.

Circus Tent Craft

We’ve been on a little Circus theme around here lately.  You might have seen our roundup of favorite circus books or our ideas for a circus party.  This circus craft was easy to put together and the kids loved it.  They were itching for a painting craft and this one hit the mark. 


Circus tent craft for kids

This post contains affiliate links. 


Circus Craft Idea for a Circus Theme:

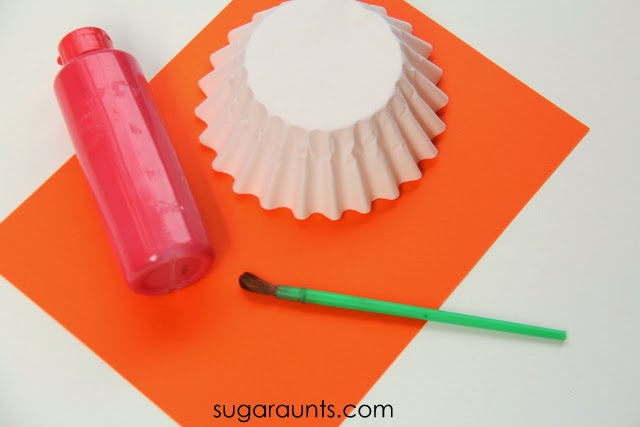
Start with a few supplies:
paint brush
orange paper
black marker
Glue

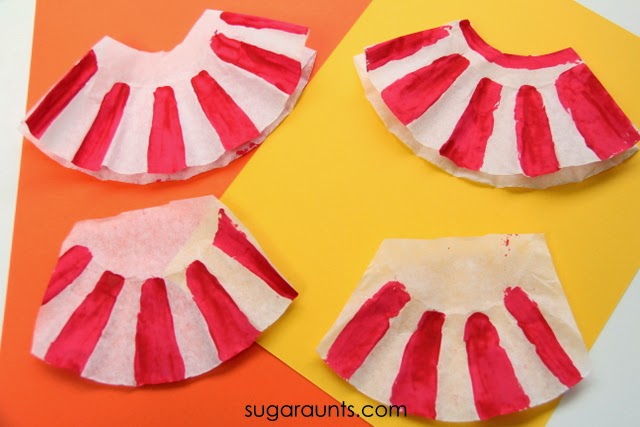
To begin your circus tents, cut the coffee filters as shown.  This is a great way for little scissor users to practice their scissor skills.  Cutting coffee filters is more difficult than regular paper and a great way to practice accuracy as they cut along the folded parts of the coffee filter.  Adults can make marks on the coffee filter where needed for the kiddos to cut along. 

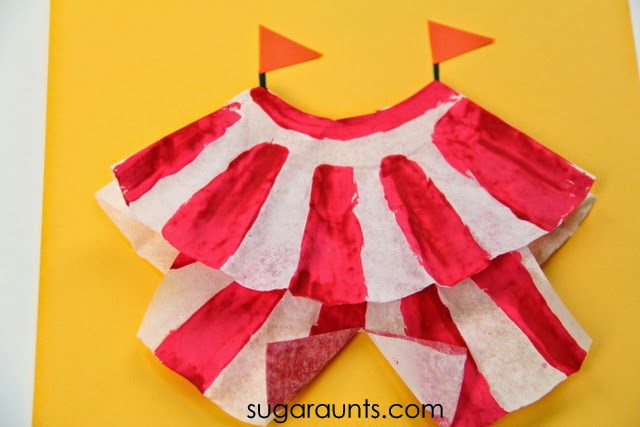
Once cut, start the painting!  We painted our circus tents with red paint on every other folded section of the coffee filters.  Use your imagination on your circus tents.  Circus tents come in many different colors and designs!

Once the paint is dry, place the smaller section of coffee filter under the larger piece.  Glue onto a sheet of paper.  Cut a small slit on the smaller section, and fold the doors of the circus tent open.  The circus is open! 
Use the black marker to make flag poles and glue small triangles of orange (or any color) paper to make flags.  Done!  This would be a great craft to do before an outing to the circus or just for fun when you read a few circus books. 
You may also enjoy our Kids’ Crafts Pinterest Board. Stop by and follow along:

Easy Crafts for Kids

We’re loving these easy crafts for the kids.  Keep them occupied with easy (and super cute) art and crafts this summer…or save these ideas for a rainy day!


Easy Crafts for Kids

Potato Masher Fish Craft from Fantastic Fun and Learning

Lego Head Straw Toppers from What I Live For

Toe Print Caterpillars from Rubber Boots and Elf Shoes

Printed Ladybugs from Sparkling Buds