Christmas Pencil Control Activities for Kids DIY Workdsheets

 
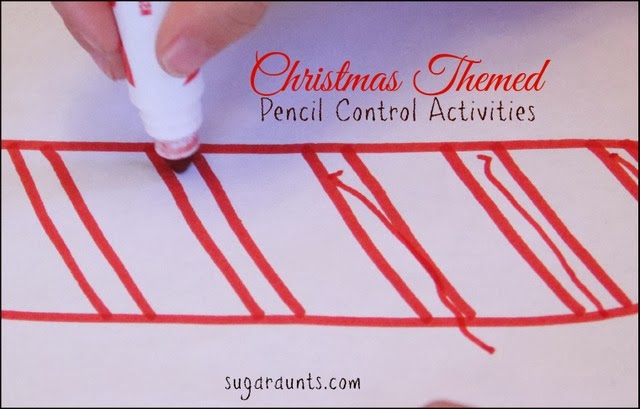
We did a few Christmas Themed Pencil Control Activities with DIY worksheets this week. 
 
This is so good for Little Guy (age 4) who needs a little practice with controlling the pencil when he’s writing letters.  He’s only just begun writing his name, so this is the perfect age to improve pencil control as a preparation for more letter formation and line awareness as he starts to write on lines in coming months and years.  New handwriters and kids who are not yet writing can do these easy (and fun) pencil control activities as a prep activity.  And better yet, these pencil control activities are beginning homemade worksheets with a fun Christmas Theme!


Pencil Control Activities with a Christmas Theme

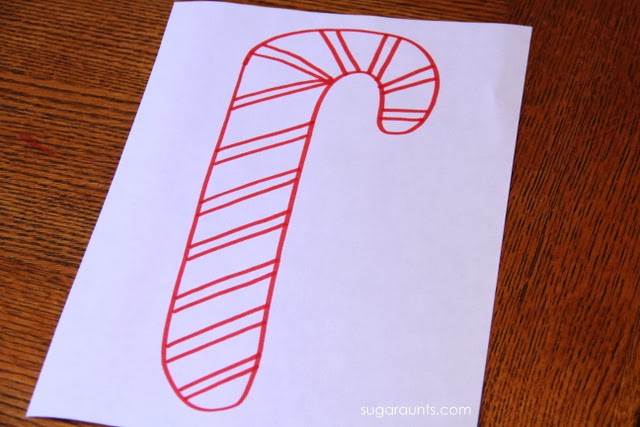
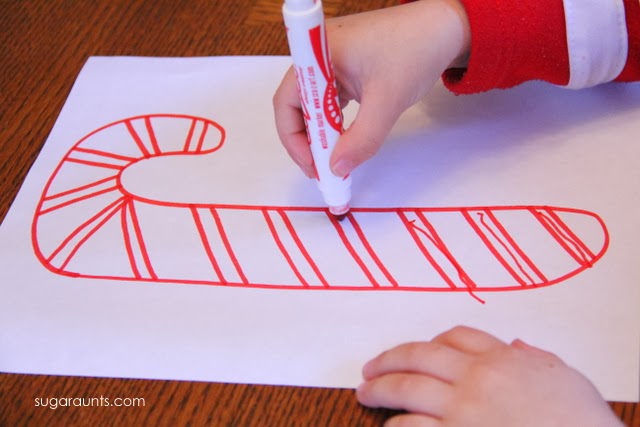
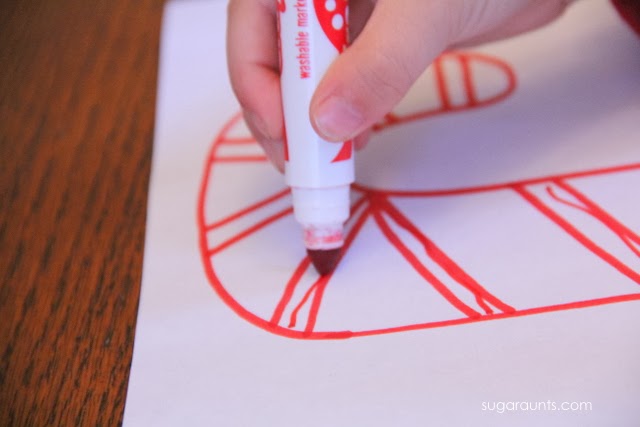
Little Guy loved this candy cane activity.  I drew a quick candy cane on white paper with thin spaces on a diagonal.  I had Little guy use a red marker to draw lines inside the thin stripes.  We made a few of these candy canes because Little Guy wanted to keep going and make more! 
 
{Note: This post contains affiliate links.  In other words, this blog will receive monetary compensation when any purchases are made through the links in this post.  Our opinions and ideas are in no way affected.  As always, we thank you for your support and community here at Sugar Aunts.}
 
 
For a new pencil user, encourage your child to draw the lines from right to left (**not like in this picture, oops!**) and the child should rest their arm on the table surface.  Little Guy needs verbal and a physical cue to rest his hands on the table surface for better control.  This will improve pencil control when the child is attempting to draw a line in a certain area.


He kept his lines within the stripes very nicely, and did not often go over the edges of the candy cane.  This is a great activity for a new writer!

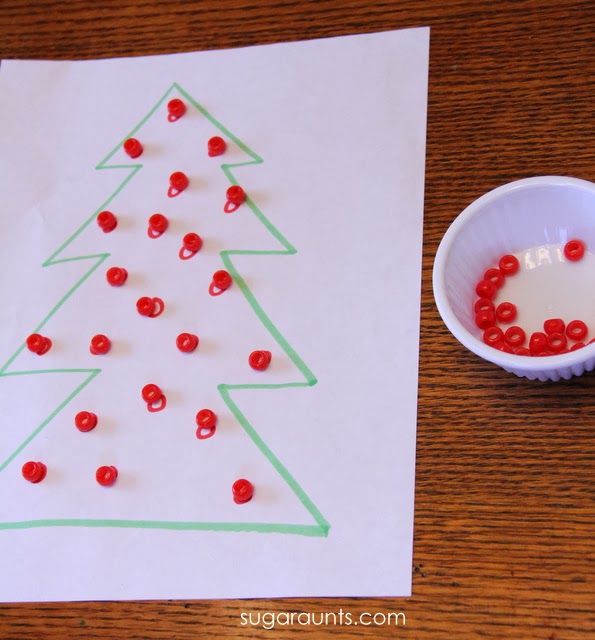
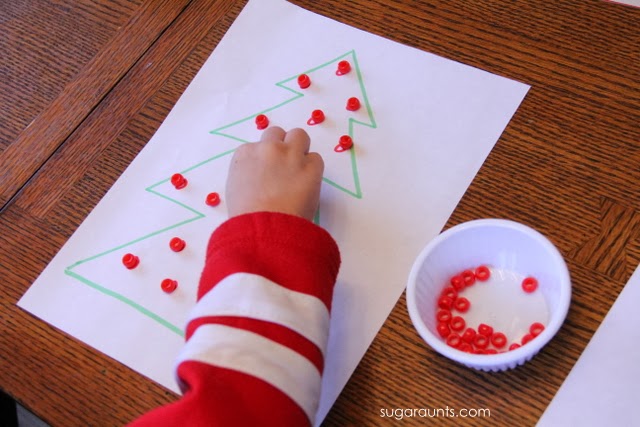
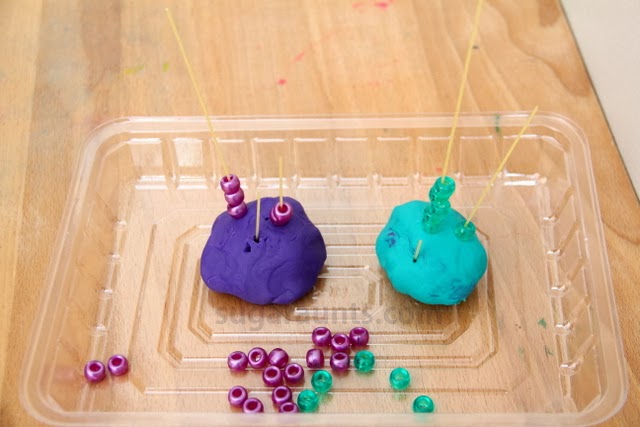
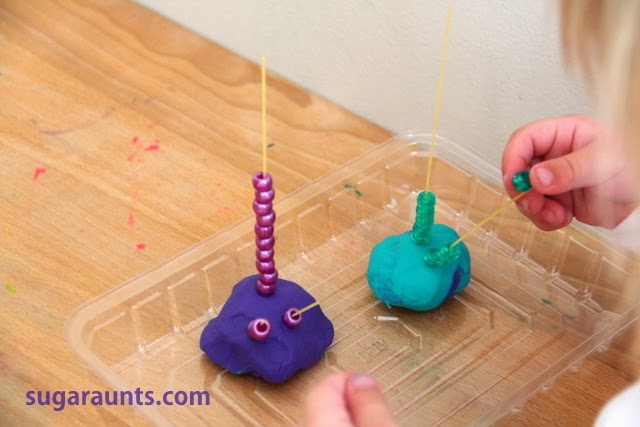
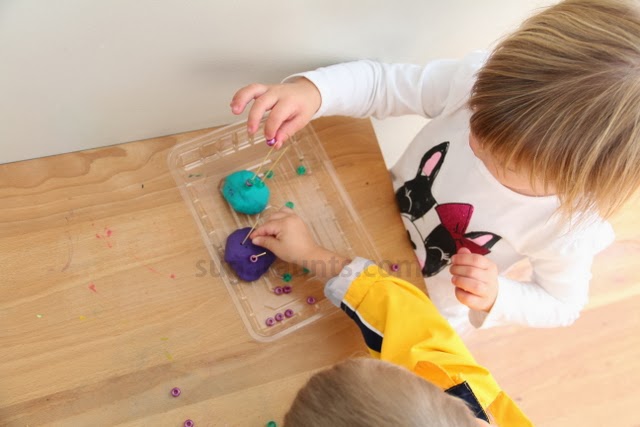
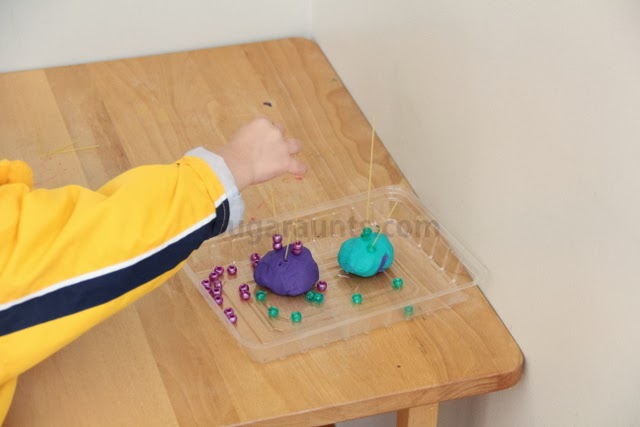
Our next activity was encouraging tripod grasp to manipulate pony beads.  I had Little Guy pick up the beads and place them onto the bulbs of a Christmas Tree.  You may have seen this picture on our Instagram feed or Facebook page.

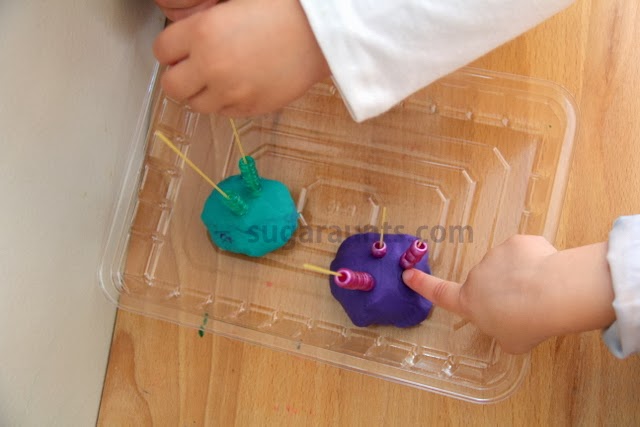
Little Guy had to keep the beads on the circles and really concentrate on the lines.  To manage the beads and place them gently on the circles, encouraged a tripod grasp with extended wrist for improved pencil control.


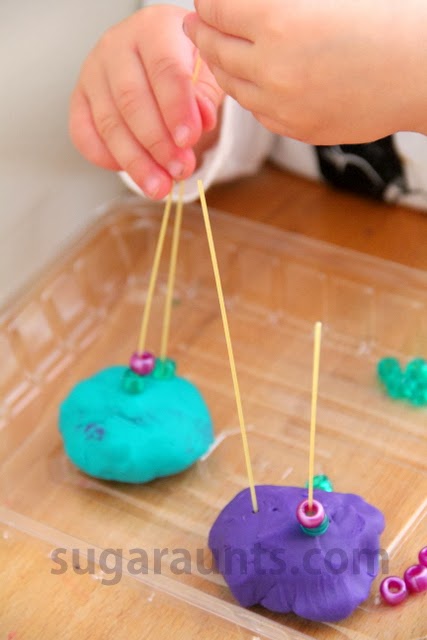
This Christmas tree was another easy DIY pencil control worksheet to throw together.  Baby Girl (age 2) really liked this activity too.

I didn’t capture a picture of the next step, but I had Little Guy connect the bulbs with a  pencil.  I asked him to keep the pencil from going in the bulb, because it might break the light!  Connecting the dots and concentrating on the lines of the circles was a great way to work on pencil control.


More DIY Christmas Pencil Control Worksheets for Kids

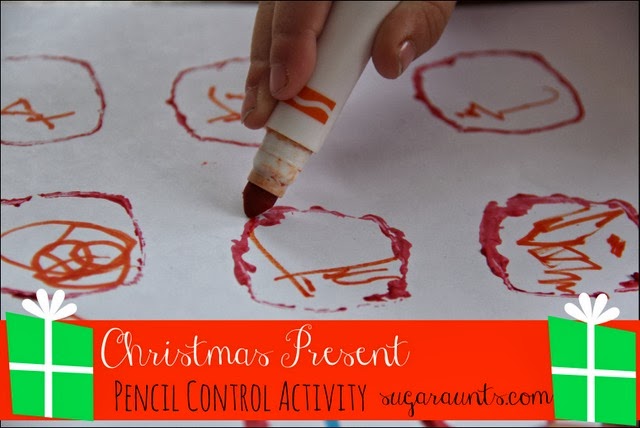
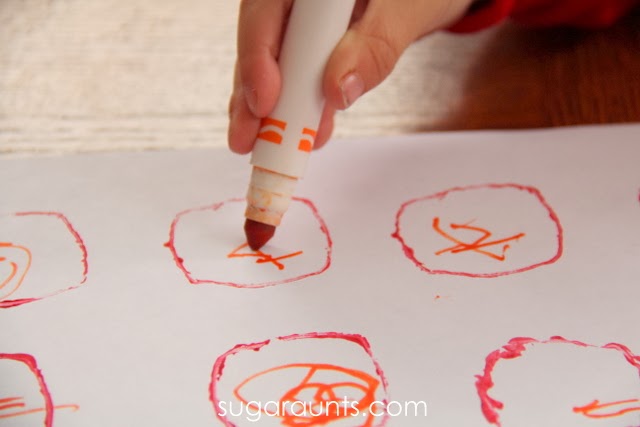
Our last pencil control activity was a present themed one.  We started by making presents with some paper tubes shaped into a square.  We used our Spill Proof Paint Cups
to hold the paint and stamped some squares.


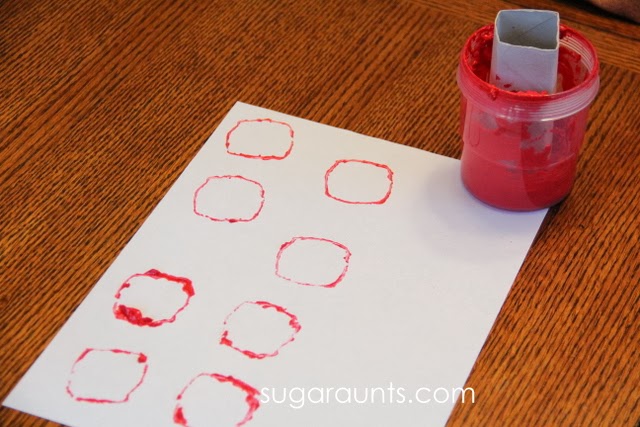
We waited until the next day when our present squares were dry.

 
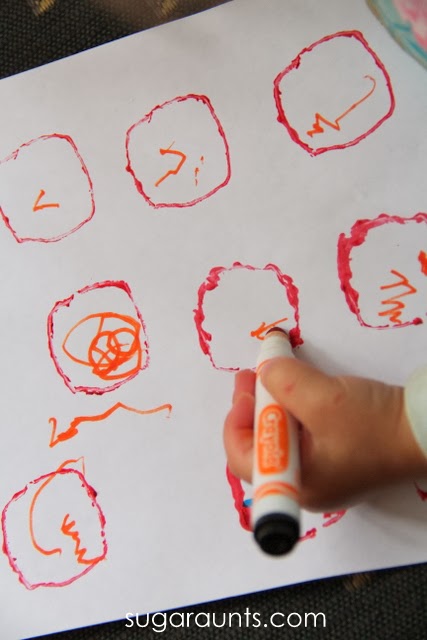
Baby Girl kind of took over this activity before Little Guy got a chance to practice his pencil control

I showed Little Guy how to make crosses on the presents (over Baby Girl’s added decorations!) so he could practice simple copying.  He was to make the lines top to bottom and left to right to encourage improved pencil control in letter formation.  He did pretty well!


Thanksgiving Felt Board Patterns Direction Following Turkey

This Thanksgiving Felt Board activity was just the thing we needed one afternoon when Little Niece and Nephew were at our house.  It was a super cold day and we were happy to stay inside warm and cozy playing and having fun with a few Thanksgiving activities

Thanksgiving Felt Board

This felt board was super easy to put together.  I have a big sheet of orange colored fleece fabric that we use for all kinds of activities and play.  It makes the perfect fuzzy background for felt play, pretend play when we need to have an impromptu living room teddy bear picnic, and the perfect baby doll blanket!

This time we used our fleece to make an easel cover for our Felt Board Direction Following Turkey.  
We’ve been doing a lot of turkey crafts and activities leading up to Thanksgiving, and this one was even more fun for the littler ones.  Baby Girl (age 2) and Little Nephew (age 2) both loved moving the felt pieces all over the board.  And worked on fine motor skills and direction following and patterning at the same time!  


This post contains affiliate links.
Just a few supplies are needed for this activity. 
  • The Orange Fleece worked perfectly to hold the felt pieces of our turkey. 
  • The rest of the turkey was easy to make using Assorted felt pieces
  • A few brown circles, feathers of different colors, little turkey feet, a beak, and a wattle and our turkey was ready for creating! 
I snipped a few little pieces of felt and glued them to the backs of Googley eyes.  Then the googly eyes could stick to the fleece.
The fleece was perfect to throw over our Easel.  The fleece stayed in place pretty well without sliding much.  With the material up on an included surface, the kids were able to manipulate the pieces of the turkey while using an extended wrist. 
This positioning of their hand while managing small pieces prepares them for handwriting with a proper position of the wrist and fingers while holding a pencil.
I put one turkey together so the Toddlers could see where all of the pieces went. 
This task required visual scanning and direction following.  We put our turkeys together with multi-step directions to add a little difficulty to the task.
Little Guy (age 4) worked on some patters with the feathers.  We used an AB pattern for our turkey feathers.

Little Nephew is a smarty when it comes to identifying colors.  He told us all of the colors of the feathers easily!

Working those little pieces was a great fine motor task for these guys!
They needed to use a pincer grasp to pinch the littlest pieces, all while maintaining that extended wrist. 
We had such fun day with our Turkey patterns, direction following, and fine motor play.  This would be an easy activity to put together in these last days before Thanksgiving!

Fine Motor Pincer Grasp Color Match

This fine motor pincer grasp activity uses colored beads to work on fine motor skills while kids color match beads to play dough. When threading beads onto dry pasta (or skewers, toothpicks, or other “sticks”) stuck into play dough, children improve various skills necessary for pencil grasp and functional grasp.  Use this simple fine motor activity to improve visual motor skills, pincer grasp, in-hand manipulation, separation of the sides of the hand, and more.
This was a fun play time activity for the little ones in our house.  We had fun with fine motor play while working on colors, matching, and fine motor skills.
use play dough and beads to help kids with color matching while addressing fine motor skills like pincer grasp, in-hand manipulation, separation of the sides of the hand and other visual motor skills.

Fine Motor Pincer Grasp Color Match Activity

Play dough is such a great learning tool.  The kids always love when play dough is pulled out.  This one took two colors and some spaghetti noodles. 

  Instead of stacking cereal on our spaghetti noodles, we went with colored beads and two colors of play dough.

I put two colors of play dough on a plastic tray and stuck some dry spaghetti noodles into the dough.  Scatter some beads around and we are ready to play!  I put a few beads onto the same-colored dough to show an example of matching the colors.
Baby Girl and Little Niece and Nephew (both newly 2 years old) LOVED this!  They really astonished me that they could match the colored beads right away to the correct dough.
They really got into this activity.  There were hands everywhere for a while, reaching for beads and noodles!

Pincer Grasp

What made this a great activity for the littlest ones was the pincer grasp that they worked on when picking up the beads.  They had to manipulate the beads within their hand to get the bead onto the thin noodle. 
Pincer grasp is using the thumb and index finger to pick up small items.  This grasp is important for development when children are holding a string to thread in lacing tasks or for managing a button.  These two little ones didn’t care much about how they were holding the bead…They just knew they were having fun 🙂

Color Match with Play Dough

This was such a fun activity for our little ones.  Loads of learning happening here!  Colors, matching, sorting, even patterns for the older ones.  Baby Girl and Little Nephew really got excited about the colors.  They would say “purple!” and “green!” Not necessarily for the correct colors, but it was pretty fun…and cute 🙂

Have you done a version of the noodles in play dough activity?   We’ll be doing this again for sure with all the fun we had!

Looking for more Fine Motor activities?  You might love these:

Color Shape Sorting, Patterns, Counting

This sorting and pattern activity is a great fine motor and visual motor task for young learners. I love that the fine motor aspect builds pre-writing skills as well as math skills. You’ll also want to grab our color and count worksheet for more fine motor work with math and patterning as well as sorting objects.

Moldable Color, Shape, Sorting, Counting, and Patterns!

Disclosure: This post contains affiliate ads. We receive a compensation when a sale is made by clicking through from our blog.  All opinions are our own.

Color Shape Sorting, Counting, Patterns with Wikki Stix

We love playing with Wikki Stix.  We’ve used them in so many fun ways.  One day, Little Guy and I made some shapes and did a little sorting.

Color Shape Sorting, Counting, Patterns with Wikki Stix
 
Little Guy was sure to tell me if the shape didn’t quite look right.  “Mom, that square doesn’t look square-y”.  We counted how many of each shape we had.
 
Color Shape Sorting, Counting, Patterns with Wikki Stix
 
Little Guy made up a subtraction game as he put them into the box.  He counted each time he took a shape away and said “…minus one iiiiiiiiissss….”  He had so much fun doing this little game!
Color Shape Sorting, Counting, Patterns with Wikki Stix

After we finished with the shapes, he said we should do a pattern.  We pulled all of the wikki stix into strait lines and he came up with the pattern.  This was a fun quiet time activity for both of us!


Invitation to Pour. Scoop. Transfer: Fine Motor Play

We’ve had a bag of mixed nuts with shells sitting out in our living room for days now.  A couple of bowls and spoons make for a fun play activity for all times of the day!

Use this fine motor activities to teach kids hand dominance while working on bilateral coordination, visual motor skills, and more! 


Invitation to Scoop, Pour, Transfer

Scooping Fine Motor Coordination
I gave the kids a couple of bowls and spoons with the walnuts, almonds, chestnuts…and a few other ones that I’m not sure of the names 🙂 …and they immediately started pouring from bowl to bowl.

Invitation to Transfer

Baby Girl (almost 2) and Little Guy (4) have been loving this!  Little Guy’s been sorting the chestnuts into a pile and gathering them all up into a bowl.  Baby Girl has been pouring and transferring nuts from bowl to bowl…and scattering the nuts allllll over the place 🙂

 Invitation to Pour

This is such a great fine motor activity for little ones, and they love playing with a novel item.  Pouring requires precise bilateral hand coordination or the nuts scatter all over the table…Although, they seem to enjoy that just as much!

Invitation to Scoop

Scooping the nuts with spoons allows for a great fine motor activity and fine motor coordination development, too.  Baby Girl is getting some great spoon practice with this activity!
 I’m thinking the walnuts, almonds, and friends will be out on the train table for a few more days for fun and exploring!

Clay Rocks for Sensory, Outdoor, and Fine Motor Play

We’ve been having a ton of fun with clay recently.  One sunny afternoon, Big Sister and Little Guy got creative and covered a big rock with clay.  It sat out in the sun and got pretty soft.  


It’s a great way to encourage development of fine motor skills and hand strength in a fun way! 

This post has been sitting as a draft for weeks!  We made a clay rock a while ago and before this was published, I wanted to see what our rock would do in the rain.  It worked!! Check it out:


Sensory Play with Clay and Rocks

What great sensory play!  Pressing that clay around was such a neat sensation.  They could smear the clay around into such a pretty design!


Fine Motor Play with Clay and Rocks

Pressing the clay was a great fine motor strengthening activity.  They could isolate individual fingers, press and push the clay into the other colors.  The resistance of the clay worked their little hand and finger muscles.

So, after the rock sat out in the HOT sun for a while, we noticed that the clay was becoming warmer.  We wondered what would happen if we baked the whole rock and clay. 

Mom put the rock on a piece of aluminum foil and baked the rock on a cookie sheet at 350 for about 15 minutes.  When this rock came out, the color was spread all over the rock!  What a pretty rock for our yard.

I wanted to wait and see what would happen to our rock after it was out in the rain and sun for a few weeks.  It is still looking very bright and pretty!  The clay hasn’t seemed to come off at all in the elements. 

This was such a fun experiment.  Every time Little Guy sees the rock he says: “Hey Mom, Look at that rock, that was SO FUN!”

Sensory Soup with Fine Motor Sorting

This was a child-led activity after …someone… emptied a bunch of our sensory bottles into the little play sink!   I had super glued the lids shut, but a bigger cousin had a great idea to cut the bottles open.  Super good problem solving, right?  We had all kinds of things in this little sensory sink…pieces of straws, bits of yarn, glitter, foam snowflake stickers, crafting poms…It was very sensory!!

So, what does a mom do…don’t stress the mess, roll with it 🙂
Sensory Sink

Fine Motor Sensory Play

I added a few utensils from my kitchen to scoop, transfer, and stir…and a couple of containers from our recycle bin.  Baby Girl had a blast with this while the big kids were at school. 

Using the Turkey baster to squeeze is such a great hand strengthening activity!  Transferring the objects with a spoon really works on her visual motor skills.  Scooping up crafting poms from that sensory water is a great task for an almost 2 year-old.

Sensory Sorting

Baby Girl sorted the objects into sections of a muffin container, with a little verbal cueing from Mom.   This is a fun way to incorporate sorting into  sensory play…and she loved pretending to cook in her little kitchen!
 It was a pretty fun way to recycle our sensory bottles!

Color Matching Lego Matching

 Legos and Play Dough to Match Colors

This was a super easy and very fun fine motor activity we did one day.  Perfect for the littlest ones who find dinner-prep time is time for Mom to hold her while sautéing chicken
…cough, Baby Girl, cough…
Pull out one color of play dough and one matching color of Legos.  Baby Girl loves her mega blocks and we play with them daily.  This was perfect for her because she could press the blocks into the dough and see an imprint of squares and circles.  Great for language development, as well as color identification. 
She liked that she could press the little circle “buttons” (and this works those little muscles of the hand and index isolation). 


We’ll be pulling out the play dough and Lego blocks again, for sure!

Window No-Mess Sensory Spelling

No-Mess Sensory Spelling:

 We’ve done the no-mess window painting a few times before (Seek-and-find, and Colored gel mixing to name a couple) and had a lot of fun with it.  This time we added a spelling component to add a few Kindergarten sight words to the fun.
This is so easy and Big Sister had fun moving the letters around in the paint to work on some fine motor skills, too.
Pour a little bit of paint into a sandwich baggie.  Add a few foam letters.  Seal the baggie closed.  Tape it to a window and start to play!  We had a really rainy day recently and this was a fun indoor learning activity.  (You can see the raindrops on the picture!)
You’ll also love our diagraph spelling word poem that helps children with learning commonly misspelled words.

Fine Motor Letter Learning

Moving the foam letters around in the baggie is resistive and a really great fine motor strengthening activity to work the fingers.  The child is able to isolate her index finger to move the letters around. 
Add a few extra letters to work on rhyming words.  This is also great for just placing right on the table surface and better for smaller kids that way, too.  Littler ones can just move the letters around and address letter identification and colors.