In this blog, you will learn how the environment, and the feelings of those around us, directly affects behavior. You will learn simple ways to support children in calming down, while in our care, through co-regulation. This important skill is part of our emotional intelligence and one that takes fostering and nurturing. Let’s go over what coregulation means, how this skill develops, and how we can support co-regulation through practical strategies.
CoRegulation
The feelings and behavior of people in close proximity to us, directly impact how we feel, and respond to our own emotions. When children become upset, if those areound them stay calm, demonstrating how to calm down, the child can calm down quicker.
How would you feel if your neighbor was yelling at the mailman for stepping on their freshly cut grass? Do you feel annoyed? Can you feel the fear the mail man is feeling?
How would you feel while walking past someone doing yoga in the park? Do you feel calm?
In the same way adults are impacted by others actions, children pick up the moods of others around them. When people around us are behaving a certain way, we can be directly affected, responding both internally and externally.
When witnessing an uncomfortable event such as the confrontation at the mailbox, internally you might feel your heart start to pound, or clench your teeth as nervousness sets in. You might run and hide behind the window curtain to try and separate from yourself from what is making you feel uneasy (while still peeking in horror).
Once separated, you are often able to calm down using strategies to regulate your sensory system. I like to sip water and take breaths of lavender. My husband likes to go for a run and lift weights to decompress. As adults, we have learned how to adapt and overcome these intense feelings through different strategies. Children need support to separate themselves from stressful situations, and regulate their emotions. They are not able to understand the triggers and determine an acceptable calming mechanism.
What is co-regulation?
The definition of co-regulation is– the ability to regulate emotions and behaviors to soothe and manage stressing internal sensory input or external situations, with the support and direction of a connecting individual. Co-regulation is nurturing connection of another individual that supports regulation needs through the use of strategies, tools, and calming techniques in order to self-soothe or respond in times of stress.
Co-regulation and self-regulation are part of the developmental process. In order to move from a co-existing place to a place of independence, the child needs to develop emotional intelligence and social emotional learning. All of this is part of typical development.
Development of co-regulation
Co-regulation is a part of development. Before one can self-regulate, they need to co-regulate.
- Co-regulation begins in infancy. Before a young child can self-soothe, they need a parent to help them. When an infant is crying a parent picks them up, holds them close, rocks, and wraps them up in a tight swaddle, and offers a pacifier. All of these strategies are tools to provide correct sensory input that calms and regulates the baby’s system. This is co-regulation; the parent is offering tools and strategies to support the infant’s needs.
As caregivers we play a huge role in helping children calm down. When children are upset or overwhelmed, they look to us for help with regulating their emotions. This article explains how to support co regulation in infants through three year olds. A caregiver needs to project calmness in order to soothe their infant. This is very difficult for an anxious or upset parent.
- Co-regulation in toddlers might look similar, but with more input from the child. The toddler prefers to be active and jump, run, roll, or move, rather than be held and cuddled all the time. The caregiver offers toys and activities to get the child moving in the way they enjoy. If the toddler only does these alerting activities, they might run themselves down, and move into a meltdown state. The parent then offers a calming tool such as a cool sip of water, a slow walk, singing a song, a break from the action, or a moment to stop and look at something interesting (also known as mindfulness). All of these are co-regulation strategies for toddlers. The parent offers strategies to the young child, and hopefully, the child accepts them.
As children grow into toddlers, the most successful way to support their feelings is to calmly use words and gestures to redirect them when they are upset. When adults are feeling anxious or upset when trying to redirect the child, children respond with increased adrenaline, becoming more upset and dysregulated.
They match or mirror the energy of their caregivers. When adults stay calm, children can become calm. When children become or stay calm, they are able to listen and problem solve.
- Co-regulation in preschoolers can be similar to that of a toddler. As they develop, preschoolers are able to offer more input as to their preferences, interests, and dislikes. For example; the young child can request a certain sippy cup they like. They may not know why they like certain activities or items like the long straw on their favorite cup, or the weight of a plush toy, but they know that it feels good. Similarly, adults often do not understand why they choose to run or listen calming music, they just know it helps. Parents can help young children co-regulate sensory and emotional needs through providing ideas for strategies and activities.
- Co-regulation in older children– Preschoolers, kindergarteners, elementary aged children and teens are able to self-regulate using skills taught to them while being supported through co-regulation at a younger age. As children grow, they have more autonomy. They have more ability to move from co-regulation to self-regulation.
The ability to self-regulate occurs through co-regulation with parents, teachers, and older peers. Typically, it’s through the first 7 years of life that children need support to regulate emotions, sensory input, and external stressors. Even after the age of 7, most kids need help!
Self-regulation development continues over time, but the ability to co-regulate begins to move from a supported mechanism, to an individual and independent ability.
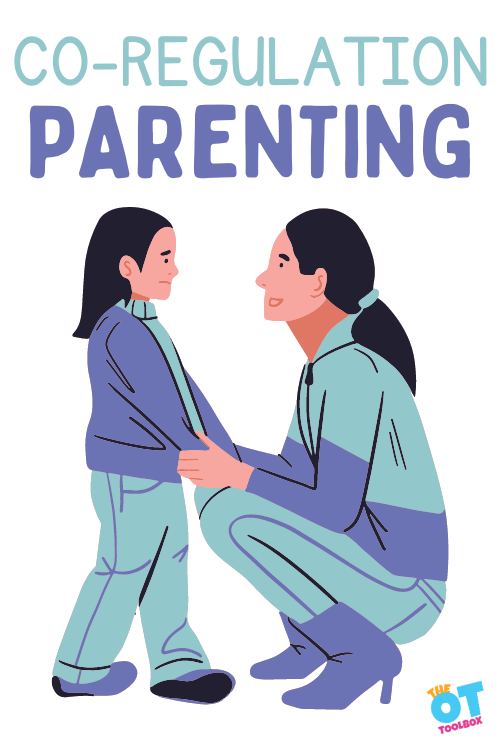
Co-regulation Parenting
The above paragraph should help explain what coregulation means in young children, but how can we help support kids with co-regulation, so they can develop these self-soothing skills?
We can focus on co-regulation parenting as a tool and a means to support our children.
Many adults struggle with self-regulation. This is where we see additional problems. When young children need support to co-regulate, sometimes the adults in their lives are not offering the tools and strategies as a support person.
If a parent responds to a young child’s meltdowns or behaviors with emotional outbursts, anger, stress, and anxiety, the young child cannot soothe themselves.
It is important for adults to take a look at stressors, internal anxiety, and emotional state so they can support the young child.
- How many times have you witnessed frustrated teachers/parents/caregivers yelling at children?
- Does it calm them, or make them afraid and shut down?
This is why it is important for caregivers to step away from a situation where the toddler is “pushing their buttons”. Take a deep breath, get a date night out, go for a run, or some other mechanism of self-regulation. I often said, “Mommy needs a time out.”
self regulation
You have probably heard the term “self-regulation” which refers to the ability to control oneself in any given situation by balancing and calming internal sensory systems within the world around us.
Before young children can self-regulate, they need the support of adults around them to teach and help them develop the abilities to regulate on their own. They need to co-regulate, or co-exist with parents, teachers, and others, who can “show them the ropes” and learn to balance and calm their internal and external systems. Co-regulation comes before self-regulation developmentally.
Neuroscience of Co-regulation
What does co-regulation look like in the brain?
Brains are amazing machines, capable of processing the environment, including the feelings of others. Dr. Caroline Leaf, neuroscientist has stated “As you co-regulate with someone, the mirror neurons in their brain are activated, and this enables the person in the deregulated state to literally ‘mirror’ your calmness,” For long-term benefits and effective results, Johnson recommends practicing co-regulation often. “It will effectively rewire the brain so that over time, things that once were triggering or set off alarms no longer have the same effect and happen less often.”
Wow! The brain can process the feelings of others in milliseconds, directly affecting our our own moods and behaviors. No wonder all of the children in a preschool class feel overwhelmed, as soon as one child becomes dysregulated.
How do you prevent the whole room from becoming overwhelmed, when only one person is stressed? Co-regulation is the first step for a person to learn self-regulation.
According to this research article by Howard Beth, “Neuroscience shows that humans develop their abilities for emotional self-regulation through connections with reliable caregivers who soothe and model in a process called “co-regulation.” … In time, the child internalizes the expectation of a soothing response which provides a foundation for learning self-regulation. “
It is the responsibility of caregivers to support co-regulation, which directly impacts a child’s ability to self soothe as they grow. When children are upset, the most important thing for caregivers to do, is remain calm.
If caregivers become upset or overwhelmed in response to another person’s behaviors or actions, everyone will continue to feel stressed, and the situation will explode.

How to help kids with co-regulation
My own regulation techniques were put to the test once, when I was teaching at a preschool that backed up to a farm. The children (all 2-5 year olds) were inside eating lunch and I was setting up their nap mats. We had a futon in the classroom for children to relax and read books on.
Out of nowhere, a humongous snake slithered out from under the futon! The initial shock wore off quickly, and my nerves set in. The snake was coming towards me, and I had 24 preschoolers eating lunch only ten feet away! I calmly helped the children walk out the door to the playground with the aide, breathing and saying “It will be okay. No need to worry.”
The kids walked out of the room curious, but not frightened. I raced to the phone and called for help (my voice was much more panicked as I talked to the janitor about the huge snake in the room)! I knew nothing about snakes, and I wasn’t about to get in its’ way. Luckily it ended up being a garter snake, removed quickly by a specialist and relocated, far away from my classroom!
At that moment, I knew that I had to “keep my cool”, so the children wouldn’t become scared. They co-regulated off of my calmness, and were able to safely follow directions and watch the situation unfold from outside.
Children learn new skills through hands-on activities. Regulation skills are learned the same way.
Regulation Strategies:
There are many more self regulation strategies than just the ones listed below. This should give you a good idea for where to start.
- Deep Breathing- Deep breathing exercises for kids teaches young children how to calm down through pausing, and taking large breaths. Relaxation breathing is a great strategy for adults and kids to do together. The ones on this site use a fun and engaging strategy that introduces breathing techniques using visuals and imitation. The printables in this resource form the OT Toolbox teach kids all about breath control using fun pictures, arrows, and places to pause, and hold their breath. Print out the free PDFs, show the child the picture and the arrows, and practice deep breaths. When your child becomes upset, immediately start to “breathe like a polar bear”, or “do rainbow breaths” and watch as your preschooler starts to calm down too!
Some of the most commonly used deep breathing tools include on the OT Toolbox include:
- Toys and stuffed animals- Using a preferred toy or stuffed animal integrates strategies from DIR Floortime therapy strategies. Kids gain the emotional vocabulary, and strategies to use in co-regulation, through play. I developed the Soothing Sammy (affiliate link) learning system. It is a great tool for co-regulation, because of the picture books and activities included with the emotional regulation toy.
In my book, Soothing Sammy, a golden retriever puppy, teaches children how to calm down using a variety of sensory strategies (such as jumping in place, blowing bubbles, sipping water, singing a song and squeezing a ball or play dough). First, read the Soothing Sammy story, where children visit Sammy in his dog house. He provides them with all of the tools needed to calm down. Once calm, the children are ready to play again. Use the stickers and shipping container to have your own preschoolers create a space for their own calm down items and place Sammy, the plush dog, inside! This is your child’s very own Sammy house to visit, just like the children did in the story. When children are overwhelmed, experiencing big feelings, they are easily redirected to these activities by saying “Sammy Time.” Help children co-regulate by creating your own Sammy House and using items to calm down when they are upset, modeling calm and soothing behaviors.
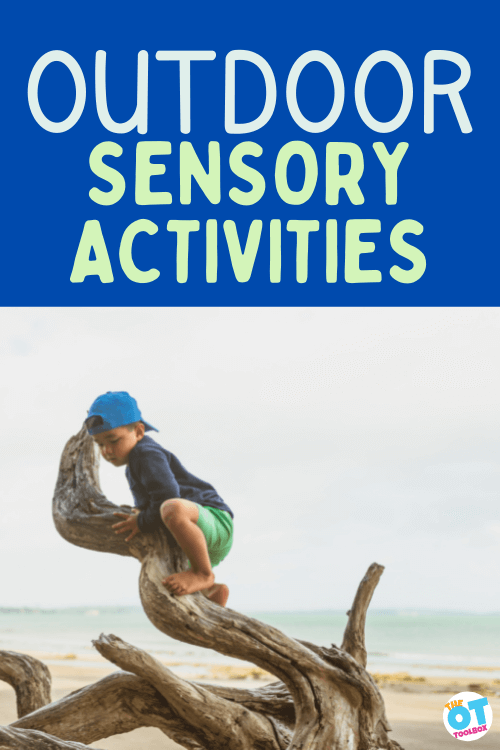
- Go outdoors and co-regulate!
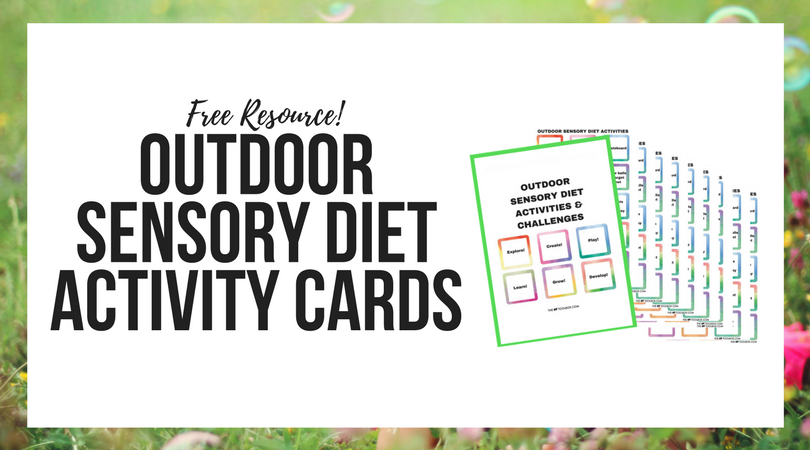
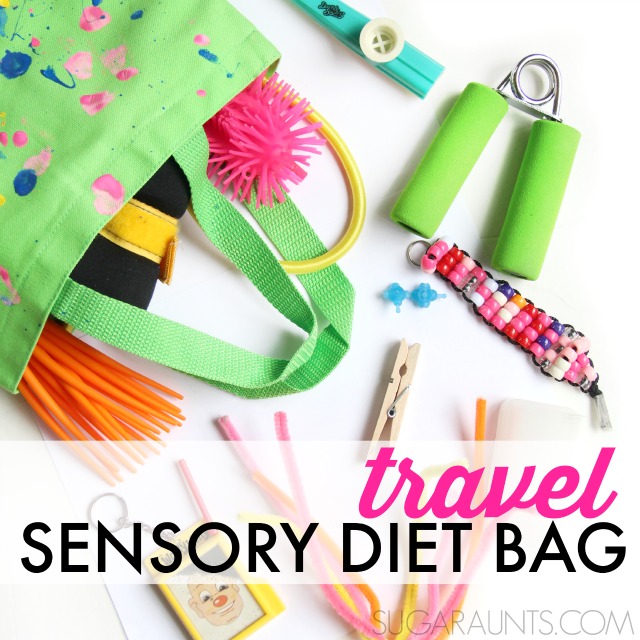
Sometimes all we need is a little bit of fresh air to help feel better. Use these outdoor sensory diet cards to discover calm down strategies to use outside with children. These cards contain outdoor play challenges to get kids moving, experiencing various sensory systems, and receiving calming input from the great outdoors. Included, are over 180 ideas on how to calm the bod through movement. The outdoors is a great place for a sensory diet. In the backyard there is a variety of movement opportunities. A playground is another great space for calming and regulating play. Check out this blog post on sensory input at the playground.
Children, especially toddlers and preschoolers, depend on adults to show them how to calm down or self-regulate.
tools for adults to learn self regulation
Being that co-regulation requires the ability to support another individual with regulation needs, it’s important to address emotional and coping needs as the adult in a parent/child (or other adult/child, peer/peer relationship). As a support person, regulating ones’ own needs can go a long way in modeling appropriate reactions, coping strategies, and following through with regulation needs.
Below are some great tools for adults to learn, or improve self-regulation so they can be models and important roles in the co-regulation relationship include:
- Adult Sensory Processing Disorder– Check out this blog post for information on sensory needs in adults
- Adult Executive Functioning Needs– There is a very close relationship between regulation and executive function. This blog post supports adults with executive functioning needs.
- Wellness Wheel– Balance is essential to regulation. Read this blog post as a starting point to support the needs of a parent, caregiver, and all of the roles one occupies.
- Family Wellness– Equally important is the overall wellness and wellbeing of the family.
- Physical Exercise and Wellbeing– This is a great resource on the role physical activity has on overall wellbeing. Before helping young children regulate, caregivers need to self-regulate.
If you’ve ever flown on a plane, taken a cruise ship, you’ve heard the safety information: In the event of an emergency, adults should place the breathing mask over their faces before they attend to their child.
Parents should put on their life jacket before they put the life jacket on their children. This seems backwards and selfish, however these life-saving mechanisms are of no use if the adult is struggling.
If they don’t put on their own face mask or life preserver first, there is no chance to support and help the child. The same is true for regulation; parents must first self-regulate in order to help co-regulate their children’s internal and external needs.
Empathy versus Empath
Empathy is being able to understand a person’s feelings, or realize why someone might be angry or sad. It is an important social skill, especially if you are the one causing the upset. Young children do not have the capacity to understand the complexity of empathy.
An empath is a person highly attuned to the feelings and emotions of those around them. Their ability to discern what others are feeling goes beyond empathy (defined simply as the ability to understand the feelings of others) and extends to actually taking those feelings on; feeling what another person is feeling at a deep emotional level.
Try this empathy activity to teach these concepts to children.
According to this article, What we do know is that researchers have discovered what they’ve dubbed “mirror neurons” in the brain which may help us to mirror the emotions of those we come in contact with.1 And it appears some people may have more mirror neurons than others; suggesting that empaths may exist.
The positives of being an empath are being able to offer support to others, knowing when someone is in need of assistance, and reading a person’s energy to see if they are a good fit for you.
The cons of this “ability” are that it is draining taking on the emotions of others around you, it feels like you are too sensitive, and you feel burdened taking on so much.
Being an empath can be described as feeling like a vacuum cleaner, sucking up the emotions of those around you, often before they realize how upset they are.
Empaths need to be experts at co-regulation because of the amount of sensory and emotional input they are “sucking in”.
A final note on co-regulation
Children aren’t born knowing how to manage their feelings in a positive way. As infants, they depend on their caregivers to soothe. As they grow into toddlers and preschoolers, children continue to depend on caregivers to teach them new strategies to calm down. When they sense how calm their caregiver is, they calm down also.
The best way for caregivers to help children develop their self-regulation skills, is to support them in co-regulation, by showing them calming activities they can learn to use on their own.
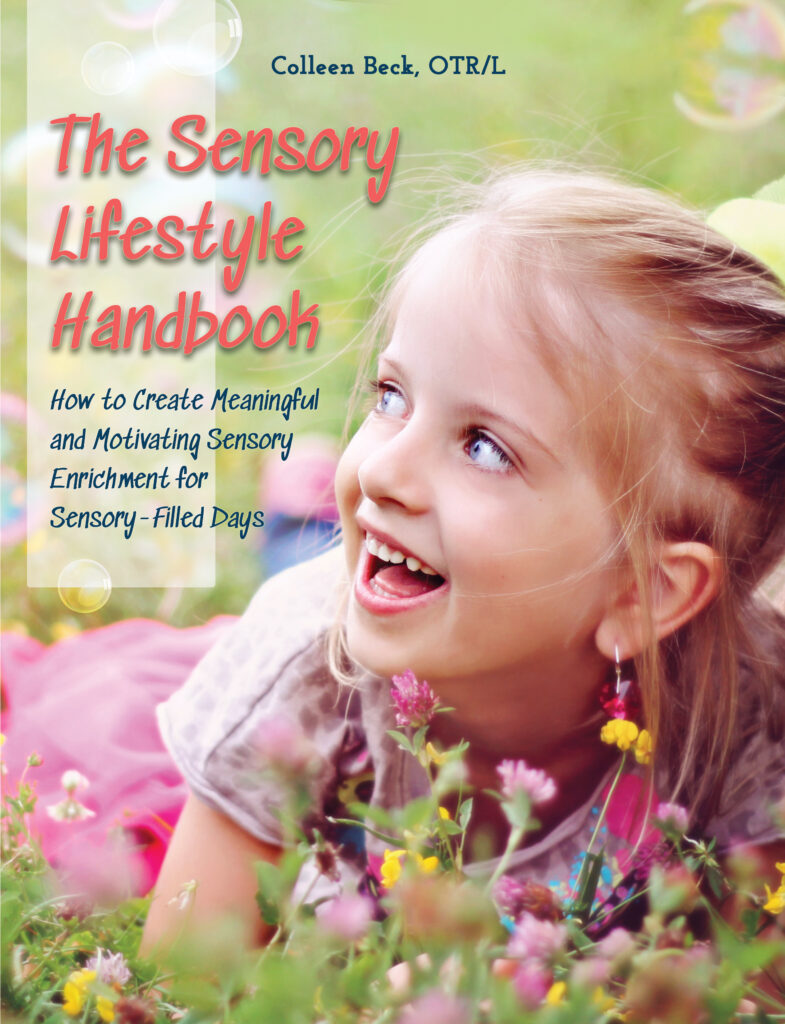
To learn more about sensory processing disorder and strategies, check out The Sensory Lifestyle Handbook and this resource on sensory processing disorder chart to understand all aspects of SPD.
Additionally, targeting parent and family education on co-regulation as an intervention strategy is highly effective in meeting self-regulation IEP goals so the individual can function in daily tasks.
*Note: The term caregiver has often been used instead of parent. This is to be inclusive. Caregivers can be parents, older siblings, grandparents, teachers, daycare workers, bus drivers, coaches, and many more.
Another great resource is our blog post on becoming a tech wise family.
Jeana Kinne is a veteran preschool teacher and director. She has over 20 years of experience in the Early Childhood Education field. Her Bachelors Degree is in Child Development and her Masters Degree is in Early Childhood Education. She has spent over 10 years as a coach, working with Parents and Preschool Teachers, and another 10 years working with infants and toddlers with special needs. She is also the author of the “Sammy the Golden Dog” series, teaching children important skills through play.