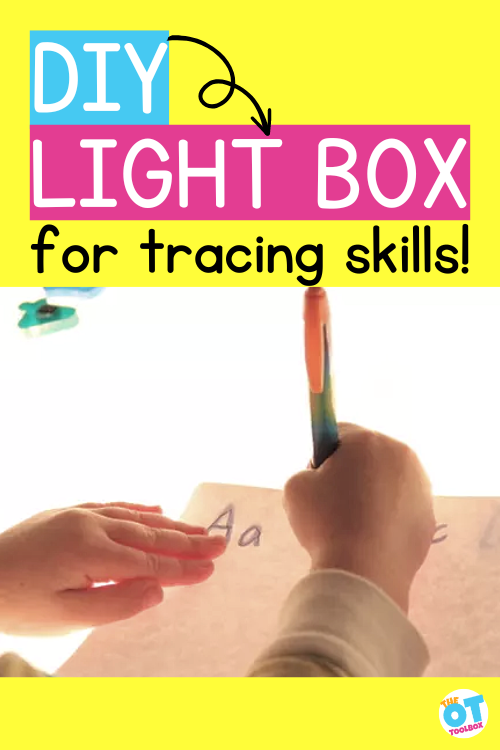
This DIY light box for tracing is an easy light box we put together in minutes. All you need is an under the bed storage container and a string of lights to make a tracing tool that kids will love. There are benefits to tracing and this tool is a fun way to build fine motor skills and visual motor skills as a visual motor skill leading to better handwriting.
Amazon affiliate links are included in this blog post. As an Amazon Influencer, I earn from qualifying purchases.
DIY Light Box for Kids
A DIY light box is a simple and effective tool that can be used for learning, play, and creativity. Light boxes provide a bright surface that makes it easier to see lines, shapes, and images for tracing or visual exploration. You can easily create a light box at home using materials like a plastic storage bin, LED lights, and a translucent lid.
This type of setup is especially helpful for kids because it makes activities more engaging and visually clear. A homemade light box can be used for tracing, drawing, sensory play, and even early writing activities.
DIY Light Box for Tracing
A DIY light box for tracing is perfect for helping children practice handwriting, drawing, and visual motor skills. The light shining through the surface allows kids to clearly see letters, shapes, or pictures placed underneath a sheet of paper.
This makes it easier for children to trace lines accurately, which supports motor planning and control. A DIY tracing box can be used for tracing alphabet letters, numbers, shapes, and simple drawings. It is a great tool for kids who are just beginning to learn how to write or who need extra visual support.
Sensory Light Box and Tracing Table Ideas
A sensory light box adds an extra layer of engagement by combining visual input with hands-on exploration. Kids can place different materials on the light surface, such as colored shapes, beads, or translucent objects, to explore how light changes the appearance of items.
You can also use your light box as a tracing table by placing worksheets or drawings underneath paper. This creates a bright, inviting workspace that encourages focus and creativity. Sensory light boxes are especially helpful for children who benefit from visual and tactile learning experiences.
Can You Make Your Own Light Box?
Yes, you can absolutely make your own light box at home with simple materials. Many DIY versions use:
- A clear or translucent storage bin
- LED strip lights or push lights. You can also use a tablet or studio lights (a video ring light found at many stores)
- Wax paper or parchment paper (to diffuse light)
- A flat surface lid
By placing lights inside the bin and covering the top with a translucent surface, you can create an affordable and functional light box. This DIY option works well for home use, classrooms, or therapy settings.
Can I Use My iPad as a Light Box?
Yes, an iPad or tablet can be used as a simple light box alternative. By increasing the brightness and displaying a white screen, the tablet can provide enough light for basic tracing activities.
However, there are some limitations. Tablets are smaller than most light boxes and may not provide as much working space. They are also more delicate, so supervision is important. A tablet can be a convenient option for quick tracing tasks, while a DIY light box offers a larger and more durable surface for regular use.
Reduce glare by upping the brightness when placing the tablet inside the plastic bin.
Specific Tracing Activity Ideas
Using a DIY light box for tracing opens up many opportunities for learning and skill development. Here are some beginner-friendly tracing ideas that parents, teachers, and therapists can start using right away:
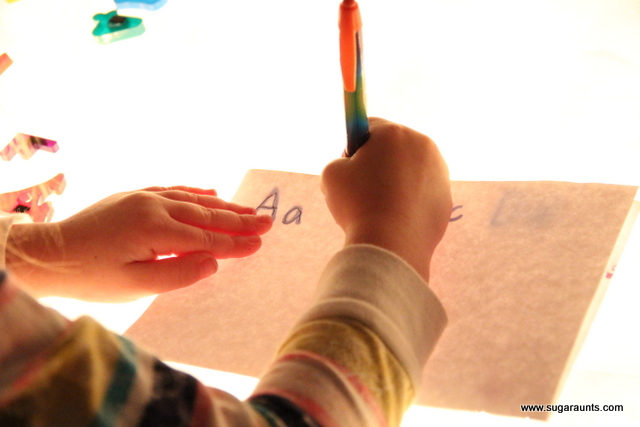
Letter Tracing
Place alphabet worksheets under paper and have children trace uppercase and lowercase letters. This supports handwriting development and letter recognition.
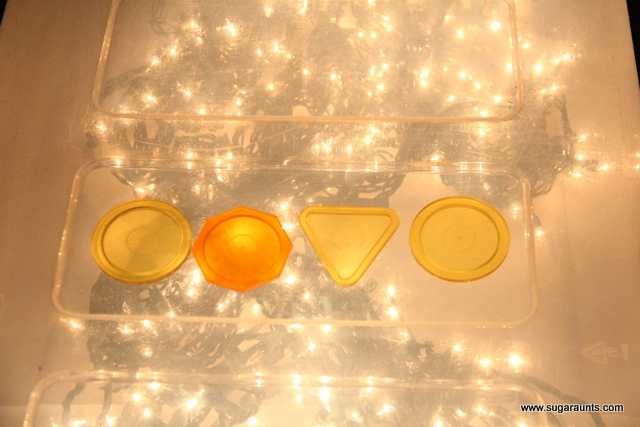
Shape Tracing
Use simple shapes like circles, squares, triangles, and stars. This helps build pre-writing skills and visual motor coordination.
Name Tracing
Write a child’s name in large letters and have them trace over it. This is a motivating way to practice writing.
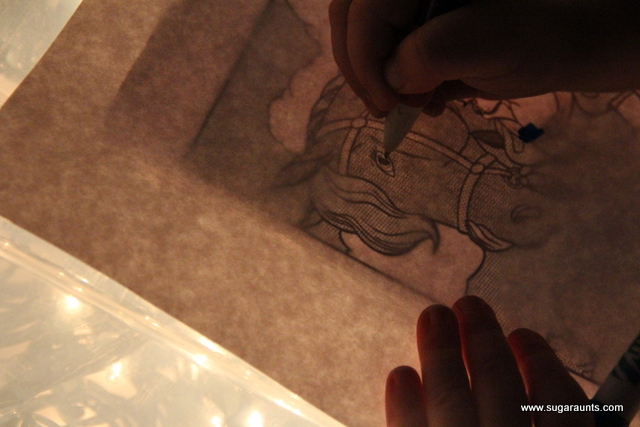
Picture Tracing
Trace simple pictures such as animals, vehicles, or objects. This supports creativity and drawing skills. Make sure you use white paper to see the objects.
Line and Pattern Tracing
Use straight lines, zig-zags, curves, and waves to build control and precision needed for writing.
Number Tracing
Practice forming numbers by tracing over large, clear models.
Themed Tracing Pages
Create seasonal or themed tracing sheets (weather, holidays, animals) to keep activities engaging.
Why Use a DIY Tracing Box?
A DIY tracing box makes learning more interactive and accessible. The light helps children see lines more clearly, which can reduce frustration and improve accuracy. This tool supports fine motor skills, visual tracking, and hand-eye coordination while making writing practice feel more like play.
DIY light box for tracing
A light box is a fun activity, and one you see in preschool classrooms, as it’s intended for hands-on play and exploring the senses. But did you know there are many benefits to using a light box for tracing (and other exploring play)?
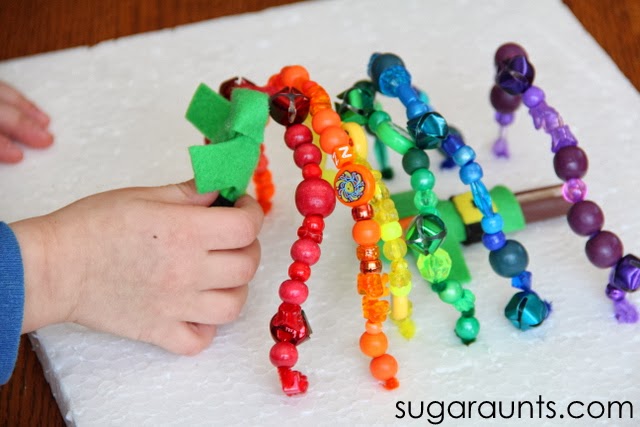
- Visual motor skills
- Fine motor skills
- Spatial awareness
- Fine motor STEM (constructing, engineering, exploring how objects fit together, creating patterns, creating art (STEAM)
- fine motor math skills (shapes, patterns, size awareness)
- Sensory play
- Bilateral coordination
- Crossing midline
- Visual perceptual skills
- MORE!
How to Make a DIY Light Table for Tracing
This DIY Light Box was something I’ve seen around Pinterest and have wanted to try for a while…Once we had our Christmas lights outside, I thought we would definitely be doing this project after we pulled all of the lights back in. So, after we brought the Christmas lights in from the outside bushes, this was easy to put together for a cold evening’s play!
You need just two items to make a DIY light table:
(Amazon affiliate links)
- Strand of white Christmas lights
- Clear, plastic under-the-bed storage bin
Important: The under the bed storage bin needs to be made of clear plastic or have just a slight opaque color to the plastic. Also, the top should be smooth. Many storage bins have textured surface or a white surface. The flat, smooth lid is important for sensory play as well as tracing with paper on the DIY light table. This brand (affiliate link) is a good one to use.
Instructions to make a DIY light box:
- Plug in the lights.
- Place them into the bin.
- Either cut a hole in the base of the bin for the lights to go through or cut a small notch into the lid so the strand of lights can go under the lid.
To make this homemade light box safer and not use plug in lights, you can use battery operated button lights (affiliate link) inside the storage bin. Or, there are many battery operated LED lights available now too. These are a great idea because many of them have a color-changing capability and can be operated from an app on your phone.
IMPORTANT: This homemade light box project should always be done under the supervision of an adult. The lights can get warm inside the bin and they should be unplugged periodically.
This is not a project that should be set up and forgotten about. The OT Toolbox is not responsible for any harm, injury, or situation caused by this activity. It is for educational purposes only. Always use caution and consider the environment and individualized situation, including with this activity. Your use of this idea is your acceptance of this disclaimer.
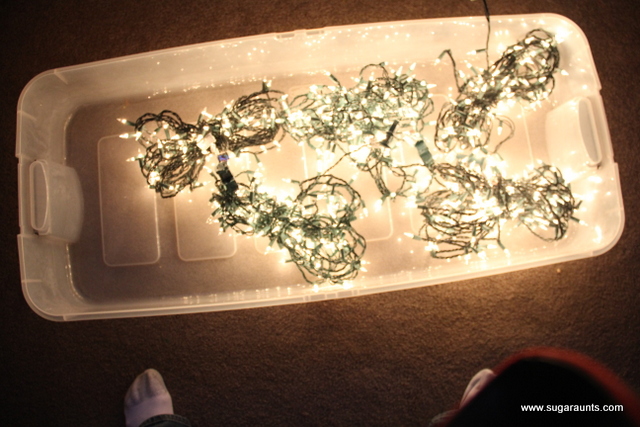
I put all of the (already bundled-up) strands of Christmas lights …seriously, this does not get much easier…into an under-the-bed storage bin, connected the strands, and plugged in!

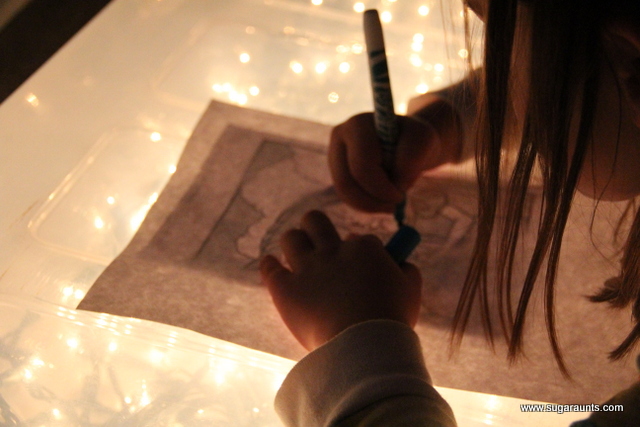
Tracing pictures on a light table
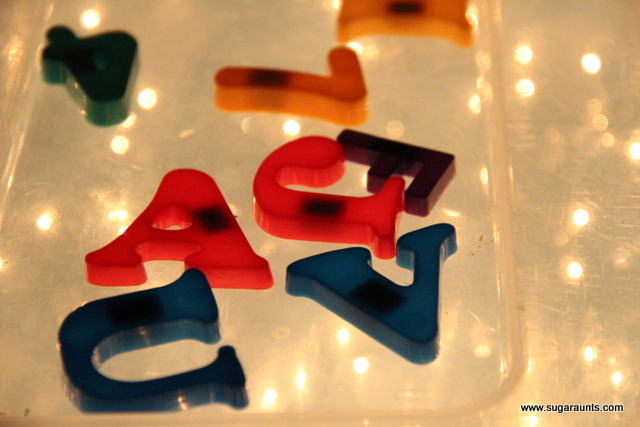
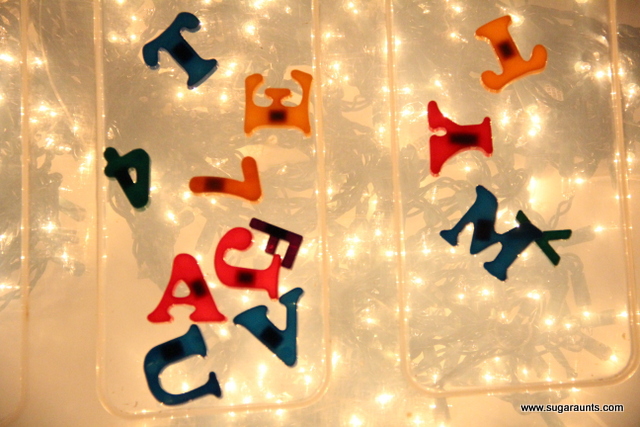
Other ways to use a DIY Light Table
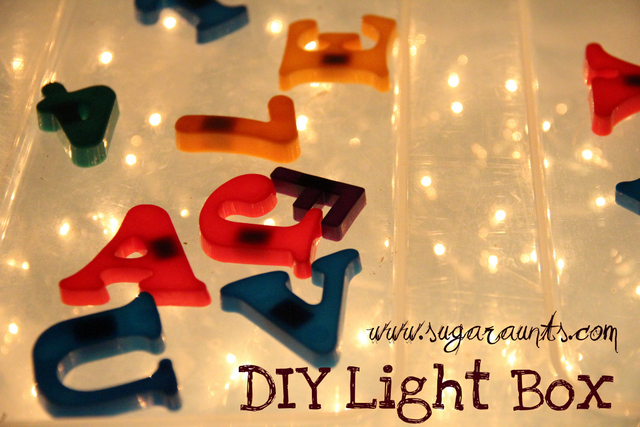
- Magnetic letters (the light shines through them slightly)
- Sand for a tracing table- We cover how to use a sand writing tray in another blog post and all the benefits of tracing in a sensory medium. With the lights under the tracing area, this adds another multisensory component to the learning.
- Shapes (Magnatiles would work well)
- Feathers
- Coins
- Blocks
- A marble run

Please: if you do make one of these light boxes, keep an adult eye on it, as the box did warm up…not to burning warmth, but I would worry about the lights becoming over heated. This is NOT something that kids should play with unsupervised!

Colleen Beck, OTR/L has been an occupational therapist since 2000, working in school-based, hand therapy, outpatient peds, EI, and SNF. Colleen created The OT Toolbox to inspire therapists, teachers, and parents with easy and fun tools to help children thrive. Read her story about going from an OT making $3/hour (after paying for kids’ childcare) to a full-time OT resource creator for millions of readers. Want to collaborate? Send an email to contact@theottoolbox.com.
Working on fine motor skills, visual perception, visual motor skills, sensory tolerance, handwriting, or scissor skills? Our Fine Motor Kits cover all of these areas and more.
Check out the seasonal Fine Motor Kits that kids love:


Or, grab one of our themed Fine Motor Kits to target skills with fun themes:
- Frogs Fine Motor Kit
- Unicorns Fine Motor Kit
- Vehicles Fine Motor Kit
- Apple Fine Motor Kit
- Back to School Kit
- Sports Fine Motor Kit
- Outer Space Fine Motor Kit
- Fairytale Fine Motor Kit
- Plus more in our shop!
Want access to all of these kits…and more being added each month? Join The OT Toolbox Member’s Club!