Back to School Lunch Ideas for Picky Eaters

Have a picky eater? These back to school lunch ideas for picky eaters have you covered so kids can eat a healthy lunch so they can learn. Let’s explore some of the best ways to support kids with picky palates.

Back to School Lunch Ideas for Picky Eaters

Back to School means it’s time to start thinking about packing lunches.  The same old peanut butter and jelly gets old.  Old for the kids to open in the lunchroom every day and old for mama to make day after day!  We’ve started to think about healthy lunch choices for our little students so that they are eating a rainbow of foods in the cafeteria. 

There are tons of links out there with super cute, themed lunches.  And that’s fine.  They are beyond adorable and will make the kids smile.  But sometimes, a mom wants to get the kids out the door and know that they have a healthy and nourishing meal for lunch.  We’ve got some easy options that you may not have thought of.
Send the kids back to school with a lunchbox full of healthy foods.


This post contains affiliate links.

Healthy Lunch Ideas for Back to School

Pack items from this list to replace the same old sandwich, apple, chips lunch that the kids get tired of day after day:

hummus
cucumber slices
berries (blue, red, black)
peanut butter (or butter substitute) and honey wraps
cheese cubes
sliced bananas tossed in a graham cracker/wheat germ combo
sliced raw veggies (peppers, carrots, celery, radishes)
sandwiches cut with a cookie cutter (Be creative if you like.  A pumpkin shaped sandwich works in May, too!)
pasta leftovers
slider sandwiches using mini rolls
applesauce
nuts (only if approved by your child’s school allergy policies)
half a banana (keep the peel on)
edamame
lunch meat/cheese wraps
frozen peas
mini bagels
lettuce wrap
cheese sticks
air popped popcorn
dried fruit
soup in a thermos
Smoothies (freeze the thermos the night before, pour smoothie into the thermos in the morning)
ham and cheese skewered onto popsicle sticks
banana and cream cheese sandwich (or wrap)
mini pizzas made on English muffins (keep warm in a thermos)
grape tomatoes
raisins
dried cranberries
cubed melons (watermelon, cantaloupe, honey dew)
olives
granola and yogurt
hard boiled egg
sliced kiwi
dry cereal
sliced avocado
cucumber slices and mustard on a whole wheat pita
leftover turkey or chicken (kept in a thermos) or cold with cheese slices
corn on the cob (heated and stored in a thermos)
shredded carrots
“ants on a log” (peanut butter and raisins on celery sticks)
homemade chicken nuggets with barbeque sauce or ranch to dip
cereal bars or homemade granola bars
sandwich made with waffles instead of bread
cottage cheese with fruit
greek yogurt with fruit
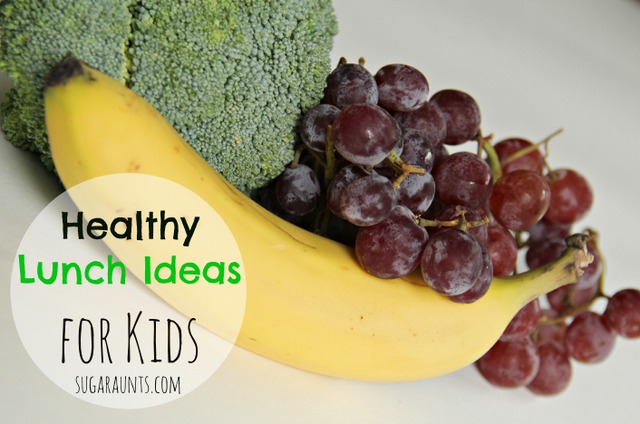
What are healthy lunch ideas for back to school? This link has a bunch of tips!

Tips and Tools for Healthy Lunches for Kids:

Sometimes, a child just needs a unique presentation to encourage healthy eating and trying new foods.  We wanted to check out different tools for packing school lunches.  If you’ve got all of those healthy foods, you have to keep them arranged and edible!
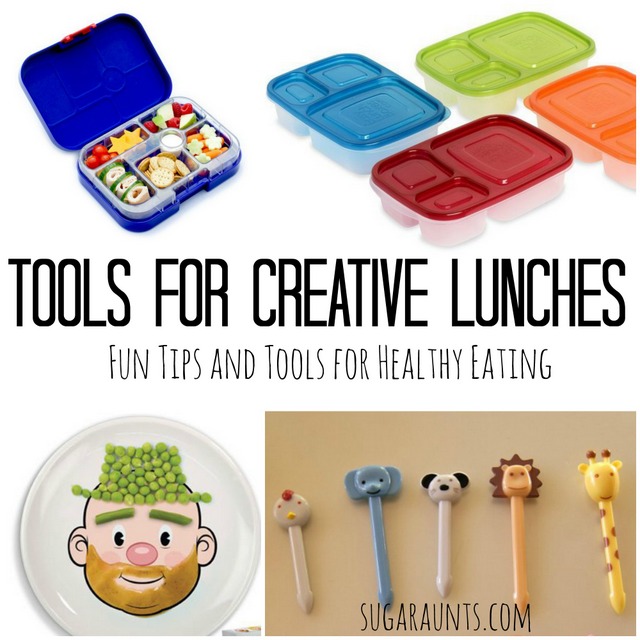
Kids will love a lunch packed with these fun items.

How great are these ideas for school lunches (or stay at home lunches!):
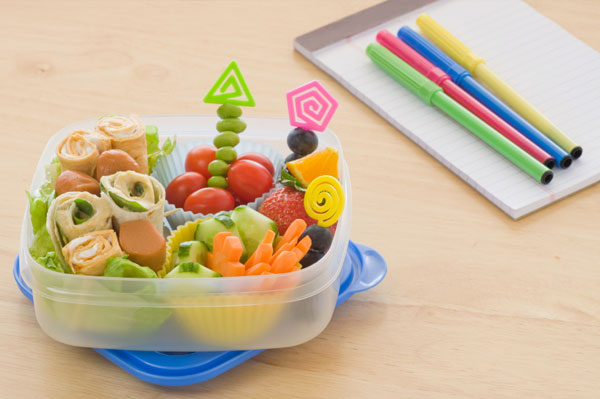
 
 
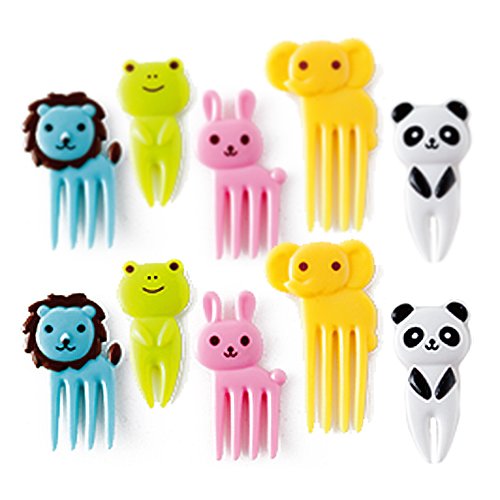
Use fun skewers for fruits, veggies, and even meats and cheeses.
 
 These (Amazon affiliate links) plastic skewers would be a great (and adorable) way to arrange a lunch box variety of veggies, fruits, or even meats and cheeses.  Note- These would be great for older kids.  Use caution when sending skewers (even the plastic variety) off to school with a young child.
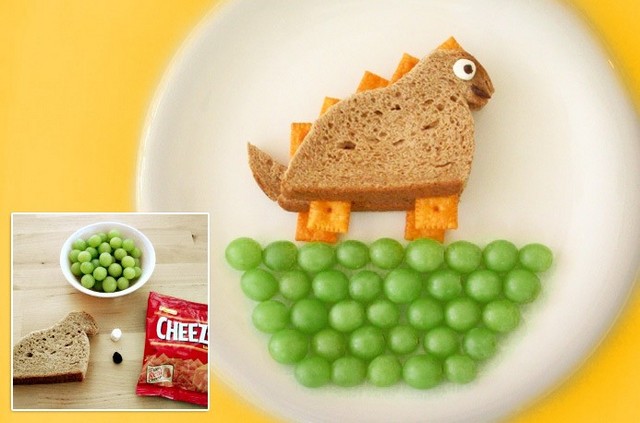
 
 
Staying at home for lunch?  Throw together a version of this fun dinosaur lunch from Snackpicks.
 
 
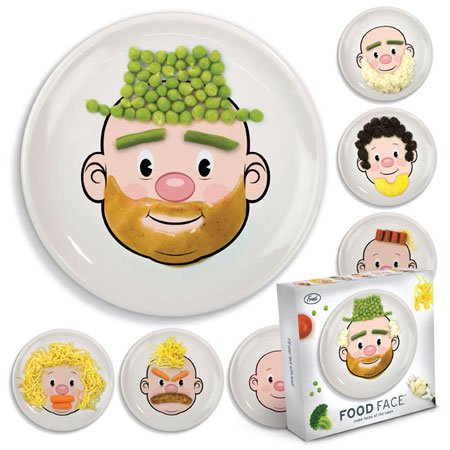
A fun plate like this food face plate set could be a great way to encourage picky eaters to try new foods.
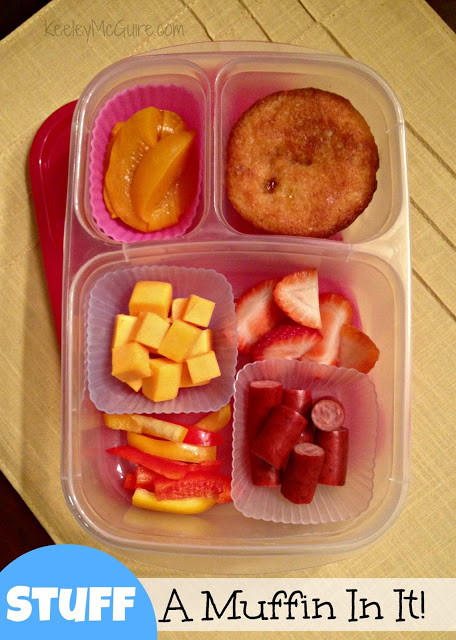
 
Sick of sandwiches?  Use a muffin with all the fixin’s like Keeley McGuire.
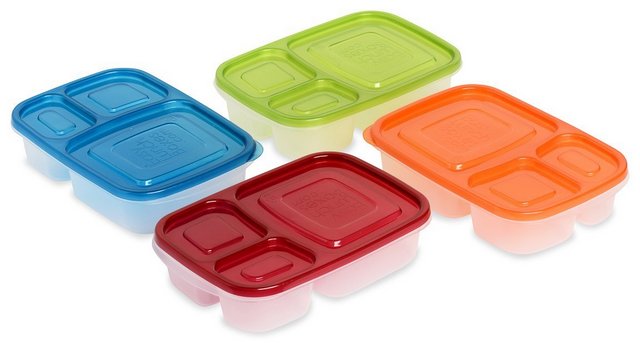
A couple of these sectioned plastic containers make it easy to divide foods into compartments and snap a lid into place.  Throw it all in a lunch box and you’re set.
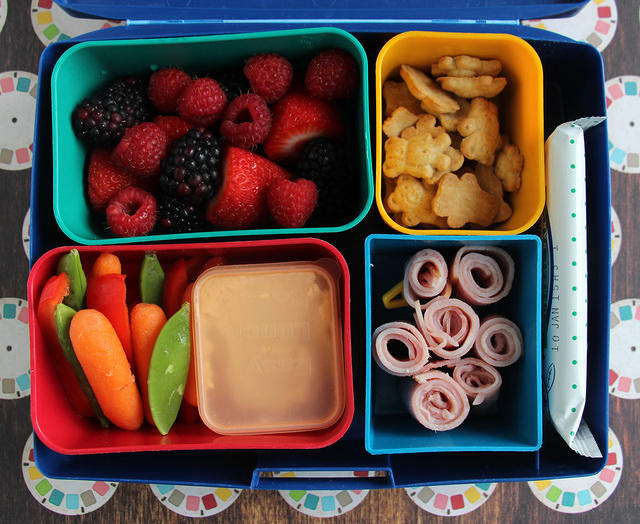
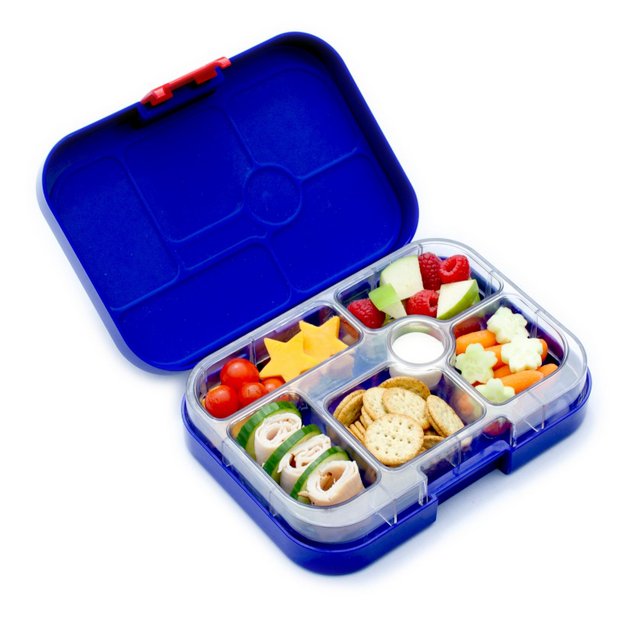
 

Pack veggies and dip like this lunch from Wendolonia.
 I love this Bento lunch box container.  It’s such an easy way to separate lunch items into sections and keep everything cool and ready for lunch.  The dip container is perfect for yogurt, hummus, or dressing.



Colleen Beck, OTR/L has been an occupational therapist since 2000, working in school-based, hand therapy, outpatient peds, EI, and SNF. Colleen created The OT Toolbox to inspire therapists, teachers, and parents with easy and fun tools to help children thrive. Read her story about going from an OT making $3/hour (after paying for kids’ childcare) to a full-time OT resource creator for millions of readers. Want to collaborate? Send an email to contact@theottoolbox.com.
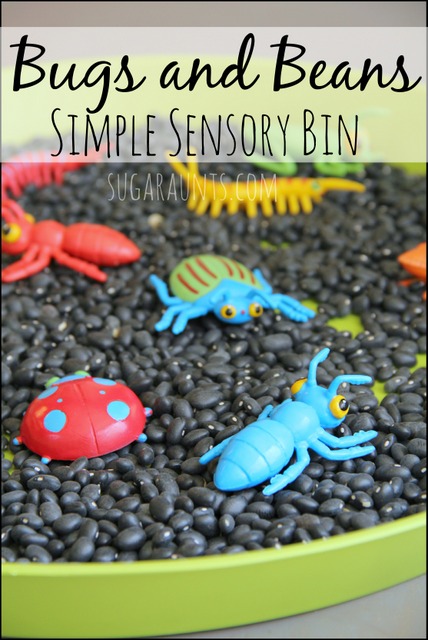
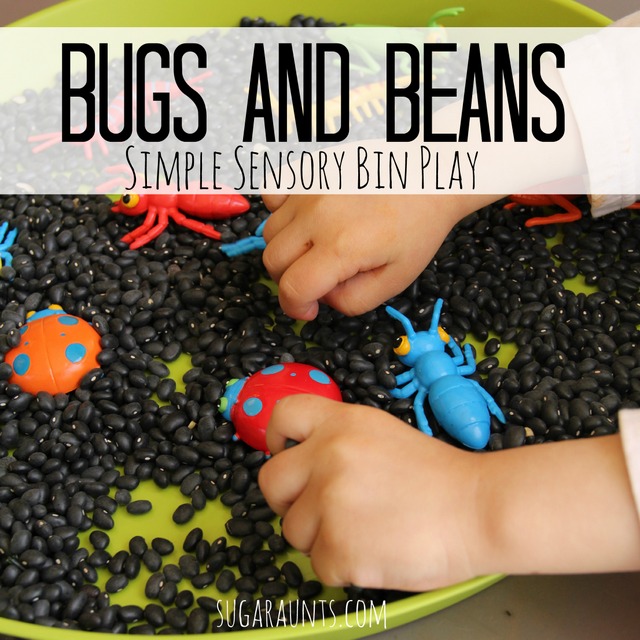
Beans and Bugs Simple Sensory Bin

Simple sensory bins are fun to throw together in a few minutes.  Sometimes, all it takes to occupy the kids in a sensory learning activity is just two items that you can find around the house or in the toy bin.  We started a Simple Sensory Bin series a few weeks ago, making sensory bins with just two items.  We’re working our way through the alphabet with simple sensory activities.  Of course we’re not going alphabetically…that would make too much sense 🙂  Instead, we’re just playing our way around the alphabet.  Today, we bring you B is for Beans and Bugs!


Create imagination play sensory fun with beans and bugs

This post contains affiliate links.  Thank you for your support to our blog.


“B” themed sensory bin

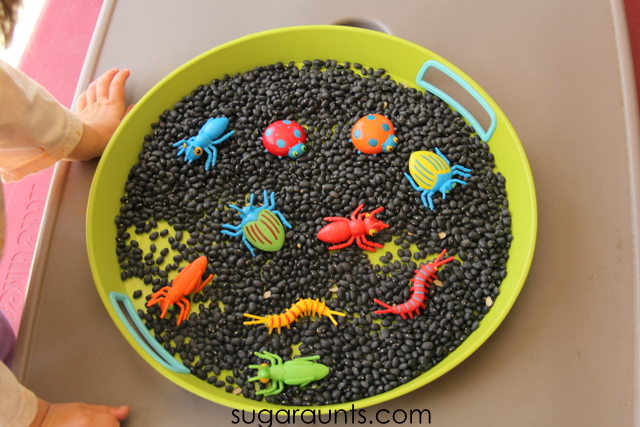
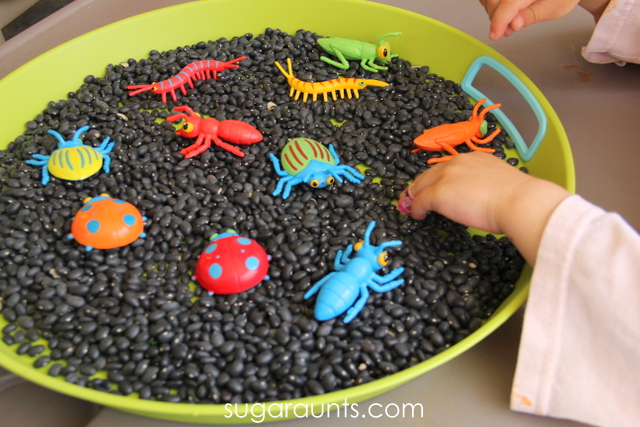
We gathered up just two items for this easy sensory bin. 

 shallow tray

Easy sensory play doesn't require more than a few items found around the home.

How easy is this sensory bin?  It doesn’t get much easier to throw together.  Open a bag of dried beans.  Scatter bugs around.  Play.

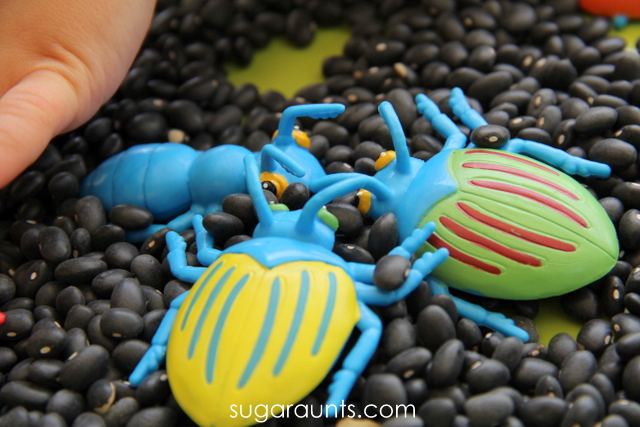
Explore ants, spiders, and beatles with a sensory activity

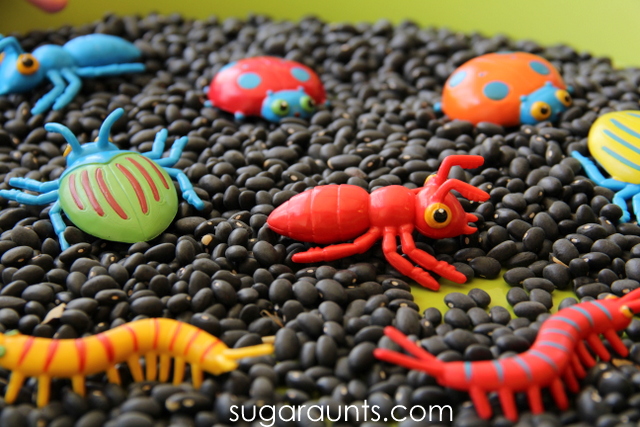
We love our Melissa and Doug bugs.  The colors of these little guys are so vibrant and stand out great against the black of the beans.

B is for beans and bugs. Sensory bin for kids

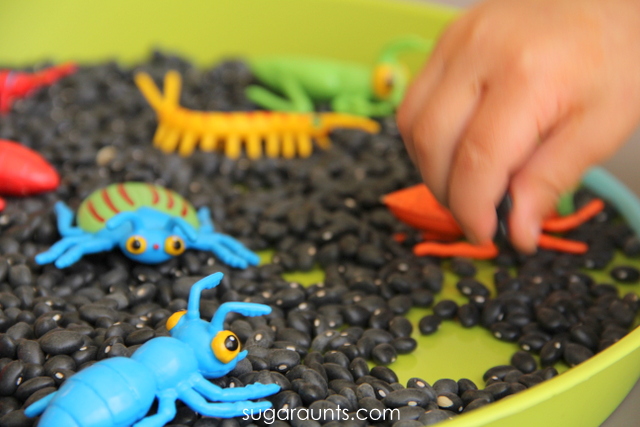
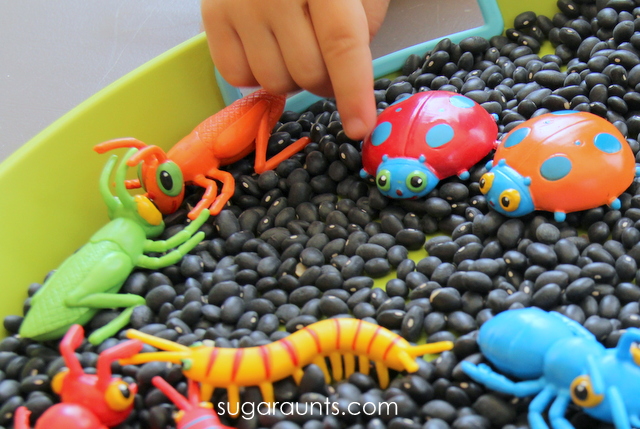
We played with this bug sensory bin for such a long time.  And the pretend play…we had bugs digging in “dirt”, bugs making other buggy friends, and bugs building “dirt houses”.

These three buggy friends were talking and having a party.

Sensory play has never been so easy.  We put these black beans away for another day.  And maybe dinner. 😉
Simple sensory bin play idea with Beans and Bugs.
  

What simple sensory ideas will be next in our series?  Stay tuned for easy ideas coming this way soon!

DIY Cardboard Car Childhood Must-do

Everyone has those childhood memories that just stick with you for a lifetime.  Simple outside play are some of our best memories that us Aunts laugh about anytime we think about our childhood.  Getting messy in dirt, playing with sticks, and cardboard on a hill are just a few of the simple ways that we played as kids.  Recently we brought a little bit of simple outdoor fun to this childhood must-do activity with our own kids.


Add these resources to the ones you can find here under sensory diet vestibular activities to meet the sensory needs of all kids. 

Make your own Cardboard Car:

You might have seen this fun on our Instagram feed.  Are on IG?  Stop by and follow along with us.  We would love to catch up with you there!
All kids should do this in their childhood! Make a cardboard car and "drive" down a cardboard hill.

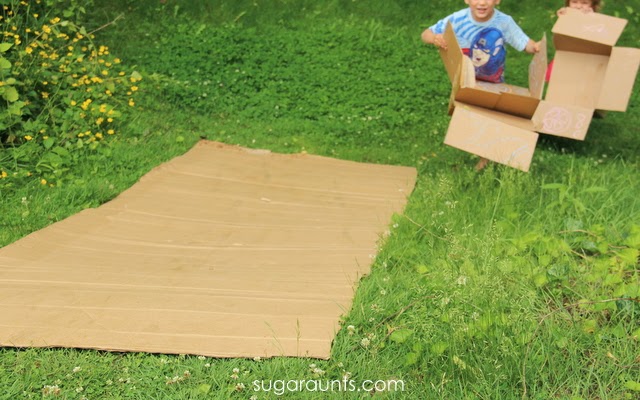
Cardboard and a hill are ingredients for instant outdoor fun.  Anytime we have spare cardboard in our house, the kids immediately ask to take it to the hill in our backyard.  Recently we had a big old sheet of cardboard and a few small boxes ready for the recycle bin.  Before any recycling happened, we had to play!

make a car for pretend play and outside fun.
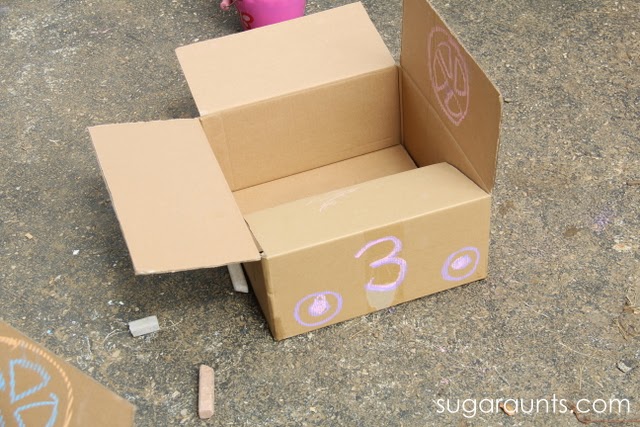
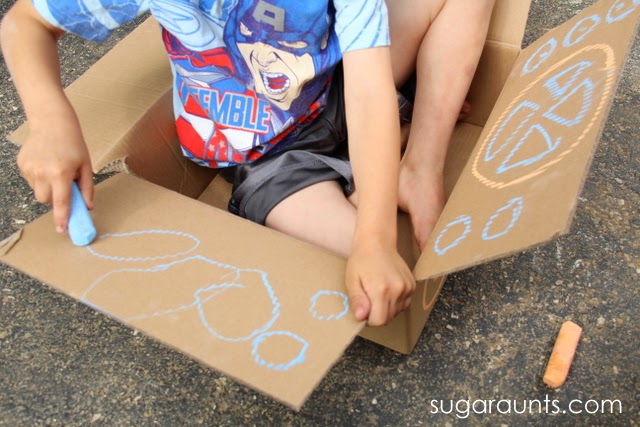
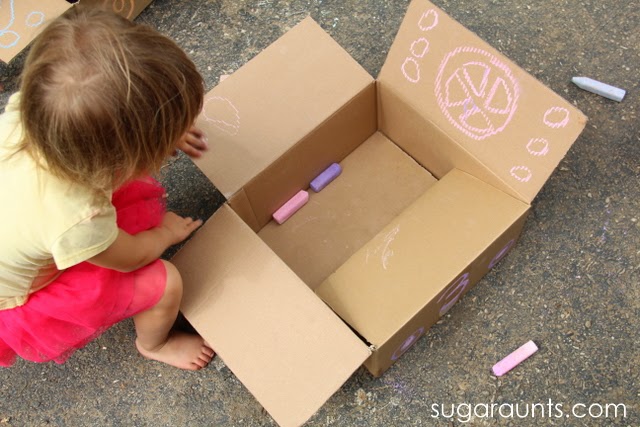
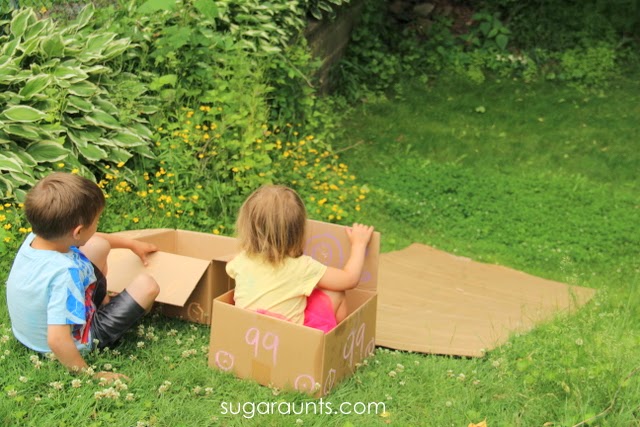
We grabbed up a few pieces of sidewalk chalk and start decorating the cardboard boxes.

Use chalk to draw on cardboard.
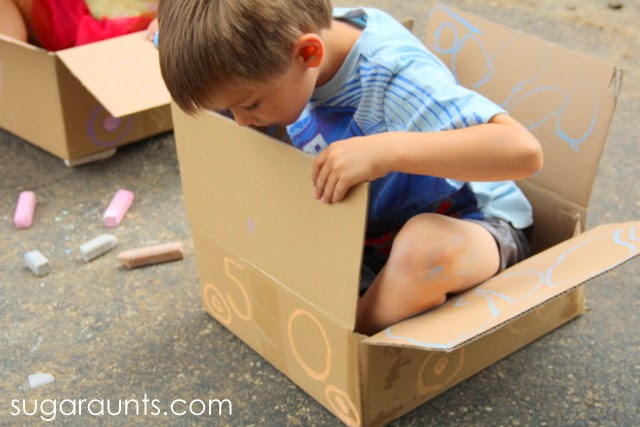
Little Guy needed a lot of buttons on his “race car”.  Drawing with the chalk on cardboard is a GREAT way to work on handwriting and drawing skills.  The texture of chalk on cardboard is resistive and so requires a bit more strength to motor plan and execute the formation of shapes and letters.  Little Guy practiced his circle formation in a fun way, and didn’t realize he was actually practicing pencil control.
Now to work on that grasp of his 😉

Outside play with a cardboard box.
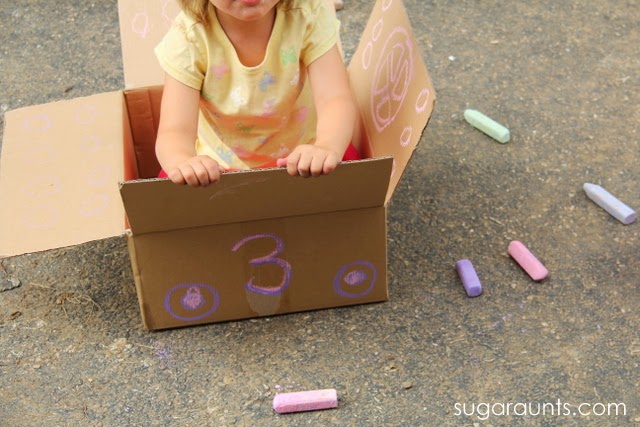
Baby Girl was really into this.  Anything that big brother likes, she likes.  Plus, cardboard cars are just FUN!  Of course, her buttons and steering wheel had to be “girl colors”.  Her request.

Make a cardboard car for outside fun.
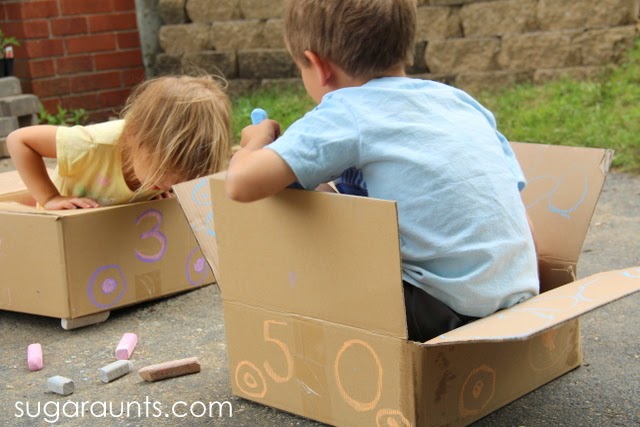
We made numbers, headlights, and wheels on the outside of our cardboard cars.  Soon we were ready to drive!

We had to check for all functioning parts of the cars.

Childhood memories with simple outdoor play.

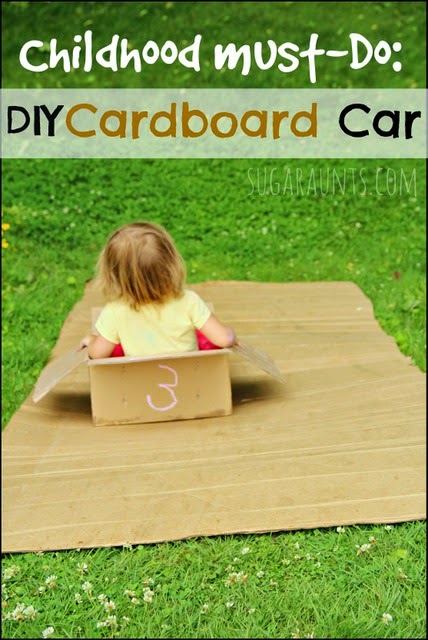
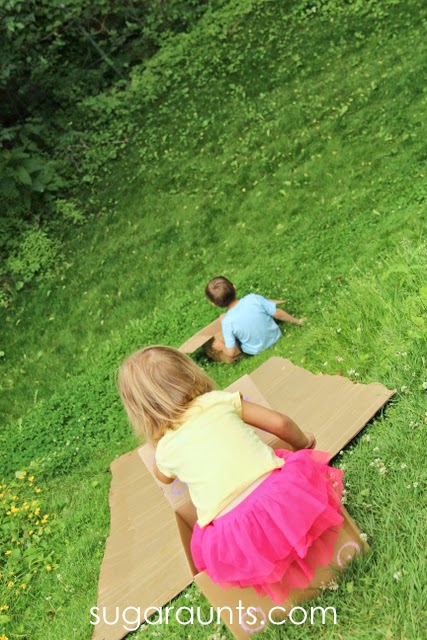
We took our cars to the hill and put down a big sheet of cardboard.  Usually, the kids love to slide down the hill on their bottoms.  The cardboard makes them slide down and is a great slide.  With the cardboard cars, they SAILED!  Check out the action here.

These two had races until the cars fell apart!

It was SUCH a fun way to play outside and re-use some cardboard!  Have you ever played with cardboard on a hill?  Let us know on our Facebook page.

Circus Sensory Bin

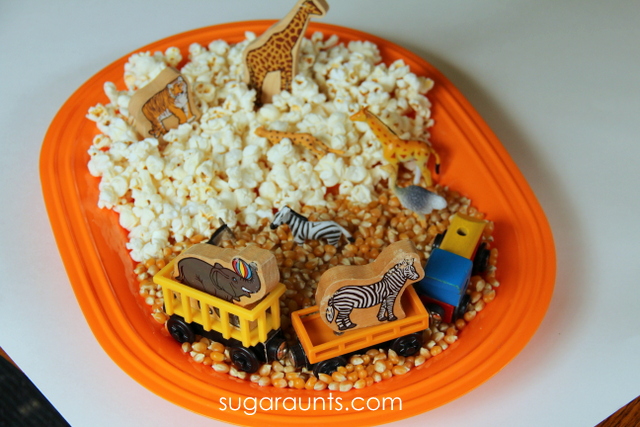
A while back, we were on a bit of a Circus Theme in our pretend play.  We had a bunch of fun with our circus party ideas and read a bunch of circus books.  We did this sensory bin around that time, but are just now getting the chance to blog about it.  This was such an easy sensory activity to throw together that we will definitely be playing this again.

Creative and sensory play for kids with an easy circus theme.

This post contains affiliate links.  Read our full disclosure here.

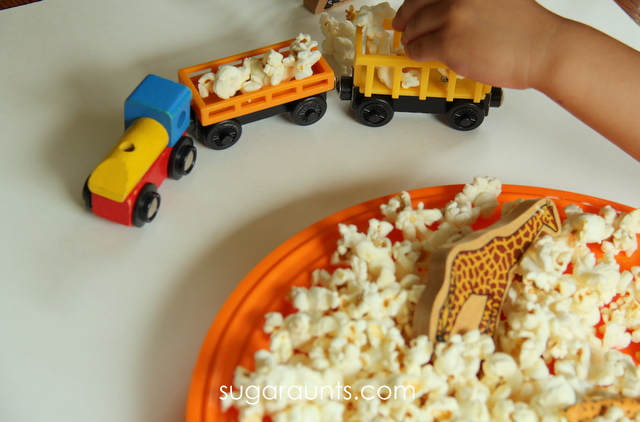
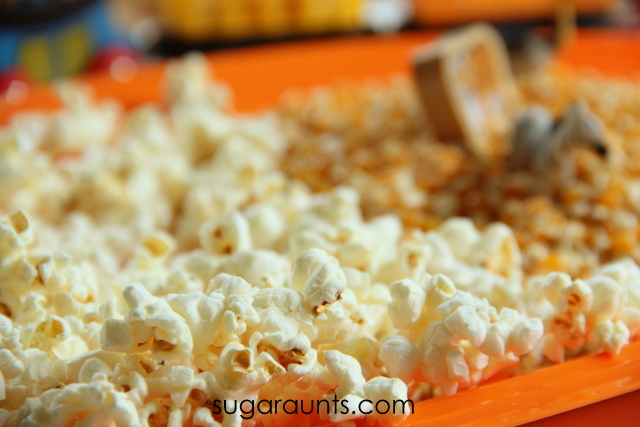
Create a circus themed sensory bin using popcorn!

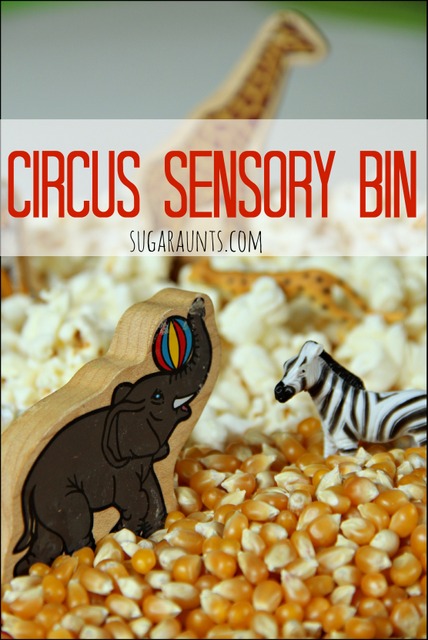
To create an easy Circus Sensory Bin, you will need:


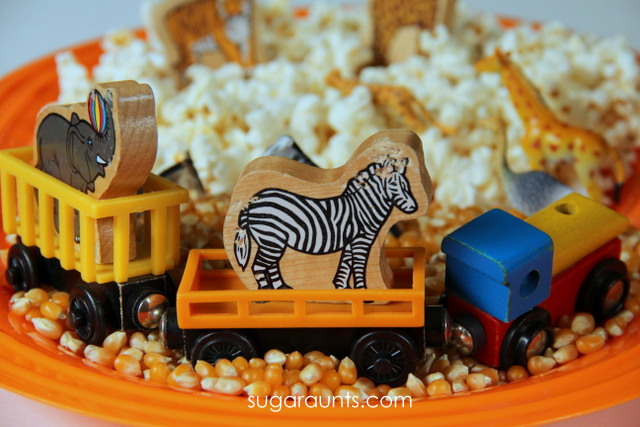
circus train pieces

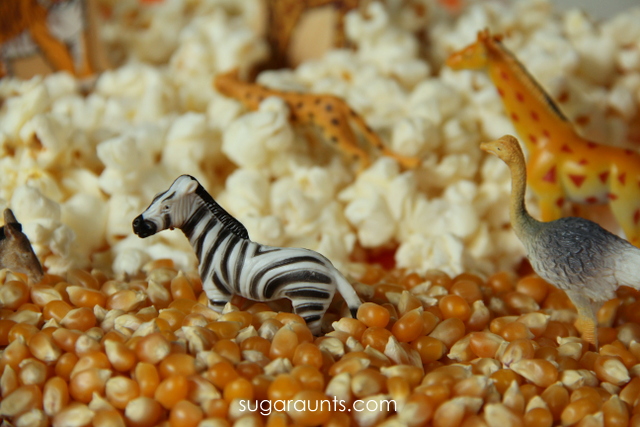
Mini Animals

popcorn


plastic tray

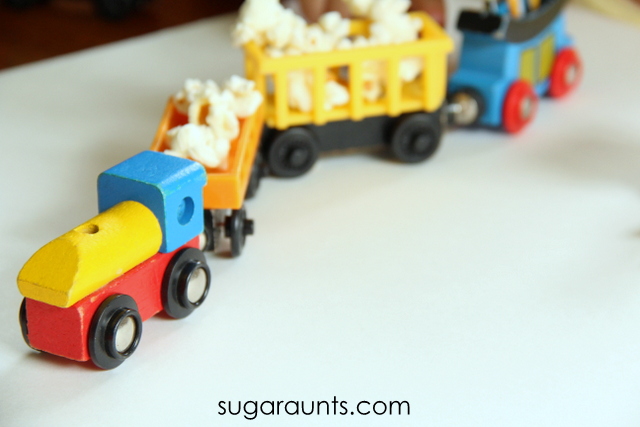
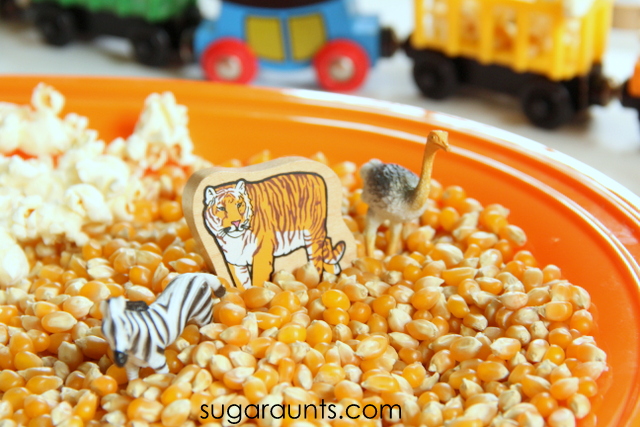
Use circus train and circus animals in an easy sensory bin

I started by popping some corn.  And only ate a few handfuls.  Pop extra.  Snacks are good.

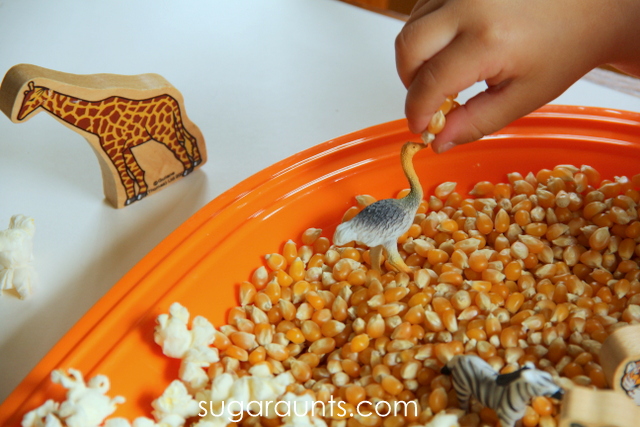
I put some popped and un popped corn onto a plastic tray.  Then, simply added our train set and animals.  The scene was set for imagination and pretend fun!

Kids will love to pretend with mini animals.

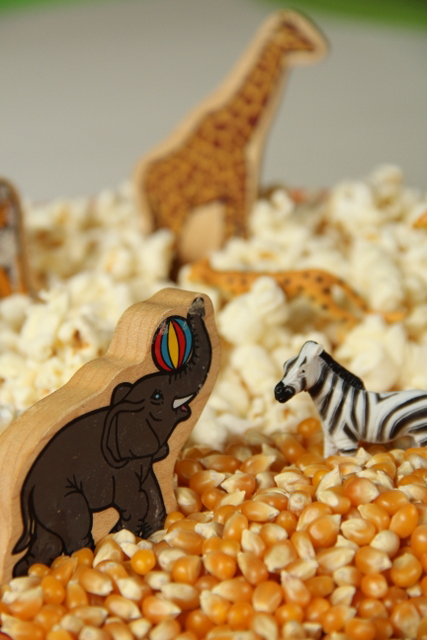
The animals in the different textures was such a fun way to explore animal names, animal sounds, and all in an easy sensory bin.

Kids will love to pretend and play while learning animal names and noises.

Baby Girl (age 2) loved this pretend play so much!  Not only did we have a blast playing and learning, she got a snack too!  Bonus!

Of course, the animals needed feeding, too.

We loaded up the train with popcorn and made deliveries.  Such a fun way to play away an afternoon.

This might be the perfect accompaniment to our circus tent craft.  Sensory play, craft, and snack…sounds like the perfect afternoon with the kids to me!

Note:  Like all of our activities on sugaraunts.com, we encourage playing alongside your kids and in a supervised manner.  Some crafts and activities may present a dangerous situation for children who like to put things into their mouths.  Please monitor your child with this and any activity you see on our website.  Popcorn will present as a choking hazard for small children.  Please use your best judgment if you decide to do this activity with your kids.

You may be interested in our Circus Crafts and Activities Pinterest board for more circus ideas.

94518f049891ff1c8aaaff383574fe67e370df4dfc14a6001e

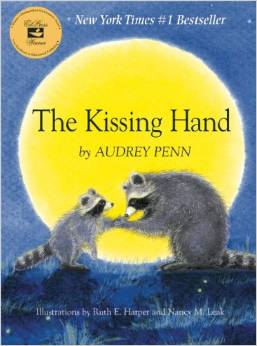
The Kissing Hand DIY Salt Dough Charm

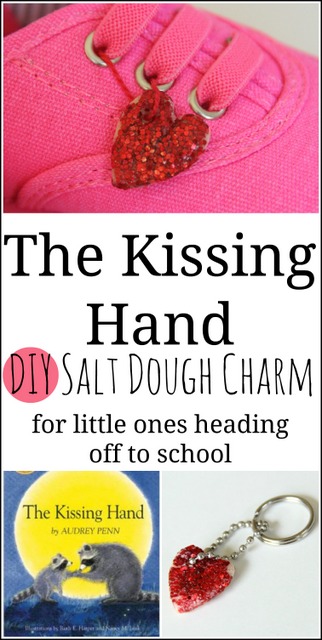
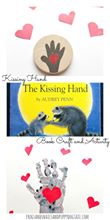
Make a Kissing Hand craft to help kids with separation anxiety when they go back to school or have to leave parents and feel a bit nervous.


We’re back for another installment of the Preschool Book Club!  Last time around, we created crafts and activities for some of our favorite books.  This fall we’re joining the same fabulous bloggers to create crafts, activities, recipes, and learning experiences for top books for the preschool age-range. 
 
We are so excited to kick off this series with our first book, “The Kissing Hand” by Audrey Penn.  We’ve read this book each year before Big Sister heads off to school, so this book is a meaningful one to us.  This year, this Aunt has three little ones heading off to school. 
 
The transition can be difficult even for the most confident child.  (And the mamas and papas too!)  We decided to make a DIY salt dough charm that can go off to school with your little student and remind them all day long of their mama’s love for them!


The Kissing Hand Craft for Kids

 
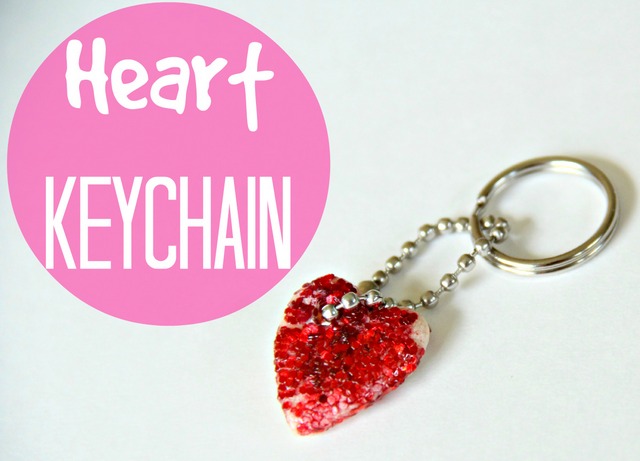
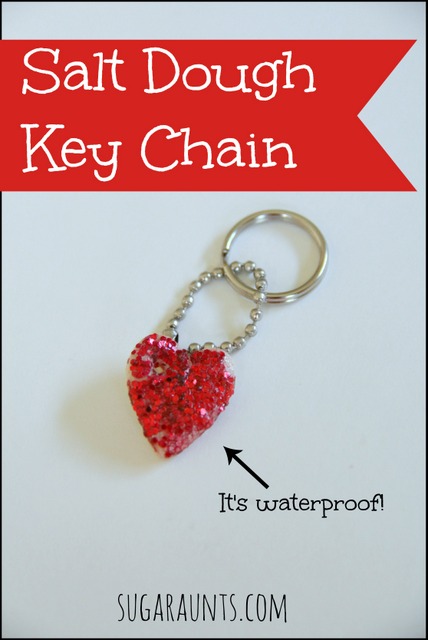
Make a salt dough keychain for back-to-school anxieties. This DIY charm craft goes along with the book "The Kissing Hand".


This post contains affiliate links.  Our opinions are in no way swayed.  We appreciate your purchases through our affiliate links as they help to support our little blogging addiction (I mean hobby!).


Salt Dough Recipe

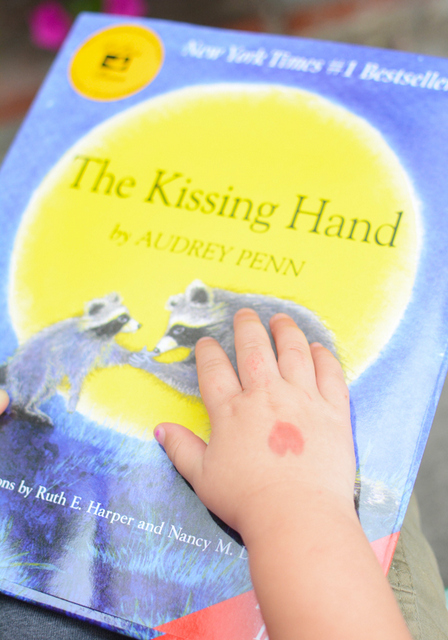
Who doesn’t love the book, The Kissing Hand
by Audrey Penn?  We read the book before we started our salt dough heart charms.
 
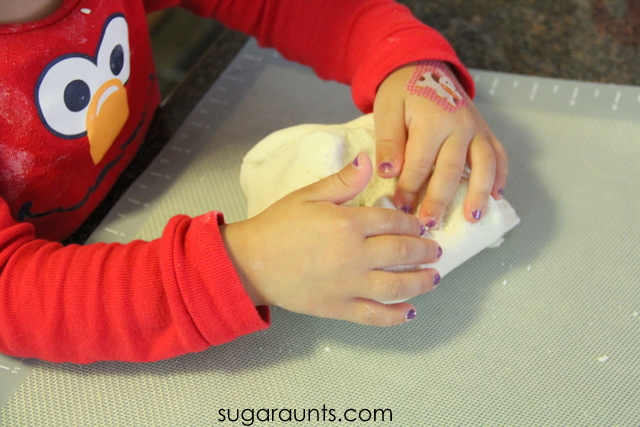
We started by making up a batch of our standard salt dough.  Have you ever made salt dough? It’s the perfect dough for crafts and imagination play.   We mixed 1 cup of salt, 1 cup of flour, and 1/2 cup water.  This was mixed in a bowl to begin with, but it was much easier to just plop the whole lump onto a baking mat and knead the dough until smooth.   
 
 
Mixing that salt dough is a GREAT fine motor activity for strengthening little hands!
 
 
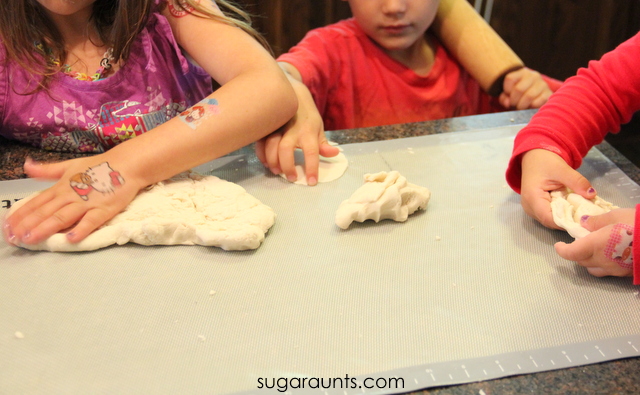
I had lots of helpers willing to roll, knead, and pound our salt dough into a smooth consistency.
 
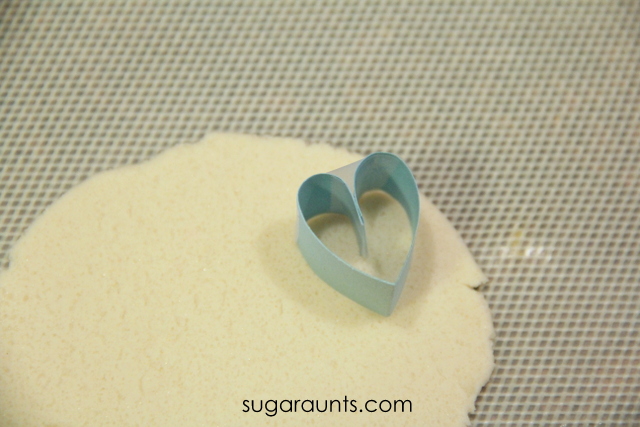
The next step in making your salt dough charms is to roll a thin sheet of dough with a rolling pin.  Big Sister (age 6) did this part for me with direction.  You’ll want the dough to be pretty thin, since the size of your heart charm will be so small.
 

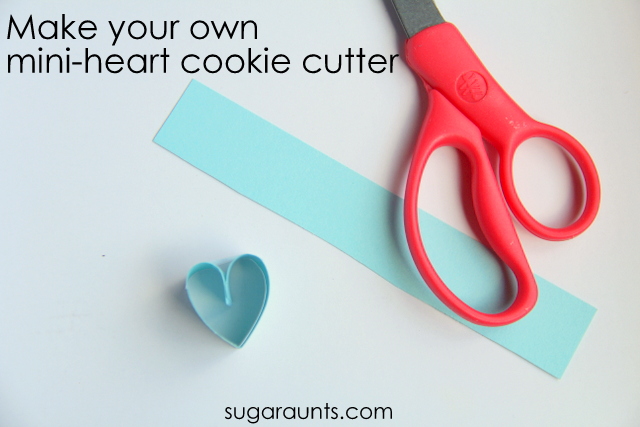
DIY Mini-heart cookie cutter 

Now to cut your heart charm, you may have a mini heart cookie cutter, but I couldn’t fine mine
don’t…so we made our own! We needed the perfect sized cutter for our heart charms.  Start with a thin strip of cardstock and a bit of tape.  Fold the cardstock into a point and curve the tops in.  Tape the point together and then across the bumps of the top of the heart.  Mini-heart cookie cutter is done!


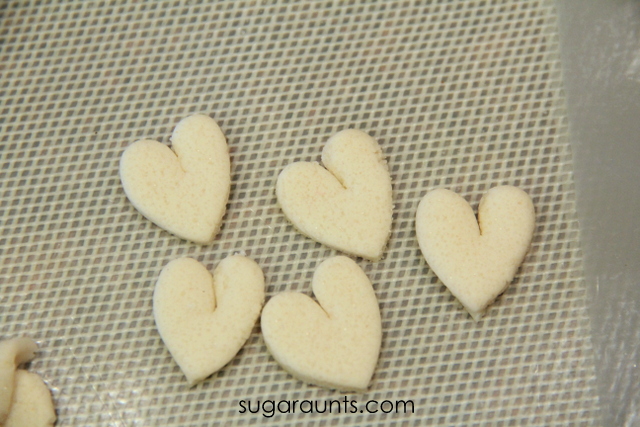
Cut out those mini hearts.
 
 
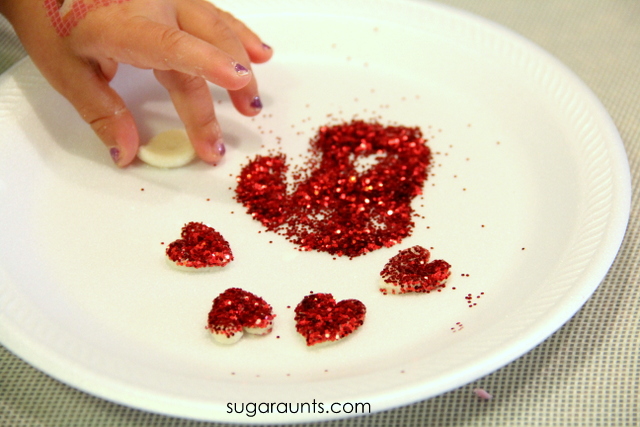
 These hearts are ready to be glitter-ified!


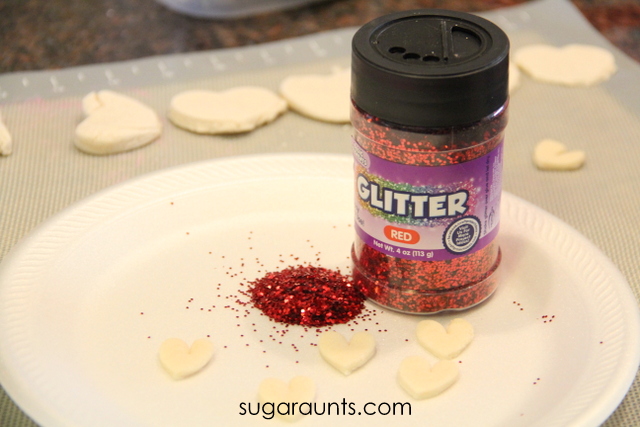
I poured a pile of red glitter that we received from www.craftprojectideas.com onto a plate. 

Big Sister helped me to pat, sprinkle, and dab the glitter onto the dough.  Pat a bit of water onto the dough first to get the glitter to really stick well.

 
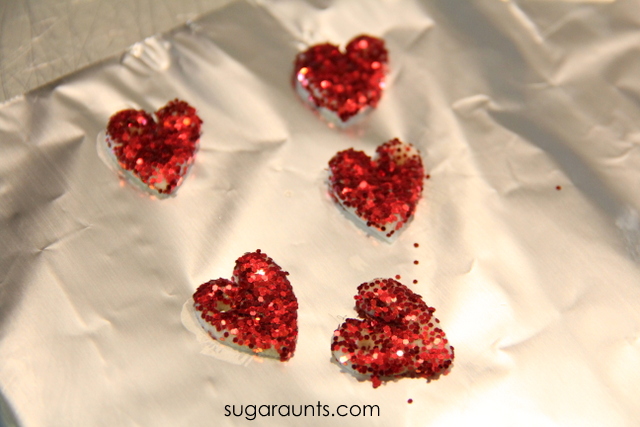
Put the glittery hearts onto a piece of aluminum foil.  Put into a preheated oven for 1-2 hours at 225 degree F.  Don’t forget to poke a hole in the hearts for the charms.  We used a bamboo skewer to poke a hole in one side of the heart.  You’ll want to keep an eye on the hearts as they bake.  Salt dough can puff up and brown if it cooks too long.  Because the hearts are so small, they won’t need to cook very long. 


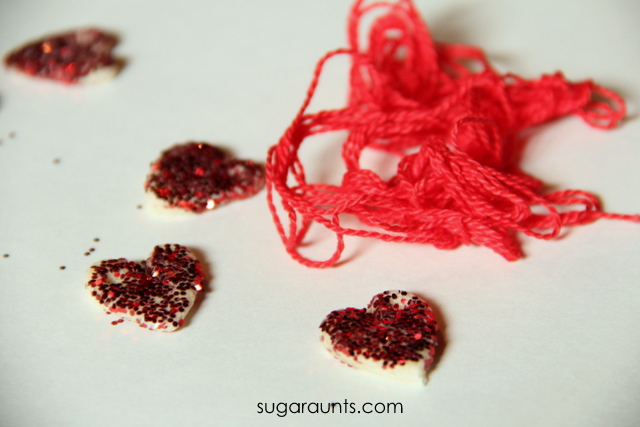
Once the salt dough charms are hardened, I threaded them with some friendship thread that we received from www.craftprojectideas.com.  This was a tricky job that was a little too fine for the kids.  Older children could help with this job, though.
 
Once the hearts were threaded onto the string, I had a thought about my kids going off to school with their little heart kiss to remember mom by all day long at school.  I pictured a downpour of rain and a soggy, glittery, goop pile hanging from their shoe.  OOPS! Salt dough will deteriorate with exposure to water.  So, how to make these little cuties waterproof???
 
After a little thought, I came up with clear fingernail polish.  Big Sister helped me paint both sides of the heats with the nail polish. 


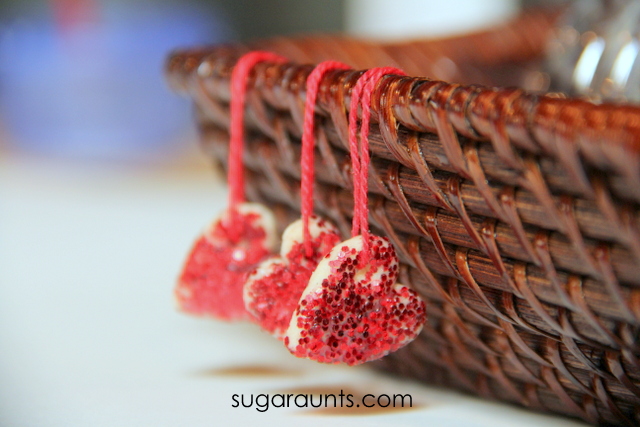
We hung the hearts to dry.


A keychain attachment was put through the hole in the heart, and it was ready for a backpack accessory! 


And for those super rainy days as the kids walk to the bus stop, that waterproof coating will help!


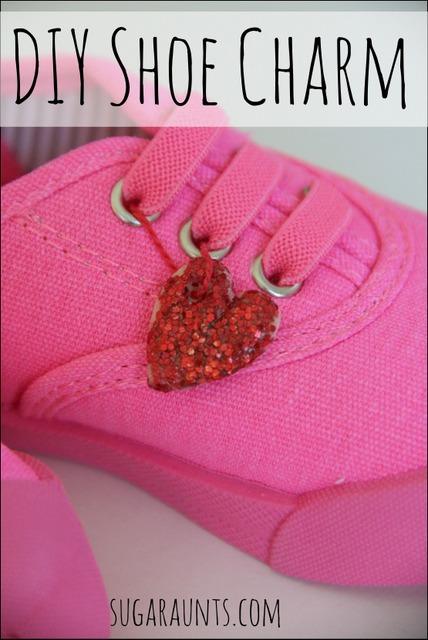
If you would rather make a shoe charm for your little student, the friendship thread worked well to tie it right onto the shoe. 
 
Good luck to all of the students heading off to school this fall.  And best of luck with big hugs to the mamas and papas who have to watch their babies grow up!

Stop by and see the other The Kissing Hand activities in the Preschool Book Club series:


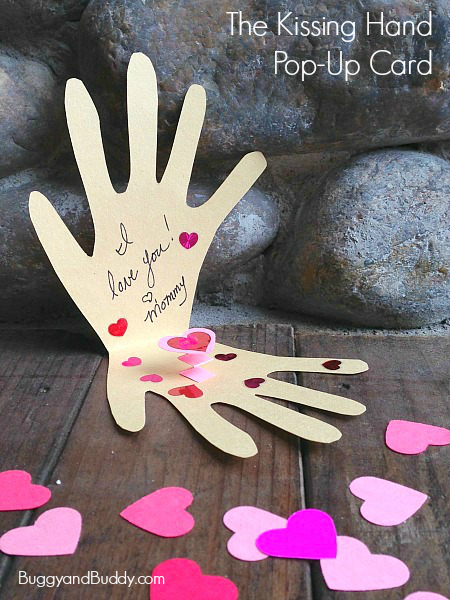
Buggy and Buddy Pop-Up Kissing Hand Card
 
Frogs and Snails and Puppy Dog Tails The Kissing Hand Love Tokens

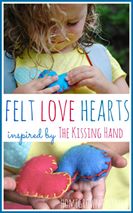
Homegrown Friends Felt Love Hearts
Meri Cherry Temporary Kissing Hand Tattoos


Recipes for Sensory Play

  We love all things Sensory Play.  So when we went through the link ups from last month’s Share It Saturday linky party, we were drawn to the sensory activities.  Even better than sensory play with the kids, is a material that needs to be mixed, baked, whipped, or stirred.  Part of the sensory play experience is creating the concoction from scratch with the kids.  It’s a great way to get the kids involved in the sensory play set up and learning with measurements, direction following, and sequencing.  These recipes are fun ways to explore the senses and create with recipes for sensory play!

Recipes for Sensory Play

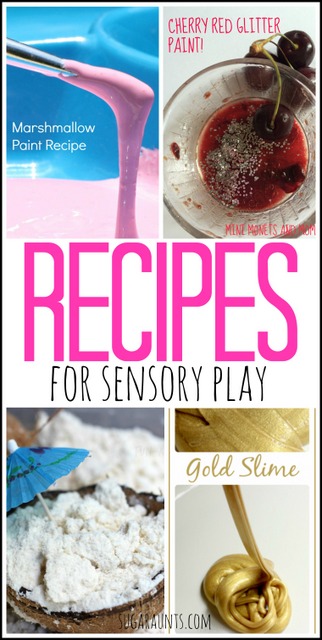
Recipes for play dough, paint, slime, cloud dough and more

Liquid Driveway Chalk is a fun way to explore the senses while creating. 

Cherry Glitter Paint from Mini Monets and Mommies

Colored Sand 

Cake and Ice Cream Play Dough from Dabbling Mama

Kool Aid Puffy Paint 

Marshmallow Paint from Fantastic Fun and Learning

Homemade Play Dough Recipes from Crystal & Co.

Fizzing Sidewalk Paint from Kids Activity Blog

Textured Paint 

Gold Slime from Fun-A-Day

Coconut Cloud Day from Fun-A-Day

Baking Soda Dough 

Sensory Play with kid-tested recipes for sand, puffy paint, soda dough and more.

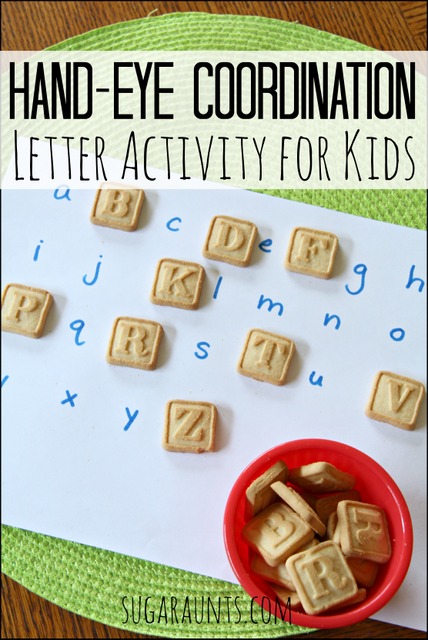
Hand-Eye Coordination Letter Activity for Kids

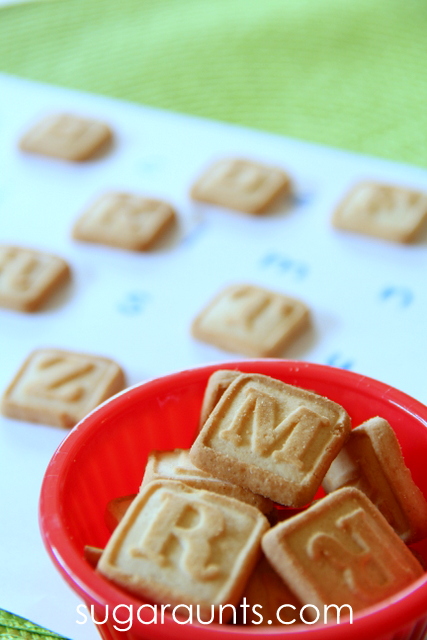
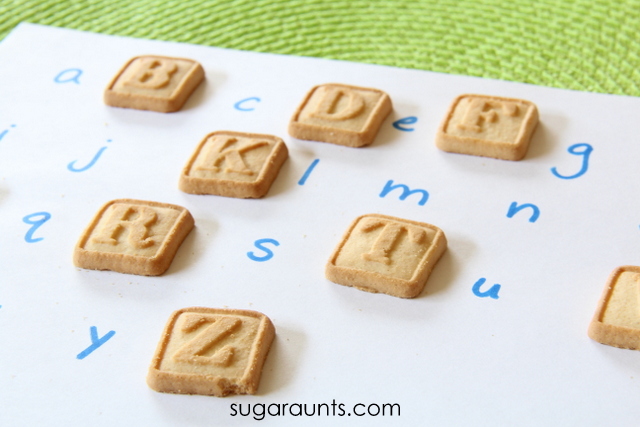
This hand eye coordination letter activity is not only a great way to work on letter identification and visual discrimination skills, it’s also a motivating activity because we used letter cookies!

Hand Eye Coordination Letter Activity

How many times a day do you hear the phrase, “I’m hungry!” ?? It seems like that’s all I hear all. day. long.  One afternoon the kids were extremely hungry. again. and I put together this quick little activity and snack combined. 

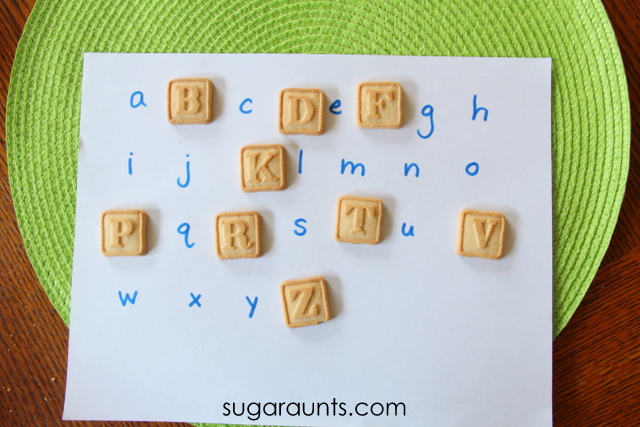
We practiced a few skills (letter identification, letter matching, visual scanning, eye-hand coordination, fine motor skills) while we enjoyed a little letter snack!

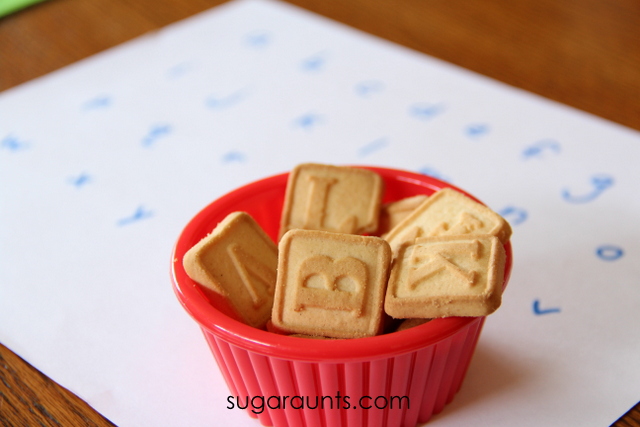
Kids will love to practice letter matching with alphabet cookies!
 
 
This post contains affiliate links. Thank you for your support of this blog!


Letter Matching Activity for Kids


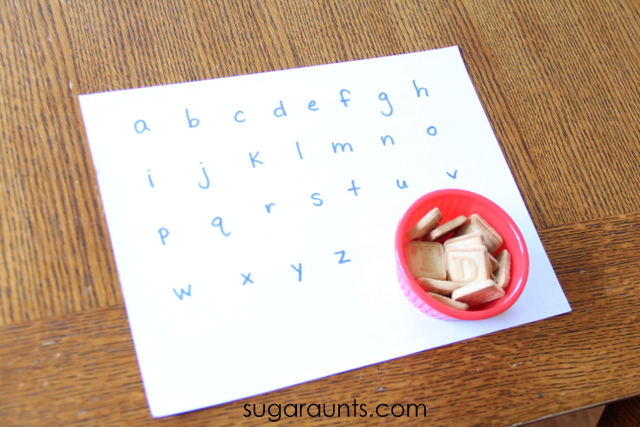
I used a sheet of paper and quickly wrote out the lower case letters of the alphabet.  Our snack was a little cup of alphabet cookies.  We matched up the upper case letters to the lower case letters.  This was a great activity for my preschooler.  Little Guy (age 5) was so quick to match the letters (mostly because he wanted to eat them)! 

Baby Girl (age 2 and 1/2) had some trouble with identifying the upper case letters, but we haven’t really worked on that yet. This is a great activity to introduce letter identification for younger preschoolers.  The cookie incentive is sweet!

 
Mom only snuck a few cookies.
 
This is a fun eye hand coordination activity for kids. Bonus, it's a snack too!
 

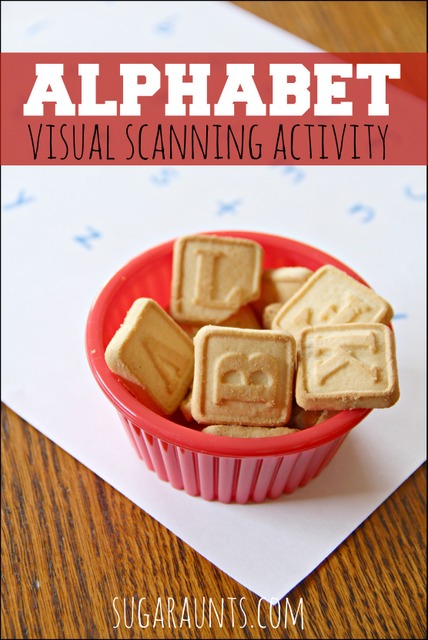
Visual Scanning Activity for Kids

 
Visual scanning is essential for handwriting skills, puzzles, word searches, mazes, and many many functional tasks.  Scanning a room for a missing sock may be difficult if a child demonstrates difficulty with visual scanning. 
 
When matching the upper case letters to the lower case letters, the child must scan the whole page in order to search and find the correct letter.  Younger children or those working on visual scanning skills may require modifications to this.  You could fold the page in half, offering only half of the options.


Fine Motor Activity for Kids

Picking up those cookies and laying them flat on the paper is a fun way to practice fine motor skills.  Don’t let those cookies crumble by pinching too hard!  Children will use a tip to tip grasp to pick up the cookies from the table surface, may tuck one or a few cookies into their palms, and transfer the cookies one at a time (hopefully!) into their mouths.  What a great fine motor experience!


Hand-Eye Coordination Activity for Kids

Hand-eye coordination is using the information received through the vision system to coordinate the hands with control, in order to complete a task, such as handwriting or catching a ball.

 
Don’t have alphabet cookies?  You could also use alphabet pretzels or
alphabet cereal in this activity.


Colleen Beck, OTR/L has been an occupational therapist since 2000, working in school-based, hand therapy, outpatient peds, EI, and SNF. Colleen created The OT Toolbox to inspire therapists, teachers, and parents with easy and fun tools to help children thrive. Read her story about going from an OT making $3/hour (after paying for kids’ childcare) to a full-time OT resource creator for millions of readers. Want to collaborate? Send an email to contact@theottoolbox.com.

Fine Motor Play with Keys

If you’re a frequent visitor to this blog, you know that we LOVE our fine motor play activities!  We are very into playing with household items and recycled materials (aka FREE stuff) in our play, crafts, and activities.   We’re joining so many other bloggers in 26 activities using everyday household items with one focus: Fine Motor Play for kids! 
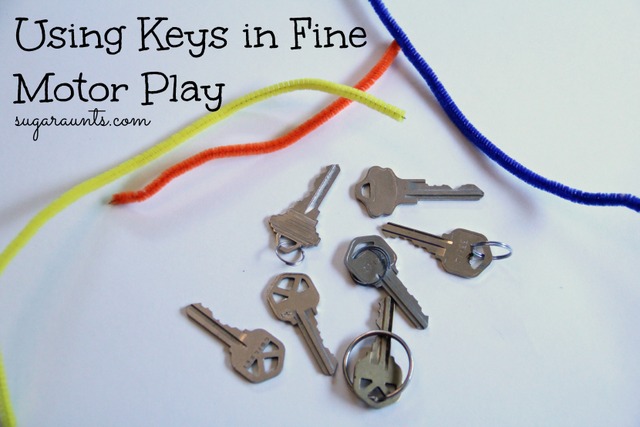
Like most homes, we have a junk drawer full of random things.  There seem to be a ton of keys that go to who-knows which lock in this house.  So, what to do with those keys that we may someday need for some unknown locked door? …PLAY with them!

 Fine Motor Play with Keys


This post contains affiliate links. We thank you for your support of  our blog by purchases made through these links.
When you have kids, many times it seems like there is more playing with every day household objects than there is of toy playing.  Babies start out by banging pots and pans and reaching for the remote buttons, right?   So why not play with something as simple as real keys?  They are great for fine motor skills.  Hey, there is even a grasp termed “key grasp”!  When the thumb opposes the lateral side of the pointer finger to hold an object (piece of paper, coin, and of course, a key), you are utilizing the “key grasp”. 
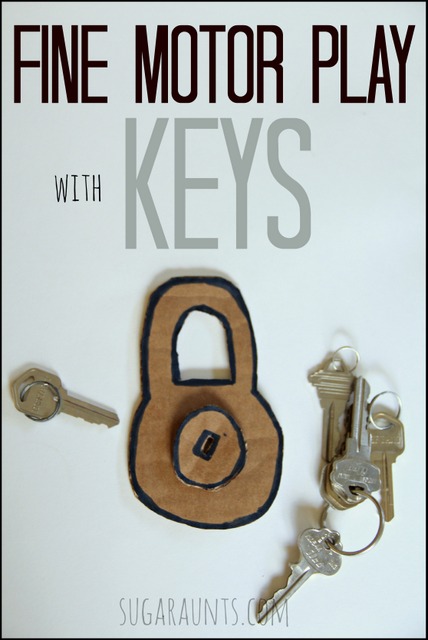
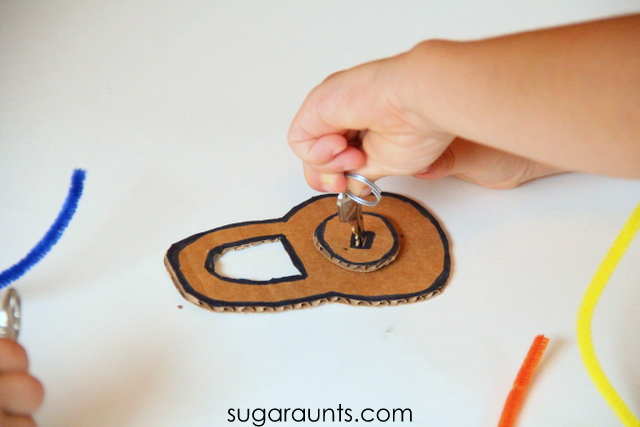
We pulled out our supply of mystery keys and got busy playing.  I created a cute little lock from cardboard and the kids had fun locking and unlocking with their keys.  We even pretended to lock up treasures and then unlock with different keys.

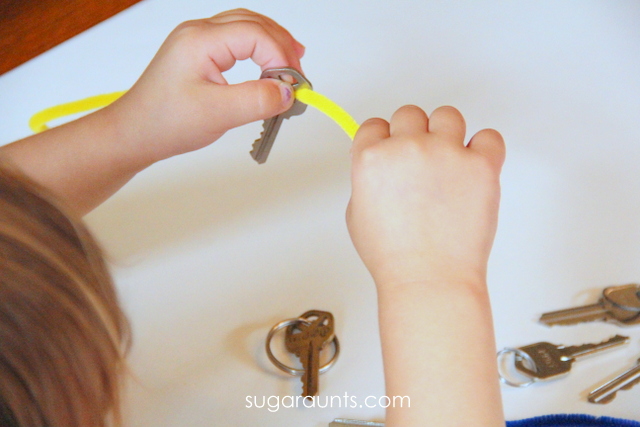
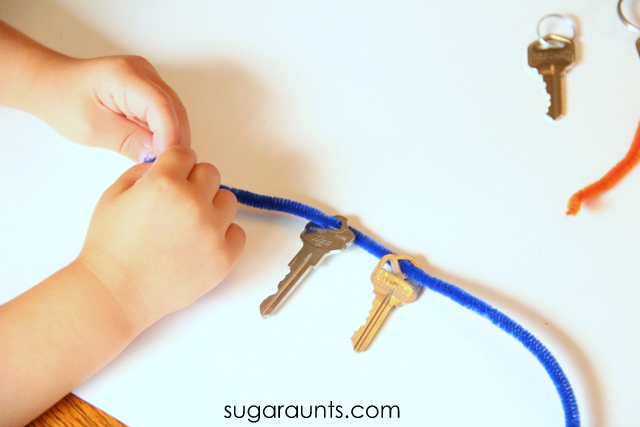
We did a threading activity with pipe cleaners
and keys.  I asked the kids to thread one key on the yellow pipe cleaner, two keys on the orange pipe cleaner, three keys on the blue pipe cleaner, etc. 

This was such a fun way to practice fine motor skills, listening, direction following, and early math.

Baby Girl (age 2 and half) was very into this activity.  Little Guy (age 5) LOVED the cardboard lock.  He locked away all sorts of treasures with it.

Don’t have extra keys in your house?  Use the ones on your key ring.  (Just watch them closely so your house key doesn’t “walk” away!)  Or, you could purchase a box of blank keys and use them in fine motor play!

Looking for more fine motor activities using everyday items?  These are fun and frugal:

Paper Clips | Spoons and Cupcake Tin | Ice Cube Tray | Masking Tape | Golf Tees

Monochromatic Water Bin Color Play

We love playing all kinds of learning through water on the water table.  We’ve played lots of other materials too…sand, nature, and even snow have made their way into our water table.  Recently, we explored a single color with water play in the water table.  Monochromatic learning  through water play is such a great summer play activity, but could be carried over to year round with a little mess-proofing indoors. 
This activity is part of the All Things Kids blogger’s monthly series.  This month we’re talking about Learning with Water Play.  You can see all of the great ideas from the All Things Kids bloggers by checking out the series homepage on All Things Kids.


Learning with Color

Explore a single color in the water bin with this learning through water play activity for kids.

This post contains affiliate links.  Your purchases through these links provide us with a small percentage and enable us to run this blog.  Thank you for your support!


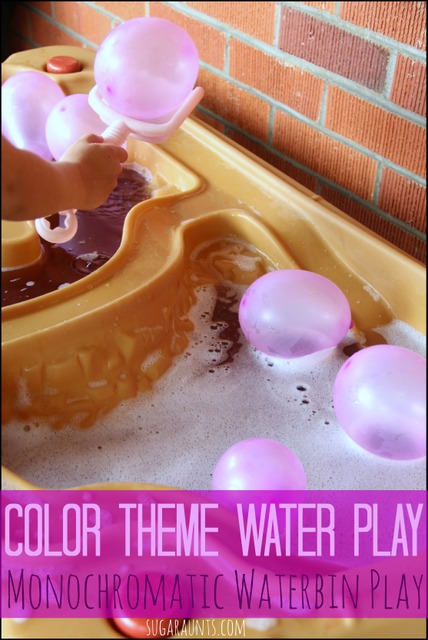
Monochromatic Water Bin Play

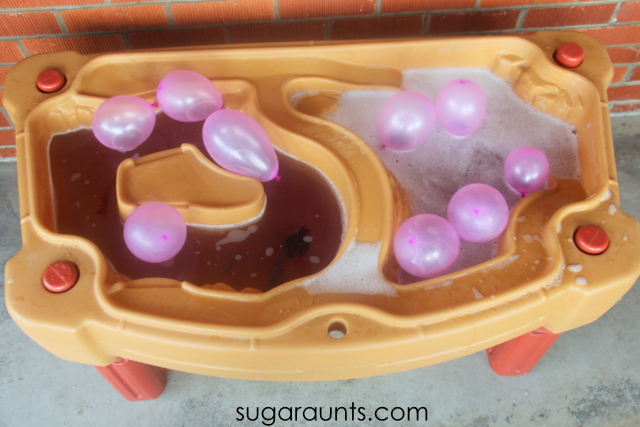
We started with our sand and water table
and filled both sides with water.  We added a little bit of g
rape scented bubbles
for a fun scent and foamy sensory play on one side of the water table.  I blew up a bunch of
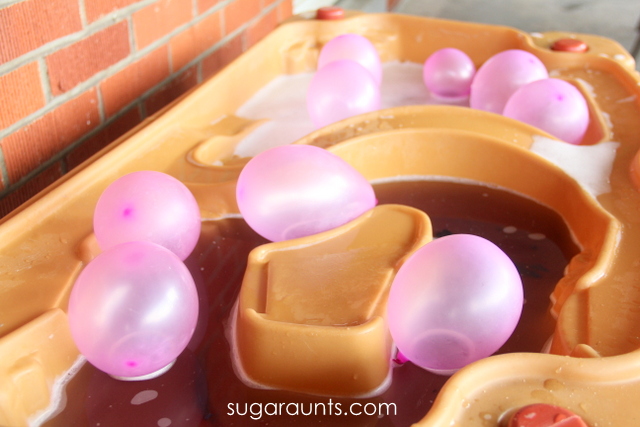
purple water balloons and threw those in the water table.  (HINT: Blowing up water balloons can be a beast!  We have a little hand air pump that came from some toy and made it much easier to blow up the water balloons!) You could use any size balloons for this activity, but I wanted small size for our transferring part of the fun. 
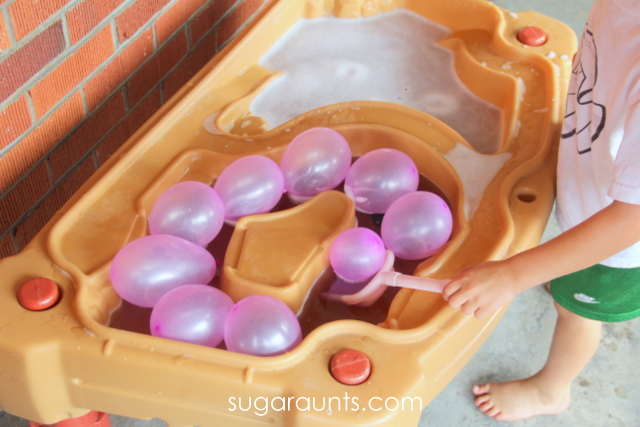
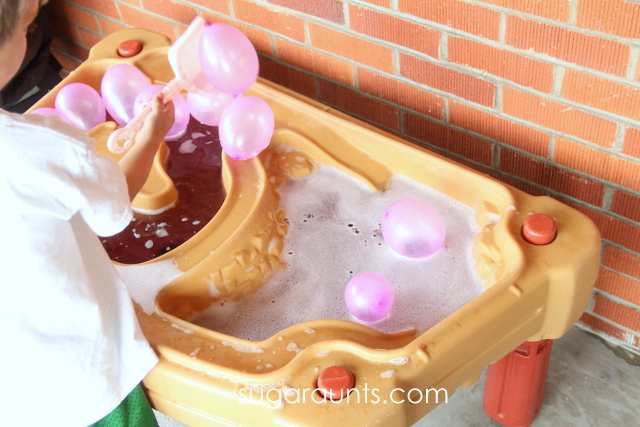
I gave the kids a little plastic shovel from our sandbox and showed the kids how to transfer the balloons from side to side in the water table.


It was fun to try to catch the balloons as they scooted around on the water surface.  Transferring the balloons with a shovel is a great way to work on eye-hand coordination while encouraging bilateral hand coordination and crossing midline.  Transferring from left to right is great for pre-readers, too.  Kids need to scan from left to right across the page as they read and working on this skill in pre-readers is a great beginner activity.

We had so much fun talking about the different shades of purple and the term “monochromatic” as we pointed out the different shades.  Our learning with water activity was a great way to spend a hot summer afternoon. 
You may be interested in some of the products that we love and used in this post’s activity: