To create an easy Circus Sensory Bin, you will need:
circus train pieces
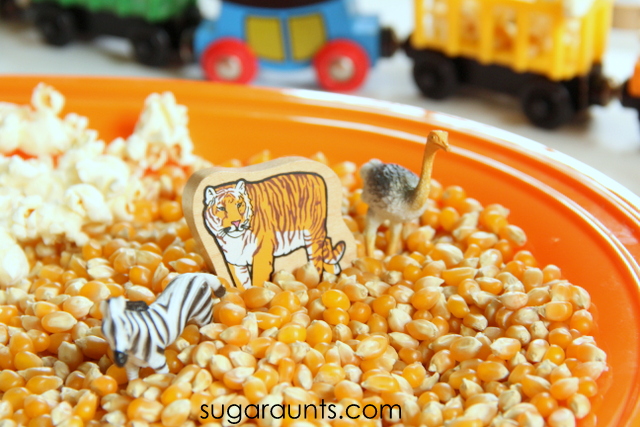
Mini Animals
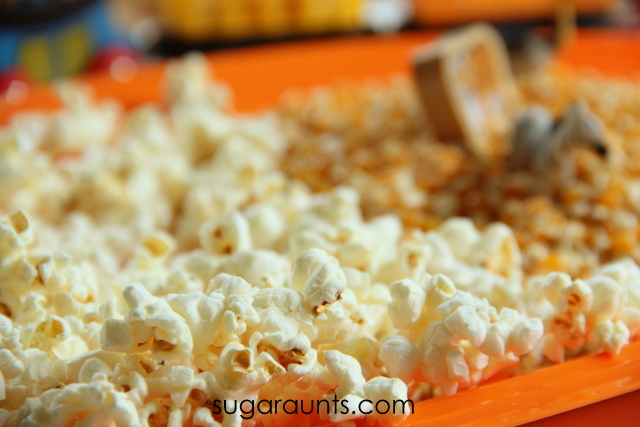
popcorn
plastic tray

I started by popping some corn. And only ate a few handfuls. Pop extra. Snacks are good.
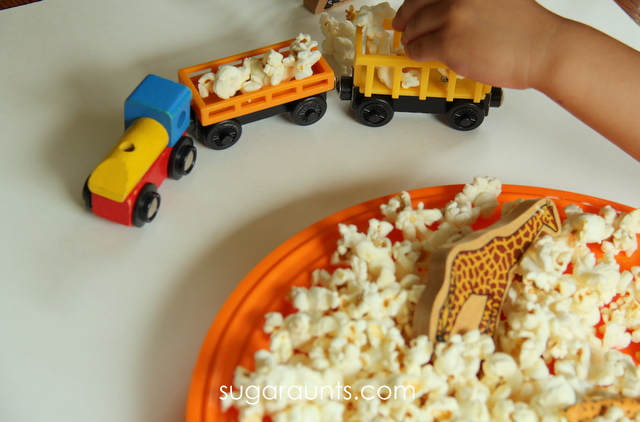
I put some popped and un popped corn onto a plastic tray. Then, simply added our train set and animals. The scene was set for imagination and pretend fun!

The animals in the different textures was such a fun way to explore animal names, animal sounds, and all in an easy sensory bin.

Baby Girl (age 2) loved this pretend play so much! Not only did we have a blast playing and learning, she got a snack too! Bonus!
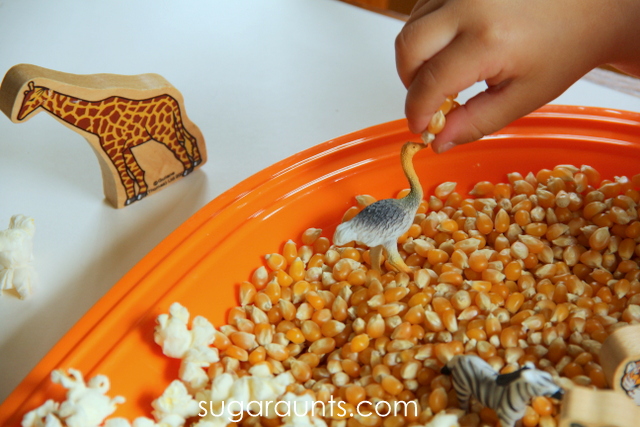
Of course, the animals needed feeding, too.
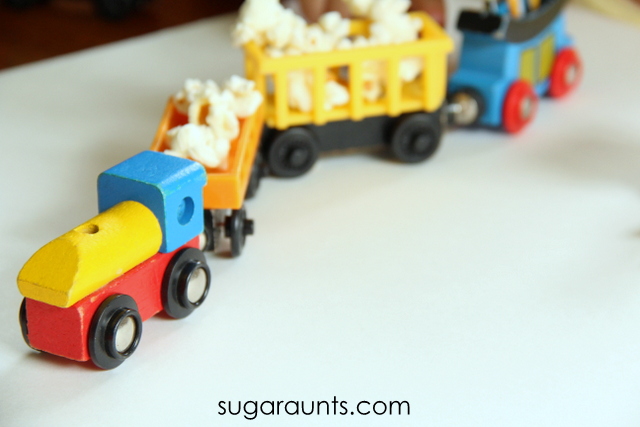
We loaded up the train with popcorn and made deliveries. Such a fun way to play away an afternoon.
This might be the perfect accompaniment to our circus tent craft. Sensory play, craft, and snack…sounds like the perfect afternoon with the kids to me!
Note: Like all of our activities on sugaraunts.com, we encourage playing alongside your kids and in a supervised manner. Some crafts and activities may present a dangerous situation for children who like to put things into their mouths. Please monitor your child with this and any activity you see on our website. Popcorn will present as a choking hazard for small children. Please use your best judgment if you decide to do this activity with your kids.
You may be interested in our Circus Crafts and Activities Pinterest board for more circus ideas.
94518f049891ff1c8aaaff383574fe67e370df4dfc14a6001e