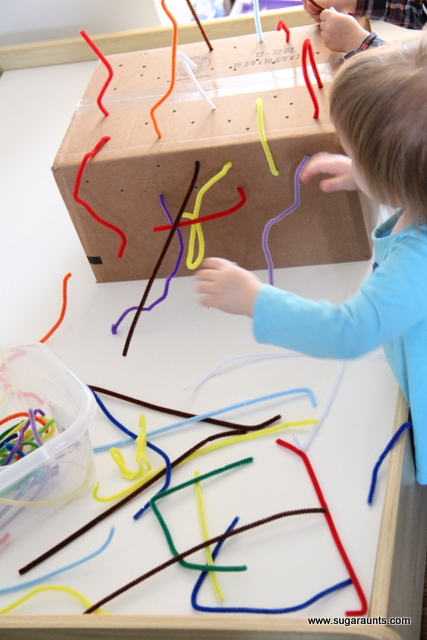
Putting ball pit balls in a baby pool is a great sensory room DIY ball pit that kids love. Whether you play inside or outside with the baby pool full of water, this sensory play activity is one of our favorite ball pit activities!
Baby Pool Sensory Play

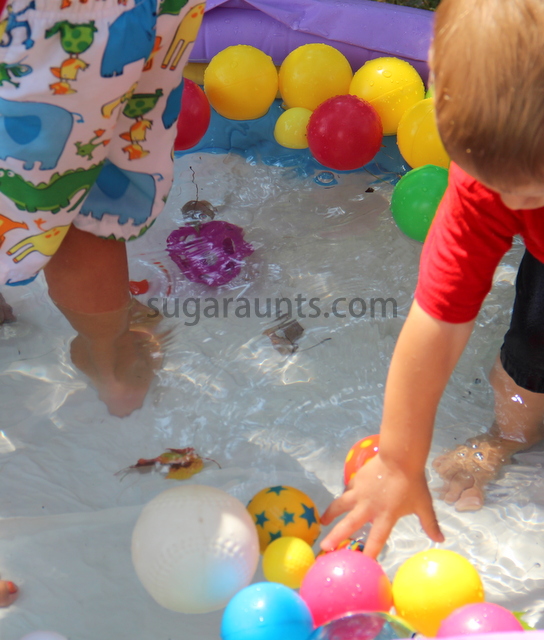
We’ve been loving these last days of summer before the school starts up again. One super nice and sunny day, we had the baby pool out and added a colorful twist…all kinds and shapes, and colors of different balls.
Baby Pool with Balls
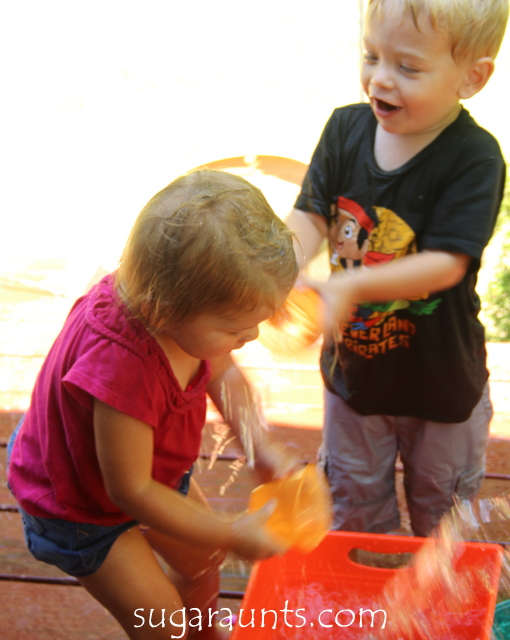
We threw in ball pit balls, ping pong balls, whiffle balls, and every other kind we could find. This was such a fun way to play in the pool. Everyone had fun throwing them in and out of the baby pool and grabbing at the different colors.
We had all preschool-aged and toddlers at our house today, but, this would be great for sitting babies too! The eye-hand coordination and visual tracking skills really develop with this one.
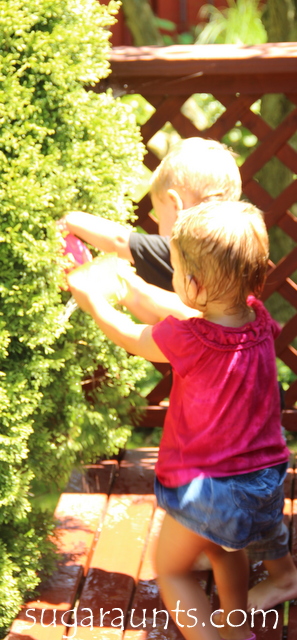
They can visually track the different colored balls as they scoot around in the water and grasp at them. We had so much fun with this. Let us know if you try this activity, we would love to hear how it goes in your house!
Try putting something different in your baby pool while the weather is still warm, or pin it for next summer 🙂
Looking for more eye-hand coordination activities? Try one of these:

Colleen Beck, OTR/L has been an occupational therapist since 2000, working in school-based, hand therapy, outpatient peds, EI, and SNF. Colleen created The OT Toolbox to inspire therapists, teachers, and parents with easy and fun tools to help children thrive. Read her story about going from an OT making $3/hour (after paying for kids’ childcare) to a full-time OT resource creator for millions of readers. Want to collaborate? Send an email to contact@theottoolbox.com.