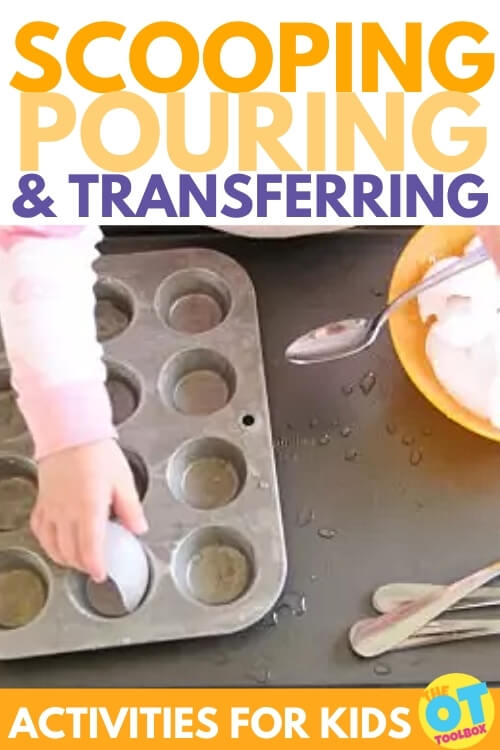
Scooping and pouring. Toddlers pour, and dump toys (or cereal, a cup of water, a bin of diapers…) as soon as they discover that they can. It’s a developmentally appropriate skill that happens as mobility develops. When little ones pick up a bowl or cup and turn out the contents on the floor, it may be frustrating to a mama that’s just picked up all of the toys in the house for the third time, but it is such a great function that is the occupation of play.
These scooping and pouring activities can also help with questions of being ambidextrous or simply having a mixed dominance present.
Today, we’re exploring how scooping, pouring, and transferring materials benefits toddlers and preschoolers, in big ways. You can use this fun fine motor and visual perceptual motor activity with children at the toddler, preschooler, and school-aged levels to improve the precision of skills, practice math, and discover skills, all through scooping, pouring, and transferring small items.
Scooping Activities for Toddlers
There are so many benefits to scooping, pouring, and transferring materials. These scooping activities for toddlers are an easy way to help to build motor skills in toddlers and preschoolers, at just the right stage of development. It’s during the toddler years that children develop more motor control, stronger eye-hand coordination skills. They are starting to gain more control of their arms in a coordinated manner, especially when manipulating tools like scoops, spoons, cups, and bowls. It’s through play and the weight of sensory materials that the benefits of scooping, pouring, and transferring of materials builds motor control, more refined movements, and tolerance of a variety of sensory materials.
But, you don’t need to stop at the toddler years. Manipulating tools and sensory materials to pour, scoop, and transfer is great for preschoolers, too!
Benefits of Scooping, Pouring, and Transfering
Fine Motor Benefits of Scooping and Pouring– By manipulating sensory materials, cups, scoops, and bowls, toddlers and preschoolers refine and build motor experience in fine motor skills. Areas of development include: pincer grasp, precise wrist movements, arch development, wrist extension, and separation of the wrist from the elbow.
Development of these areas promotes a more distal motor control while using the proximal arm (shoulder and elbow) to stabilize and support the movements of the distal arm (wrist, hand, thumb, and fingers).
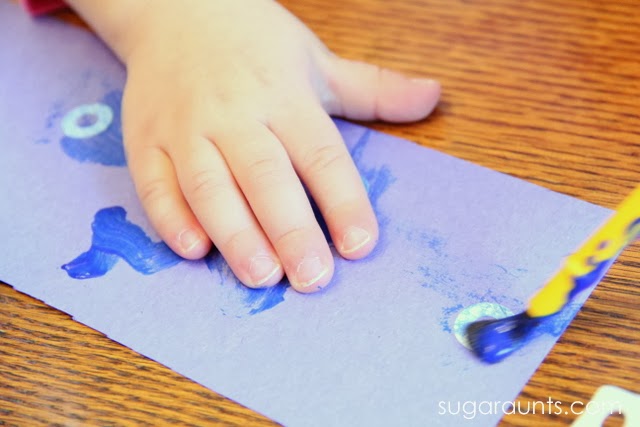
This separation of the proximal stability from the distal mobility is a needed motor development for coloring with the hand and fingers instead of using the whole arm to move the crayon.
You can show a child of this age how to dump the dry cereal from the scoop into a large tray. Kids in the Toddler range would benefit from scooping and pouring using larger scoops or small cups.
In order to scoop food when eating or scooping like in this play activity, kids need precision of very small wrist motions.
Moving the wrist from side to side is called radial deviation (moving the wrist towards the thumb side) and ulner deviation (moving the wrist towards the pinkie finger side).
In addition, slight wrist extension (the wrist slightly bent back in the direction of the back of the hand) is needed to accurately and efficiently scoop and pour.
Simply holding the scoop is an activity for grasp development by refining the arches of the hands and intrinsic muscles.
Other areas of fine motor development include
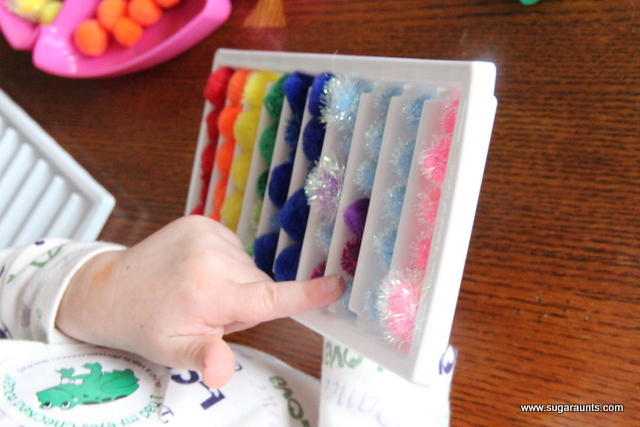
- flexion of the thumb and finger IP and MP joints
- separation of the sides of the hand
- in-hand manipulation
- finger isolation
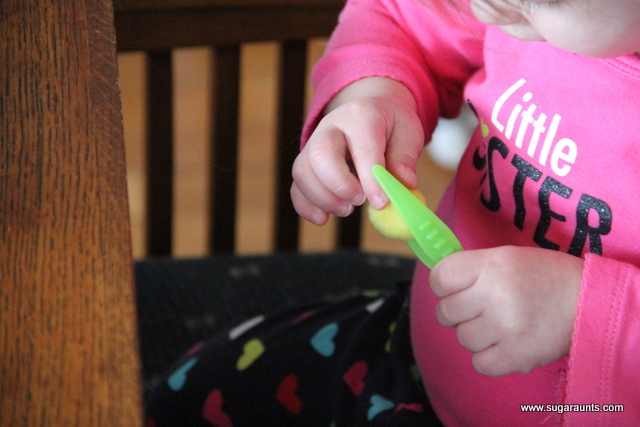
Spoon Scooping Activities
When kids have trouble with holding a spoon to eat, you can try targeting functional grasp patterns so the child can feed themselves. This is possible with spoon scooping activities that target specific grasp patterns. While this can be accomplished through play and scooping play materials, it’s a great transfer of skills to scooping foods.
Check out our video below that shows different activities to support the development of scooping with a spoon. This video is also available on YouTube- Using a Spoon: 3 Activities to Target Grasp Patterns.
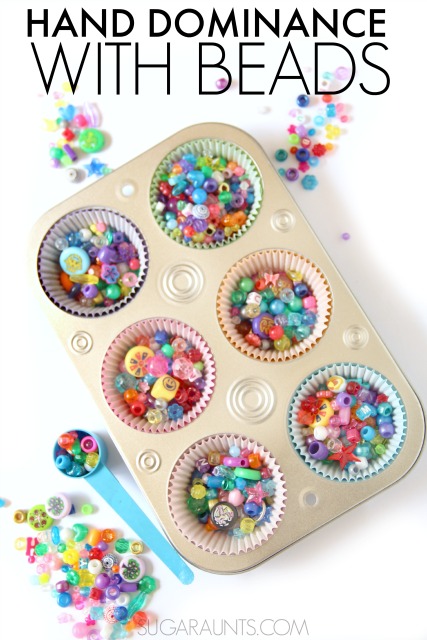
Hand dominance with Scooping, pouring, transferring– Hand dominance is an area that they can be working on, depending on their age. It takes experience, or muscle memory through activities to refine and establish a dominant hand or side of the body. By scooping, pouring kids can hold the container, bin, cups, or bowls with their non-dominant hand while scooping and pouring using a spoon, cup, or bowl with their dominant hand.
As children establish a hand dominance, this refined motor coordination becomes easier to control. Toddlers can start with larger objects and larger scoops. Progressing to more fluid or smaller materials like smaller pellets, flour, or liquids can help preschoolers further refine coordination and manipulation of materials.
Self-Awareness Benefits of Scooping and Pouring– Pouring and dumping is discovery and exploration of gravity, weight, muscle control, cause and effect, and self-awareness. Not only are toddlers discover what they can do by pouring, they are learning about their environment while working on so many skills.
Motor Skills Benefits of Scooping and Pouring– Scooping small items is important in development and refinement of motions needed for managing utensils during self-feeding. This is an important independence step in the Toddler range. The establishment of visual input and motor output results in eye-hand coordination skills.
Also needed is the muscle memory or “experience” in pouring materials. You’ll see this in action when pouring a liquid or something that really “flows”. You don’t want to pick up a pitcher of milk and pour with speed. The liquid will splash out of the cup and onto the floor. It takes motor skill development and experience to know that pouring different materials, liquids, and containers take different amount of force, accuracy, and controlled movements.
Learning by Scooping and Pouring- Adding in learning objectives makes this play activity a bonus. You can add themed materials, counting cards, letter cards, or sensory bin cards. Add math and reading activities by counting or using sight words. Add sensory bin cards. the options are limitless when making pouring and scooping activities educational. One idea we love is using water beads like in our purple sensory bin.
Scoop and Pour for Bilateral Coordination Skills- When pouring and manipulating containers, a development of bilateral coordination skills occurs naturally. A weighted material is in one hand, while the non-dominant hand stabilizes. This transfers to bilateral coordination tasks such as holding the paper while coloring or writing, using two hands in clothing fasteners, cutting with scissors and holding the paper, and the very functional task of pouring materials in cooking!
Mindfulness Benefits of Scooping and Pouring- There is a mindfulness component to sensory play too. Have you ever tried using a zen garden to rake or manipulate sand using a sand tray? If so, then you know the power of mindfully manipulating sensory materials. This mindfulness activity works with children too. Many children find a scooping and pouring activity fun and relaxing. Use the scooping and pouring activity as a heavy work activity that adds calming proprioceptive input with visual attention. Help kids to focus on the sensory material as it slowly pours from the hands or from a cup to another cup.
If kids are moving too quickly or if they become overly excited with the sensory material, add slow movement, a calm environment, a set of “rules” before beginning the scooping and pouring activity, and a broom to clean up!
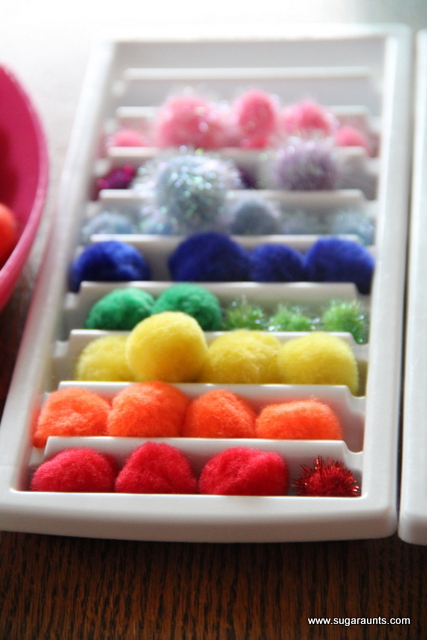
Sensory Benefits of Scooping and Pouring Activities– By experimenting with pouring, scooping, and transferring materials, children gain sensory benefits. This occurs through the proprioceptive input from manipulating the materials, as well as tactile sensory input.
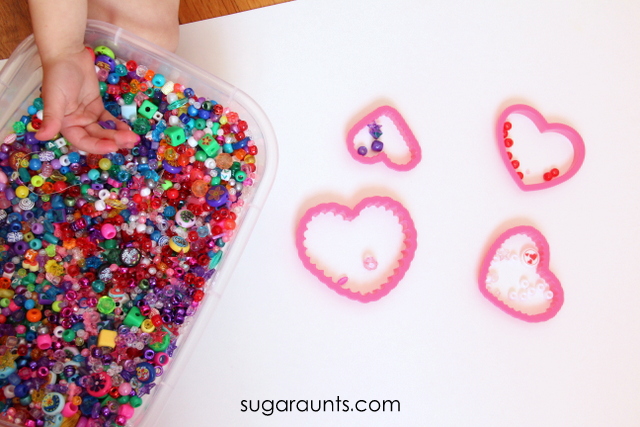
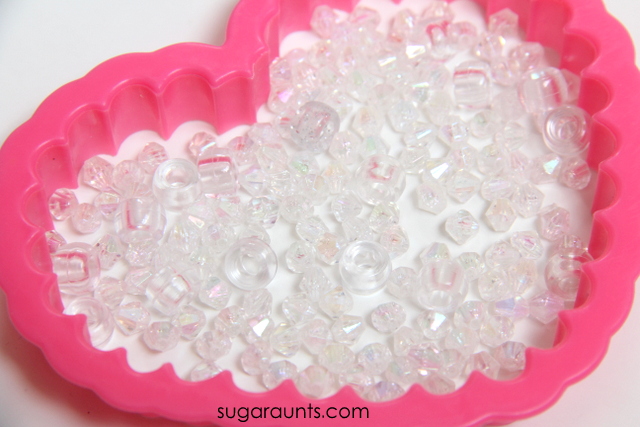
I’ve found pouring and scooping activities to be very calming for children. They love to watch the beads as they fill the scoop and watch them fall into the bowl as they pour. Other children can become overly excited by the visual stimulation of scooping beads and soon the beads will scatter all over the table. You can eliminate mess by doing this activity in a large bin like an under the bed storage bin.
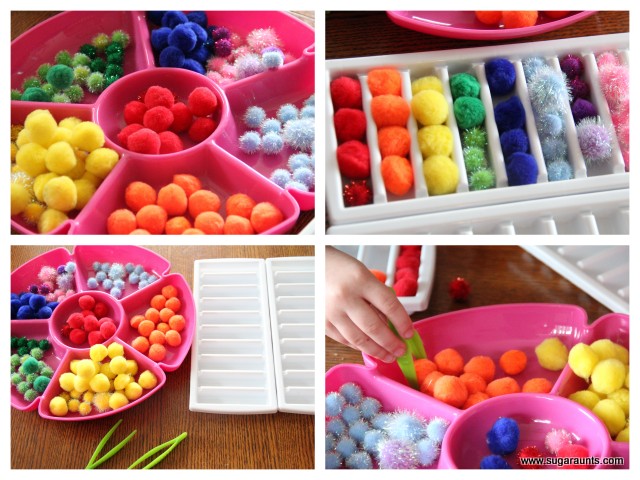
Scooping and Pouring Activities
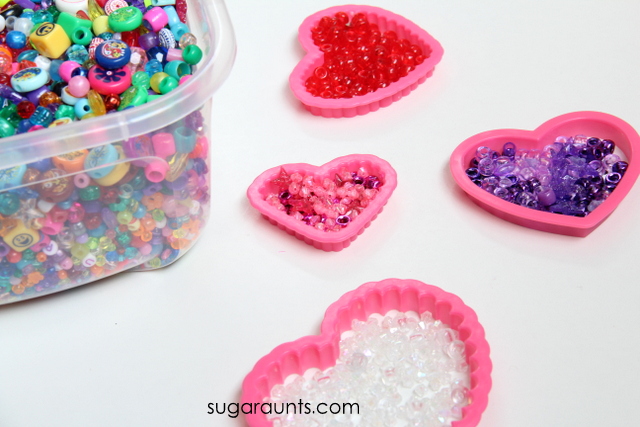
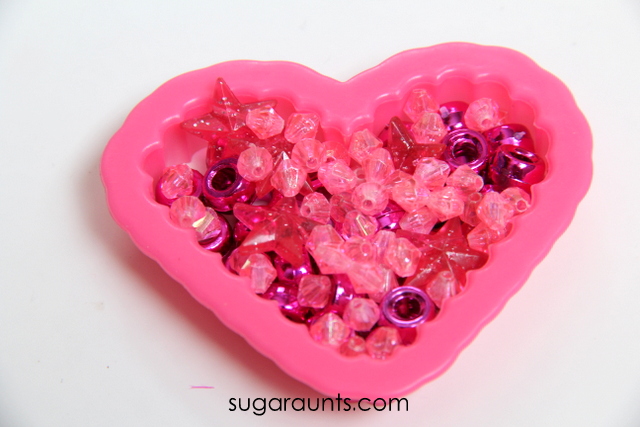
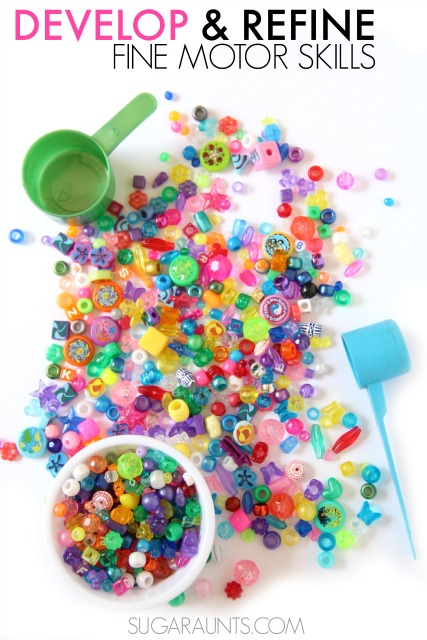
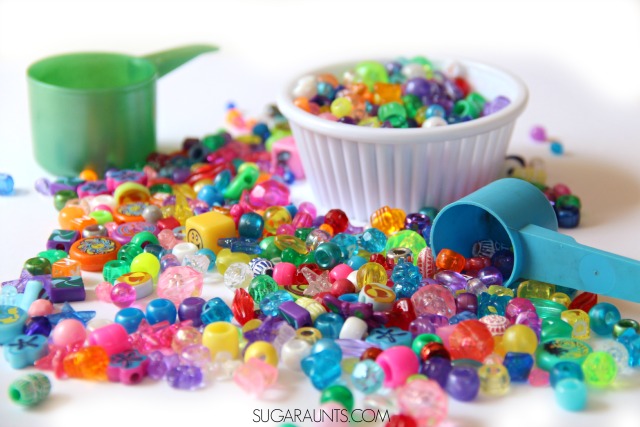
This post contains affiliate links, but you can use items that you already have in your home. We used plastic scoops found in food like cocoa powder, coffee, or iced tea mixes. For the scooping, we used plastic beads that we already had, however, this activity will work with any small item such as rice, dry beans, field corn, pebbles, or sand. Use what you’ve got on hand to make this activity free!
Materials for this scooping and transferring activity include:
- Recycled plastic scoops (We do love our recycled materials activities around here!)
- Small Plastic beads OR other materials to pour and scoop (Toddler-aged kids can use dry cereal or edible items. See below.)
This activity is very easy to set up.
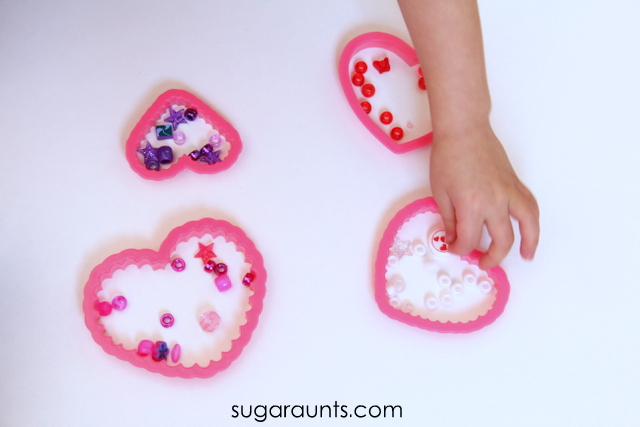
- Simple set out a bowl or tray of beads and scoops in different sizes.
- Show your child how to scoop, transfer, and pour the beads into another bowl.
- Play!
Precautions for Pouring and Scooping Activities with Toddlers
Just be sure to keep a close eye on your little one. Materials like dry cereal are great for starting out. However, if you try scooping activities with other materials like beads, toys, corn, dry beans, etc, it can be easy for them to forget they are scooping beads and not cereal!
As with any activity found on this blog, use your best judgement with your children. This activity, while beneficial developmentally, is especially a choking hazard for young children. Always stay within hands-reach of young children with a developmental activity like this one.
If you are concerned with your child placing beads in their mouth, simply don’t do this one and put it on hold for a few weeks of months.
Development of Scooping and Pouring skills in Toddlers
Note: Use edible materials for this activity with Toddlers. Dry baby cereal or broken up finger foods (like Cheerios) are great. For Toddlers, they will be focusing on simply scooping and pouring with accuracy.
Grasping pellets (bead-sized items) is a fine motor skill that typically develops around 11 months. Children at that age can grasp small pellets with their thumb and the pad of their pointer finger, with their arm positioned off the table. Holding a scoop with either the dominant or non-dominant hand typically develops around 13 months of age.
Toddlers will use an exaggerated elbow motion when they first begin an activity like this one and until those small wrist motions are developed.
At around 15 months, Toddlers will be able to scoop and pour from a small scooping tool, although as soon as 13 months, many children are able to complete this activity.
Managing a spoon during self-feeding happens around this age, as well, as children scoop food and bring it to their mouth. It is messy, but they are able to get food to their mouth.
Using a scoop to move beads or spoon to eat develops with more accuracy at 15-18 months.
At around 12-13 months, children will begin to develop unilaterality in hand dominance. They will begin to show a preferred hand that manipulates as the other, non-dominant hand assists in holding the bowl or tray.
(Other kids don’t define a hand dominance until later. You can use this activity in the preschool years to work on hand dominance!) You will want to use a wide tray or large bowl for improved accuracy in both scooping and pouring. Try using a spoon for scooping the cereal pellets, too.

Scooping and Pouring Preschool Activity
In the preschool years, sensory bin play with a concentration on scooping, pouring, and transferring is very powerful. It’s at the preschool age that motor skills become more refined. The dominant hand becomes stronger in preparation of pencil grasp and handwriting. The muscles of the hands are used in coloring and cutting activities.
Preschoolers can use scooping, pouring, and transferring activities for functional tasks and learning activities, but also development of motor skills needed for tool use like pencils, scissors, crayons, etc. Use crayons based on development, as we covered in a resource on the best crayons for young children.
Helping kids establish a hand dominance can be a pivotal moment for addressing fine motor skill development concerns. Kids can refine motor actions by using a preferred hand consistently.
Preschool aged children can refine their scooping and pouring activity using beads.
Hand preference in Preschool
While Toddlers begin to show a hand preference, a true hand dominance doesn’t typically develop until 2 to 3 1/2 years. That is such a huge age range! That is because while a toddler can show a hand preference, hand usage is experimented with during different activities throughout the Toddler and Preschool years.
There is typically variability in hand preference as toddlers and young preschoolers poke, pick up, throw, color, and play. Another consideration is that often times, kids of this age are influenced in which hand they choose by position of toy, location of the adult or playmate, method materials are presented, and sitting position of the child. True hand dominance may not be completely integrated in the child until around 8 or 9 years of age.
Knowing all of this, use this activity to practice and play while working on a hand preference. If your child shows a preferred hand, set up the activity to work on scooping with the typically used hand. If your kiddo uses their right hand most of they time in natural situations (You will want to watch how they do things on a normal day and in a variety of activities.), then set the bowl of beads on the left side of the child and the scoop on the right side.
When using pouring and scooping activities in preschool, try these strategies:
- Show them how to scoop from left to right. A set up like this one also encourages the left-to-right motion of reading and writing.
- Use a variety of materials: dry beans, rice, beads, dry cereal, flour, sand, shaving cream, water, etc.
- Use a variety of scoops: spoons, coops, small bowls, cups, pitchers, mixing cups, measuring cups, etc.
Kindergarten Scooping, Pouring, and Transferring Activities
For children in kindergarten and older, scooping, pouring, and transferring activities are powerful as well! You can use this pouring and scooping activity in math, learning, and sensory play-based learning.
- Work on measurement
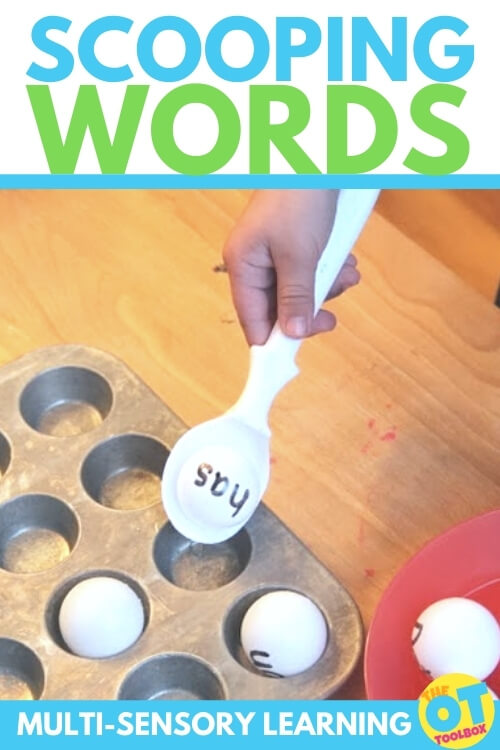
- Work on reading, spelling, and letter awareness. This sight word scooping activity is a great multisensory reading activity for kindergarten.
- Use scooping in math to add or subtract scoops
- Count the number of scoops it takes to fill a container
- Use letter or word cards in reading or handwriting activities
- Work on prediction- Ask them to predict how many scoops it will take to fill different sized cups and bowls. They can count the number of scoops and see if their prediction was correct.
- Incorporate addition and subtraction as they move scoops of beads from one container to another.
- Address motor skill development- Scooping works on important skills like bilateral hand coordination, including using the non-dominant hand to assist as they would in holding the paper in writing, coloring, and cutting with scissors.

Pouring, Scooping and Transferring Activities
Try these various pouring scooping and transferring activities with each age range to develop specific skill areas depending on the individual child:
Use a variety of materials for scooping besides beads to work on fine motor control and dexterity. Other ideas include wet sand (heavier and great for coordination and strength) and a light material like foam pillow filler (for more coordination and dexterity).
Water Sensory Bin Ideas– Use a bin and water, along with some scoops and other materials to work on motor skills, coordination, and refined movements. Scooping water takes precision and control, but it’s a great functional task for children.
Scoop Nuts– Use seeds or nuts to scoop and work on scooping different sizes, different weights. This is a great activity for graded precision, sorting, and eye-hand coordination.
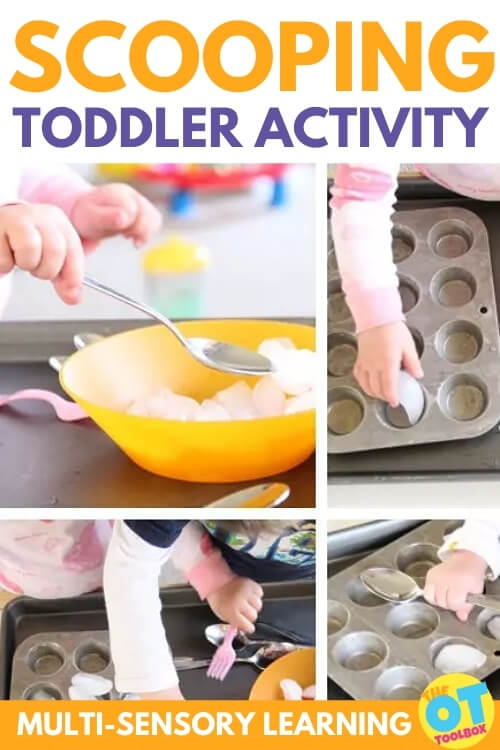
Scoop Ice– This simple scooping and pouring activity uses just ice, water, and scoops. Children can work on eye-hand coordination skills to scoop up ice within a bin of water to work on controlled motor skills, utensil use, visual tracking, and more.
Scoop, pour, and transfer dry corn– Grab some un-popped popcorn and some bins or spoons to transfer materials from one container to another. This simple scooping and pouring activity is easy to set up and works for all ages.
More fine motor activities you will love
- Handwriting Warm Up Exercises
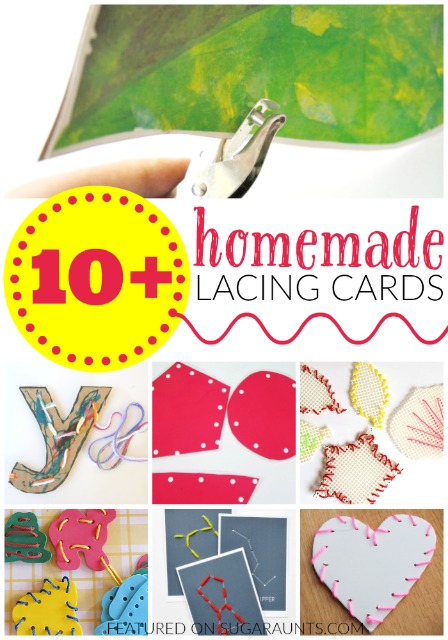
- Homemade Lacing Cards
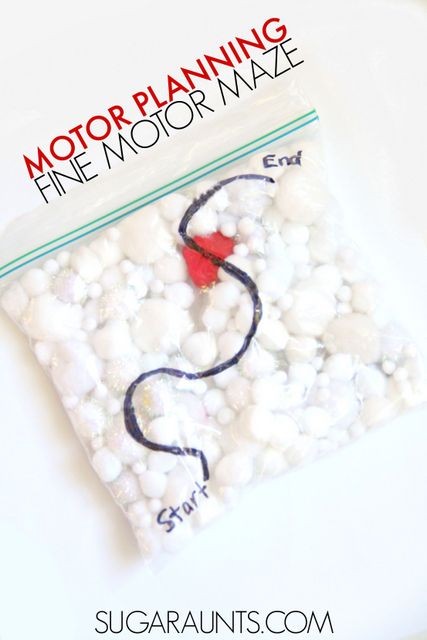
- Motor Planning Fine Motor Maze
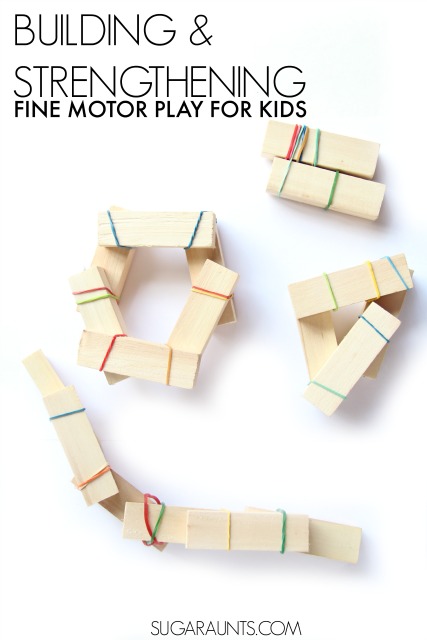
- Hand Strengthening Building Activity
Working on fine motor skills, visual perception, visual motor skills, sensory tolerance, handwriting, or scissor skills? Our Fine Motor Kits cover all of these areas and more.
Check out the seasonal Fine Motor Kits that kids love:


Or, grab one of our themed Fine Motor Kits to target skills with fun themes:
- Frogs Fine Motor Kit
- Unicorns Fine Motor Kit
- Vehicles Fine Motor Kit
- Apple Fine Motor Kit
- Back to School Kit
- Sports Fine Motor Kit
- Outer Space Fine Motor Kit
- Fairytale Fine Motor Kit
- Plus more in our shop!
Want access to all of these kits…and more being added each month? Join The OT Toolbox Member’s Club!

Colleen Beck, OTR/L has been an occupational therapist since 2000, working in school-based, hand therapy, outpatient peds, EI, and SNF. Colleen created The OT Toolbox to inspire therapists, teachers, and parents with easy and fun tools to help children thrive. Read her story about going from an OT making $3/hour (after paying for kids’ childcare) to a full-time OT resource creator for millions of readers. Want to collaborate? Send an email to contact@theottoolbox.com.