You may have heard the term motor planning but wondered what this means and what does it look like to utilize motor planning skills in everyday activities. Here, we are breaking down this important motor skills topic. Occupational therapists are skilled at analyzing movements and underlying skills needed to perform the things we do each day, or the tasks that occupy our time, and establishing an efficient and coordinated motor plan is one of the main aspects of this assessment.
Motor Planning
When we perform an action, there are movements of our bones, joints, and muscles that enable our bodies to move. It’s through this movement that the body and brain receives feedback, or a motor concept that tells the brain and body that we have moved in a certain way in order to accomplish a specific action. This is the motor plan for that particular task at work!
Let’s look at a child’s motor skills in a specific action to really explore this concept.
Ok, so you’re walking along a hallway with an armful of bags and see a ball in your path. You walk around it and continue walking. But, hold on. That was a pretty cool ball. It was all red and shiny. It looked like a really fun ball to bounce. You stop, turn around, walk back to the ball, stoop down, put down your bags, and pick it up. Woah. It’s not only red and shiny, but it’s a little heavy too.
It takes a bit more muscle oomph than you were expecting. You hold your arm up high, with the ball up over your head. Totally not a baseball player’s pose, but all awkward and kid-like. You know. Pure fun throwing.
You toss that red, shiny, heavy ball as hard as you can towards a big old blank wall on one of the hallway walls. Now watch out! That red, shiny, heavy ball is bouncing around like crazy!
It’s bouncing off of the wall and right back at you! You jump to the side and then to the left and right as it bounces back and forth between the walls of that hallway. You have to skip to the side to avoid your bags.
The ball stops bouncing and rolls to the side of the hall.
Well, that was fun. You pick up the ball and hold it while you gather your bags. Now, you see a boy coming down the hall who sees that red, shiny, heavy ball in your hand and says, “Hey! There’s my ball!” You smile and toss the ball as he reaches out his hand and catches. “Thanks!!” he says as you wave and start walking down the hall again.
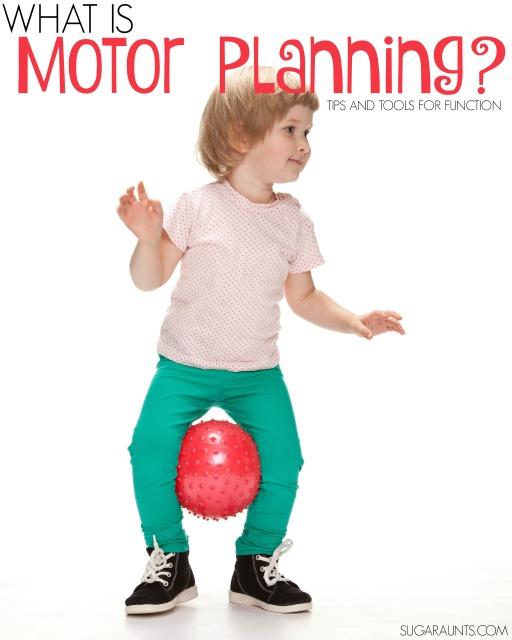
What is Motor Planning?
Motor Planning happens with everything we do! From walking around objects in our path, to picking up items, to aiming and throwing, drawing, writing, getting dressed, and even dodging red bouncy balls…
Motor Planning is defined as the problem solving and moving over, under, and around requires fine motor and gross motor skills and planning to plan out, organize, and carry out an action. We must organize incoming information, including sensory input, and integrate that information into our plan. We need to determine if a ball is heavy or light to pick up and hold it without dropping it.
You might hear of motor planning referred to as praxis.
Praxis (generally also known as Motor Planning, but also it’s more than simply motor planning…) requires observing and understanding the task (ideation), planning out an action in response to the task (organization), and the act of carrying out the task (execution). A difficulty with any of these areas will lead to dyspraxia in many skill areas.
Praxis includes motor planning, but also involved is ideation, execution, and feedback, with adjustment to that feedback. You can see the similarities in motor planning, which refers to the conscious and subconscious (ingrained) motor actions or plans.
Motor Planning is needed for everyday tasks. Think about the everyday activities that you complete day in and day out. Each of these actions requires a movement, or a series of movements to complete. There are both gross motor movements, fine motor movements, and posture all working together in a coordinated manner.
There is a motor plan for actions such as:
- using a toothbrush to brush one’s teeth
- brushing hair
- getting dressed
- putting on a backpack
- walking down a hallway
- walking up steps
- walking down steps
- holding a pencil
- writing with a pencil (motor planning and handwriting is discussed here.)
- riding a bike
- maintaining posture
- putting on a coat or jacket (on top of other clothing such as a shirt so that in this case, there isn’t the tactile feedback available of the fabric directly on the skin’s surface)
- performing sports actions such as swinging a baseball bat or tennis racket, running, or gymnastics like doing a cartwheel
The interesting thing is that a movement plan, or the physical action that is completed whether the action has been performed in the past or if it is a new movement. A motor plan for a new task can be completed without thinking through how to move the body because it is just inherently completed.
When we complete unfamiliar tasks and need to stop and think through how the body needs to move, is when we see inefficient movement, or motor planning issues.
Motor Planning Difficulties
Above, we talked about praxis as another term or way to name the motor plan concept. When there are difficulties with motor planning, we are referring to the opposite of praxis, or dyspraxia.
Dyspraxia can be a result of poor sensory integration, visual difficulties, fine motor and gross motor coordination and ability, neural processing, and many other areas.
Motor planning difficulties can look like several things:
- Difficult ability to complete physical tasks
- Small steps
- Slow speed
- Pausing to think through actions
- Clumsiness
- Poor coordination
- Weakness
These challenges with motor function can exist with either new motor tasks or familiar actions. Deficits are apparent when speed is reduced so that the functional task isn’t efficient, when the motor task is unsafe, or poor completion of the task at hand.
There are diagnoses that have poor motor planning as a component of the diagnosis. Some of these disorders can include:
- Developmental coordination disorder (DCD)
- Sensory processing disorder (SPD)
- Autism spectrum disorder (ASD)
- Others
When motor planning difficulties exist, this can be a cause for other considerations related to movements, and demonstration of difficulties when participating in movement-based activities:
- challenges in social interactions
- anxiety
- behaviors
- social skills issues
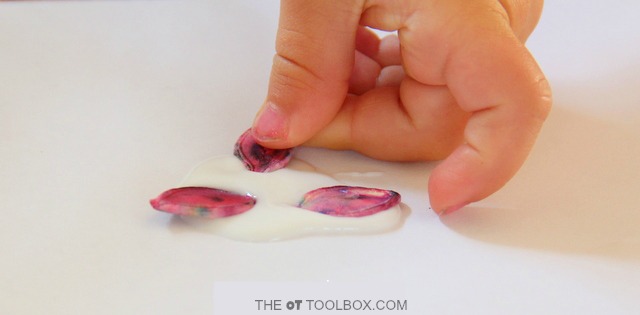
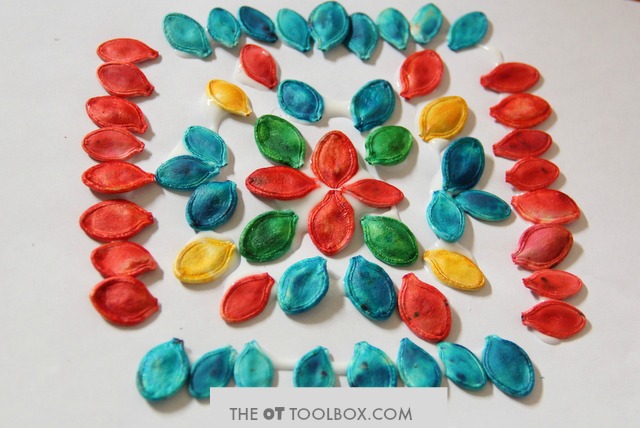
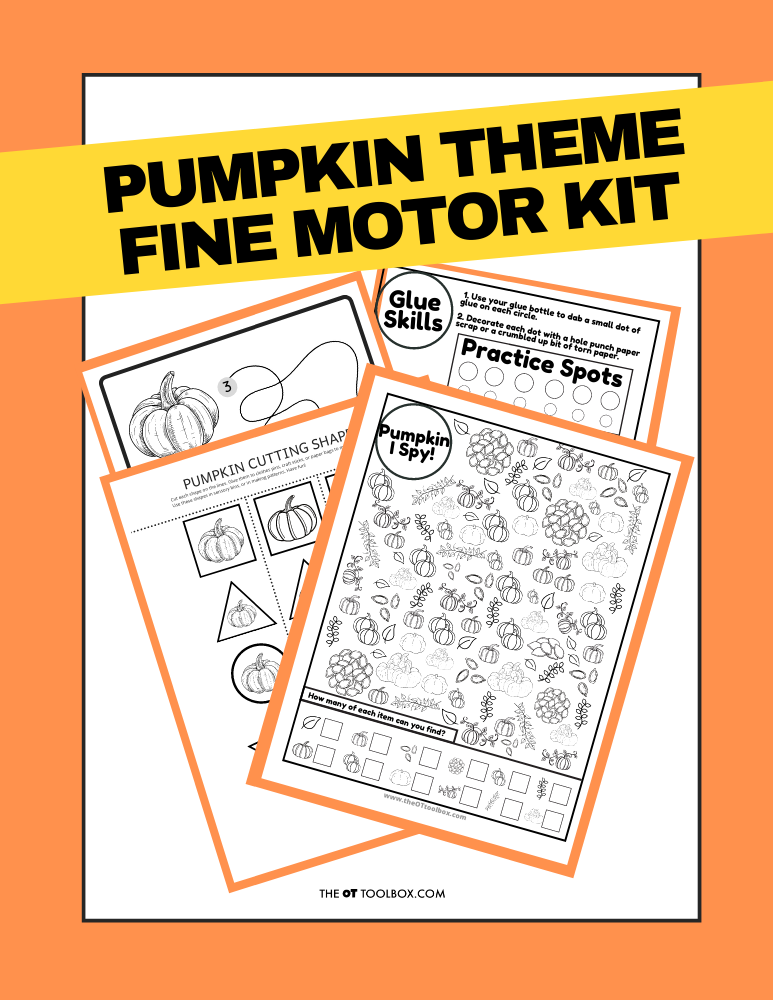
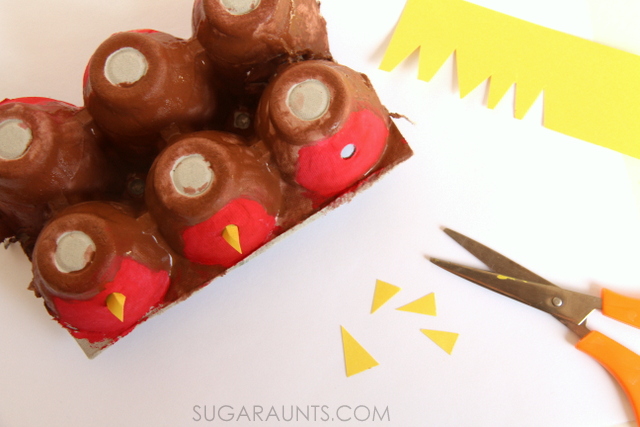
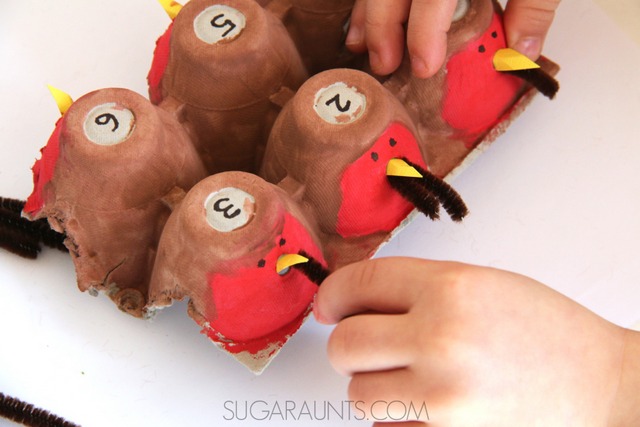
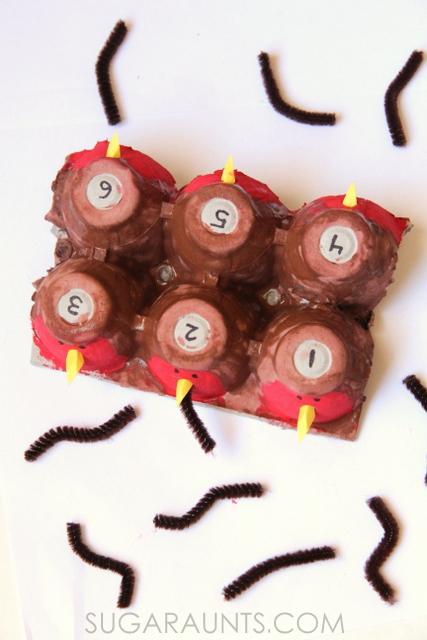
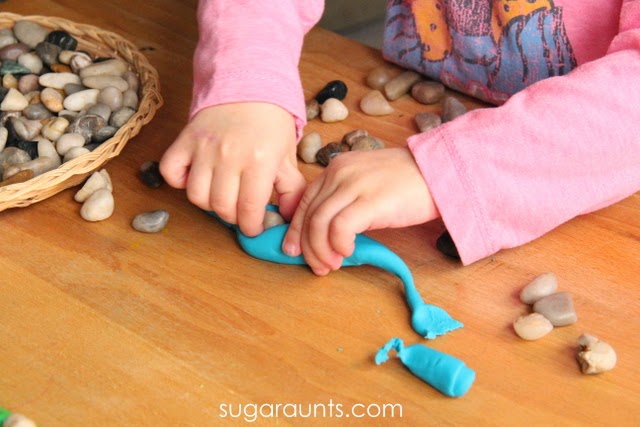
Today, I’ve got a quick and easy fine motor activity to work on motor planning with kids. This activity is part of our 31 Days of Occupational Therapy series where we’re sharing fun and frugal ideas for treatment of many OT skill areas with items you might already have in your house.
Motor Planning Activity
Affiliate links are included in this post.
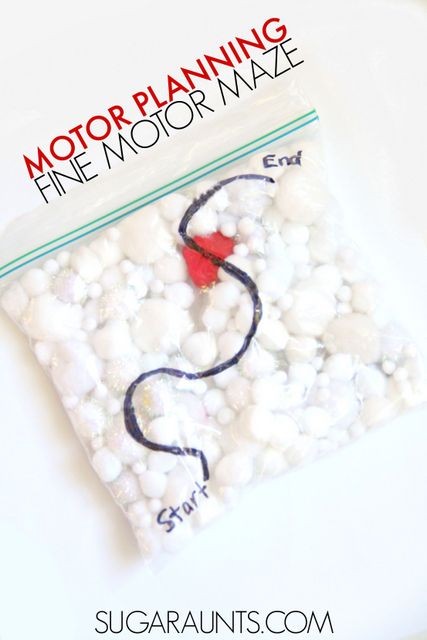
To make this motor planning activity, you’ll need just a few items:
- a clear plastic baggie
- white crafting pom poms
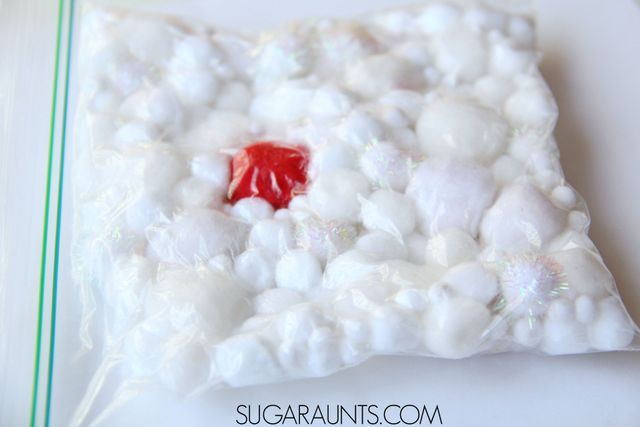
- one red pom pom. These are items we had in our crafting supplies, but you could modify this activity to use items you have. Other ideas might be beads, pin pong balls, ice cubes, or any small item.
- Fill the baggie with the pom poms and squeeze out the air.
- Seal the baggie.
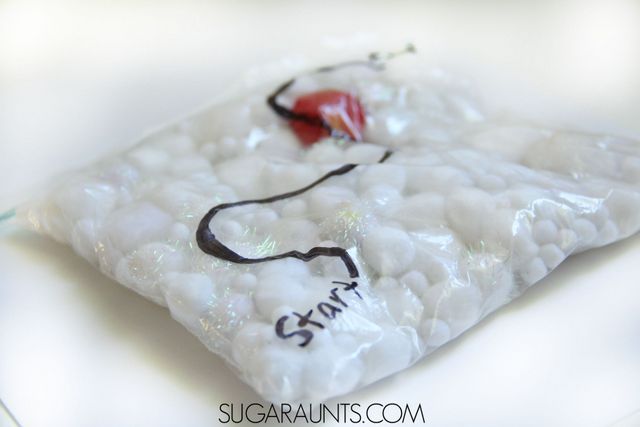
- Use a permanent marker to draw on a maze from one side of the baggie to the other. You can make this as complex as you like.
- Add additional mazes, or two different pom pom colors for the maze. Work the red pom pom from one end of the maze to the other.
Squeezing the pom pom is a fine motor work out for the hands. You’ll need to open up the thumb web space (the part of your hand between the thumb and fingers, and use those intrinsic small muscles of the hand. Both of these areas are important for fine motor tasks like coloring and writing.
Use this motor planning exercise as a warm-up activity before writing, coloring, and scissor activities. This is a great activity to have on hand in your therapy treatment bag or to pull out while waiting at the doctor’s office.
Motor Planning Activities
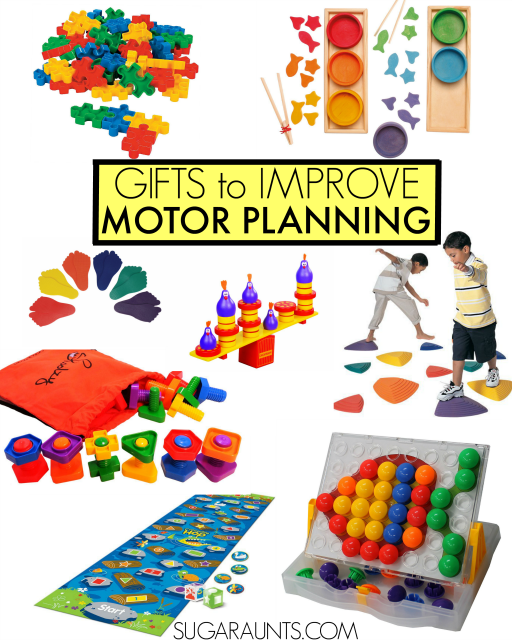
Looking for more ways to work on dyspraxia with your kids? These are some fun fine and gross motor activities that are fun and creative.
The best thing about all of them is that they are open-ended. Use them in obstacle courses or in movement tasks to incorporate many skill areas. These are some fun ideas to save for gift ideas. Now which to get first…
Work on fine motor dexterity and bilateral coordination while encouraging motor planning as the child matches colors of the nuts and bolts in this Jumbo Nuts and Bolts Set with Backpack set. The large size is perfect for preschoolers or children with a weak hand grasp.
Practice motor planning and eye-hand coordination. This Button Mosaic Transperent Pegboard is a powerhouse of motor planning play. Kids can copy and match big and bright cards to the pegs in this large pegboard. I love that the toy is propped up on an incline plane, allowing for an extended wrist and a tripod grasp. Matching the colors and placing the pegs into the appropriate holes of the pegboard allow for motor planning practice.
Develop refined precision of fine motor skills with eye-hand coordination. A big and bright puzzle like this Puzzle-shaped Block Set allows kids to work on hand-eye coordination and motor planning as they scan for pieces, match the appropriate parts of the puzzle pieces, and attempt to work the pieces into place. Building a puzzle such as this one can be a workout for kids with hand and upper extremity weakness.
Strengthen small motor skills. Kids of all ages can work on motor planning and fine motor skills with this Grimm’s Rainbow Bowls Shape & Color Sorting Activity. Use the colored fish to place into the matching cups, as children work on eye-hand coordination. Using the tongs requires a greater level of motor planning.
You can modify this activity by placing the cups around a room for a gross motor visual scanning and motor planning activity. Children can then follow multi-level instructions as they climb over, around, under, and through obstacles to return the fish to their matching bowls.
Encourage more gross motor planning with hopping, jumping, and skipping, or other gross motor tasks. This Crocodile Hop A Floor Mat Game does just that. It is a great way to encourage whole body motor planning and multiple-step direction following.
Address balance and coordination. These Gonge Riverstones Gross Motor Course challenge balance skills as children step from stone to stone. These would make a great part of many imagination play activities as children plan out motor sequences to step, cross, hop, and jump…without even realizing they are working on motor planning tasks.
Introduce multiple-step direction following and motor planning. These colored footprints like these Gonge Feet Markers support direction following skills. Plan out a combination of fine and gross motor obstacle courses for kids to work on motor planning skills.
Make hand-eye coordination fun with challenges. For more fine motor coordination and motor planning, kids will love this Chickyboom Balance Game as they practice fine motor skills, hand-eye coordination, and about balance and mathematics.

Colleen Beck, OTR/L has been an occupational therapist since 2000, working in school-based, hand therapy, outpatient peds, EI, and SNF. Colleen created The OT Toolbox to inspire therapists, teachers, and parents with easy and fun tools to help children thrive. Read her story about going from an OT making $3/hour (after paying for kids’ childcare) to a full-time OT resource creator for millions of readers. Want to collaborate? Send an email to contact@theottoolbox.com.