Do adults need a sensory diet? Yes! A Sensory Diet for Adults is just as beneficial as it is for children. Exactly what is a sensory diet? A sensory diet supports the sensory needs of any individual, providing them with a set of sensory strategies used to assist with the regulation of activity levels, attention, and adaptive responses. We ALL have our levels of comfort when it comes to personal bubbles! Looking at this list, adults definitely NEED the ability to self-regulate, organize their sensory systems, and support their sensory and emotional needs. So how can we go about this in the midst of work, parenting, and everything the day brings?
How do you create a sensory diet for adults?
The overall goals of a sensory diet are to meet the sensory needs of an individual by preventing sensory overload, supporting self-regulation, and helping to have an organized response to sensory stimuli. Sensory diets can also help an individual recover from sensory overload, if the preventive threshold has been crossed.
In order to create the most effective sensory diet, it is important to consider ALL of the senses, which includes proprioception, vestibular, tactile, visual, auditory, gustatory, olfactory, and interoception (more about these later in this post).
Creating a sensory diet for adults requires consideration of the lifestyle of an adult. The steps include; analysis and identification, strategizing, applying strategies, and monitoring effectiveness, to ensure individual needs are being met.
Even for adults, completing a sensory checklist, questionnaire, or survey is important. It will insure all sensory areas are identified, and all interests and preferences are considered when working on the development of a sensory diet for adults.
Use a sensory journal to track sensory processing
Another tool to assist in creating a sensory diet for adults, is keeping a sensory diary to help identify personal needs triggers, and dislikes.
A sensory diary, or a sensory journal, is much like a food journal might be used to figure out food triggers that impact headaches or skin issues.
Just like a journal to identify what food stimulated a physical change in the body, a sensory journal can be a helpful tool to identify sensory predictions of regulation, organization status, calmness, or ability to participate in every day activities.
For example, if you are a school field trip chaperone for your kindergartener’s fieldtrip to the musical instrument factory, you might be on heavy overload on auditory input in the way of loud noises, screeching children, a bumpy bus ride. This can put you into a state of headaches, difficulty focusing, disorganized thoughts, emotional state of dysregulation, and overall inability to function for the rest of the day.
When you look back at your sensory journal, you can see that all of the auditory, vestibular input was very chaotic, abrupt, and unexpected. When you see in your sensory journal that you had a migraine and couldn’t function for the rest of the day and the next day, then it makes sense.
Scheduling sensory diets for adults
Knowing these, will aid in the development of an individualized and successful sensory diet.
The scheduling of sensory diet activities is an important part of the sensory diet design when attempting to be proactive versus reactive. Scheduling the use of sensory strategies throughout the day will help keep the senses regulated in order to avoid sensory overload.
At times, this threshold gets crossed, sensory overload ensues, and the reactive stage happens. As an adult, this is bound to happen. The good news is, many preventive strategies can be utilized in the reactive stage as well.
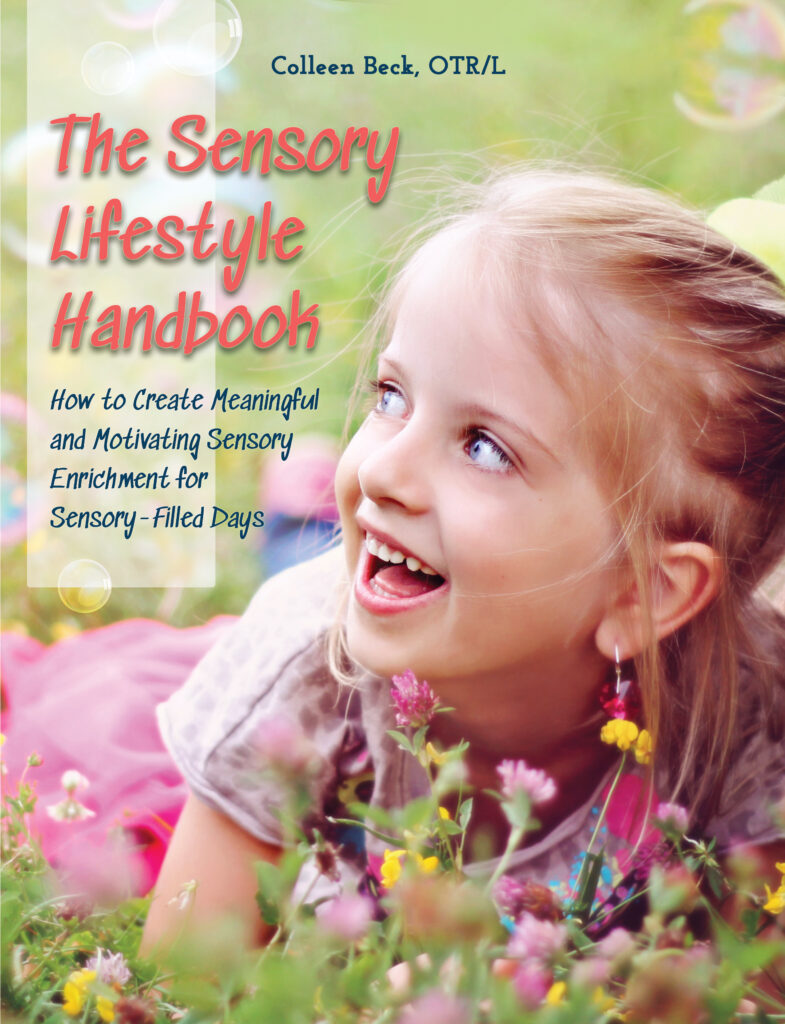
If you are seeking a comprehensive resource that can help guide your pursuit of sensory diet creation for success, check out the Sensory Lifestyle Handbook from The OT Toolbox. It will provide you with a strategy guide to create sensory diets for adults as well as children, and incorporate these choices into a lifestyle of sensory success!
Adult sensory diet strategies You’re probably already doing
Adults often use sensory strategies to support their needs without even realizing they are doing so. The difference between adults and children is, adults tend to use appropriate strategies. They are not likely to be jumping on the furniture, screaming in a meeting, or licking the furniture.
Think about the adult who:
- clicks a pen top frequently while working in the office
- shakes their foot excessively while seated in the church pew
- twirls their hair while listening or concentrating
- snuggles under a heavy blanket when getting home
- rocks back and forth while seated
- has to have the TV or radio on in the background
- chews gum all the time
- exercises daily without fail
The OT Toolbox provides information regarding Adults with Sensory Processing Disorder if you want to further explore information on this topic.
effective sensory diet strategies for adults
Sensory diets for adults are similar to ones created for children. They have the same basic design, but some of the strategies are more adult-like in form, and the environment in which they are utilized differs.
Recognizing the triggers and stressors that cause sensory dysregulation, will help understand how and when to implement activities, before the point of stress. There are several different sensory products available for adults, as highlighted in this post on the OT Toolbox, that can help with regulation.
There areas proactive strategies available that can help also.
sensory activities for adults
These are activities that can easily be done within an adult setting, to meet targeted sensory needs. There are strategies for each of the senses, as this is key to a well rounded sensory diet.
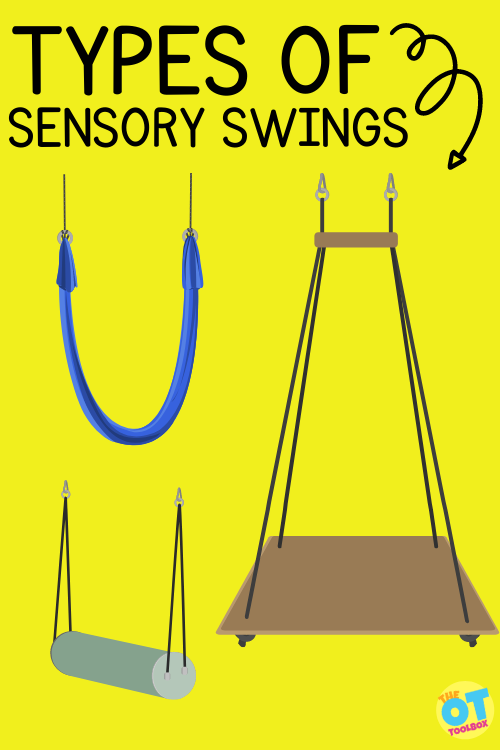
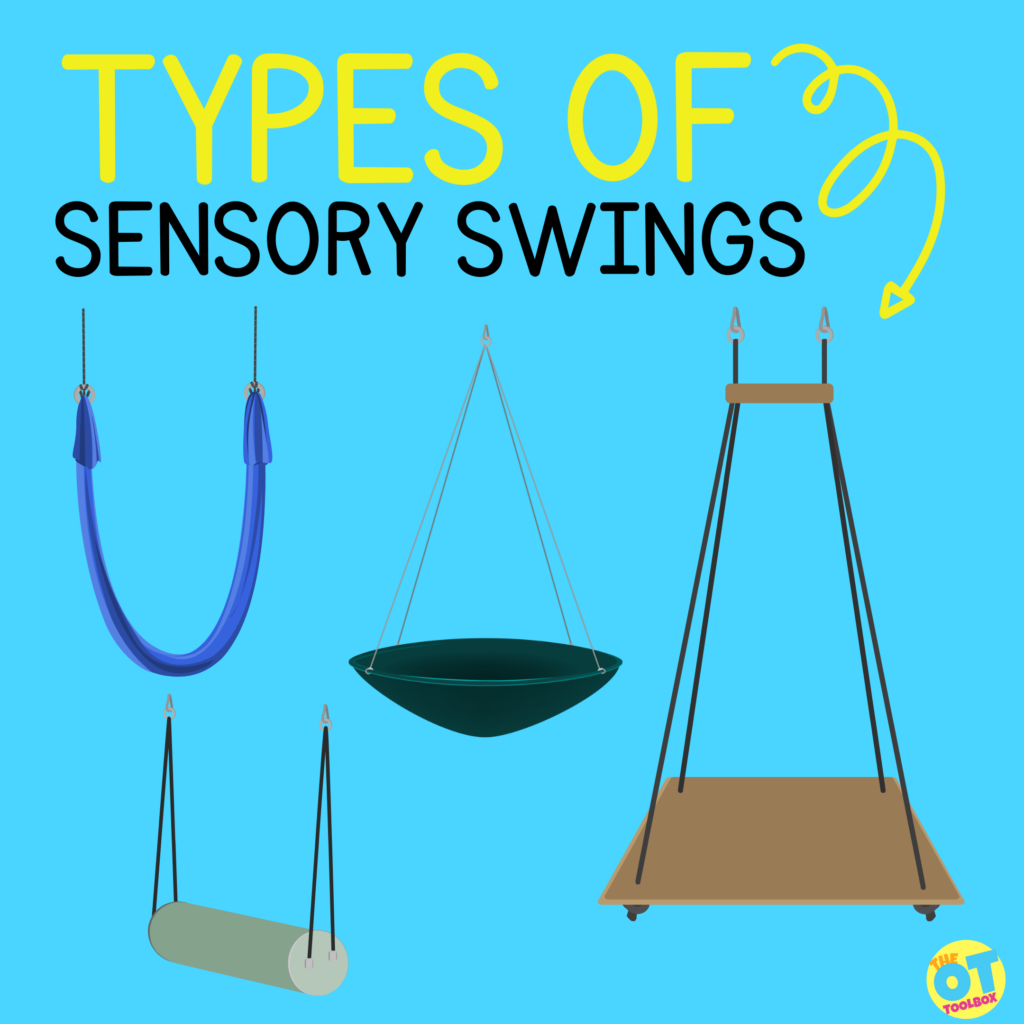
Vestibular sensory activities for adults
Vestibular strategies involve movement for regulation. As the head changes positions, and the body moves, input is regulated in the inner ear. Vestibular input is the building block of all of the other systems.
Check out the vestibular activities we have here on the site. While these are movement-based play activities for kids, you can see how the different motions impact a state of calmness or alertness.
These vestibular sensory activities for adults work in the same way:
- yoga
- slow rocking in a chair
- spinning in an office chair
- sitting on a therapy ball
- standing at a desk
- windmill arm exercises
- stretch breaks
- brisk walks
- dancing
Proprioception Sensory Activities for Adults
Proprioceptive strategies involve deep pressure, or heavy work for regulation, as the muscles, tendons, and joints are activated with increased intensity. Deep pressure often has a calming or organizing effect.
Here on the site we have many proprioception activities for kids, but the main concept is the same. Offering heavy work through the joints offers calming regulatory input.
Some proprioceptive sensory tools for adults include:
- push-ups in any form – floor, chair, wall, or desk
- yoga poses
- mindfulness apps
- Using some of the same breathing exercises that we use with kids
- squeezing arms and legs
- weighted lap pad or weighted blanket
- heavy work- for adults this might be mowing the lawn, gardening, running, etc.
- self-hugging or massage
- resistance band exercises
- therapy putty exercises
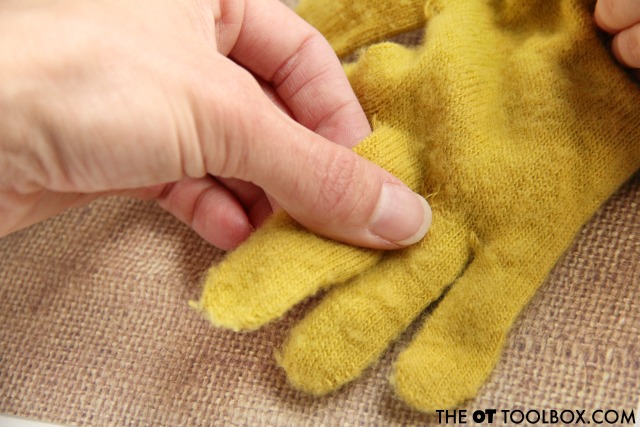
Tactile Sensory Strategies for Adults
Tactile strategies involve sensory touch stimulation for self-regulation, but it also involves tactile defensiveness too. While some adults crave this input, others respond negatively to touch. For this reason, a personalized sensory diet for adults is important.
Some tactile strategies for adults include:
- Sensory brushing protocol (trained by qualified individual), bean bag tapping up and down the extremities
- calm strips, sequin items, textured clothing, or some other form of texture
- use of a stress ball
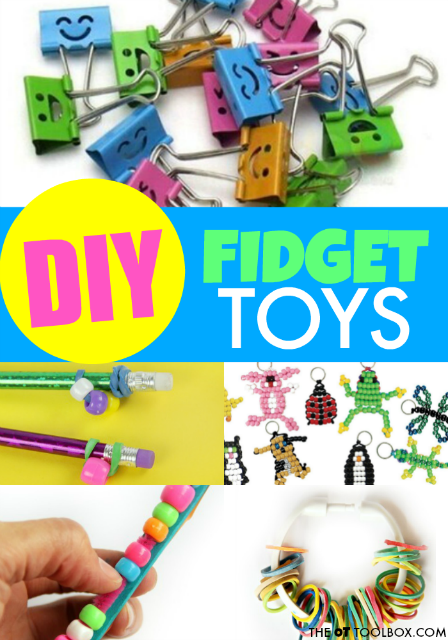
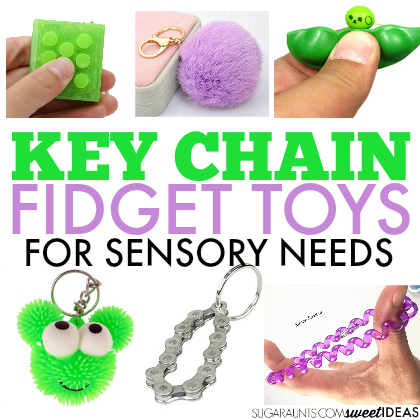
- Fidget toys…go ahead and pick one up. You’ll see why the kids love them!
- applying lotion to arms and legs
- small massager to hands, arms, and legs
- fidget tools or DIY fidget toys, such as squeeze balls, pop its, clickety gadgets, etc. Amazon (affiliate link:) has an entire fidget toy category for adults!
- seeking the amount of personal space needed when near others. More or less may be needed depending on the needs of the individual
Olfactory sensory strategies for adults
Olfactory strategies involve using the sense of smell or input to the nose to either provide calm or alertness for self-regulation. Some adults have a scent sensitivity that is related to candles, certain oils (even cooking oils), fabric softeners, or allergens. An air freshener allergy is especially common when candles, room freshener sprays, or plug in scents are supposed to be calming and soothing, they are actually disorganizing for your sensory system.
Again, each person has their own individual needs and preferences, so a customized diet is helpful. Read about the olfactory sense here.
Consider essential oils and lotions with the following scents:
- lavender, vanilla, orange, and chamomile to reduce tension or stress and/or promote relaxation
- citrus, peppermint, cinnamon, and lemon to promote increased alertness and/or concentration
- coffee beans for a neutral scent to balance other smells
- try deep breathing strategies (inhale gently and deeply through the nose and exhale gently and slowly through the nose, repeat as often as needed)
Visual Strategies for adults
Visual strategies involve visual input for self-regulation.
- changing lighting: a lamp light for reducing visual input vs. overhead fluorescent light for increased visual stimulation
- dimmer switch for overhead lighting, to reduce or increase light
- reduce or eliminate visual clutter in the setting in all planes, for increased calm
- paint calming colors on walls for such as blue or neutral colors, and for increased alertness, think orange or red
- use patterned rugs or curtains for alertness, or more neutral and solid colors for calming
- work in an open space with views of action within the space for alertness, or go for a partition or desk divider to eliminate visual distractions, for a more calm and focused setting
- take eye rest breaks when exposed to excessive amounts of computer light
- consider a computer glare screen, blue blocking glasses, or colored screen filters to block computer lighting, and decrease visual input
Auditory sensory ideas for adults
Auditory strategies can reduce or eliminate noise for improved self-egulation in adults. Alternatively, they can add or increase the noise for a sensory seeker.
- music and the type of music, can be alerting or calming
- white noise can help provide a constant sound, making it predictable, or be bothersome to more sensitive people
- earbuds, or ear plugs, can help block out some noise
- noise-canceling headphones help block out as much noise as possible
- running water from a fountain or nature sounds can feel calming
- running fan or another humming-type device
- foam earplugs to muffle sound without completely blocking it out
Gustatory Strategies for adult self-regulation
Gustatory strategies can help to alert or calm individuals, simply by the sensory input provided either through the texture or flavor of the food, or the mouth movement needed to consume it. When considering foods, try to go for healthy options when possible.
To increase alertness, try crunchy, salty, sweet, sour, spicy, hard to chew, or cold foods and/or drinks. To calm and organize, consider smooth, warm, and softly flavored foods, and/or drinks, as these tend to be more soothing.
Likewise, different foods and drinks can be calming. Sucking a thick drink through a straw can serve to provide proprioceptive input, being calming or alerting. Iced fluids are more alerting. Warm or hot liquids are generally more calming.
Consider these for increasing levels of alertness:
- Crunchy: apple slices, carrot sticks, pretzels, nuts, tortilla chips, graham crackers, or rice cakes
- Sour: lemon flavor, cranberries, sour candy, green apples, lemonade, and tart cherries
- Sweet: yogurt, juices, frozen fruit juice pops, smoothies, grapes, oranges, and strawberries
- Spicy: chips and salsa, cinnamon flavor, peppers, and pretzels with spicy mustard
- Salty: baked potato chips, salty nuts, crackers, popcorn, and pickles
- Chewy: bubble gum, gummy bears, dried fruit, jerky, fruit leather, bagels, or granola bars
- Sucking: sucking a smoothie through a straw or sucking another warmer liquid through a water bottle nozzle
- Cold: Iced water, ice cream, crushed ice, frozen berries, or frozen sherbet
Consider these for increasing calm:
- Soft and/or softly flavored: cottage cheese, peanut butter, avocado, pudding, oatmeal, freshly baked cookies, or applesauce
- Warm: Hot tea, warm cocoa, or soup
Interoception strategies for an adult sensory diet
Interoception strategies involve understanding and feeling what is going on inside of the body. Understanding how the body feels and how it reacts to certain sensory strategies can help to identify what is alerting and calming to the individual. Consider:
- Deep breathing
- Mindfulness activities
- Yoga
- Temperature control
- Heavy work and alerting activities
- Understanding of feelings and emotions
Note: Many of the sensory strategies listed here can be scheduled throughout the adult day, or within the moment of need. If seeking further sensory strategies that might help in the pursuit of sensory diet tools, take a look at the following sensory diet examples
Sensory Diet Example for Adults
When it comes to creating a sensory diet for the adult with sensory needs, there are aspects of sensory processing to be considered, in order to integrate sensory diet activities into the day to day functional activities.
How can you incorporate sensory input into everyday tasks?
Essentially, it is important to add movement and sensory options during activities like tedious tasks, waiting periods, or times when self-regulation is essential to the task at hand. Adding the sensory diet strategies correctly into tasks supports needs. The Sensory Lifestyle Handbook is a great resource to get your started. Can you get up and walk around while on the phone making an appointment? Can you take a minute to stretch and breathe deeply during traffic?
Here are examples of sensory diet for adults
- Wake up, stretch at the side of the bed.
- Start the day: yoga, exercise, cool drink of water with lemon
- Next: bathroom/hot shower, vigorous towel to dry off, compression clothing
- Breakfast: steamy coffee, warm milk, soothing foods
- Transport to work or school: walk or ride to day’s events while listening to calming or alerting music, reading, journaling, listening to podcasts, etc.
- Movement breaks during the day: use fidgets, get up and move throughout the day, eat a snack, chew gum, schedule standing breaks during the day, use a standing desk, consistent water drinking, listen to alerting music while working, deep breathing, mindfulness apps, silence notifications, use ear pods while working, etc.
- Afternoon/Evening: go for a walk, read a book, drink tea, grocery shop or complete other tasks while listening to music, call a friend or loved one, listen to audiobooks, calm down yoga, or stretching at night
- Prepare for next day: write out schedule or to-do lists, doodle, journal, mindfulness strategies, read, watch movies or television (electronics are visually alerting and should be limited close to bedtime)
- Sleep: Use heavy blanket or weighted blanket, heavy pillows, cool room with fan, noise machine, ear plugs, deep breathing before bed, gratitude journal, camomile tea before bed
An adult sensory diet is heavily dependent on the lifestyle of the individual, sensory preferences, day to day tasks, and personal preferences. Using these suggestions, a sensory diet can be integrated right into the tasks that need to be accomplished each day.
The Takeaway to Creating adult sensory diets
An adult sensory diet is all about discovering what works for an individual, as each person’s needs are unique, and may change over time. It is important the adult get to know themselves and what they need, before making a plan (the sensory diet) to feed their body’s needs, making it simple nutrition for the brain and the body.
Proprioception Activities for Adults
Heavy work in the form of proprioceptive input supports regulation needs.
Here are some ideas that adults can use in calming and regulating input. Most of these ideas are exercise based so they are beneficial to the health as well!
- Weightlifting
- Resistance band exercises
- Bodyweight exercises (push-ups, squats, lunges)
- Yoga
- Pilates
- Swimming
- Hiking
- Rowing
- Rock climbing
- Cycling
- Gardening
- Carrying groceries
- Mopping or vacuuming
- Shoveling snow or digging
- Using a weighted blanket
- Deep breathing exercises
- Stretching routines
- Tai Chi
- Manual labor tasks (e.g., chopping wood)
- Dancing
What questions do you have about sensory diets for adults?

Regina Parsons-Allen is a school-based certified occupational therapy assistant. She has a pediatrics practice area of emphasis from the NBCOT. She graduated from the OTA program at Caldwell Community College and Technical Institute in Hudson, North Carolina with an A.A.S degree in occupational therapy assistant. She has been practicing occupational therapy in the same school district for 20 years. She loves her children, husband, OT, working with children and teaching Sunday school. She is passionate about engaging, empowering, and enabling children to reach their maximum potential in ALL of their occupations as well assuring them that God loves them!