3 Rainbow Sensory Bins

rainbow sensory bins

Kids LOVE rainbow sensory bins! These rainbow sensory bin ideas are some of our absolute favorite sensory bins, and they are the perfect addition to our rainbow activities, rainbow crafts, and a rainbow theme in therapy. Be sure to use our rainbow breathing exercise, too. Let’s talk rainbow sensory play!

Rainbow sensory bins

A sensory bin is a container filled with materials that are designed to engage children’s senses and encourage exploration and play. They can be as easy or as complicated as you like, but the concept is the same- sensory based, tactile play with a theme or play idea with items to manipulate and explore as the user explores their tactile sensory system.

These materials can include a wide range of sensory inputs such as sand, rice, beans, water, or small objects like toys, beads, and stones. Here are many sensory bin base ideas to get you started.

The goal of a sensory bin is to provide children with an opportunity to explore their senses through play. As they play with the materials, they can feel the different textures, see the different colors, and hear the different sounds they make. This can help to promote their sensory development and stimulate their curiosity and creativity.

Sensory bins are often used in early childhood education and therapy settings as a tool for sensory integration therapy, which aims to help children develop and organize their sensory systems. They can also be used at home as a fun and engaging activity for children to play and explore.

We’ve been playing with a rainbow theme alllll week around here.  These are three rainbow sensory bins that we have been exploring.
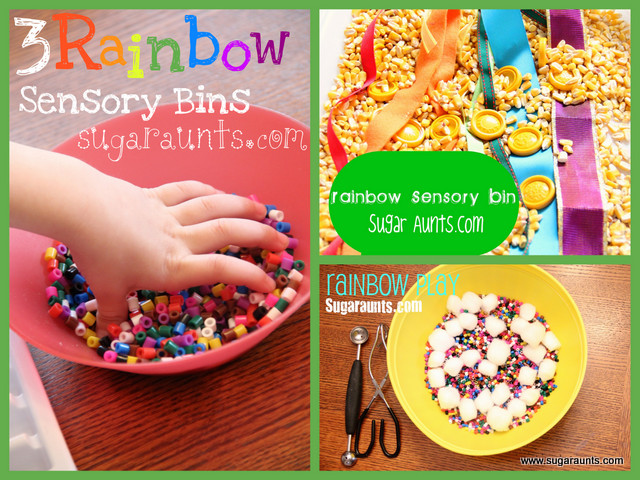


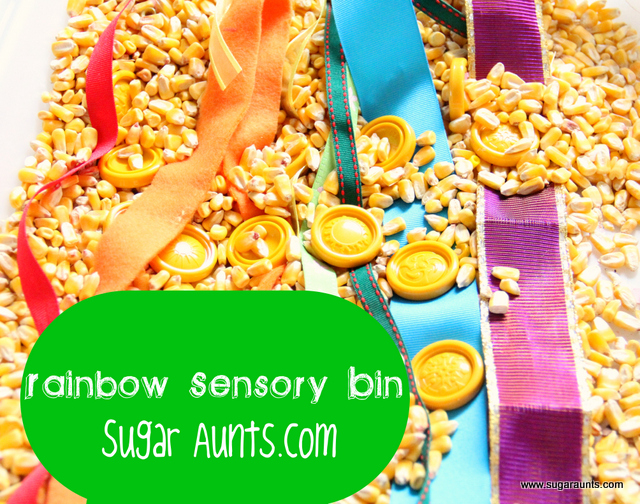
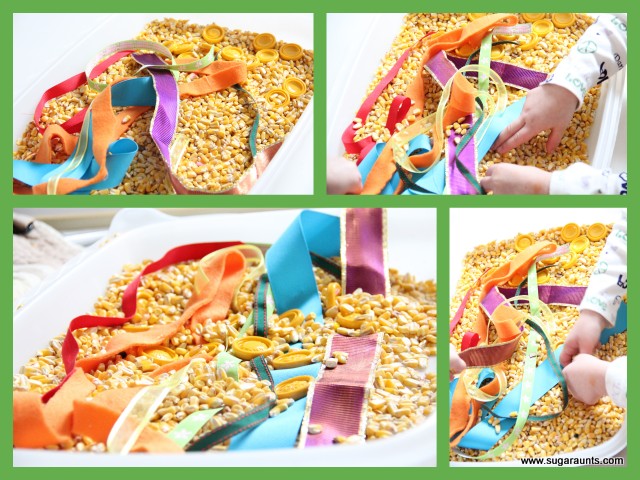
Any time that I pull out the corn bin, everyone gets very excited.  I added ribbons in different colors and some “gold coins” (aka yellow Connect Four game pieces!)
 
 
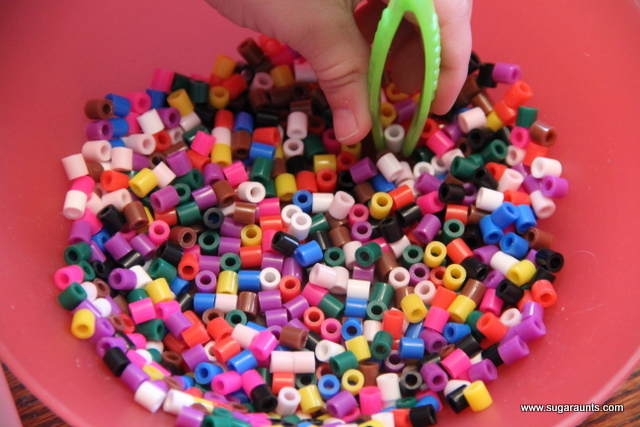
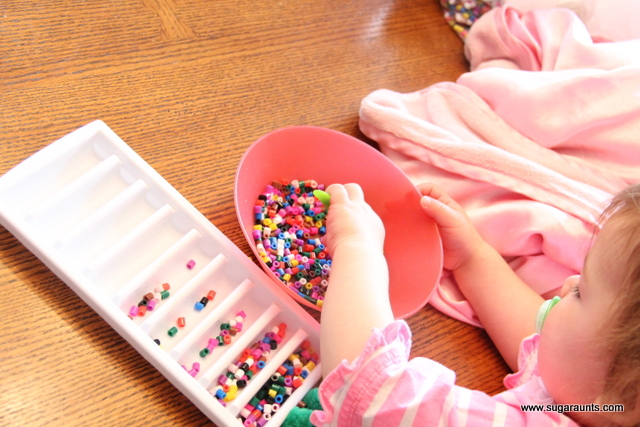
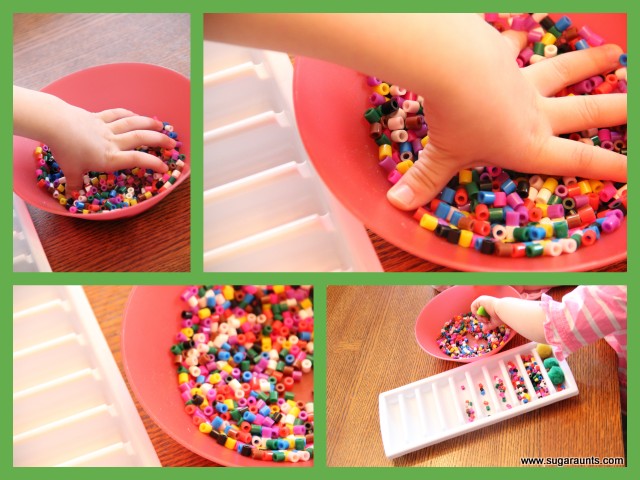
Another little sensory bin that we’ve been playing with is a simple bowl of these Fuse ‘M Beads.


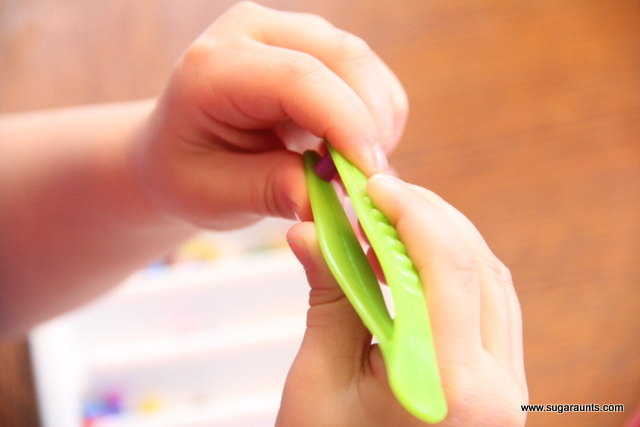
I added a couple of pairs of tweezers and an ice cube tray and let them go at it!
This was a fun fine motor activity, but mostly they just loved running their hands through the beads.


Baby Girl loved exploring these little beads.
((These are really little, so if you play with these…or any little parts…keep an eye on your little ones if they tend to put things in their mouths.  Baby Girl does pretty well and won’t put things like this in her mouth.))


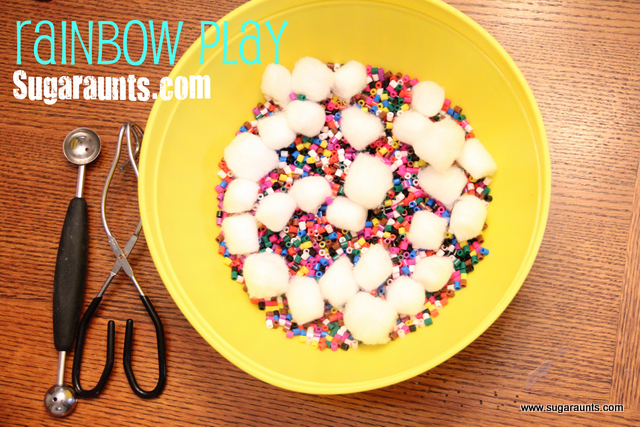
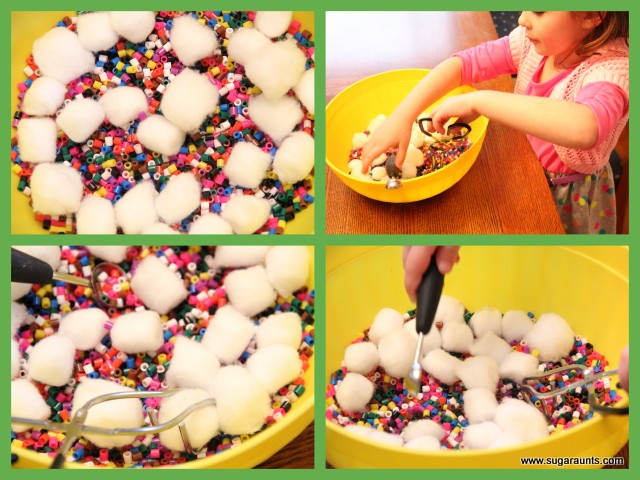
This last sensory bin used the Fuse ‘M Beads again.  The next day, I put the beads and some cotton balls (clouds) into a big ol’ bowl and added a melon baller and kitchen tongs. 
 
 
More fine motor skills and sensory play combined into one colorful activity!


We hope you get some good ideas from these sensory bins.  have you done any fun sensory bins recently?
 
 
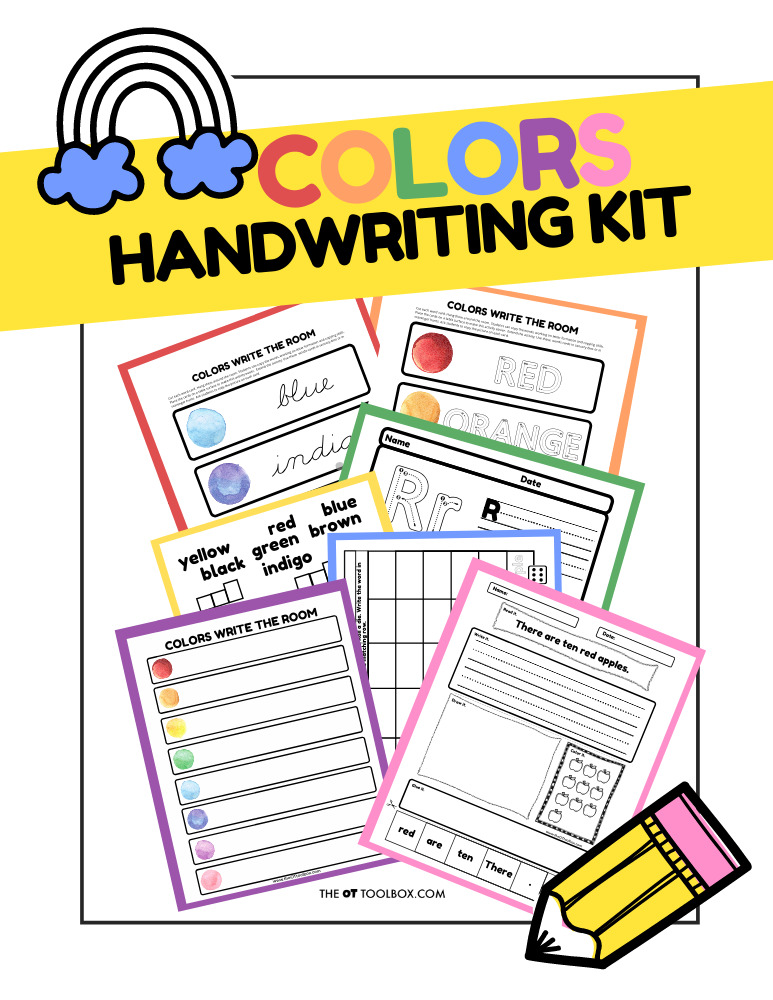
If you are setting up a rainbow sensory bin, be sure to grab a copy of our colors handwriting kit. There are many items in the printable kit that can be used in a sensory bin to challenge letter writing. It’s a great colorful addition to rainbow play!
Colors Handwriting Kit

Rainbow Handwriting Kit– This resource pack includes handwriting sheets, write the room cards, color worksheets, visual motor activities, and so much more. The handwriting kit includes:

  • Write the Room, Color Names: Lowercase Letters
  • Write the Room, Color Names: Uppercase Letters
  • Write the Room, Color Names: Cursive Writing
  • Copy/Draw/Color/Cut Color Worksheets
  • Colors Roll & Write Page
  • Color Names Letter Size Puzzle Pages
  • Flip and Fill A-Z Letter Pages
  • Colors Pre-Writing Lines Pencil Control Mazes
  • This handwriting kit now includes a bonus pack of pencil control worksheets, 1-10 fine motor clip cards, visual discrimination maze for directionality, handwriting sheets, and working memory/direction following sheet! Valued at $5, this bonus kit triples the goal areas you can work on in each therapy session or home program.

Click here to get your copy of the Colors Handwriting Kit.

Colleen Beck, OTR/L has been an occupational therapist since 2000, working in school-based, hand therapy, outpatient peds, EI, and SNF. Colleen created The OT Toolbox to inspire therapists, teachers, and parents with easy and fun tools to help children thrive. Read her story about going from an OT making $3/hour (after paying for kids’ childcare) to a full-time OT resource creator for millions of readers. Want to collaborate? Send an email to contact@theottoolbox.com.

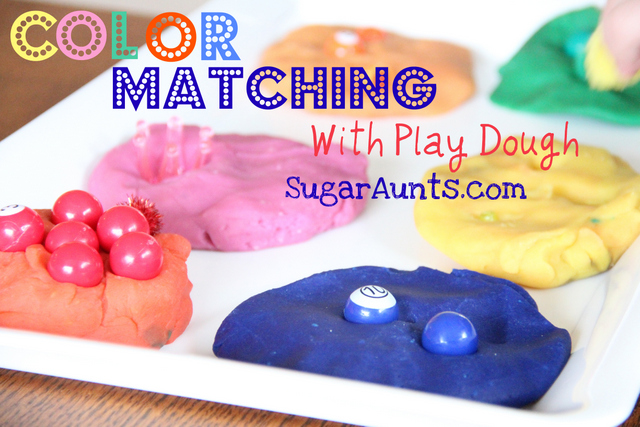
Color Matching With Play Dough

This was an easy and fun way to spend an afternoon.  And when Baby Girl woke up from her nap, she loved it too.
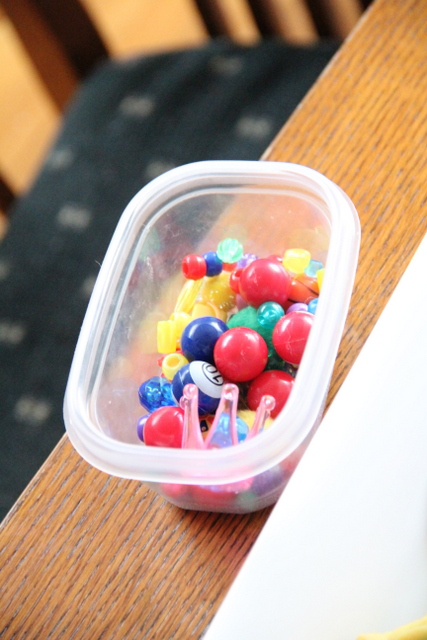
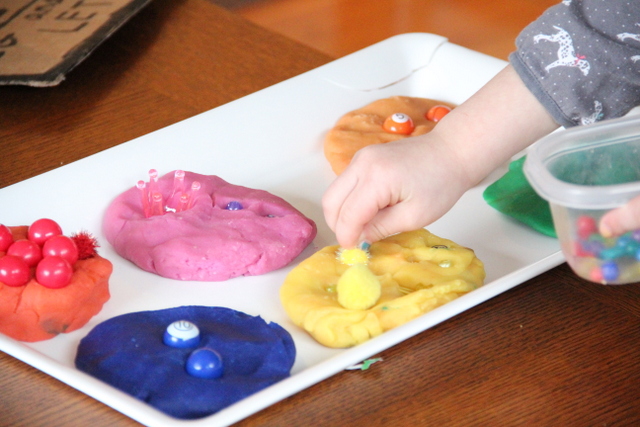
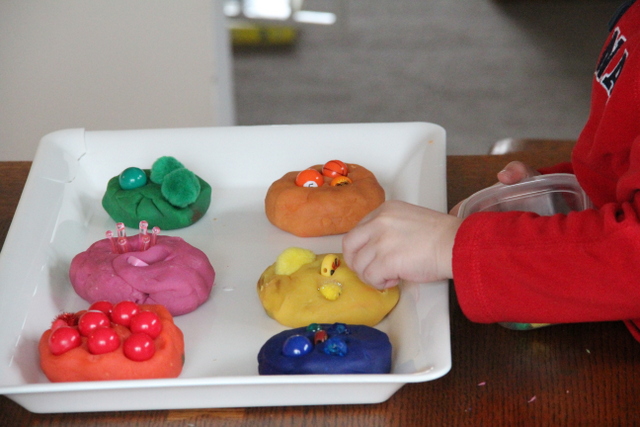
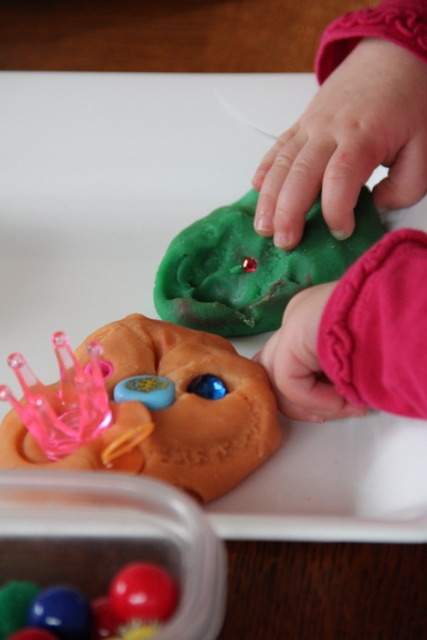
I put out six colors of play dough and a little bin of colored beads, paper clips, and other little things.

               Fine Motor Strengthening for kids

They had so much fun matching up the colors.  Baby Girl just loved pushing the little beads and things into the Play Dough. 
I love her little knuckle dimples 🙂
Pushing the little objects into the dough is resistive and an excellent fine motor strengthening exercise for little hands.  They are also working on their tripod grasp when they push the beads into the Dough. 
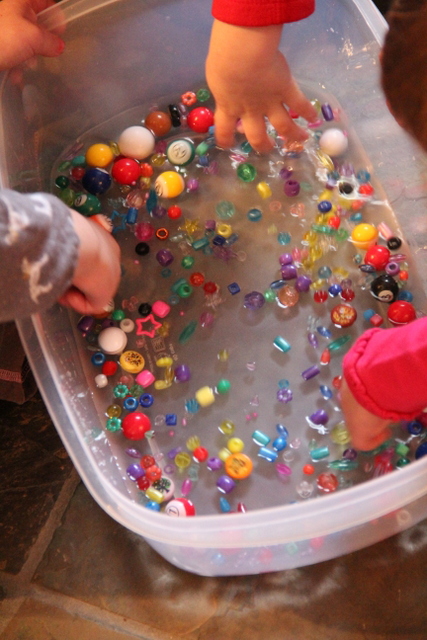
  Big Sister said we needed to wash all of the little objects after we were done.  We put all of them into a bin of water and everyone had fun swishing them around.   
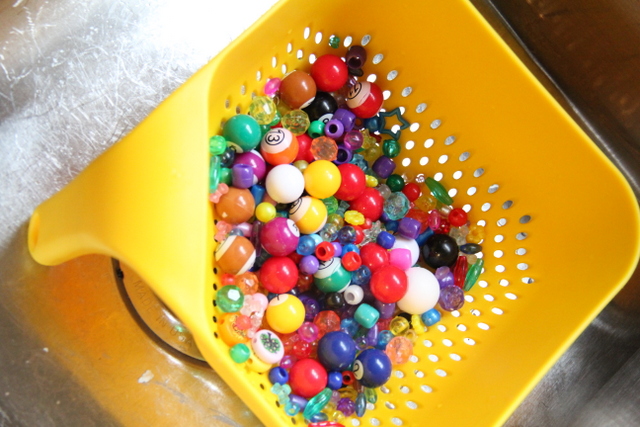
 Drain them into a colander and you are good to go 🙂

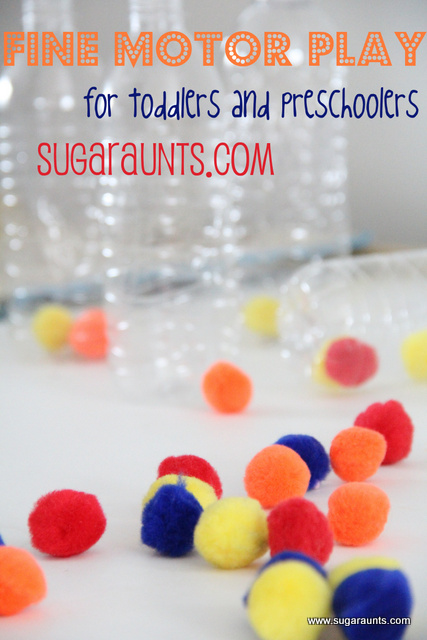
Fine Motor Play with crafting pom poms

Fine motor play for toddlers is a win in our house.  Toddlers seem to love moving, scooping, dropping, and sorting items, so why not incorporate fine motor skills into the activity?   


Looking for more creative ideas for toddlers?  Try these ones


Fine Motor Work for Toddlers and Preschoolers

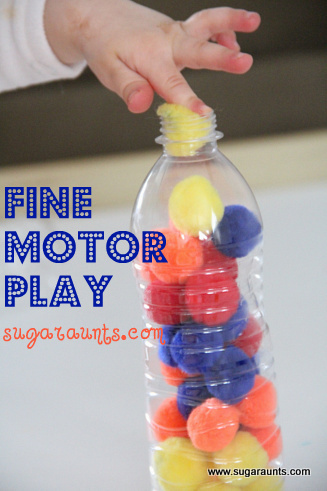
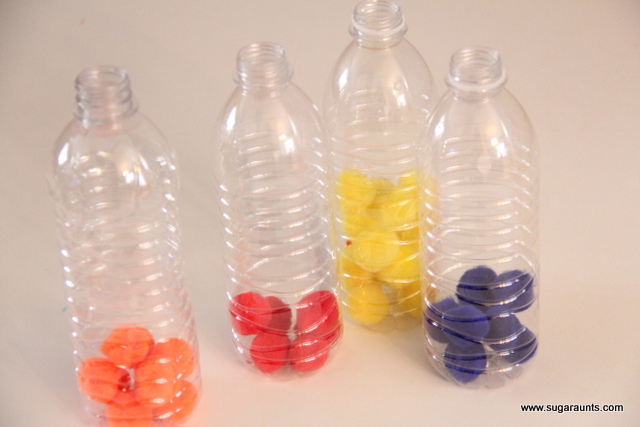
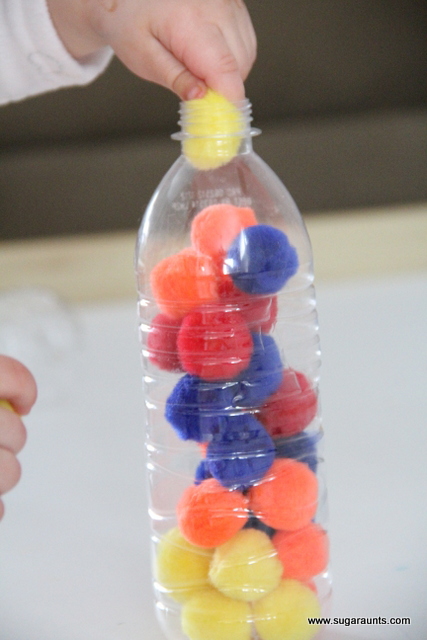
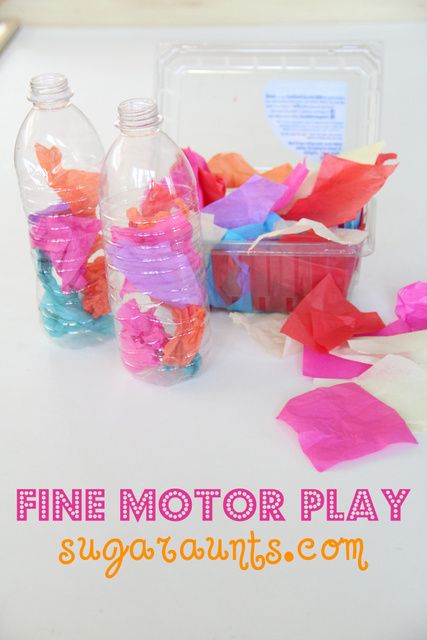
This activity is so easy to put together and fun for different ages.  My Toddler and niece and  nephew (both 16 months old) were immediately loving this one.  They saw the pile of crafting pom poms and the bottles on the table and were instantly popping the fuzz balls into the empty water bottles.
 
NOTE: If you try this activity with little ones who love to explore with their mouths, please keep a very close eye on them.  Or put this one on hold for a few months. 
 
Pushing the pom poms into the bottles is great for working on a tripod grasp, and the littler kids tended to push the ball into the bottle by using their index finger (Index Isolation).
 
 When kids develop isolation of individual fingers, it improves their dexterity, separates the sides of the hand, and allows them to manipulate small objects with accuracy. 
 
As they progress in fine motor development, you will see the ring finger, and pinkie finger fold down into a fist as they use just their thumb, pointer finger, and ring finger to manipulate little objects.  The ring and pinkie fingers are then able to stabilize the hand during activities such as handwriting, cutting with scissors, and shoe tying.   


Color Sorting for Preschoolers

Little Guy (who is 3) sorted the different colored pom poms into bottles.
 
 
 We had fun with this for a long time.  They were occupied before and after nap time with this one!
 
To get the pom poms out of the bottles, I was able to pull them out quickly.  The little kids were not able to get them out, but it was not too difficult for Big Sister.  


Bilateral Coordination for Toddlers

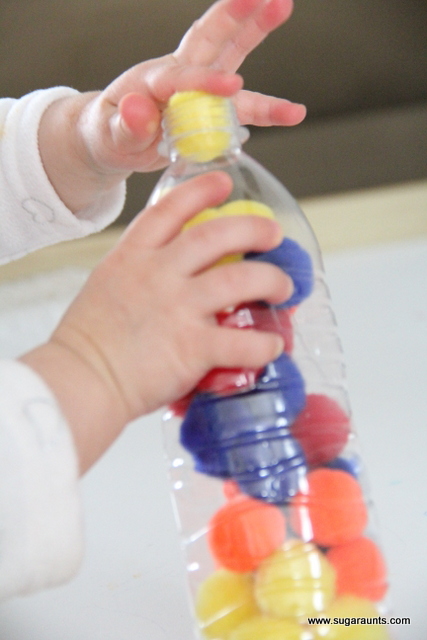
Bilateral coordination for toddlers is part of development and this plastic bottle and craft pom pom activity is a great tool to support this sensory motor skill.

The toddlers had a little trouble at first, managing the bottle with their helper hand while concentrating on putting the pom poms into the bottle top. 
 
This is a really great activity to work on bilateral coordination for little ones.  After a while, they both got better at it. 
 
That was pretty neat to see.  It really helps, too, that the bottle made a loud crinkly sound when they squeezed too  hard.  What a great auditory cue for them to lessen their grip on the bottle
 
 
Don’t have the pom poms at the house???  Use cotton balls.  
Have fun with this!


MORE Fine motor activities your child will LOVE:


Pipe Cleaner Fun

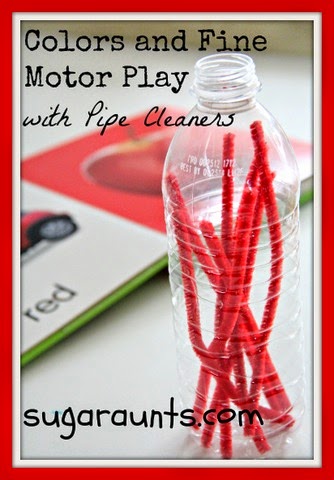
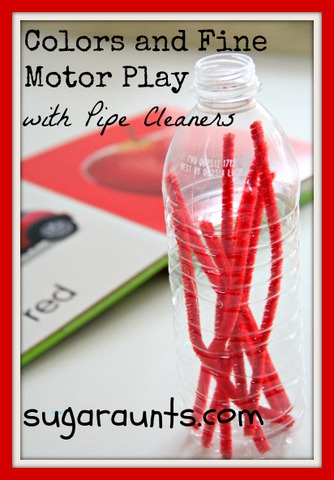
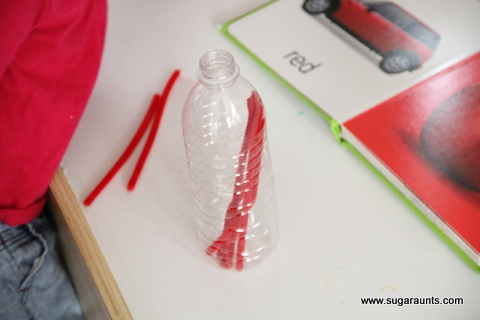
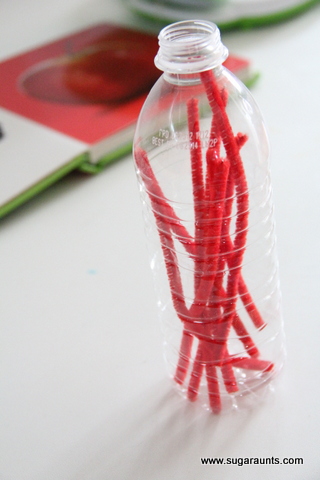
Try this fine motor activity that uses a simple item you probably already have in the house right now: a plastic water bottle. Add a few pipe cleaners for a fun activity that boosts skills like fine motor skills, visual motor skills, bilateral coordination, and more. 


Fine Motor Skills and Learning Colors with Pipe Cleaners

Baby Girl has been LOVING this library book.
Her favorite word right now is “apple” so she turns to this page and points to the picture and says apple again and again 🙂
So cute! 


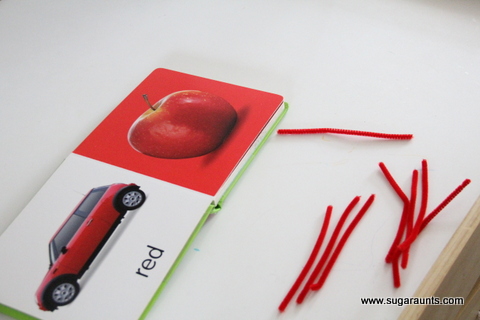
The babies had fun doing a little fine motor activity to go along with the Red page in the book.
 I cut some red pipe cleaners in half and put out an empty water bottle. 

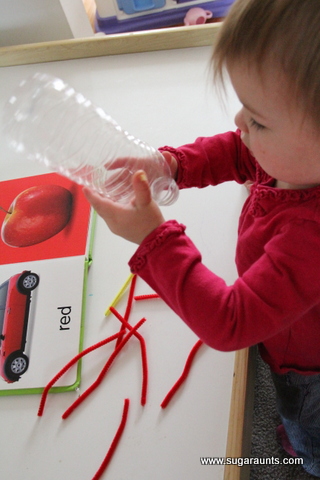
This is great for a Toddler’s Fine Motor Skills, Eye-Hand Coordination, and Cause-Effect. 

They love to put little toys into openings to see what happens.  Putting the brightly colored pipe cleaners into the bottle is so much fun for them!

m
We started with a bunch of colored pipe cleaners, but I put them away and just pulled out the red ones to go along with the page in the book.  We will definitely be coming back to this activity again, adding different colors…They loved it!

 Such Concentration!

Colleen

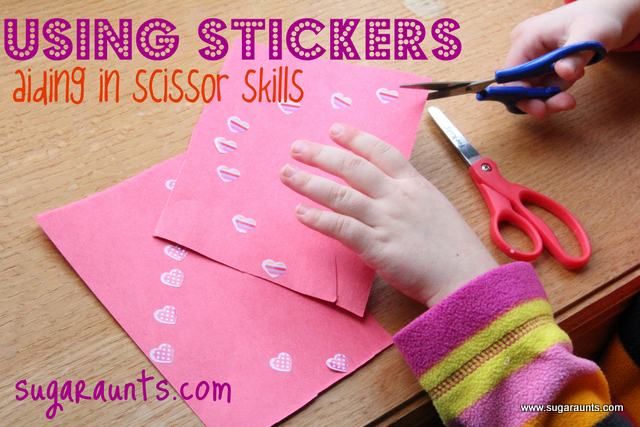
Using Stickers to Help with Scissor Skills

There are so many fun ways to use stickers for fine motor skill development.

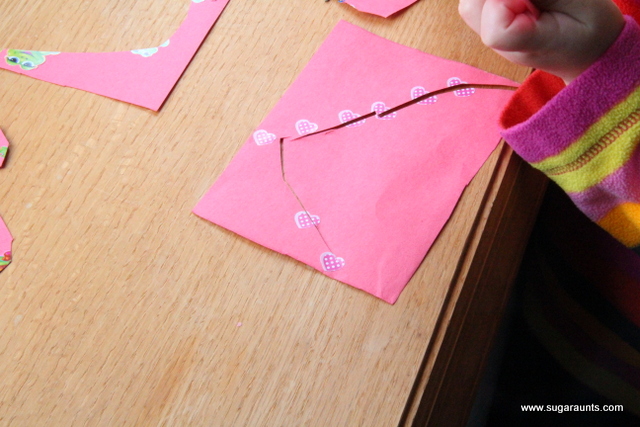
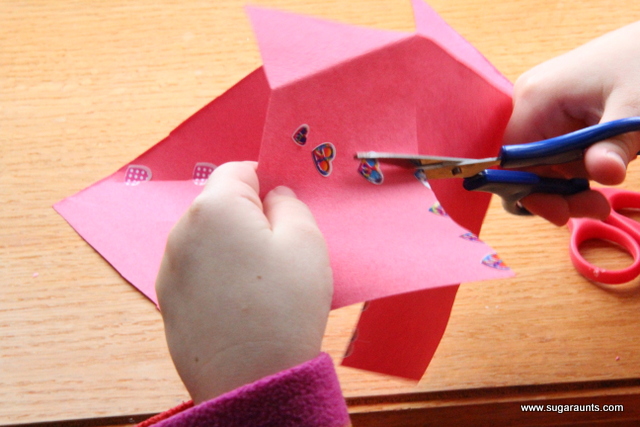
Stickers can be used in scissoring to work on accuracy, scissor control, snipping paper, manipulating the paper to turn corners and curves when cutting.  It can be really tricky for a kiddo to manage all of those areas if they have any fine motor/visual motor/eye-hand coordination…or any trouble area(s) that effects their ability to accurately maintain line awareness when cutting paper.
And for pre-schoolers, it can be really fun to use stickers in a cutting activity.
Anything that makes things different. Or silly.
It makes an activity Interesting!

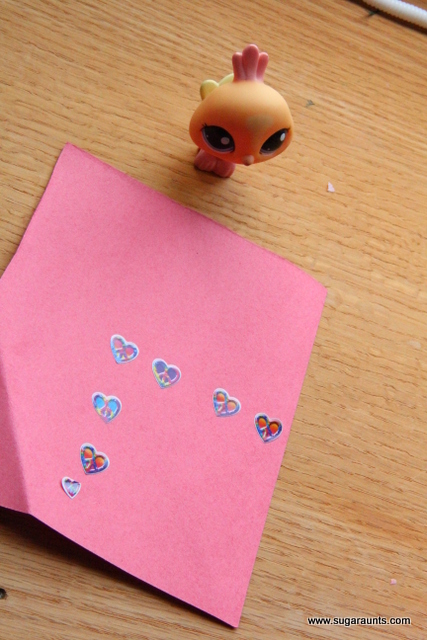
We used some heart stickers in honor of Valentine’s Day…

(and also because we have millions of them)

to make some curves, squares, and angled lines…and to practice a little cutting!
This little bird stopped by to watch 🙂

What else can you do with stickers when practicing cutting…

~Cut along a line of stickers, like we did.
~Use a sticker only at the corners of an angled shape (the corners of a triangle) to signal when the child should turn the paper.
~Place stickers along the edge of the page, to show where the child should hold the paper with his “helping hand”, and signal when he should move his hand along.  This would be a good guide for kids with trouble coordinating both hands when cutting.
~For the child who needs help knowing when to open/shut the scissors to snip with smooth cuts, place stickers along the line signaling when to open/shut the scissors.  This can be a visual cue to assist the child.
~Using Fiscar scissors (or other scissors that have a smaller thumb opening): Sometimes kids will get mixed up about which opening their thumb goes in when they hold the scissors.  If they are holding the scissors upside down because of this, it can lessen the control they have when they cut.  Place a sticker on the scissors to they know which hole they should put their thumb into.
~Practice scissor control:  Place stickers randomly around a page and have the child cut from the edge of the paper up to a sticker and then stop before they cut into the sticker.
This was an easy and fun little activity!

Colleen

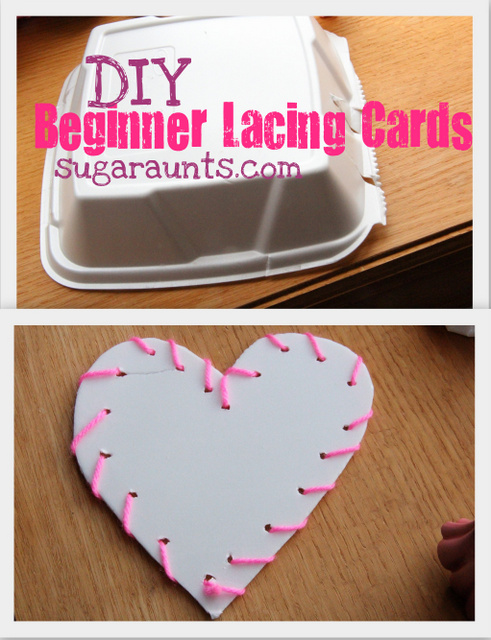
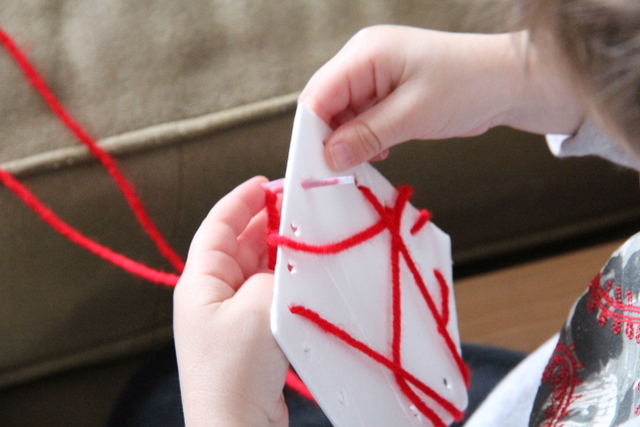
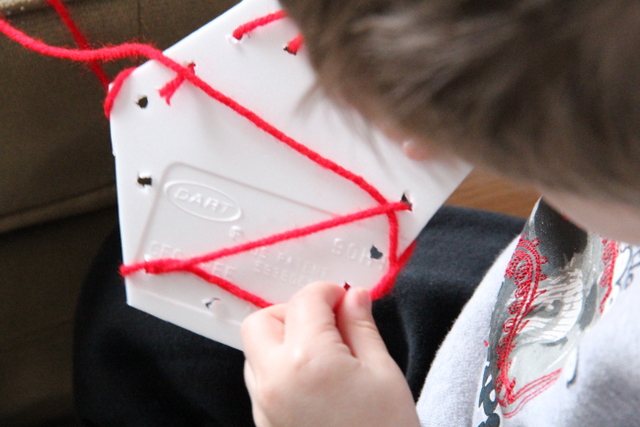
DIY Lacing Cards (from a carry out container!!)

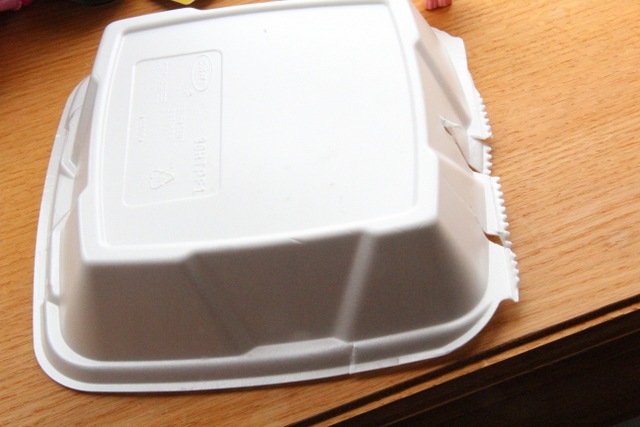
We had a clean take out container that was just asking to be made into something 🙂

Lacing Cards, of course!

Lacing cards are so important for pre-schoolers and kids of all ages to use in development of so many skills:
 Fine Motor Skills (tripod grasp), Motor Planning (figuring out how to pull the string allll the way through and push it through the other side), Visual Motor Skills (moving along hole to hole), Bilateral Coordination (using both of those hands together in a coordinated manner to hold the card and work the string)…
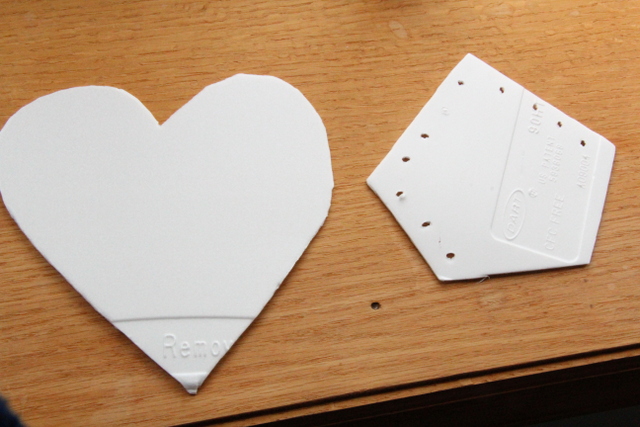
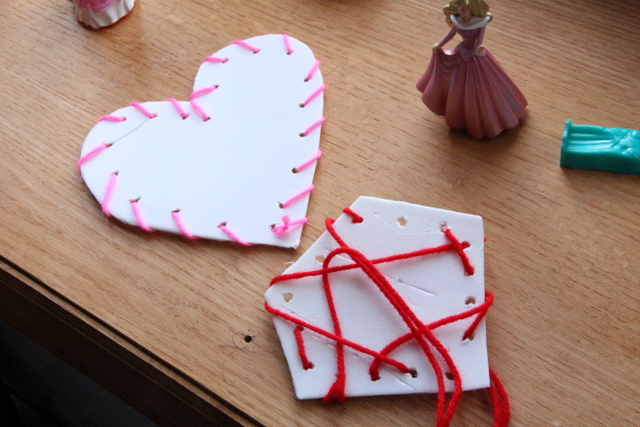
I asked them what shapes they wanted.  Big Sister chose a heart and Little Guy said his favorite shapes are an octagon or a pentagon (!).
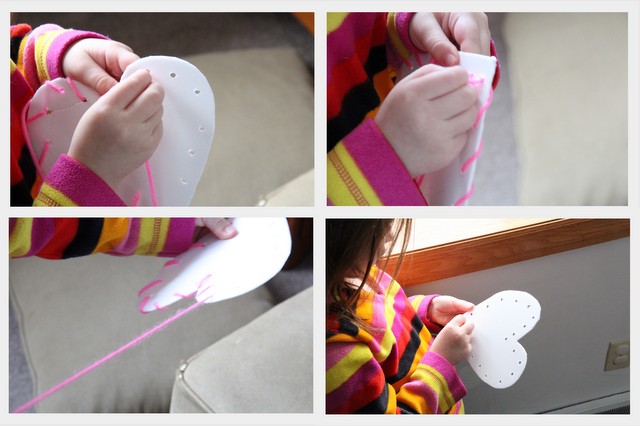
They got started and loved it!
Little Guy needs a little work on the hole-to-hole thing haha!!
He was so into it!
The finished products…
We are gearing up for our 5th Share It Saturday link up…Hope to see you there!

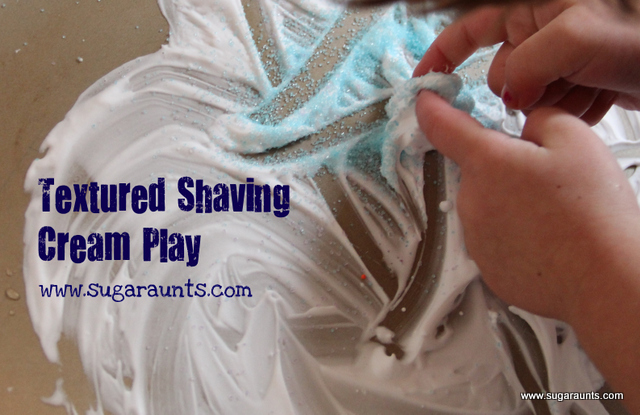
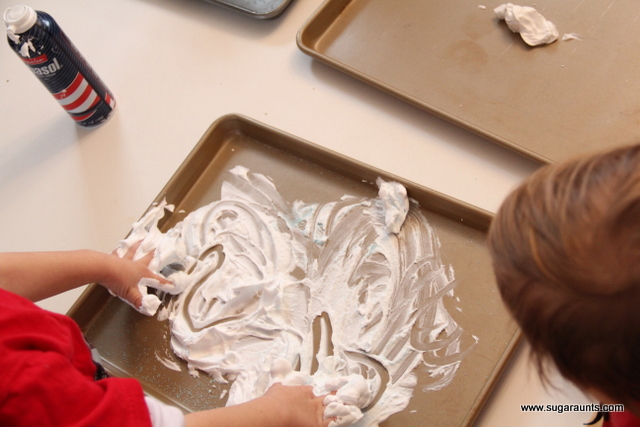
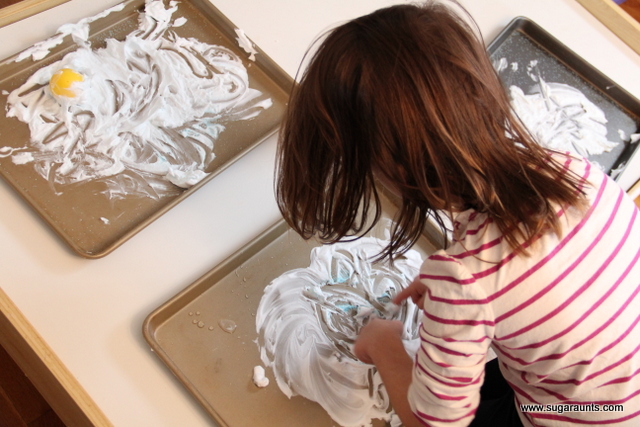
Textured Shaving Cream Sensory Play

 There is something about kids and a pile of shaving cream…They Looooove to play in it!
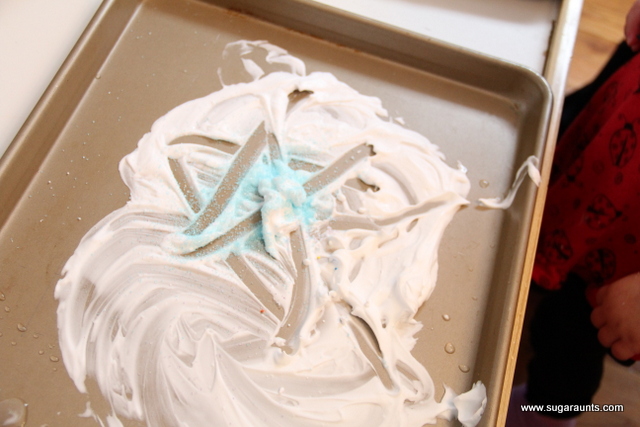
We added some old sprinkles from last Easter to give this Indoor Play Idea a different twist.  They loved feeling the texture of the sprinkles on their hands while they played.  It probably has a great exfoliating factor too 🙂
This sensory bin base material is shaving cream with an added texture.
Get both hands involved for crossing midline and engaging both sides of the brain while using the large muscles of the arms and shoulder girdle…
Draw letters and stars in it…
See what happens when you draw with a plastic ball…
Take a break for a dance party…
 And draw a little more!
Such a fun time!!

Definitely try adding textures to shaving cream for fun sensory play.

Colleen

Indoor Snow Play

Grasp Strengthening and Learning Colors With SNOW???

Some days, it is just HARD to get the kids dressed up in snowsuits/gloves/hats/boots/scarves…only to bring them back in 10 minutes later because the baby wants to follow the big kids, but can’t pick up her boots to walk through the snow that is up to her mid-calf…so she stands still in the yard until I  pick her up…
Today was one of those days.
We needed an activity for after baby-nap-time and before dinner-making-time and this was just the one!
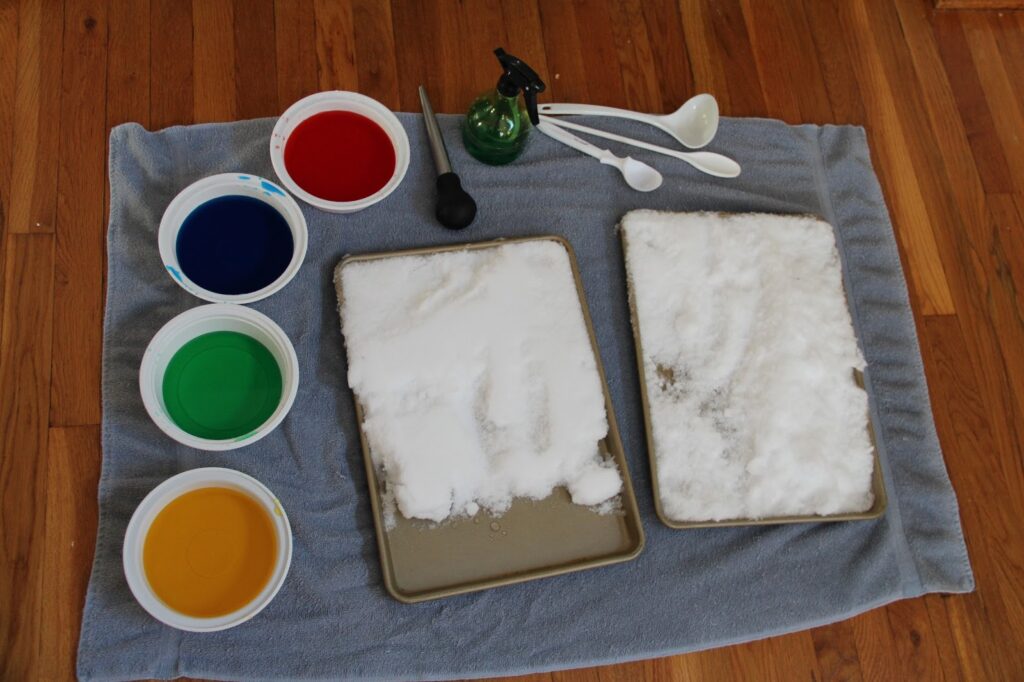
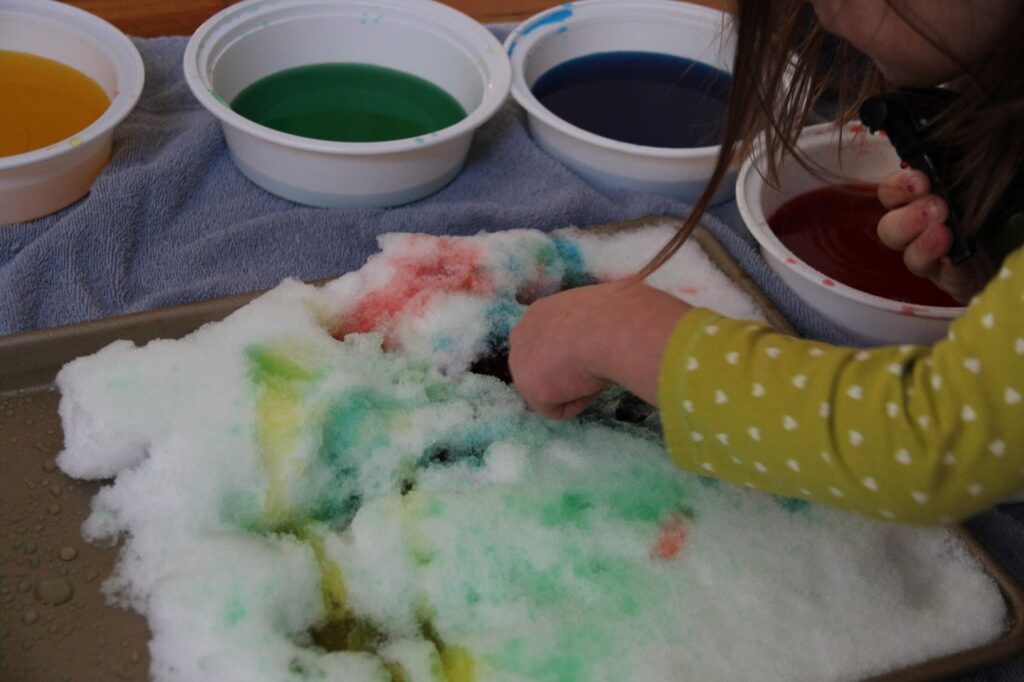
I had this idea in mind since right after Christmas when we got some snow, and I wanted to dye it using eye droppers.  After looking everywhere around the house, I just can. not. find the eye droppers!  So, on to another idea…
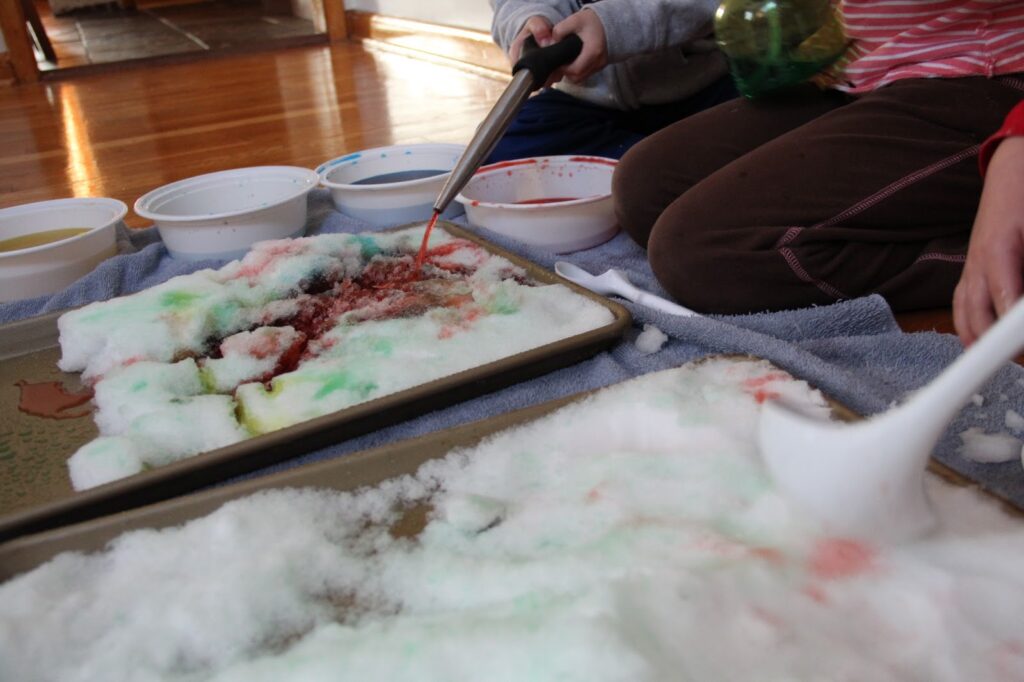
Turkey Baster
Spray Bottle
Scoops and Spoons.


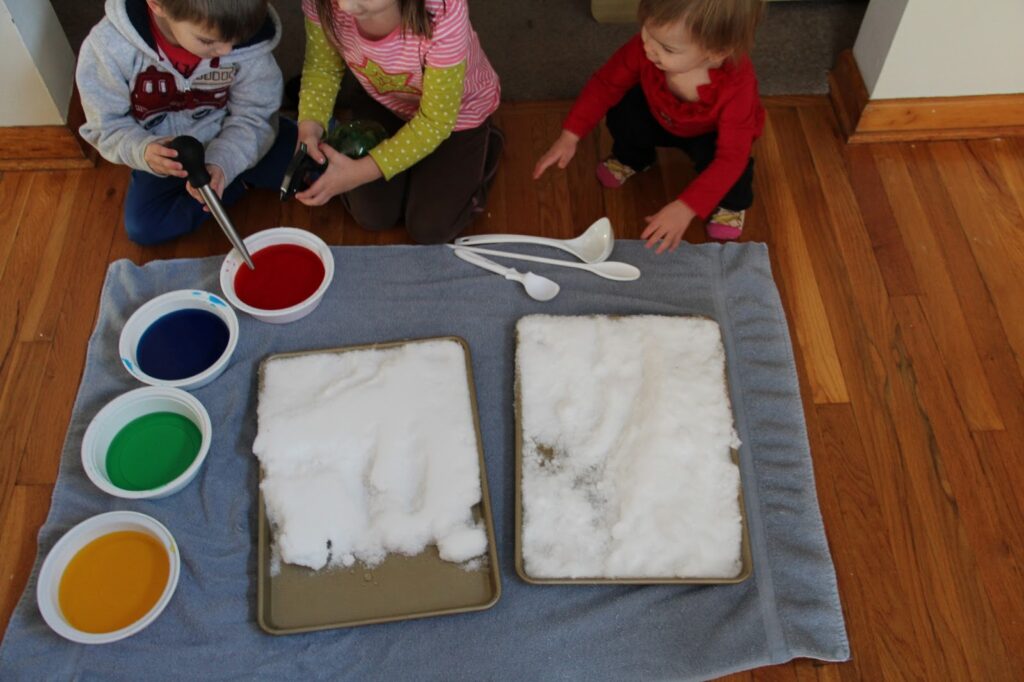
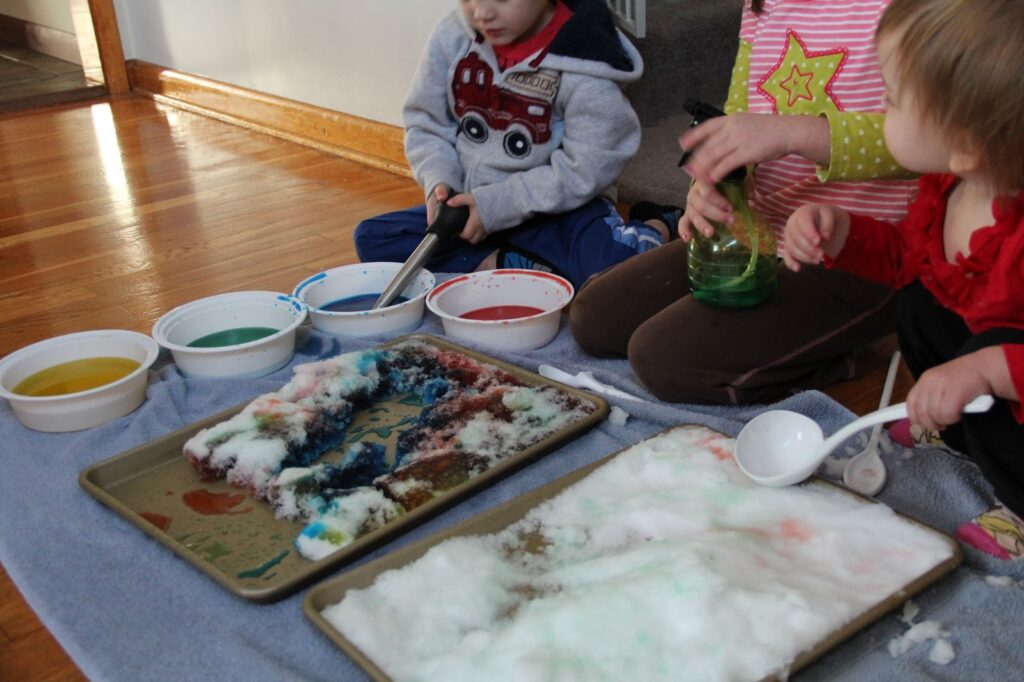
These kids were so beyond excited to see me setting this up.  They helped stir the food coloring into the bowls of water. (Get Dollar Store food coloring for projects like this!  So cheap, and it will last you many, many projects…)  But they could not guess what we were doing with it.  Once I brought the snow in, there were cheers!

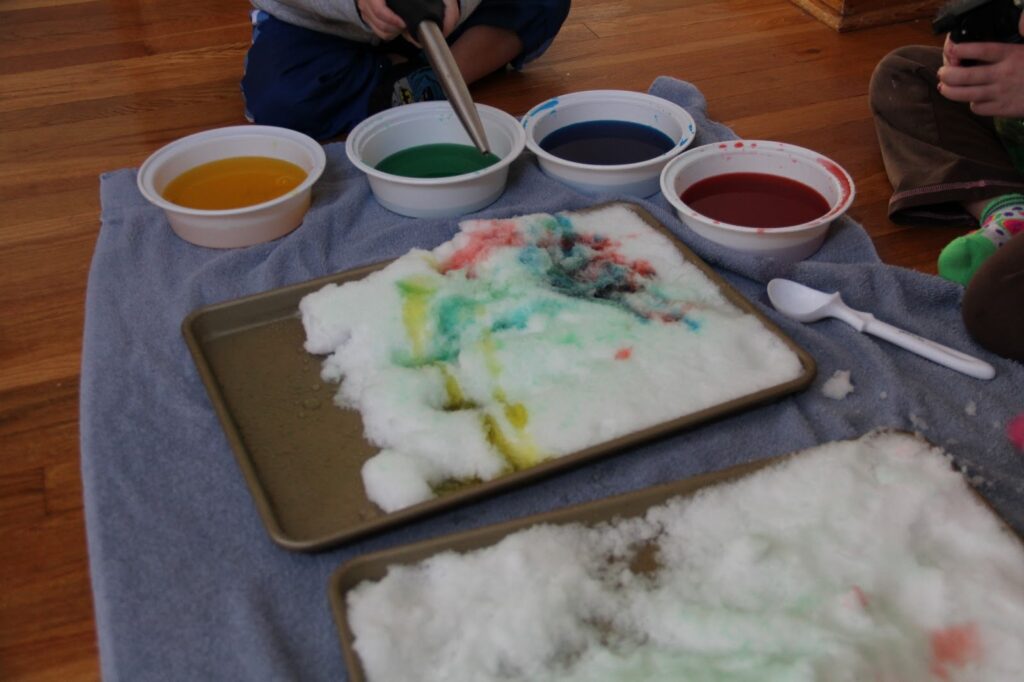
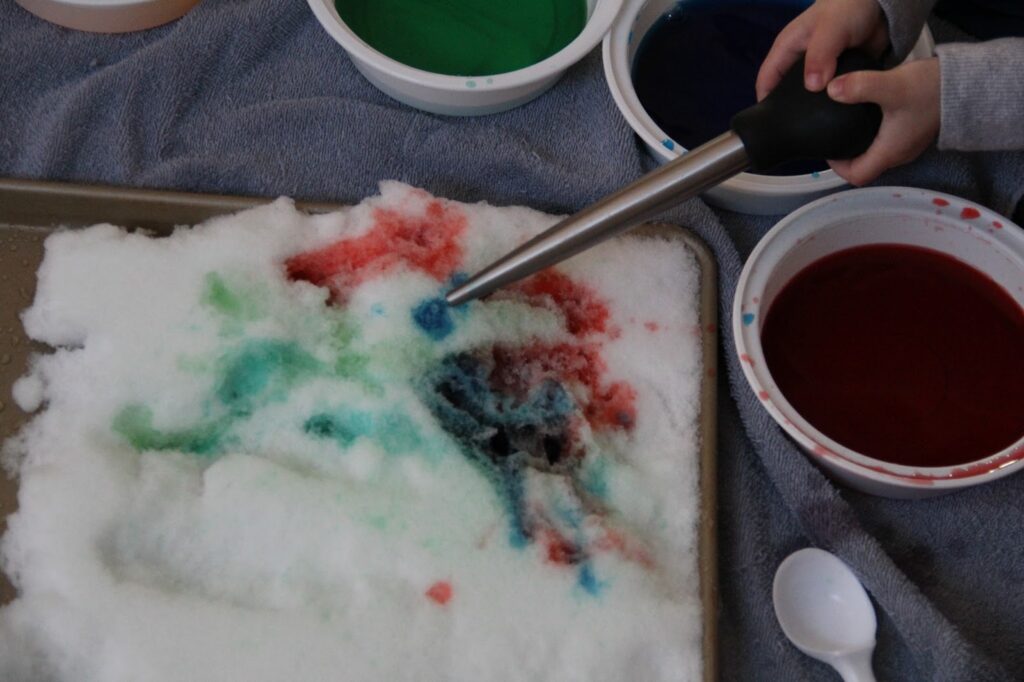
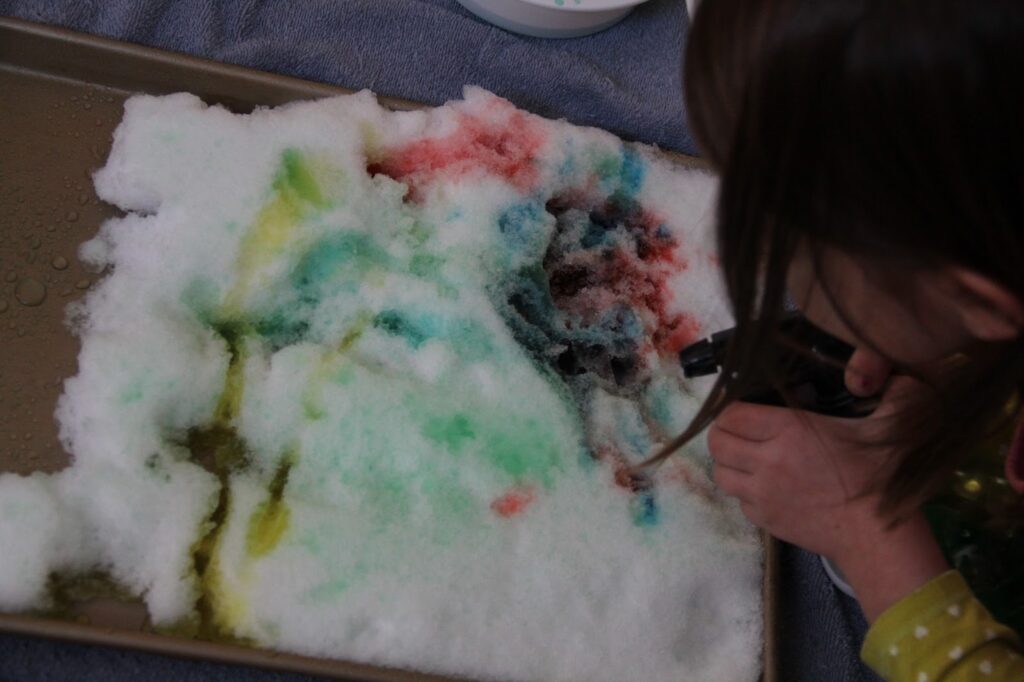
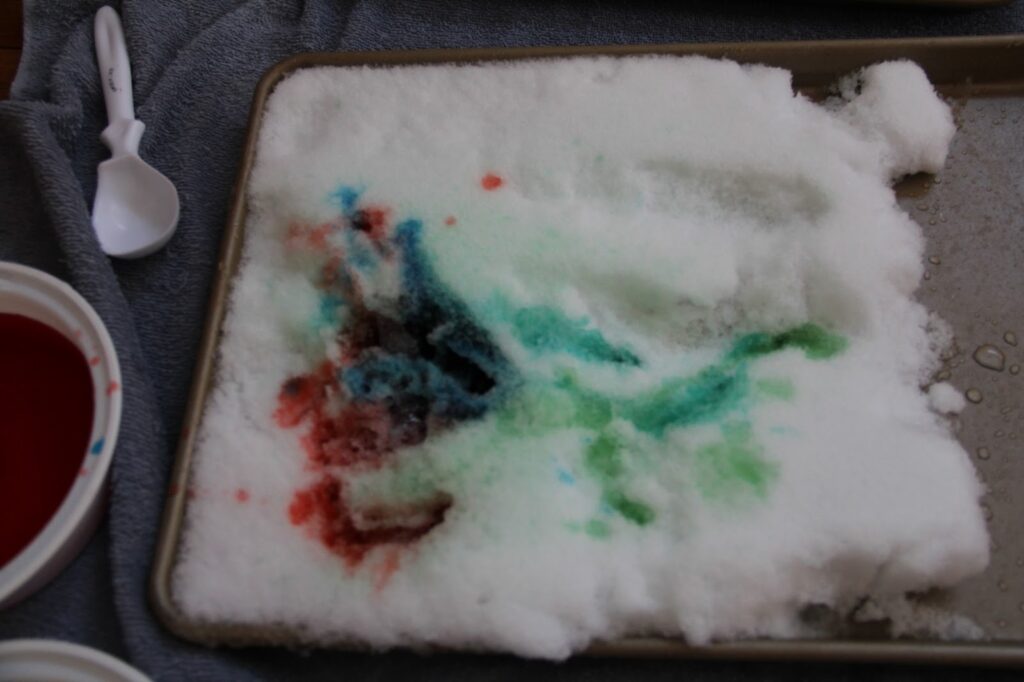
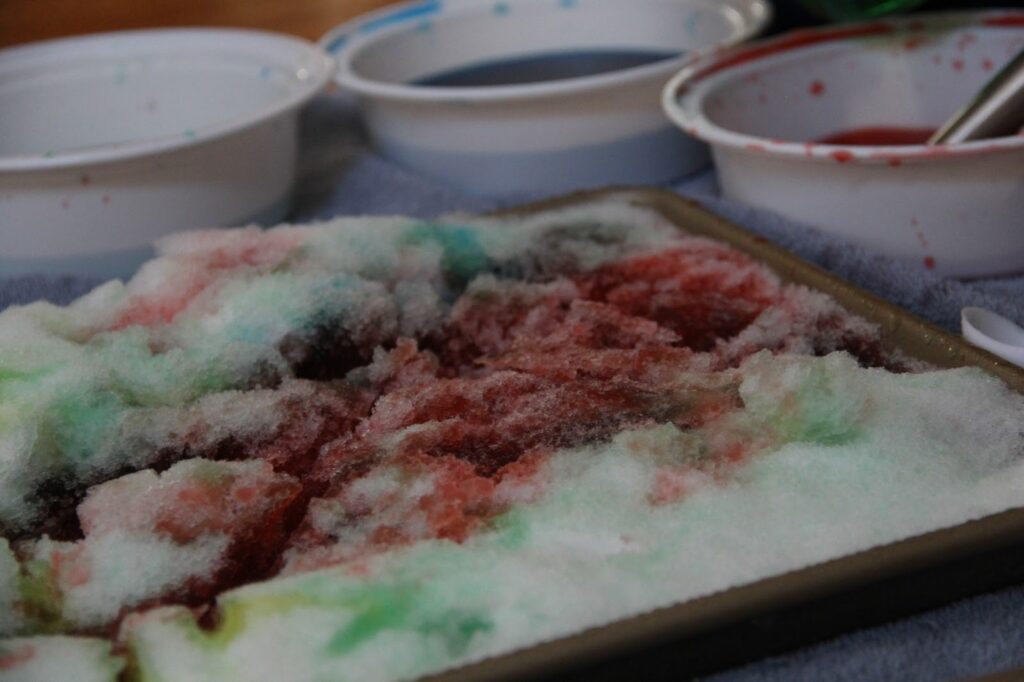
 We did some mixing of colors on the snow…What does red and blue make?  We had green in the spray bottle and it was fun to change the stream to get more color on the snow.  They were pretty excited to get brown, of course 🙂
 

Squeezing the turkey baster bulb and the spray bottle nozzle is wonderful for grasp strengthening in hands. 

The strength of the whole had is needed for so many fine motor work in play and school based activities.

This was the extent of the mess…not too bad! They kept the tray on the right pretty clean of color mostly since that was Baby Girl’s side and she was busy eating the snow 🙂

This was a fun indoor play time for everyone!
Colleen

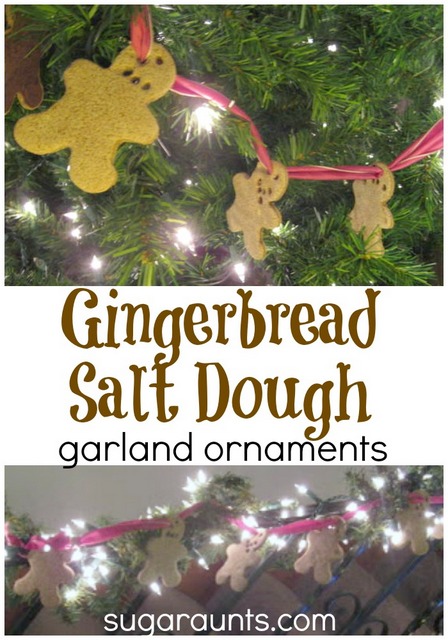
Gingerbread Salt Dough Garland **25 Days of Christmas Play**

 
Day 14 of 25 Days of Christmas Play


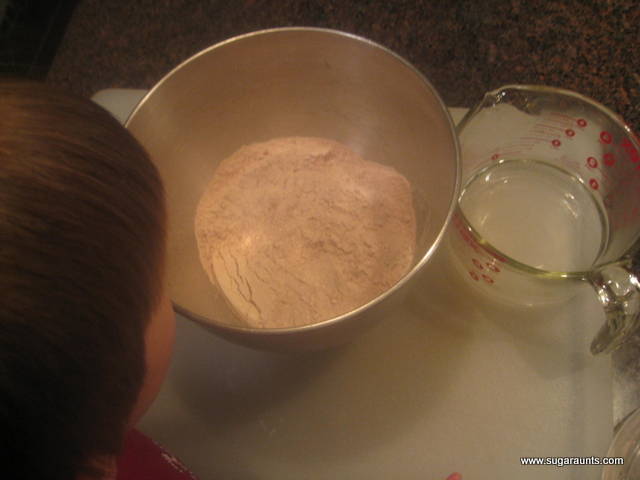
I’ve had this batch of salt dough mixed up (only the dry ingredients  just waiting for a great day to make some ornaments.  I wanted to try Gingerbread Scented Salt Dough for an added Christmas-y smell.  We had the chance to mix this up yesterday and luckily, my niece and nephew was here to help us play…
 
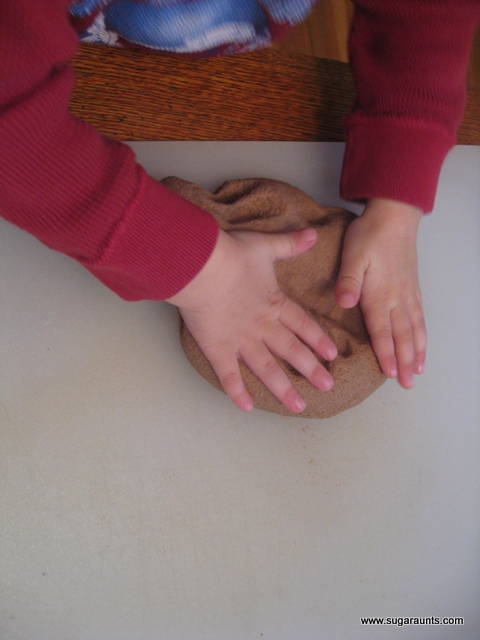
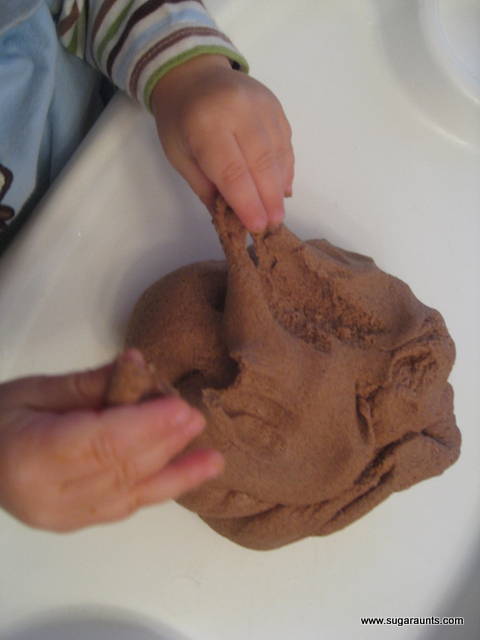
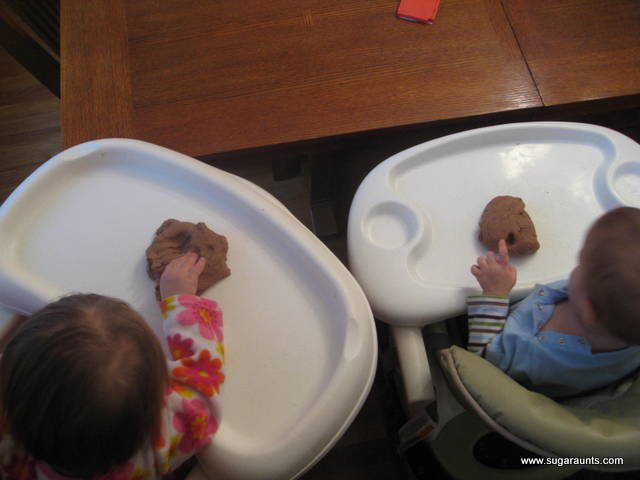
Babies love playing in dough!
 
Little Guy was so excited to help me mix it all together.
 
Use your basic salt dough recipe and add the extra spices to make it extra special 🙂
2 cups of flour
1 cup of salt
2 tsp cinnamon
2 tsp nutmeg
2 tsp allspice
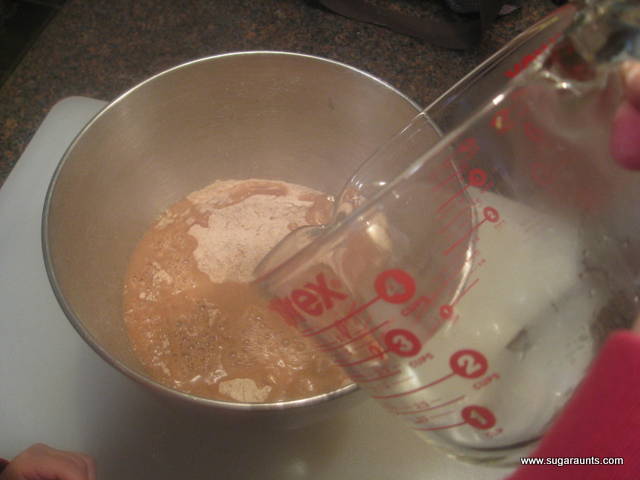
1 cup of warm water
 
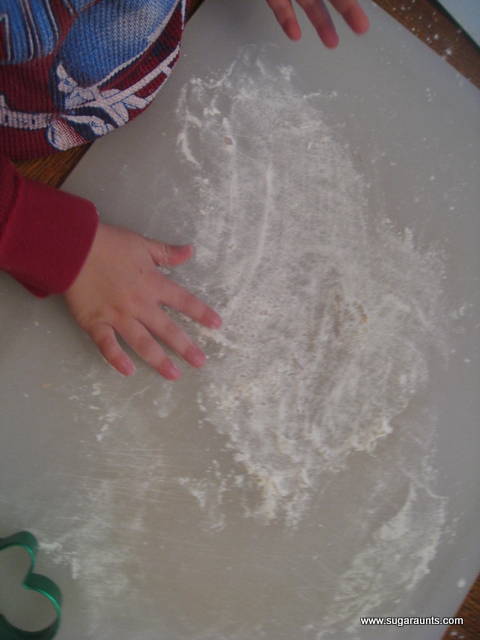
mix the dry ingredients together (store it for a week like us, if you need to!). Stir in the water.  Knead the dough on a flat surface for 10-ish minutes ( less is ok if babies/Little Boys are anxiously waiting to play 🙂
I’ve seen recipes that say let it stand for 20 min before rolling, but we dove right in. 
 
I got  the cinnamon  allspice, and nutmeg at the dollar store to use just for (inexpensive) scented projects like this one…  
 
 
Mix it all up…
 
 
And knead it for a few minutes.
 I had lots of help on the kneading 🙂


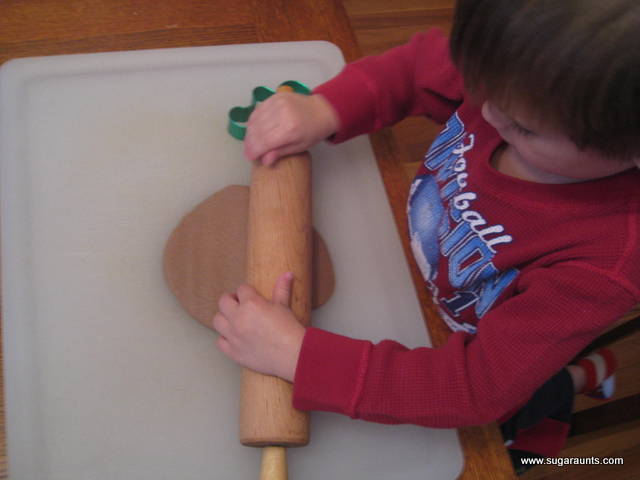
Roll it out…


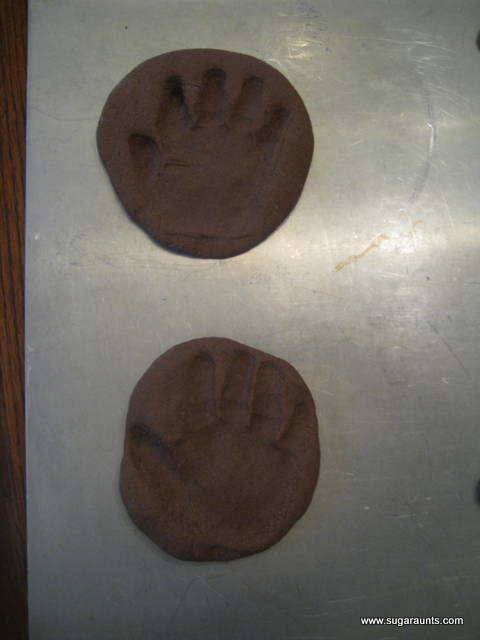
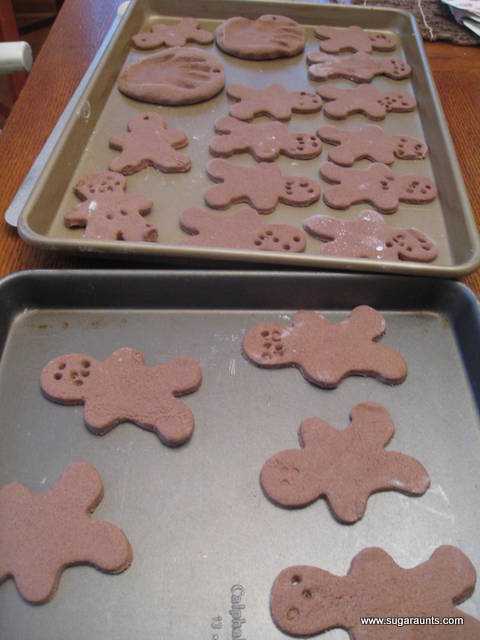
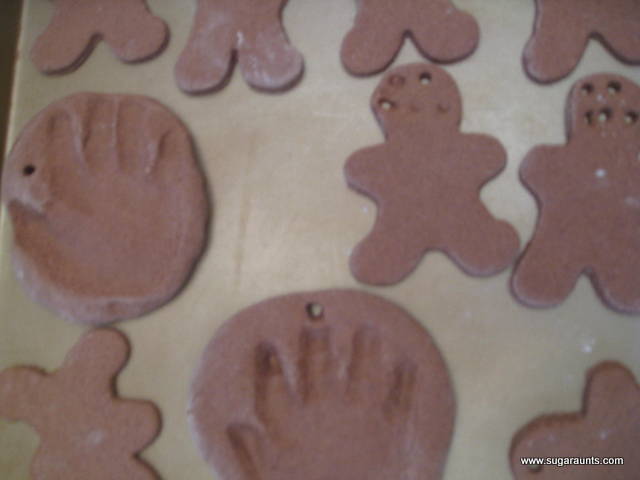
I had the babies make their hand prints for ornaments.  So cute! 
 
 
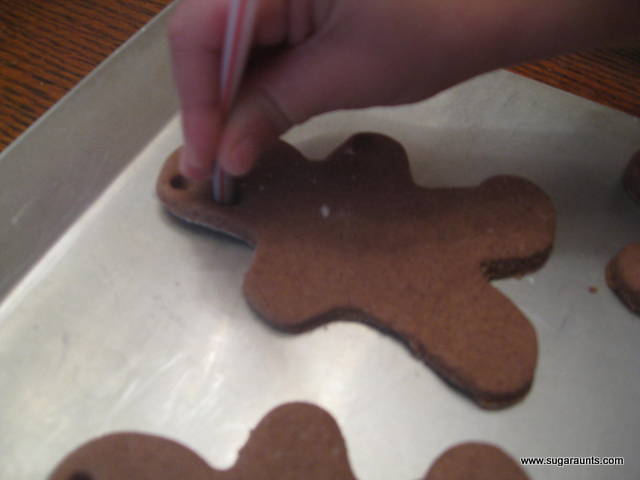
Little Guy looooved using a straw to poke holes to hang the gingerbread men.  A few of them have a couple of extra holes…
 
It does look pretty fun, doesn’t it 🙂
 
 
All ready to go into the oven…
 
I baked them on 300 for 3 hours.  The house smelled AMAZING!


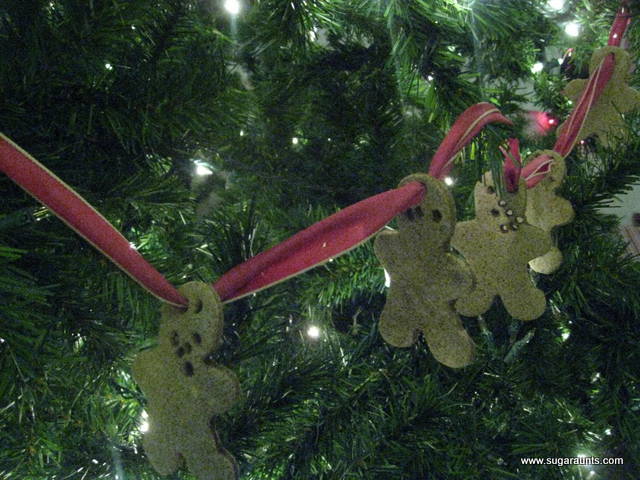
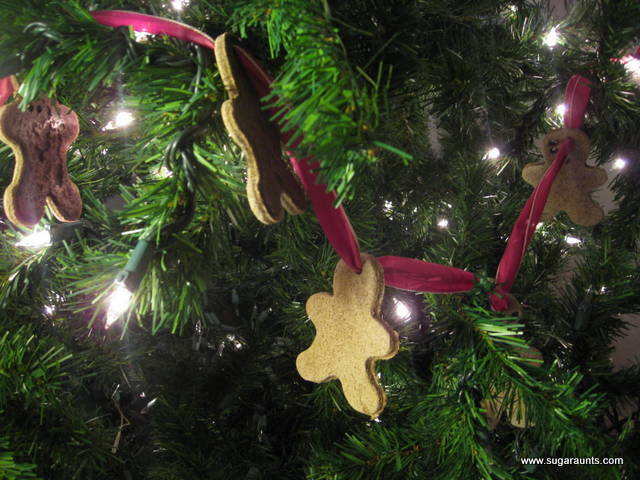
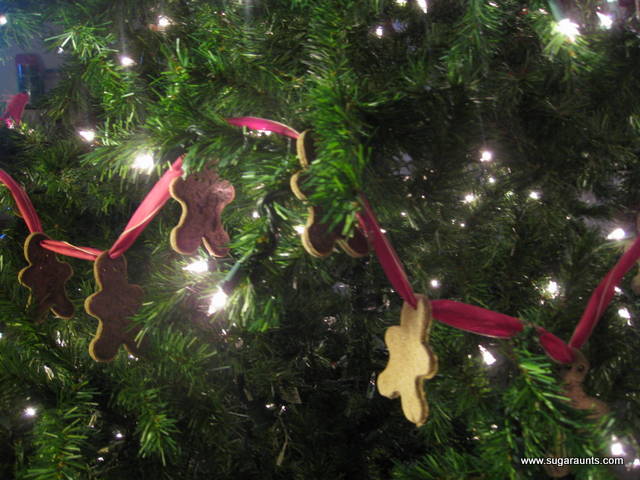
We strung it on pretty ribbon and hung in the tree.  I love our little many-holed Gingerbread man garland! 


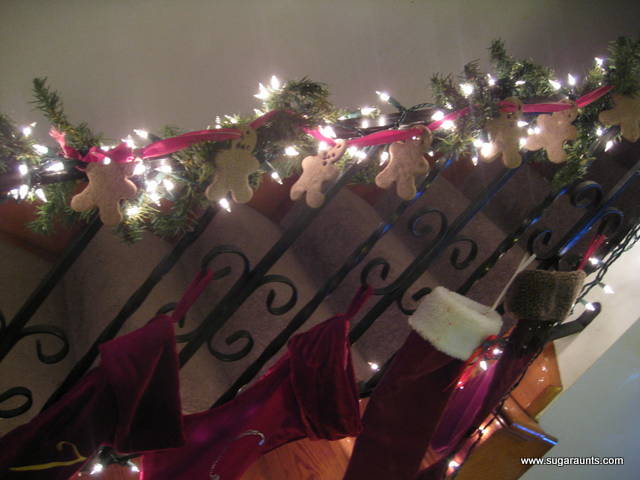
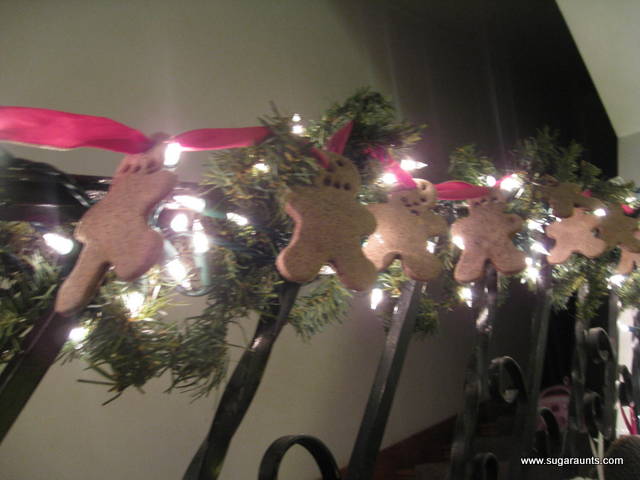
We tried the garland strung along our banister where our stockings are, too (no fireplace in our house!)
 
Big Sister gave it her seal of approval…”That looks very awesome, Mom!”


This was a fun multi-sensory Christmas Play activity for all ages.  I, for one, loved the cinnamon-ey smell in the house all day!