Window No-Mess Sensory Spelling

No-Mess Sensory Spelling:

 We’ve done the no-mess window painting a few times before (Seek-and-find, and Colored gel mixing to name a couple) and had a lot of fun with it.  This time we added a spelling component to add a few Kindergarten sight words to the fun.
This is so easy and Big Sister had fun moving the letters around in the paint to work on some fine motor skills, too.
Pour a little bit of paint into a sandwich baggie.  Add a few foam letters.  Seal the baggie closed.  Tape it to a window and start to play!  We had a really rainy day recently and this was a fun indoor learning activity.  (You can see the raindrops on the picture!)
You’ll also love our diagraph spelling word poem that helps children with learning commonly misspelled words.

Fine Motor Letter Learning

Moving the foam letters around in the baggie is resistive and a really great fine motor strengthening activity to work the fingers.  The child is able to isolate her index finger to move the letters around. 
Add a few extra letters to work on rhyming words.  This is also great for just placing right on the table surface and better for smaller kids that way, too.  Littler ones can just move the letters around and address letter identification and colors.

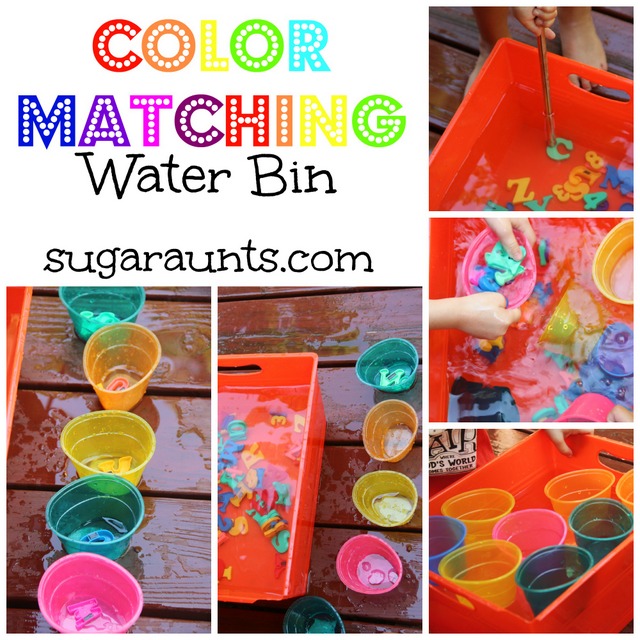
Color Matching Water Bin with Letters

This was our last water bin in our Water Bins for Kids series with Frogs and Snails and Puppy Dog Tails.  This was definitely the most fun water bin for us this summer!  We ended the series with a splash! 
(Yes, had to go there!!)
This is a great addition to a color by letter worksheet. Just print and go and work on so many areas of development.

Letter Water Bin

This week’s theme was Color Matching!
Two of us sisters got together one day this week and had SO much fun with the kids on a hot and sunny afternoon.
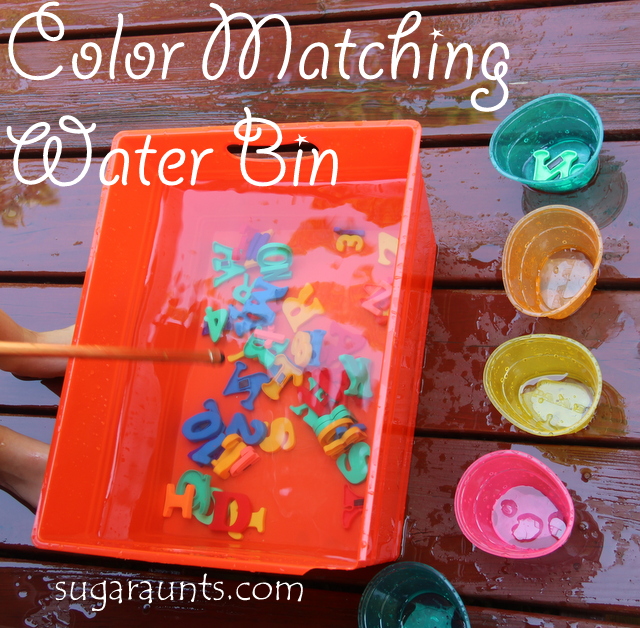
We started with a colorful plastic bin and filled it with water.  We threw in our bin of colorful magnetic letters (see another fun letter sensory bin here), and egg dying cups in lots of colors.
We started by scooping the letters into the floating cups and trying to catch the matching letter.  We asked the kiddos what letter they found, the color, and if the letter color matched the cup. 
This activity is a good one for bilateral hand coordination, eye-hand coordination, and fine motor skills.  They had to use both hands together in a coordinated manner, while visually tracking the letters as they flowed around in the water.  Then, with both hands on the cups, scoop up the letters.  How fun!
Of course, when these cousins get together, there is sure to be silliness.  The two younger ones were the instigators in the splash down.
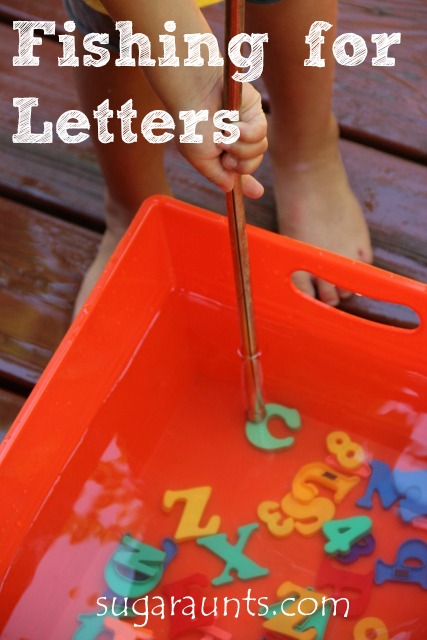
We pulled out a metal curtain rod and stuck a magnet to one end.  It stuck to the curtain rod and was able to attract the magnets of the letters.  Little Guy LOVED this!
We pulled all of the colored cups out of the water and had the kids “fish” for the letters and put them into the matching cups.
Little Guy could have done this for an hour, I think…if it were not for his fun-loving little Sister and cousin dumping water on everyone.
                                                        
 There was a LOT more of this…
…and watering of the plants!
This whole series has been so much fun!  

Pool Noodle Sensory Bin

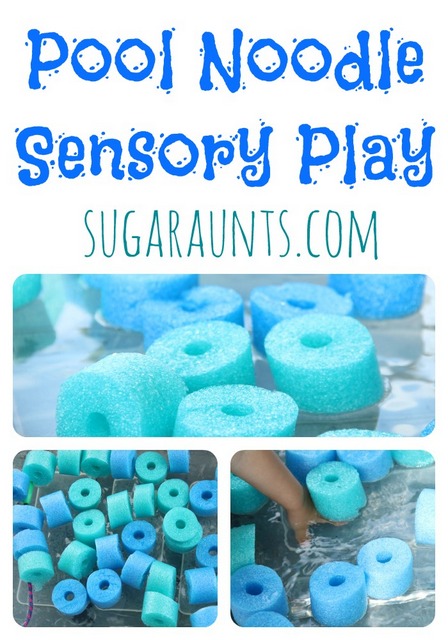
Pool noodles cut into pieces and used as a sensory bin filler. Text reads Pool Noodle Sensory Bin

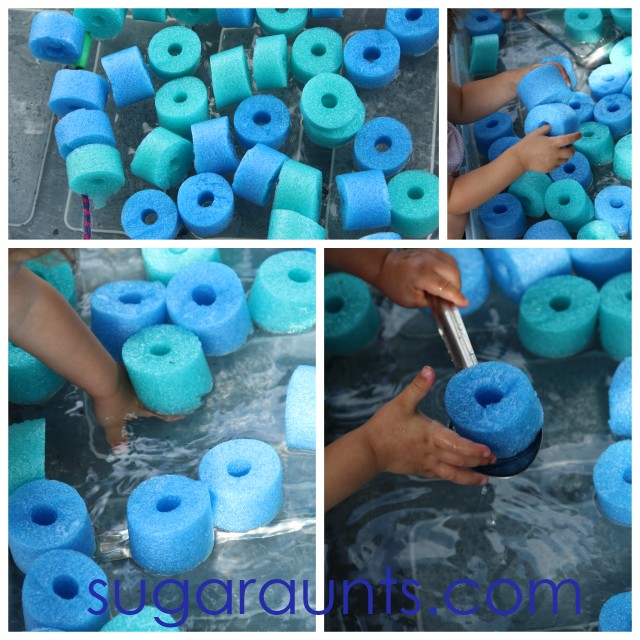
This pool noodle sensory bin is a water bin activity that uses one item…a dollar store pool noodle! We love the therapeutic benefits of ball pit activities, and using pool noodles cut into pieces is an inexpensive option with sensory benefits. This is a pool noodle game and a great summer activity for building skills in coordination and motor skills through water play and pool noodles! This might be one of our favorite easy sensory bin ideas because there are so many ways to boost creativity through a single material.
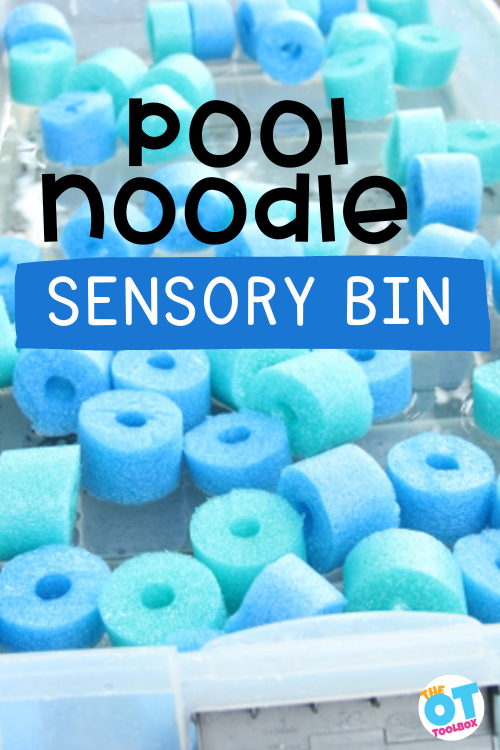
Pool noodles cut into pieces and used as a sensory bin filler. Text reads Pool Noodle Sensory Bin

A pool noodle sensory bin can be used in outdoor sensory play, or as an indoor DIY sensory ball pit.

Pool Noodle Sensory Bin

A noodle sensory bin is a fun and creative way to encourage sensory exploration in children. One of the most versatile materials to use for a sensory bin is pool noodles, which can be found at most dollar stores or discount retailers like Dollar Tree or Dollar General. With a few simple steps, you can turn these pool noodles into a unique sensory play experience that your child will love.

We’ve joined Frogs and Snails and Puppy Dog Tails in our Water Bins for Kids series. Stop back each Monday in July to see the themed water bins that we and Frogs and Snails and Puppy Dog Tails have created. 
 
This week’s theme was so much fun and EASY to throw together.  We had a couple of pool noodles purchased from the Dollar Store that we used for our family reunion games (keep an eye out for the post on this!)  These pool noodles were just asking to be played with!
pool noodles cut into small pieces to create a filler for a pool noodle sensory bin


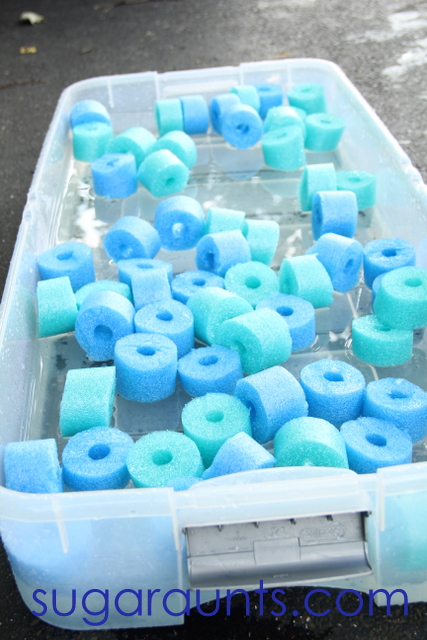
Large storage bin filled with pool noodle cut into pieces and water to create a pool noodle sensory bin


How to make a Pool Noodle Sensory Bin

If you aren’t familiar with pool noodles, these floating pool noodles into sensory ball pit fillers is easy. 
 
Pool noodles are buoyant so if you fill the sensory bin with water, they will float. However, you can make a dry ball pit as well, and they are a great foam filler that offers calming proprioceptive and tactile input.
 
You can typically find pool noodles at a dollar store and many other stores during the summer months. However, you can also get them on Amazon. (affiliate link) Here’s a set of 20 pool noodles that can be cut into small sections to fill a baby pool ball pit or any large container.
 
Making pool noodle sensory bin is very simple: 
1. Use 2 pool noodles.
2. Cut the pool noodles into 2 inch slices using a sharp knife.
3. Place the cut pool noodles into a large bin. We used an under-the-bed storage bin.
4. Add water.
 
To set up a pool noodle sensory bin, you’ll need several pool noodles in different colors, textures, and sizes. You may also want to include some dollar store serving spoons or other utensils to help your child scoop and pour the sensory materials.
 
Start by cutting the pool noodles into small sections, using scissors or a serrated knife. The best way to cut pool noodles is to make sure they’re held securely and to use a sawing motion, rather than trying to slice straight through.
 
I cut up two pool noodles and added a couple of big serving spoons, slotted spoons, and a ladle for scooping fun.  Baby Girl loved this.  And of course got right in there in the water bin!
 
Blue and green pool noodle slices that have been cut and added to a water sensory bin. Children's hands are using ladles and large spoons to scoop the pool noodle pieces from the sensory bin.


Thread a Pool Noodle

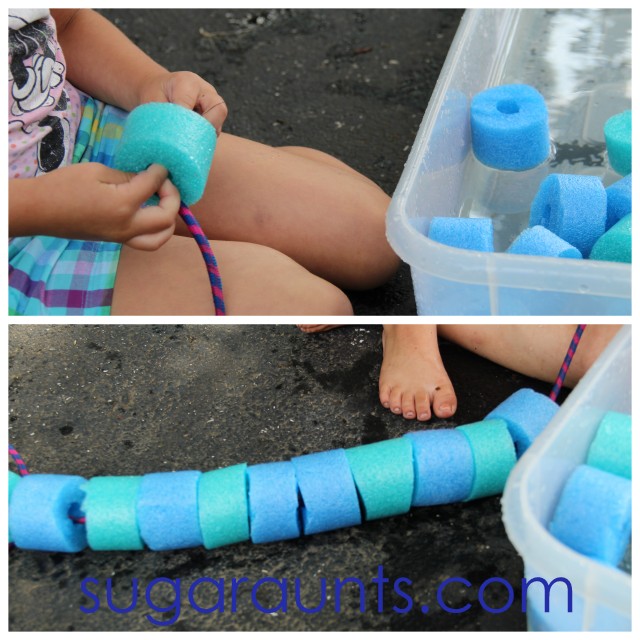
I added Big Sister’s jump rope for an extra large beading activity.
 
This was a great activity for large motor movements of both arms.  With that huge string, and sliding the pool noodle “beads” down the rope, this really got the arms going in whole body motions. 
 
This gross motor body motion and repetitive movements in a novel manner help brains develop new neural connections and long term learning abilities. 
 
Not only that, threading the “beads” onto the jump rope was great for fine motor manipulation and bilateral hand control (bilateral coordination).  
 
We did a nice pattern and had to grab the correct color as it floated along in the water bin. Reaching for and grabbing the intended color object in the water develops hand-eye coordination skills. (Eye-hand coordination!) So much  learning and SO much fun!
 
Child threading pool noodles with a jump rope
 
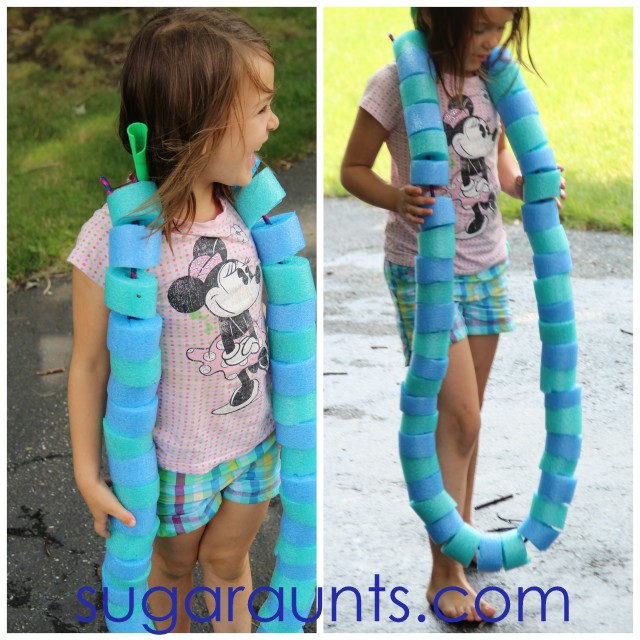
 Big Sister thought her super-sized necklace was pretty cool!
 
Child wearing a pool noodle necklace made from pool noodle slices and a jump rope
 
This water bin was perfect for a hot and muggy afternoon.  Have you been doing any fun water play this summer?


You may also enjoy other water sensory bin ideas:

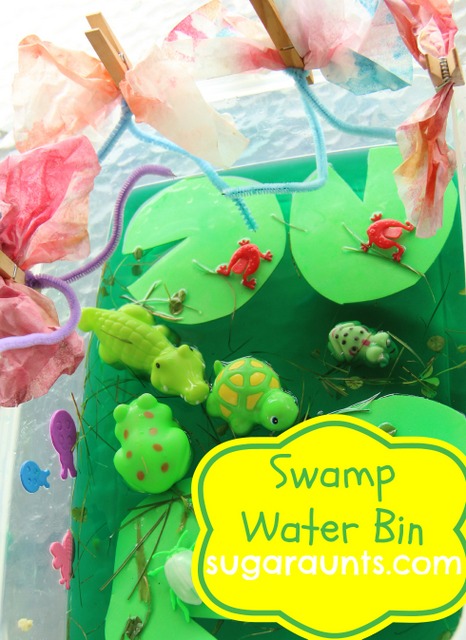
sensory bin with a swamp theme, includes lily pads, toy frogs and water toys
 
 
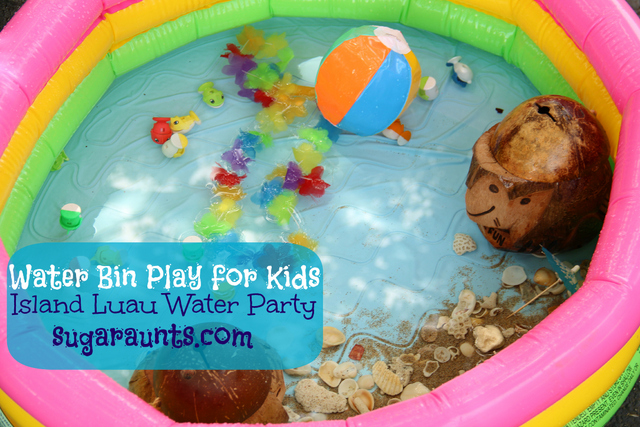
Island sensory bin with sand, seashells, coconut, beach ball
 
 
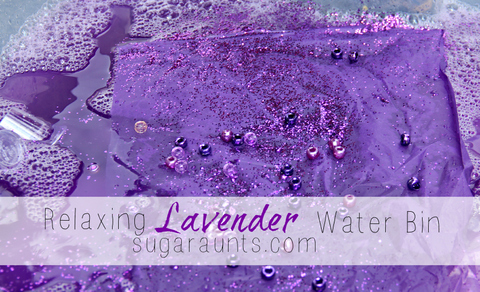
sensory bin made with lavender, purple water, and soap
 

More ways to Play with a Pool Noodle Sensory Bin

You can use the cut up pool noodles again and again in other sensory bin activities. Add them to a dry sensory bin, too. One idea we love is to use dry rice or dry beans, or even shredded paper sensory bins as a base for hiding and finding objects like the cut up pool noodles.

You can use anything from sand and water to rice and beans as a sensory bin filler for the base for your sensory bin. Then, add the pool noodle sections on top of the base material.

Encourage your child to explore the different textures and colors of the pool noodles and to use their imagination to come up with new ways to play. Use tongs to grab the pool noodles for building hand strength, too.

One fun activity you can do with a pool noodle sensory bin is to create an occupational therapy obstacle course using the noodles. Stack them up into towers or weave them in and out of each other to make a fun and challenging course for your child to navigate. You can also use the pool noodles to practice counting or sorting by color.

If you’re looking for a bigger sensory experience, consider using an extra large pool noodle to create a sensory pool noodle tunnel. Simply cut a pool noodle in half lengthwise, and then cut off one end at an angle. This will create a tunnel that your child can crawl through and explore. You can also fill the tunnel with other sensory materials, like soft fabric or foam blocks, to make it even more engaging.

Overall, a pool noodle sensory bin is a fun and budget-friendly way to encourage sensory play in children. By using inexpensive materials from the dollar store, you can create a unique and engaging play experience that will stimulate your child’s senses and foster their creativity. Whether you’re setting up an obstacle course, building towers, or crawling through a sensory tunnel, there are endless ways to play with a pool noodle sensory bin. So grab some pool noodles and get ready to dive into a world of sensory exploration and fun!

Colleen Beck, OTR/L has been an occupational therapist since 2000, working in school-based, hand therapy, outpatient peds, EI, and SNF. Colleen created The OT Toolbox to inspire therapists, teachers, and parents with easy and fun tools to help children thrive. Read her story about going from an OT making $3/hour (after paying for kids’ childcare) to a full-time OT resource creator for millions of readers. Want to collaborate? Send an email to contact@theottoolbox.com.

Fork Painting Ice Cream Craft for Kids

July is National Ice Cream Month!

I have so much fun planning the craft for our play group kids once a month.  This month had an Ice Cream Sundae in honor of National Ice Cream month.  And because ice cream sundaes are perfect any time of day.  Even at 10 am.

And, what would be a better craft to go along with an ice cream social theme, than an ice cream cone??
 
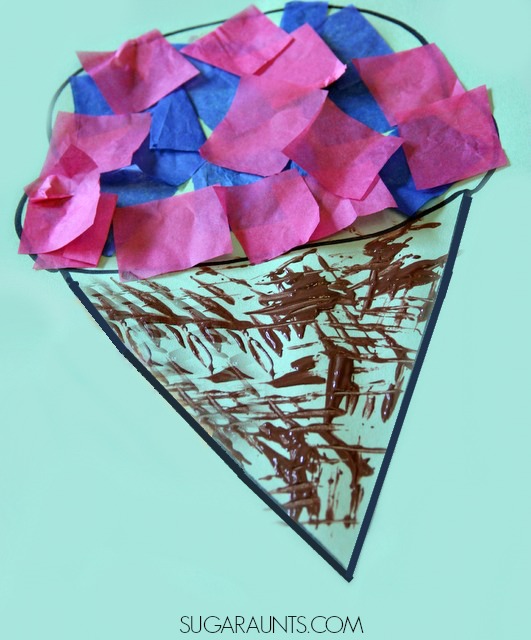
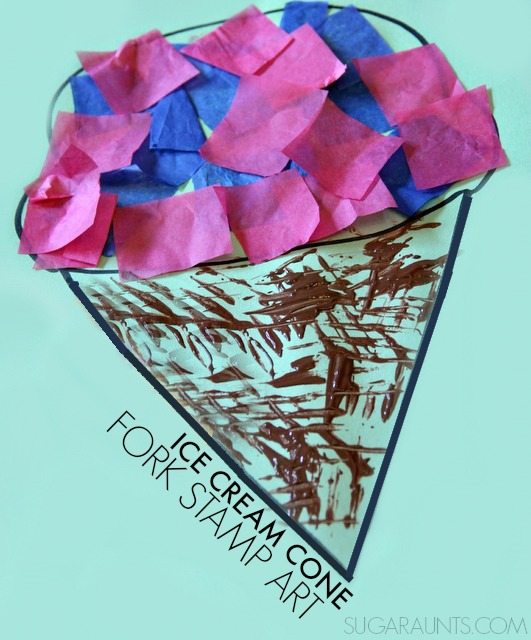
 Fork Stamped Ice Cream Cone Craft. This is perfect for kids to make this summer!

 Ice Cream Cone Craft

I had Big Sister try out the craft before the play date and make an example to show all the kids.
I drew the ice cream outline on construction paper, and she went to work. 
We used a fork to paint the cone.
Our paper scraps were used to make the ice cream mosaic. 
We love using scraps of paper in artwork.  Manipulating the little bits of paper is excellent for fine motor dexterity and strengthening.  Even better for tripod grasp and developing the arches of the hands, is tearing the paper into scraps and then, crumbling them into little balls.  The balled up paper can then be pressed onto glue or contact paper.  How great for working on a child’s tripod grasp!
We had a fun ice cream play date today, a great craft with a big crew of children, fun with friends…And even a chance for Mom to catch up with a few Mommy friends.
Ice Cream Cone Craft
Great Day!

Toddler Red, White, and Blue Easel Art

Use this toddler red, white, and blue easel art activity to address skills needed for fine motor skill development, visual motor skill, bilateral coordination, and visual processing. An easy easel activity like this one is a vertical surface activity that can be done indoors or outdoors for a low-prep developmental activity for kids. 

We have been doing a few red, white, and blue crafts and activities this week.  Baby Girl had fun with this

Easy Patriotic Activity for the 4th of July.

I put a piece of contact paper on our easel (sticky side out) and took it outside.  How is it that an “inside toy” brought outside is immediately super cool and new and fun??
We have a bunch of construction paper scraps in our craft supplies and I pulled out the red and blue ones.  We had some white tissue paper pieces in the bag too, and they were added to the easel trays, too.
 I stuck a couple of pieces on the contact paper and left it there in the yard for a while.  The big kids were busy playing and I was pulling a few weeds.  When Baby Girl saw this set up, she knew just what to do.
She got busy making art work!
(While her big brother camped out under the easel.  There are Bad Guys everywhere!!)
This is a great Fine Motor activity for toddlers.  They manipulate the small pieces of paper, and grasp the edges with a tip to tip grasp (think about the tips of their pointer finger and thumb grabbing at the paper).  While they are holding onto the scrap paper, they must use an extended wrist to place it on the elevated slope of the easel.  This is so good for fine motor dexterity and development of the small muscles in their little hands. 
We had fun enjoying the sunshine and making art.  Have you done any Red/White/Blue crafts?

Patriotic Craft Fingerpainting Fireworks

This finger painting fireworks craft is a great July craft for toddlers that can be used to celebrate the Fourth of July with toddlers and preschoolers! Add this one to our favorite creative painting ideas!

Finger Paint Fireworks

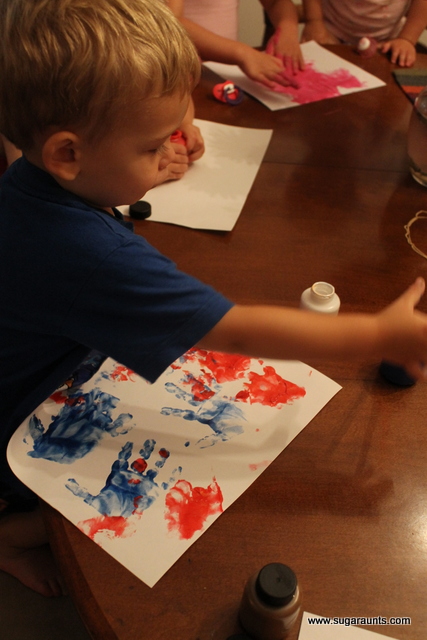
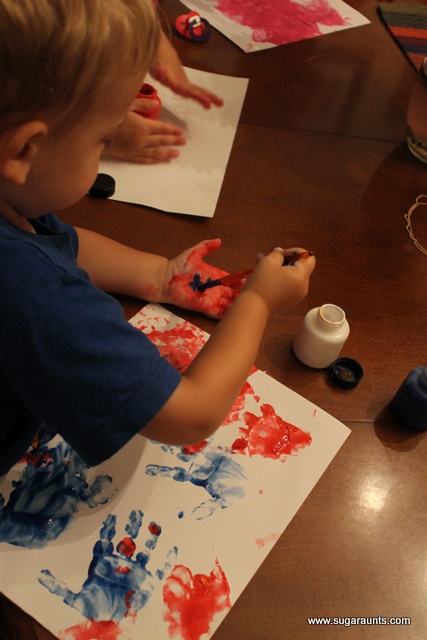
This weekend I had 5 kids (ages 1, 2, 3, 4, and 5) and I had to think of something to keep them all busy. Finger painting is a fun craft for kids all ages, the babies love feeling the different texture of paint on their fingers and playing with the paintbrushes. I pulled out the paper and let them go to town with the washable finger paints!


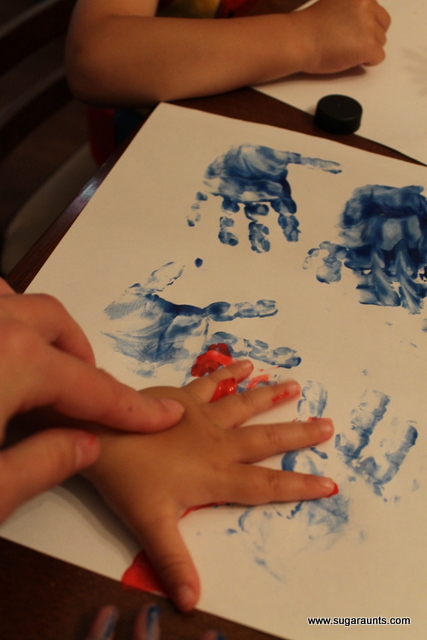
 I helped my little guy (2) make hand prints in red and blue.


 The big kids enjoyed mixing colors while my 2 year old enjoyed painting his hand…and mixing colors in the paint jars…ughh. I think every color is now brown. 
 
 This project kept the kids busy for about 30 minutes, enough time for me to put away the dishes and wipe down the table 🙂


Once the paint was dry we gathered up some black construction paper, gold tinsel from a gift bag and scissors.  I folded the paper into a small square and helped the older kids cut out fireworks.


 We glued the fireworks onto the paper and made the tinsel stream down from the fireworks.  We talked a little about the 4th of July and I told my daughter it was the country’s birthday.  The best part was hearing
my daughter recite the Pledge of Allegiance  (so cute)!


“I Spy” sight word sensory bottle

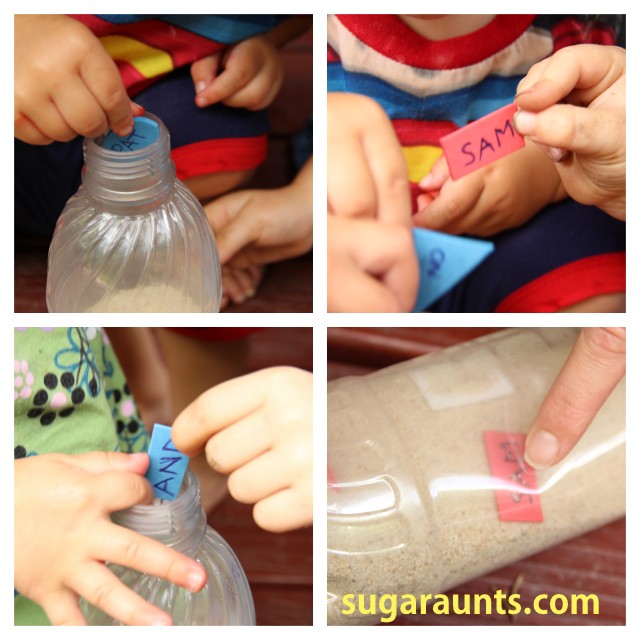
We made this sensory bottle

and sight word “I Spy” bottle

for an easy little learning activity.  Two of us Sugar Aunts were together one afternoon for a little play session with the kids and this was quick and easy to put together. 
One bottle of sand.
A handful of foam sheet shapes (we wrote a few beginner sight words on front and back of each shape).


 It was perfect for the different age groups of the kids (5, 4, 3, 2, and 1!)
And these kids seem to LOVE anything they can put into something else. The little fingers were everywhere when we told them to drop the shapes into the bottle opening! This is Awesome for tripod grasp skills.
This was great for the 5 and 4 year olds who are learning their sight words.  We used some beginner reader words that they recognize (Their current favorite book around here is “Sam I Am”.  Seeing those words in a new place is pretty cool way to emphasize reading confidence, I think!)
The 3 year old knows most of his shapes (that rectangle gets him every time!) so this was good for his learning level.
The two year old could point to the colors (and with only three options in the bottle, it was not overwhelming for him).
And for the one year old, this was overall great for language development!
((and super fun to shake !!)
We had fun with our sensory sight word bottle.  Have you done one of these? Link them up in the comments, we would love to see them!

beach small world play

Many years ago, we made a creative ocean and beach small world play activity and it was a Summer hit! Whether you are looking for activities to keep the kids busy at home through hands-on, sensory play, OR if you need Summer occupational therapy activities to use in skill-building, a beach small world is a fun way to play!

Beach small world

Beach Small World Play

Creating a beach small world using miniature animal forms and homemade colored sand can be a fantastic sensory activity for children.

It doesn’t take much to create a small world, and the benefits are huge:

  1. Imagination and Creativity: Small world play encourages children to use their imagination and create their own narratives and scenarios. They can invent stories, develop characters, and build unique worlds, fostering their creative thinking skills.
  2. Language Development: Small world play often involves storytelling and dialogue, which helps children enhance their vocabulary, expressive language skills, and communication abilities. They can practice describing objects, expressing emotions, and engaging in role-play, leading to improved language development.
  3. Problem-Solving and Critical Thinking: When engaging in small world play, children encounter various challenges and obstacles. They learn to think critically, problem-solve, and find solutions to overcome these challenges, fostering their cognitive skills.
  4. Fine Motor Skills: Manipulating and arranging small objects in a small world setting requires precise hand-eye coordination, dexterity, and fine motor skills. Children practice grasping, pinching, and manipulating objects, which can enhance their fine motor abilities.
  5. Social Skills and Cooperation: Small world play often involves collaboration and cooperation when children engage in shared storytelling or role-playing scenarios. They learn to take turns, negotiate roles, and collaborate with others, promoting social skills and teamwork.
  6. Emotional Expression: Small world play provides a safe and controlled environment for children to express their emotions and explore different feelings through their play narratives. They can process and make sense of complex emotions, develop empathy, and practice emotional regulation.
  7. Sensory Stimulation: Small world play often incorporates sensory elements, such as sand, water, or different textures. Engaging with these sensory materials stimulates children’s senses, promotes sensory exploration, and contributes to their sensory development.
  8. Knowledge Acquisition: Small world play can be a great tool for learning about different concepts and subjects. Children can explore nature, geography, history, and various themes as they create their miniature worlds, leading to knowledge acquisition in a fun and engaging way.

How to make a beach small world

With a bit of imagination, parents can transform a small tray or container into a mini seaside paradise.

You’ll need to first gather just a few items to make a beach small world activity:

  • Animal figures: seagulls, crabs, and dolphins, fish, or other animals
  • Tray or Container: Select a shallow tray or container that is large enough to hold the materials and provide a play space for your child. It can be a plastic tray, a wooden box, or any other suitable container.
  • Sand: Use play sand or kinetic sand to create the beach or ocean floor. You can also dye the sand using food coloring like we did to make our homemade colored sand
  • Water: Incorporate a small amount of water into your small world setup to represent the ocean. You can use a separate container for the water or create a section within the main tray for a shoreline or shallow water area.
  • Rocks and Shells: Gather some small rocks and seashells to create a more realistic beach or coastal environment. You can collect these from a local beach or purchase decorative ones from a craft store.
  • Plants and Foliage: Consider adding some greenery or beach vegetation to enhance the sensory setup. You can use fake or dried plants, small artificial trees, or even real seaweed (if available and safe to use).
  • Tools and Utensils: Provide some child-friendly tools and utensils for scooping, digging, and creating patterns in the sand. Small shovels, spoons, sieves, and rakes can be used to enhance the sensory experience and encourage fine motor skills.
  • Optional Accessories: Depending on your preference and the space available, you can include additional accessories like toy boats, small beach umbrellas, mini beach chairs, or even a small plastic container to mimic a tidal pool.

As children manipulate the sand, feeling its texture and watching it flow through their fingers, they enhance their sensory development.

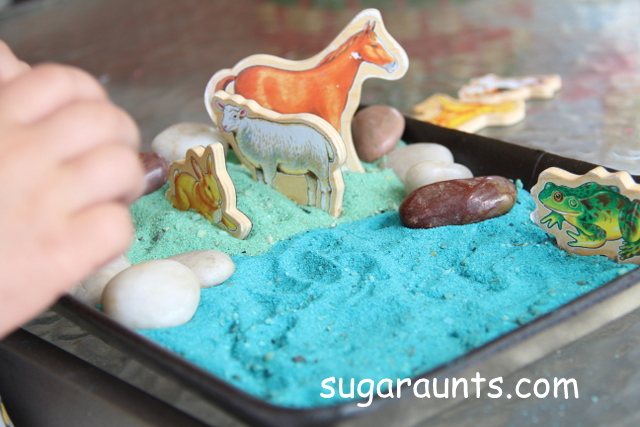
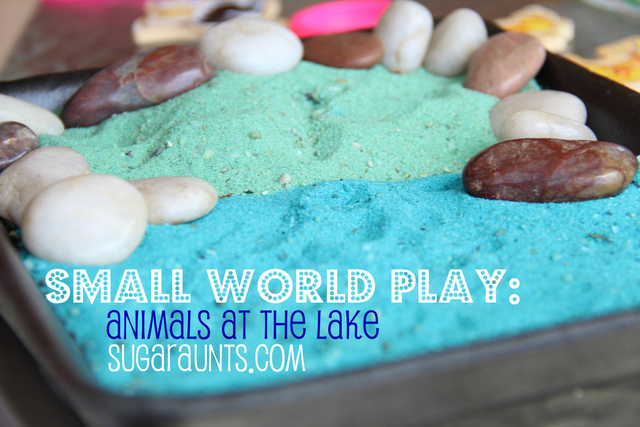
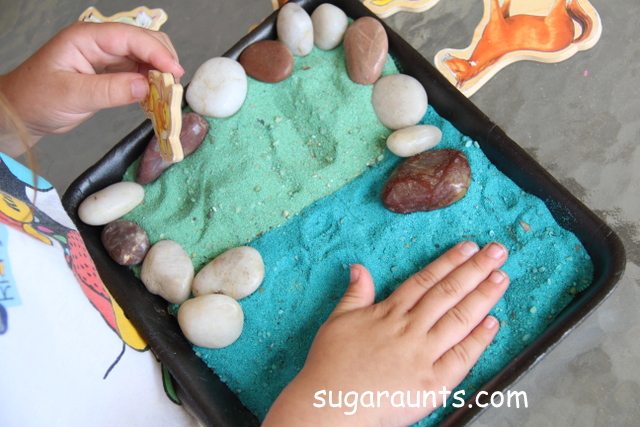
We used our DIY Colored Sand to do a little pretend play one rainy afternoon.

We used our refrigerator farm animal magnets and had fun with our pretend lake. Once you know how to make colored sand, you can use it for so many sensory bin activities!
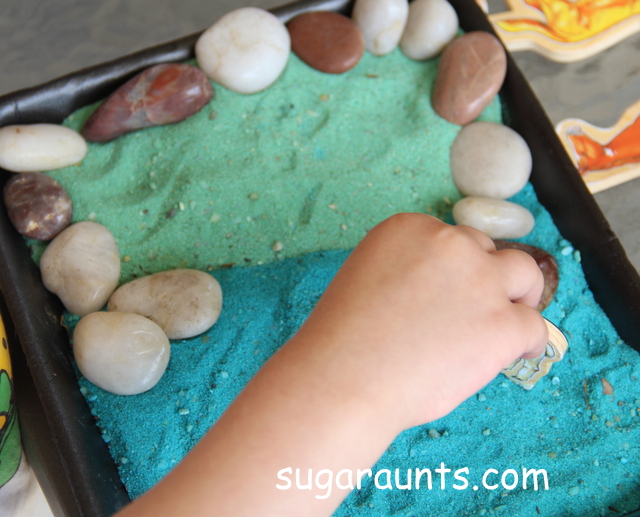


small world lake


It was a fun day at the lake 🙂


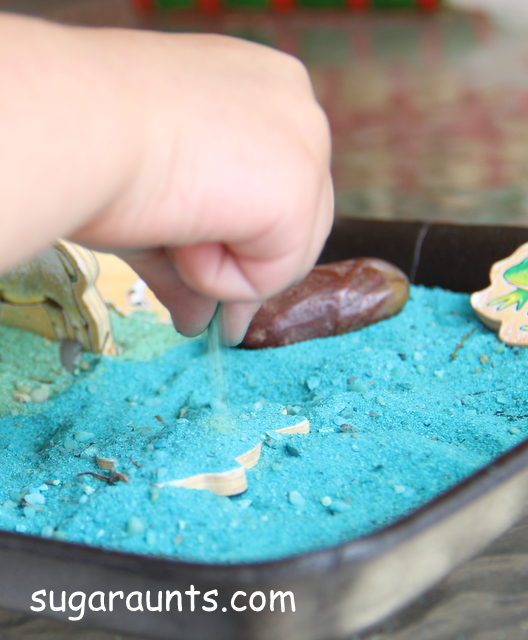
The bunny went swimming…
 
 
And the temptation was too great…we HAD to mix the two colors of sand together. 
 
Looking for more ways to have fun this Summer? Grab a copy of the Summer Kit!


Fine Motor Strengthening Color Match

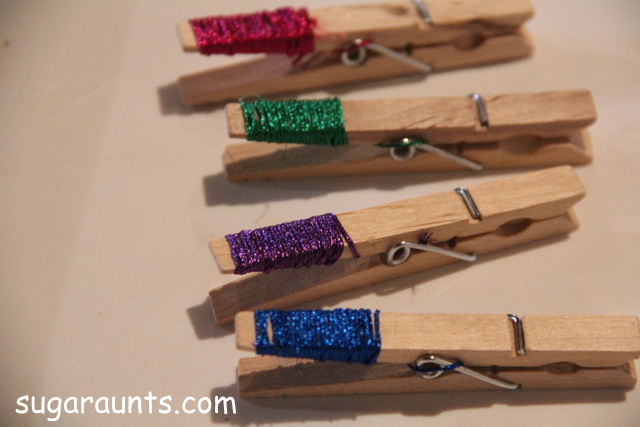
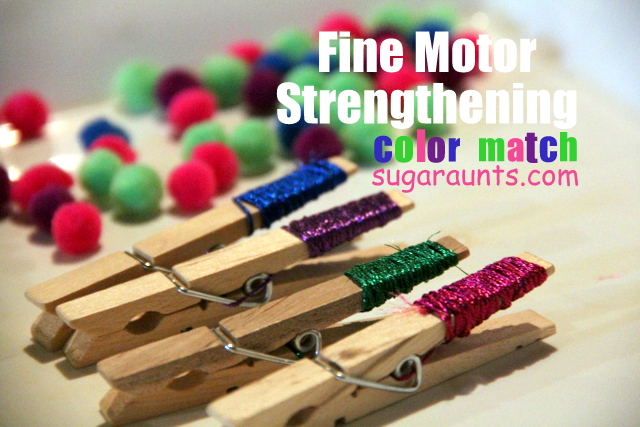
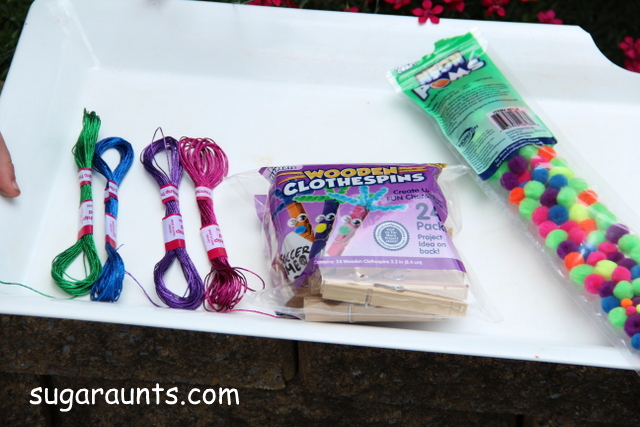
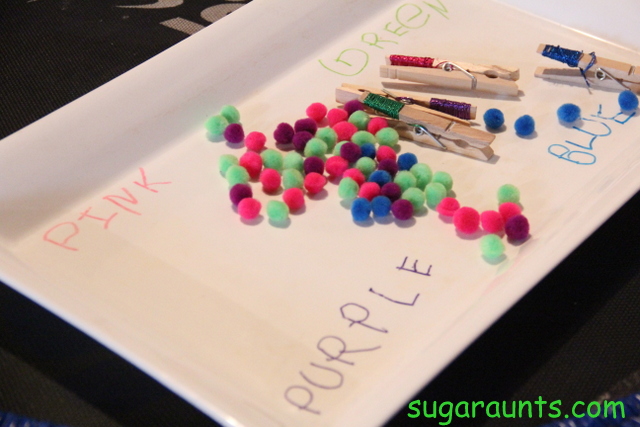
When I saw how the thread matched the color of some of the crafting poms, I knew we had to do a color matching activity. 

Fine Motor Strengthening

I wrapped the thread around the ends of the clothes pins.

We received a great package in the mail one day from http://www.craftprojectideas.com/.  This was just a small part of the free goods we received… There are SO many project ideas and crafting supplies on their website. 
(we have a lot more crafting to do!!)

And Big Sister helped, too.  What a GREAT fine motor and bilateral hand coordination manual dexterity task!  She reaaaallly had to concentrate on this.  It was such a novel task for her.  It was neat to see her watch me wrap the thread, follow my verbal directions and cues, and as it became easier for her…wrap that thread around faster and faster!
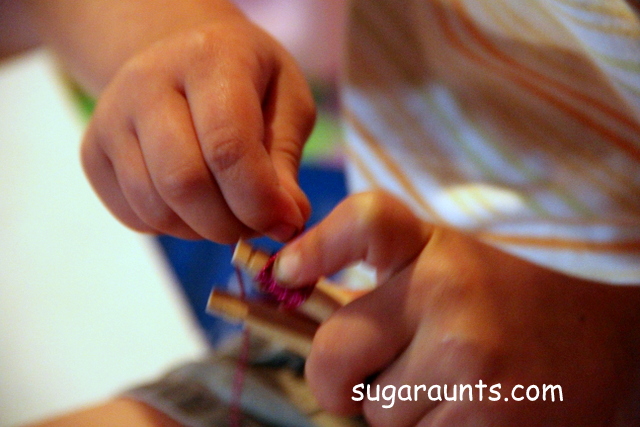
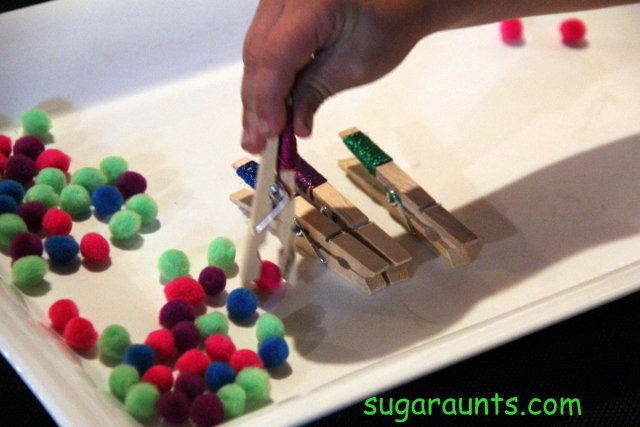
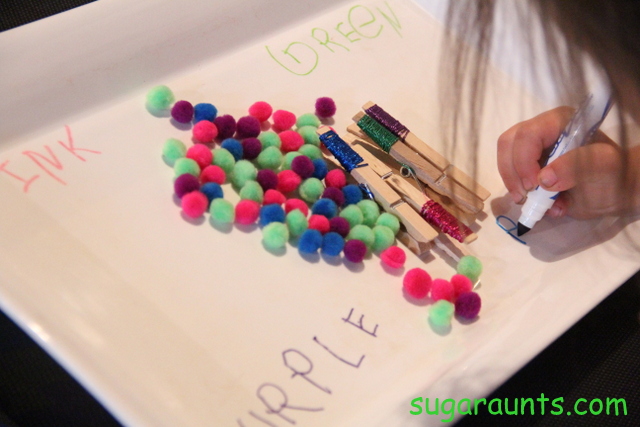
Big Sister and Little Guy liked matching up the colors to the clothes pins. 
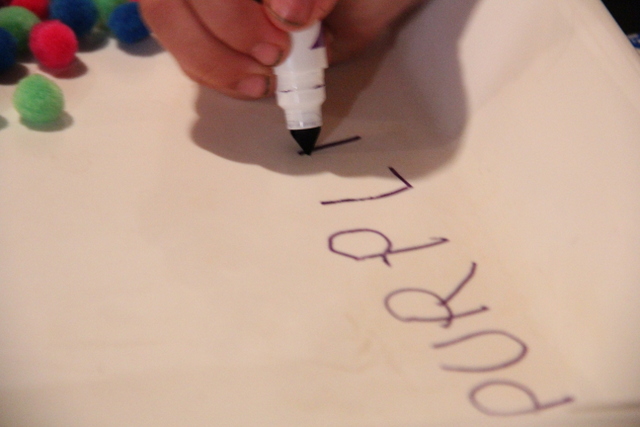
After they sorted the poms, we changed it up just a little.  I pulled out washable markers in the same four colors and Big Sister wrote right on the plastic tray.  She is learning to sound out words so we worked together on the letters to spell out the colors.

Pre-handwriting Warm-up Exercise

The pinching and fine motor strengthening with the clothes pins is a great mini-hand exercise to warm up the hands before a handwriting task.
This was such a fun activity!