Colleen Beck, OTR/L is a pediatric occupational therapist and the owner and author of The OT Toolbox website. She manages all of The OT Toolbox social media accounts and runs the popular newsletter.
Read about Colleen's experience and career as an occupational therapist, including how The OT Toolbox began on our About The OT Toolbox page: https://www.theottoolbox.com/about-us/
Colleen created The OT Toolbox in 2011 and since then has written thousands of blog posts designed to support therapy providers, educators, parents, counselors, admin, and caregivers in promoting the healthy development of kids.
Check out Colleen's blog posts below:
Getting kids to learn to write (or want to practice handwriting skills) can be a tricky task. It’s important to start off younger kids on a positive foot when it comes to handwriting practice. What child wants to trace slant after slant or letter after letter on a worksheet? This sensory pre-handwriting activity is great for younger children who are learning and developing the skills needed for written work. From tracing lines to forming simple forms, a sensory medium can make fine motor work fun.
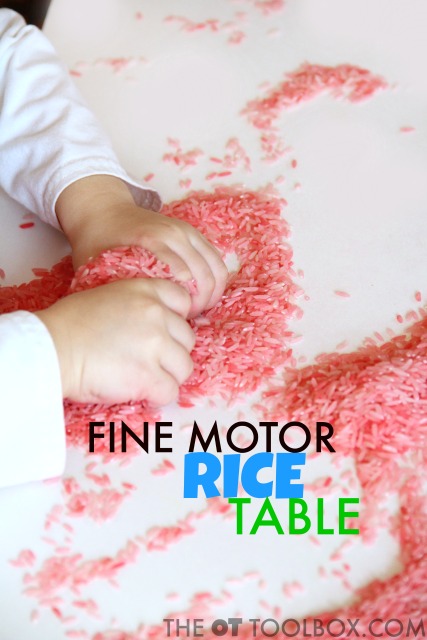
We used a rice table for this activity. It was VERY easy to set up and an activity that we will be doing again and again. The nice thing about creating sensory modalities with items like dyed rice is that you can save them for a while and re-use them over and over again.
Sensory Pre-Handwriting Activity Rice Table
You can make a sensory writing table with a variety of materials. We used dyed rice. To make the rice, simply pour a few cups of rice into a plastic bag. Add food coloring and a few drops of water. Seal up the baggie. Shake it, roll it, and toss it to cover the rice with color. This is a fantastic gross motor activity for kids. When the rice is coated with color, spread it out on a paper towel on a counter top and allow it to dry.
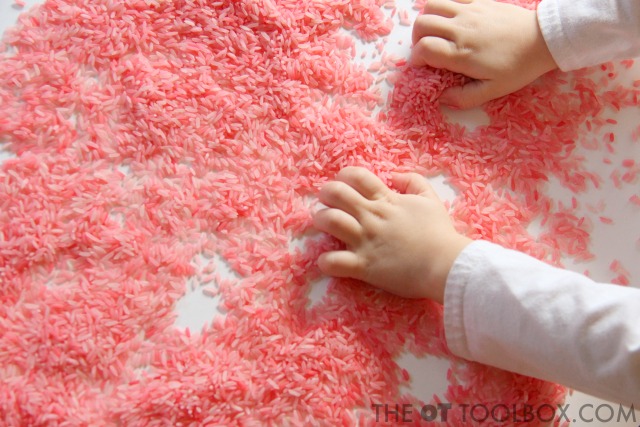
Once the rice is dry, spread it out on a table surface. Now, start playing! We’ve done a bunch of writing trays in the past. The nice thing about playing on a table top is there is no lip to a container to worry about. An edge of a tray can interfere with hand and wrist positioning, making grasp and letter formation awkward. if you are worried about the mess, lay a sheet down on the floor under the table. You can also work on a large sheet of poster board. That way, when your child is done playing, use the poster board to gently fold the rice back into the baggie.
Kids can spread the rice around with both hands. Ask them to create symmetrical patterns with their hands and ask that they look at their hands and not the shape that is being made. This activity requires peripheral vision and encourages visual motor integration.
Sensory Pre-Handwriting Activity
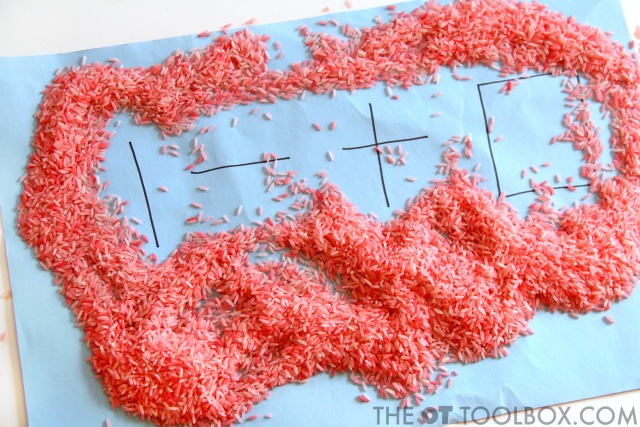
To work on pre-writing skills, write lines and shapes on a piece of paper and slide it under the rice. Kids can seek and find the line or you can find the starting point of the form and ask them to create it. Watch the video below for more information on this activity.
Pinch and grip strength pre-handwriting activity
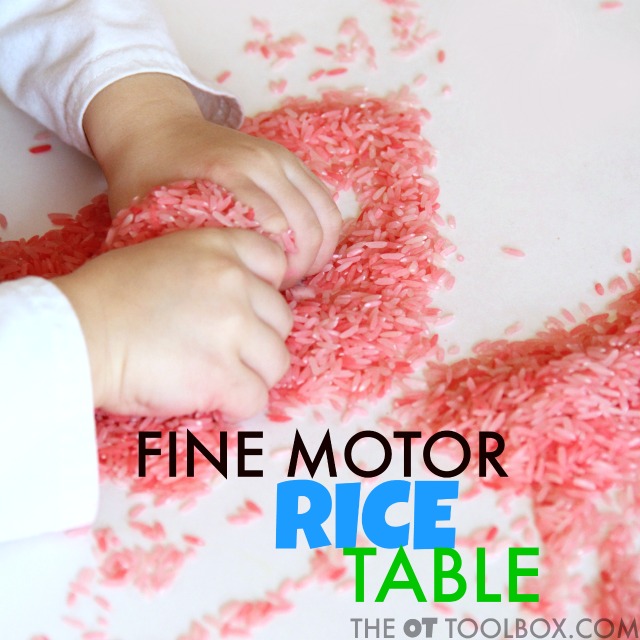
Use the rice to build those little muscles! Squeezing the rice with both hands is a grip exercise with a tactile component. Let the rice slip through the fingers and from one hand to another with a “hand funnel” (Check out the video to see this in action!). This is a fantastic way to work on arch development in the hands.
Address pinch grip by squeezing the rice between the fingers and thumbs. You can address neat pincer grasp to pinch and move individual pieces of rice, too.
There are so many ways to use this easy rice table in pre-handwriting activities! The kids will love the open-ended play that doesn’t seem like handwriting practice.
See this handwriting sensory activity in action! Click to watch the video:
Try these sensory-based activities to work on letter formation, pre-writing handwriting, and play-based writing activities:
Pencil Control Worksheets You Can Make At Homeuses the sense of sight with bright and high-contrast lines for working on line awareness, pencil control, and motor planning when writing.
High-Contrast Letter Formation is one of my favorites from this blog! Use a black material (do you know what we used?) on a white surface for high visual contrast with an olfactory power punch!
Here, you’ll fine easy eye hand coordination activities using paper. Paper is something that most parents, teachers, and therapists have easy access to.
It’s usually pretty plentiful even if it is sourced from the recycling bin. Whether it’s a roll of easel paper, a packet of construction paper, or yesterday’s newspaper, most of us have paper of some kind sitting around the house. And for teachers, lined paper is one of those supplies that are typically provided by the classroom.
So, it makes sense to use paper for a tool that provides way more therapeutic benefit than it seems a simple stack of paper can provide. These easy eye-hand coordination activities use paper to develop fine motor skills and visual motor integration so that kids can carry over these necessary skills to tasks such as cutting with scissors, handwriting, fine motor tasks, and self- care tasks like clothing fasteners or shoe tying.
Easy Eye-Hand Coordination Activities Using Paper
This post contains affiliate links.
Grab a stack of paper of any kind and use it in therapy or home programs to work on the visual motor integration skills needed for many functional tasks.
You’ll need paper of any size and any variety to complete these activities. Use what you have available or plan ahead when preparing visual motor activities for the classroom, therapy plans, or home programs.
Some paper ideas that can be used in eye-hand coordination activities
So, looking at the list above, grab the nearest type of paper and get the kids busy with super easy activities that are easily able to promote eye-hand coordination development.
Use paper to develop eye-hand coordination activities
Eye-hand coordination takes the visual information as it is processed by the eye and brain and coordinates motor movements in an appropriate and efficient manner to perform functional tasks. Eye-hand coordination is also known as visual motor integration and is essential for most functional activities.
These paper activities can help kids work on the coordination of visual information with fine motor work:
One such way to work on eye-hand coordination skills in kids is to tear paper.
Fold paper airplanes. Then try to fly it into a target.
Fold a paper fan.
Throw paper snowballs into a basket. Move back farther and add in obstacle course types of motor movements.
Fold origami- Follow step-by-step instructions in a how-to book.
Make paper helicopters- Fly them from a high space such as a step stool and try to drop them into a target. These paper helicopters are another fun way to work on eye hand coordination skills.
Make coin rubbings- Read about this eye hand coordination activity in our coin activities post. Trace other items such as leaves, paper clips, or keys.
Make a paper fortune teller- Add educational aspects such as math facts or definitions.
Fold paper footballs– Make it educational by adding math concepts or sight word practice.
Create paper hats.
Make paper boats. Try to see how far they can float with added weight.
Play paper and pencil games such as tic tac toe, dots-and-boxes, or other paper and pencil games
Scrunch paper into small pieces and glue them onto artwork.
Tear paper in long strips- Tear long strips or simple shapes.
All of these activities are simple to set up and require little preparation work. Use this list as a backup activity list for those times when kids need something to do between lessons in the classroom, or a rainy day activity. Some of these paper activities would be great for when waiting in a restaurant. Use the down time to build eye-hand coordination skills with paper!
Working on fine motor skills, visual perception, visual motor skills, sensory tolerance, handwriting, or scissor skills? Our Fine Motor Kits cover all of these areas and more.
Check out the seasonal Fine Motor Kits that kids love:
Colleen Beck, OTR/L has been an occupational therapist since 2000, working in school-based, hand therapy, outpatient peds, EI, and SNF. Colleen created The OT Toolbox to inspire therapists, teachers, and parents with easy and fun tools to help children thrive. Read her story about going from an OT making $3/hour (after paying for kids’ childcare) to a full-time OT resource creator for millions of readers. Want to collaborate? Send an email to contact@theottoolbox.com.
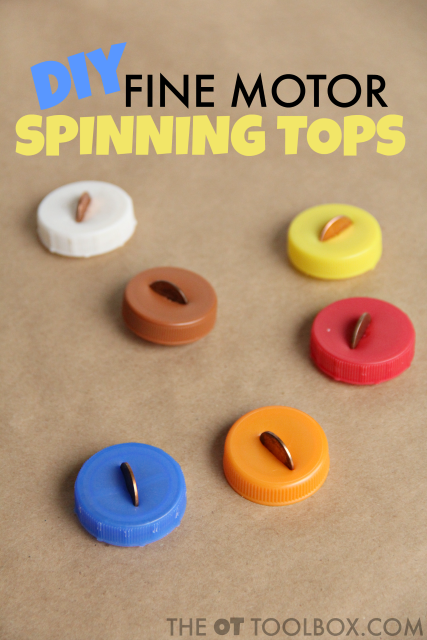
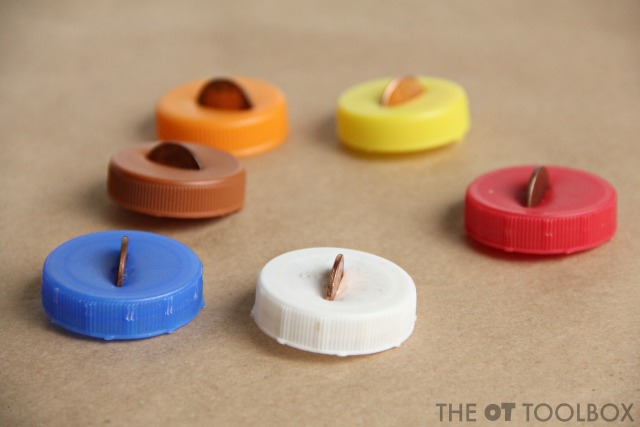
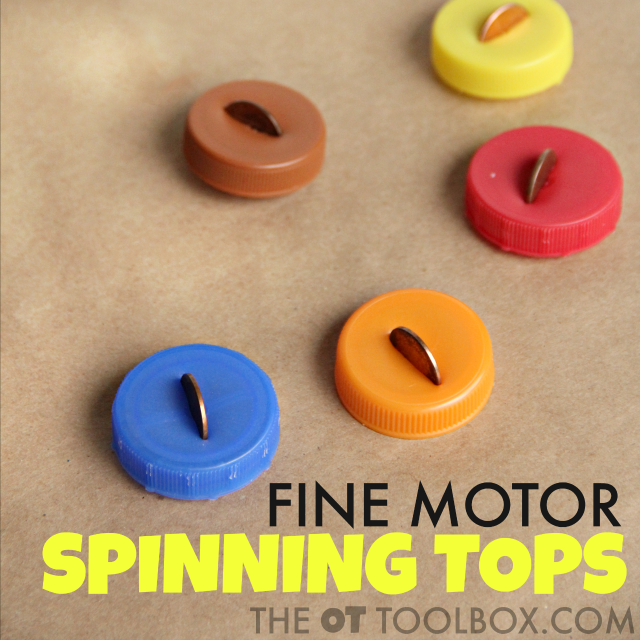
These little DIY spinning tops were a big hit in our house. These are a different way to work on a few fine motor skills needed for use in functional grasp patterns. The best thing about these tops is the price. It takes just a few pennies and some recycled bottle tops to make a set of spinning tops that can be tossed into a therapy bag or used in a home program. Work on skills such as pincer grasp, in-hand manipulation, arch development, and eye-hand coordination just by spinning a top!
In-hand manipulation activities are a great way to boost fine motor skills needed for tasks like managing clothing fasteners, using a pencil when writing, manipulating items like coins or beads, and more.
Fine Motor Activity with Spinning Tops
These tops are very easy to make. It does take a little planning. You’ll need a handful of recycled bottle caps to make a set of tops. You can certainly make just one, but what fun is a spinning top battle with just a lone top?
If your family is like mine, you go through a couple of gallon sized containers in a short period of time. Between milk, juice, iced tea, and water, it doesn’t take long to round up a handful of bottle caps.
You’ll need just a couple of items to make these tops:
Bottle caps
Sharp knife
Pennies
First, clean the bottle caps with warm, soapy water. Get the kids involved in this step; it’s a great way to practice eye-hand coordination in a sensory medium with the soap and warm water. Scrubbing with a brush allows kids to engage in heavy work (proprioceptive input). Given that and the warm water will allow for a calming sensory activity that is purposeful. Better yet, the kids can practice for washing dishes 😉
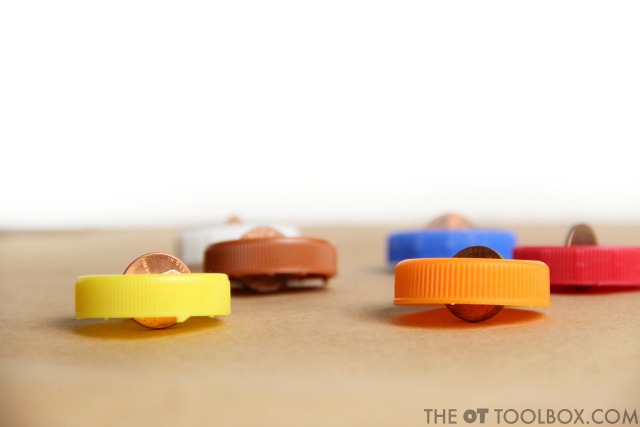
Next, use the sharp knife to press strait down into the lid of a bottle cap. Firmly hold the bottle cap on a cutting board and press the knife strait down to make a slit in the lid. This is a definite task for adults.
Be sure to make the slit only wide enough for a penny to fit into the slot.
And that’s it! Your spinning tops are complete.
Spinning tops build fine motor skills:
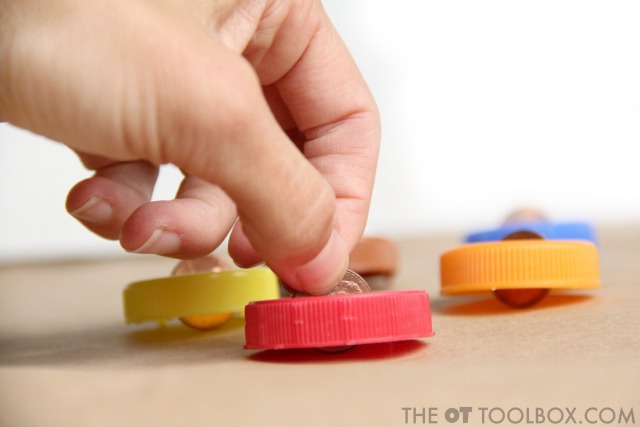
Tops are a common tool for improving fine motor skills. When you spin a tip, you are challenging and building in-hand manipulation skills. When spinning a top, a child is required to rotate the top between the pads of the thumb and pointer finger in order to make the top spin. This is termed simple rotation and a skill that is needed for manipulating items with in the hand. When a child writes with a pencil, they need to manipulation and use the pencil with one hand. Read more about the different types of in-hand manipulation.
These tops are a real fine motor power tool with the small flat surface that the penny provides for spinning. This is a great way to encourage a neat pincer grasp and dexterity.
How to use these tops to increase fine motor skills:
Spin several of the tops at once. Try to keep all of the tops spinning. When one starts to stop, spin it to catch up with the other tops.
Draw a square on a large piece of paper. Try to keep the spinning tops inside the square.
Spin a top on a large platter. Walk across the room without allowing the top to fall.
Challenge another child to a top spinning challenge. Each child can spin 2-3 tops of a single color. When a top stops spinning, that top is out. The child with the last spinning top is the winner.
One warning about these tops: Be sure to use them under strict observation. Pennies are a choking hazard and these tops should be used only under supervision.
More in-hand manipulation activities that you will like:
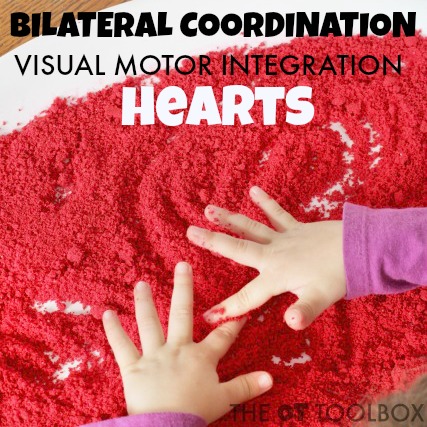
This Valentine’s Day bilateral coordination activity uses a vivid salt tray in a way that encourages coordination of both hands together in a visual motor integration task. A fun heart themed activity is a great addition to an occupational therapy Valentine’s Day plan. Use this and other bilateral coordination activities in the home, classroom, or therapy clinic.
This bilateral coordination activity is a take on our Shamrock bilateral coordination activity that we did last year. It was a great way to encourage kids to work on visual motor integration while allowing them to use both hands together in a coordinated and functional manner.
Bilateral Coordination Activity for Valentine’s Day
Using both of the hands to copy heart designs from a different visual plane is a hands-on activity that really works the brain, eyes, and hands together.
Development of bilateral coordination results in improved independence in skills like feeding and self-dressing, handwriting, and many other skill areas. Get creative with a salt writing tray to work on many underlying skill areas that are needed for handwriting and motor planning in functional tasks.
First, let’s talk a little more about bilateral coordination:
When bilateral coordination or bilateral integration is intact and progressing appropriately through development, it is an indicator that both sides of the brain are communicating effectively and sharing information during functional tasks.
Younger toddlers and babies can be observed using both hands in play as they pick up objects in their line of sight. However, they typically will pick up items with the hand that is closest to the object or toy.
As toddlers progress in development, they will begin to establish a dominant hand and crossing midline. This ability to utilize a dominant hand and a non-dominant hand in activities indicates a maturation of the brain and lateralization in functional tasks, which is very important for motor planning, directionality, and visual motor skills.
In fact, impaired bilateral coordination skills can lead to difficulty in the classroom.
Development of bilateral coordination in self-feeding depends greatly on the child’s developmental level. The baby who is learning to place dry cereal in their mouth will be vastly different level than the child who is scooping soup or cutting a piece of chicken. Development of fine motor skills and visual motor skills have an impact on coordination of the hands in self-feeding.
What makes up bilateral coordination?
In fact, there are three components of bilateral coordination: Symmetrical movements Reciprocal movements Dominant hand/supporting hand movements This post contains affiliate links.
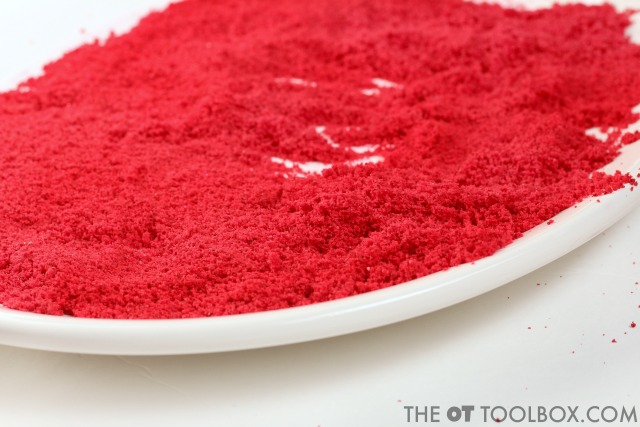
This was an easy activity to set up. We started by making colored salt to use in our salt tray. Materials to make the colored salt:
To make your own, fill a sandwich baggie with washable paint, salt, and glitter. We used red, but any color would be fine for making the colored salt. The amount of paint can vary. More paint will yield a more vivid hue. Know that using more paint will require a longer period to dry the salt.
Then, simply shade the baggie until the salt is coated with paint. This is a fun activity for kids to move with gross motor coordination and a creative way to sneak movement into the classroom.
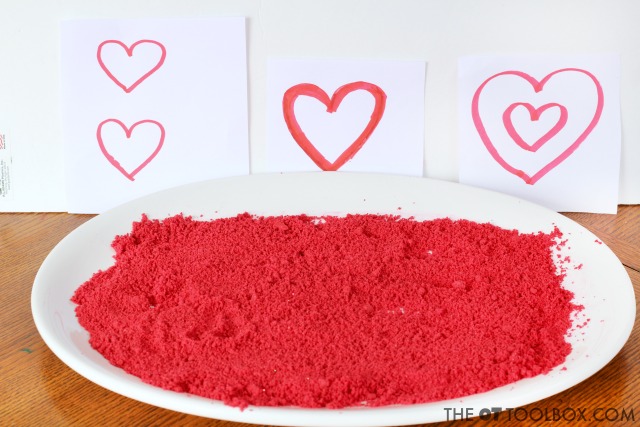
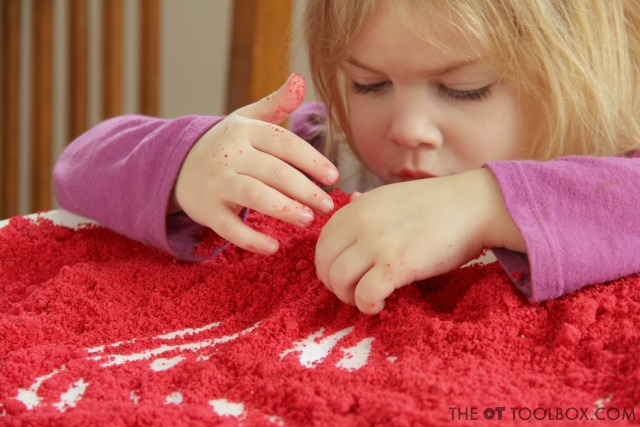
Once the sand is coated with color, spread it out on a cookie sheet. We let our salt dry overnight. Note: if the salt is still wet, the paint will color your hands. Once it’s dry, it will not color your fingers. If you do end up with color on your hands or cookie sheet, just wash it off in warm soapy water. That’s the beauty of using washable paint for this project. When you salt is colored and ready to play, spread it out on a tray. I used a big shallow platter.
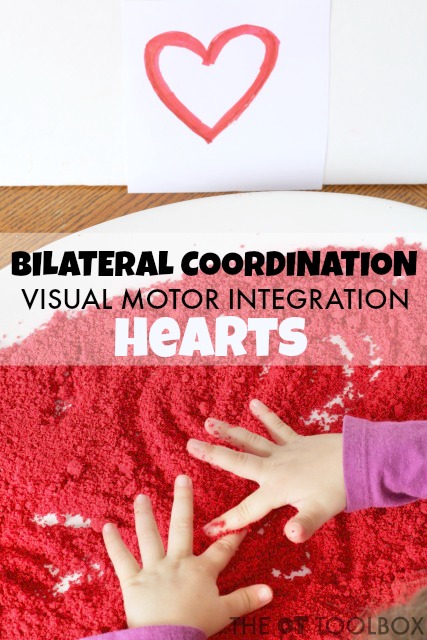
Quickly draw a few hearts on paper and prop them up vertically in front of the tray. A vertical placement is important for addressing the skills needed to copy written work from an overhead source such as a chalkboard or smart board in the classroom.
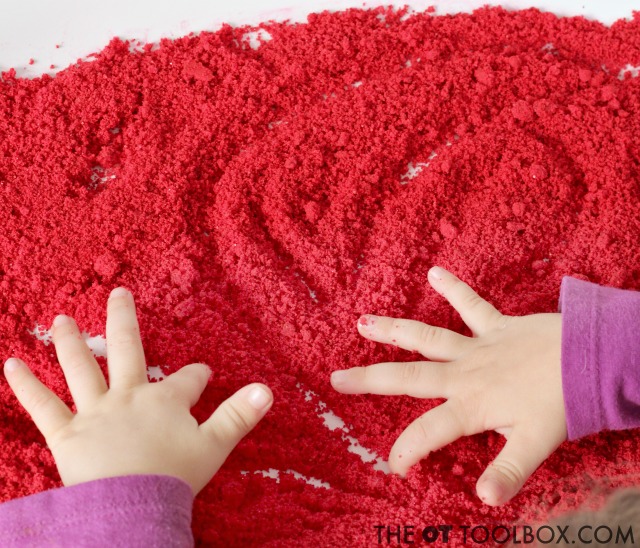
Kids will need to shift their eyes from the vertical plane to the horizontal plane in order to copy the heart patterns in the salt tray. Encourage use of both hands to make the hearts, starting at the middle point and using both hands at the same time. Show your child how to look at the vertical sample or at the starting point on the salt tray. You don’t want them to look at only one hand at a time as both hands are working together to make the heart shape.
What is going on with this visual motor integration activity?
While creating a heart shape as described above, the child is using his visual sense to guides movement through peripheral vision. This activity uses whole body movements to improve skills, including learning and functional tasks.
The activity encourages children to use both hands together. The point of the activity is to establish direction and orientation relative to the child’s body. The movement activity addresses hand-eye coordination in different visual fields, promotes spatial awareness and visual discrimination, addresses left and right awareness, improves peripheral vision, promotes body awareness and coordination with specialization of the hands and eyes, and works on gross motor movement skills. Using both hands to draw and copy from a visual prompt like this activity is an excellent way to promote whole body learning through simple and fun movement activities.
Watch for these things:
While drawing, watch the child for stiffness in the hand, wrist, or arm.
Remind the child to keep their eyes fixed on the starting point at the center of the heart.
Remind the child to keep both fingers in contact with the sand. They shouldn’t lift their fingers at all.
Watch for bilateral coordination, ensuring that both arms are moving at the same speed, distance, and positioning.
Colleen Beck, OTR/L has been an occupational therapist since 2000, working in school-based, hand therapy, outpatient peds, EI, and SNF. Colleen created The OT Toolbox to inspire therapists, teachers, and parents with easy and fun tools to help children thrive. Read her story about going from an OT making $3/hour (after paying for kids’ childcare) to a full-time OT resource creator for millions of readers. Want to collaborate? Send an email to contact@theottoolbox.com.
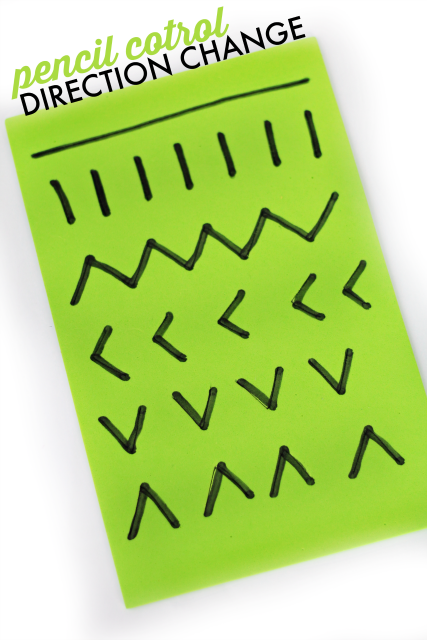
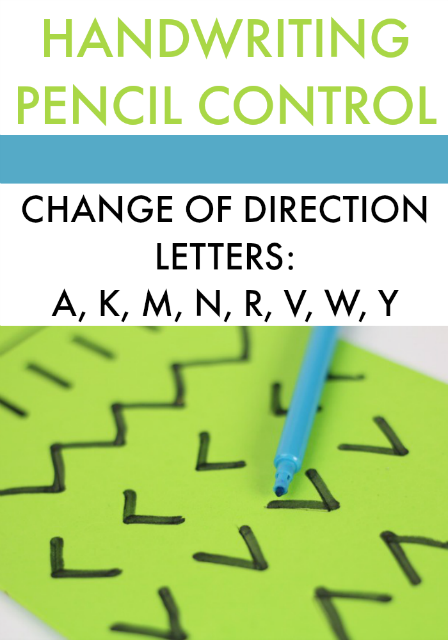
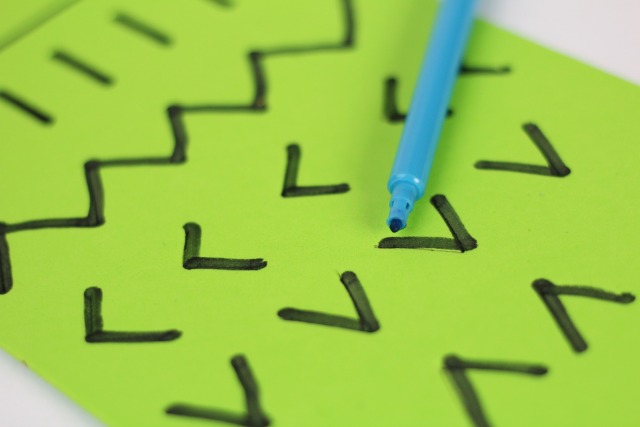
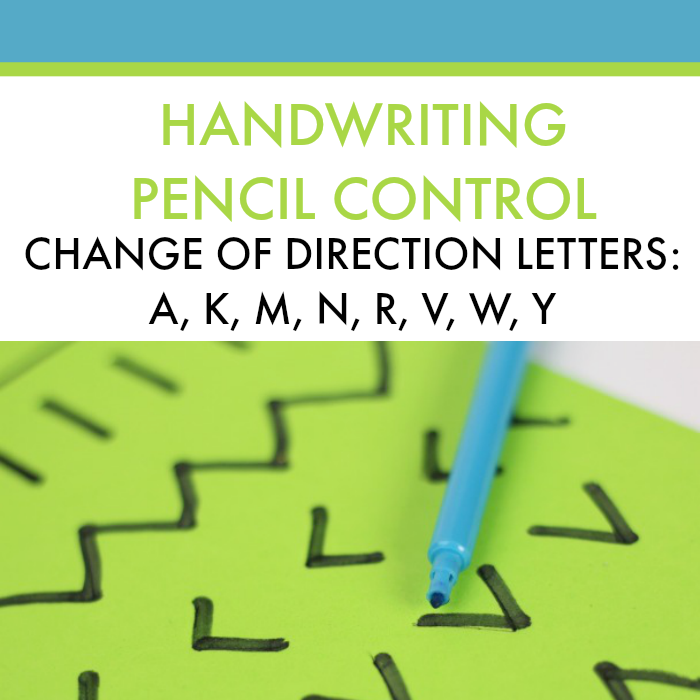
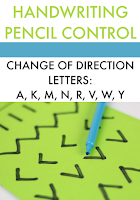
This handwriting activity is perfect for kids who are working on letter formation when writing. Specifically, it’s an easy handwriting activity and an exercise in direction change that is necessary for letters with angles (A, K, M, N, R, V, W, Y) that require the child to use precision of pencil control. We used foam sheets as a tool for helping kids develop the motor plan necessary for improved pencil control in direction change when writing and forming letters.
When kids write, they sometimes don’t notice the specifics of letter formation. The faster they write, the more those details of letter formation diminish. When a child needs to write a creative writing assignment or a complete a writing prompt that requires creative thought, often times letter formation lags. Kids who demonstrate fair to good letter formation when writing one-on-one with a therapist or teacher but then can not seem to carryover the skills into the classroom environment would benefit from this activity.
Handwriting Activity for Direction Change in Letter Formation
The foam sheets are an effective tool for helping kids develop the motor plan needed for change in direction when writing with a pencil.
This post contains affiliate links.
There are several reasons why the unique surface of the foam sheets provides an excellent means for helping kids form letters accurately:
The foamy surface of the foam sheets provides resistance and feedback through the pencil as writing strokes are formed.
Children are able to write at the appropriate size for their age and development. Preschool aged children can practice motor control in pre-writing strokes.
Kindergarten students can work on the changes in direction that make up the letters described above.
Older kids can practice a smaller version of letters on this foamy surface.
Writing on the foam provides proprioceptive input through the pencil or pen and allows kids to form letters with resistance. unlike writing in play dough or clay, the writing utensil strokes are more consistent and accurate.
When preparing this handwriting activity, therapists or other adults can form the letters into the foam with increasing or decreasing amounts of pressure. The “letter guide” that is formed can provide various amounts of physical prompting to the student as they form parts of the letters.
Additional cues can be provided by tracing over the letters or forms with a black marker. This provides high contrast markings for increased visual cues.
Kids can practice letter formation needs with this open-ended handwriting tool. Some children form letters with a change in direction with a seemingly disregard for how their pencil strokes connect. Other students write quickly and use inaccurate letter formation that affects legibility.
Work on the angles of letters such as a closed top to the letter “A”, a slant in and out for the letter “K”, and pencil lines that connect when forming a letter “R”.
How to set up this letter formation handwriting activity:
To prepare the foam sheets, you’ll need a ball point pen. An adult can write the letters, letter parts, or pre-writing strokes on the foam sheet. Apply more pressure to the pen for more physical cues for the child. If needed, trace over the forms with a marker.
Next, ask the child to use a pencil, pen, or marker to trace over the lines. As they trace the forms or letters, ask them to slow down their writing speed and to notice how the pencil strokes touch (if forming a complete letter or an angle).
This handwriting tool is great for helping kids with many different writing needs. Let me know if you try this easy handwriting activity. I would love to see your version!
Recently, I shared a 30 day series on handwriting. I love coming up with easy creative ideas that build the underlying development of skills so much that I wanted to create a weekly series on easy handwriting activities. These are creative activities that can be used with every day toys, tools, and strategies that will improve the underlying skills that are a MUST for legible handwriting.
The activities that you will find in this handwriting series will be great for anyone who works with kids on handwriting.
The school based Occupational Therapist can add these easy treatment ideas to their therapy bag.
The teacher can add these activities and strategies to their classroom schedule in a way that makes handwriting fun.
The parents who are tired of dealing with the handwriting whine-athon can try strategies at home when practicing handwriting over and over again just doesn’t work.
Handwriting Activities for Kids
Handwriting doesn’t have to mean practice over and over again.
Have you ever wondered about the musculature of the hand and how the ligaments and joints work together to allow us to hold the pencil in a functional way?
No? Maybe it’s just me and my Occupational Therapy nerd status.
Even if you aren’t concerned with every detail of the “why” and the” how these activities help kids perform everyday activities, I’m excited to share this resource with you as a place to find awesomely easy fine motor activities that can be used by parents, teachers, and therapists to help kids boost their ability to write more legibly, carrying over the skills they learn, and writing in a way that they can read what they write.
This series will be focused on the underlying skills that are needed for better handwriting. It will focus on the tools that make improving handwriting fun. The tools that you have in your toy closet or buried at the bottom of your therapy bag are the ones that can be used in an unconventional way to improve intrinsic muscle strength or address finger isolation in creative ways…all while helping with handwriting legibility!
Use creative strategies to build the visual perceptual skills and visual motor integration abilities to help with handwriting struggles.
Stop back every week for Tuesday Handwriting Tips!
The series starts next Tuesday. Be sure to stop back each week to see what Tools we’re using to work on fine motor skills. You can bookmark this post or pin it to your fine motor activities pin board because I’ll be adding all of the Easy Handwriting Tips here each week!
Don’t forget, Tuesday Handwriting Tips starts next week!
Here are a few of our favorite ways to sneak handwriting strategies into play and creative, hands-on activities:
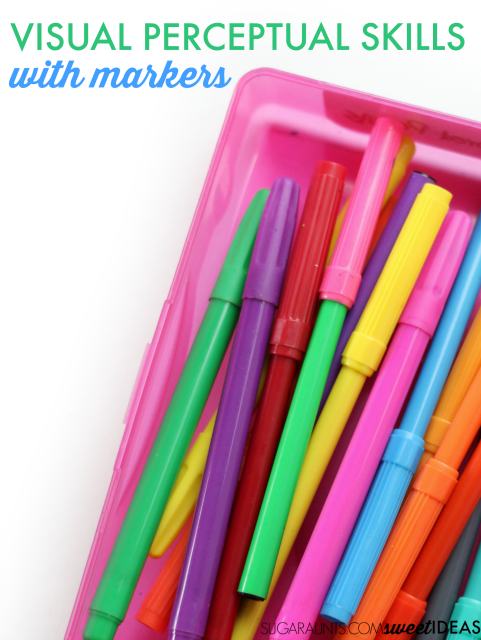
If you have kids in your house, you probably have a pack of markers. Kids love markers! Here are a few ways to develop visual perceptual skills with markers. Using a common item like regular old markers makes addressing visual perception and the skills needed for handwriting easy and frugal.
Most parents know that addressing the underlying vision issues behind reading and writing challenges can be quite difficult when there are costs of therapy or treatment tools. Using a cheap-o tool like a regular pack of markers is an easy way to get around the cost of high-price therapy tools. Likewise, for the teachers or school-based Occupational Therapist, inexpensive treatment for a common challenge is essential.
This post contains affiliate links.
Work on visual perceptual skills with markers
Handwriting, reading, and almost every activity that we do requires visual perceptual skills for visually scanning, pinpointing essential information, and attending to details like lines on paper.
Related read: These visual perception apple theme shape stamps are a perfect way to work on visual perceptual skills and fine motor skills with DIY stampers.
You can find more easy handwriting activities like this one in our new Easy Handwriting Activities series. Each Tuesday, we’ll be sharing creative and easy ways to help with handwriting. If you are looking for more tips and strategies to help with handwriting, be sure to join our Sweet Ideas for Handwriting Help Facebook group.
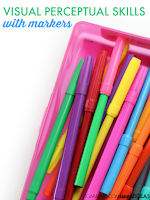
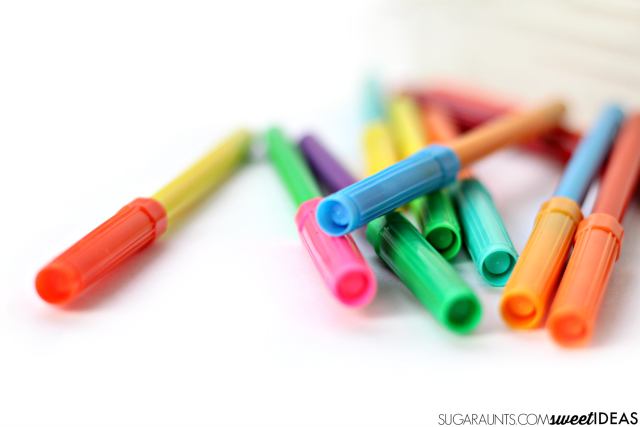
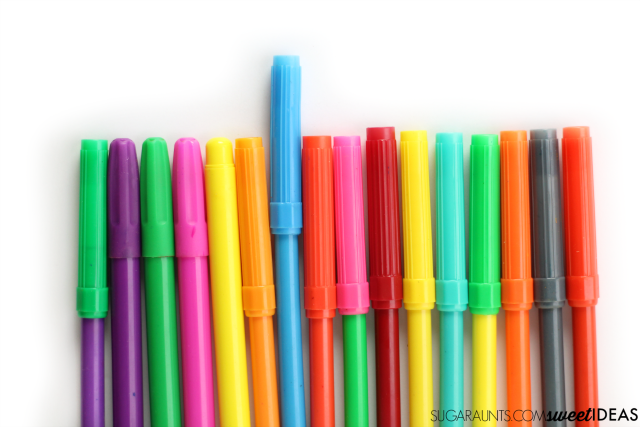
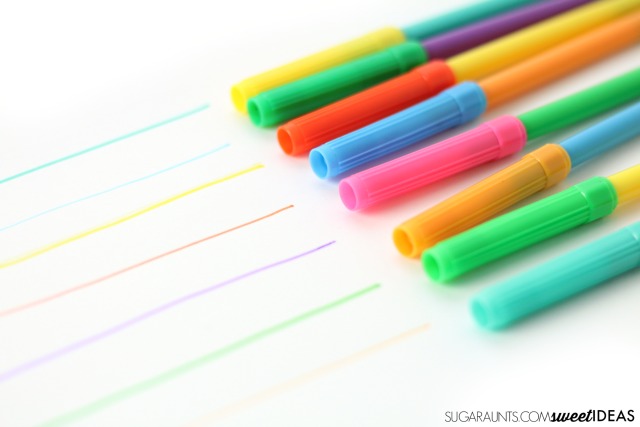
We used a simple pack of markers. This type is perfect because the whole marker is the color of the ink. It allows kids to match up colors for some of the visual perceptual activities outlined below. I love a big collection of markers like these onesfor these visual perception activities because there are several markers in a single color or shade. For example, using several shades of red is a great way to work on visual discrimination and form constancy.
Here are ways to use markers to work on perceptual skills:
1. Pour the entire pack of markers into a small bin like a pencil box. Ask your child to pull out a specific color or a sequence of colors.
This helps kids work on figure ground skills.
Visual figure ground allows us to pull out important information from a cluttered background. This is an important skill for handwriting when we visually pull out written work from a paragraph when we copy.
2. Line the markers up side by side. Position some of the markers with the caps in one direction and most of the caps pointing in the other direction. Kids can point to or name the colors that are pointing in the wrong direction, while working on visual discrimination.
Visual discrimination skills allow us to determine subtle differences in things.
Visual discrimination is needed for written work when we notice a “b” vs. a “d” or an “h” vs an “r”.
3. You will need a couple of markers of the same color or shade for this activity. Remove the red caps from some of the markers. Place them back on other markers, mixing up the lids. Place a handful of markers in a pencil box. Ask the child to look in the bin and point to or pull out the markers that have “red”. Some of the markers have a red bottom and others have a red cap.
By performing this activity, kids work on form constancy.
They are able to address this visual perceptual skill needed for written work by becoming more aware of shapes and letters that are the same no matter what direction or size they are.
4. Place a handful of markers in a pencil box. Ask the child to look at the bin for a short period of time. Ask them to look away as they cover their eyes. Then remove one or two markers. Ask them to look back at the bin and determine the markers that have been removed.
This task addresses visual memory.
Visual memory is an essential skill for copy work in handwriting tasks.
5. Place a handful of marker lids on a table lined up side by side. Ask the child to remember the order of the markers and then cover up the lids. They can then use the corresponding markers to draw lines in the same order that the marker lids were in.
This activity is a great one for addressing visual sequential memory.
Visual sequential memory is a visual perceptual skill that is essential for writing words and letters from left to right without constantly copying each letter one at a time.
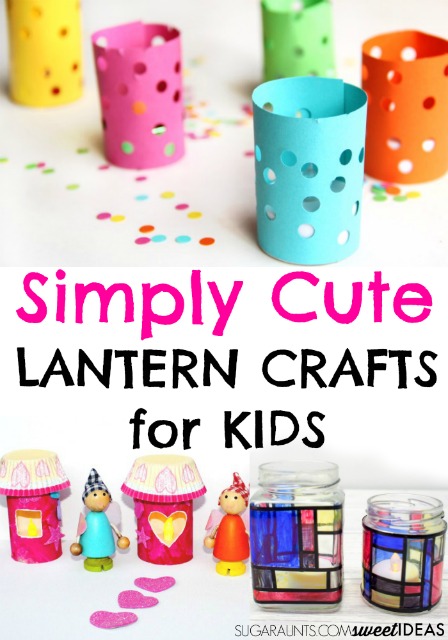
These lantern crafts are not only cute, they are easy to make. Sometimes you need a go-to place for crafty ideas when the kids are itching to make crafts, and this list of lantern crafts is it! Gather up the art supplies, grab the kid-friendly scissors and get ready to craft with the kids!
Cute Lantern Crafts For Kids to Make
Try these crafty ideas with the kiddos this weekend:
Color Block Candle Holders from Moms and Crafters
Winter Village Luminaries from Red Ted Art
Fine Motor Lantern Craft from Sugar Aunts
Fairy House Luminaries from Messy Little Monster
Paper Craft Snowflake Luminary from Papercraft
Mondrian Inspired Luminaries from Mum in the Mad House
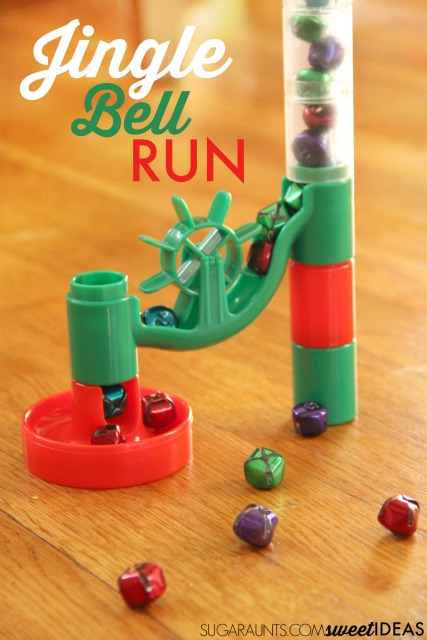
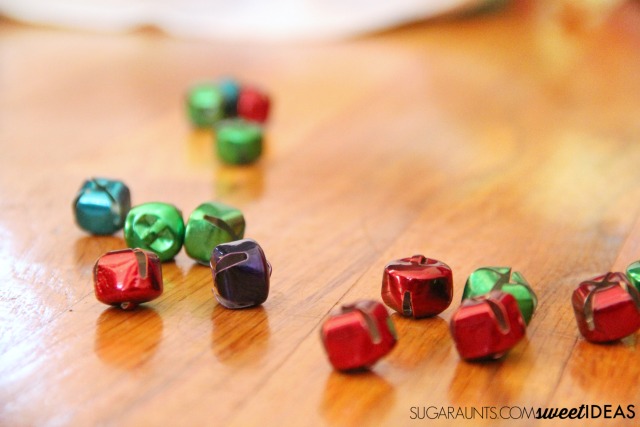
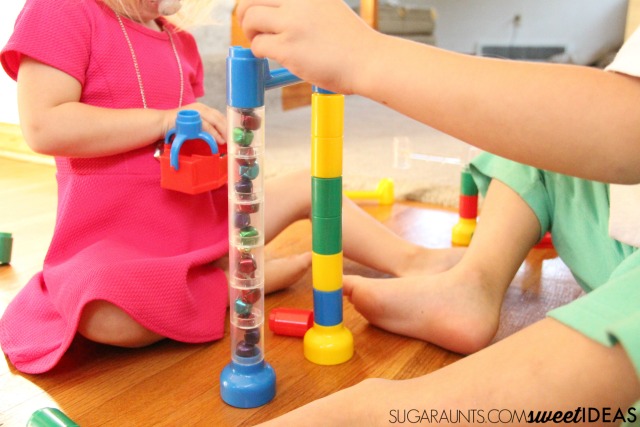
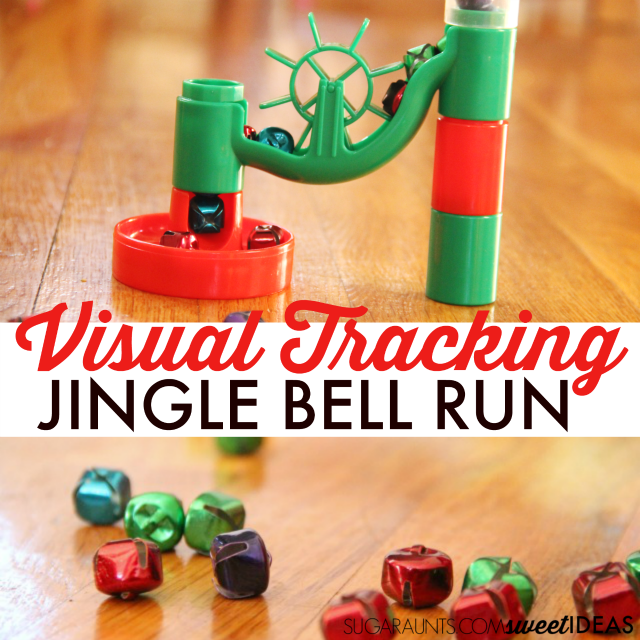
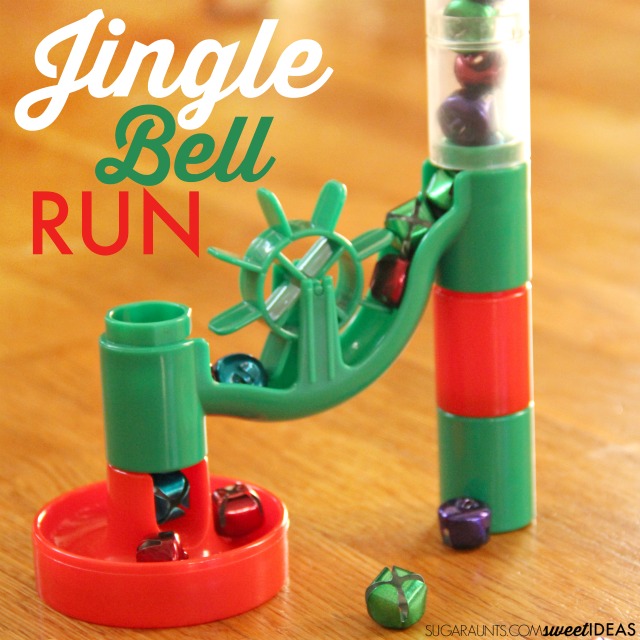
This Christmas activity was one that happened by accident. We were playing with our marble run one day recently when the kids started rolling jingle bells across the floor. Before we knew it, jingle bells were making their way down the marble run. It may have been a certain preschooler who thought, “Hmmmm. I wonder if a bell could fit through that tube…?” And, voila! Our jingle bell marble run visual tracking activity was born! It was a great way to have a little Christmas-y fun while addressing visual tracking skills.
Essentially, following the bell as it rolls along the marble run track is a fun and festive way to help kids work on visual processing skill like the ones needed to track words in a line of text as they read, follow a ball as it’s thrown toward them, or follow a line in a maze. Visual tracking skills are also required for copying text from a book, completing word search puzzles, and completing tasks like reading.
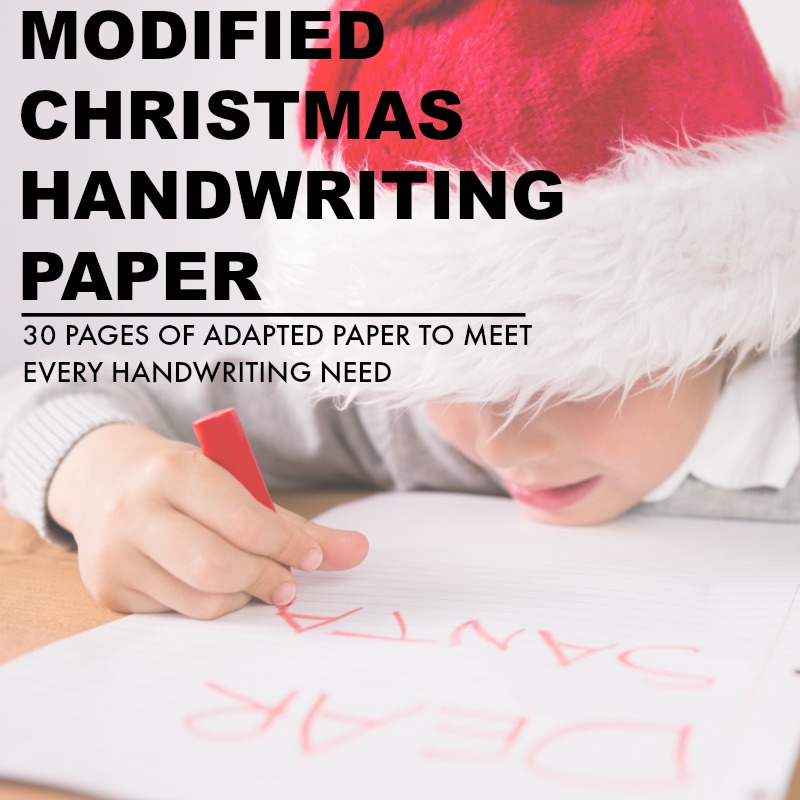
Writing out that Christmas wish list is a difficult task that brings out tears instead of holiday excitement. I’ve got a solution for your kiddo with handwriting difficulties: a packet of modified paper for all of the Christmas handwriting tasks that come up each year. Use this handwriting pack to help kids who struggle with handwriting to participate in holiday traditions while even working on and developing their handwriting skills! Working on handwriting with kids this Christmas season? Grab your copy of the Christmas Modified Handwriting Packet. It’s got three types of adapted paper that kids can use to write letters to Santa, Thank You notes, holiday bucket lists and much more…all while working on handwriting skills in a motivating and fun way! Read more about the adapted Christmas Paper here.