If you are an occupational therapist like me, then you know the power of using play tunnels in an occupational therapy obstacle course. The heavy work input provided by crawling through a tunnel is unmatched, especially when we use it as a warm up to fine motor tasks or functional activities.
Let me explain…
How Play Tunnels Help Kids
Play tunnels are one of the best tools for therapy as you can work on so many skills if you just put a little creativity into it. Tunnel activities simply invite kiddo fun and engagement while working on very important skill development across a spectrum of areas. You can use fabric tunnels or nylon, pop-up tunnels depending on the skills you want to address with tunnel play. With a little imagination you can build your own DIY tunnels too!
Tunnel for Occupational Therapy
There is a reason why OTs love using tunnels in occupational therapy sessions!
Keep reading to get some play tunnel ideas using different materials. For home-based therapists, DIY tunnels are a great tool for families to use in the home environment providing an opportunity for a fun and easy to implement home-based program. Some of these tunnel activities for babies and tunnel activities for toddlers can be used to address specific needs through play.
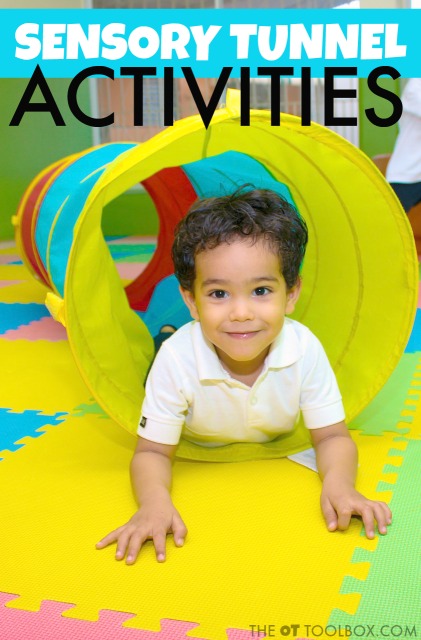
Play Tunnels and Sensory
During tunnel play, not only do therapists want to work on the obvious gross motor skills such as crawling, bilateral coordination, motor planning, core strength. Then there is the neck/upper extremity strength, lower body strength, and body awareness.
They also like to use tunnels for sensory needs such as vestibular and proprioceptive input. In the simplest of terms, the vestibular sense is known as the movement sense telling us where our body is in space, while the proprioceptive sense is known as the deep pressure sense telling us the direction, speed, and extent of our body movement in space.
These senses are important to help a child develop balance, body awareness, understand the position of their body in space as well as knowing how much speed and pressure their bodies are exerting when completing an activity or moving within their environment.
Adding a play tunnel into sensory diet activities to meet a variety of needs. It’s an easy way to encourage sensory input in the school environment, home, or clinic.
So, you may be asking, how can children gather vestibular input from tunnel time activities? You can have children roll within the tunnel, perform various body movements such as forward and backward crawling, balancing on all fours while simply crawling through the tunnel, slither on their backs, or have them crawl in the tunnel placed on top of cushions and pillows.
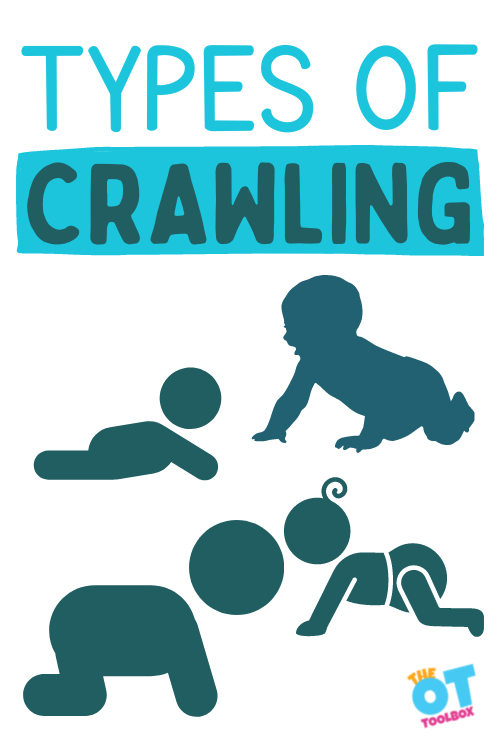
These activities are great for supporting the development of crawling in babies and toddlers, especially because we end up seeing challenges down the road for kids that skip crawling. Here’s what an OT has to say about types of crawling.
Proprioceptive input can be obtained while the child is bearing weight on the upper and lower extremities during crawling providing input to the joints and muscles. They can push objects through the tunnel such as large therapy balls or large pillows, army crawl through the tunnel, and shaking the tunnel while child is inside can provide valuable proprioceptive input.
By using a play tunnel to address proprioception to improve body awareness, the proprioceptive sense allows us to position our bodies just so in order to enable our hands, eyes, ears, and other parts to perform actions or jobs at any given moment. Proprioception activities help with body awareness. Using a fabric tunnel that is snug against the body can provide good input which can also have a calming effect for some children.
Play tunnel activities
When using a tunnel, you can work on other skills that address multiple areas for children. Try some of these fun tunnel time activities:
- Play Connect Four with pieces on one
end and the game played on the other end. - Assemble puzzles with pieces on one
end and then transported through the tunnel to the other end. - Clothespins attached on end to transport
and place on the other end. You can use clothespins with letters to spell words. - Push a large ball or pillow through
the tunnel. - Crawl backwards from one end to the
other. - Slither through the tunnel (rocking
body left and right) to get from one end to the other. - Scoot through the tunnel using hands
and feet or even crab walk through the tunnel. - Recall letters, shapes, or words from
one end and highlight on paper at the other end. - Recall a series of steps to complete
a task at the other end. - Blow a cotton ball or pom-pom ball through the tunnel. Kids
love this to see how many they can blow in a timed fashion. - With pennies on one end, have child transport them to the
other end to insert into a bank. You can even give them the pennies at end of
the session if you want. - Push a car through the tunnel to drive it and park it at the
other end. - Build a Lego structure by obtaining blocks at one end of the
tunnel and transporting to the other end to build. - Intermittently crawl through the tunnel and lie within one
end to work on a drawing or handwriting activity. This is just a different and
motivating way to encourage handwriting practice. - Crawl over pillows or cushions placed inside or outside of
the tunnel. - Use a flashlight and crawl through the tunnel gathering specific
beads that have been placed inside to string at the other end of the tunnel. You
could work on spelling words with letter beads or simply just string regular
beads. - Place Mat Man body pieces at one end and have child obtain
pieces per verbal directive and then crawl through the tunnel to build at the
other end.
tunnel activities for preschoolers
Ok, so for the preschool age range, let’s come up with tunnel activities for preschoolers that support development at this stage.
- Crawl through a tunnel while holding a puzzle piece like a letter from an alphabet puzzle. Then they can place the puzzle piece in the puzzle when they get through the tunnel.
- Set up an obstacle course with tunnels to crawl through
- Play “follow the leader” through the tunnel. This is great for direction following and body awareness for preschoolers.
- Crawl through a tunnel to match objects or sort colors. I like using blocks to sort into baskets.
- Pretend the tunnel is a cave or secret hideout during imaginative play.
tunnel activity for toddlers
Next up are some of my favorite tunnel activities for toddlers. These also help to support development at the toddler stage.
- Crawl through a fabric or pop-up tunnel
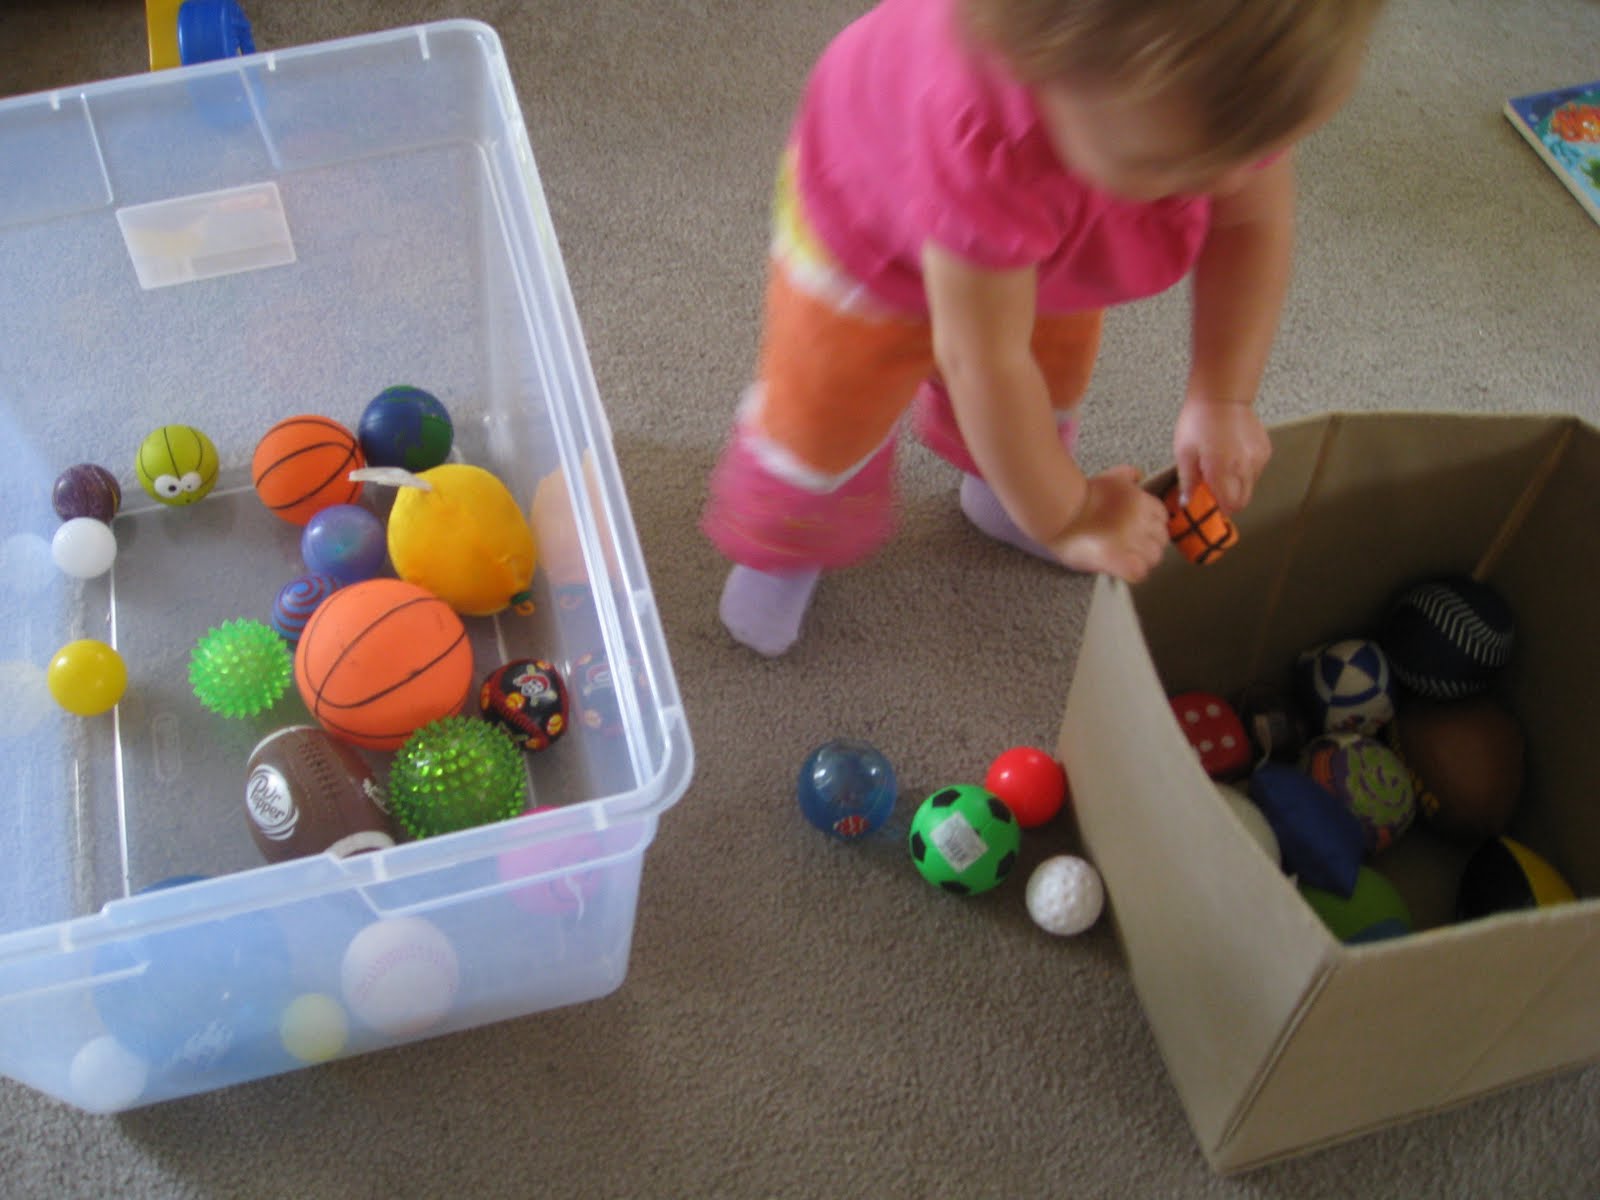
- Push a toy car or ball through a tunnel
- Play peek-a-boo at each end of the tunnel
- Roll a ball back and forth through the tunnel
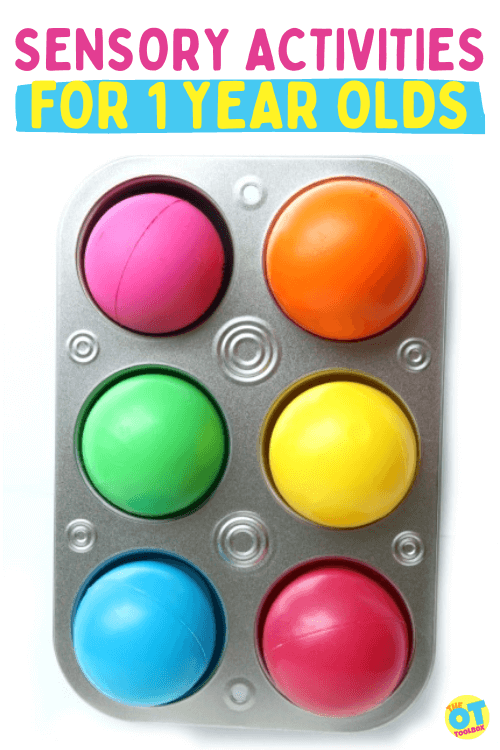
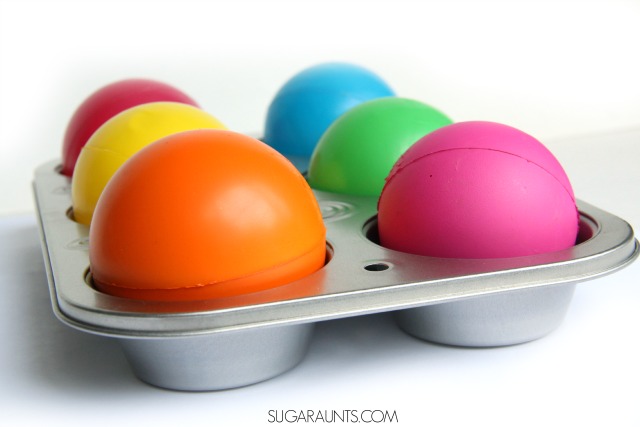
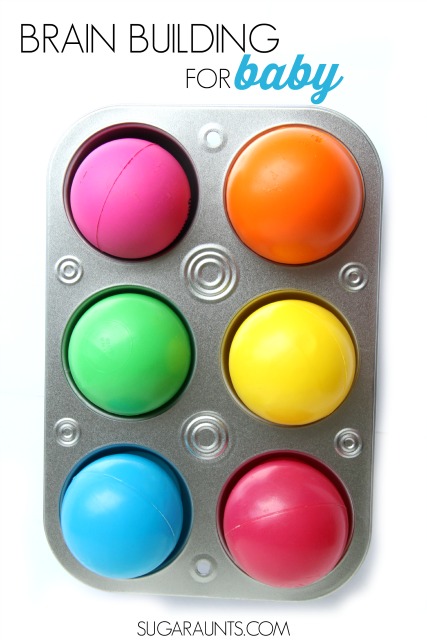
- Crawl to retrieve objects placed inside the tunnel. I like to pair this idea with our ball in a muffin tin activity.
Next, I want to share some DIY play tunnel ideas because as occupational therapists, we are always coming up with fun play ideas using everyday materials!
DIY Play TUnnel Ideas
So, as mentioned previously, what if you don’t have a tunnel or you want to create one within a home for developing a home-based program? Well, make one! How can you do this? Read on for a few fun ideas.
- Create a tunnel by crawling under
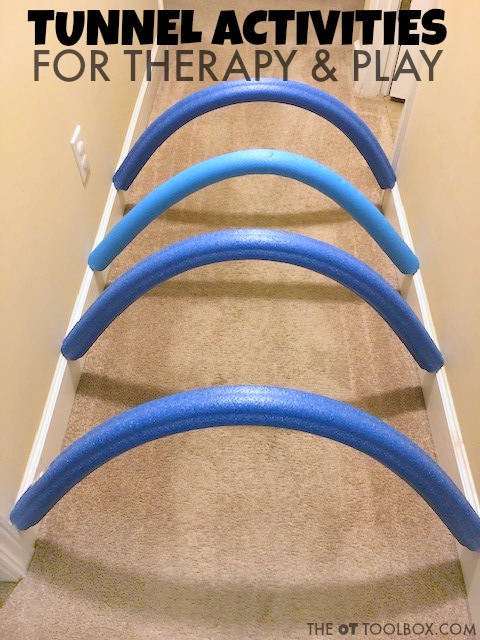
tables or chairs. - Create a tunnel in the hallway with
use of pool noodles. Bend them over in an arch to fit or simply cut them down
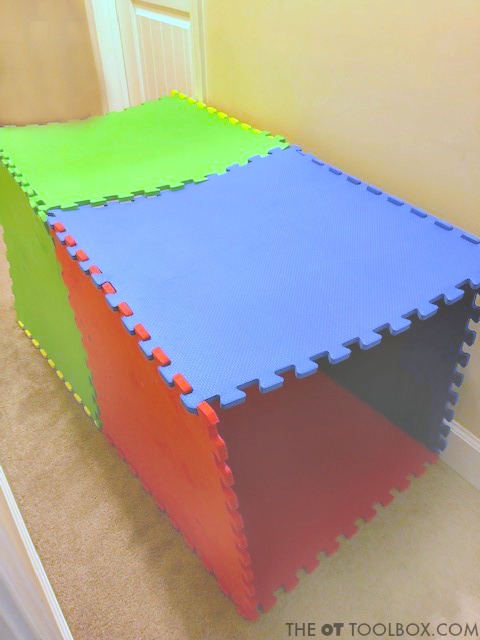
to size to slide directly between the walls. - Use large foam connecting mats and assemble
a tunnel. - Use tape or yarn and string to
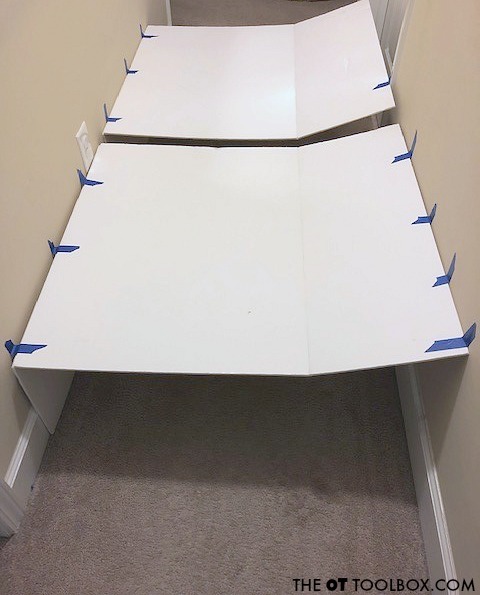
alternating walls down a hallway to crawl under. - Use sturdy pieces of foam board
positioned or connected together to make a tunnel. - Use an elongated cardboard box. Sometimes
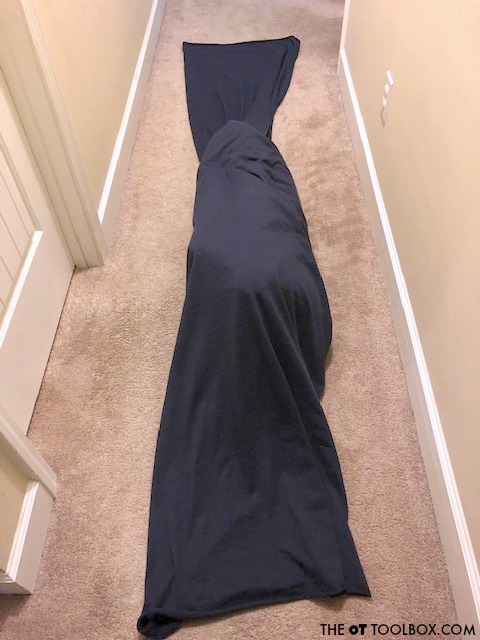
you can get large boxes at an appliance, hardware, or retail store. - Stretch a sheet or blanket over
furniture and crawl. - Simply place a sheet or blanket on
the floor and have child crawl under it (a heavier blanket works well). - Place a therapy mat inside a series
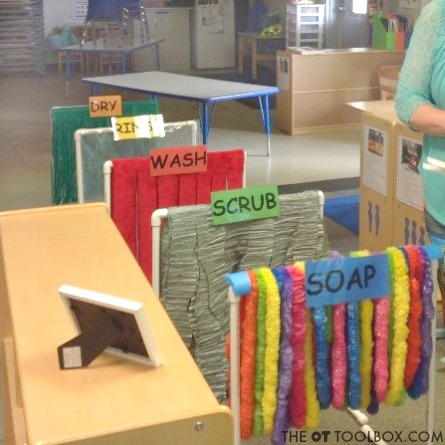
of hula hoops. - Use PVC pipe to build a tunnel. Add sensory items to the PVC
frame to create a fun sensory element to the crawling experience. One such
tunnel was built by my wonderful fieldwork student, Huldah Queen, COTA/L in
2016. See the picture below. - Sew a fabric tunnel (if you have that skill).
- Use pop up clothes hampers connected together after cutting
out the bottoms. - Simulate tunnel crawling with simple animal walks or moves.
Tunnel activities can facilitate child engagement while providing an optimal skill development setting. Tunnel time can address gross motor and sensory needs while also incorporating other activities making tunnel time a skill building powerhouse tool. Incorporate fun fine motor and visual motor activities to make tunnel time a “want to do” activity every time!

Regina Parsons-Allen is a school-based certified occupational therapy assistant. She has a pediatrics practice area of emphasis from the NBCOT. She graduated from the OTA program at Caldwell Community College and Technical Institute in Hudson, North Carolina with an A.A.S degree in occupational therapy assistant. She has been practicing occupational therapy in the same school district for 20 years. She loves her children, husband, OT, working with children and teaching Sunday school. She is passionate about engaging, empowering, and enabling children to reach their maximum potential in ALL of their occupations as well assuring them that God loves them!


