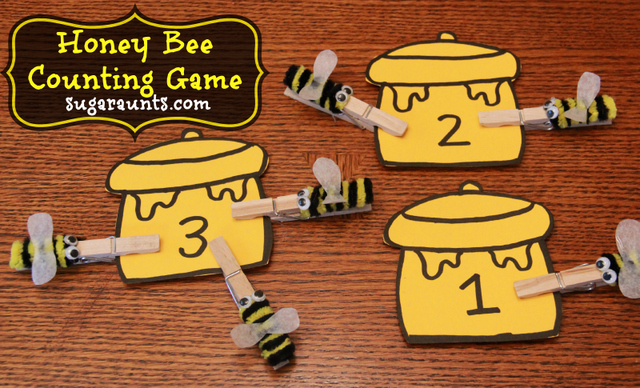
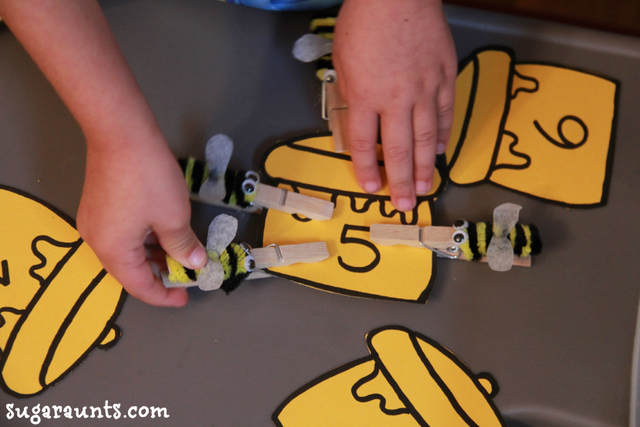
We used our honey bees in a fine motor game where we matched the number of bees to the number on a honey pot. The pinching motion to open the clothes pin is great for strengthening the muscles in little hands. It really develops the arches of the hands and allows the child to improve his or her tripod grasp and handwriting. This was a great activity for Little Guy (age 4), who is learning one-to-one correspondence in counting and number awareness.
When we were given the opportunity to work on a Winnie The Pooh post, the three of us Aunts were SO excited! We (and our kids) are huge fans of Pooh Bear and all of his friends.
Did you watch this video as a child like we did? You might remember the catchy songs and the cute and cuddly friends. Now you can experience again (and with your own children), the friendships, imagination, and adventure of the Hundred Acre Woods when all of your favorite characters come alive in this timeless motion picture.
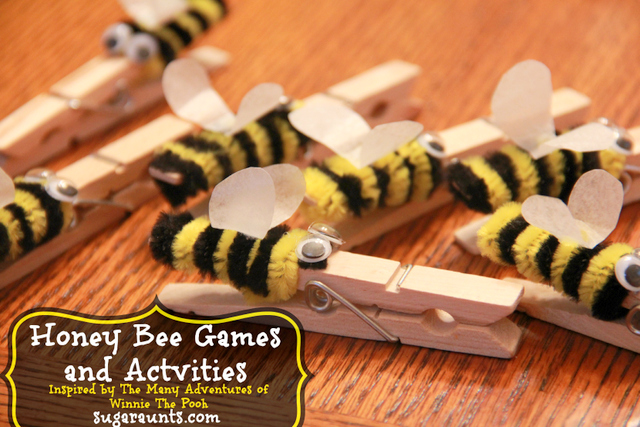
My kids were delighted with the bee scene in the movie, when Winnie The Pooh is trying his hardest to stop the “rumbly in his tumbly” with a little honey. Little Guy has been singing this tune over and over again. We decided to make some honey bee games and activities to go along with this scene. We love to encourage fine motor, gross motor, and sensory development with our kid’s activities and crafts, and had to include those skills here, too!
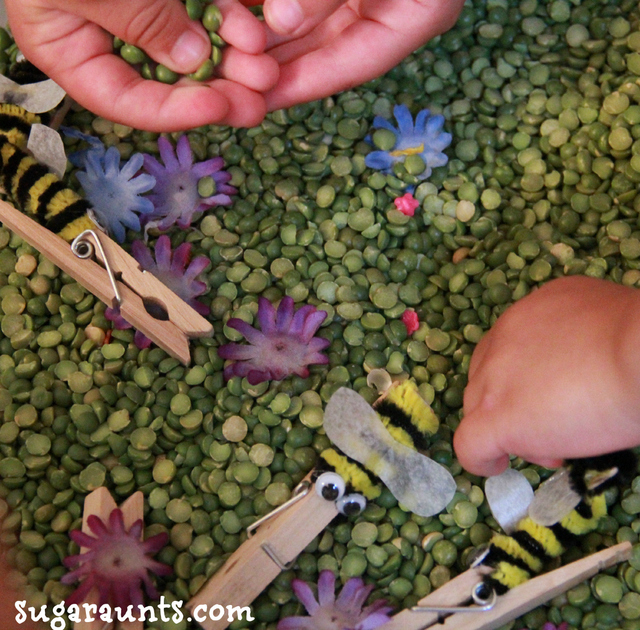
I created honey bee pinch pins that were perfect for our little screening party and could be used in so many ways.
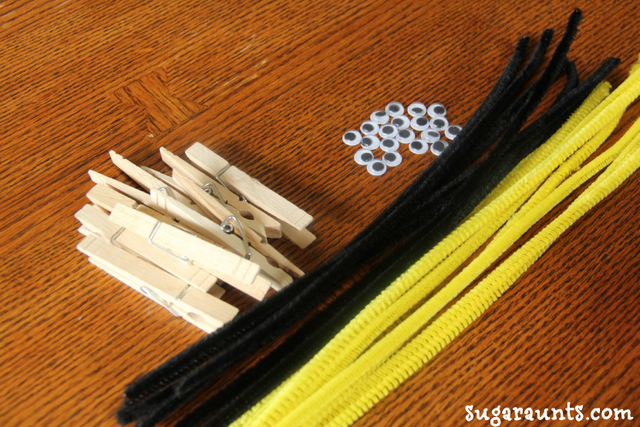
Materials: clothes pins, yellow and black pipe cleaners, googly eyes, wax paper, hot glue gun and glue.
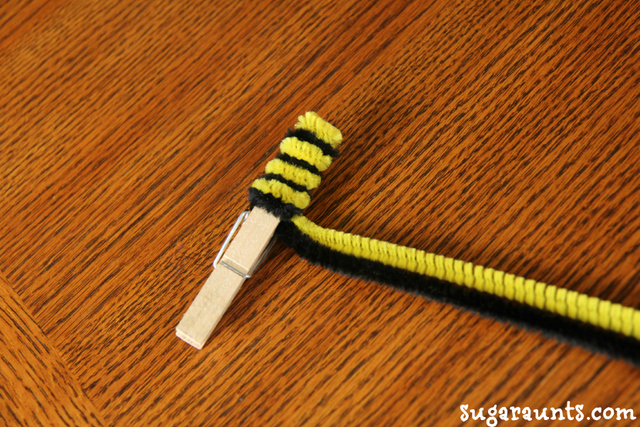
Directions: 1. Pinch together one black and one yellow pipe cleaner. Wrap these around the end of a clothes pin. We used about half of each color pipe cleaner and cut the excess off.
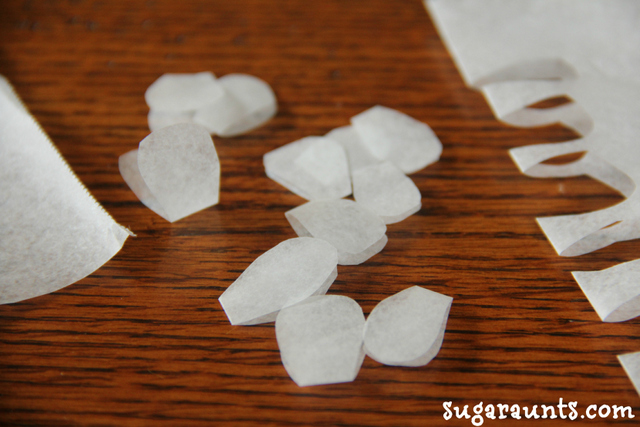
2. Cut wings from wax paper. Use the hot glue gun to glue the wings to the backs of the bees.
3. Hot glue the googly eyes to the front of the bee. Your bee is now ready for play!
Honey Bee Fine Motor Game
We used our honey bees in a fine motor game where we matched the number of bees to the number on a honey pot. The pinching motion to open the clothes pin is great for strengthening the muscles in little hands. It really develops the arches of the hands and allows the child to improve his or her tripod grasp and handwriting. This was a great activity for Little Guy (age 4), who is learning one-to-one correspondence in counting and number awareness.
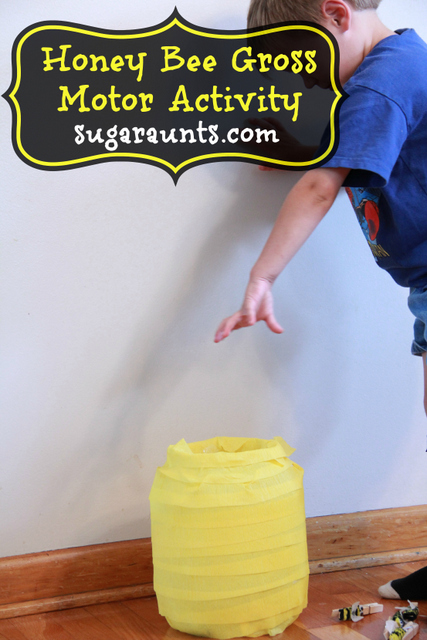
Honey Bee Gross Motor Activity
The honey pots were used again when we played a faster paced gross motor game, encouraging the kids to use their large muscle groups. This time, I spread the honey pots out all over our living room floor. I called out a number and the kids would have to race off to find the honey pot with that number. Once they found their honey pot, they then had to run over to a large bee hive that we created from a recycled snack container and crepe paper. I asked them to count out the number of bees to match the number on their honey pot, and drop them into the large bee hive. To make it harder for my preschooler and kindergartener, I had them close their eyes. This gross motor activity was just what they needed to get some energy out on a rainy afternoon! As a bonus, they were developing their eye-hand coordination, and visual scanning skills as they scanned for numbers and counted out the bees. They have already asked to play this game again! This would be such a fun game for a Winnie The Pooh themed birthday party…and I have two little ones to attest for it being fun!
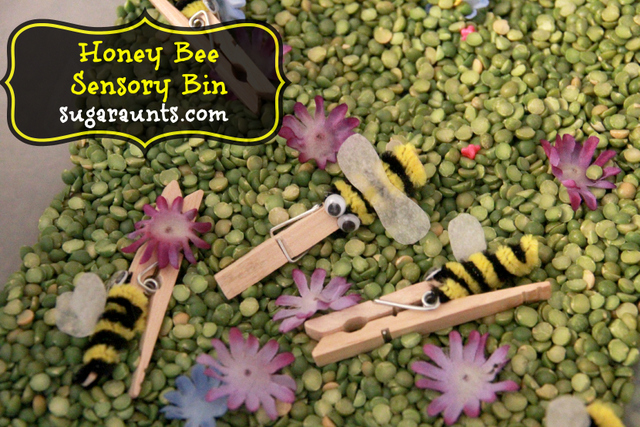
Honey Bee Sensory Play
Our honey bees were really loved when they were added into a themed sensory bin. I poured in a bag of dried split peas, a few fake flower petals, and a handful of plastic flower beads for fun sensory exploration. A sensory bin is such a great way to explore different textures, manipulate small objects, and develop language with little ones. My kids loved using the honey bees to pinch the flower petals and buzzzzz around, only to drop the petal back into the bin. This sensory bin stayed out in our dining room for a few days and was played with quite often!
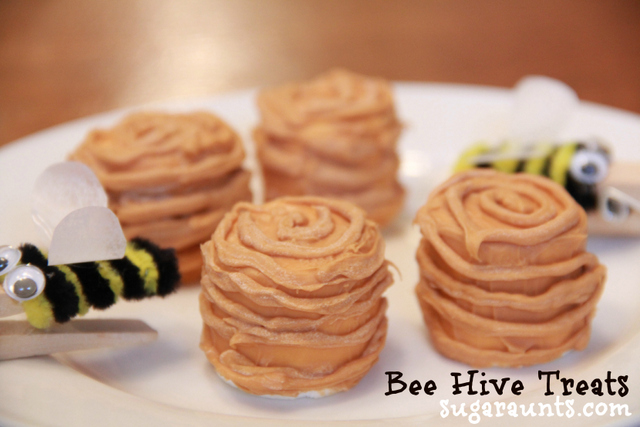
Honey Bee Treat
We had such a great time watching The Adventures of Winnie The Pooh and then playing all of our honey bee games and activities, that we worked up an appetite. I threw together a quick bee hive snack made from a marshmallow and melted butterscotch chips. This was the perfect ending to a fun day. If you are planning a Winnie The Pooh party or movie play date, I hope you will use some of our ideas!
We’ve been enjoying some beautiful weather and having TONS of outside play. We’ll hang out in our back yard and get into all kinds of ball throwing, tree climbing, water playing fun. One morning we pulled out some lumps of clay. They were combined into pretty swirls of colors. Ad a few leaves and sticks and we had
Nature Art Sculptures from Clay!
This clay is reeeeally hard, so we put it into a bin of water and pressed and pulled the clay until it became softer. The warm sun didn’t hurt either. What better fine motor strengthening play than messing with clay!
The sticks and colorful leaves
(HOW are the leaves falling already!?!)
made pretty little sculptures for our driveway.
Pushing those sticks into the hard, resistive clay was great fine motor dexterity work, including tripod grasp for the smaller trigs, and tip to tip grasp to push the leaf stems into the clay lump.
These lumps of clay turned into something else not long after our sculpture fun…wait until you see what happened next 😉
Looking for more ways to work on tripod grasp? Start here:
We love getting messy with sensory play with our kids. There is so much learning. And fun to be had! We’ve featured sensory play before and we just couldn’t help doing it again! These features are a great way to explore colors and textures with a lot of learning mixed in. Wouldn’t it be an AWESOME line up for a messy play date? Stop by and check out what these bloggers did to get messy. You’ve got all the recipes right here!
We’ve done the no-mess window painting a few times before (Seek-and-find, and Colored gel mixing to name a couple) and had a lot of fun with it. This time we added a spelling component to add a few Kindergarten sight words to the fun.
This is so easy and Big Sister had fun moving the letters around in the paint to work on some fine motor skills, too.
Pour a little bit of paint into a sandwich baggie. Add a few foam letters. Seal the baggie closed. Tape it to a window and start to play! We had a really rainy day recently and this was a fun indoor learning activity. (You can see the raindrops on the picture!)
You’ll also love our diagraph spelling word poem that helps children with learning commonly misspelled words.
Fine Motor Letter Learning
Moving the foam letters around in the baggie is resistive and a really great fine motor strengthening activity to work the fingers. The child is able to isolate her index finger to move the letters around.
Add a few extra letters to work on rhyming words. This is also great for just placing right on the table surface and better for smaller kids that way, too. Littler ones can just move the letters around and address letter identification and colors.
Check out these fun Summer Sensory Play ideas and get a little messy. Do it now while you can hose off in the yard and before the leaves start falling 🙂
Our Features:
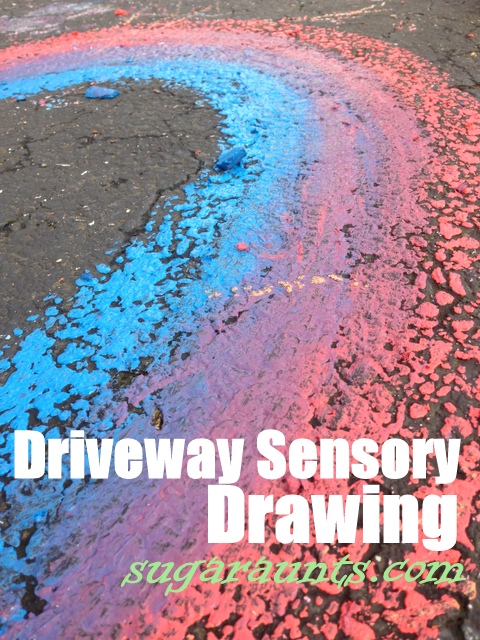
There’s Magic Out There shares a messy chalk activity. We’ve played with wet chalk a few times, and this one is fun!
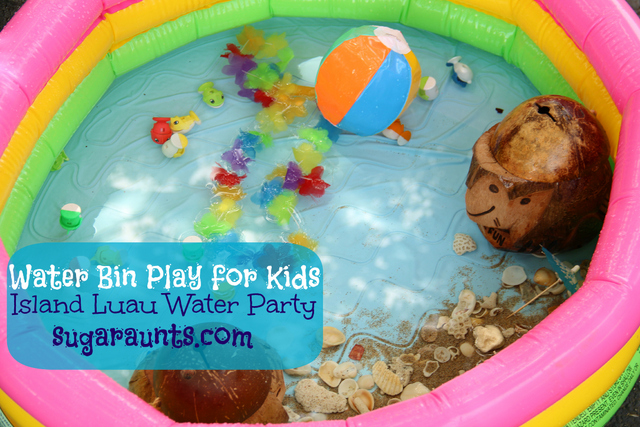
This was our last water bin in our Water Bins for Kids series with Frogs and Snails and Puppy Dog Tails. This was definitely the most fun water bin for us this summer! We ended the series with a splash!
(Yes, had to go there!!)
This is a great addition to a color by letter worksheet. Just print and go and work on so many areas of development.
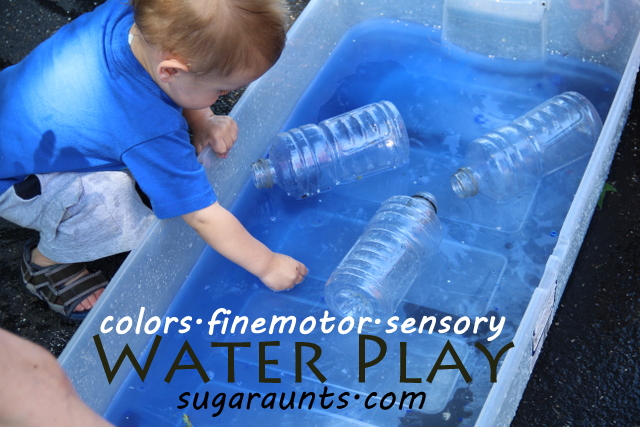
Letter Water Bin
This week’s theme was Color Matching!
Two of us sisters got together one day this week and had SO much fun with the kids on a hot and sunny afternoon.
We started with a colorful plastic bin and filled it with water. We threw in our bin of colorful magnetic letters (see another fun letter sensory bin here), and egg dying cups in lots of colors.
We started by scooping the letters into the floating cups and trying to catch the matching letter. We asked the kiddos what letter they found, the color, and if the letter color matched the cup.
This activity is a good one for bilateral hand coordination, eye-hand coordination, and fine motor skills. They had to use both hands together in a coordinated manner, while visually tracking the letters as they flowed around in the water. Then, with both hands on the cups, scoop up the letters. How fun!
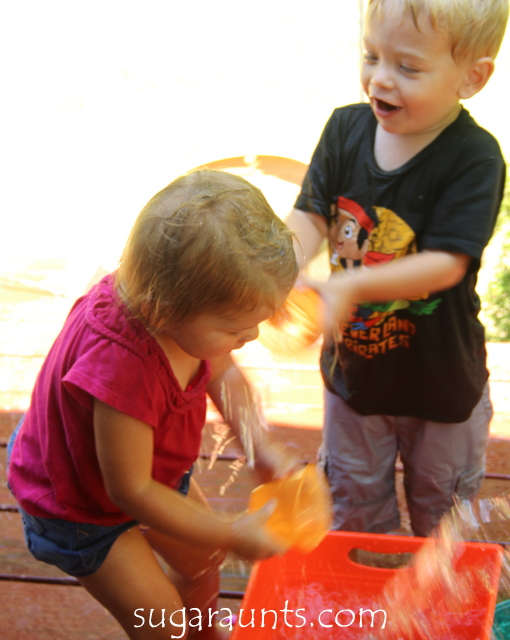
Of course, when these cousins get together, there is sure to be silliness. The two younger ones were the instigators in the splash down.
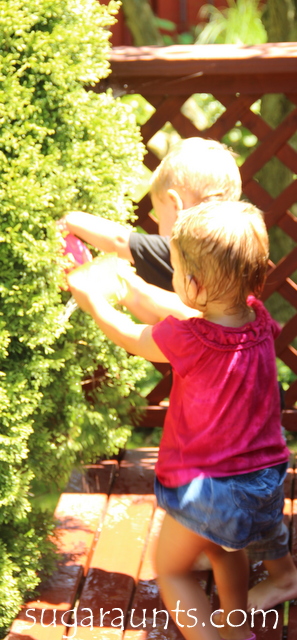
We pulled out a metal curtain rod and stuck a magnet to one end. It stuck to the curtain rod and was able to attract the magnets of the letters. Little Guy LOVED this!
We pulled all of the colored cups out of the water and had the kids “fish” for the letters and put them into the matching cups.
Little Guy could have done this for an hour, I think…if it were not for his fun-loving little Sister and cousin dumping water on everyone.
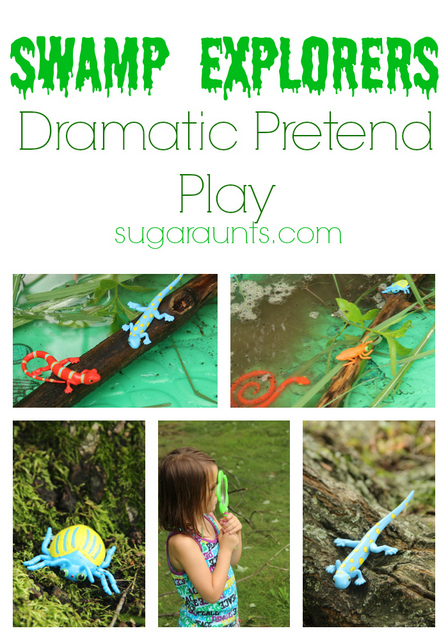
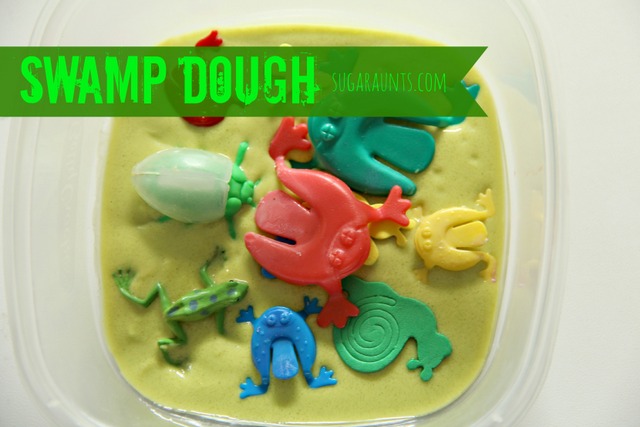
This swamp explorers activity for kids is a water dramatic play idea that builds skills through sensory swamp fun! As parents and caregivers, we’re always on the lookout for fun and educational activities to keep our kids engaged and entertained. If you’re looking for an activity that will transport your child to a whole new world of imaginative play, look no further than a swamp sensory bin! By creating a miniature swamp environment in a bin filled with sensory materials, you can encourage your child’s creativity and sensory exploration while also helping them learn about the natural world. In this blog post, we’ll show you how to set up a swamp sensory bin and provide some ideas for how your child can use it for pretend play. Get ready to dive into the murky depths of a swamp and have some swamp-tastic fun!
Swamp Sensory Bin
A Swamp explorers activity with water dramatic play is a fun way to pretend to explore a swamp…without the threat of alligators and snakes!
We love great sensory play. So when I saw these lizards, snakes, and bugs I knew we had to create a swampy sensory play. With a little summer learning mixed in!
I set this up for the kids by scattering a few creatures around our yard, and creating a swamp sensory bin. Complete with mucky water.
When they saw the swamp in our baby pool, they jumped right in! We went on a hunt looking for swampy creatures of all colors.
This activity is a great backyard sensory activity! It incorporates all the benefits of a nature walk with a fun theme like a swamp explorers and swamp theme!
We had a check list to find creatures of different types and color. These were stuck on to a wipe board with play dough for easy portability around the yard.
Big Sister carried this around as she and Little Guy went on a hunt for swamp creatures. She would mark them off as they found each one. We talked about similarities and differences in the animal types and colors. She loved using a white board marker to write. We worked on her handwriting including letter formation and spacing.
Little Guy is a new four year old and counted out each of the lizards, snakes, and bugs he found.
He did a great one-to-one correspondence and is getting much better at sloooowing down when he counts objects! This was such a fun outdoor learn and play activity for all of us!
You may also enjoy some of our other swamp related posts:
Working on fine motor skills, visual perception, visual motor skills, sensory tolerance, handwriting, or scissor skills? Our Fine Motor Kits cover all of these areas and more.
Check out the seasonal Fine Motor Kits that kids love:
Colleen Beck, OTR/L has been an occupational therapist since 2000, working in school-based, hand therapy, outpatient peds, EI, and SNF. Colleen created The OT Toolbox to inspire therapists, teachers, and parents with easy and fun tools to help children thrive. Read her story about going from an OT making $3/hour (after paying for kids’ childcare) to a full-time OT resource creator for millions of readers. Want to collaborate? Send an email to contact@theottoolbox.com.
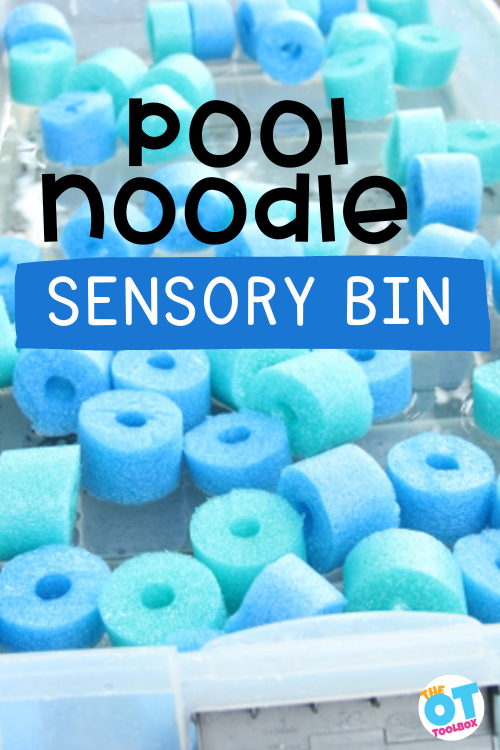
This pool noodle sensory bin is a water bin activity that uses one item…a dollar store pool noodle! We love the therapeutic benefits of ball pit activities, and using pool noodles cut into pieces is an inexpensive option with sensory benefits. This is a pool noodle game and a great summer activity for building skills in coordination and motor skills through water play and pool noodles! This might be one of our favorite easy sensory bin ideas because there are so many ways to boost creativity through a single material.
A pool noodle sensory bin can be used in outdoor sensory play, or as an indoor DIY sensory ball pit.
Pool Noodle Sensory Bin
A noodle sensory bin is a fun and creative way to encourage sensory exploration in children. One of the most versatile materials to use for a sensory bin is pool noodles, which can be found at most dollar stores or discount retailers like Dollar Tree or Dollar General. With a few simple steps, you can turn these pool noodles into a unique sensory play experience that your child will love.
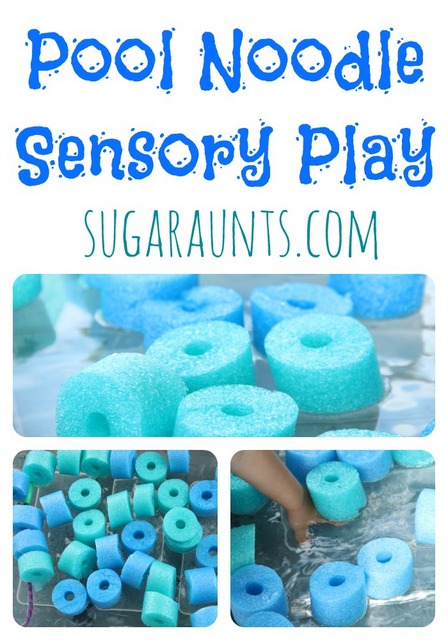
This week’s theme was so much fun and EASY to throw together. We had a couple of pool noodles purchased from the Dollar Store that we used for our family reunion games (keep an eye out for the post on this!) These pool noodles were just asking to be played with!
How to make a Pool Noodle Sensory Bin
If you aren’t familiar with pool noodles, these floating pool noodles into sensory ball pit fillers is easy.
Pool noodles are buoyant so if you fill the sensory bin with water, they will float. However, you can make a dry ball pit as well, and they are a great foam filler that offers calming proprioceptive and tactile input.
You can typically find pool noodles at a dollar store and many other stores during the summer months. However, you can also get them on Amazon. (affiliate link) Here’s a set of 20 pool noodles that can be cut into small sections to fill a baby pool ball pit or any large container.
Making pool noodle sensory bin is very simple:
1. Use 2 pool noodles.
2. Cut the pool noodles into 2 inch slices using a sharp knife.
3. Place the cut pool noodles into a large bin. We used an under-the-bed storage bin.
4. Add water.
To set up a pool noodle sensory bin, you’ll need several pool noodles in different colors, textures, and sizes. You may also want to include some dollar store serving spoons or other utensils to help your child scoop and pour the sensory materials.
Start by cutting the pool noodles into small sections, using scissors or a serrated knife. The best way to cut pool noodles is to make sure they’re held securely and to use a sawing motion, rather than trying to slice straight through.
I cut up two pool noodles and added a couple of big serving spoons, slotted spoons, and a ladle for scooping fun. Baby Girl loved this. And of course got right in there in the water bin!
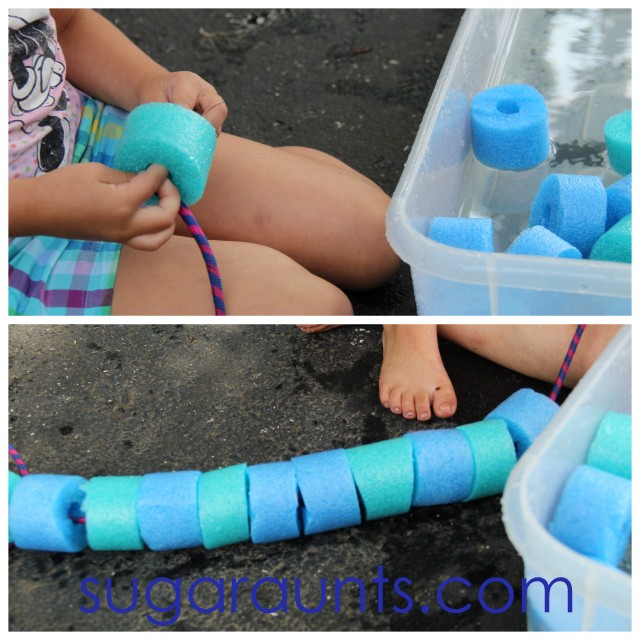
Thread a Pool Noodle
I added Big Sister’s jump rope for an extra large beading activity.
This was a great activity for large motor movements of both arms. With that huge string, and sliding the pool noodle “beads” down the rope, this really got the arms going in whole body motions.
This gross motor body motion and repetitive movements in a novel manner help brains develop new neural connections and long term learning abilities.
Not only that, threading the “beads” onto the jump rope was great for fine motor manipulation and bilateral hand control (bilateral coordination).
We did a nice pattern and had to grab the correct color as it floated along in the water bin. Reaching for and grabbing the intended color object in the water develops hand-eye coordination skills. (Eye-hand coordination!) So much learning and SO much fun!
Big Sister thought her super-sized necklace was pretty cool!
This water bin was perfect for a hot and muggy afternoon. Have you been doing any fun water play this summer?
You can use the cut up pool noodles again and again in other sensory bin activities. Add them to a dry sensory bin, too. One idea we love is to use dry rice or dry beans, or even shredded paper sensory bins as a base for hiding and finding objects like the cut up pool noodles.
You can use anything from sand and water to rice and beans as a sensory bin filler for the base for your sensory bin. Then, add the pool noodle sections on top of the base material.
Encourage your child to explore the different textures and colors of the pool noodles and to use their imagination to come up with new ways to play. Use tongs to grab the pool noodles for building hand strength, too.
One fun activity you can do with a pool noodle sensory bin is to create an occupational therapy obstacle course using the noodles. Stack them up into towers or weave them in and out of each other to make a fun and challenging course for your child to navigate. You can also use the pool noodles to practice counting or sorting by color.
If you’re looking for a bigger sensory experience, consider using an extra large pool noodle to create a sensory pool noodle tunnel. Simply cut a pool noodle in half lengthwise, and then cut off one end at an angle. This will create a tunnel that your child can crawl through and explore. You can also fill the tunnel with other sensory materials, like soft fabric or foam blocks, to make it even more engaging.
Overall, a pool noodle sensory bin is a fun and budget-friendly way to encourage sensory play in children. By using inexpensive materials from the dollar store, you can create a unique and engaging play experience that will stimulate your child’s senses and foster their creativity. Whether you’re setting up an obstacle course, building towers, or crawling through a sensory tunnel, there are endless ways to play with a pool noodle sensory bin. So grab some pool noodles and get ready to dive into a world of sensory exploration and fun!
Colleen Beck, OTR/L has been an occupational therapist since 2000, working in school-based, hand therapy, outpatient peds, EI, and SNF. Colleen created The OT Toolbox to inspire therapists, teachers, and parents with easy and fun tools to help children thrive. Read her story about going from an OT making $3/hour (after paying for kids’ childcare) to a full-time OT resource creator for millions of readers. Want to collaborate? Send an email to contact@theottoolbox.com.
Our theme for this week is Swamp/Alligators/Turtles…and Oh Yeah, this one was fun!
We used these Bath Color Tablets to make our water bin green. They only have primary colors in this set, so we talked a little about what makes green.
It was pretty cool to see the colors fizzing together in to a green swampy water!
Once we had our swamp water, I pulled out a bin of frogs, alligators, turtles, lily pads cut from foam crafting sheets, and bug shaped foam stickers.
Little Guy discovered that he could stick the foam stickers to the walls of the bin. He had a whole little story going on here. The bugs were a family and the alligators came by for a visit…there was a little battle and the bug family and alligator family went their separate ways 🙂
There were hands everywhere playing in this water bin! Sign of great sensory play 🙂
We have these little squeeze water toys that were a pretty fun addition to our swamp water bin. And so good for fine motor strengthening. When a child pinches the squeeze toys between their thumb and fingers, they are strengthening the arches of their hands.
Yes, we can add grass to our swamp.
We have been loving this play series…SO much fun! We’ve been adding our water bins to our Pinterest board: