As an occupational therapy provider, you know how important it is to develop and improve grip strength and fine motor skills in children. Activities that focus on grip strength exercises can have a significant impact on a child’s ability to complete daily tasks, such as handwriting and coloring with a crayon. Hand strengthening activities includes many aspects of strong muscles and fine motor coordination, but focusing specifically on the grip, we can target overall strength and endurance.
By incorporating grip activities, (and even targeting finger strength exercises) into your therapy sessions, you can help children build their hand muscles and coordination, which can lead to improved motor skills and greater independence in their daily lives. In this article, we will explore some fun and effective grip activities for kids that can help them strengthen their grip and develop their fine motor skills.
Amazon affiliate links are included in this blog post. As an Amazon Influencer, I earn from qualifying purchases.
As an occupational therapist and a rock climber, grip strength is pretty much always on my mind. The ability of one’s hands can determine so many outcomes throughout life, but today we are seeing more young people with weakened grip strength than ever before.
There are a few different theories on why this may be, namely that the increase in screen time and engaging with touchscreens may be a culprit. Regardless of what may be causing a change in grip strength, there is hope!
Grip Strength Exercises
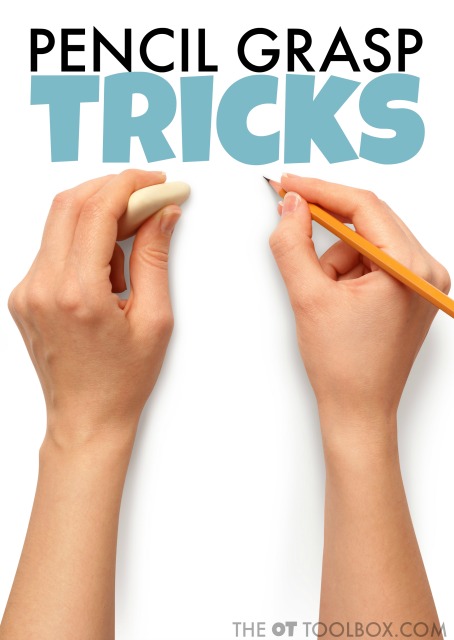
Parents and teachers know that the strength of a child’s hands can be seen in how they hold a pencil, tie their shoes, and how legible their handwriting is. And luckily for the kids, there are really some fun ways to strengthen their grip.
We’ll go into more details on these exercises below, but some ways to strengthen grasp includes:
- Coloring challenge using resistive crayons or textured paper
- Cutting heavier paper with increasing thickness or weight to the paper
- Hand gripper
- Theraputty exercises
- Resistive band exercises
- Strengthening toys
- Play dough
In this article, we’ll explore the signs of decreased grip strength, why grip strength is important for the occupations of childhood, and several grip strength exercises that are child-friendly.
What is Grip Strength?
Grip strength technically refers to the ability of the flexor muscles that are located in your forearm and travel down towards your fingertips – these are the muscles activated when you squeeze your hand into a fist.
Someone with adequate grip strength should be able to complete average grip-based activities, like holding a briefcase, shopping bag, dumbbell weight, glass of water, or watering can, without any issue.
There is a range of strength that is considered average based on your demographic, and can be tested using a tool that you squeeze called a dynamometer.
Grip strength using a dynamometer requires specific positioning of the arm to acquire the most accurate testing results. The evaluating therapist will ensure the dynamometer is positioned correctly. They will take three measurements and then determine the grasp strength from those measurements.
However, no one should really have to go out and use a dynamometer to figure out if you have weakened group strength. Just look at how the hands are functioning in daily activities, that’s what an OT would do, too!
Some functional observations indicating grasp strength is impacting performance include:
- Switching colors (more than would be expected) when coloring
- Re-positioning and dropping a pencil when writing
- Trouble closing and opening food containers: sandwich baggies, small containers, yogurt pouches (when most peers can)
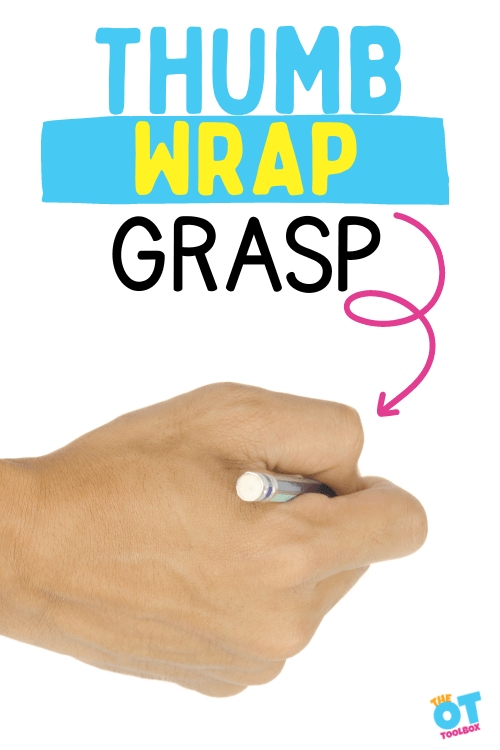
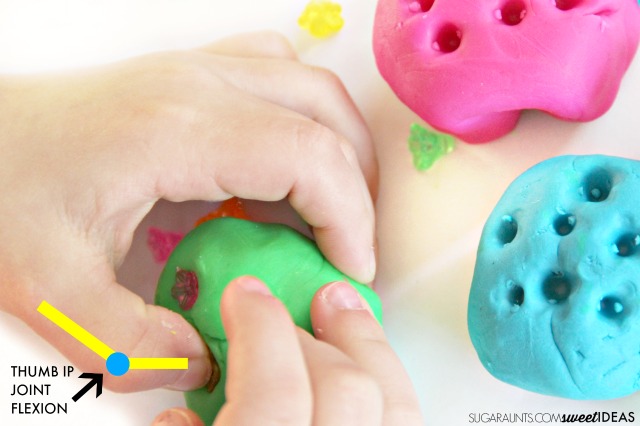
- Hyper-flexion of the thumb IP joint when buckling a car seat, writing with a pencil, manipulating small objects- this occurs as a stabilization mechanism to compensate for weak intrinsic muscles. (Read more about IP joint flexion here. )
- Squashed thumb webspace when writing, coloring, or manipulating objects- This is also a positional mechanism to stabilize. (Read about thumb webspace and weakness here.)
- Completing fine motor tasks with gross motor movements of the upper arm
- Complaining that it hurts to color or you’ll see very light coloring, especially in large spaces
grip strength muscles
Grip strength muscles include muscles which originate in the forearm and elbow (wrist muscles or extrinsic muscles), and muscles which originate at the wrist and within the hand (hand muscles or intrinsic muscles).
Grip Strength Muscles over the wrist
These muscles stabilize the wrist for an effective grip strength:
- Extensor Carpi Radialis Longus
- Estnesor Carpi Radialis Brevis
- Extensor Carpi Ulnaris
- Flexro Carpi Radialis
- Palmaris Longus
- Flexor Carpi Ulnaris
When a tight fist is made with the hand and the wrist is held in a neutral position, we can see tendons in the wrist. Try pushing back on the fist into wrist extension while keeping the wrist in neutral to resist extension. When this motion occurs, you’ll see several visible tendons:
- Flexor Carpi Ulnaris
- Flexor Digitorum Superficialis
- Prominent Palmaris Longus
- Flexor Carpi Radialis
Grip Strength Muscles in the Hand
These muscles act on the digits to sustain a grasp pattern. We can break these hand muscles down into extrinsic muscles and intrinsic mucsles
Extrinsic Muscles- These are muscles that have their proximal attachments, or origins, in the forearm or on the humerus bone. They impact the wrist as flexors or extensors in aiding the wrist muscles listed above.
- Extensor Digitorum
- Estensor Indicis Proprius
- Extensor Digiti Minimi
- Extensor Pollicis Longus
- Extensor Pollicis Brevis
- Extensor Poolicis Longus
- Flexor Digitorum Superficialis
- Flexor Digitorum Profundus
Intrinsic Muscles- These muscles originate, or begin, within the hand. We have covered this muscle group, and included activity ideas to target grip and pinch strength in our article on intrinsic muscle activities with tongs, and intrinsic muscles play dough mat.
- Four Lumbricals
- 3 Palmar Interossei
- 4 Dorsal Interossei
- Palmaris Brevis
- Thenar Muscles- Opponens Pollicis, Abductor Pollicis Brevis, Adductor Pollicis, Flexor Pollicis Brevis
- Hypothenar Muscles- Opponens Digiti Minimi, Abductor Digiti Minimi, Flexor Digiti Minimi Brevis
Signs of Reduced Grip Strength
Weak grip strength can be seen pretty clearly if you know what to look for. Here are some signs to check:
Difficulty holding onto objects: If your child has trouble holding onto pencils, toys, or utensils, it might indicate weak grip strength. They may drop things easily or use two hands when one should be adequate.
One way to assess grip weakness through a visual assessment is by looking at grasp with a flexed wrist.
- Ask the client to position their wrist in a fully flexed position.
- The fingers and thumb will drop into a relaxed position.
- Ask the client to close their fingers into a grasped position.
Weakness of hand grasp is evident when it is difficult or impossible to close the wrist completely. This occurs because the finger extension tendons are positioned in passive insufficiency and also because of the attachments of the finger flexors which weakens their ability to contract into a grip pattern. This puts the flexors into a position where they are unable to use full and effective tension in a grip.
Hand fatigue: If your child complains of hand fatigue after short periods of drawing, painting, or using small manipulatives like stringing beads, it might be a sign of weak grip strength. This can look like a child that can’t color in a whole picture or stops to take breaks during coloring tasks, and even switches hands when coloring.
Reduced athletism: Children with weak grip strength may face challenges with sports activities that require hands like baseball, golf, or even climbing on the jungle gym.
Poor handwriting: Weak grip strength can also affect a child’s handwriting, making it difficult to read. Usually grip strength is involved when the child holds the pencil awkwardly and needs to take breaks during writing as their hand fatigues quickly. Studies have shown that grip and pinch strength are important components in developing pencil grasp, pencil control, handwriting legibility, and independence with functional fine motor tasks.
If you are unsure of what is causing challenges, it may be worth looking into an occupational therapy evaluation. There, the OT will work to determine if the barrier is grip strength or something else, like fine motor coordination, visual motor skills, or sensory/tactile deficits.
Grip Strength is Important for the Occupations of Childhood.
Grip strength is essential for many occupations of childhood, including playing, learning, and self-care. Here are some ways that grip strength can affect a child’s life:
School activities: Developing grip strength is crucial for the development of fine motor skills, which are necessary for school activities such as writing, drawing, math manipulatives, and using scissors.
Recreation activities: Good grip strength is necessary for more than just school-related activities. It is also a basic ability used for things like catching a ball, rowing a boat, creating pottery, knitting, or threading a needle.
Self-care: Grip strength is necessary for self-care activities such as brushing teeth, tying shoelaces, and buttoning clothes. Getting ready for the day is easier with proper skills!
Play: The most important occupation also benefits from grip strength! Strong grip strength allows children to engage in a variety of play activities, such as climbing, swinging, building blocks, and arts and crafts.
improve grip strength
Now that we know the importance of grip strength for children, let’s explore some child-friendly exercises that can help improve grip strength:
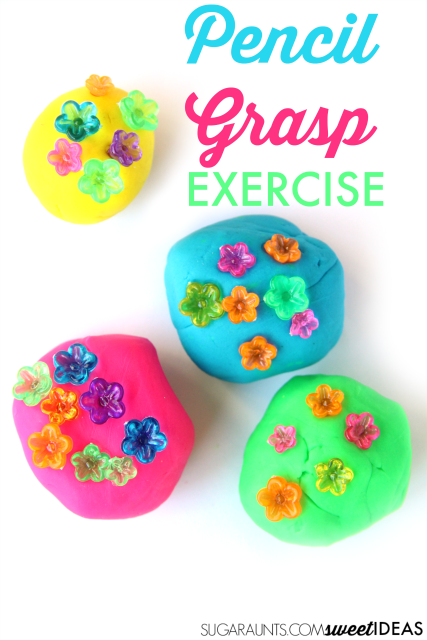
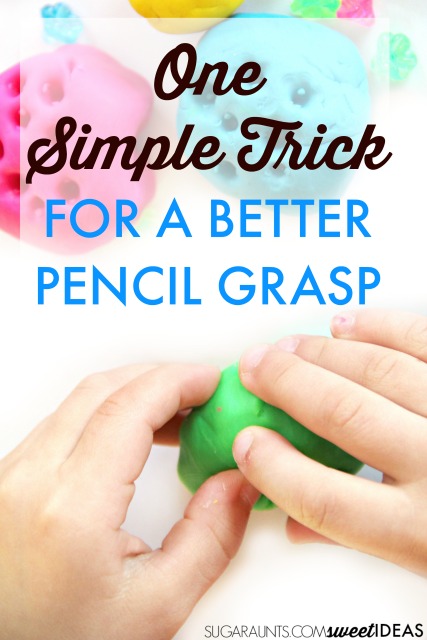
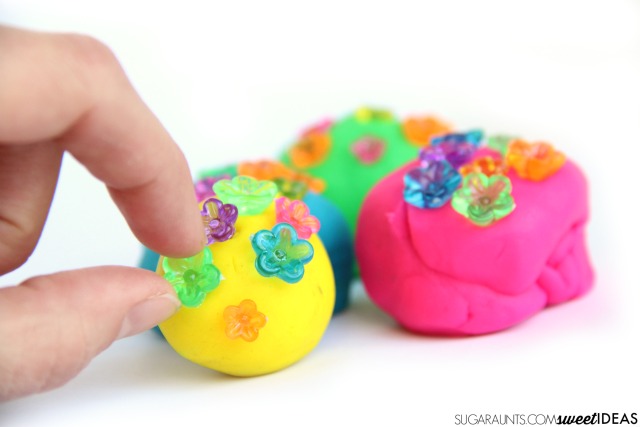
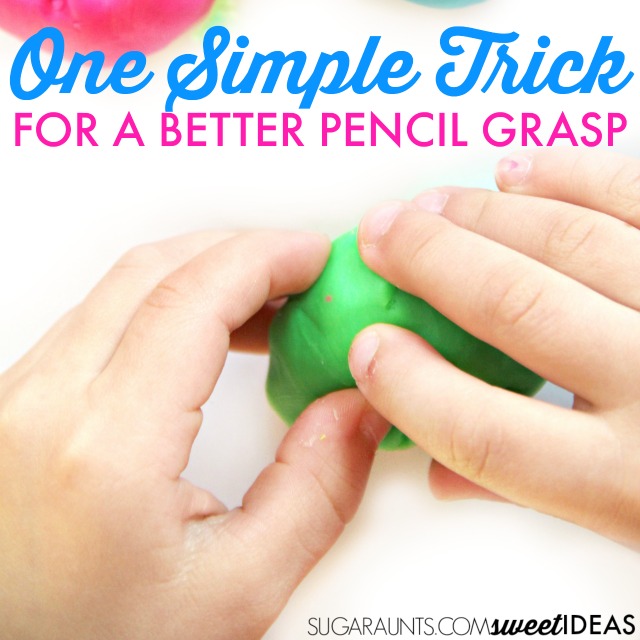
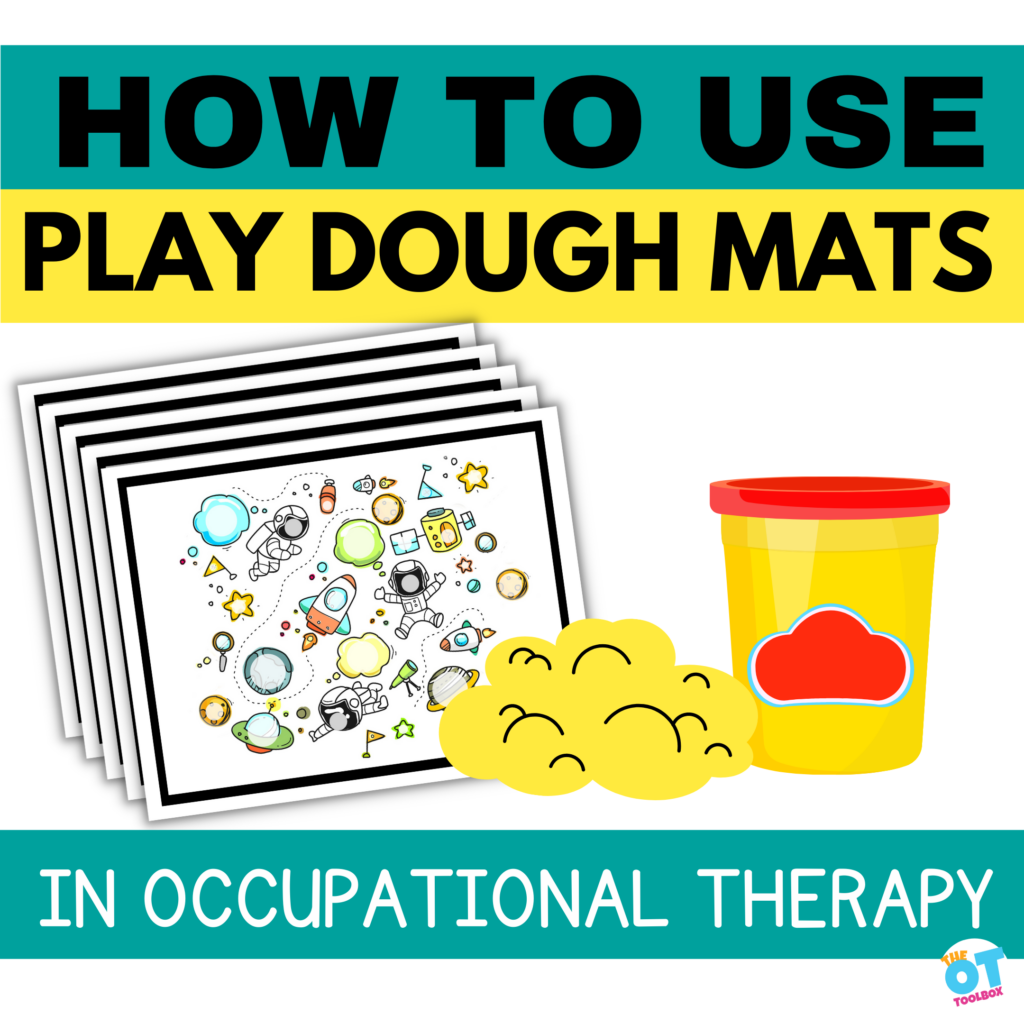
Play with Playdough: One of the main benefits of play dough is the fine motor strength workout and it’s a power tool for building hand strength. Squeezing, rolling, and shaping the dough can help improve grip strength. This goes for slime and floam, too! The tougher the substance, the harder the muscles have to work.
- A play dough snake is a great way to target grip strength and pinch strength.
- Rolling balls of play dough targets intrinsic muscles.
- Play dough mats are powerful to build grasp strength.
- Freeze play dough and use it to build strength by adding resistance. Play dough will freeze and get more resistive, but it will not harden completely, making it a fantastic sensory motor activity. Use the frozen play dough to manipulate with the hands or cut into pieces with scissors.
Hand Gripper– One way to target hand strength may be a home program that uses a hand gripper workout. While the most efficient and effective way to focus on grasp strength is through the functional participation, therapy providers working in a medical model or in hand therapy will see value in using a gripper to focus on grasp strength necessary for functional use of the hands.
Our blog post on hand strengthening includes several kid-friendly hand gripper recommendations to support hand strength. Select one and make the exercises functional:
- In a school setting, tap out letters to spell words, then write the words.
- Roll a dice, complete that number of hand grip exercises, and then write the number, or include fine motor math tasks and add, subtract, or multiply.
- Incorporate 10-15 repetitions of a hand gripper into a sensory diet or brain break.
- Use our 6 Month Weekly Fine Motor program to target grip strength without using a hand gripper workout.
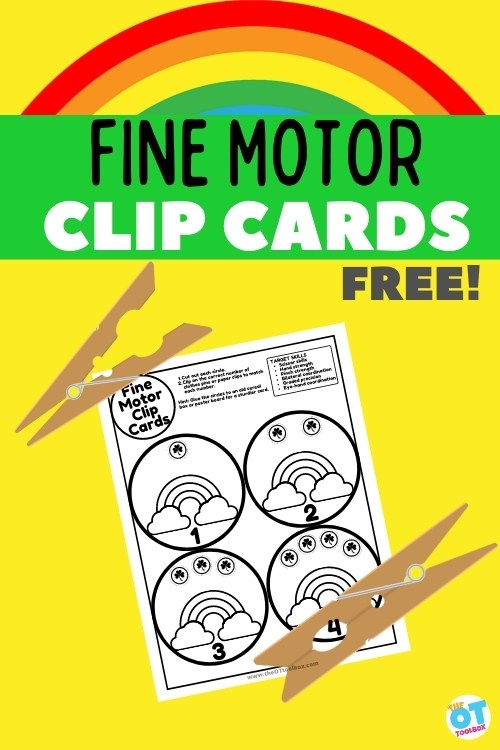
Clothespins: Using clothespin activities to pick up small objects can help improve grip strength. You can make it a fun game by asking your child to pick up as many objects as possible within a certain time limit. Try clothespin crafts and activity cards too!
Finger Push-Ups: If your kiddo is on the more athletic or competitive side, finger push-ups are an excellent exercise for building grip strength. Have your child place their hands flat on a surface, with fingers spread apart. Then, have them lift the palm on the hand away from the surface and push hard with their finger tips.
Monkey Bars: Monkey bars are a great way to build grip strength and improve body awareness and coordination. Encourage your child to swing from bar to bar, using their hands to hold on. There may be some blisters after this one!
Squeeze Toys: Squeeze toys, such as stress balls or fidget items, can help improve grip strength. Have your child squeeze the toy as hard as they can for a set amount of time, and then rest before repeating. Squeezing spray bottles, sponges, or crumbling tin foil have the same effect and can be great fun. Wind up toys are another great tool for grip strength.
Coloring- You can work on grasp strength by simply coloring! Using a crayon is a resistive tool but you can make this more challenging by using different brands of crayons, markers, or colored pencils. Challenge grasp strength by offering small spaces to color in with a wide border mark. Then increase the area with larger coloring prompts and a thinner border. Here is information on how to teach coloring skills. Use our three crayon challenge to target strengthening.
Paper- Torn paper is a powerful hand strengthening activity. To tear paper into strips or small pieces, one will target both the extrinsic muscles of the wrist and hand in order to stabilize the wrist against resistance. Then, when gripping paper and pulling it against the other hand, the intrinsic muscles are activated, particularly the lumbricals due to the positioning of the hand with MCP joint flexion, and PIP and DIP joint extension. Adding resistance by tearing more resistive paper (card stock, index cards, cardboard) is a great way to grade this task.
Building fine motor skills through play is a goal of the OT practitioner, and there are many fun ways to do just that!
You can also check out a variety of excellent crafts and activities aimed at fine motor strengthening for year-round fun! Winter, Spring, Summer, Fall and more!
- Fine motor activities for preschoolers
- Fairy Tail fine motor kit
- Sports fine motor kit
- Outer space fine motor pack
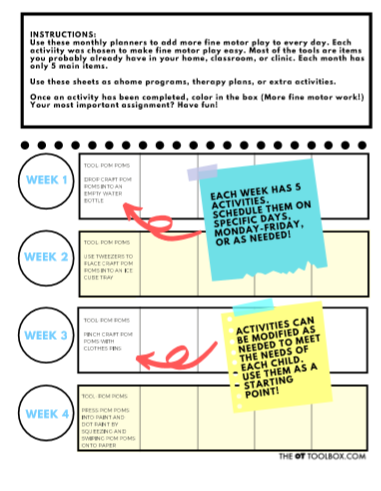
Our 6 Month Weekly Fine Motor Plan includes six months of strengthening exercises using everyday household items. We created this plan to make OT home exercise programs super simple. The exercise program requires a total of only six items that are used in a variety of ways to make grip strengthening exercises both motivating and fun.
Grip Strength Exercises
These exercises can vary, depending on the needs of the individual. Select the exercises that target specific functional skills and work on the number of repetitions that meet the needs and abilities of the individual.
Grip strength exercises may include:
- Make a fist
- Go through tendon glides
- Touch the tip of the thumb to the tip of each finger
- Touch the tip of the thumb to the base of each finger
- Make a “cup” in the palm of the hand
- Roll the thumb over toward the palm of the hand
- Theraputty exercises
- Wrist weights for wrist flexion and extension- Hold a light dumbbell weight in the hand. Place the forearm on the edge of a table with the hand palm up and hanging over the table. Lift the weight moving the hand and weight into flexion. Repeat by turning the forearm over to a palm down position on the table. Lift the wrist and weight into extension.
- Radial flexion and extension- Improve grip strength by strengthening the wrist abductors and adductors as a stabilizing force. Hold a hammer or small dumbbell in the palm of the hand. Place the forearm on a table surface with the wrist over the edge of the table. Slowly drop down the weight or hammer over the edge of the table and bring it back up to neutral.
- Gripping tools (Amazon affiliate links):
- Theraputty exercises- Theraputty comes in different colors and the colors mean different resistances. Theraputty can be pinched, pulled, rolled, spread apart, and squeezed.
We hope you have learned that grip strength is an important skill that can affect a child’s development in various ways. A weak grip can affect a child’s ability to engage in activities of daily living, but it can usually be easily remedied through structured play. How will you improve your grip strength today?

Sydney Thorson, OTR/L, is a new occupational therapist working in school-based therapy. Her
background is in Human Development and Family Studies, and she is passionate about
providing individualized and meaningful treatment for each child and their family. Sydney is also
a children’s author and illustrator and is always working on new and exciting projects.
Working on fine motor skills, visual perception, visual motor skills, sensory tolerance, handwriting, or scissor skills? Our Fine Motor Kits cover all of these areas and more.
Check out the seasonal Fine Motor Kits that kids love:


Or, grab one of our themed Fine Motor Kits to target skills with fun themes:
- Frogs Fine Motor Kit
- Unicorns Fine Motor Kit
- Vehicles Fine Motor Kit
- Apple Fine Motor Kit
- Back to School Kit
- Sports Fine Motor Kit
- Outer Space Fine Motor Kit
- Fairytale Fine Motor Kit
- Plus more in our shop!
Want access to all of these kits…and more being added each month? Join The OT Toolbox Member’s Club!