Colleen Beck, OTR/L is a pediatric occupational therapist and the owner and author of The OT Toolbox website. She manages all of The OT Toolbox social media accounts and runs the popular newsletter.
Read about Colleen's experience and career as an occupational therapist, including how The OT Toolbox began on our About The OT Toolbox page: https://www.theottoolbox.com/about-us/
Colleen created The OT Toolbox in 2011 and since then has written thousands of blog posts designed to support therapy providers, educators, parents, counselors, admin, and caregivers in promoting the healthy development of kids.
Check out Colleen's blog posts below:
Welcome to the Shop. There are so many great products out there and I wanted to put together my favorites. These are affiliate links, meaning I will receive a percentage of the purchase, at no cost to you. I do want to say, though that I only share products that I stand behind. These are books and resources that will be an asset to childhood development, education, and Occupational Therapy goal areas.
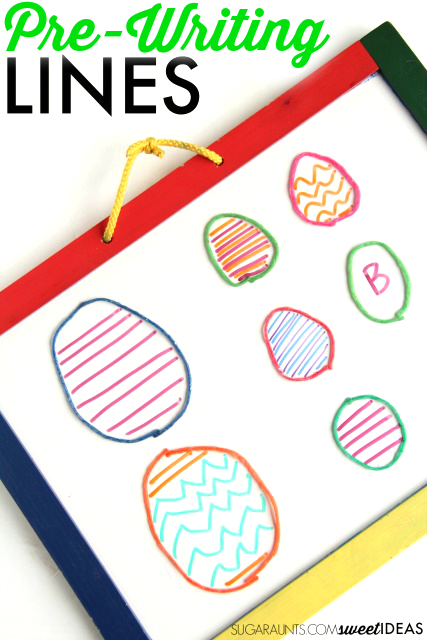
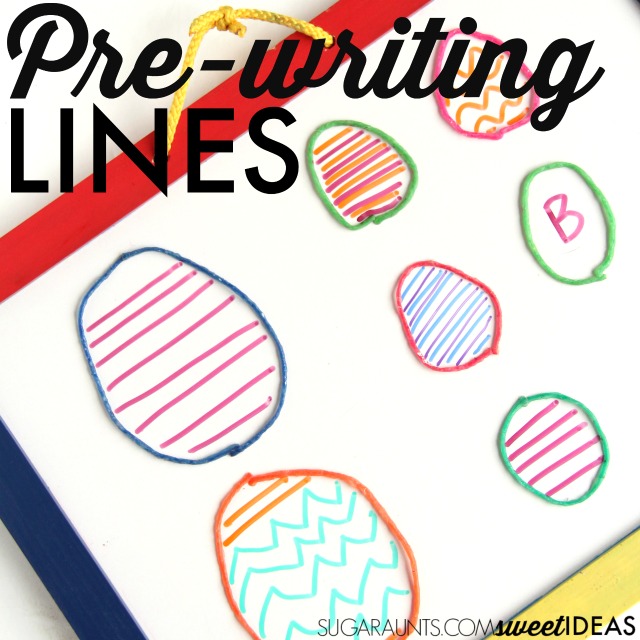
Working on the underlying pre-writing skills of handwriting is SO important in handwriting. This pre-writing lines activity is a fun Easter occupational therapy activity, but it’s also a powerful tool for building the foundation for handwriting. This is one of our favorite Wikki Stix activities to support pre-writing development.
You know we like to share handwriting activities around here, right? This Easter egg pre-writing activity is a fun way for young children to work on pre-writing skills in order to build a base for letter formation and pencil control. While we made this activity an Easter egg-ish shape, you could do this activity any time of year and use any shape to work on pencil control within a confined space.
Preschoolers and Toddlers will love this early handwriting activity! All of these skills are needed before a child can form letters and work on line awareness in Kindergarten. If a child is showing difficulty with forming diagonals in letters like “A” or “M”, this would be a fun way to work on building the skill for improved legibility in written work.
Using THIS Dry Erase Board worked out great for this activity, because we did the same writing activity on the reverse side, which has a chalkboard. Writing with small pieces of chalk is a fantastic fine motor and intrinsic muscle strengthening activity to work on the fine motor skills needed for endurance in drawing and coloring, as well as the tripod grasp needed for an appropriate grasp on the pencil. A chalkboard surface for drawing lines is much more resistant than a smooth dry erase surface, providing more feedback during line formation.
We used these Dry Erase Markers for their fine point and colorful selection, which made making these Easter eggs a creative activity, too. My preschooler loved picking out the colors to create patterns. The last item we needed for this handwriting precursor activity was (Amazon affiliate link) Wikki Stix. As an Occupational Therapist, I feel like I’m always pushing the benefits of Wikki Stix. The bendable and mold-able sticks are a great fine motor and handwriting tool. In this activity, I bent one or two wikki stix into an egg shape. You could also make circles, squares, or any shape for your handwriting task.
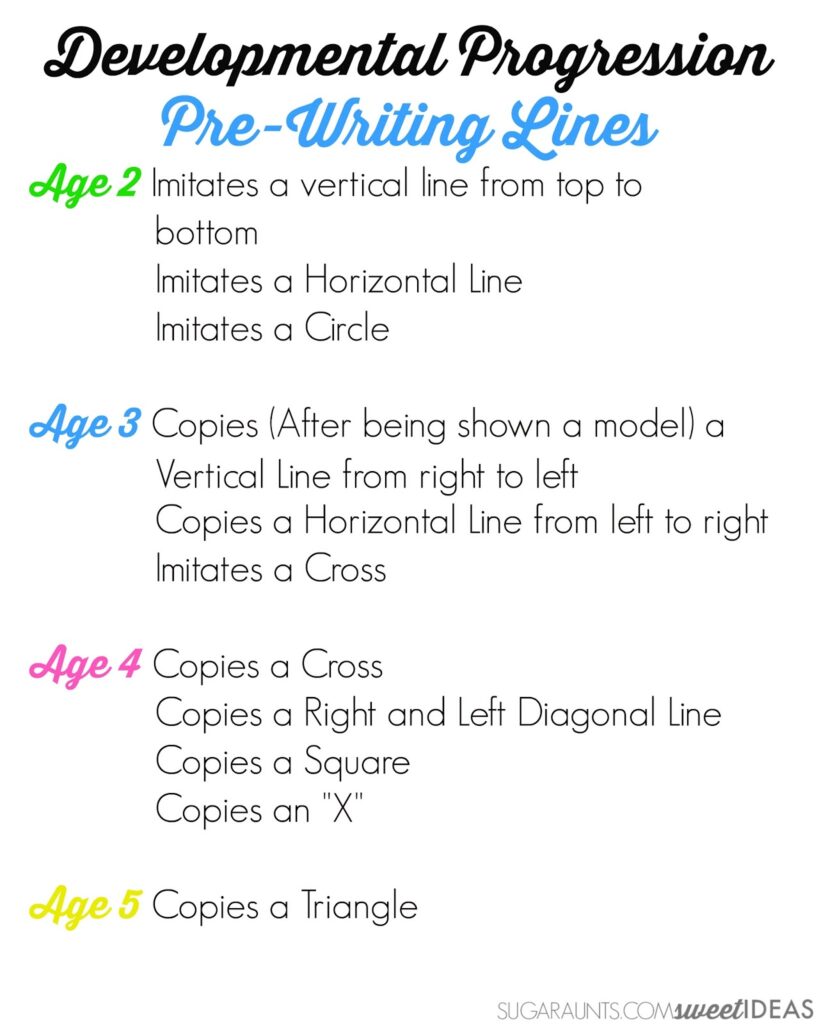
Developmental Progression of Pre-Writing Strokes
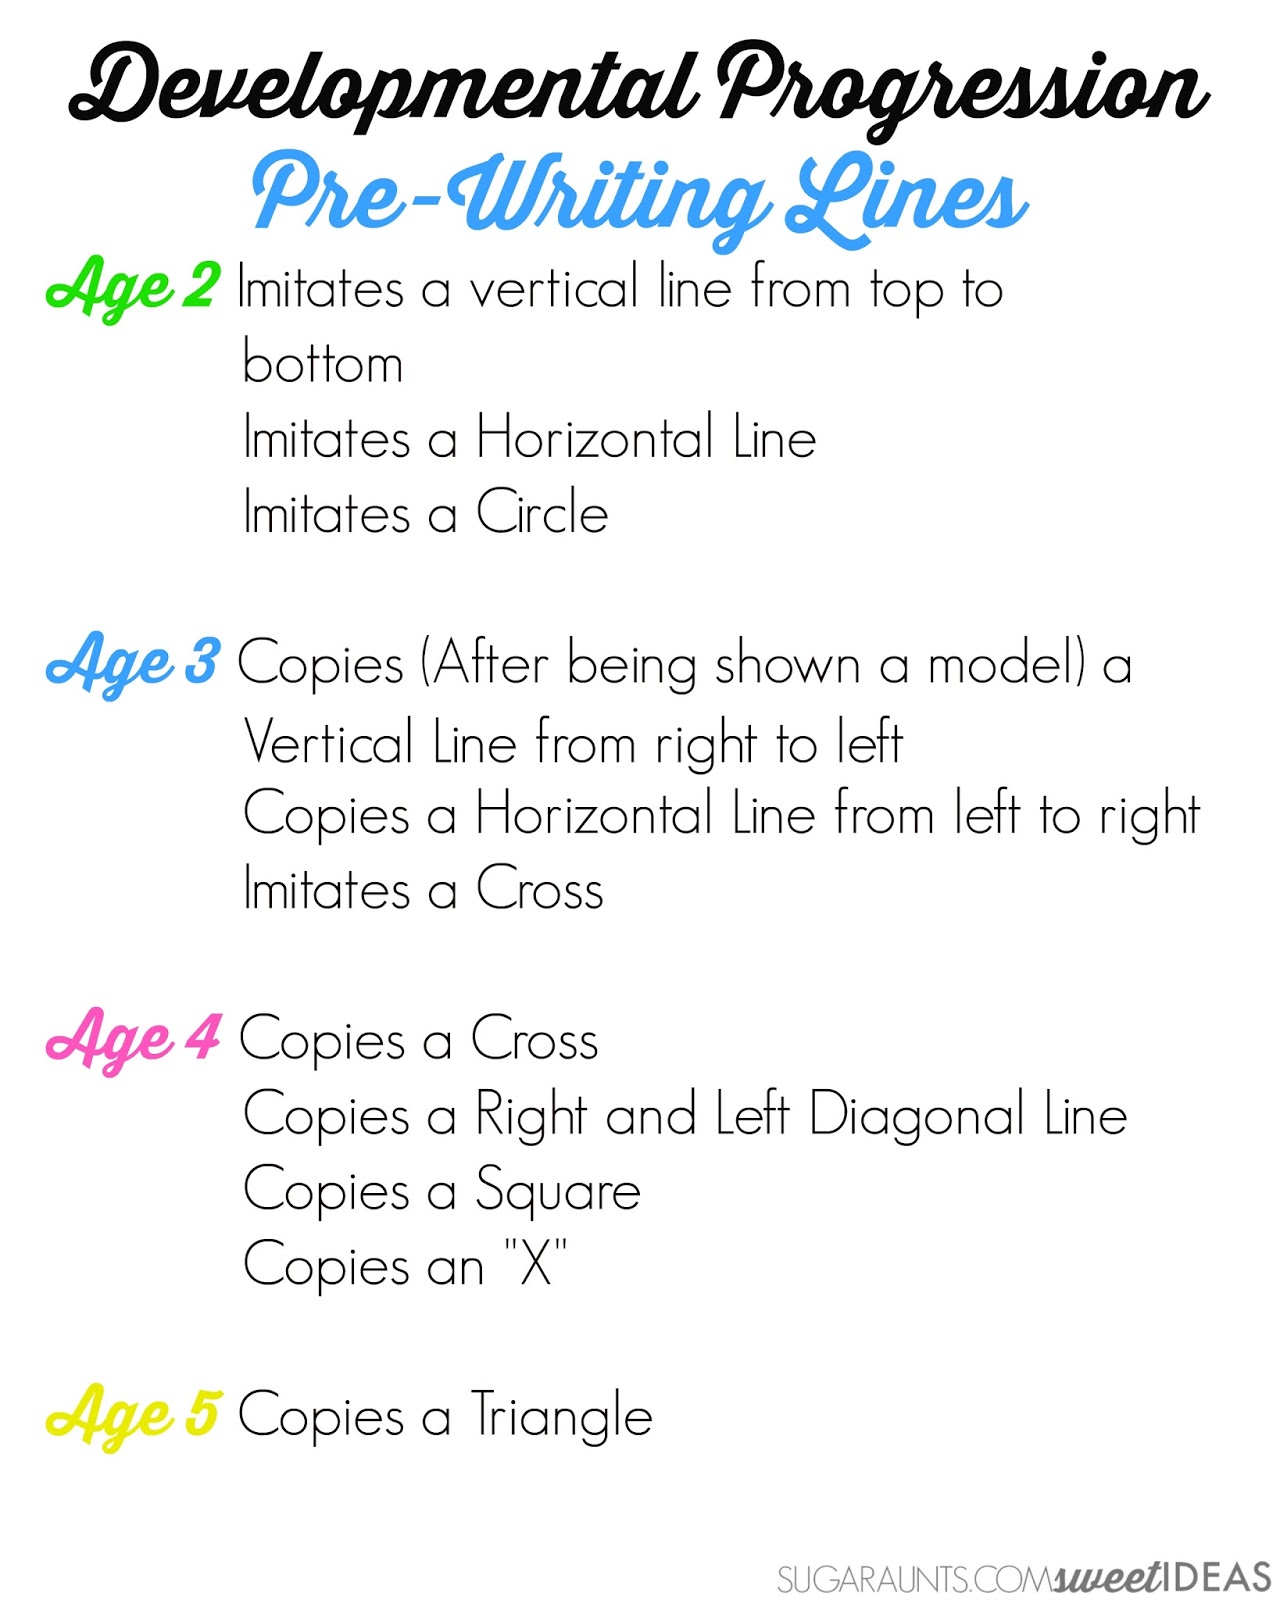
As a child develops, they are typically able to copy lines and shapes with increasing accuracy. Here are the general ages of development for pre-writing lines:
Age 2- Imitates a vertical line from top to bottom
Age 2-Imitates a Horizontal Line
Age 2-Imitates a Circle
Age 3- Copies (After being shown a model) a Vertical Line from top to bottom
Age 3 Copies a Horizontal Line from left to right
Age 3- Imitates a Cross
Age 4- Copies a Cross
Age 4- Copies a Right and Left Diagonal Line
Age 4- Copies a Square
Age 4- Copies an “X”
Age 5- Copies a Triangle
The developmental progression of these shapes allows for accuracy and success in letter formation.
Get a FREE Developmental Progression of Pre-Writing Strokes printable HERE.
Easter Egg Pre-Writing Strokes Activity
For this activity, we used the Wikki Stix to right on the dry erase board. I created egg shaped ovals with the wikki stix. I then showed my preschooler how to draw lines across the eggs to create patterns and designs.
We practiced horizontal lines (going from left to right) and vertical lines (going from top to bottom). We also added circles within the boundaries of the wikki stix and diagonal lines, too.
The physical border provided by the wikki stix gave a nice area and cue for pencil control. Try doing this activity with progressing level of developmental line skill. You can also work on writing letters inside the wikki stix to build spatial and size awareness in handwriting.
Extend the activity:
Use the wikki sticks to do this activity on paper or a chalkboard. Other ideas might be using crayons, markers, or a grease pencil for more feedback through resistance and proprioceptive input to the hands.
More Pre-writing Lines Activities
Some of my favorite Handwriting activities are multi-sensory and incorporate motor planning activities for building pre-writing lines as a foundation for handwriting:
Score Fine Motor Tools and resources and help kids build the skills they need to thrive!
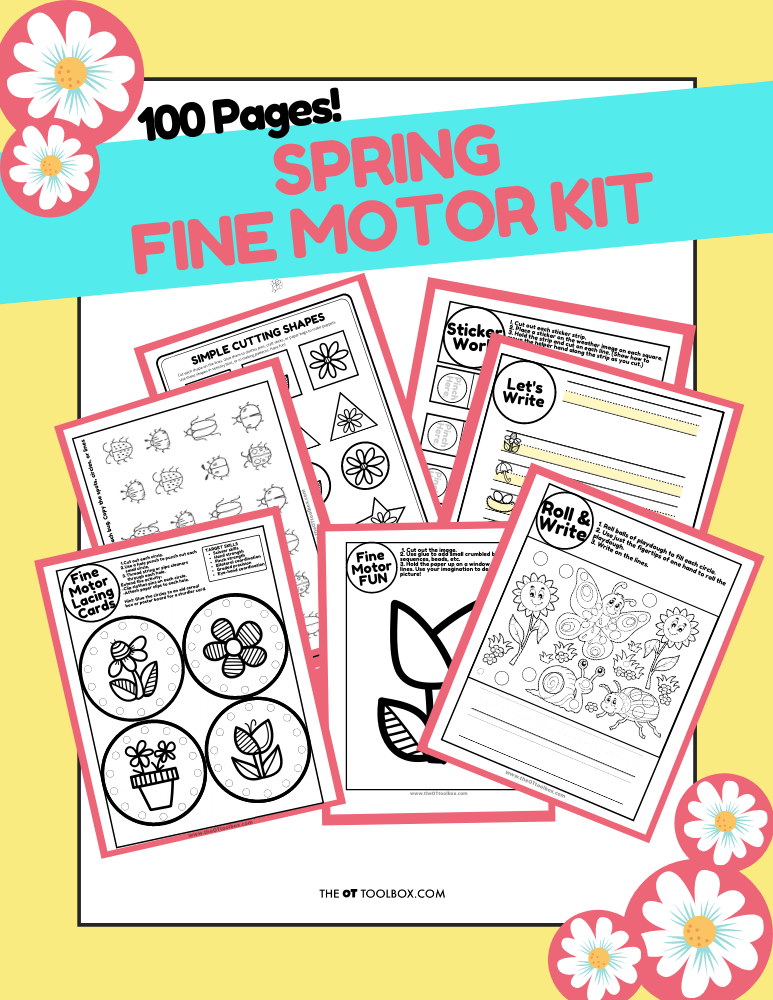
Developing hand strength, dexterity, dexterity, precision skills, and eye-hand coordination skills that kids need for holding and writing with a pencil, coloring, and manipulating small objects in every day task doesn’t need to be difficult. The Spring Fine Motor Kit includes 100 pages of fine motor activities, worksheets, crafts, and more:
Colleen Beck, OTR/L has been an occupational therapist since 2000, working in school-based, hand therapy, outpatient peds, EI, and SNF. Colleen created The OT Toolbox to inspire therapists, teachers, and parents with easy and fun tools to help children thrive. Read her story about going from an OT making $3/hour (after paying for kids’ childcare) to a full-time OT resource creator for millions of readers. Want to collaborate? Send an email to contact@theottoolbox.com.
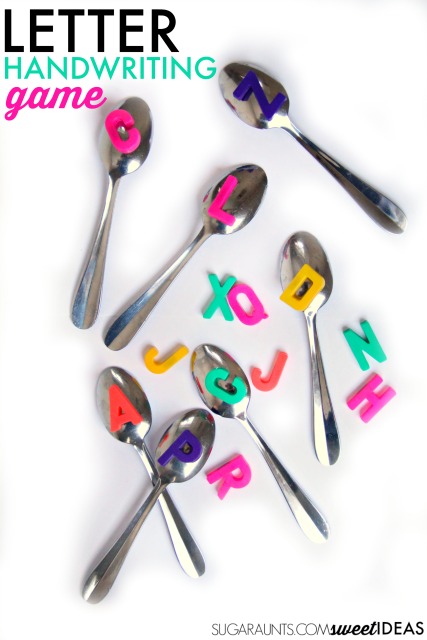
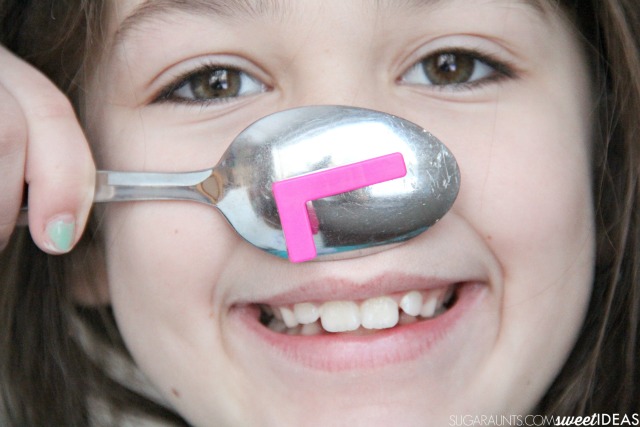
Sometimes, it’s fun to make handwriting practice a little bit different. This magnetic letter activity was a fun way to work on letter identification and letter formation in handwriting. For young children, becoming more familiar with letters and the alphabet is key to age-appropriate literacy. This refers to knowing a letter’s name, the letter’s sound, and the formation of letters. My preschooler is getting more familiar with letter recognition as an age-appropriate pre-literacy strategy by listening to books and pointing out letters that we see. Similarly, these same strategies are appropriate for the kindergarten age, but adding in letter formation.
Preschoolers can use this activity to work on writing uppercase letters and kindergarten-aged students can work on lower case letters with this activity. Extend this play to older kids by asking them to write words using the magnetic letters.
This is a great eye hand coordination activity for toddlers and preschoolers that are learning how to hold a spoon.
And, I have to tell you that using a spoon in handwriting is always a hit with kids of any age!
Magnetic Letter and Spoons Handwriting Practice
This post contains affiliate links.
We have a bin full of magnetic letters from over the years. I used a set like this in my school-based OT activities and magnetic letters have always been on our refrigerator starting when when my 8 year old was a toddler.
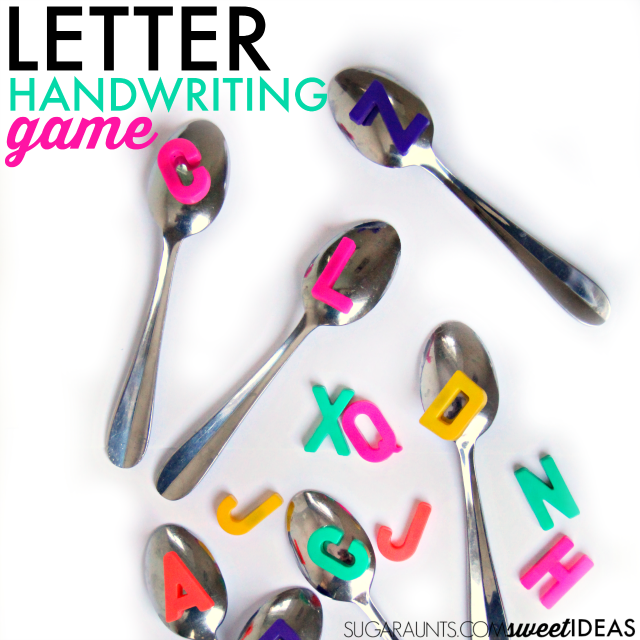
To play this handwriting game, fill a small bin or bowl with magnetic letters. This brand worked well with our spoons activity because they were lighter. A magnetic letter like Melissa & Doug magnets worked, but they were just a bit too heavy to stick to our spoons. We have a few sets of dollar store magnetic letters that worked well with our spoons, too.
Letter Formation Handwriting Game
I pulled out a few of our spoons. Now, I wish I could tell you the brand and metal make-up of our spoons, but they are 12 years old and I have no clue about that info. Apparently some stainless steel spoons are magnetic and others are not depending on the processing the metal has undergone. You could try a few different utensils in your house with this activity, like ladles or serving spoons. If none of these options work for holding the magnets, simply use a magnetic wand.
I had my kids take turns stirring the letters with their spoons. They pulled out their spoon one at a time and looked at the letter they grabbed. I had them tell me the name of the letter and then practice writing it. This was a hit with all of the ages!
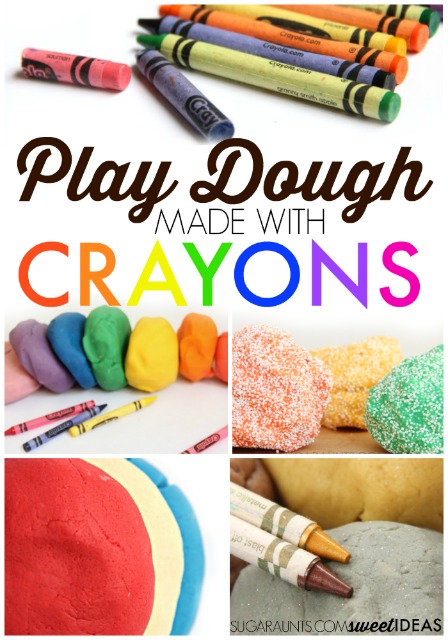
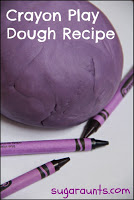
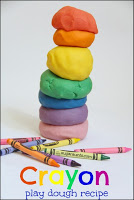
Crayon play dough is one of our favorite homemade play dough recipes! Here, we have all of our versions of crayon play dough recipes in one place! We know the benefits of play dough as a therapy tool, but when it comes to play dough made with crayons, there are even more!
Broken crayons were taking over my house.
A pencil case of broken pieces, a drawer full of crayon wrappers, pencil pouches with snapped colored pencils among wrapper-less crayons. Our house could have been a candle-making factory with all of the colorful crayon bits that were everywhere.
(Disclosure: This post contains affiliate links.)
Our day started out like any other: we had a fun book to read, about a boy with a purple crayon, and a mission to create a fun activity based on the classic children’s book. I rifled through our craft shelves, looking for inspiration. A broken crayon bounced on the floor. These crayons are multiplying faster than the dust bunnies in our house!
Then it hit me: Crayons. Play Dough. And a fun activity based on a favorite book was born.
We made crayon play dough. And couldn’t stop. We made crayon play dough in every color of the rainbow. We made play dough with every color in the crayon box. And we added fun things, too.
Crayon Play Dough became an instant hit in our house! And you all loved it too. We shared it on Facebook and Instagram and you emailed me about your concoctions. So, I knew we needed to have all of our crayon play dough ideas in one place. So here you are:
How to make play dough with broken crayons:
Each of the crayon play dough recipes below have one main ingredient…crayons! With a few additions, these play dough recipes are some very sensory-based play strategies to develop finger and hand strength in kids.
Crayon Salt Dough Combining salt dough with our play dough recipe, this dough is a fun way to change things up a bit.
Patriotic Crayon Salt Dough Why not make the salt dough patriotic? We made fun star garlands with this dough.
And not a crayon play dough, but a sensory art activity based on the children’s book, The Day the Crayons Quit: Crayon Shaving Art
Don’t want to use your crayons to make play dough? No problem! Broken crayons still color! Here are the many benefits of coloring with crayons. Because as an Occupational Therapist, I love the fine motor good that coloring with crayons brings!
Did you know there is a developmental progression to pre-writing strokes? Before children can form letters, they need the developmental ability to form straight and diagonal lines, shapes, and intersecting lines. Before children are developmentally able to form and copy letters and numbers, they need the pre-writing skills.
Developmental prgression of pre-writing strokes
Pre-writing strokes refer to the lines that young children need to form before they are developmentally capable of writing letters. Pre writing strokes include straight lines, diagonal lines, and shapes.
Below, you can get a PDF of developmental progression of pre-writing lines and the handwriting skills by age for young children.
Get your FREE printable of Developmental Progression of Pre-Writing Lines HERE.
Want to know more? Here’s the activity we did to go along with this free resource: Pre-Writing Lines Activity
For comprehensive information on the developmental progression of handwriting, check out The Handwriting Book.
Want to know more about The Handwriting Book? Click on the image above to find out how to address every underlying area related to handwriting skills. Click here to BUY NOW.
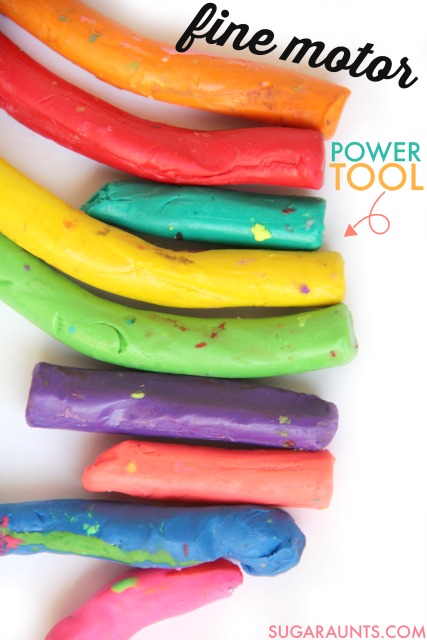
As an Occupational Therapist, I LOVE using clay with my kids in fine motor work. Clay uses a resistance that works the small muscles of the hands and builds arch development on the hands, increasing endurance for activities like coloring and writing for longer periods of time. Kids will often times complain of their hands being tired when they color. They will press very lightly or switch colors overly-often, allowing themselves to sneak in breaks from coloring. A strengthening activity like using clay is a great way to build the strength of the intrinsic muscles.
Manipulating a pencil with minute movements is essential for handwriting. Clay is perfect for fine tuning pencil control in a fun way!
Create a flat disk with the clay. Use a pencil to write in the clay. Practice letter formation.
Roll the Clay
into a “snake”. Poke a pencil into the clay, encouraging a tripod grasp on the pencil.
Roll small balls of clay between the thumb and pointer finger and ring finger.
Create a thick “stick” with the clay. Show your child how to rotate the clay and twirl it between the thumb and fingers.
Use Clay Cleaning Tool Set for utensil use while providing verbal cues for appropriate grasp. NOTE: Using utensils like these may not encourage tripod grasp due to the nature of the tools. They will improve intrinsic strength and open web space.
Press a pencil eraser into the clay.
Create a flat disk from the clay. Place a piece of paper on top of the paper. Practice writing on the paper, encouraging your child to write lightly enough to not poke the pencil point through the paper. This is an exercise in proprioception for the hands.
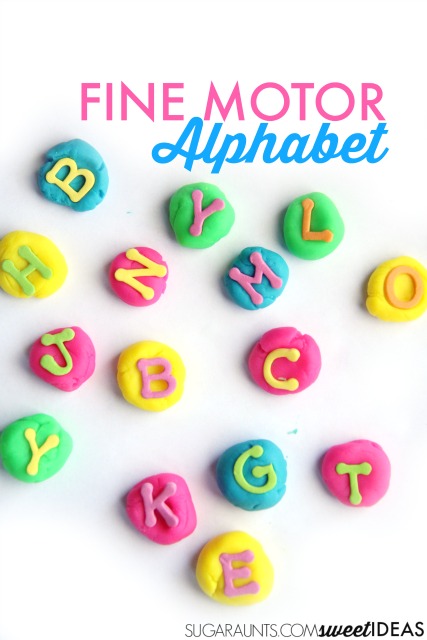
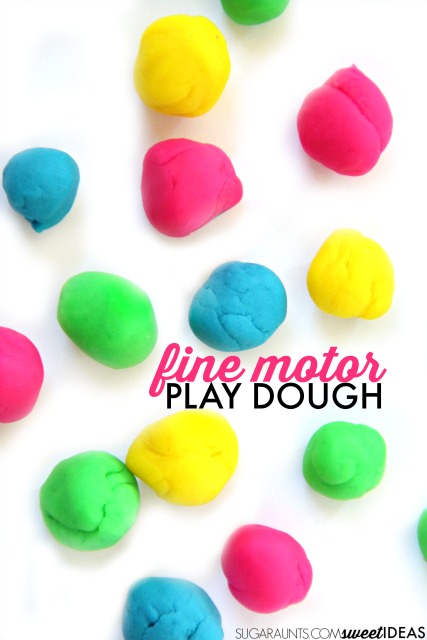
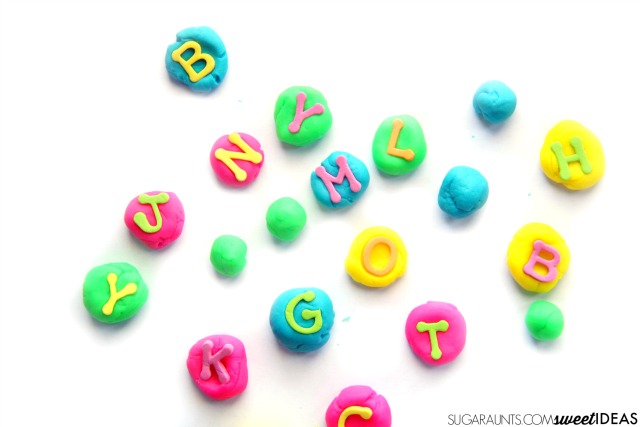
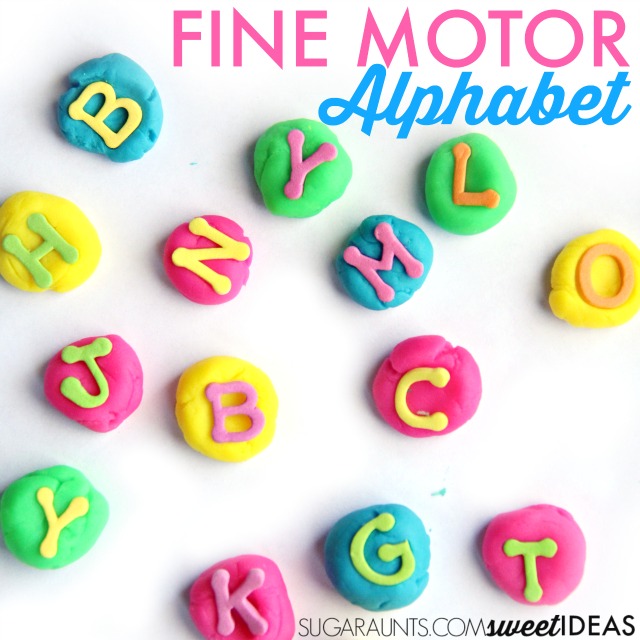
This ABC play dough activity is a fun way to build hand strength with letters of the alphabet. This Fine Motor Play Dough Alphabet activity combined a couple of our favorite things: Creative Play Dough ideas and Fine Motor Skills. We used a handful of foam alphabet stickers that we had in the house and store bought play dough to make letters that we used in spelling words, letter identification, and alphabetical ordering. And our play dough fun rating was 26 letters long!
ABC Play Dough Activity
Sometimes, you need play dough in your day. Other times, you need to turn up the play dough fun notch just a bit. (That’s a thing, right? The play dough fun scale? I think so.)
Full disclosure: This post contains affiliate links.
So, we received these foam letter stickers and have been using them in a bunch of fun ways. Today, we used them with plain old fashioned Play-Doh.
Fine Motor Skills and Play Dough
Every Occupational Therapist knows the benefits of play dough is so huge that they recommend it as a top-rated tool for fine motor development. We’ve shared a ton of fine motor activities using play dough and I absolutely love to play with play dough with my kids for it’s use in fine motor skill development and hand strengthening.
Play dough is perfect for refining skills like intrinsic muscles strength, finger isolation, tripod grasp development, thumb opposition, opening up the web space, bilateral hand coordination, and more. With this activity, we specifically hit developing the intrinsic muscle strength of the hands.
Intrinsic muscle strength and play dough
So, what is intrinsic muscle strength? There are seventeen muscles in the hand that are responsible for fine motor skills and precision grasp, among other things like moving the thumb and fingers. There are different groups of intrinsic muscles and they allow us to grasp items in a functional way. The muscles of the hands work in conjunction with the muscles that originate in the forearm. These extrinsic muscles end in your hand.
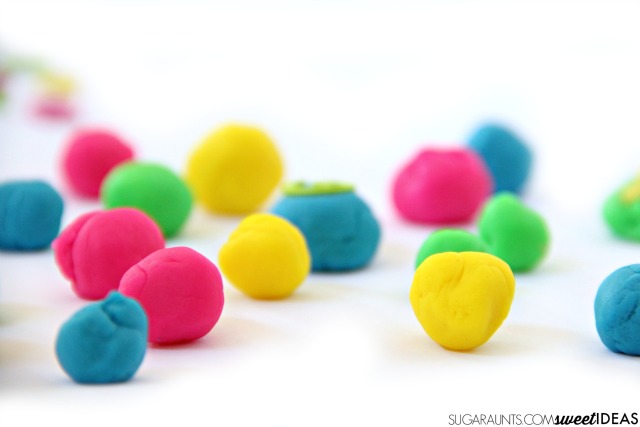
For this activity, we used different colors of play dough and created small round balls of dough. I asked my kids (and a niece and nephew who were over for the day) to roll small, dime-sized balls using just their thumb and fingers.
Rolling small balls of this size uses the intrinsic muscles that are responsible for moving the thumb (thenar muscles) and the muscles that bend the fingers at the knuckle (lumbricals). Also needed for a task like this are the palmer interossi muscles that work to move the fingers in a flexed position toward the thumb.
So, when a child is rolling a small ball of dough, with their thumb and fingers, they are working on strengthening the muscles that a child uses to write and color with a pencil or crayon.
Weakness in Writing the ABC’s
Sometimes kids complain of their hand hurting when coloring or you might see them switch crayons very often when coloring.
These are signs of a weakness of hand strength. Other signs of intrinsic muscle weakness are a weak grasp on the pencil or writing very lightly with a pencil.
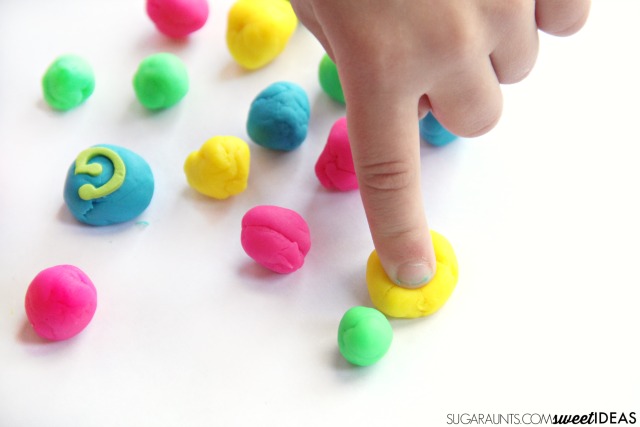
After we rolled all of the play dough balls, we used our foam letter stickers to press letters into the Play-Doh. Pressing the letters with an extended finger (like in the picture) is a great way to work on finger isolation. It is important to note that using the finger in an extended “pointer” uses the extrinsic muscles that originate in the forearm.
We used these letters to practice spelling words with my second grader, identify sight words for my Kindergartner, practice letter identification and letter order with my preschooler, and practice not eating play dough with my toddler 😉
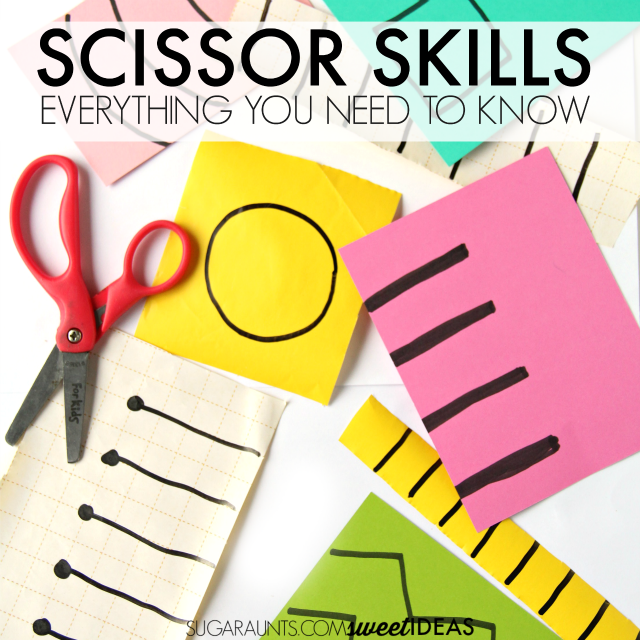
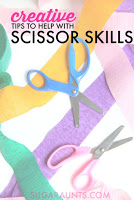
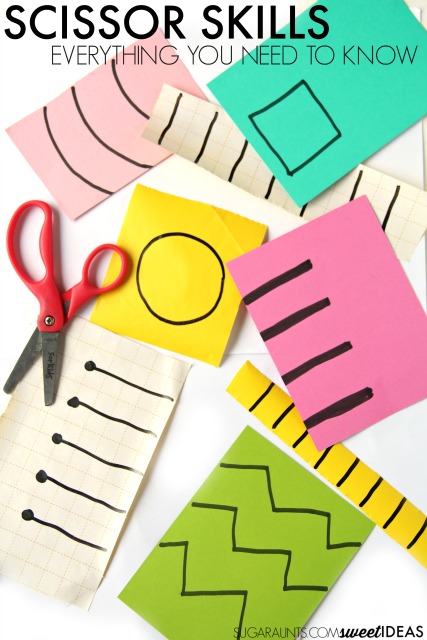
Teaching kids how to use scissors and exploring scissor skills is one of my favorite things to work on as a school-based Occupational Therapist. There are so many creative ways to address the skills needed for accuracy in cutting with a pair of scissors. Today, I’m sharing everything you need to know about cutting with scissors. I’ve got all of the skills a child need in order to be successful. I’ve got great ways to practice teaching your child to cut on lines.
AND, I’ve got a top secret to share about teaching kids to cut with scissors; Something that will make practicing cutting with scissors frugal and fun. My secret weapon in teaching kids to cut on the lines? It’s wrapping paper! Gift wrap makes the best scissor practice tool because you can get a huge roll for an inexpensive price. Hit up dollar stores and grab the after season and get ready to snip, snip, snip your way to cutting shapes on lines. This is your creative Crash Course on teaching kids to cut with scissors!
Full disclosure: This post contains affiliate links.
There are many components that go into cutting with scissors. These are the skill that kids need to master or be developing as they pick up a pair of scissors and can cut a shape. Using scissors to cut is a developmental progression of skill. And by that, I mean that as children progress in their development, they achieve more skill and accuracy. Kids need to gain better control of fine motor and visual perceptual skills as they grow and develop and with that development, comes better use of scissors. A child with deficits in any of the skill areas needed for using scissors will have difficulty with progression of typical scissor use development.
In this crash course, I’m going to share the skill components that a child needs to cut with scissors and various steps of cutting accuracy. Not included in this crash course are the developmental ages and stages of scissor use. That blog post will come at another time!
Skills a child needs to cut with scissors
These are the skill areas that a child needs in order to initiate scissor use and develop their progression toward successfully cutting multiple angled shapes: Fine Motor Skills Needed for Scissor Use: From dexterity to graded precision, using scissors requires fine motor use skills for scissor use.
Prerequisite skills: Before a child can effectively use scissors in a functional manner, prerequisite skills are essential. These are the functional skills that babies, toddlers, and preschoolers practice and achieve to learn graded muscle movements. Read more about prerequisite skills here.
Open Thumb Web Space: Opening and closing the thumb against the fingers positions the thumb in abduction. Abduction and adduction are required to open and close the scissor’s blades. If a child is not able to open and close their thumb due to physical deficits or weakness, they will not be able to cut with typical scissors. There are many modified versions of scissors out there to assist with this area. Read more about open thumb web space here.
Hand Strength: Cutting with scissors requires strength. The first stage of this is snipping paper. Children may complain of hand fatigue, not be able to cut thick paper such as construction paper, or may cut paper with short snips of the scissors. A gross hand grasp is needed for endurance in scissor use. Looking for ways to build hand strength? Try these creative activities.
Visual Motor Skills: Also called hand-eye coordination, visual motor skills are our ability to position and use our hands in activities that are guided by our vision. Read more about visual motor skills here.
Visual Tracking: In order to follow a line with scissors, a person must use visual tracking as they move their scissors along the line. Without this skill, a child will show poor line accuracy and may cut through shapes or across lines multiple times. Read more about visual tracking here.
Bilateral Hand Coordination: This is a skill that is required for so many self-care and functional tasks. Using scissors to cut a shape is a functional task that requires both hands working together in a fluid manner. The hands are doing different tasks during the activity of cutting with scissors but both know what the other is doing without the child looking at either hand constantly. This manner of fluid activity is a mechanism of the brain as both hemispheres communicate in an efficient manner. In scissor skill activities, one hand must hold the scissors as the non-dominant hand holds and rotates the paper. Read more about bilateral coordination here.
Hand Dominance: Related to bilateral hand coordination, is hand dominance in scissor use. A child need an established hand dominance in order to develop fine motor skills that are needed for accuracy with scissor use. If a child continues to switch hands, there are scissors that can be used with either hand on the market, however, the child will not develop accuracy and fluid scissor cuts as easily with out an established dominant hand. Read more about hand dominance here.
Try THESE scissors for kids who have a left-right confusion or undefined hand dominance.
Line Accuracy with Scissor Skills: Teaching Kids to cut on the Lines
Line accuracy when cutting with scissors is greatly dependent on position of the hand on the scissors, as well as all of the areas described above. Hand positioning and scissor grasp is a developmental progression and typical tearing of paper happens with certain positions. Typically, a child will developmentally go through certain stages in their scissor skills and as they progress, their accuracy will improve.
Help Kids Cut with Scissors on the Lines
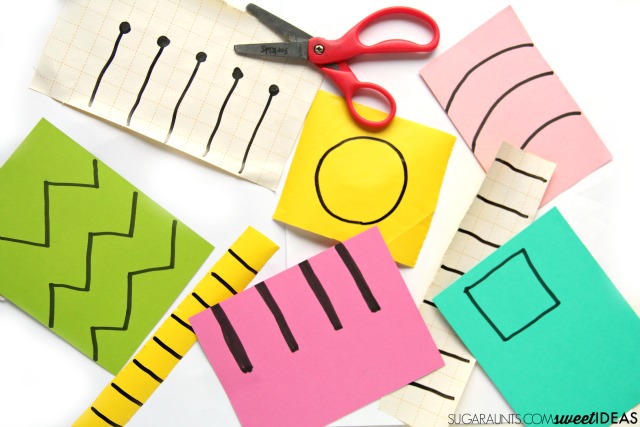
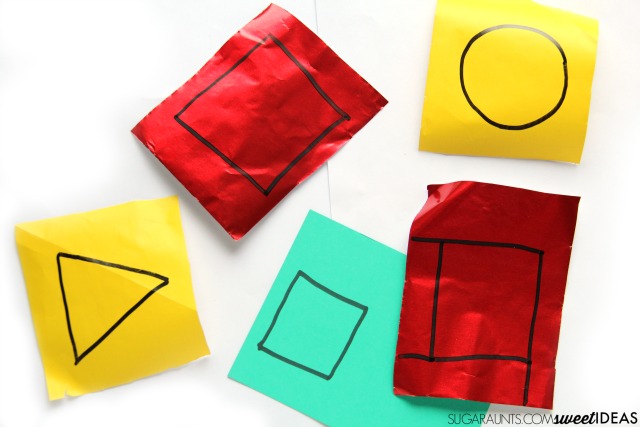
Now is the time to pull out the wrapping paper that I told you about. Grab a roll of gift wrap and work on cutting with graded difficulty.
Try these scissor practice ideas to work on cutting on the lines. These ideas progress (mostly) from easiest to most difficult.
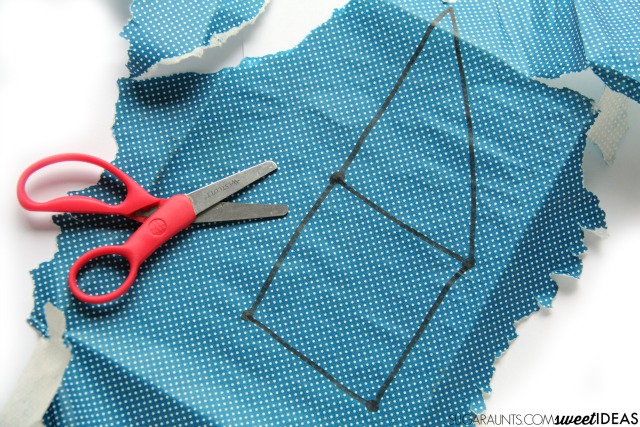
Providing kids with kid-friendly scissors and paper will help with practice. Kids can practice cutting with scissors as early as you feel comfortable. It’s important to remember that all children develop differently. Hand over a pair of scissors and show the child how to snip into the edge of the paper, without lines or shapes. At this point, the child is only working on the skill areas described above. This is when wrapping paper makes a great cutting medium. No more will you go through the piles of construction paper that just get snipped and cut all over the floor. Use the wrapping paper and let the kids snip away!
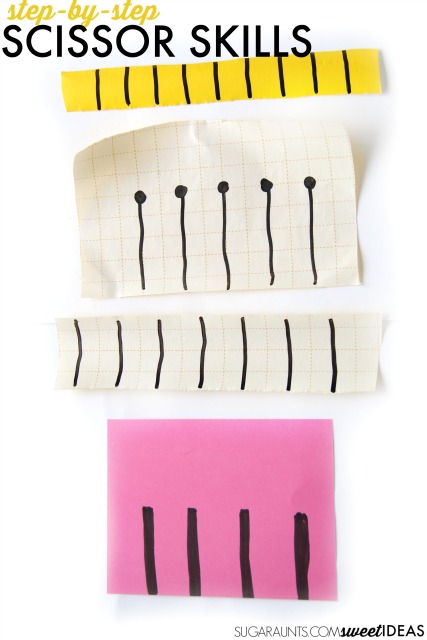
A strip of wrapping paper (or paper) is a great starting point for practicing line awareness with scissors. Make the paper strip tin enough that one snip across will cut the paper.
Next, practice cutting into the paper and along a line. A black dot will provide a visual cue to stop at the end of the line.
Next, provide a strip of paper that is wider and requires several cuts across the page to cut through the line. This activity works on the child’s ability to open and shut the scissors without choppy cuts for several snips. (NOTE: Provide a wider strip of paper than is shown in the above picture for more practice of continued cutting!)
Finally, provide a strip of paper with lines without stopping dots. The child must cut along the lines and stop at the end of the line. These lines are drawn very dark to provide a thicker cutting line, to ensure more accuracy.
When moving on to cutting shapes, start with squares. You can draw the square along the edge of the paper to allow the child to cut into the corners from each side. Then practice cutting a square inside the paper. Cutting shapes requires the paper to be rotated and turned accurately. Practice cutting other strait line shapes like triangles and rectangles.
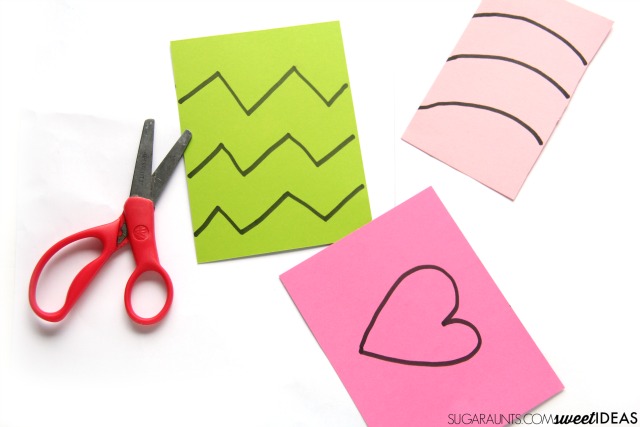
After practicing strait line shapes, introduce cutting curved shapes.
Another way to practice line awareness with scissors is to cut curved and multiple angled lines across a strip of paper. Add in more complex shapes like stars and hearts.
When starting on more angled or wavier shapes, provide stopping points with black dots. These will act as a visual cue and an indication to turn or rotate the page and move the scissors.
Finally, practice cutting multiple-angular and curved line shapes. To start, try drawing a thick black line around the shape to provide a thicker cutting line. Then, remove the visual cue of the line and cut directly on the lines of the shape.
I hope that these scissor skill tips are helpful for you and your little scissor user!
Working on fine motor skills, visual perception, visual motor skills, sensory tolerance, handwriting, or scissor skills? Our Fine Motor Kits cover all of these areas and more.
Check out the seasonal Fine Motor Kits that kids love:
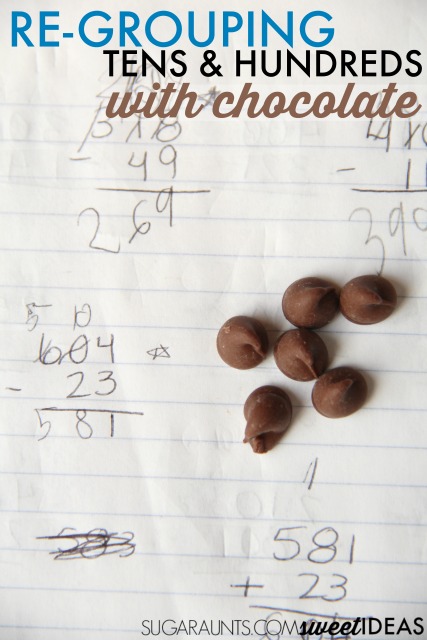
Need to explain regrouping? Are you thinking Ok, HOW do I teach regrouping of tens or hundreds when I am totally wondering “what is regrouping”?!? This very fun and completely motivating regrouping activity is a hands on math activity that will explain regrouping for math as well as regrouping for addition! AND, the best part is that chocolate math is the way to go…even if the chocolate seems to be subtracting (into mouths) more than adding!
Here’s the thing: Sometimes, practicing the same.old.math.facts. gets booooring!
It’s boring for the second grader and boring for mom.
But, practice needs to happen and new math skills need to be practiced! So, what is a bored-to-the-gills Mom to do when there is yet another night of subtracting triple digit numbers?
You bring on the chocolate.
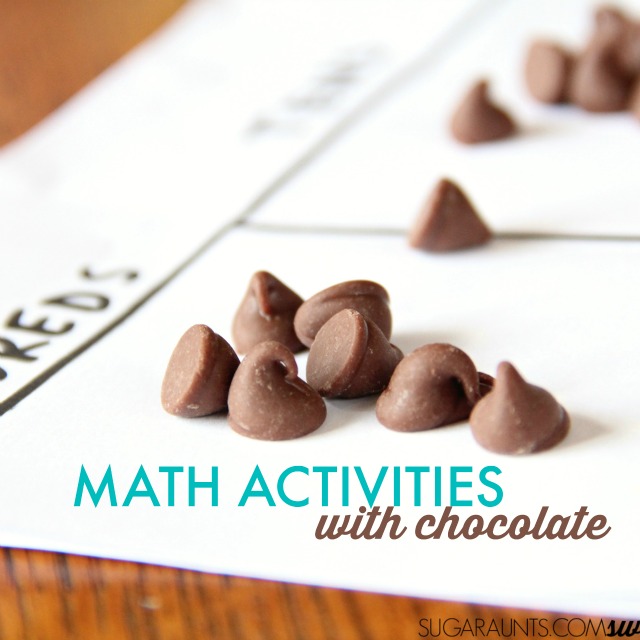
This regrouping hundreds and tens math activity is hands-on and taste-bud friendly and was a big hit (surprise, surprise!) with my daughter…and me. We made math fun by adding chocolate chips as my second grader subtracted three digit numbers. It is such an easy math activity to put together and uses hands-on learning to make math activity fun (and delicious).
Full Disclosure:This post contains affiliate links.
You don’t need many materials for this math activity. We used: chocolate chips
((There are Mini Chocolate Chips
on the market for those kids that really want to practice their math problems after seeing this activity.)) Paper Marker math problems
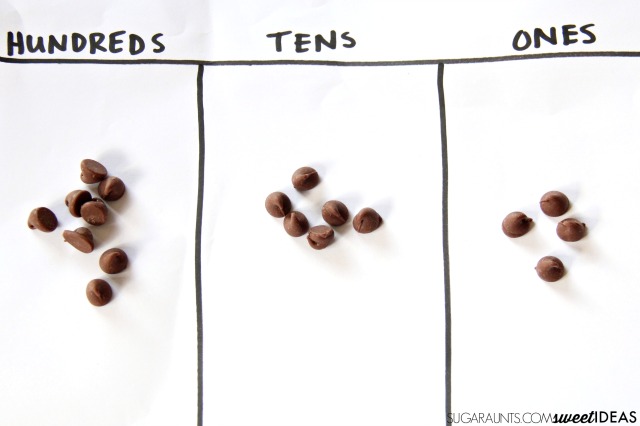
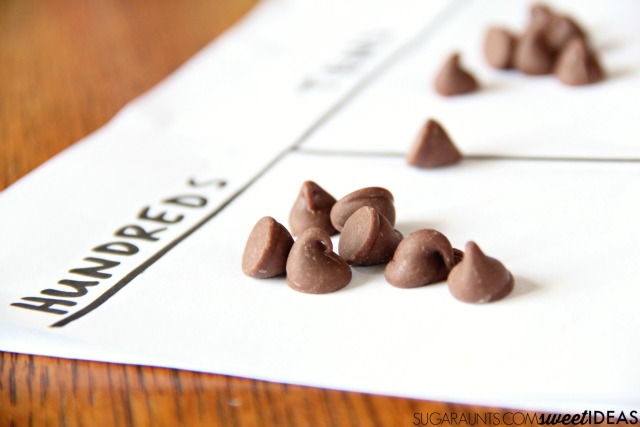
Use a marker to draw three sections on a piece of paper. Label them “Hundreds”, “Tens”, and “Ones”. Grab a bowl of chocolate chips
and some math problems. Ask your child to look at a math problem and sort the chocolate chips
into the columns. If the math problem is 634-x=, sort 6 chocolate chips into the hundred column, 3 chips into the tens column, and 4 chips into the ones column. Then, as your child subtracts a two or three digit number from 634, move the chips around in the columns. Try subtracting 634-256=. Six can not be subtracted from four, so you need to regroup to make it a larger number. Take a chip from the tens column and with your pencil, cross out “6”. Make it into a “16” and subtract the ones column. Continue through the problem and when you subtract the tens column, remove a chocolate chip from the hundreds column.
We had fun snacking on the chocolate chips after re-grouping. This was a math activity that my daughter didn’t mind doing over and over again!
MORE Ways to Practice math skills with chocolate chips:
Grab a handful of chips and place them into each of the columns. Count the chips and name the number. If there are more than 10 chips in the ones, tens or hundreds column, move them over to the next higher column.
Practice adding with the chocolate chips and carry the extra tens over into the tens and hundreds columns.
Looking for more chocolate learning ideas? Stop by and see what the other Early Elementary Blogging Team have created with chocolate:









 (Amazon affiliate link)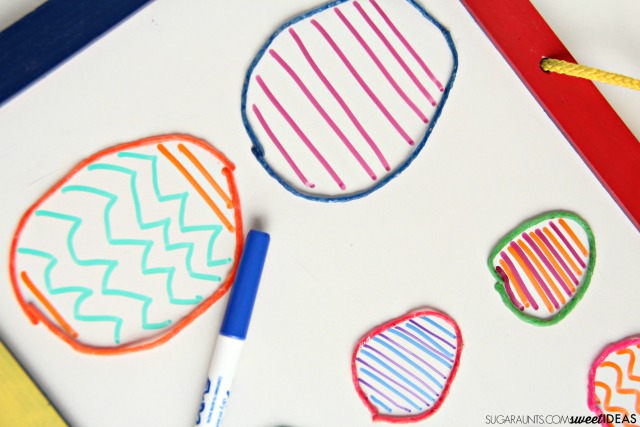

 worked well with our spoons activity because they were lighter. A magnetic letter like
  magnets worked, but they were just a bit too heavy to stick to our spoons. We have a few sets of dollar store magnetic letters that worked well with our spoons, too.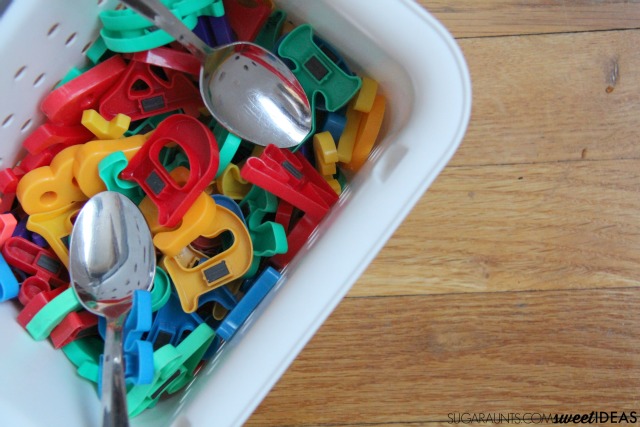
 .
.

 (affiliate link)


 scissors for kids who have a left-right confusion or undefined hand dominance.