This is an old blog post on unique wipe uses for baby wipes and we’ve given it an update. Occupational therapists use some unique materials in occupational therapy sessions. Toys, games, and even recycled materials can help to support OT goals! Here, we’re covering ways to use wipes in OT!
Why Use Baby wipes in occupational therapy?
OTs work on many different skills. We help individuals develop skills in any functional task. That’s why there are so many different tools to the trade!
When it comes to baby wipes, you can get a large quantity for a pretty inexpensive price and use them in so many different ways.
From self-care to crafts and activities, baby wipes can be used for every aspect of functional skills.
Let’s take a look at ways to use baby wipes in occupational therapy sessions:
Baby Wipe Uses in OT
Use baby wipes in self-care-
Occupational therapy practitioners help individuals develop independence and functioning skills in self-care. This includes bathing, toileting, grooming and hygiene, perineal hygiene, and more. Use baby wipes to support goal development in all of these areas.
- Use baby wipes to practice perineal hygiene. Wipes offer a softer material to teach individuals about wiping completely after toileting.
- Use baby wipes for a “sponge bath”. For individuals following a surgery or injury, a traditional shower or bath may not be safe or allowed. Use baby wipes to clean under the arms or all over the whole body in a “dry shower”.
- Use wipes for grooming- From makeup removal to washing the face, baby wipes are a great tool.
- Teach handwashing with baby wipes. OTs can work with individuals on how to wash hands. Wipes are a great addition to handwashing activities.
- Teach about germs with baby wipes. Use a little paint or glitter on the hands and add a baby wipe to clean to teach kids about germs and stopping the spreading of germs by handwashing.
Use baby wipes for fine motor skills-
Occupational therapy practitioners get creative with therapy materials, and baby wipes are a useful tool for strengthening fine motor skills.
- Use baby wipes for finger flexion and extension. Place a wipe on the table surface. The learner can extend and flex the fingers over the wipe to scrunch up the baby wipe. This is a great workout for the fingers and the hands. Because of the wipe’s consistency and the fluid surface, there is less resistance. This is a good hand therapy workout for grading down a hand and range of motion exercise.
- Use baby wipes to strengthen the arches of the hands. A user can crumble up a baby wipe into a ball. Then, hold the wipe between the thumb and pointer fingers. Use the wipe to wipe off certain areas of a table or a chalkboard. This positioning on the wipe supports development of an open thumb web space and arch development by strengthening the intrinsic muscles of the hand.
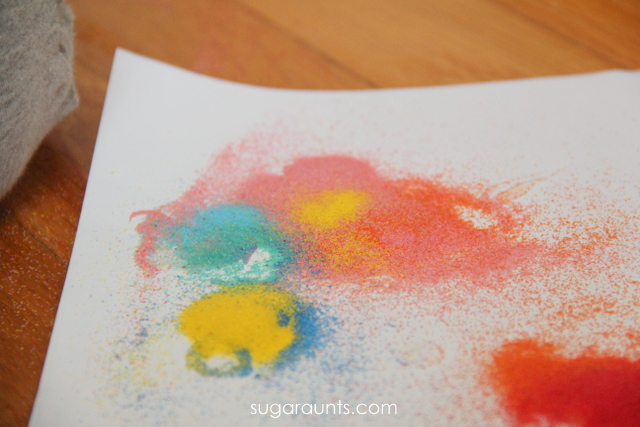
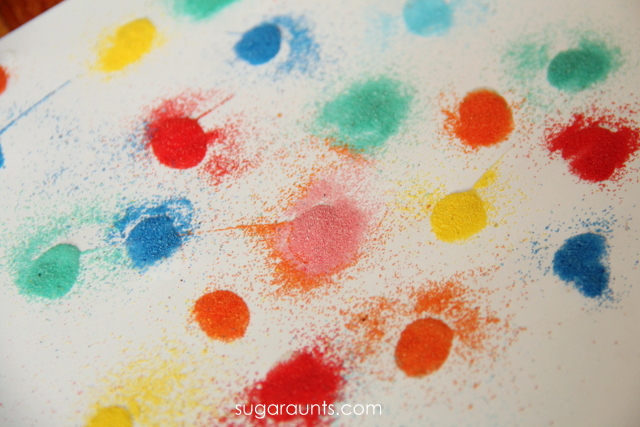
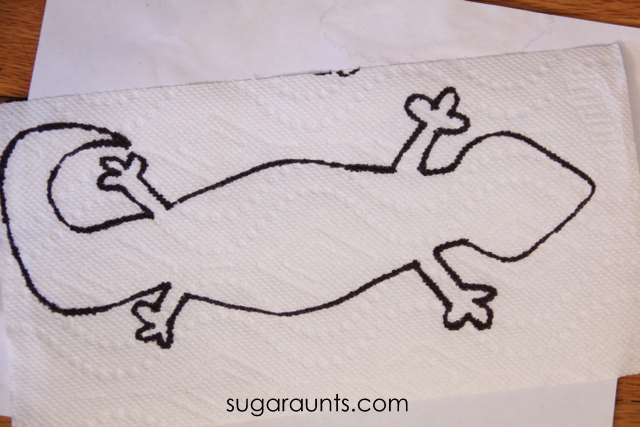
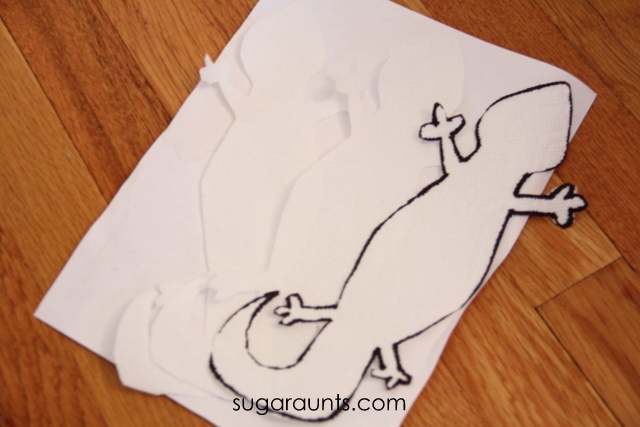
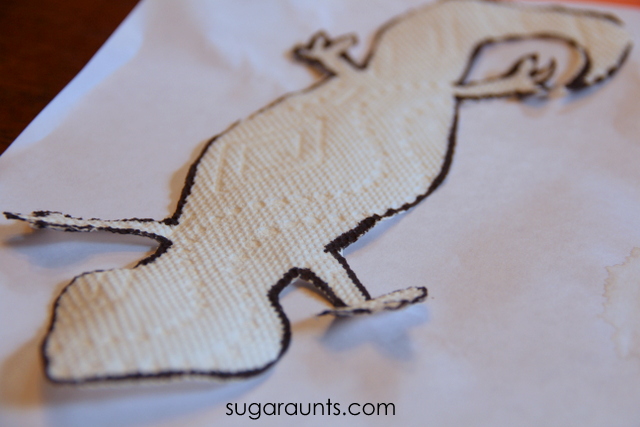
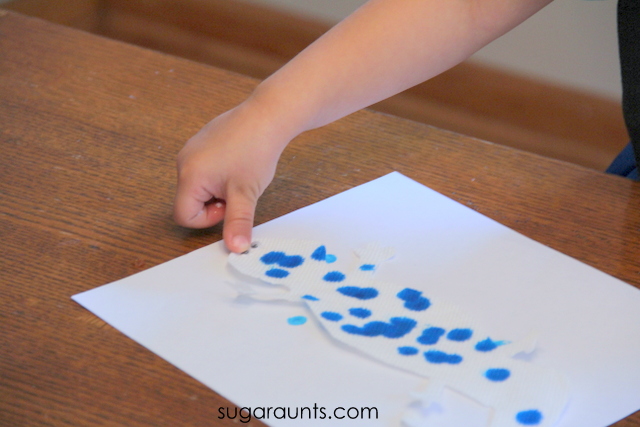
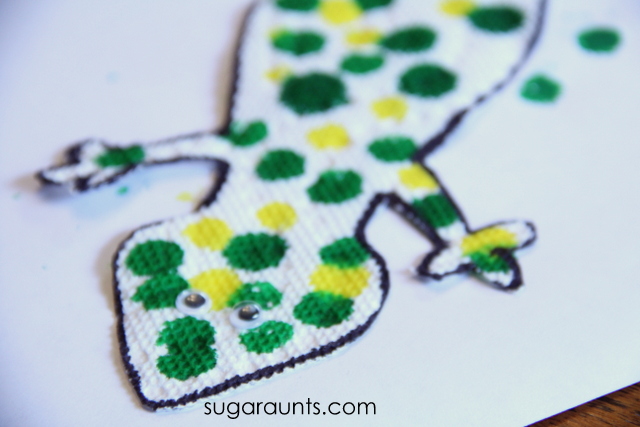
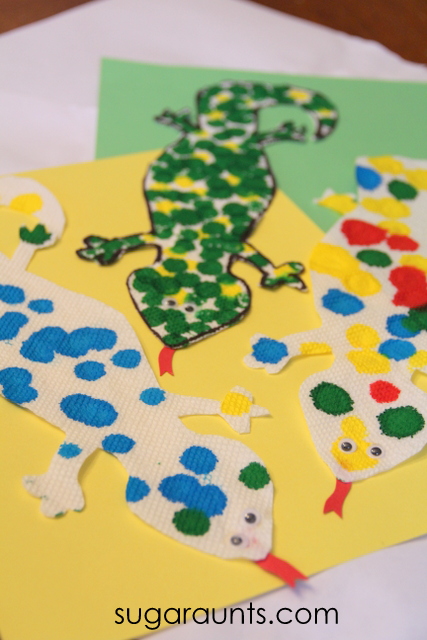
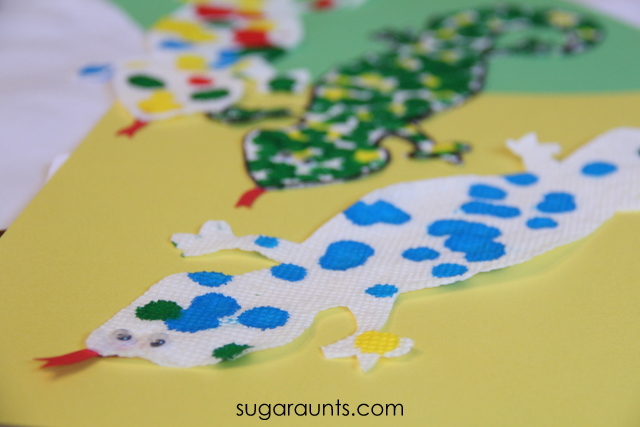
- Make baby wipe art using washable markers. Write and color right on the baby wipe to create tie dye art. This is a great fine motor activity that requires use of the assisting hand to hold the wipe as a pre-writing skill.
Use baby wipes for gross motor skills-
Hold a wipe in the hand and use it to develop gross motor skills including shoulder strength, core strength and stability, gross motor coordination, and posture.
- Wipe down a wall while standing or sitting. This exercise is a functional task (home management) that supports development of neuro motor skills including range of motion of the shoulder and arm through a full range, while offering proprioceptive feedback by pressing against the wall.
- Use a wipe to clean a chalkboard. This gross motor task requires full arm motions and can be done in a classroom setting. It’s a great heavy work activity that is functional, too.
Use baby wipes in handwriting-
Occupational therapy practitioners often work with students on handwriting skills. You can use wipes as a therapy tool to work on letter formation.
- Write letters on a dry erase board. Use the wipe to erase the handwriting. You can work on letter formation, letter size, and line use.
- Write letters on a small chalkboard using the Handwriting Without Tears method of wet-dry-try. Use the baby wipe to write the letter to make a “wet” letter. Then they can write over the wet letter with chalk in the wet letter. Then write over it with a dry paper towel. After students form the letter with the baby wipe and the towel, they can use chalk to form the letter. Then, use the baby wipe to clear off the chalkboard.
- Try rainbow writing with different colors of chalk. Then erase the letter over the letter lines with the baby wipe.
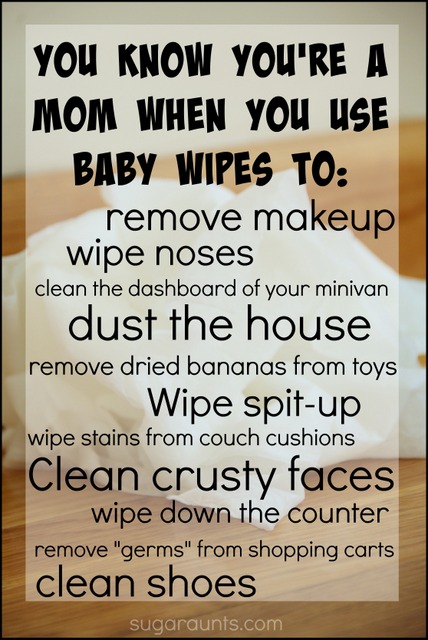
Other Ways to use baby wipes
Things get a little crazy when you’re a mom. Whether you’re a mom to young kids, life is messy. There are always stains, crust, and dust. And don’t even mention the laundry! So when you’ve got all of these messes happening, you need easy assurance that the little things are taken care of. With four kids ages 7 and under, I’ve got a lot of messes most of the time. And the bigger kids are my helpers. But let’s be honest…the helpers make a lot of messes too, even when they are trying to help!
It seems like there is ALWAYS something to wipe, swipe, scrub, and clean. From stains on the couch to dust on the lamps (And oh boy, there’s a lot of dust!), life with kids gets messy.
Most moms I know keep a pack of wipes handy for easy clean up.
I’ve found myself wearing the ultimate Mom badge of honor during preschool drop off (and only an hour after my morning shower) with the baby’s spit up. Wipes!
When you’re sitting at a red light and you see the dust all over the mini van’s dashboard? Wipes!
When your daughter runs into the house with dirt and mud all over her dance jazz shoes? Wipes!
When the two year old wears the (hand-wash-only) Princess dress-up gown for a week strait? Wipes!
I love that when I’m using all of these wipes for kiddo crusty noses, chocolaty little cheeks, and bums, the natural wipes layers stand up to the grunge with their layers that are thick enough to handle any mess and a texture soft enough for baby’s smooth skin.
We like the designer tubs that the wipes come in and the pop up tubs. Because a mom needs quick access to mess clean-up! You’re also able to get baby wipes in big refill packs, on the go containers, and convenient soft packs of wipes.
Any new package that comes into our house is usually inspected by the older kids (when they “help”) and our diaper and wipes purchases were no different.
Of course, diapers need to be stacked, counted, and sorted. This little helper loved the designs on our diapers. And needed to put her touch on our storage system. I mean, it’s a great idea to keep all of your new diapers in a pile in the living room 😉

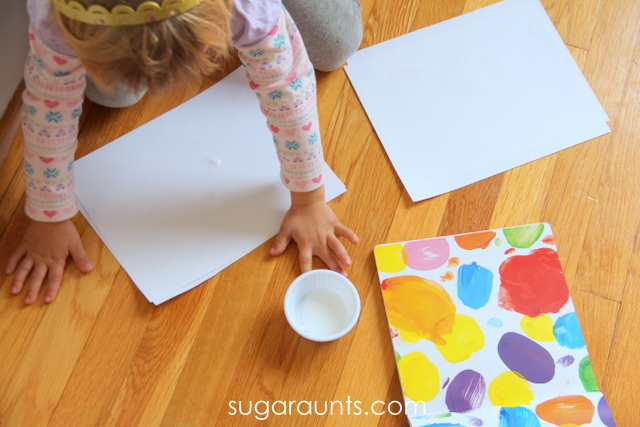
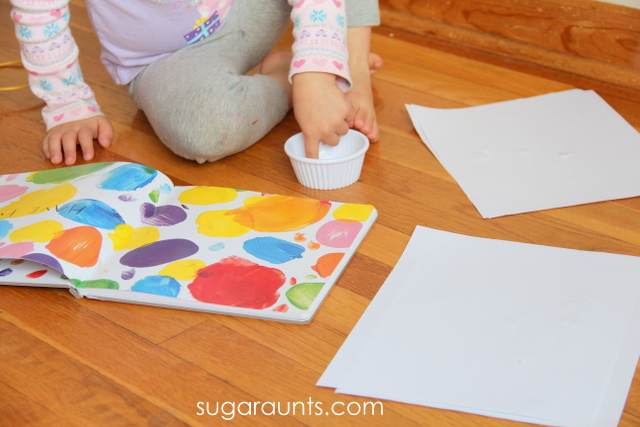
 (this pad gives you a nice big surface for creating)
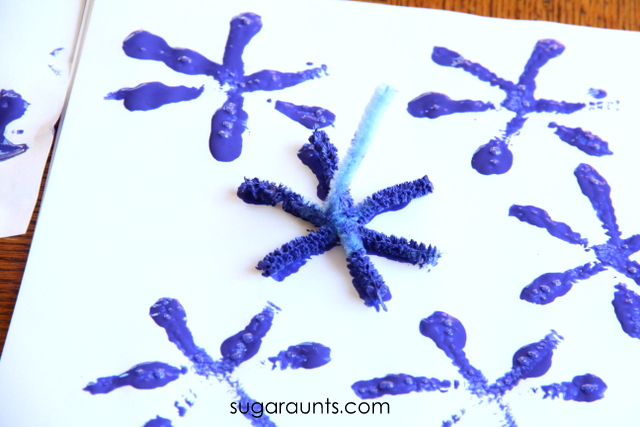
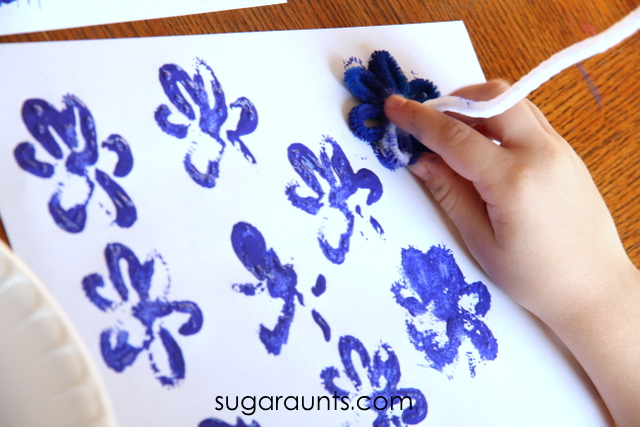
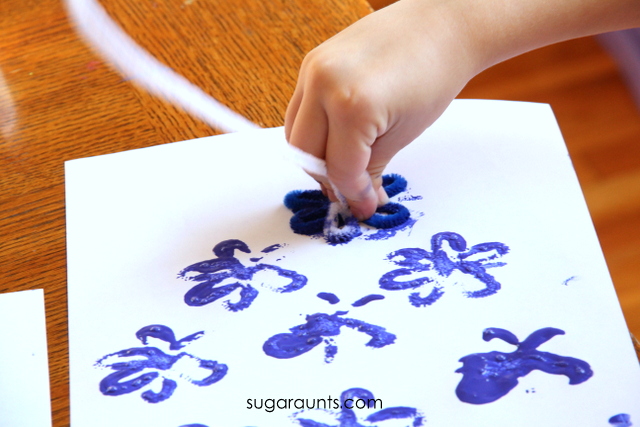
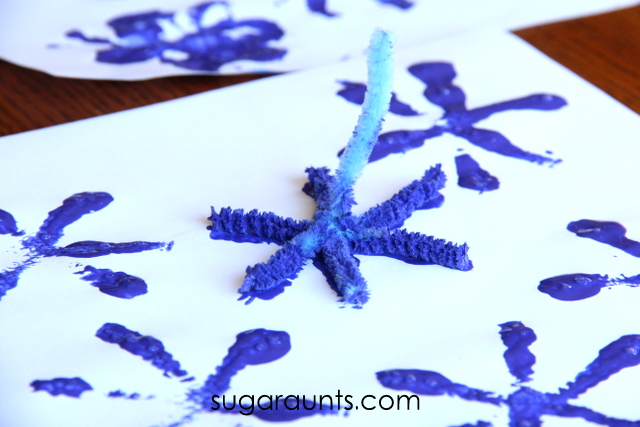
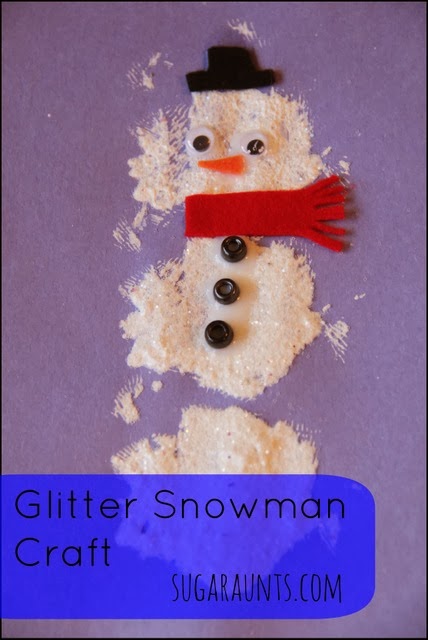
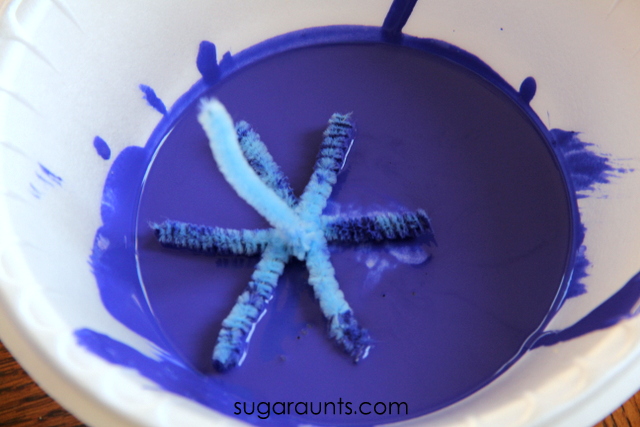
 s into a snowflake shape with one piece sticking up for a handle. You can experiment with the shapes. We did a flowery shaped snowflake, too. (This would also make a great spring craft in a few months!)
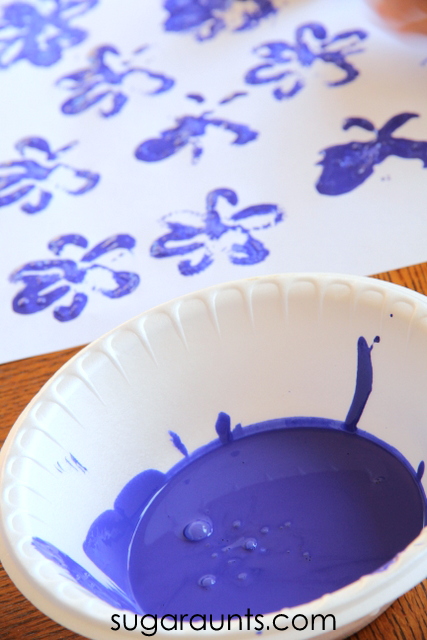
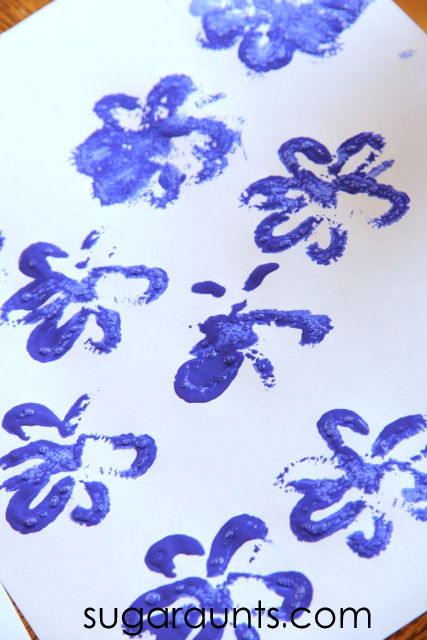
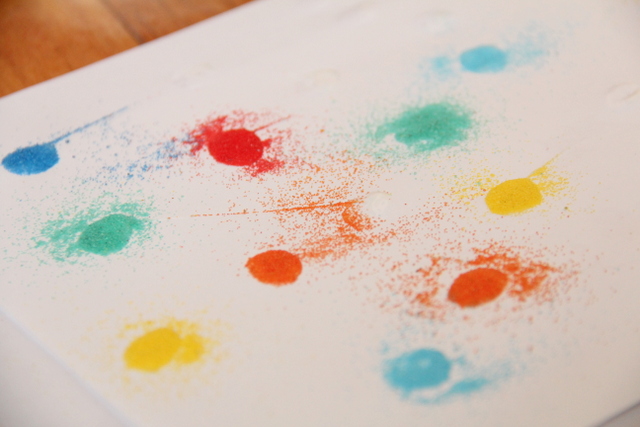
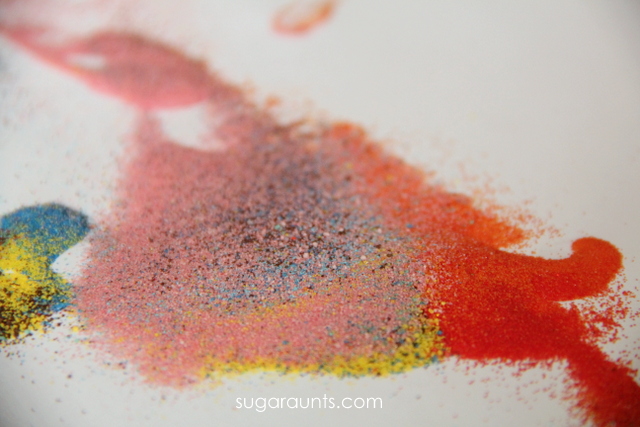
 It’s a great paint for preserving little one’s works of art.