Visual Motor Integration is also known as eye hand coordination. Essentially, this skill is the ability to coordinate the hand in an effective manner directed by vision. When relying on visual motor skills, a person coordinates their movements based on what they see. A child requires effective visual motor skills in order to do so many tasks…forming letters, writing on a line, coloring within lines, cutting along a line, catching a ball, completing puzzles, reading, and so much more.
This fun (and colorful) activity is easy to create at home and a fun way to work on visual motor integration. We added a color matching component to our activity, but you can adjust this activity to include what ever best keeps your child’s attention.
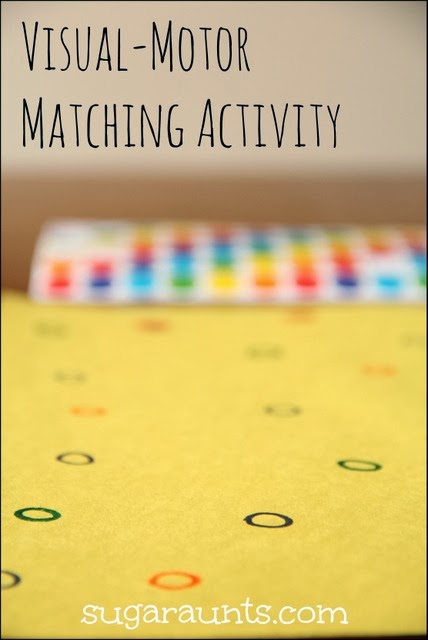
Visual Motor Color Matching Activity
This post contains affiliate links.
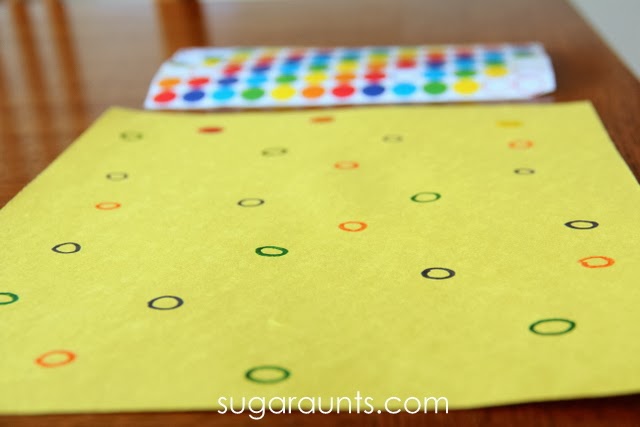
I started by drawing small circles all over a sheet of construction paper. I used a bunch of different colors that matched the colors of stickers we had. These rainbow stickers are the perfect size for little fingers to peel and work on fine motor skills.
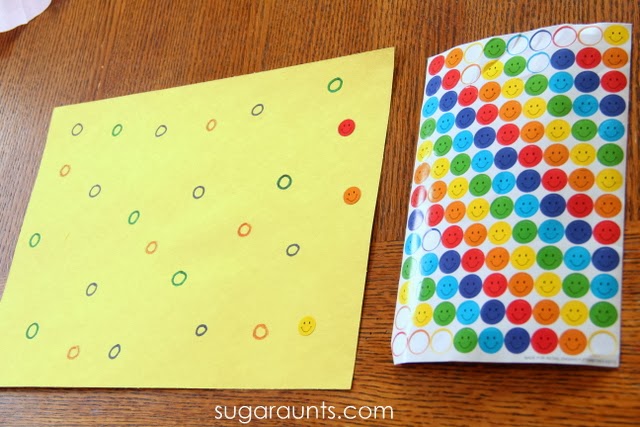
I had Baby Girl (aged 2 and a half) peel off the stickers and place them on the circles. Scanning for the matching color works on those eye-hand coordination abilities and also works on color identification.
This was also a great way for Little Guy (age 4) to work on his visual motor skills. He’s working on letter formation and ability to write in a smaller space with better control. The fine motor and visual motor work in the activity are perfect for the new hand writer.
This is such an easy way to work on so many skills. We’ll be doing this activity again, for sure, with a few modifications. Instead of matching colors to colored circles, try matching letters, numbers, emotions, and more!
What are other ways you can work on visual motor skills at home?
Summer brings cookouts, backyard parties, swimming pools, and fireworks! We were in the mood for some summer fun and creating these fireworks painting art did the job. A little bit of sparkle made the artwork really pop. And what art isn’t better without a little glitter, right??
This post contains affiliate links for your convenience. Your purchases through these links help to support our blog. As always, thank you for your support!
Fireworks Artwork Craft
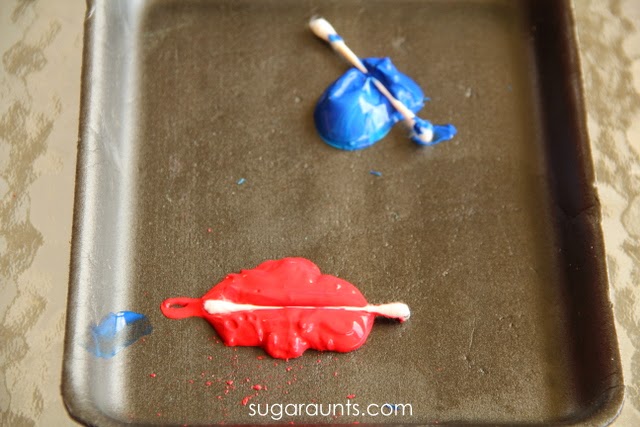
We started with blobs of red paint
and blue paint on a Styrofoam tray. Add a handful of cotton swabs
and we were ready to go.
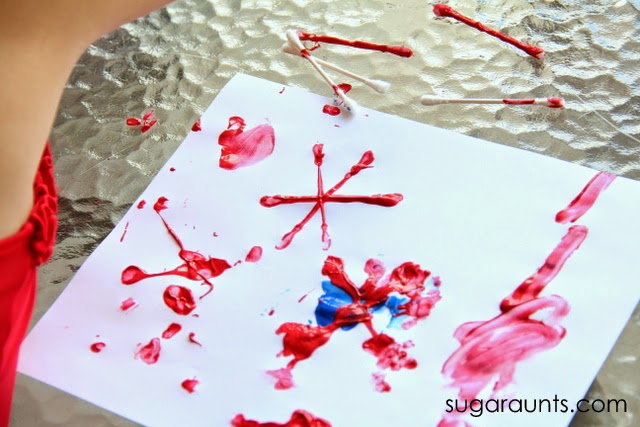
We used the cotton swabs to stamp the red and blue paint onto white paper into our fireworks shapes. Stamping the paint covered cotton swabs was a super messy and sensory painting experience. We mixed the colors for some of the fireworks to get a nice red and blue mixture into purple. This was a great time to talk about the colors and how they mix to make purple.
The fireworks painting needed a little something.
GLITTER!
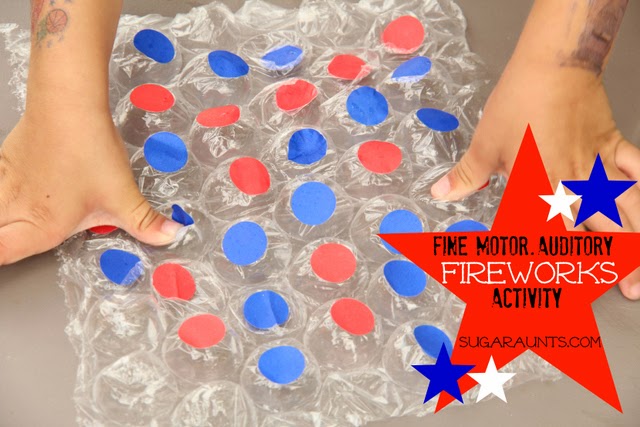
Fine Motor Fireworks Activity
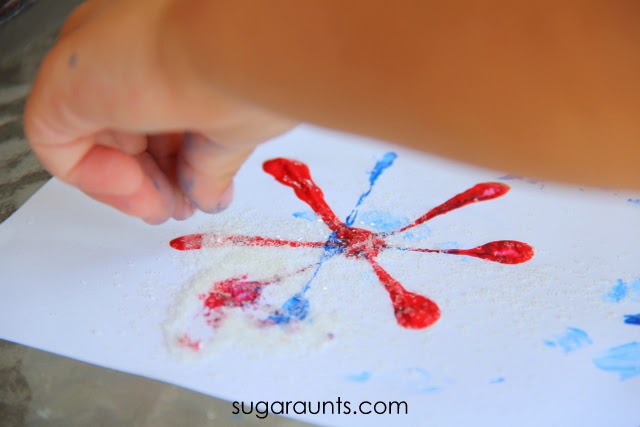
We used clear glitter
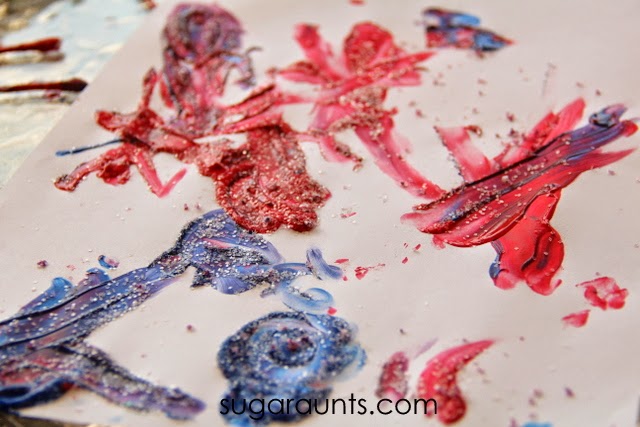
and sprinkled it on while the paint was still wet. It stuck right onto the paint and made our fireworks really pop.
Pinching the glitter was such a good way to work on fine motor strength during a fun craft activity. Using the index, middle finger, and thumb to grab up the glitter and sprinkle it around is a great tripod grasp task. Using those three fingers to manipulate a material like glitter in a controlled manner strengthens the intrinsic muscles of the hand. Intrinsic muscles are those little muscles within the hand that are essential for controlled pencil manipulation and many other fine motor tasks.
This fireworks painting craft was just right for some easy sensory summer fun. Celebrate the season with fireworks art!
You may be interested in more patriotic crafts and activities. Try these:
We’re joining up with the awesome bloggers in the All Things Kids community to bring your creative and fun ideas to get your summer off to a great start. So, the kids are out of school and ready for some fun. The running around in the sprinkler and riding bikes are perfect to start off a summer of freedom. But, what happens when the first “I’m bored” starts? We’ve got you covered on ideas to keep the kids moving, learning, and creating this summer. Each of us All Things Kids bloggers are bringing you ideas for themed activities. These would be perfect too in place of a summer camp or vacation bible school and just do an at-home summer camp with the kids. Why not invite a few friends over and start your own backyard summer camp for the kids?
Backyard Summer Camp
It’s that simple to create a neighborhood summer camp! Pull up the ideas from the all things kids bloggers and you’ve got 7 weeks of themes covered for a summer of camp fun. We’ve found the best crafts, activities, snacks, and more all based on each week’s theme. I’m ready for a backyard summer! Check out all of the summer camp ideas: Robots, BugsAround the World , Animals,Ocean and Beach,Nature, and today’s post by us…Circus!
We’re scouring the net for the best and most creative ways to make your own Circus themed Summer Camp for preschoolers and toddlers. We’ve got circus crafts, circus snacks, circus fine motor and gross motor activities to get the summer off to great start.
Circus Theme Crafts
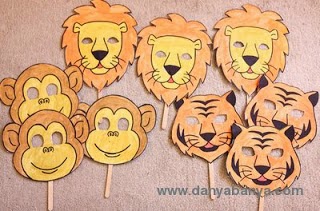
The kids will love a few circus crafts. These lion, tiger, and monkey masks (Danya Banya) will keep the kids occupied and pretending. Or try this elephant mask craft (East Coast Mommy) for more pretend play. For more circus animal crafts, try this activity from Inspired Treehouse.
Kids will love making a craft a day at your backyard camp. Make this elephant mask (Mamas Like Me) and they can wear it throughout the week. Children can work on so many important developmental areas while developing their scissor skills. If painting is more your thing, this lion craft (Sassy Dealz) is a super cute circus animal to make. Need a few more crafts to keep the kids busy with your circus theme? I love these circus clown costumes (KangarooBoo blog) made with party hats and paper plates.
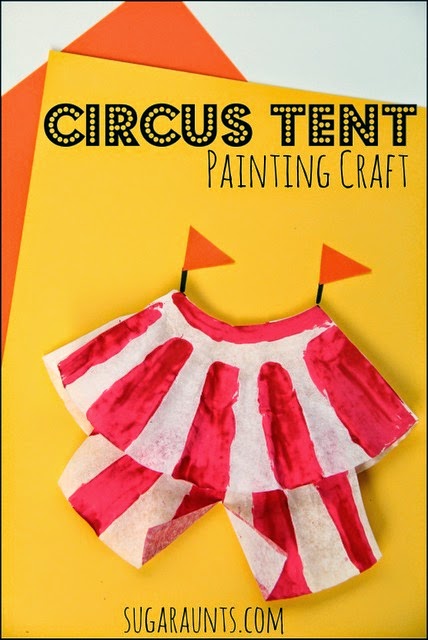
We loved making our circus tent craft. This trapeze artist craft (Boy Mama Teacher Mama) is equally cute! A handprint zoo (House of Burke) would be a great memento to remember your week of circus fun.
Circus Theme Snacks
A backyard summer camp or themed learning unit definitely needs snacks to keep little ones going and energy levels high. Here’s a few circus themed ideas for snack time:
Goldfish in a bag (You won goldfish!)
animal crackers
popcorn
Sandwiches cut into fun circus shapes with circus cookie cutters (and then reuse those cookie cutters for stamp art painting later in the week!)
Add these things to a little peanut butter (or other nut butter) for some protein.
Circus Theme Gross Motor Backyard Activities
I know a few little ones who would LOVE this water gun game (Driven By Décor). Use a few ping pong balls and a squirt gun for an easy (and summer-ific) carnival game. Inspired Treehouse put together put together three gross motor circus activities. A ball toss game would be easy to set up with a few bins and some bean bags or balls.
Circus Theme Sensory Activities
The kids (and moms) will get a kick out of a fun circus sensory activity. How cool is this popcorn painting activity (Mess for Less)? We put together a few fun ideas for circus sensory bins in our circus party essentials post
Circus Theme Learning
Any circus unit or backyard camp needs circus books! These are some of our favorites.
We’ve been on a little Circus theme around here lately. You might have seen our roundup of favorite circus books or our ideas for a circus party. This circus craft was easy to put together and the kids loved it. They were itching for a painting craft and this one hit the mark.
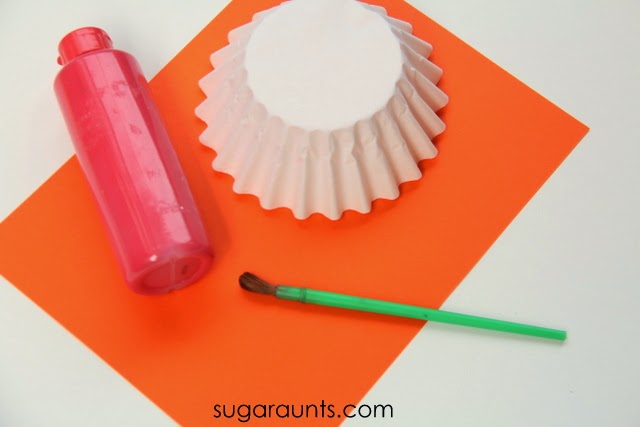
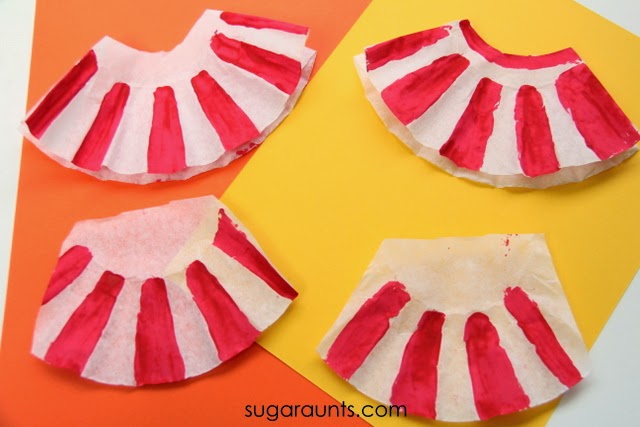
To begin your circus tents, cut the coffee filters as shown. This is a great way for little scissor users to practice their scissor skills. Cutting coffee filters is more difficult than regular paper and a great way to practice accuracy as they cut along the folded parts of the coffee filter. Adults can make marks on the coffee filter where needed for the kiddos to cut along.
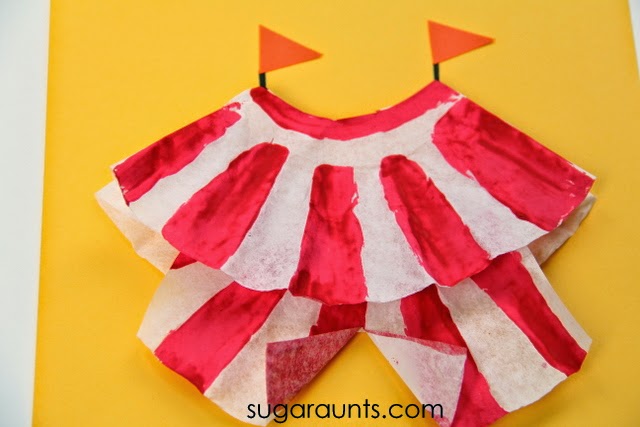
Once cut, start the painting! We painted our circus tents with red paint on every other folded section of the coffee filters. Use your imagination on your circus tents. Circus tents come in many different colors and designs!
Once the paint is dry, place the smaller section of coffee filter under the larger piece. Glue onto a sheet of paper. Cut a small slit on the smaller section, and fold the doors of the circus tent open. The circus is open!
Use the black marker to make flag poles and glue small triangles of orange (or any color) paper to make flags. Done! This would be a great craft to do before an outing to the circus or just for fun when you read a few circus books.
You may also enjoy our Kids’ Crafts Pinterest Board. Stop by and follow along:
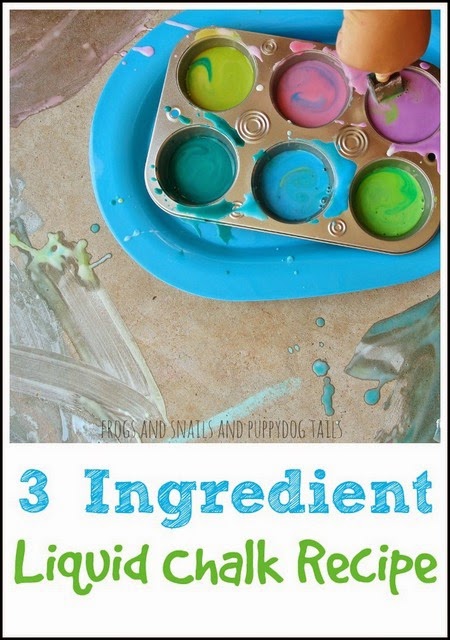
We love sensory art and play activities at my house. We also love making our own DIY sensory play recipes for playtime and art. This Liquid Chalk recipe is just one of our favorite ones to make. It is cheap and easy and my kids love it. It can be a little messy but clean up is pretty easy. Liquid chalk is a fun way to spend time with the kids outside on a nice sunny day while engaging in some tactile sensory challenges.
These liquid chalks would be a great addition to a rubber duck painting activity too, and a great way for kids to explore tactile sense with creative art.
Liquid Chalk Recipe
I mixed up a batch of liquid chalk in a muffin tin. I placed it on a tray and sat it outside for the kids.
The kids had foam brushes to paint with. They painted the driveway and garage floor.
Liquid chalk is fun to explore sight and touch. Creating art on the concrete is a fun change from paper inside.
Painting outside like this gets the kids up and moving around too. I have so much fun painting with them, when they let me.
This day we wanted to mix it up with the typical chalk painting we usually do. I had seen a fun Fizzing Sidewalk Paint Recipe by Kids Activities Blog and had wanted to try it out. Today seemed like as good a day as any.
After the kids had painted a while, I brought out spray bottles with vinegar in them. I let the kids spray the chalk paint. We watched to see if it would fizz? A little added simple science too.
We got a little fizzing action but not a lot. They kids still had a blast spraying the vinegar on the ground either way. This was a hit at my house and we hope you can enjoy it too.
This is a guest post by Jaime at Frogs and Snails and Puppy Dog Tails. Jaime is an everyday stay at home mom. She has 3 boys ages 5 yr to 1 yr. Jaime loves to find fun activities, crafts, recipes…. for us to do together. When she is not washing clothes and chasing the boys around she enjoys sharing our activities and crafts on her blog.
Today, I’d love to share a sight word reading and writing activity with you. Young readers and writers need lots and lots of practice reading and writing sight words. This quick and easy activity fits the bill. Add a fine motor component to boost the skills that kids need for pencil grasp and other skills, including the bilateral coordination component, visual motor skill work, and fine motor strengthening!
Sight Word Game
Sight Word Activity: Roll, Pop and Pull
Materials
Here is what you will need:
muffin tin
6 toilet paper rolls
scissors
assorted colors of tissue paper
12 rubber bands
black marker
12 small strips of paper
writing paper and a pencil/pen
die
tweezers
Set-Up
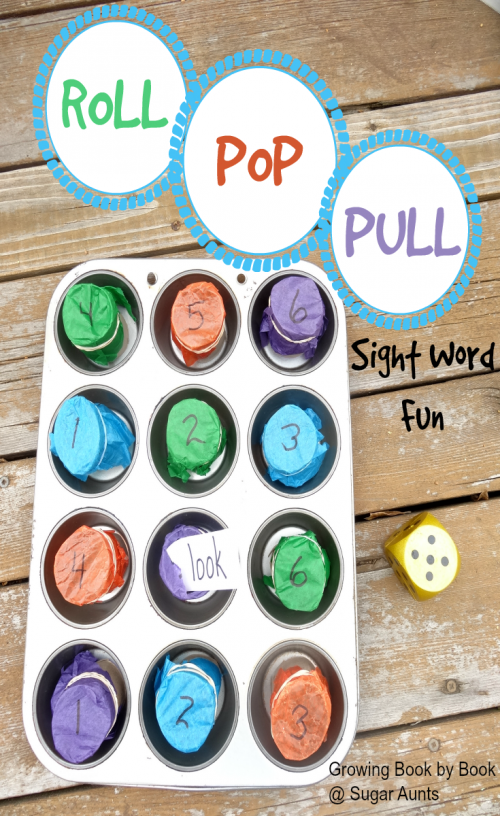
1. Cut each of the toilet paper rolls into two pieces so that you have a total of twelve pieces.
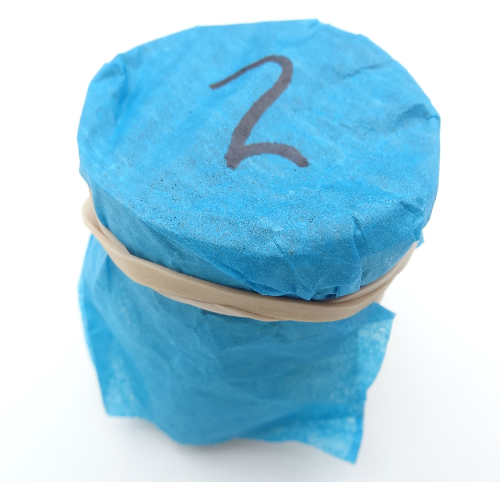
2. Cover the top of each toilet paper roll with tissue paper and secure with a rubber band. On top of each structure write a number. Use each number (1-6) two times.
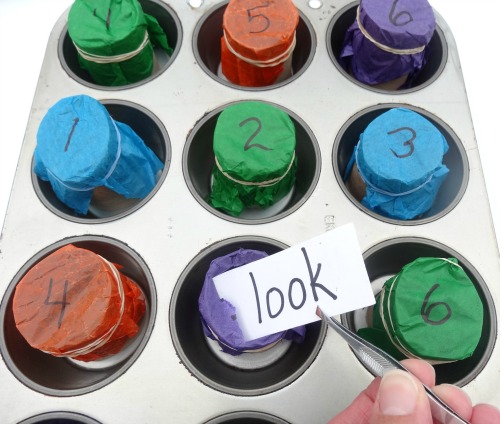
3. On the 12 strips of paper, write sight words that your child needs to practice reading and writing. Stuff each roll with a sight word strip of paper and place them all in the muffin tin.
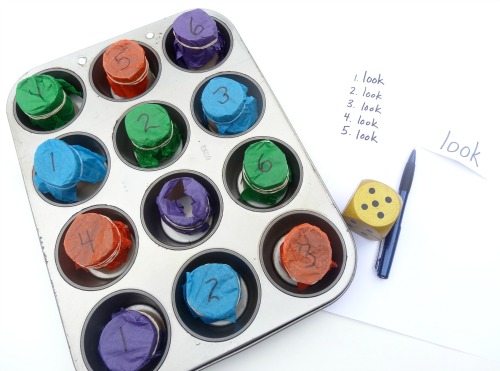
4. Gather your die, tweezers, writing paper and writing utensil.
Play and learn sight words with a sight word game!
To play, the child rolls the die. Then with their finger or the tweezers they pop the circle with the corresponding number. Remove the sight word with the tweezers. This makes for great fine motorskill practice!
The child should read the word and then write the word the number of times that corresponds to their roll. Play continues until all circles have been popped.
There you have a fun and easy sight word game to practice reading and writing skills!
Looking for more sight word activities? Check out these other ideas!
What other hands-on ideas do you have for practicing sight words?
Jodie Rodriguez is a mom of two little boys (2 and 3), a National Board Certified educator and creator of the Growing Book by Book blog. Jodie has a passion for early literacy and all things related to reading. Connect with Jodie on Facebook, Pinterest, Twitter or Google +.
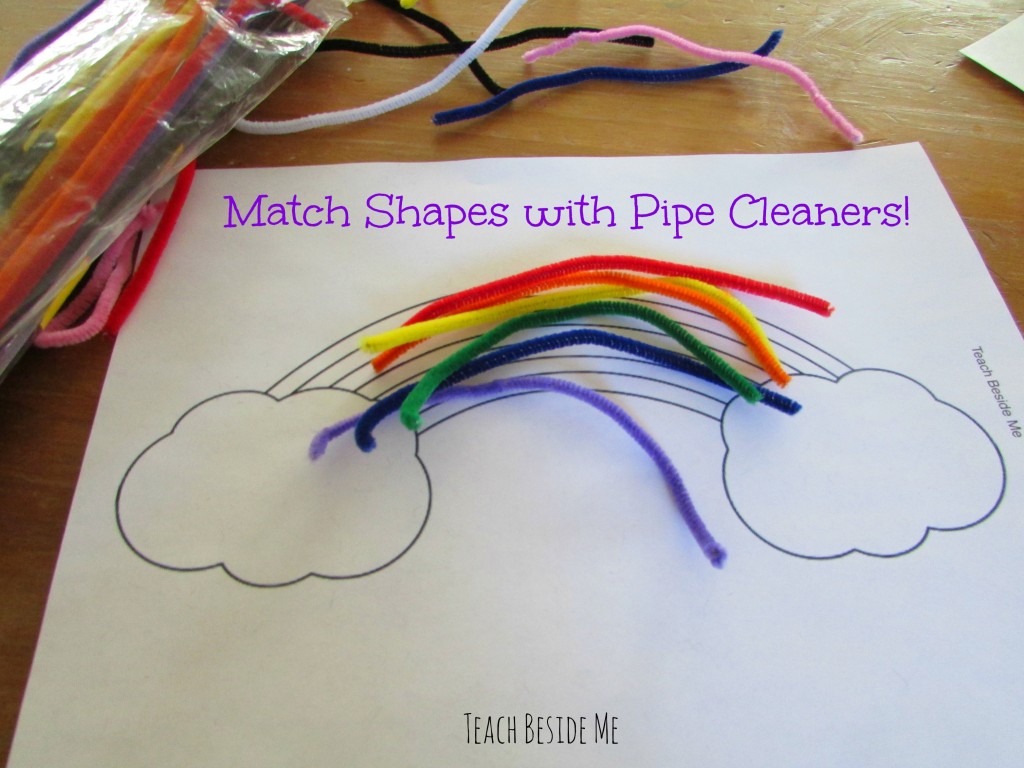
This pipe cleaner busy bag is a creative way to use pipe cleaners while helping preschoolers to develop fine motor skills and visual motor skills. Add this pipe cleaner busy activity to your list of preschooler activities!
Pipe Cleaner Busy Bag
I have been trying to think of activities to keep my 3-year-old son busy lately. He is a busy little guy a
nd always wants to be involved in what we are doing in our homeschool. I typically have little busy-bag activities for him to do and needed to add in some new ones.
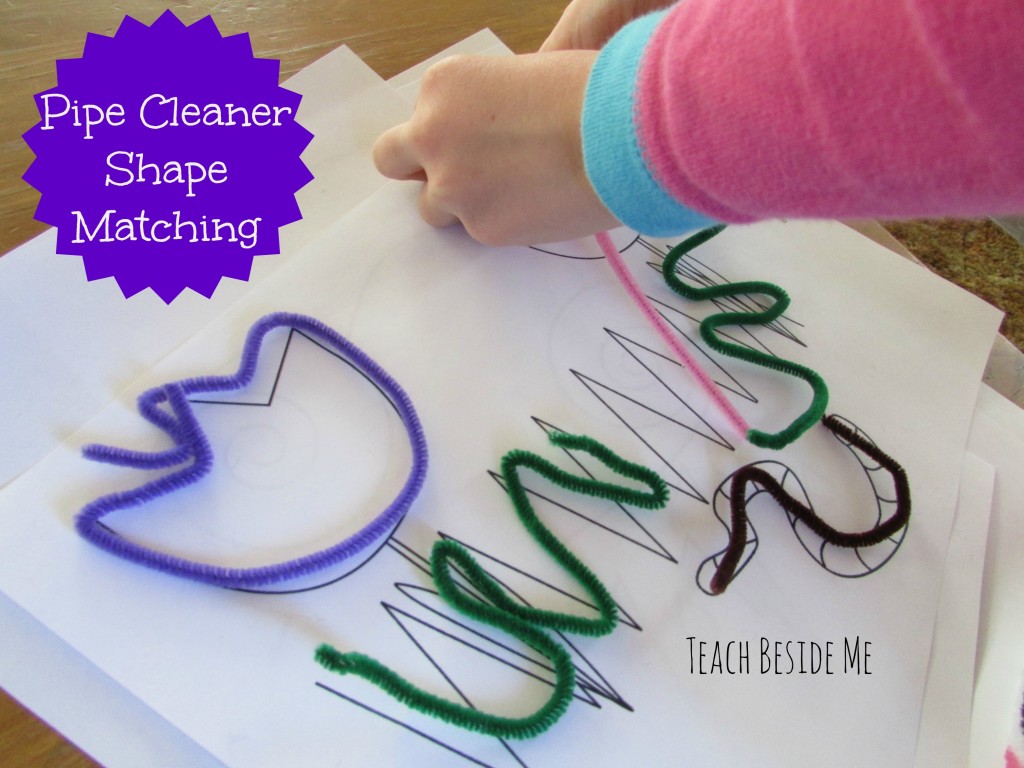
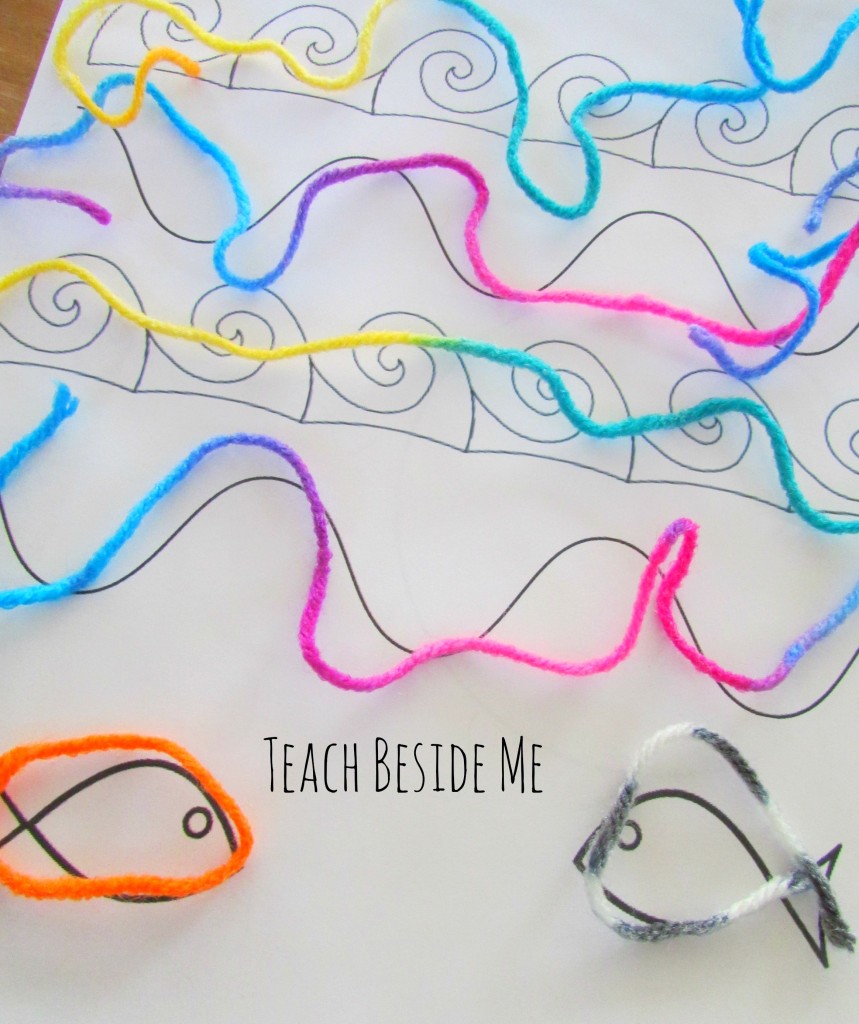
We have lots of pipe cleaners so I decided to make a pipe cleaner shape matching activity. I created some simple pictures for him to use to create shapes with pipe cleaners or yarn. You could really do this with any shapes, but I thought it would be fun to make it a more creative picture with nature scenes.
I made several different printable pages that can be used in a busy bag or just for anytime.
We tried doing the activities with yarn as well and it is a little easier to shape them for younger kids.
Working on fine motor skills, visual perception, visual motor skills, sensory tolerance, handwriting, or scissor skills? Our Fine Motor Kits cover all of these areas and more.
Check out the seasonal Fine Motor Kits that kids love:
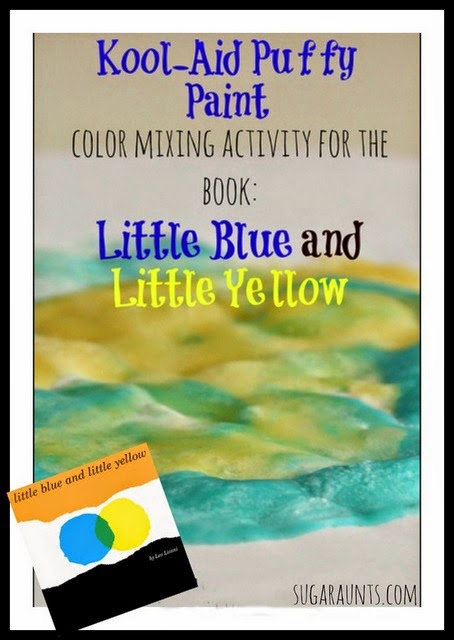
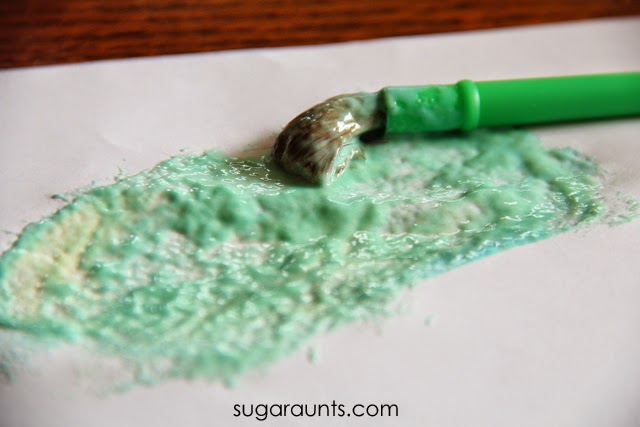
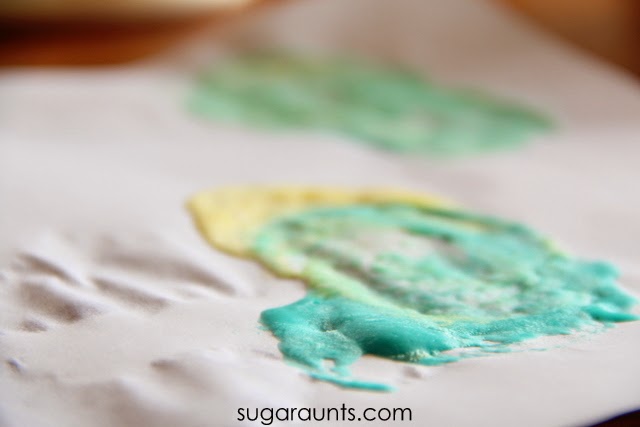
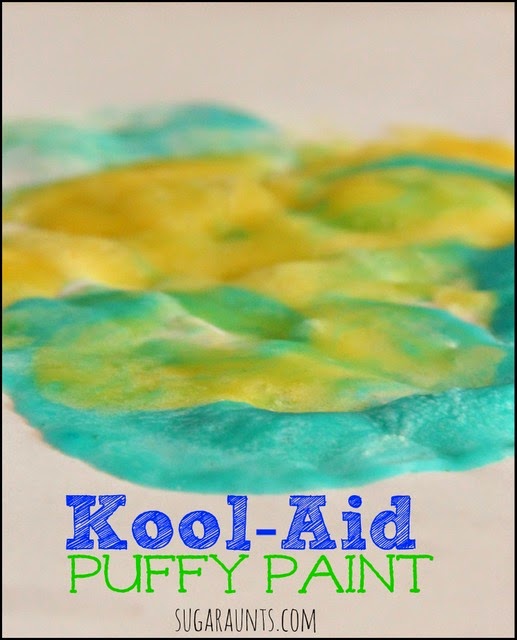
Check out this Little Blue and Little Yellow activity to work on color mixing and sensory play with a children’s book favorite! We whipped up a batch of Kool-Aid puffy paint for a sensory play experience that has a scented aspect. Kids will love this color mixing activity, and will be sure to remember it for years to come!
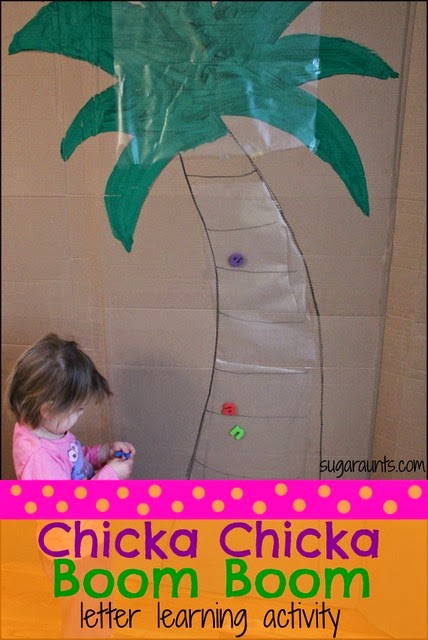
Last week’s Pete the Cat snack and our Chicka Chicka Boom Boom Letter Learning Activity have been a huge hits in our house. these are some of our most favorite and read (and re-read) books, so this preschool book club series has been a blast!
This week we’re loving another favorite book of ours with Little Blue and Little Yellow. We made Kool-Aid Puffy Paint to create our own version of color mixing to go along with the book. This was beyond cool and so much fun to create.
Little Blue and Little Yellow Painting activity
This post contains affiliate links.
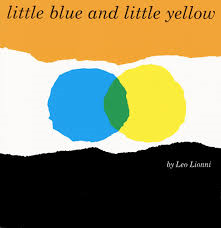
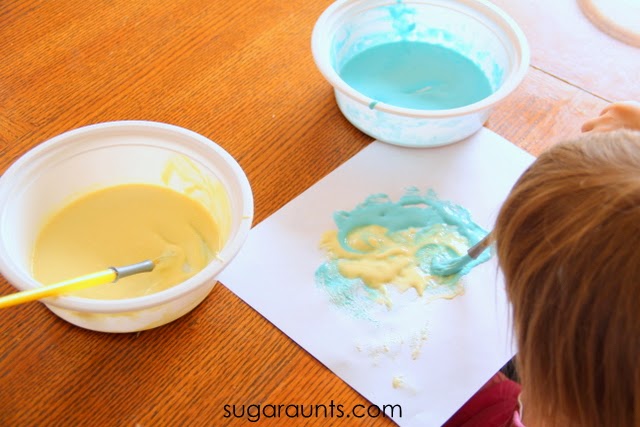
We LOVE the book Little Blue and Little Yellow, by Leo Lionni. When we saw this book on the series, I knew we had to do some color mixing. This Kool-Aid paint recipe smelled so good and the creating mixtures of blue and yellow was a ton of fun.
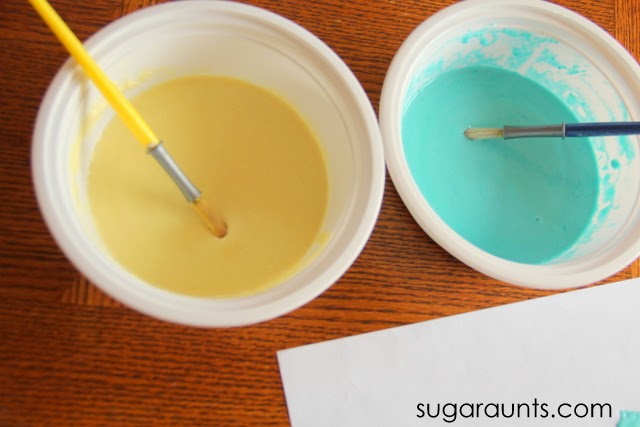
The YELLOW paint was the same recipe, only using a packet of lemonade flavored Kool-Aid. Mix the paints up until it’s a smooth consistency and painting is ready to begin!
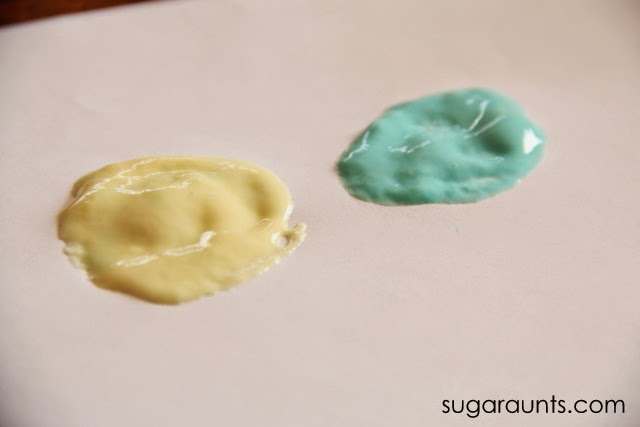
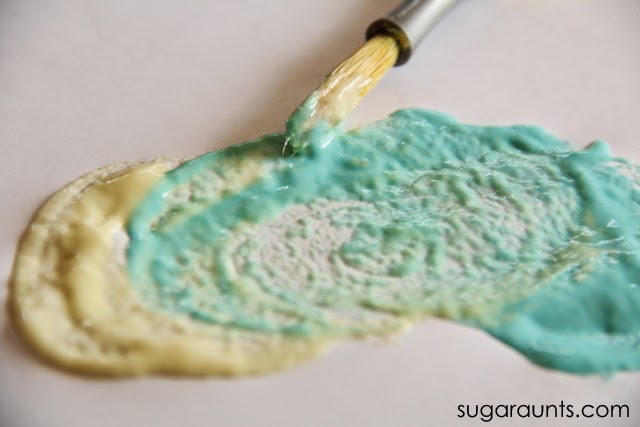
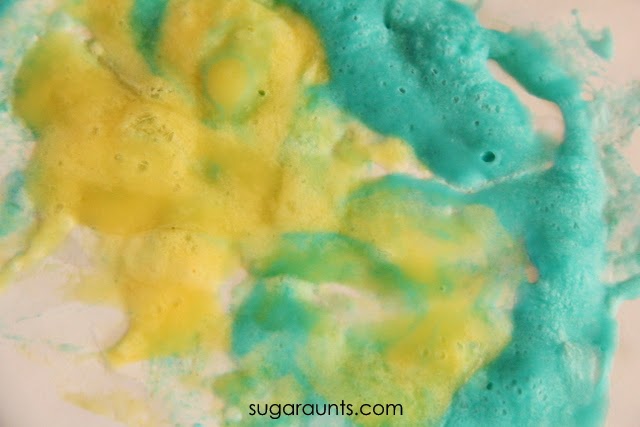
We made a little blue and a little yellow spot of paint and the kids guessed what color they thought we would get when they mixed. Little Guy liked to add little bits of color at a time just like in the book to mix into green.
These paints were very sensory! The texture and scent were such a fun painting experience.
The paints made a pretty green color.
After we mixed a bit of the blue and yellow together, I put the paintings into the microwave for 30 seconds. These paints puffed right up. Your microwave oven may vary, so keep a close eye on this while the paints are cooking!
We had to do a bunch more of these. Baby Girl loves her painting activities!
These puffy paints were very fun. We painted for a while making puffy blue and yellow mixtures. And loved the scents!
Be sure to stop back next week for another Preschool Book and activity. For now, check out the other awesome ideas to go along with Little Blue and Little Yellow from our Preschool Book Club buddies:
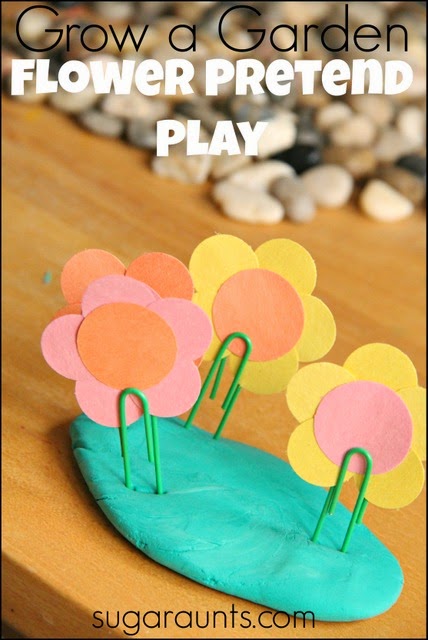
We love making these play dough flowers with paper clips, paper flowers, and rocks. It’s such a fun fine motor activity that kids absolutely love, and so do I as an occupational therapist who loves easy and simple fine motor activities that build skills through play.
Play Dough Flowers with paper clips and rocks
We are loving all things Spring these days. One rainy morning, Baby Girl and I played with this play dough fine motor activity while Little Guy was away at preschool. She loves play dough and was very excited to Grow a Garden with a few extras thrown in there to make a fun flower garden.
Play dough is such a great way to work on fine motor skills and this garden activity hits the mark when it comes to strengthening those little muscles in the hands. Not only that, it’s totally fun and happy!
This post contains affiliate links.
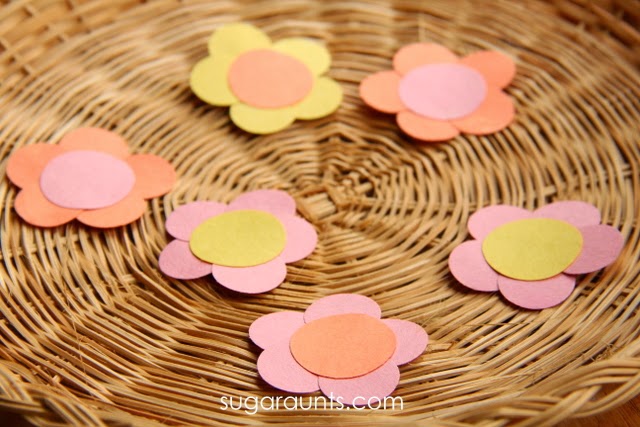
I started by making a bunch of flowers. I used my circle paper punches and glued circles together to make flowers.
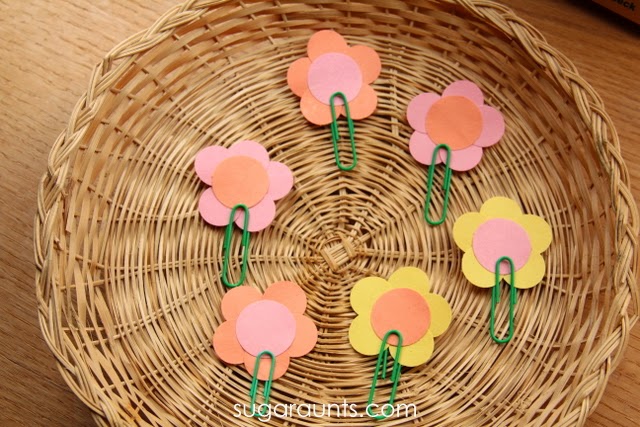
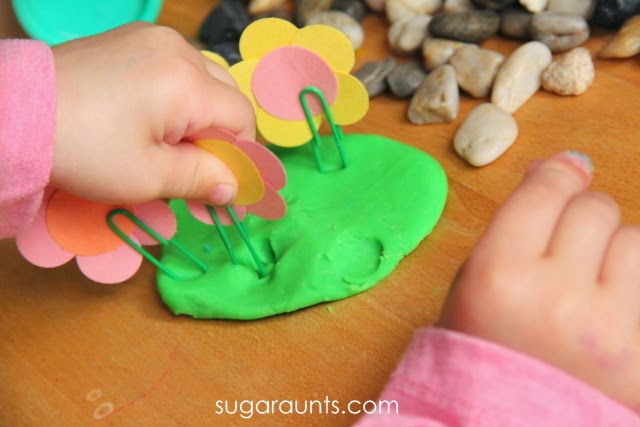
Baby Girl and I stuck them onto green paper clips. It was a great way to get started on the fine motor work in this activity. She was really focused on putting the paperclips onto the flowers.
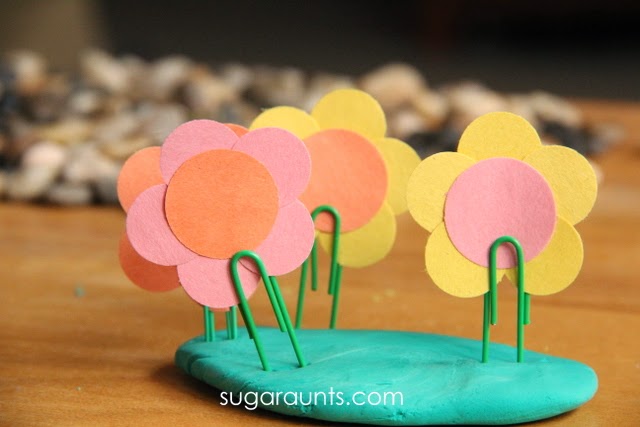
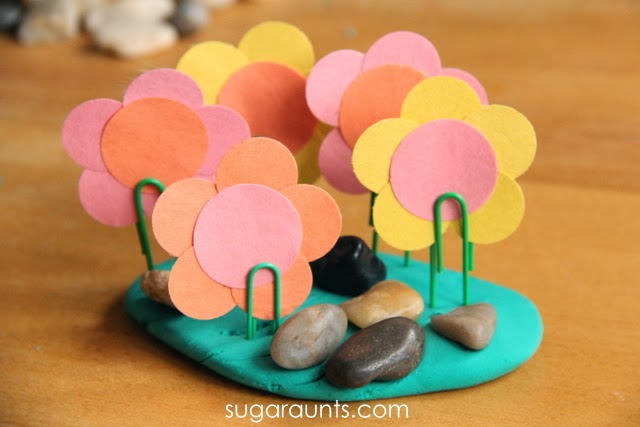
Next, I pulled out the green play dough and we started planting flowers!
Rocks were needed for our flower garden, of course!
PaperClip Play Dough Activity
We tried clay and play dough for this activity. The clay was more resistive to press the paper clips into, and a better strengthening tool…but it seemed to stick more to the paper clips. Play dough worked better for us, and was just as good a fine motor strengthening work out.
Pressing the paper clips into the play dough is a great way to encourage a tripod grasp while strengthening the intrinsic muscles of the hands. The small muscles within the hand are so important for arch support and control in many fine motor tasks (coloring, zippering, buttoning…)
Colleen Beck, OTR/L has been an occupational therapist since 2000, working in school-based, hand therapy, outpatient peds, EI, and SNF. Colleen created The OT Toolbox to inspire therapists, teachers, and parents with easy and fun tools to help children thrive. Read her story about going from an OT making $3/hour (after paying for kids’ childcare) to a full-time OT resource creator for millions of readers. Want to collaborate? Send an email to contact@theottoolbox.com.