If you’ve been following this blog for a while, you know how much we love to do fine motor activities. Scissor activities for kids is one of our favorite fine motor topics and we’ve got a bunch of creative ways to practice them! This fun fine motor color sorting activity was part of prep for another activity we were doing (watch this space to see these foam squares again!), but we had so much fun with it, that we had to share!
Scissor Skills Activity for Kids
{This post contains affiliate links. In other words, this blog will receive monetary compensation when any purchases are made through the links in this post. Our opinions and ideas are in no way affected. You can read our full disclosure policy here. As always, we thank you for your support and community here at Sugar Aunts}
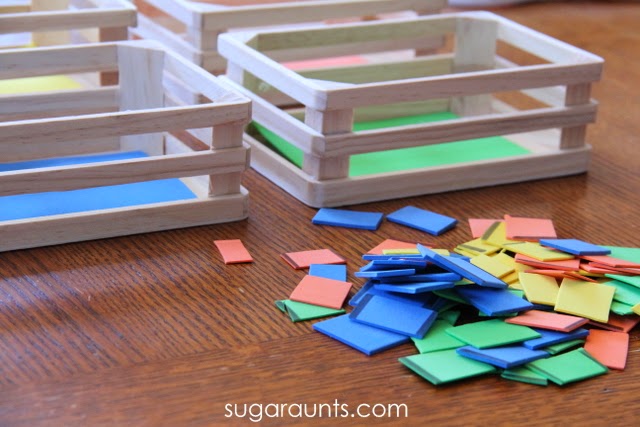
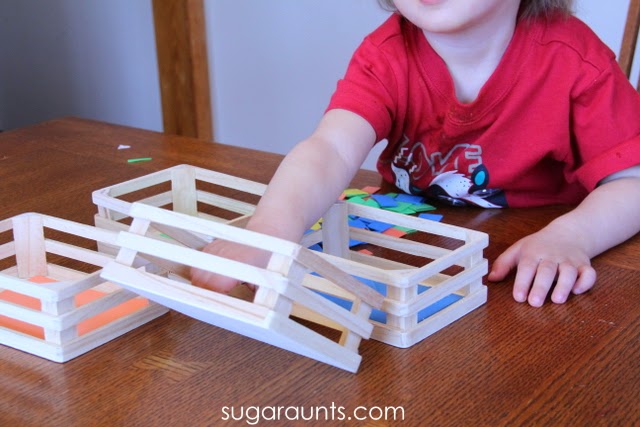
We started with the wooden crates from our Melissa & Doug Food Groups. Besides being a totoally fun pretend play toy, the packaging is completely re-usable and perfect for sorting activities. We shared the picture of our four crates on Instagram and had some great comments about how awesome these crates are for all kinds of play.
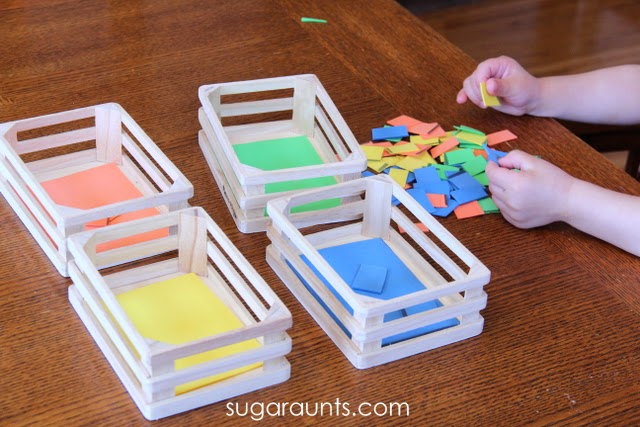
I lined the bottom of the four crates with different colors of foam sheets, and drew thick lines on matching colors of foam sheets.
This was a great way for Little Guy to practice his cutting with scissors. The thickness of the foam sheets is great for new scissor users because it provides greater resistance and therefore slows the scissors more than regular paper. The thickness of the lines is another way to grade down the cutting task for new scissor users.
Slower cutting speed is good when the little one needs verbal and physical prompts to hold the scissors correctly, and how to position their assisting hand on the foam.
Little Guy is working on his scissor skills and needs prompts to hold the foam/paper close to his body and to move the scissors when he’s cutting, and not hos whole upper body. Strait lines are a good start for him for practice. Older kids or those who are doing a little better with their scissor skills would benefit from thinner lines, curved lines, or even using construction paper instead of the foam sheets.
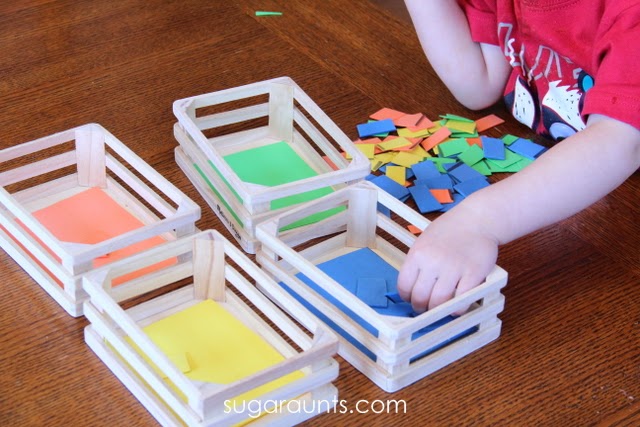
Once we had all of the foam squares cut out, we were ready for our sorting. This interested Little Guy for a little while, but Baby Girl was the one who was really into this part of the activity.
She was able to sort the colors into the correct bin. We worked on naming the colors along the way.
Sorting the squares was a fun way to play and learn!
We had a great time with this cutting and sorting activity. Let us know if you do this at home, we would love to hear about it!
Looking for more scissor activities? You may like some of these:
Beginner readers are so much fun! It is very exciting to see Big Sister learn and grow in her reading skill as this year goes by. She is doing really well with her reading, and more importantly, developing a love for reading. This word building activity was a fun way to practice some of her new decodable reading skills using letter blends.
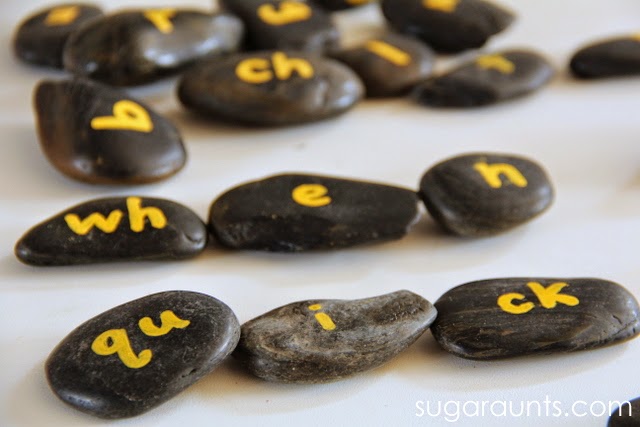
What are letter blends?? You know those letter combinations that (mostly) begin and end words… tr, ch, sh, qu…those are letter blends! We made these word building rocks and have been having a blast building words, sounding them out, and building more words!
Word Building for Beginner Readers
This post contains affiliate links.
I picked up a bag of these black river rocks
and used a paint marker
to write the letters.
These rocks are awesome for play and learning. I’m thinking we may do a math set of rocks and an upper case/lower case letters set too. There are so many learning possibilities with these sets!
Letter Blends Activity
Once the paint dried, we had nice bright letters on the black rocks, and got started with our word building. Big Sister used the rocks to sound out the letter blends and built tons of words.
This is such a great activity for beginner readers. Hands on learning is more fun…and seems to make the concepts “stick”.
We even used the letters with Little Guy, who is working on identifying lower case letters. He liked playing with these rocks, too and had fun naming the letters. We’ll be pulling our letter rocks out again soon, and maybe adding them to the sandbox with a few construction vehicles, into a bin of corn for sensory play, or…the possibilities are endless!!
looking for ideas for your beginner reader? Try some of these. They are fun learning activities…kid tested!
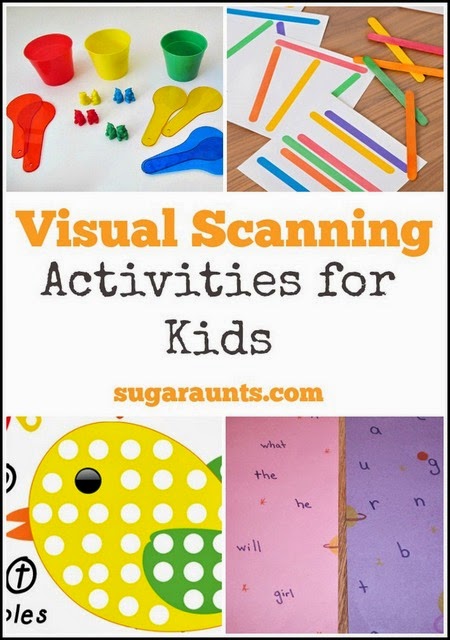
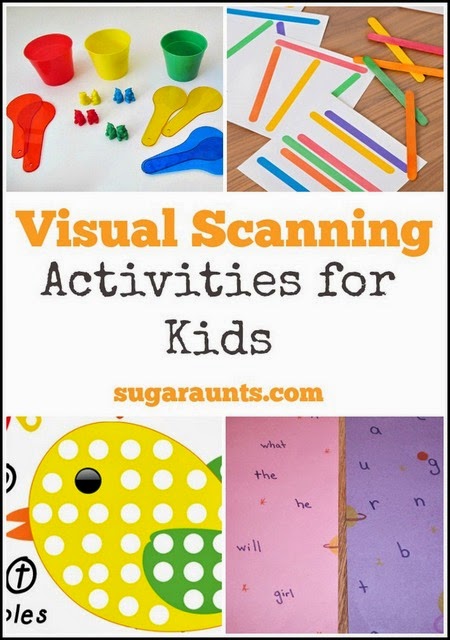
These Visual Scanning activities support the essential visual skill needed for functional tasks. Here, we are covering specific strategies to support the ability to scan during daily tasks, all through play-based visual processing activities. Related, is this resource on scanning activities for reading, which is a very functional occupation and a part of learning impacted by reading.
Visual scanning is an essential part of so many functional skills. What is visual scanning? When you’re reading a line of text in a book, you shift your eyes left to right across the page without losing your place.
When you get to the end of the line, you shift your eyes down to the next line without jumping your vision all over the page. Without this ability, reading would be quite difficult!
Read more to find activities to support this visual skill including visual scanning games, visual scanning occupational therapy activities, and other visual scanning exercises that teachers, therapists, and parents can use to develop the skills kids need!
Other areas where visual scanning is important: watching a moving target such as following the ball in sports, completing mazes and word searches, cutting shapes with scissors, tracing lines, spacing letters in handwriting, and so much more.
These features are great ways to practice visual scanning skills in a fun and creative way.
Visual Scanning Activities
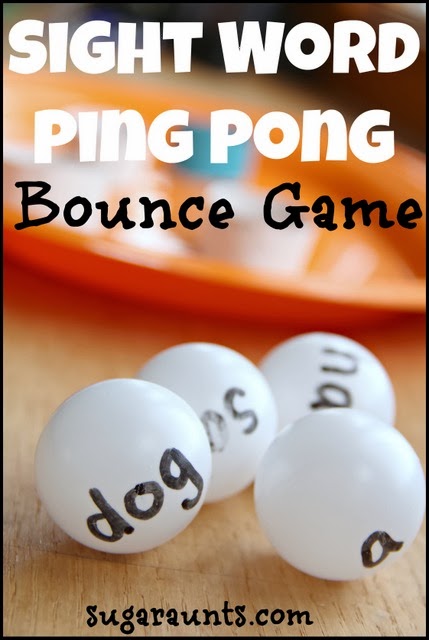
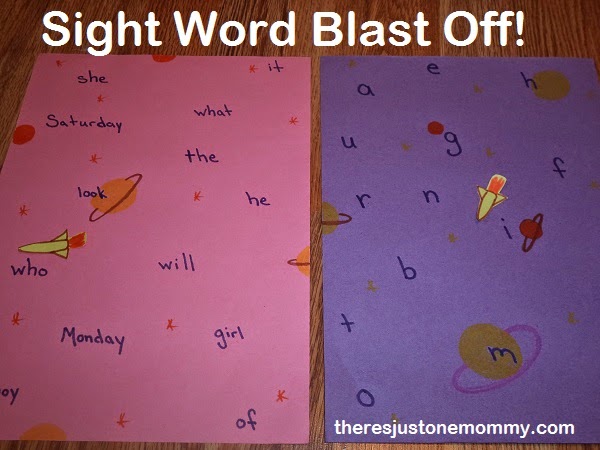
Sight Word Blast Off Game from There’s Just One Mommy~ In this activity, encourage your kids to scan the page with just their eyes. Prompt them to keep their head still as they move their eyes to scan for letters and words.
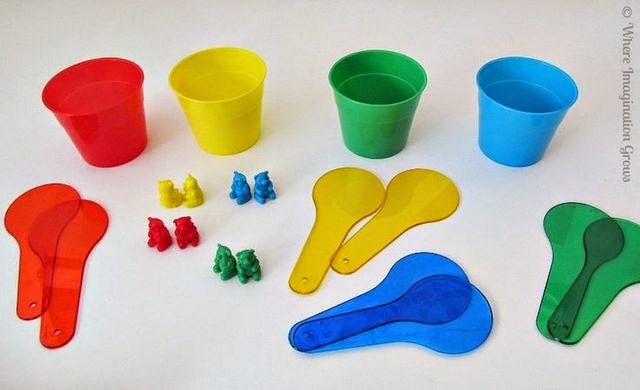
Seek and Sort Color Game from Where Imagination Grows~ Scanning for objects is a great way to practice visual motor skills.
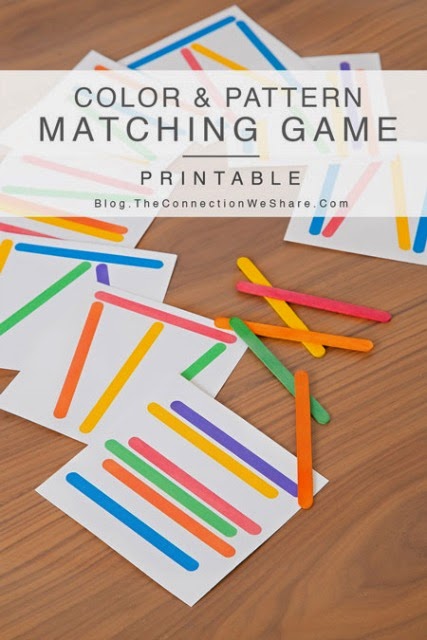
Color Pattern Matching Game from The Connection We Share~ Scanning for colors and patterns practices those skills needed for functional tasks like handwriting.
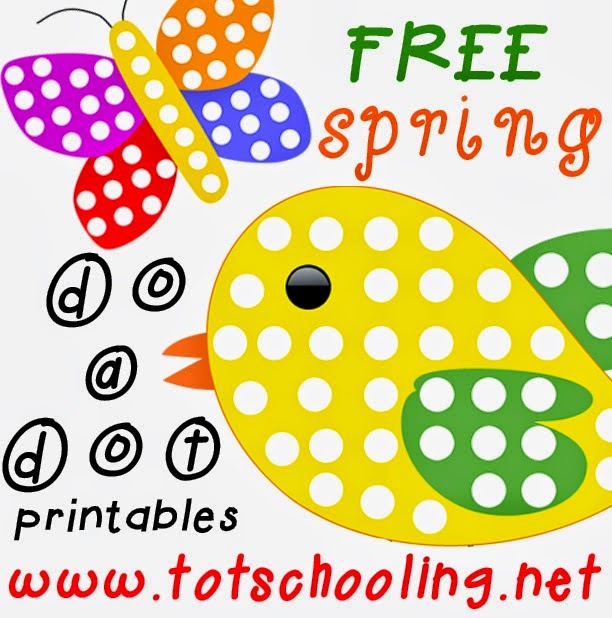
Dot Printables from Tot Schooling~ Filling in the dots requires eye-hand coordination, which is an essential part of visual motor skills.
Looking for more visual scanning activities for the kids? Try some of these:
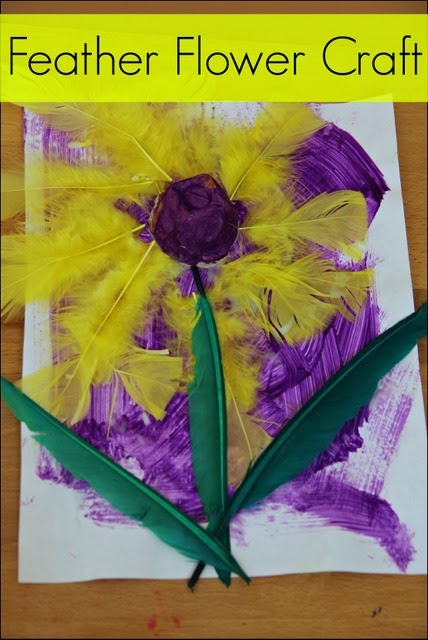
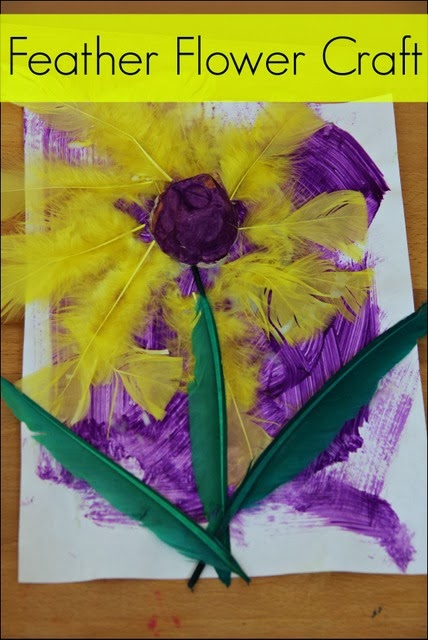
If you have feathers and a few other craft materials on hand, you’ll this tutorial on how to make feather flowers. It’s a great fine motor craft for occupational therapy sessions because of the sensory textural experience and the fine motor opportunity. Kids of all ages will love these feather flowers!
How to Make Feather Flowers
These feather flowers are a great flower craft that are easy to make.
This was a super simple flower craft for the kids to make one afternoon. We used a few craft materials we had on hand and loved the results!
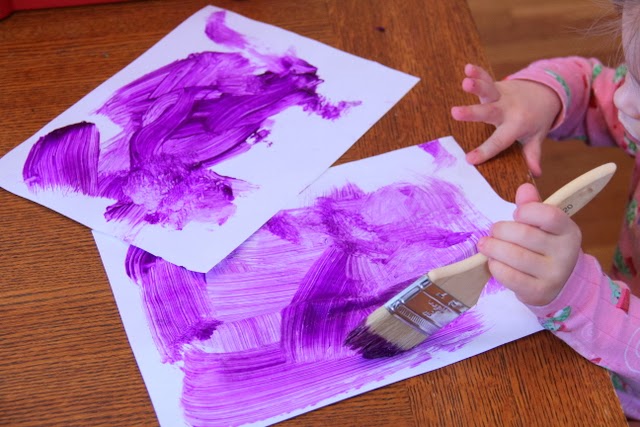
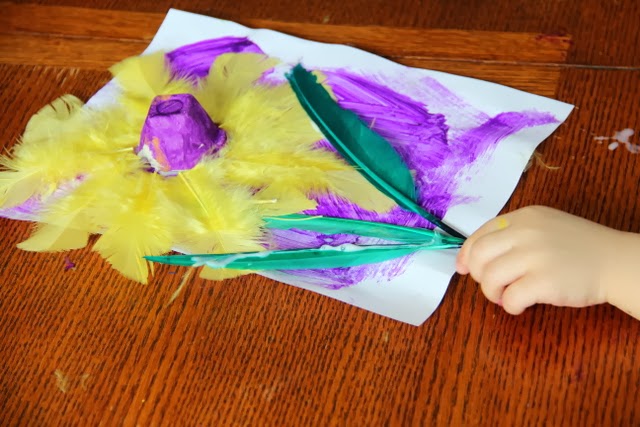
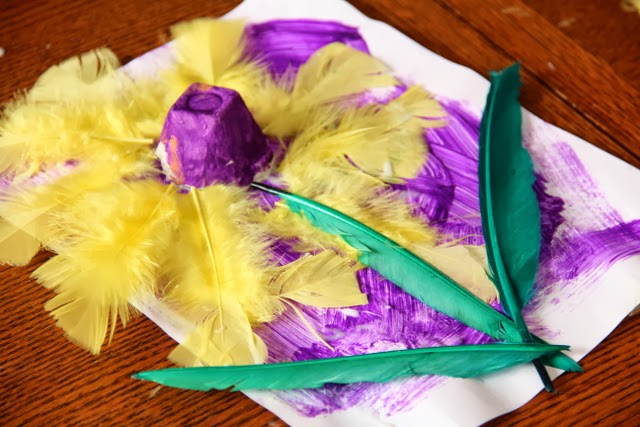
Paint paper with any type of paint. We used a regular painter’s brush for something different this time. The brush strokes turned out textured and great for a background. This is a great opportunity to reuse and recycle crafts into artwork.
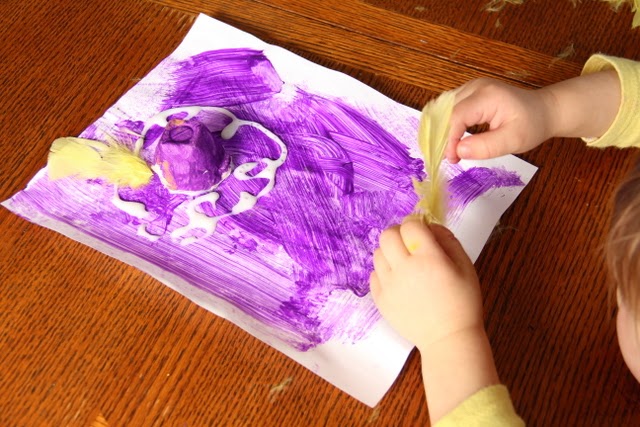
Glue on a section from an egg carton.
Paint the egg carton section, too. Once the paper was dry, glue on a purple section of painted egg cartons.
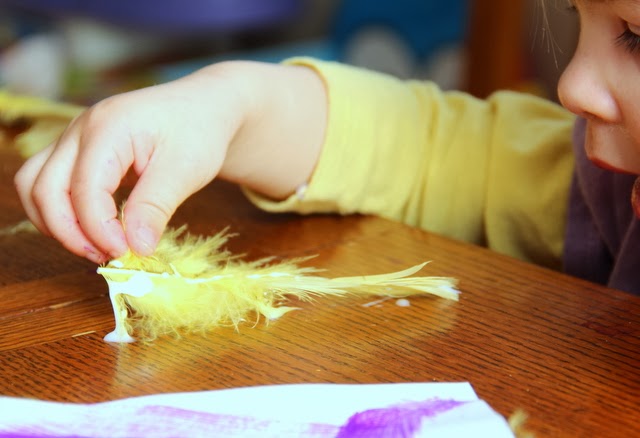
Add feathers.
Add some glue to the paper around the egg carton and stick on the feathers. These were our flower’s petals.
Baby Girl is as much a fan of purple as she is of painting. We have a lot of papers with purple paint all over them around here…
Crafts with Toddlers are messy! Fun, absolutely! Messy, definitely!
Once the flower was covered with yellow feathers, we used a few quill feathers as the stem and petals. Keeping with the feather theme.
Our feather flower was done! It’s now hanging beautifully in our dining room. Baby Girl is proud of her flower craft.
Looking for more fine motor activities? Grab one of our Fine Motor Kits!
Working on fine motor skills, visual perception, visual motor skills, sensory tolerance, handwriting, or scissor skills? Our Fine Motor Kits cover all of these areas and more.
Check out the seasonal Fine Motor Kits that kids love:
Colleen Beck, OTR/L has been an occupational therapist since 2000, working in school-based, hand therapy, outpatient peds, EI, and SNF. Colleen created The OT Toolbox to inspire therapists, teachers, and parents with easy and fun tools to help children thrive. Read her story about going from an OT making $3/hour (after paying for kids’ childcare) to a full-time OT resource creator for millions of readers. Want to collaborate? Send an email to contact@theottoolbox.com.
Play dough is such a fun way to play and learn. We are big fans of the fine motor fun to be had with play dough. In fact, we’ve done other fine motor color matching activities with play dough before. Color matching with play dough is a fun way for preschoolers and toddlers to learn colors and so much more.
This play dough activity was great for the Toddler age range. Learning colors, matching, sorting, and fine motor work were all involved. Baby Girl was a big fan!
{This post contains affiliate links. In other words, this blog will receive monetary compensation when any purchases are made through the links in this post. Our opinions and ideas are in no way affected. You can read our full disclosure policy here. As always, we thank you for your support and community here at Sugar Aunts}
Color identification activity for Toddlers
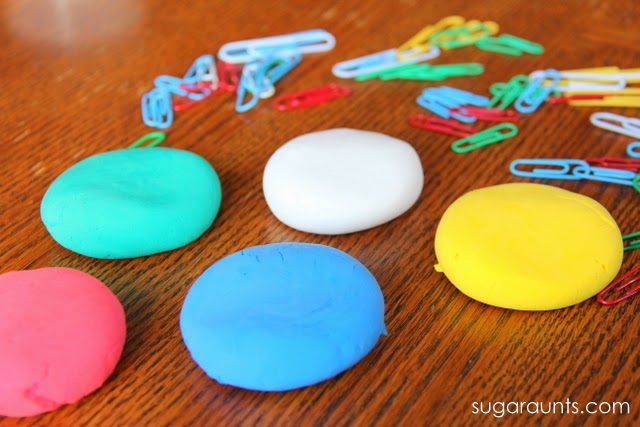
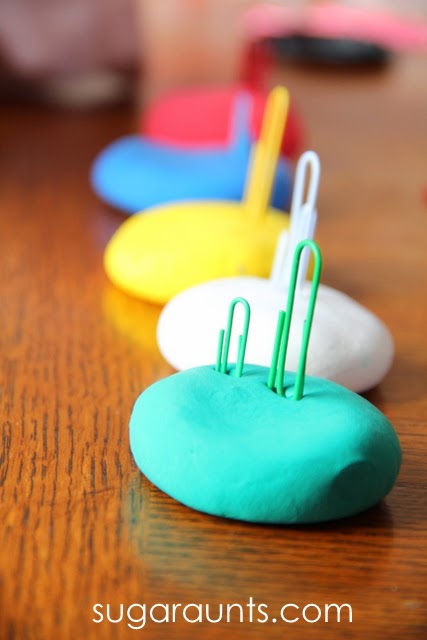
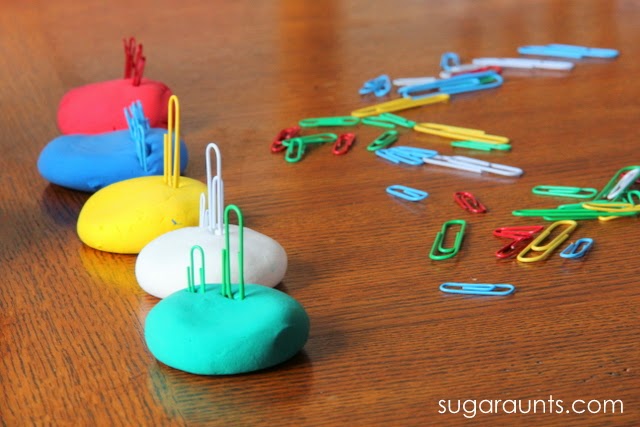
We started with a bunch of colors of play dough. We used modeling dough, but you could also make your own play dough for learning and play. We worked on naming all of the colors of the play dough.
Color matching activity for Toddlers
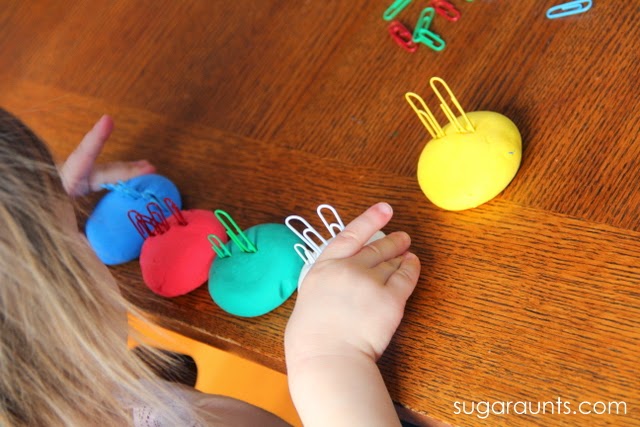
I pulled out a bunch of colored paper clips
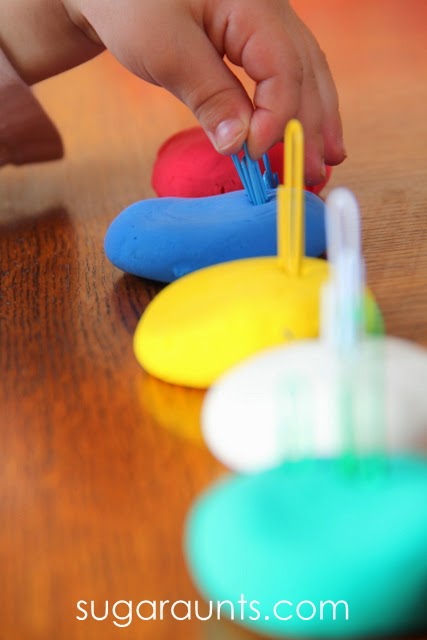
and showed Baby Girl how to press them into the matching color. She did pretty well with the matching of colors. The identification is a little harder for her. She’ll name some of the colors but stumble on others. (Baby Girl is 2.5 years old). She’s getting there, though! I love that she loves activities like this. She was really into it.
I love the colors of this dough!
Fine Motor Activity for Toddlers, Preschoolers, and School-aged Children
Pressing those paper clips into the dough requires a tripod grasp. The resistance of the dough is a great way to strengthen the hand, especially the arches of the hand. This is so important for manipulating objects in self-care tasks like buttoning. This is a great pre-handwriting activity, too. Definitely, it’s a good warm-up activity for kids who are at the writing stage. Pressing those paper clips into the dough would get the hand “awake” and ready for a coloring or handwriting task for older kids. I would recommend this activity for the school aged range, too.
Picking up the paper clips from a flat surface like the table is a great way to work on finger dexterity with children. You’ll need a tip to tip grasp to pick up the paper clip and manipulate it within your hand. What a work out for those little hand muscles! In-hand manipulation is essential for tasks like managing coins, rotating a pencil in handwriting tasks, putting small objects like pegs into peg boards, and so much more. Scatter those paper clips around the table…this is a great way to play and work on fin motor skills!
If you’re doing this activity with a younger child, be sure to keep a close eye on them. As always, use your judgment in what works best for your child or group of children in a school setting. The paper clips could be a choking hazard of course so if you are working with kids who may put them in their mouth, either work on one clip at a time or put this activity away for a few months. Better yet, pin it to your Pinterest boards for safe remembering 😉
How many other ways can you think of to make this activity a learning opportunity? Try sorting the paper clips by color or size. Pattern the colors of dough or paper clips. Count the paper clips as your child presses them into the dough. Ask him or her to press a certain number of clips into each dough ball. Sequence the number of paper clips that you’ve pressed into the dough. There is SO much learning happening here!
Looking for more play dough activities? We’ve been having a blast pinning to our play dough, clay, goop, and more board:
When I worked as an Occupational Therapist with pediatrics, I did a ton of work on scissor skills and pre-scissor skills. It was one of my favorite things to work on with school-based kiddos. There was an item in my therapy bag that I (and the kids) LOVED for scissor practice: bunny tongs. These are a great Easter activity for occupational therapy sessions, but we actually use them all year round. Here’s my OT tip: if you see a pair of these bunny tongs in the egg-dying section of stores around Easter time, GRAB THEM!
You’ll also want to check out our other Bunny Activities:
Now being at home with my own kids, it’s so much fun to pull out my OT stash of supplies and play. We pulled out a few things recently and the kids had a blast playing. And if you follow this blog, you know we do a ton of fine motor activities!
This is the ONE item you want to pick up from the Dollar Store this spring. It’s a must-have for OTs working in the schools or with kids on scissor skills.
You’ll want to check out our resource on how to hold scissors for more tips on the grasp aspect. The one thing I love about using the bunny tongs as a tool to support scissor skills is that it is a fun way to work on the mechanics of holding scissors.
Scissor Skills with Tongs
If you see these Bunny Tongs at the store this Spring, GRAB them up! These are awesome for scissor skills and besides being completely cute, they are SO fun to play with.
Adorable bunny + working on developmental skills= AWESOME!
These bunny tongs are out this time of year because they are really intended for dipping Easter eggs.
We’ve never actually used them for egg dying, but I’m guessing it’s a pretty cool way to dye eggs, too. I did find them on amazon (affiliate link), so if you can’t find these guys in the store, they are always available online.
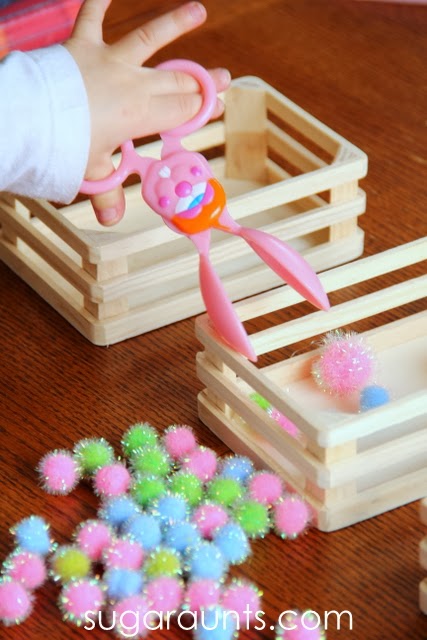
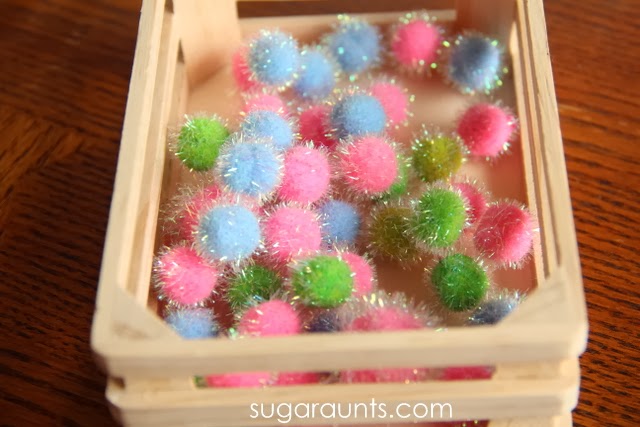
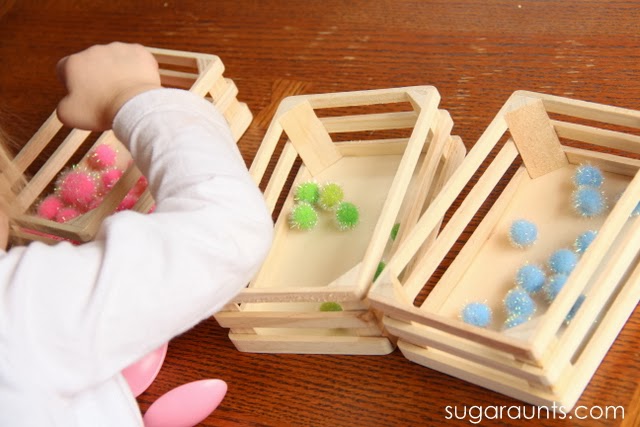
I set up this sorting activity for the kids one day using our bunny tongs. Scissor skills were really worked on with the repetition of picking up lots of assorted pom poms and sorting them into crates.
Baby Girl LOVED this activity. She went through and sorted pom poms at least three separate times. You can see how she’s got her ring finger and pinkie finger extended out as she opens the tongs in the picture above.
This is a great time to work on pre-scissor skills with her, so that as she does start with snipping with real scissors down the road, she maintains an appropriate and effective grasp on the scissors.
Tuck a small object into the hand when using the bunny tongs to work on grasp on scissors.
Tips for Cutting with Scissors
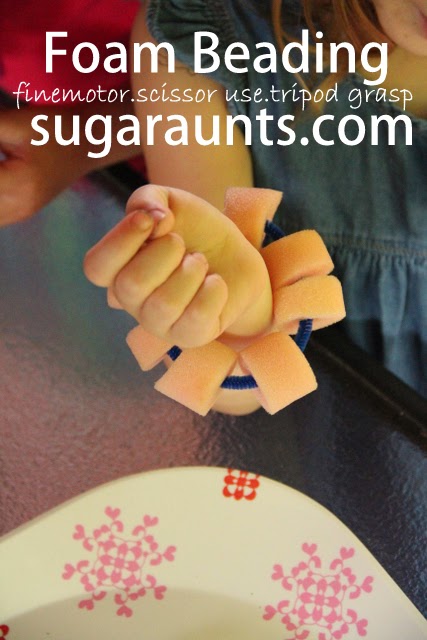
Not a great picture, but popping a crafting pom pom into the palm of her little hand is a great way to correct that grasp on the tongs (or scissors). This way, the child opens and closes the tongs/scissors with the thumb and pointer/middle fingers in an effective and more controlled manner. This will help with scissor control and line awareness.
If you’ve got a little one who cuts with scissors and snips all over the place, with their pinkie finger and ring finger extended out as they open the scissors, try this trick.
You can use any small item like a little eraser or pebble in the palm of their hand. It’s a good physical prompt to remind them to keep their hand closed as they cut with scissors.
Little Guy wanted in on this action too, and once Big Sister came home from school, she sorted the pom poms too. This was just fun!
Baby Girl resorted to just using her hands to sort later in the day. Still great for color matching and identification. we’ll definitely be doing this activity again. It was a huge hit for my kids as much as it was a hit for all of the school-based clients I’ve worked with over the years. It’s the cuteness of that bunny!
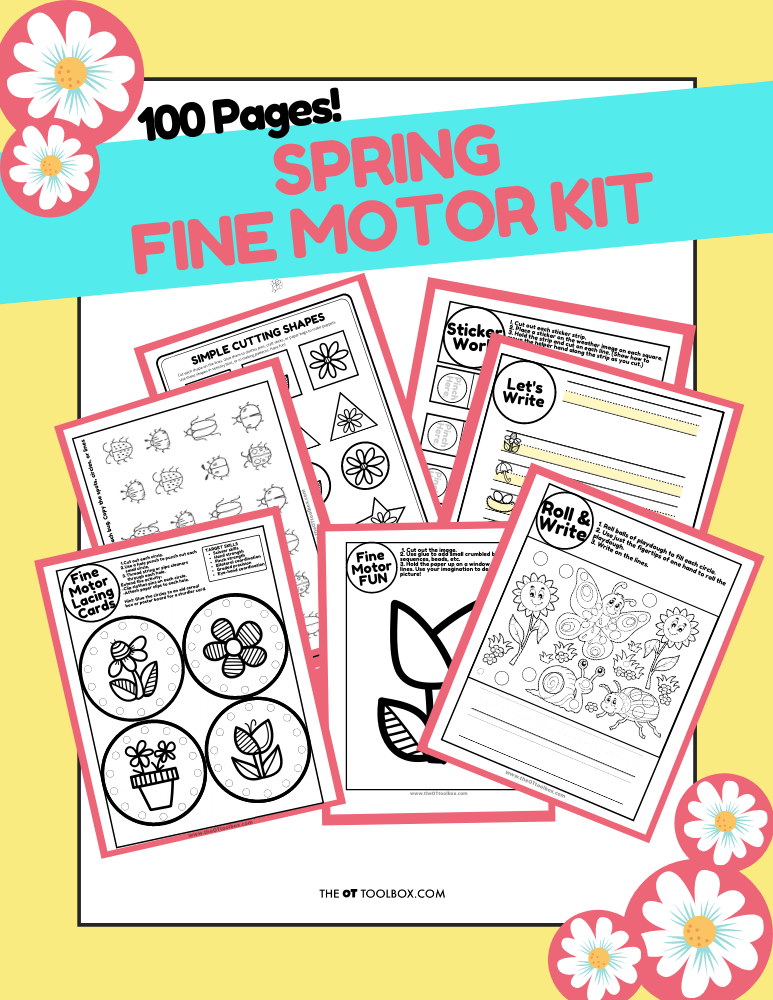
Spring Fine Motor Kit
Score Fine Motor Tools and resources and help kids build the skills they need to thrive!
Developing hand strength, dexterity, dexterity, precision skills, and eye-hand coordination skills that kids need for holding and writing with a pencil, coloring, and manipulating small objects in every day task doesn’t need to be difficult. The Spring Fine Motor Kit includes 100 pages of fine motor activities, worksheets, crafts, and more:
Colleen Beck, OTR/L has been an occupational therapist since 2000, working in school-based, hand therapy, outpatient peds, EI, and SNF. Colleen created The OT Toolbox to inspire therapists, teachers, and parents with easy and fun tools to help children thrive. Read her story about going from an OT making $3/hour (after paying for kids’ childcare) to a full-time OT resource creator for millions of readers. Want to collaborate? Send an email to contact@theottoolbox.com.
We made our own colorful glass gems to use on a light table for a sensory activity and creative painting activity. These glass gems are fun to make and build fine motor skills.
Glass Gems
Do you have a light box or ever used one? It’s a super cool way to play, learn, and explore. We’ve done an attempt at a DIY light box before but weren’t too happy with the long term results of it.
It worked well for tracing and handwriting practice, checking out a few cool manipulatives on the lights, but…well, you can read about our thoughts in the end. We wanted to try another attempt and so this time, we did something just as simple and easy, but it worked WAY better.
That post should be up this week. For now, we wanted to share what we’ve been playing with on the light box. Our own DIY colored glass gems!
DIY Glass Gems
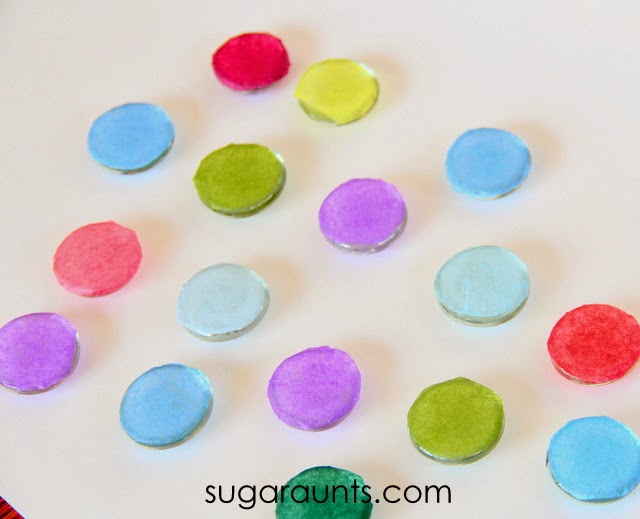
These cuties were very easy to make and VERY fun to play with. We’ve been sorting, counting, patterning, and making shapes with our colored gems and on the light box, do they ever look awesome!
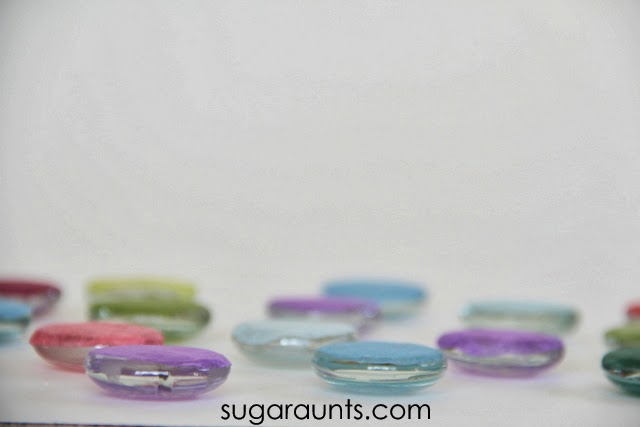
Check out that light shining through our gems! WOW! Seriously, this was so cool. So, how did we make these gorgeous gems??
We used the 1 and 1/4″ sized gems that are flat on one side. We found them in the dollar store but the are also available in the link above.
Add a little bit of glue with some water and mix together with a paint brush.
Next, trace your gems onto a piece of tissue paper. I cut out a whole stack at once and it worked well to cover each gem. A pretty princess pencil makes it more fun 😉
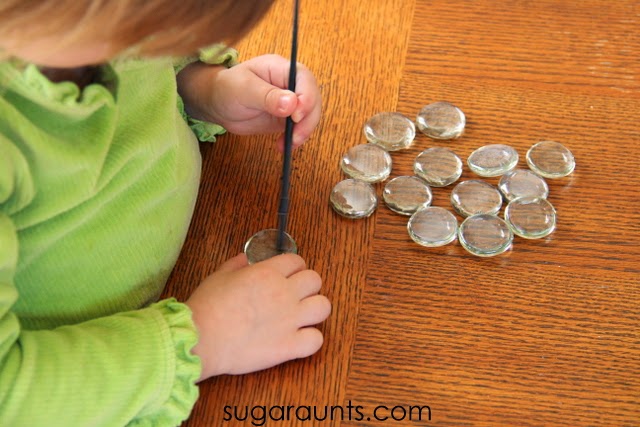
Baby Girl helped with the next part. She painted the glue mixture onto the flat side of each gem while I stuck the tissue paper on.
They are starting to look pretty fun!
Once the glue dried, we started playing! We didn’t even pull out the light box yet. Just playing with these colored stones on the table was fun. These would be so pretty in a flat dish with a Spring centerpiece or perfect for math activities. We sorted, stacked, made shapes, counted, named colors…how many ways can you think of to play and learn with colored gemstones?
Do your kids dress up in play clothes as much as mine do? Any given day we’ve got knights, princesses, dancing stars, ninjas, superheroes, doctors, fancy ladies…the list of pretend play scenes go on and on! And it is SO much fun to watch the scenes develop. Oh yeah, there are fights and arguments that happen when someone wants to be the “star”. And a lot of times the 6 year old, 4 year old, and 2 year old are just running around in total mishmash of costumes. (Or totally naked in the 2 year olds case!) But it is so much fun to see what character comes up from the playroom.
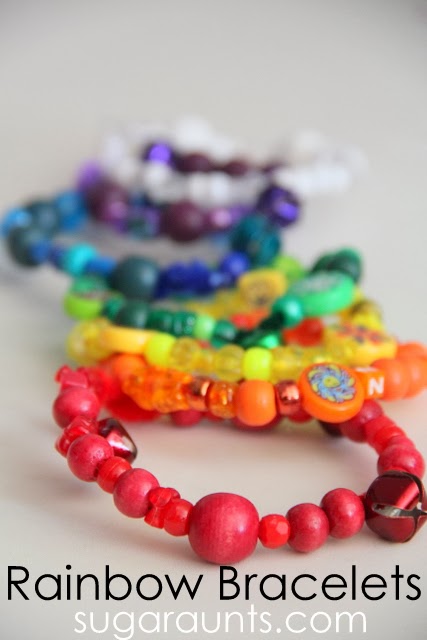
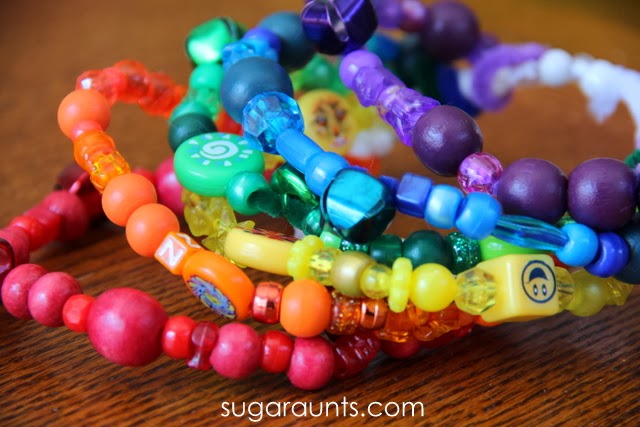
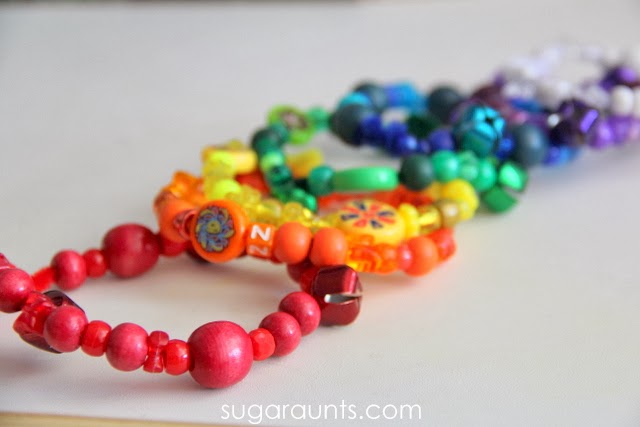
These Rainbow Bead Bracelets are the perfect dress up accessories. They started out as our Fine Motor Rainbow Pipe Cleaner craft and easily turned into colorful bracelets.
Rainbow Bead Bracelets
Beading the bracelets is a great fine motor activity that even toddlers can do. Love those chubby little knuckles!
When we were done with our rainbow craft and pretend play, we just pulled them out of the Styrofoam and twisted the arches into bracelets. Done!
There’s a color for everyone! These bracelets are coming in handy for lots of dress-up fun!
This Rainbow craft was fun to make and even more fun to play with. We’ve been using it in all kinds of pretend play activities lately.
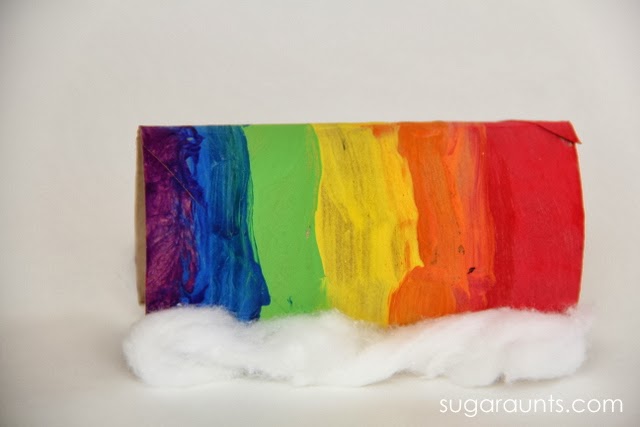
Cardboard Tube Rainbow Craft
This post is part of the Project Create & Recycle series and this month’s theme is cardboard tubes. We can’t wait to see all of the fun crafts and activities linked up this month. Check them out on the blogs and the links below.
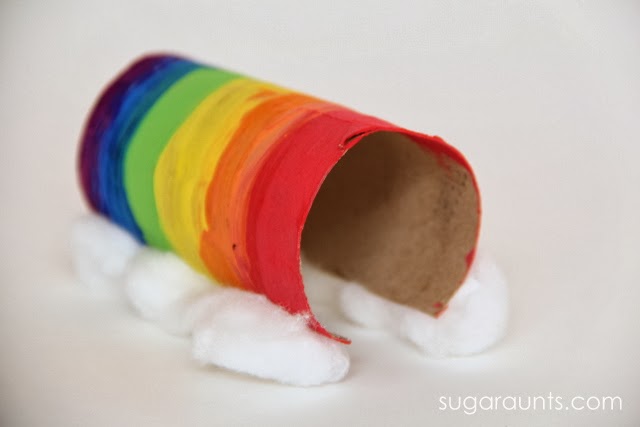
We started with a plain paper tube and just pulled out the paints. I didn’t get any shots of the kids painting this one, but it was fun! Once the paint dried, I cut strait down the tube to make the rainbow arch.
Fine Motor Skills:
A little glue and one cotton ball for each side of the rainbow were all we needed to finish our rainbow. Fine motor tip: Pulling a cotton ball into a strand is an excellent way to practice fine motor skills. Pulling the cotton ball into a strand without ripping the cotton requires a tripod grasp and strength of the arches of both hands. This is a great way to strengthen those muscles need for an appropriate grasp on a writing utensil. Pulling cotton balls into strips of cotton is a fine motor strengthening activity that we will definitely be doing again.
So, how did we play with our rainbows after they were done? Watch this space, you’ll be seeing these rainbows again, soon!
Do you have any cardboard tube activities or crafts to share? Tell us about them!


.JPG)











 , but you could also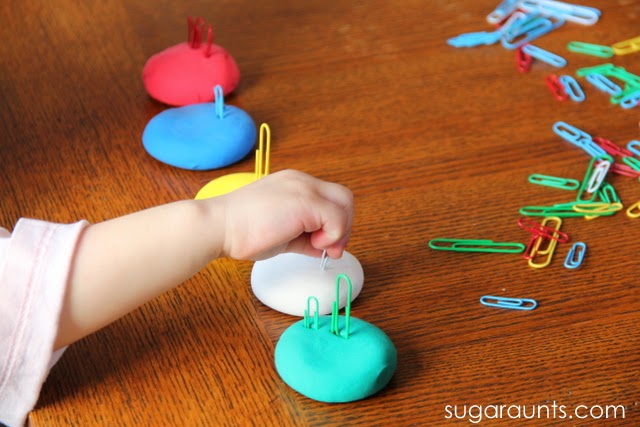

 (affiliate link), so if you can’t find these guys in the store, they are always available online.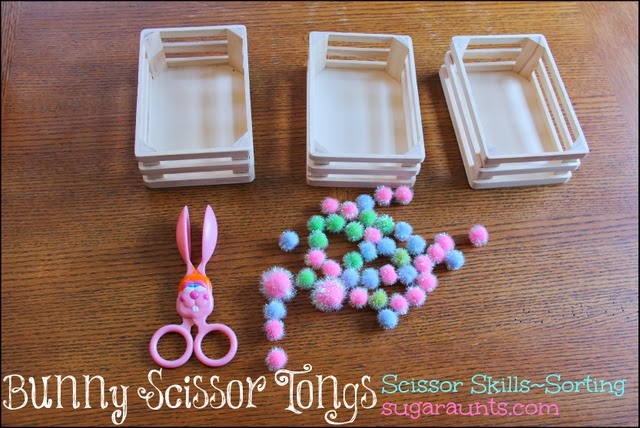

 and sorting them into crates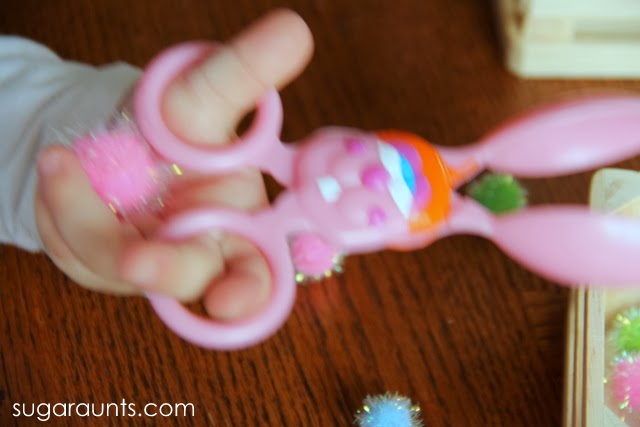


 .
. 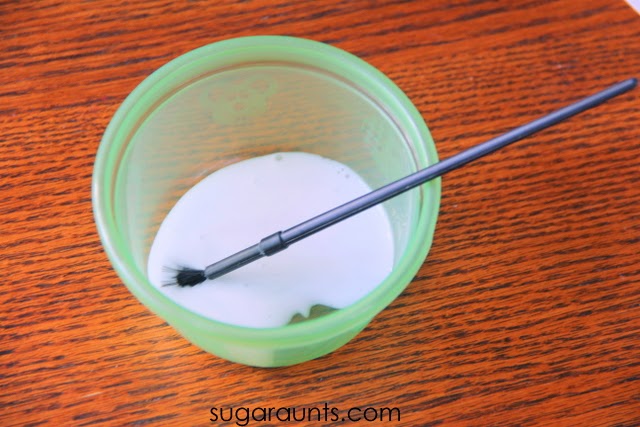
 with some water and mix together with a paint brush.