3 Rainbow Sensory Bins

rainbow sensory bins

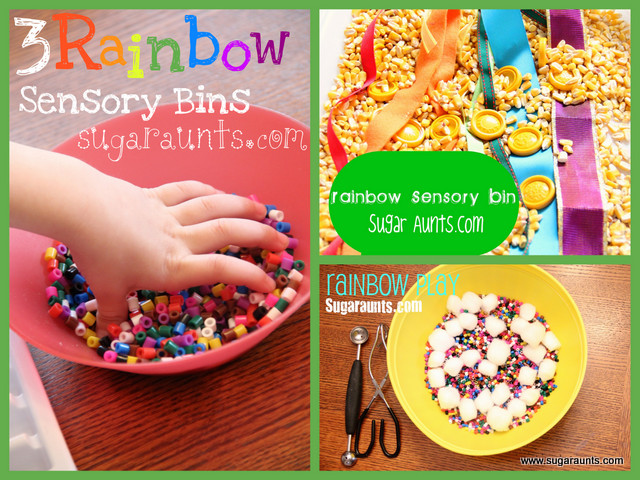
Kids LOVE rainbow sensory bins! These rainbow sensory bin ideas are some of our absolute favorite sensory bins, and they are the perfect addition to our rainbow activities, rainbow crafts, and a rainbow theme in therapy. Be sure to use our rainbow breathing exercise, too. Let’s talk rainbow sensory play!

Rainbow sensory bins

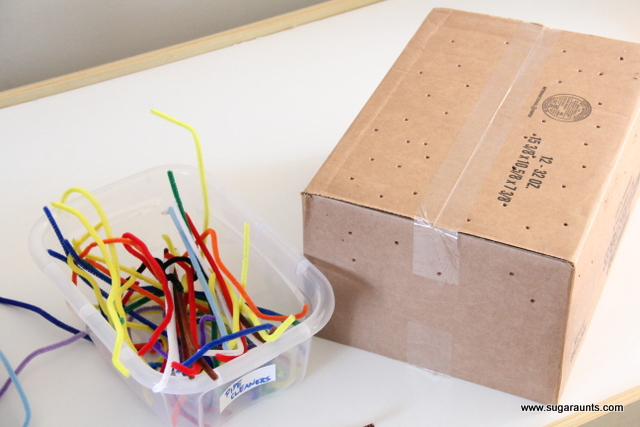
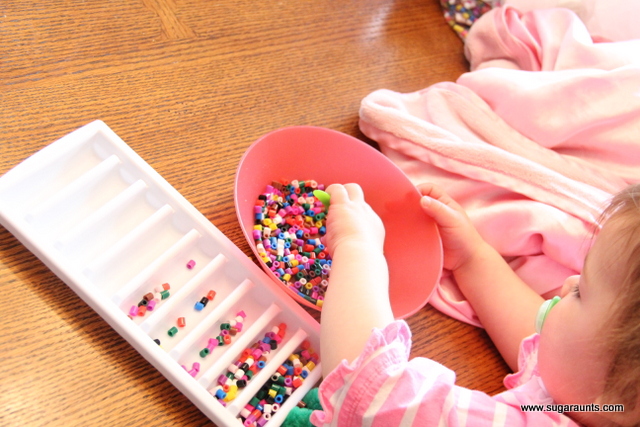
A sensory bin is a container filled with materials that are designed to engage children’s senses and encourage exploration and play. They can be as easy or as complicated as you like, but the concept is the same- sensory based, tactile play with a theme or play idea with items to manipulate and explore as the user explores their tactile sensory system.

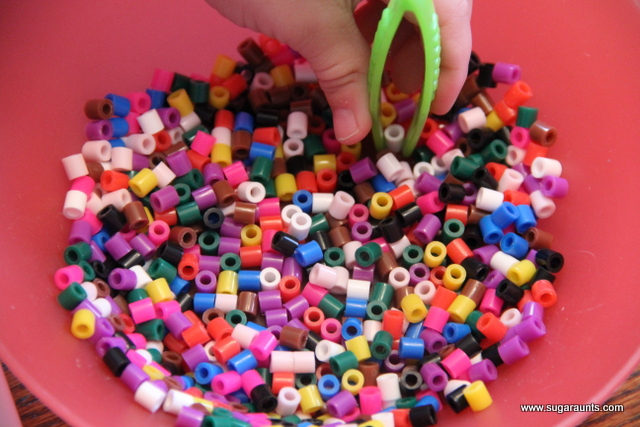
These materials can include a wide range of sensory inputs such as sand, rice, beans, water, or small objects like toys, beads, and stones. Here are many sensory bin base ideas to get you started.

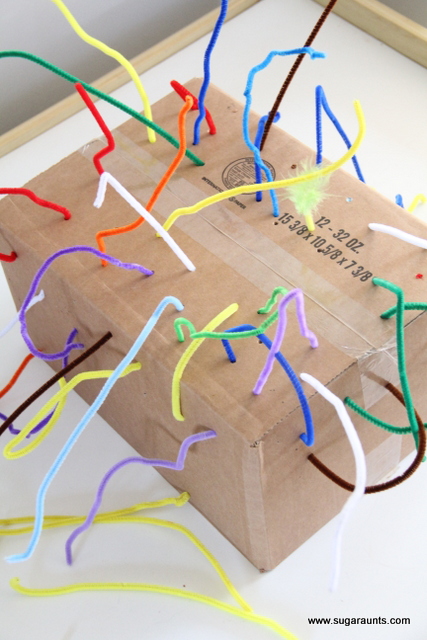
The goal of a sensory bin is to provide children with an opportunity to explore their senses through play. As they play with the materials, they can feel the different textures, see the different colors, and hear the different sounds they make. This can help to promote their sensory development and stimulate their curiosity and creativity.

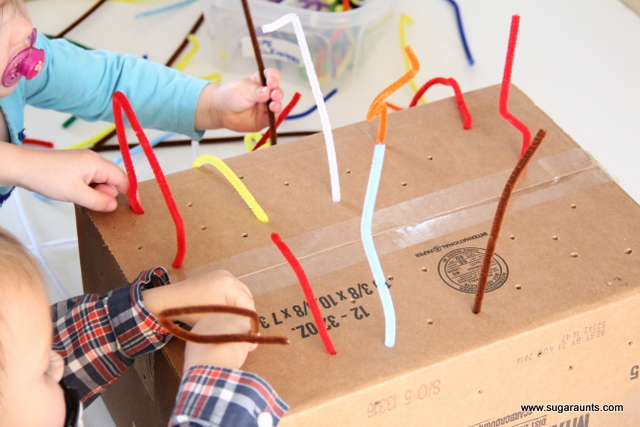
Sensory bins are often used in early childhood education and therapy settings as a tool for sensory integration therapy, which aims to help children develop and organize their sensory systems. They can also be used at home as a fun and engaging activity for children to play and explore.

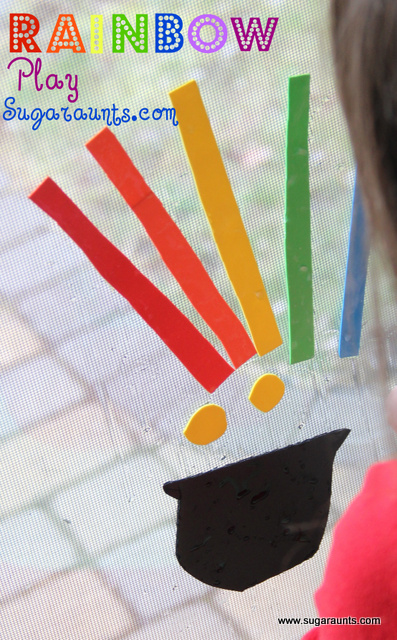
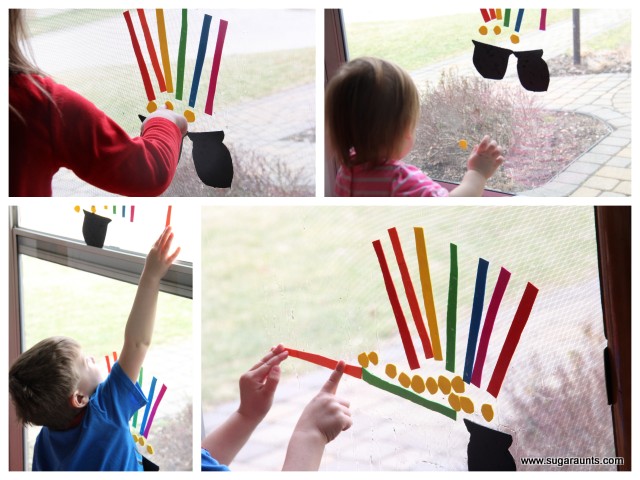
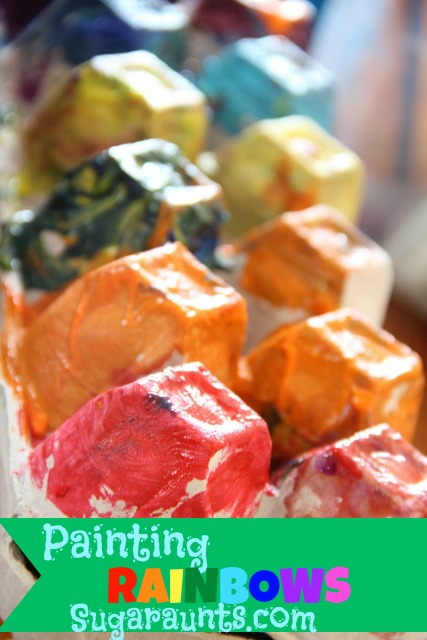
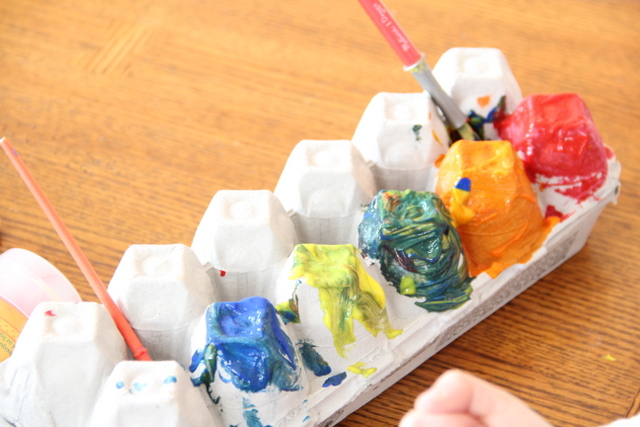
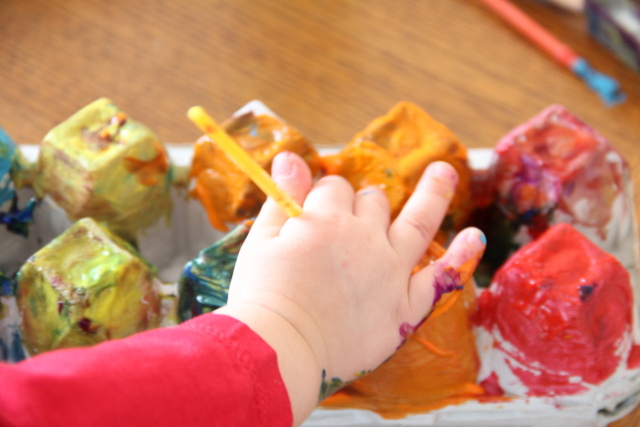
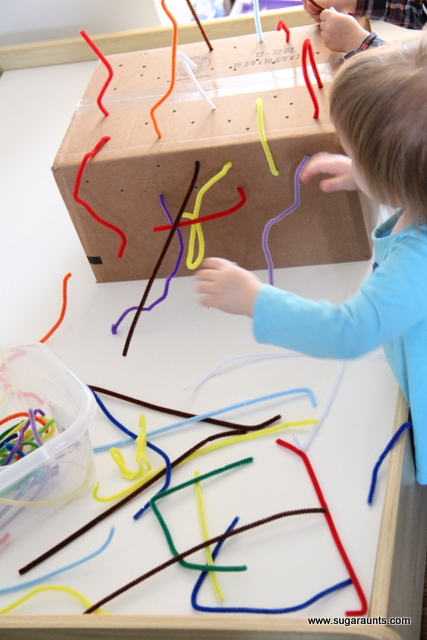
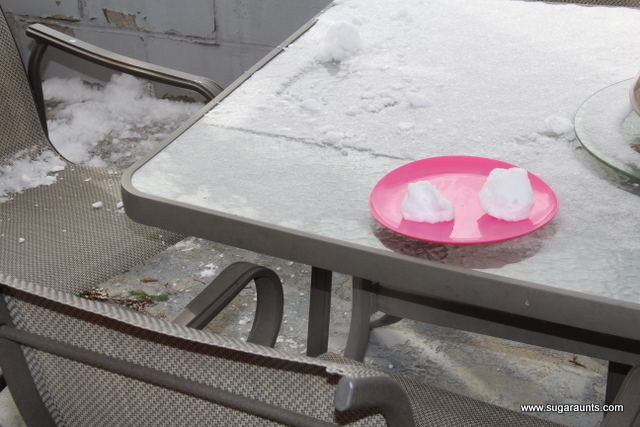
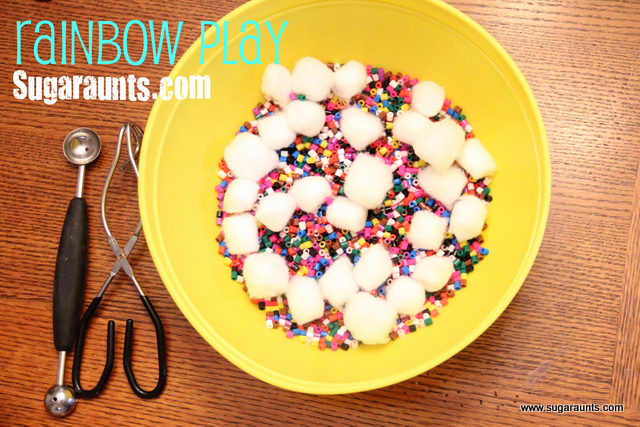
We’ve been playing with a rainbow theme alllll week around here.  These are three rainbow sensory bins that we have been exploring.


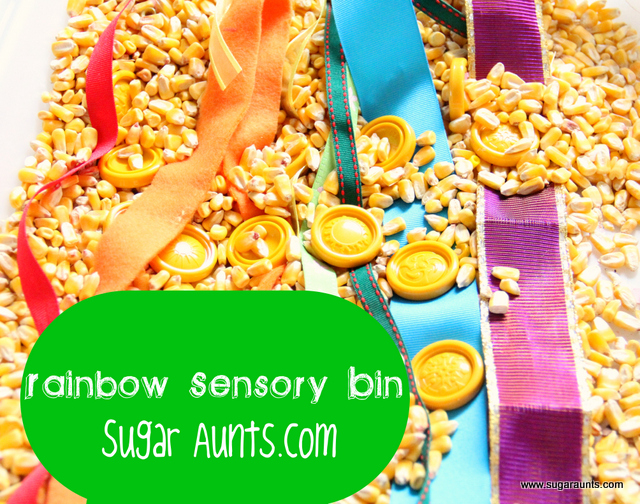
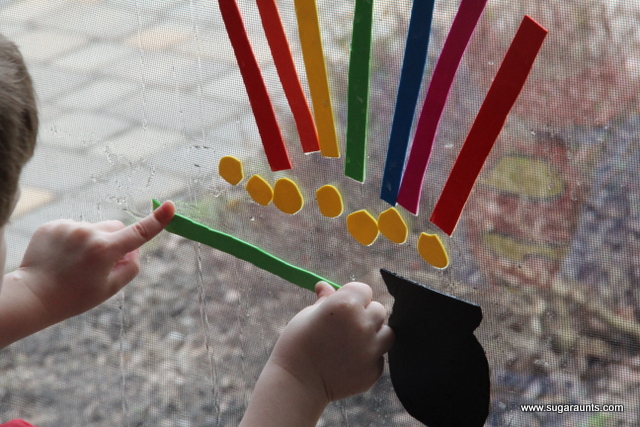
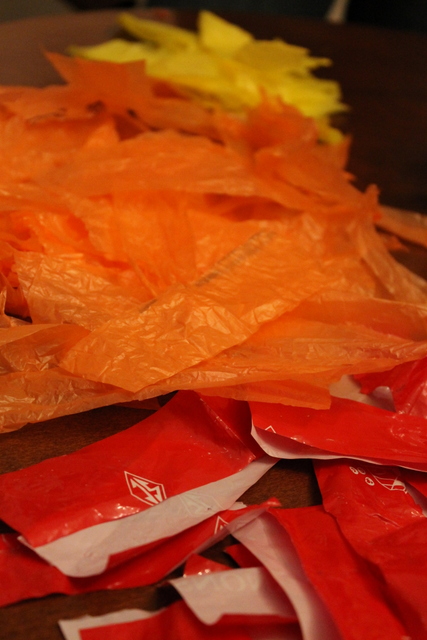
Any time that I pull out the corn bin, everyone gets very excited.  I added ribbons in different colors and some “gold coins” (aka yellow Connect Four game pieces!)


Another little sensory bin that we’ve been playing with is a simple bowl of these Fuse ‘M Beads.


I added a couple of pairs of tweezers and an ice cube tray and let them go at it!
This was a fun fine motor activity, but mostly they just loved running their hands through the beads.


Baby Girl loved exploring these little beads.
((These are really little, so if you play with these…or any little parts…keep an eye on your little ones if they tend to put things in their mouths.  Baby Girl does pretty well and won’t put things like this in her mouth.))


This last sensory bin used the Fuse ‘M Beads again.  The next day, I put the beads and some cotton balls (clouds) into a big ol’ bowl and added a melon baller and kitchen tongs. 
 
 
More fine motor skills and sensory play combined into one colorful activity!


We hope you get some good ideas from these sensory bins.  have you done any fun sensory bins recently?
 
 
If you are setting up a rainbow sensory bin, be sure to grab a copy of our colors handwriting kit. There are many items in the printable kit that can be used in a sensory bin to challenge letter writing. It’s a great colorful addition to rainbow play!
Colors Handwriting Kit

Rainbow Handwriting Kit– This resource pack includes handwriting sheets, write the room cards, color worksheets, visual motor activities, and so much more. The handwriting kit includes:

  • Write the Room, Color Names: Lowercase Letters
  • Write the Room, Color Names: Uppercase Letters
  • Write the Room, Color Names: Cursive Writing
  • Copy/Draw/Color/Cut Color Worksheets
  • Colors Roll & Write Page
  • Color Names Letter Size Puzzle Pages
  • Flip and Fill A-Z Letter Pages
  • Colors Pre-Writing Lines Pencil Control Mazes
  • This handwriting kit now includes a bonus pack of pencil control worksheets, 1-10 fine motor clip cards, visual discrimination maze for directionality, handwriting sheets, and working memory/direction following sheet! Valued at $5, this bonus kit triples the goal areas you can work on in each therapy session or home program.

Click here to get your copy of the Colors Handwriting Kit.

Colleen Beck, OTR/L has been an occupational therapist since 2000, working in school-based, hand therapy, outpatient peds, EI, and SNF. Colleen created The OT Toolbox to inspire therapists, teachers, and parents with easy and fun tools to help children thrive. Read her story about going from an OT making $3/hour (after paying for kids’ childcare) to a full-time OT resource creator for millions of readers. Want to collaborate? Send an email to contact@theottoolbox.com.

Rainbow Play: Foam sheets on the window

This foam sheet activity builds fine motor skills while playing on a vertical surface, to create a fine motor rainbow. This foam sheet activity is a fun and engaging rainbow activity for kids.

Foam sheet activity

This activity is one we did on a window, but you could use on a bathroom shower wall or a dry erase board to engage an extended wrist.
 
It’s also a great activity for core strength, upper body strength, and eye-hand coordination
 
 
We have had a fun little activity going on here alllll week. 
We cut foam sheets into strips and gold coins.
 
But didn’t have a black foam sheet for the pot of gold. 
What could be used…oh, a take out container would work!
 
 
This was on the little table and I put it by the door:
Foam strips, foam gold coins, foam black pot, and a little bowl of water.
 
 
Everyone had so much fun with this!  They played for a looong time.
And ever since, when a piece falls down, they will go into the bathroom and wet the piece under the sink and put it back up. 


 Baby Girl loved this activity!  It took a whole 15 minutes before she drank the water in the bowl.  I was surprised it took that long. 🙂
 
 
We have been doing so many fun Rainbow play activities this week.  Little Guy has a new line when we say the colors of the rainbow:  “Don’t forget the indigo and violet, Mom”.


Painting Rainbows

We had fun with paint and egg cartons recently.

It doesn’t get much easier (or cheaper) to grab an egg carton out of the recycle bin and go crazy

Painting a rainbow egg carton!

Baby Girl got right in there to help with the painting.  I love the paint on her little hand!
…And those little fingers sticking up 🙂

We sort-of matched the colors up between the two sides of the egg carton…
and sort-of tried to get the colors in the correct order…
but mostly just had fun with painting 🙂
I love this…
This Rainbow image is pinned on our Pinterest boards, and I’ve seen it pinned a bunch of times. I wasn’t able to locate the original source.  If it ‘s yours, just let us know 🙂

Pipe Cleaner Fine Motor Activity With a Cardboard Box

Pipe cleaner fine motor activity

This pipe cleaner fine motor activity is a fun one that we used for many years to target fine motor skills like dexterity, pincer grasp, hand strength, and more. Plus, this pipe cleaner activity is great for toddlers. But, kids of all ages love this activity! Let’s break it down…

Pipe Cleaner Fine Motor Activity

This fine motor pipe cleaner activity is very simple to set up. You need just two items:

  1. Pipe cleaners cut into half or one thirds
  2. A cardboard box

To set up the activity, first cut the pipe cleaners into smaller sections. For younger children use longer lengths of pipe cleaners and for older kids, target more precise fine motor skills but cutting smaller sections.

Then, use a screwdriver and poke holes all over the cardboard box.

You’ll want to poke holes on the top of the box, but also on the sides of the box. A larger box is best for this activity, because the holes on the sides of the box encourages a wider range of motion, including wrist extension.

You’ll also see more diverse movements when a larger cardboard box is used: bilateral coordination, visual scanning, crossing midline, and more.

Another pipe cleaner fine motor activity to try is dropping pipe cleaners into a bottle. Toddlers love that activity, too!


This was the invitation to play that I had set up for the kids.  A cardboard box with holes poked all over, and pipe cleaners. 


This was the end result 🙂
 
 
They all had so much fun creating a work of art with pope cleaners, all while working on their fine motor dexterity, tripod grasp, and eye-hand coordination.
 
(These two were pushing each other to get in there.  They are WAY more like siblings than cousins…)


Have you seen our recent post Pipe Cleaner Fun where we shared how to explore colors with pipe cleaners?  There are so many fun ways to use them for fine motor development with kids!


Working on fine motor skills, visual perception, visual motor skills, sensory tolerance, handwriting, or scissor skills? Our Fine Motor Kits cover all of these areas and more.

Check out the seasonal Fine Motor Kits that kids love:

Or, grab one of our themed Fine Motor Kits to target skills with fun themes:

Want access to all of these kits…and more being added each month? Join The OT Toolbox Member’s Club!

Colleen Beck, OTR/L has been an occupational therapist since 2000, working in school-based, hand therapy, outpatient peds, EI, and SNF. Colleen created The OT Toolbox to inspire therapists, teachers, and parents with easy and fun tools to help children thrive. Read her story about going from an OT making $3/hour (after paying for kids’ childcare) to a full-time OT resource creator for millions of readers. Want to collaborate? Send an email to contact@theottoolbox.com.

Color Matching With Play Dough

This was an easy and fun way to spend an afternoon.  And when Baby Girl woke up from her nap, she loved it too.
I put out six colors of play dough and a little bin of colored beads, paper clips, and other little things.

               Fine Motor Strengthening for kids

They had so much fun matching up the colors.  Baby Girl just loved pushing the little beads and things into the Play Dough. 
I love her little knuckle dimples 🙂
Pushing the little objects into the dough is resistive and an excellent fine motor strengthening exercise for little hands.  They are also working on their tripod grasp when they push the beads into the Dough. 
  Big Sister said we needed to wash all of the little objects after we were done.  We put all of them into a bin of water and everyone had fun swishing them around.   
 Drain them into a colander and you are good to go 🙂

Pot O’ Gold Door Wreath

“Top o’ the morning to you!”

We have been busy, busy, busy…

One
day last week we had the cousins over and us Sugar Aunts got to
brainstorm up some pretty cool ideas.  I love that even in our 30’s, we
are still “playing”.
  Sometimes these projects are more for us moms than
they are for the kiddos!  I love thinking up ideas and using my
imagination even as an adult!  This project was fun for everyone.
This is what we came up with!


 We made this wreath out of a bunch of things we found around our house…
Red, orange, yellow, green, blue, and purple colored plastic grocery bags
A Wire Hanger

Cardboard (this was what finally came of the bear cave!) 

Glitter (gold flakes)
One small black garbage bag
Mod Podge

Stretch out the wire hanger into a circle.  You can keep the hook on the top to use as a hanger on the door, or fold it in (that’s what we did).

We cut the bags into one inch by four inch strips.
This is such a great re-use for these old bags!

We kept the colors separate and in order of the rainbow.

We then tied the strips all around the wire hanger.  We just did a simple one knot, nothing fancy.

This is where the big old box from the living room baby bear cave came in handy!  We had this box in our living room for a week and it finally bit the dust.


I cut out little two inch circles and cut out a pot shape.


My daughter had fun with the Mod Podge and gold flakes.  My son had a little too much fun with the gold flakes…
There were gold flakes all over the house after this project.  I guess there are worse things that could be all over the floor.  At least they are pretty 🙂

We spread Mod Podge all over one side of the cutout pot.  My daughter used her muscles to help it stick.  We then folded the sides and glued them under.


This is the deconstructed wreath, looking pretty good!


We used more Mod Podge to layer the gold into the pot.  I cut out a piece of cardboard and ended up putting Mod Podge all over the back of it to use as a backing.  By morning this was dry and I was able to slide the hanger up under the cardboard.

I am really proud of our door wreath!  
The colors really pop and you can see it across the street and still tell what it is.  My daughter is especially proud of this because she helped!


“May your pockets be heavy and
your heart be light

May good luck pursue you each
morning and night”

We are ready for a
Happy St. Patrick’s Day!

The Sugar Aunts


Share It Saturday #9 and Our Week in Review

Finally, the weekend is here! 
We love sharing our week with you, and love seeing what all of you have been up to too.  There were some great link-ups last week, thank you all for sharing. 
We had a blast this week making a bear cave in our living room.  This cave was there allll week.  We had a play-date with the cousins and all the kiddos were crawling around being bears!  By the end of the week the box was flat as a pancake:) 

While the kids were playing, us aunts had a brainstorming session.
You will have to check back later in the week to see what this picture is all about!

 It turned into something pretty awesome and we can’t wait to share it with you!

Celebration of National Read Across America Day in honor of Dr. Seuss’ Birthday…
We chose links that shared fun books or exciting learning-through-play to go along with the theme of a book.

Play-Trains played along with the story of a Thomas Book.  Complete with the characters and props. How Fun!
Making Boys Men Made super cute and completely fun Cat In The Hat peg dolls. I want to play with these 🙂
Learning and Growing The Piwi Way Shares some Princess books that are not the typical Princess stories.  We will be checking these out at the library!
The Measured Mom provides a large list of books following along with the Letter “F” theme. This is a great list of books!
Learning Is Messy prepared a learning and play theme to follow the book Good Night Gorilla. I love her ideas!
Pragmatic Mom shares a great grouping of Winter themed books.  We have read some of these and will be looking for the others.  

document.write(‘

Snowball Experiments

We had so much fun one day last week…with our

Great Snowball Experiment

We gathered up a tray of snowballs and brought them inside.  I asked the kids what they thought would happen if we put snowballs in different places (I gave them examples of places that we could try putting the snowballs, so I wouldn’t find a wet-melted snowball couch cushion later that day.)
We thought it would be fun to try putting the snowballs in different places and seeing which would melt faster.
Big Sister guessed that the snowball we put outside would melt first, because it was a sunny day that afternoon, and she thought the sun would melt the snowball.
We put some snowballs on plates and put a plate outside, in the freezer, in the refrigerator, in the oven (turned on), and left one plate on the counter.

It was fun to watch the snowballs as they melted and the kids got SO excited seeing them get smaller and smaller.


When the oven snowball melted, there were cheers in our house 🙂
 We didn’t have a melted fridge snowball until the next morning.
Big Sister ranked them on her sheet in order of melting.
And of course had to eat the ice that the outside-melted snowball turned into after a really cold night.
Our freezer snowball is still in there.  Hanging out by the frozen red grapes 🙂