Finger strength exercises need to be addressed on an occupational therapy blog, because let’s face it, we need our hands and fingers for so many tasks. Here, you’ll find finger strengthening activities and exercises that can be used along with finger games and hand strengthening activities to build stronger and more functional hands for use in daily activities.
Our fingers are used for this activity and that activity. Just think about how much we use our hands and fingers throughout the day. Would you say it is morning, noon, and night? Probably so. We use our fingers for leisure, chores, personal needs, work, and many other tasks. Our hands AND fingers need to be strong and ready to go so that we can accomplish all of our to-do list tasks for the day, week, or month.
Finger strengthening exercises can be integrated in play! When it comes to building stronger fingers, occupational therapy supports this need.
Finger Strength Exercises
Children need well-functioning hands and fingers with good overall strength and endurance too as they are constantly on the move with activity involvement throughout the day.
They are playing with siblings or friends, attending school, taking care of their personal needs, and hopefully taking on a few chores too.
Children know when things are easy for them and when they are difficult. They know whether their fingers are strong or weak. They know when they can or cannot open and close a container, button or unbutton a shirt, and when they need a little extra help to play with toys. They know if something is going to be fun and easy or if it’s going to be hard and dreaded with no way to achieve without help.
This blog post will provide some fun and important finger strengthening exercises and activities that can be used to help a child build their finger strength and endurance whether it be in the clinic, classroom, or at home.
Some exercises may be for the older kiddo population while some of the fun play-like activities or exercises are for the younger kiddos as we know they need a little more motivation to build their finger strength and endurance.
As mentioned in a previous hand strengthening post, don’t forget that gross motor activities also help to build hand and finger strength too! That’s right, keep having children do animal walks, heavy work exercises, scooter board activities, therapy ball weight-bearing activities, and encourage them to continue playing on the playground equipment.
The reason to encourage gross motor coordination and whole body play is that children need that proximal stability and strength in order to foster distal mobility, including functional strength and use of the fingers.
FINGER STRENGTHENGING EXERCISES
The finger strength exercises listed below can be used along with manual dexterity goals to support functional skills. One type of finger strengthening exercise that is rooted in play is the use of theraputty exercises.
You can purchase (Amazon affiliate link) theraputty from various vendors, and use this finger strengthening tool in different ways that involves play.
Some finger strength Therapy putty exercises:
- finger pinch is simply taking small balls of therapy putty and pinching them into small flat pancakes, repeat multiple times with each hand
- log pinch is rolling the therapy putty between the hands to create a putty log and placing on the table top, then take each finger to the thumb to pinch the putty as flat as possible, one finger at a time, repeat with all fingers each hand
- pancake spread is taking a flat pancake pile of therapy putty and placing all fingertips of one hand into the putty to attempt to spread the fingers out as far as possible, repeat multiple times with each hand
- pancake pull is taking a flat pancake pile of therapy putty and placing all fingertips of one hand into the putty to attempt to gradually pull the putty upward into a pyramid shape, repeat multiple times with each hand
- thumb press is taking a ball of putty placed in the palm (near the base of the thumb) and then pressing the thumb deeply into the ball, multiple times with each hand
Thumb Strength
The main component of pinch and grip requires opposition of the thumb. The bulky “meat” of the thumb, also known as the thenar eminence is the bas of the thumb which provides the power behind the pinch, or where we see the real strength of a precision grasp.
Strength in the thumb is explained in the dexterity of the thumb joints and the rotation of the CMC joint at the base of the thumb. We explain this in our blog post that focuses on a thumb wrap grasp.
Squeeze ball exercises
One tool to strengthen the thumb is by using a squeeze ball. In addition to the thumb strength is the arches of the hand and the hypothenar eminence, or the bulk of the hand at the base of the pinkie finger.
Squeeze ball exercises offer a single squeeze that encourages a cupped position of the palm and fingers.
Try these squeeze ball exercises:
- power pinch is squeezing the ball and holding for a count of 5 or 10 repeatedly with each finger opposed to the thumb, one finger at a time, repeating multiple times
- fingertip pinch is placing the squeeze ball between the fingertips opposed to the thumb and then squeezing and holding as long as possible with all fingertips working together, repeating multiple times with each hand
Finger Grip Strengthener
Another tool found in an occupational therapy bag is the finger grip strengthener. There are many types of these tools on the market, but one that is often used is the (Amazon affiliate link) digiflex. We have many other hand gripper workouts here on The OT Toolbox that can be used as finger strengtheners, too.
Try these Digiflex exercises:
- using the appropriate pound Digiflex tool, depress each button of the device using one finger at a time, repeat multiple times with each hand.
- Tap the buttons of a Digiflex grip strengthener to a song
Finger Stretcher Exercises
A finger stretcher is a finger strengthening tool for flexing and extending the fingers. This is a great tool for finger isolation and individual joint isolation.
- using the appropriate resistance level tool, place the device onto the fingertips and stretch each finger outward as far as possible, repeat multiple times with each hand
- Use the finger stretcher to work on finger flexion or finger extension. Tap out letters to spell words. Or tap out words of a song or phrase.
Rubber band exercises
Rubber band exercises are another finger exercise tool.
- wrap rubber bands around the fingers, including the thumb, and then stretch the fingers and thumb outward spreading them as far out as possible, repeat multiple times with each hand
- wrap a rubber band around each finger opposed to the thumb and then stretch out the finger and thumb as far as possible, repeat multiple times with each finger and each hand
- wrap a rubber band around a neighboring finger (two fingers max) and then spread the fingers apart (spreading left to right as far as possible), repeating multiple times
- Use rubber bands to stretch around blocks.
Finger Exercises without equipment
There are many finger strengthening exercises you can do without strengthening equipment or weights. The ideas listed below require just your own hands and body weight or simple items you probably already have in the home.
When it comes to finger exercises, there are several aspects that will improve overall pinch strength and grip strength. These include:
- Eccentric muscle contraction
- Concentric muscle contraction
- Isometric muscle contraction
Isometric Finger exercises
Isometric contractions refers to contraction of a muscle that does not produce joint motion. In other words, the joint does not move and the finger pushes against something as it is still and in one place.
An isometric exercise provides force where the internal and external forces are in a state of equilibrium. For example, holding a pencil while writing requires isometric force of the fingers.
- Place the fingertips of both hands together and push the palms of the hands together, repeat and hold multiple times.
- Hook both thumbs together and attempt to pull apart, hook both index fingers together and pull apart, hook both middle fingers together and pull apart, hook both ring fingers together and pull apart, and hook pinky fingers together and pull apart, repeat multiple times
- Place both hands together in a hook grasp. Hook all the fingers together, at one time, and attempt to pull apart, and then repeat.
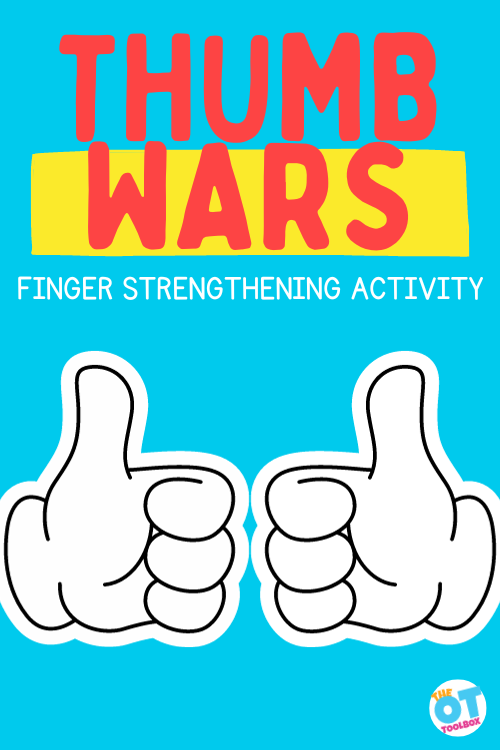
Thumb wars Activity
One thumb strengthening activity that most of us are familiar with is a thumb war. Do you remember saying, “I declare a thumb war”? When you have a thumb wrestling battle with a friend, there are many strengthening opportunities happening.
While we might not recognize the thumb war as a finger strengthening activity, there are several components here that build finger and hand strength:
Holding the fingers in a grasped position with the thumb war partner is an isometric strengthening activity. The thumb is free to be mobile, allowing for full range of motion.
When engaged in a thumb war, both participants experience strengthening resistance from various planes: flexion, extension, adduction, and abduction.
- Play a few rounds of thumb wars with a partner, each hand should give it a try
Other Finger Strengthening Exercises include:
Piano push
- slightly curl the fingers like playing the piano and then push against a wall or table top, repeat multiple times
Spider finger walk
- lie a hand towel flat on a tabletop surface and then place a weighted object on the end farthest away, use the fingers of both hands to spider walk the weighted object toward self, pulling and scrunching the towel up within the hands, repeat
Crumple and roll tissue paper balls
- cut small squares of tissue paper and then crumple them into small balls using a pinch pattern and finger rotation, follow with rolling the ball out while pressing into a flat worm using a backward and forward rolling movement
Pinching water out of small sponge squares
- wet small sponge squares and squeeze water out using the thumb opposed to each finger individually, repeat multiple times
Water dropper
- use a water dropper to squeeze water out into a container using the thumb opposed to each finger, individually, using both hands repeating multiple times
Milk the latex glove
- this one is one that I found online where you fill a latex glove with water and use a pin to poke a small hole into the tip of each finger then a child will work on squeezing the water out of each finger, have the child finger pinch each finger of the glove to make it work more appropriate for total finger strengthening
Pool noodle finger popper
- cut pieces of a pool noodle and create small finger poppers and have individuals pinch to pop the finger popper and see how far they can make it soar, repeat
Strawberry finger pickers– these mini tongs are a great size to engage the intrinsic muscles of the hands.
- Use strawberry pickers with thumb opposed to each finger and attempt to pick up and sort various colored pom-pom balls into containers
Household tools to promote finger strength when in use:
- Seal Plastic Sandwich Bags – Pinching a plastic baggie closed to seal the bag is a great functional task. Pinch baggie to pinch it closed using the thumb opposed to each finger with each finger working individually, complete with both hands, and repeat. This is an activity that can be incorporated into lunch time or snack time.
- Pinch clothes pins- Grab clothes pins from the dollar store for a low-cost finger strengthening tool. Pinch open and closed using the thumb opposed to each finger with each finger working individually. Here are more clothes pin exercises.
- Pop bubble wrap- Oppose the bubbles of bubble wrap with a thumb and finger. Try to encourage the child to keep their thumb in a neutral position or slight joint flexion at the thumb IP joint.
Use commercially available tools and games to promote finger strength:
- Squeeze stretchy toys – pull apart for poses, stretches, and molding
- Oppose Mini Squishies-Squash and squeeze the squeezies with fingers opposed to the thumb, each hand, repeatedly
- Place beads onto a Light finger ball– This is a great activity because the wrist is placed into slight wrist extension which puts the extrinsic muscles and tendons into an ideal position to enable full strength and mobility of the intrinsic muscles. Pinch and pull individual caps on the ball (you can call it ‘snap the caps’) and attempt the pinch and pull with all fingers opposed to the thumb
- Squeeze toys like a Kitty hairball poppers are great because the arches are positioned in an ideal position for strengthening while the fingers are opposed to the thumb.
- Oppose Boinks with a wide opposition to work on graded precision skills. Kids love these because they can squeeze and release to see how far they fly across the room
- Pop beads-This classic toy is a fine motor powerhouse. Push the beads together and pull them apart to create a necklace, chain, or bracelet. We love this set because it includes beads of different sizes and you can grade the activity to meet the needs of each individual.
- Marble maze – play a marble maze from beginning to end
- Build and destruct with Lego blocks- Pinch and pull the bricks while building simple towers or even buildings or objects with the use of picture cards
- Build and destruct Cootie Bugs using the fun game to work on hand and finger strengthening. This one is a little tricky for younger kiddos as the legs must go in at a slight angle which may make them more appropriate for older kiddos.
- Velcro ball and catch- roll the ball from the top to the bottom of the mitt using a finger spider walk. Pulling a tennis ball or other smaller ball off the velcro is a great strengthening activity.
- Use pop toobs to strengthen fingers by conecting the tubes.
Want some fun resources for hand and finger warm-ups or strengthening? Take a look at these fun game boards Finger and Hand Exercises and Year-Round Play Dough.
These resources include 10-12 no-prep game boards that you can print and play to practice finger isolation, left and right hand discrimination, overall fine motor coordination, finger dexterity, and build hand and finger strength.
Grab them and immediately ramp up any warm-up routine. They are engaging for kids and are a great tool to use before any prewriting, handwriting, coloring, or cutting work.
Want to add more ideas and tools to your therapist toolkit for finger strengthening? Take a look at the other posts found right here at The OT Toolbox:
Hand Strengthening Activities | The OT Toolbox
Clay Fine Motor Strengthening Exercises | The OT Toolbox
Intrinsic Hand Muscle Strengthening with Tongs | The OT Toolbox
Slime Hand Strength Exercises | The OT Toolbox
Hand and Finger Game Boards | The OT Toolbox
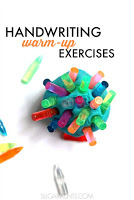
Handwriting Warm-Up Exercises for Little Hands | The OT Toolbox
Play Dough Hand Strength Astronaut Activity | The OT Toolbox
Finger Aerobics | The OT Toolbox
Hand Gripper Workout | The OT Toolbox
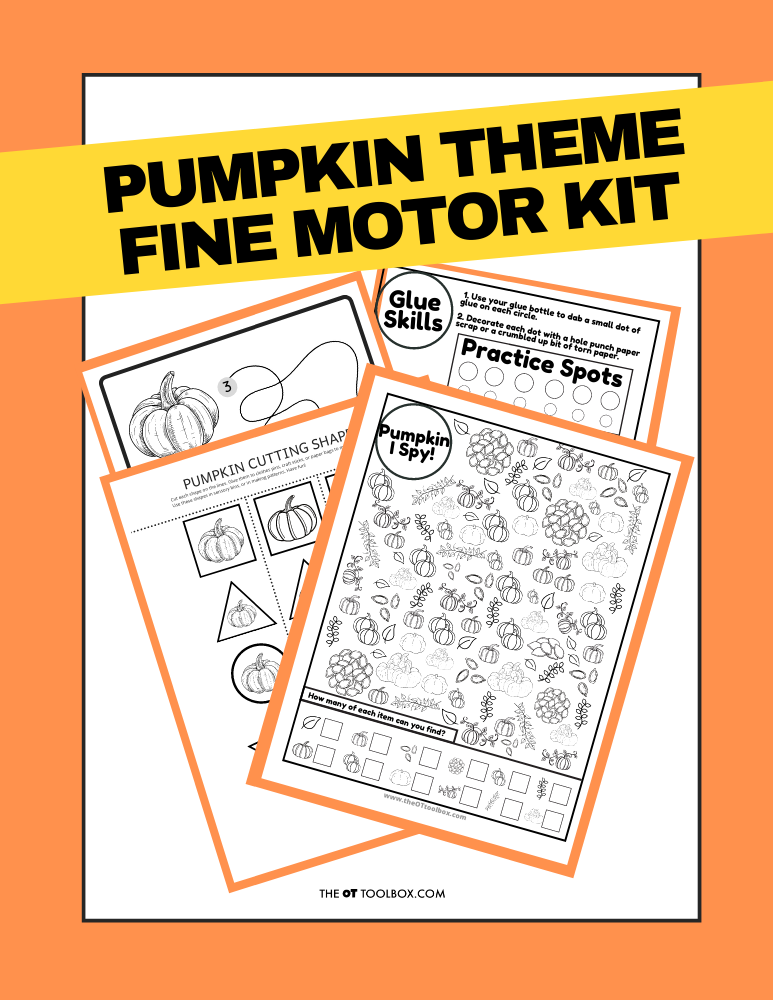
Working on fine motor skills, visual perception, visual motor skills, sensory tolerance, handwriting, or scissor skills? Our Fine Motor Kits cover all of these areas and more.
Check out the seasonal Fine Motor Kits that kids love:


Or, grab one of our themed Fine Motor Kits to target skills with fun themes:
- Frogs Fine Motor Kit
- Unicorns Fine Motor Kit
- Vehicles Fine Motor Kit
- Apple Fine Motor Kit
- Back to School Kit
- Sports Fine Motor Kit
- Outer Space Fine Motor Kit
- Fairytale Fine Motor Kit
- Plus more in our shop!
Want access to all of these kits…and more being added each month? Join The OT Toolbox Member’s Club!

Victoria Wood, OTR/L is a contributor to The OT Toolbox and has been providing Occupational Therapy treatment in pediatrics for more than 25 years. She has practiced in hospital settings (inpatient, outpatient, NICU, PICU), school systems, and outpatient clinics in several states. She has treated hundreds of children with various sensory processing dysfunction in the areas of behavior, gross/fine motor skills, social skills and self-care. Ms. Wood has also been a featured speaker at seminars, webinars, and school staff development training. She is the author of Seeing your Home and Community with Sensory Eyes.