If Christmas mindfulness is something you would like to achieve this holiday season, we’ve got a seasonal strategy for you. This deep breaths Christmas tree is a deep breathing exercise that is sure to be a go-to Christmas season mindfulness activity that supports self-regulation needs for kids and families. Use this holiday sensory tool along with our breathing star.

Christmas Mindfulness
This time of year, most of us knee deep in holiday planning, prep work, and to-do lists! Having a few mindfulness for kids tools up your sleeve is a good idea this time of year. Today, I wanted to provide some tips on mindfulness during the holidays.
For our kids with self-regulation needs or emotional regulation challenges that impact learning, emotions, anxiety, or worries, the holiday season can be a time of even more concern.
Over the holidays, school and routines are off. There may be late nights at holiday parties, parents out for work events, unfamiliar family and friends visiting, new sights and sounds. All of this sensory input and environmental input can put a regulation system on overdrive.
Then, in the school environment, there may be school parties, special events, and special themed days. The classroom Christmas party (or winter party) can be cause for sensory overload for some kids. Picture a classroom full of excited children at the end of a semester. The noises, sights, and environmental input can be just too much.
In the community, there is holiday music, crowds, and a sense of excitement in the air. This can be a reason all its own for Christmas mindfulness tools.
Then imagine the child with regulation needs at a family party with unfamiliar guests, a scratchy sweater, strange smells, and lots of noise. A Christmas mindfulness tool that the child can pull out and use to ease worries or stressors can be a great strategy for this time of year.
Kids are barraged by schedule changes, anticipation of holiday events, later bedtimes, holiday travel, parent/teacher stress, increased sugar…and more. They feel these big feelings and can “lose it”, seemingly at the drop of a hat. Children can melt down in front of our eyes. This time of year perhaps especially, there is SO much going on inside those little bodies and minds. Focusing on mindfulness and coping strategies can help.
I mean, think about it this way: We as adults are totally stressed out by deadlines, shopping lists, travel, extended family, holiday budgets, and the never-ending to-do lists.
Our kids see that stress and anxiety.
Think about our kiddos with sensory struggles. They are bombarded by lights and music, hustle and bustle in the grocery store, shopping mall, and even by the neighborhood lights. The later bedtimes and influx of sensory input is a challenge to process for them. It’s overwhelming and exhausting.
Think about our students with praxis or motor issues. There are crowds to navigate, auditorium stages to maneuver and they need to do it FAST. There are schedules to maintain and growing to-do lists!
And that’s just the beginning. All of our kids…no matter what their strengths or needs be…struggle with the change in routines, the adult stress, anticipation, holiday projects, gift giving issues, that extra sugar from holiday sweets, itchy holiday sweaters and scratchy tights, or mom’s stress from holiday traffic.
That “iceberg” of underlying issues and concerns is a holiday version that leads to emotional breakdowns, poor coping skills, and sensory meltdowns.
Now, think about the kiddo with executive functioning challenges. They can’t plan ahead or prioritize tasks when they have a holiday letter to write, a classroom sing-along to practice for, and Grandma’s house to visit next weekend. It’s hard for them to function when their routine is off kilter and anticipation is high.
There are so many benefits to mindfulness, and supporting kids in this way makes a huge impact. Having a few Christmas themed mindfulness strategies on hand could make all the difference when it comes to experiencing all that this season has to offer.
Christmas Mindfulness Activity
Below, you will find a Christmas mindfulness activity and some coping strategies to address the holiday stress. This mindfulness tool goes along well with our Pumpkin deep breathing exercise, and Thanksgiving mindfulness activity.

When we think about the holidays from the perspective of a child. Having a set of mindfulness activities for kids is a great way to fill their toolbox with strategies they can use each day.
Essentially, the post urges us to be mindful of the child’s thought process, emotions, and coping strategies this time of year.
Holiday Mindfulness
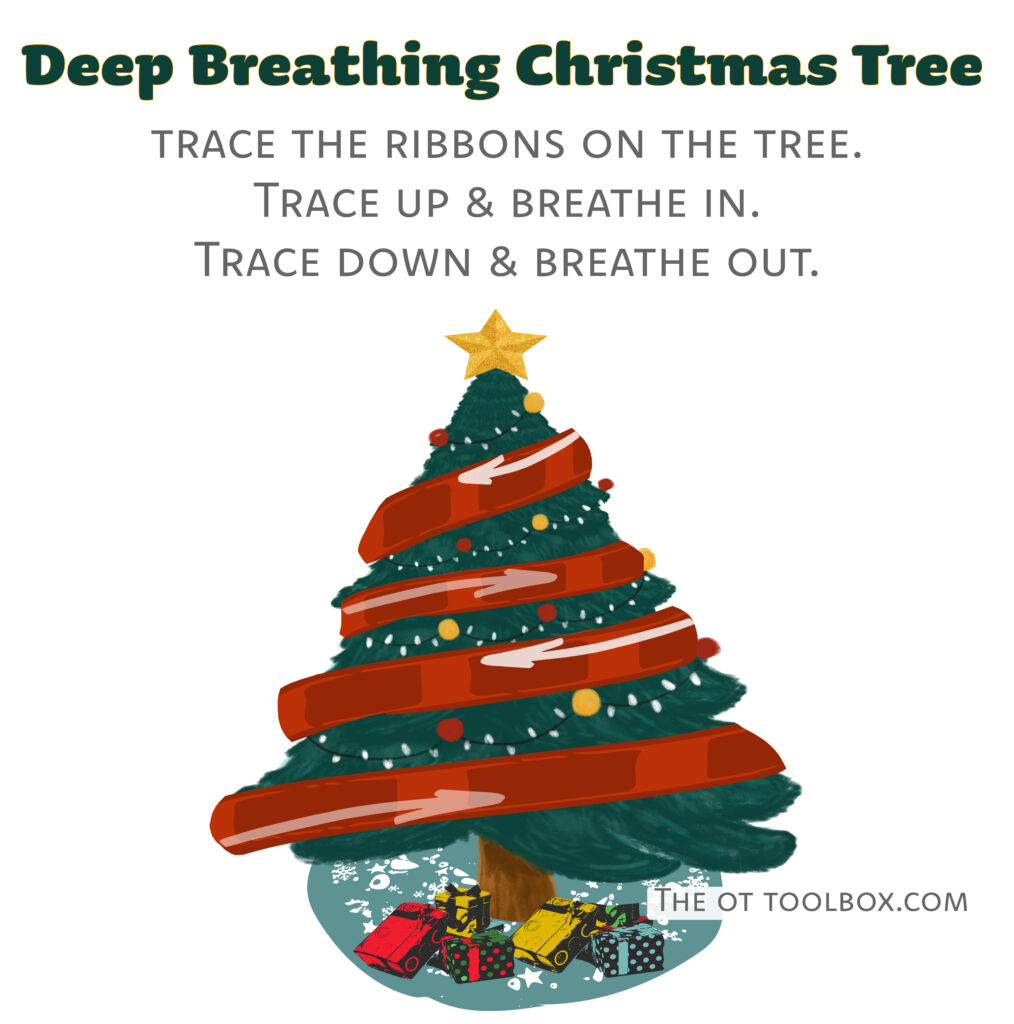
Below, you’ll find a printable Deep breathing Christmas tree printable that kids can use to support regulation needs. It offers relaxation breathing as a sensory tool.
Print off the sheet and trace along the arrows as the user breathes deeply in and out. This calm and centering visual tracking paired with deep breathing can help the user to focus with mindful breathing.
Mindful breathing is helpful in calming heart rate, easing anxious thoughts, and helping the user to focus on one thought rather than the many thoughts that may be running through their head.
You can even pair the visual Christmas mindfulness breathing tool with visualizations.
- Ask the user to visualize a calm space with a lit Christmas tree in a dimly lit room.
- Ask the user to visualize a calm space rather than the hustle and bustle that may be happening around them.
- Invite the user to imagine deeply breathing in the scent of a Christmas tree and breathing out the same scent as they empty their lungs.
- Invite the user to picture the worry and anxiety slowly releasing from their body as they move down the slopes of the Christmas tree.
- Pair the deep breathing with thoughts of things that remind you of peace and love (for example) for with each breath.
- For each layer of the tree, kids can concentrate on one thing, person, or aspect of the holidays that they are grateful for. Thinking about whatever it is that you are grateful for is a simple way to pair the benefits of slow deep breaths with intentional thoughts.
Focus on breath control as the user breaths in and out.
Then, show the user how to carry over this Christmas mindfulness strategy using a real Christmas tree.
- After using the printable Christmas tree deep breathing exercise, they can look at a real Christmas tree and trace the lines of the tree’s sides with their eyes as they breathe in and breathe out.
- Ask them to trace an imaginary Christmas tree, or triangle shape on the palm of their hand using the pointer finger of their other hand.
This becomes a Christmas mindfulness tool that they can use any where and any time even without the printable exercise.
Christmas COping Tools
This holiday season, I wanted to fill your toolbox with the tools your little one (or client/student) needs to thrive.
These are the strategies and tips we can use to slow down, take a deep breath, and recognize the underlying issues going on behind behaviors, meltdowns, and frustrations.
Because when you have the tools in place, you have a blueprint for success in the child.
Here are some holiday tools that can help both YOU and a CHILD struggling with all that this time of year brings…
Christmas Mindfulness
This is a coloring page. Use it as a handout or home program. Kids can color it in and work on fine motor skills, too!
Use the Christmas mindfulness handout with kids as a group or individually. You can set this up in several ways. Ask them fist to list out some things they are grateful for. Then, quietly say an item with each breath break.
As a mindfulness group activity, use the Christmas tree graphic and explain that they will be pairing deep breathing with a focus on love or peace. Come up with a list of things the group loves about the holidays. As you work through he deep breathing exercise, the children in the group can focus on things that brings them peace personally.
Or, you could invite the child to think in their head about some things that remind them of the holidays and then with each breath in, they intentionally concentrate on that thing/person/idea.
More Christmas Mindfulness Strategies
Here are more coping tools for kids that focus on addressing underlying needs so that kids can function. Use these strategies as part of a sensory diet or within the day.
The thing about mindfulness is that the tools that support needs will differ for every individual. During the holiday season, there are ways to support mindful needs with the holidays in mind:
- Go for a walk outside
- Look at Christmas lights
- Write a holiday card to a friend
- Watch a Christmas movie
- Drink hot cocoa
- Use this Christmas wreath deep breathing exercise
- Use this Christmas star deep breathing exercise
- Suck on a peppermint or candy cane
- Create your own sensory potpourri
- Create Christmas crafts
- Sit by a fire
- Read a book
- Listen to Christmas music
- Make time for exercise
- Bake cookies
- Use the Christmas coloring page below!
All of these are self-regulation strategies with a holiday theme and can be a powerful tool when it comes to supporting emotional and sensory needs during the holidays.
Mindful Christmas
Having a mindful Christmas can mean being aware of stressors or things that add a sense of dysregulation.
During the holiday season, the connection between mindfulness and self-regulation becomes even more crucial, especially for children and therapy providers navigating the potential stress, anxiety, and worries associated with this time. Mindfulness practices offer a valuable toolkit for managing these challenges:
Stress Reduction: The holiday season can bring added stress, but mindfulness provides a means to cultivate a calm and centered state, helping both children and therapy providers navigate and mitigate holiday-related stressors.
Emotional Regulation: Mindfulness practices, tailored for children and therapy providers, become essential tools for recognizing and regulating emotions heightened by holiday-related pressures. This contributes to a more emotionally balanced experience.
Anxiety Management: Mindfulness techniques, such as mindful breathing or guided imagery, can be powerful allies in managing anxiety. They provide a practical and accessible way for children and therapy providers to alleviate anxiety during the holiday hustle.
Worry Coping Strategies: The mindfulness approach of observing thoughts without judgment is particularly helpful in addressing worries. Children and therapy providers can utilize mindfulness to create a mental space to acknowledge concerns and develop effective coping strategies.
Enhanced Focus and Presence: Mindfulness helps maintain focus on the present moment, preventing holiday-related worries from overwhelming the joy of the season. This is especially beneficial for therapy providers supporting children, ensuring they are fully present during sessions.
Cultivating Resilience: Mindfulness fosters resilience by promoting adaptability and acceptance. This quality becomes crucial during the holiday season, where unexpected changes or challenges may arise for both children and therapy providers.
Empathy and Connection: Mindfulness practices that emphasize compassion and empathy contribute to a sense of connection. Therapy providers can incorporate these practices to create a supportive and understanding environment for children navigating holiday stressors.
By integrating mindfulness into therapeutic approaches, therapy providers can empower children with valuable self-regulation tools, fostering a positive and mindful experience during the holiday season. The practices not only address immediate stressors but also contribute to building resilience and coping skills for the long term.
Free printable Christmas Mindfulness Printable
Want to grab our Christmas tree mindfulness deep breathing exercise? Enter your email address into the form below. This printable is also available inside The OT Toolbox Member’s Club. Members can log in and head over to our Mindfulness Toolbox where we have this and other Christmas mindfulness printable exercises.
Print off this Christmas breathing activity and start supporting skills. This Christmas coping skills activity can be used on the go while out and about this holiday season, at a family get together, or during school assemblies for the holiday season.
Wishing you a thriving, stress-free, and functional holiday season for you and those kiddos you serve!
You will also want to grab a copy of our breathing star, which can be paired with our Christmas mindfulness tool.

Colleen Beck, OTR/L has been an occupational therapist since 2000, working in school-based, hand therapy, outpatient peds, EI, and SNF. Colleen created The OT Toolbox to inspire therapists, teachers, and parents with easy and fun tools to help children thrive. Read her story about going from an OT making $3/hour (after paying for kids’ childcare) to a full-time OT resource creator for millions of readers. Want to collaborate? Send an email to contact@theottoolbox.com.
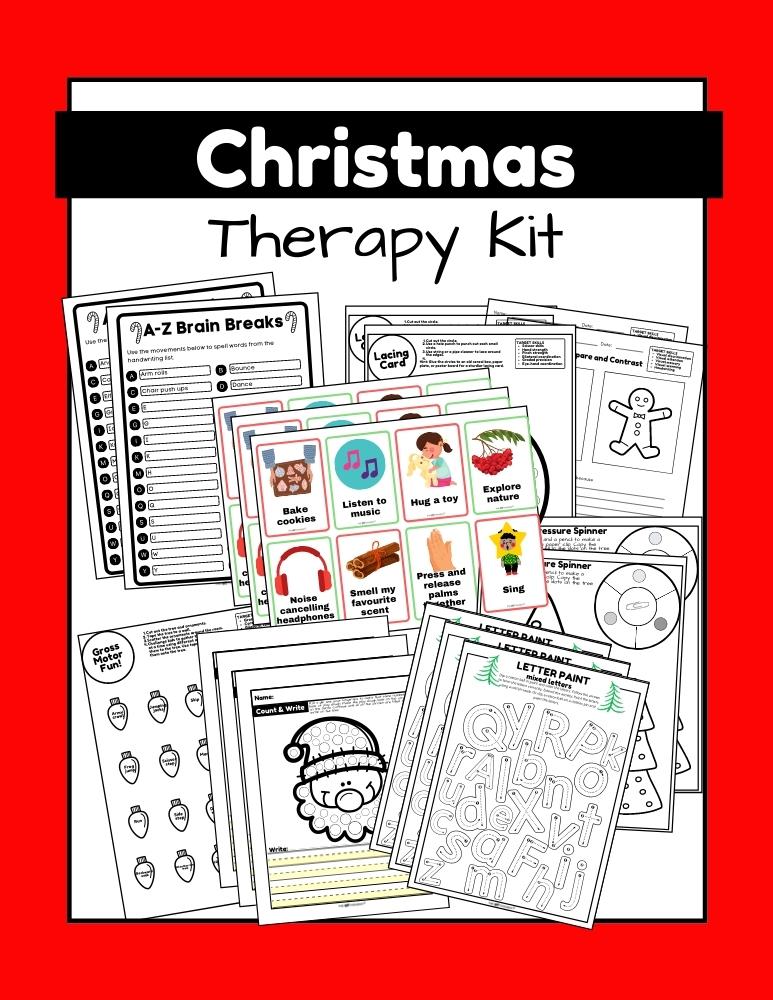
Looking for done-for you therapy activities this holiday season?
This print-and-go Christmas Therapy Kit includes no-prep, fine motor, gross motor, self-regulation, visual perceptual activities…and much more… to help kids develop functional grasp, dexterity, strength, and endurance. Use fun, Christmas-themed, motor activities so you can help children develop the skills they need.
This 100 page no-prep packet includes everything you need to guide fine motor skills in face-to-face AND virtual learning. You’ll find Christmas-themed activities for hand strength, pinch and grip, dexterity, eye-hand coordination, bilateral coordination, endurance, finger isolation, and more.