Colleen Beck, OTR/L is a pediatric occupational therapist and the owner and author of The OT Toolbox website. She manages all of The OT Toolbox social media accounts and runs the popular newsletter.
Read about Colleen's experience and career as an occupational therapist, including how The OT Toolbox began on our About The OT Toolbox page: https://www.theottoolbox.com/about-us/
Colleen created The OT Toolbox in 2011 and since then has written thousands of blog posts designed to support therapy providers, educators, parents, counselors, admin, and caregivers in promoting the healthy development of kids.
Check out Colleen's blog posts below:
We’ve been having a ton of fun with clay recently. One sunny afternoon, Big Sister and Little Guy got creative and covered a big rock with clay. It sat out in the sun and got pretty soft.
It’s a great way to encourage development of fine motor skills and hand strength in a fun way!
This post has been sitting as a draft for weeks! We made a clay rock a while ago and before this was published, I wanted to see what our rock would do in the rain. It worked!! Check it out:
Sensory Play with Clay and Rocks
What great sensory play! Pressing that clay around was such a neat sensation. They could smear the clay around into such a pretty design!
Fine Motor Play with Clay and Rocks
Pressing the clay was a great fine motor strengthening activity. They could isolate individual fingers, press and push the clay into the other colors. The resistance of the clay worked their little hand and finger muscles.
So, after the rock sat out in the HOT sun for a while, we noticed that the clay was becoming warmer. We wondered what would happen if we baked the whole rock and clay.
Mom put the rock on a piece of aluminum foil and baked the rock on a cookie sheet at 350 for about 15 minutes. When this rock came out, the color was spread all over the rock! What a pretty rock for our yard.
I wanted to wait and see what would happen to our rock after it was out in the rain and sun for a few weeks. It is still looking very bright and pretty! The clay hasn’t seemed to come off at all in the elements.
This was such a fun experiment. Every time Little Guy sees the rock he says: “Hey Mom, Look at that rock, that was SO FUN!”
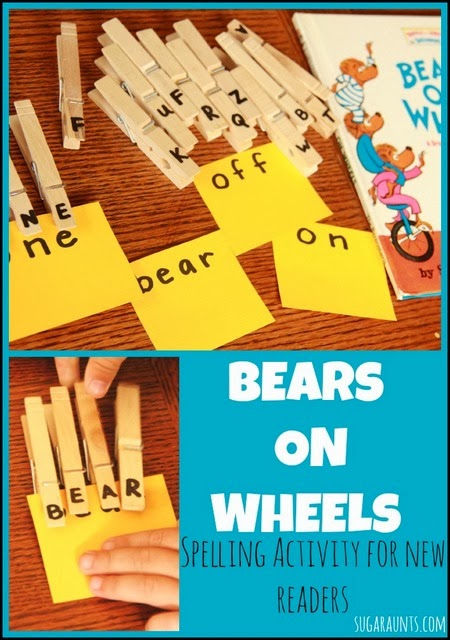
We have been reading Bears on Wheels by Stan and Jan Berenstain a lot recently and made some sight word cards to go along with the book. This book is awesome for Big Sister who is starting to feel comfortable in her reading skills. Confidence in reading a book for the first time is so important! When she feels confident, Big Sister can breeze through a book. This is one of the favorites in our house!
We used a lot of the beginner sight words in this letter matching activity and pulled in some fine motor skills, too! If you’ve followed our blog, you know that we do a ton of easy fine motor skills activities. This one is one of our favorites!
{Note: This post contains affiliate links. In other words, this blog will receive monetary compensation when any purchases are made through the links in this post. Our opinions and ideas are in no way affected. You can read our full disclosure policy here. As always, we thank you for your support and community here at Sugar Aunts.}
Bears on Wheels Beginner Reading Activity
We used some of our clothes pins free from Craft Project Ideas and used them this letter match activity.
I wrote letters of commonly used words from Bears on Wheels on the clothes pins and we got busy matching.
Letter Match With Sight Words
Pinching the pins works on the intrinsic muscles (the small muscles within the hand) that are so important for strength and endurance when writing and coloring. Strengthening these muscles with a pinching activity like this one helps to encourage an open web space (the space between the thumb an index finger) in the hand when holding a pencil/crayon. If your child has a closed web space when they hold a pencil, they are not as efficient with their grasp and they will tire easily with handwriting and coloring.
We got a lot of pinching repetitions with our sight words!
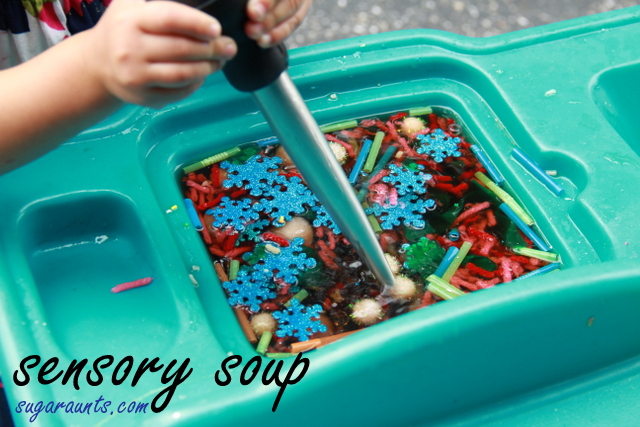
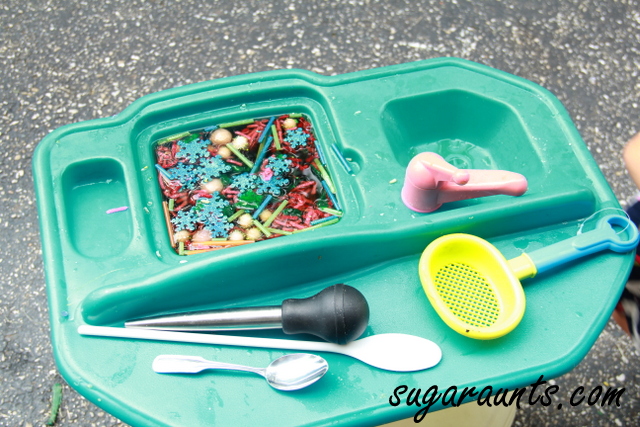
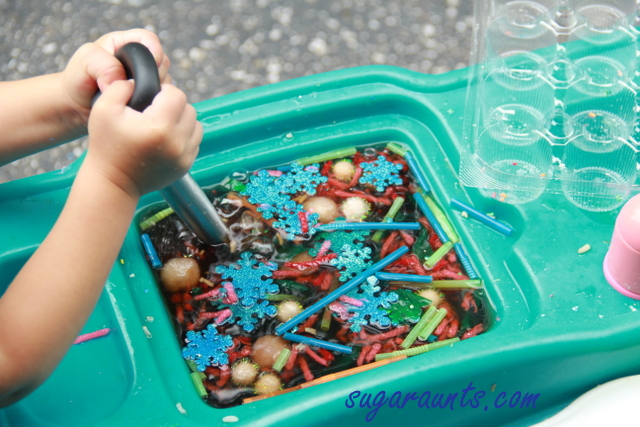
This was a child-led activity after …someone… emptied a bunch of our sensory bottles into the little play sink! I had super glued the lids shut, but a bigger cousin had a great idea to cut the bottles open. Super good problem solving, right? We had all kinds of things in this little sensory sink…pieces of straws, bits of yarn, glitter, foam snowflake stickers, crafting poms…It was very sensory!!
So, what does a mom do…don’t stress the mess, roll with it 🙂
Fine Motor Sensory Play
I added a few utensils from my kitchen to scoop, transfer, and stir…and a couple of containers from our recycle bin. Baby Girl had a blast with this while the big kids were at school.
Using the Turkey baster to squeeze is such a great hand strengthening activity! Transferring the objects with a spoon really works on her visual motor skills. Scooping up crafting poms from that sensory water is a great task for an almost 2 year-old.
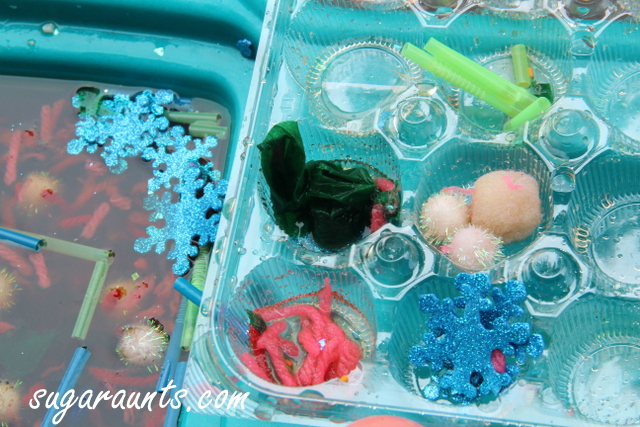
Sensory Sorting
Baby Girl sorted the objects into sections of a muffin container, with a little verbal cueing from Mom. This is a fun way to incorporate sorting into sensory play…and she loved pretending to cook in her little kitchen!
It was a pretty fun way to recycle our sensory bottles!
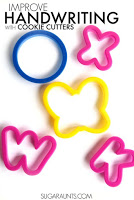
Practicing handwriting doesn’t have to involve paper! This sensory handwriting practice activity works on letter formation and line awareness with proper tool grasp and typical writing motor movements (unlike many sensory writing activities that use a writing tray or over-sized letters–while those sensory writing activities DO add to the tactile sense, they prevent the child from becoming accustomed to holding the pencil and the small motor advancements made by a writing utensil. The child IS working on letter formation but they are not doing so in a typical motor pattern, and this can actually be quite confusing for some children.)
This creative handwriting task, however DOES use a writing utensil-one that is appropriately sized to what the child typically grasps when writing on paper–and adds a bit of proprioceptive input. We do love creative handwriting activities around here, and this one is one of our all time favorites!
Practice Handwriting with Sensory Input
This post contains affiliate links.
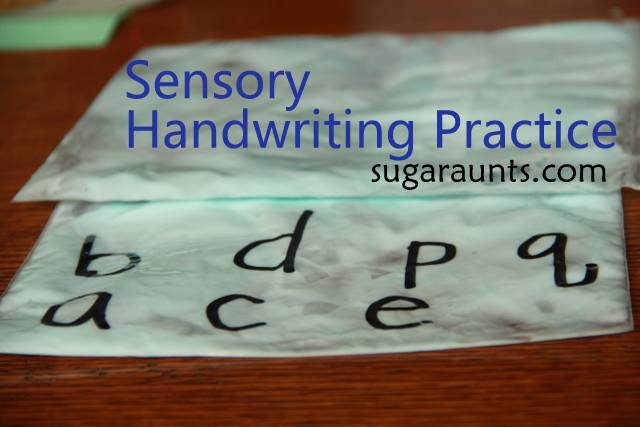
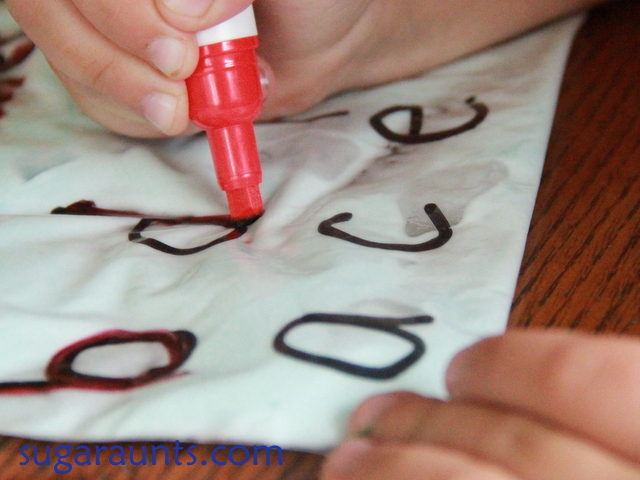
We practiced writing letters one day last week and this was a super fun way to do it! I filled a couple of bags with shaving cream (not much, just a little worked great). I used a permanent black marker to write a few letters that sometimes confuse Big Sister…common reversals: ‘b, d, p, q, and g’.
Letter Formation with Sensory
We also practiced ‘a’ and ‘c’ to begin. When you make a “little curve” to make a ‘c’, you can continue with simple verbal cues to make the ‘c’ into other letters like a ‘d’…”little curve, big line down” makes a ‘d’.
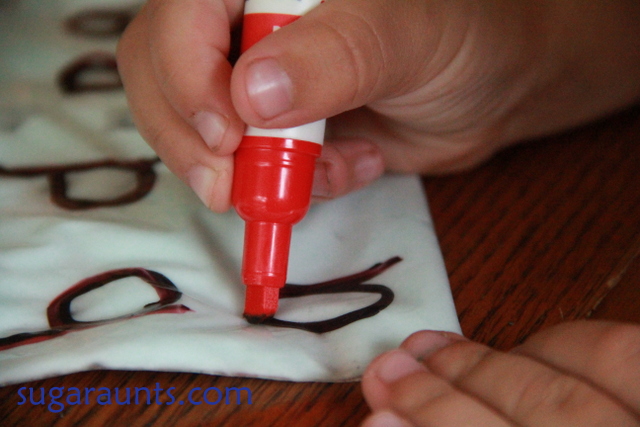
Big Sister used a dry erase board marker to trace the lower case letters. She could wipe the dry erase board marks off over and over again. You can use a smaller sized dry erase marker or a fine tip marker to make this more similar to the motor movements needed for writing with a pencil.
We also practiced writing our address on the sensory bags. This activity was a fun way to practice letter formation with verbal and visual cues with an added sensory input. Plus, Big Sister just really loves writing with the dry erase board makers 🙂
This would be a fun way to practice shapes, numbers, and even beginning pencil stokes for the younger kids.
Looking for more creative handwriting activities? My friend Erica has some great ideas on this post. You’ll love to dive into some of our all-time favorite creative handwriting ideas:
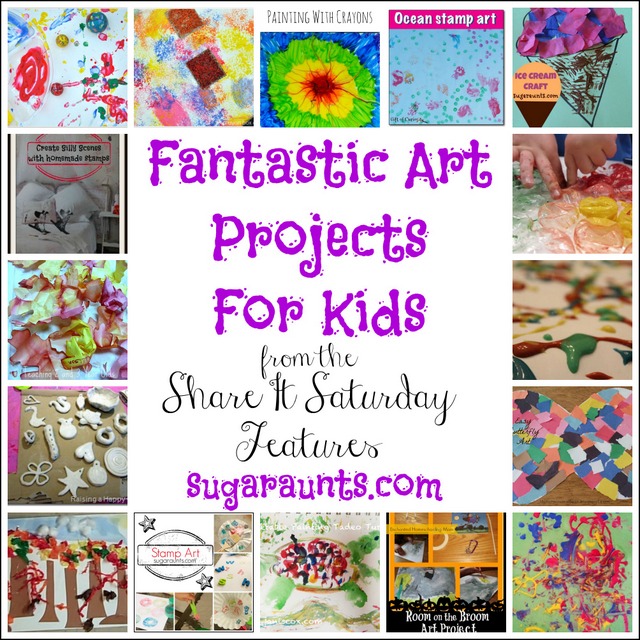
We love painting and creating art with the kids. And they LOVE to get messy! These features are fun, creative, and FANTASTIC ways to make ART! These creative art projects challenge the senses and encourage fine motor skill development. Kids can use messy texture paint, tear, and use their hands in painting activities.
Use these creative painting ideas to explore tactile sensory experiences and as a tactile sensory challenge. The sensory painting ideas listed here can be made as DIY paint ideas that kids will have fun mixing up and then using to paint and create!
A sight word manipulative is a learning tool designed to help children recognize and memorize sight words, which are common words that are frequently used in reading and writing. These manipulatives are typically physical objects that can be moved and arranged, such as flashcards, word blocks, or word wheels.
Sight word manipulatives are designed to make the process of learning sight words more interactive and engaging for children. By providing a hands-on, tactile experience, these tools can help children better understand the spelling and meaning of sight words, as well as improve their reading fluency and comprehension.
Examples of sight word manipulatives
Examples of sight word manipulatives include:
Flashcards: Cards with a single sight word printed on them that children can read and memorize.
Word blocks: Small wooden or plastic blocks with sight words printed on them that children can arrange and manipulate to create sentences.
Word wheels: Rotating wheels with sight words printed on them that children can spin to create new word combinations.
Magnetic letters: Letters that children can arrange on a magnetic board to create sight words and sentences.
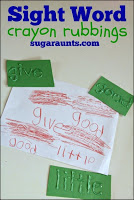
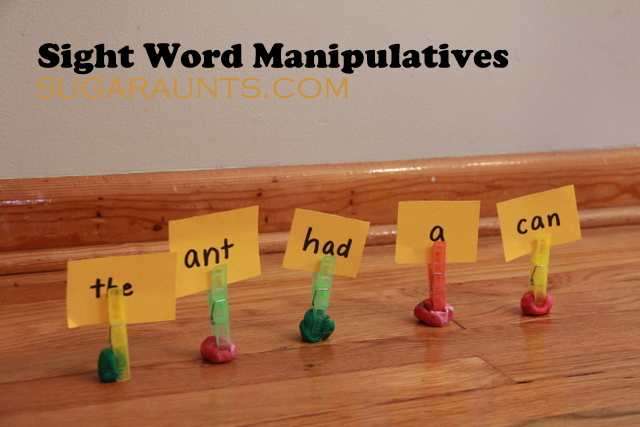
One day we had the play dough out and we did a little playful learning with sight words.
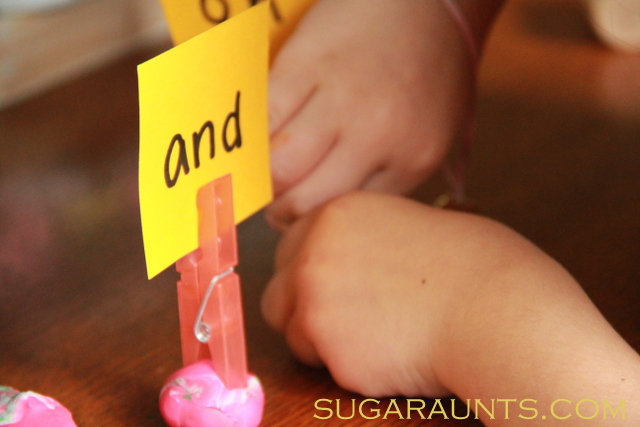
Big Sister worked those fine motor skills to pinch and pull little bits of play dough from a big lump. She rolled little balls of dough…all great activities for strengthening the small muscles of the hands.
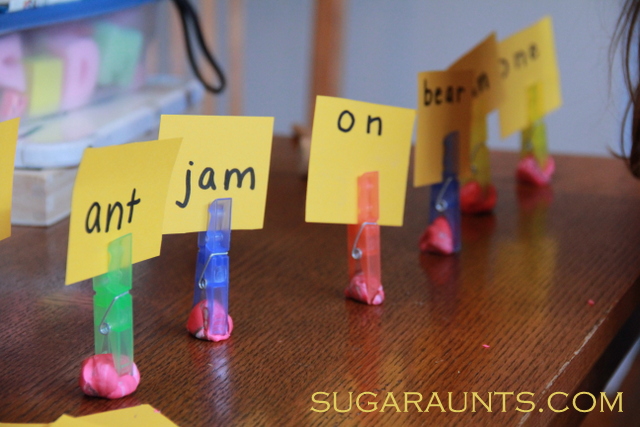
After she had little balls of play dough formed, we pinched the sight word cards and stuck them into the dough.
Big Sister loved this! She would read the cards as we moved them around and she loved making crazy sentences. It got a little silly 🙂
This was such a fun way to practice our sight words.
Working on fine motor skills, visual perception, visual motor skills, sensory tolerance, handwriting, or scissor skills? Our Fine Motor Kits cover all of these areas and more.
Check out the seasonal Fine Motor Kits that kids love:
Colleen Beck, OTR/L has been an occupational therapist since 2000, working in school-based, hand therapy, outpatient peds, EI, and SNF. Colleen created The OT Toolbox to inspire therapists, teachers, and parents with easy and fun tools to help children thrive. Read her story about going from an OT making $3/hour (after paying for kids’ childcare) to a full-time OT resource creator for millions of readers. Want to collaborate? Send an email to contact@theottoolbox.com.
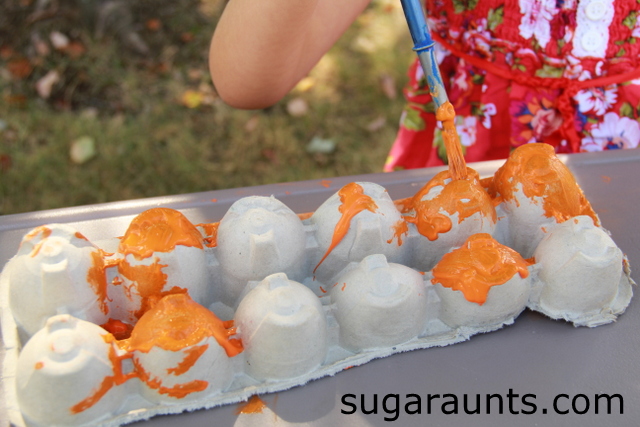
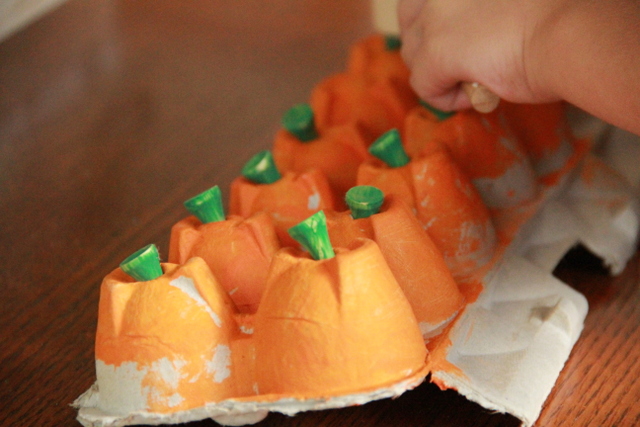
We made these fun pumpkins one day and have been playing with them a lot lately.
We started by painting an egg carton orange. Big Sister then helped me paint 12 golf tees a nice shade of green.
Egg Carton Pumpkins
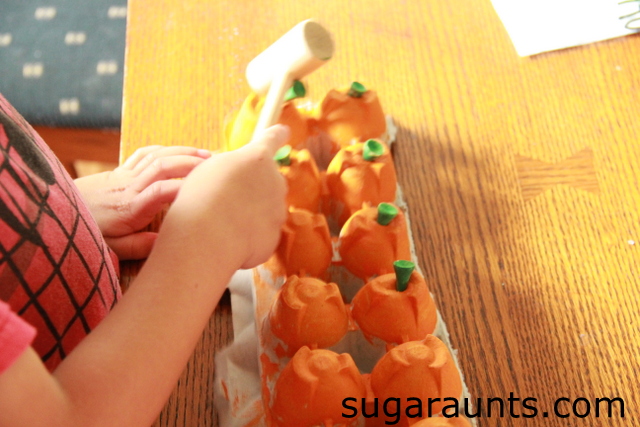
Once the paint dried, Little Guy got busy hammering the golf tees into the egg carton.
He is a huge fan of hammering golf tees into egg cartons. We first did it here. It’s such a great fine motor activity and just SO much fun 🙂
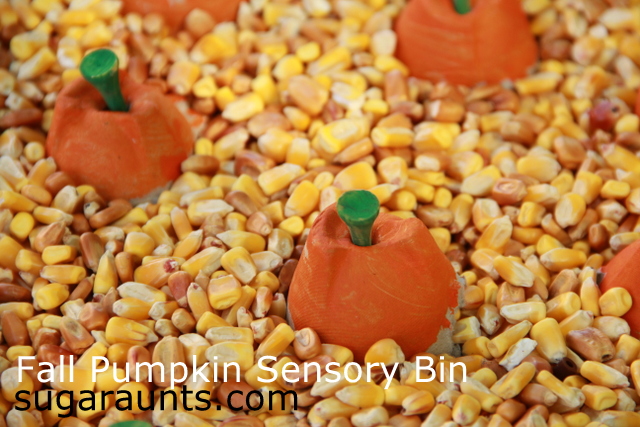
I cut the pumpkins apart and we got busy playing! They went first into a fall sensory bin. Perfect for hiding in corn, counting, seeking, and exploring! I think we’ll be using our little pumpkins a lot this fall 🙂
Egg Carton Pumpkins and Fine Motor Play
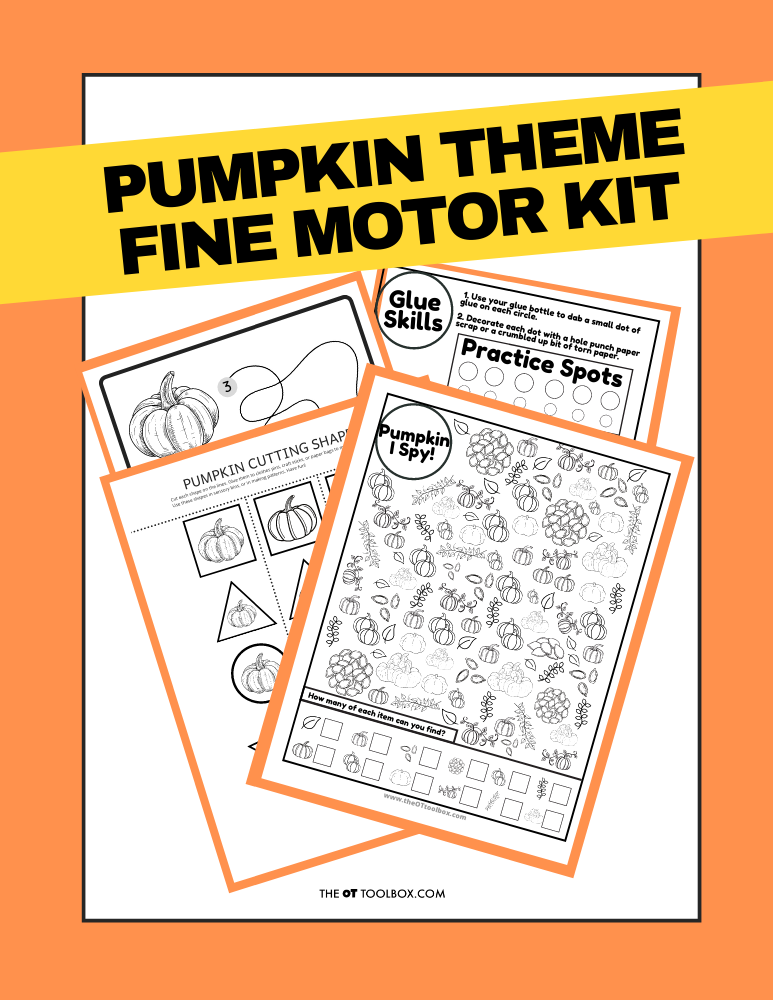
These egg carton pumpkins are a great addition to ourPumpkin Theme Fine Motor Kit.
Grab the Pumpkin Fine Motor Kit for more coloring, cutting, and eye-hand coordination activities with a Pumpkin theme! It includes:
7 digital products that can be used any time of year- has a “pumpkins” theme
5 pumpkin scissor skills cutting strips
Pumpkin scissor skills shapes- use in sensory bins, math, sorting, pattern activities
2 pumpkin visual perception mazes with writing activity
Pumpkin “I Spy” sheet – color in the outline shapes to build pencil control and fine motor strength
Pumpkin Lacing cards – print, color, and hole punch to build bilateral coordination skills
2 Pumpkin theme handwriting pages – single and double rule bold lined paper for handwriting practice
Work on underlying fine motor and visual motor integration skills so you can help students excel in handwriting, learning, and motor skill development.
Colleen Beck, OTR/L has been an occupational therapist since 2000, working in school-based, hand therapy, outpatient peds, EI, and SNF. Colleen created The OT Toolbox to inspire therapists, teachers, and parents with easy and fun tools to help children thrive. Read her story about going from an OT making $3/hour (after paying for kids’ childcare) to a full-time OT resource creator for millions of readers. Want to collaborate? Send an email to contact@theottoolbox.com.
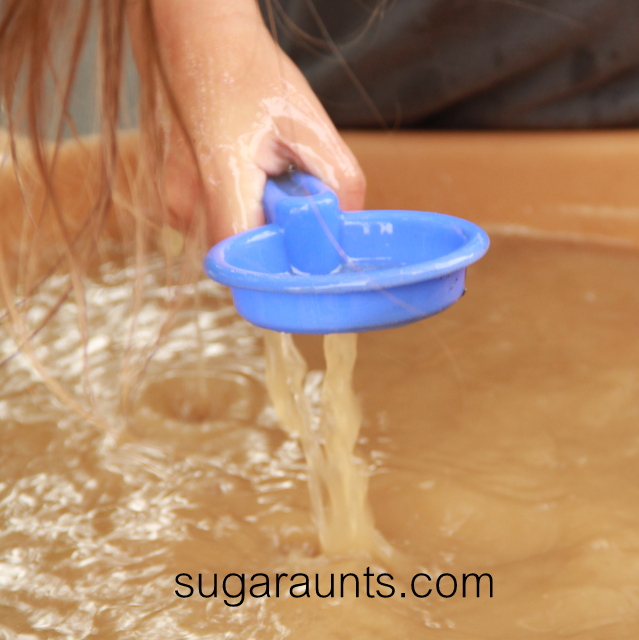
Use a water table and bag of crystals from a mining kit to work on fine motor skills, tactile sensory play, various grasps, and other skills, all while exploring the beauty of gems and crystals.
A special Grandma gave the kiddos a bag of gems one day when we were out at a local orchard. They had a sluice where the kids can sift the dirt through screens and end up with a bag of gems. When we were at the orchard, the time was getting dangerously near naptime.
So we took our bag of gems to-go!
Water Table Crystal Exploration
We added some water to both sides of our water table and dumped the whole bag of dirt and crystals into one side.
Big Sister and Little Guy got right into the dirty fun not long after Baby Girl went down for her nap (they could hardly wait!)
We used our sandbox sifter toy to scoop up dirt and sift the crystals out. We used the clean water on one side of the water table to rinse the crystals.
This was so much fun! We all played all afternoon: inspecting crystals, scooping water, sifting dirt, and examining little bits of rock! We ended up leaving the dirty/rocky water in the water table and played again after Baby Girl woke up from her nap. The rocks had settled and it was fun to sift the bigger rocks out from the water.
Have you ever “mined” for gems? Next time, be sure to take your crystals home “to-go” for lots of messy sensory play!
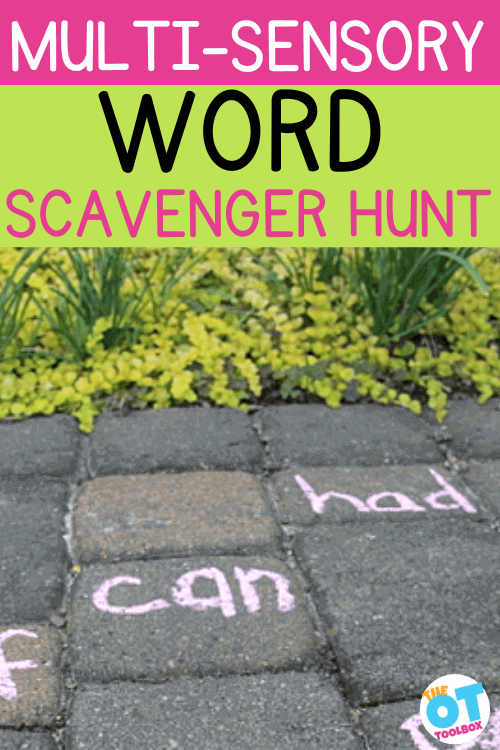
This word scavenger hunt is a hands-on play activity to work on sight words, spelling words, or common words. Use this creative sight word activities for kindergarten and active learning. While we used this activity many years ago to practice sight words, you can definitely use the idea to practice reading words and spelling words. Kids love these sensory word ideas to practice reading words with multisensory learning and gross motor play.
We started practicing sight words. One day we took them outside for a little movement and learning.
Word Scavenger Hunt
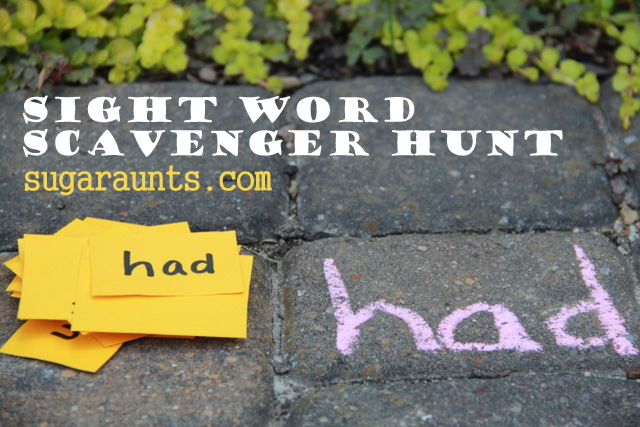
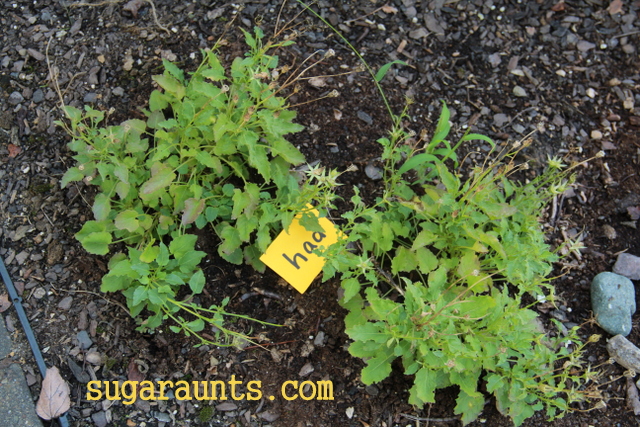
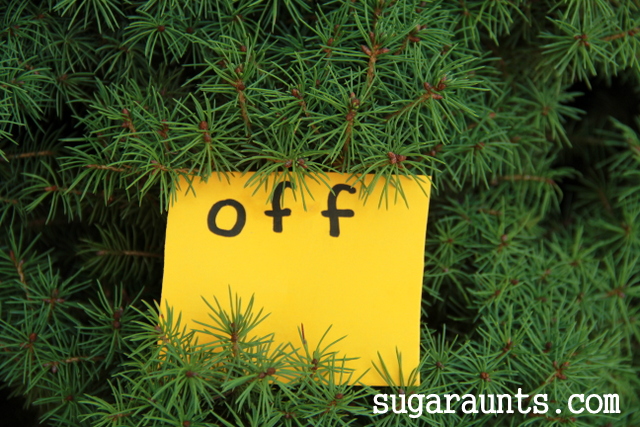
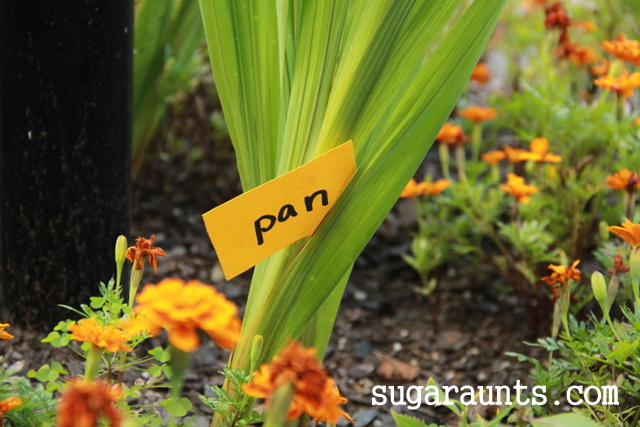
Setting up a word scavenger hunt is easy. We used bright yellow cards to write the words to make it easier to spot the letter cards, but you could use any type of paper, or even letter rocks to spell out sight words.
Another idea is to use clothes pins in the scavenger hunt. This is a great adaptation to the activity because you can foster hand strength, too.
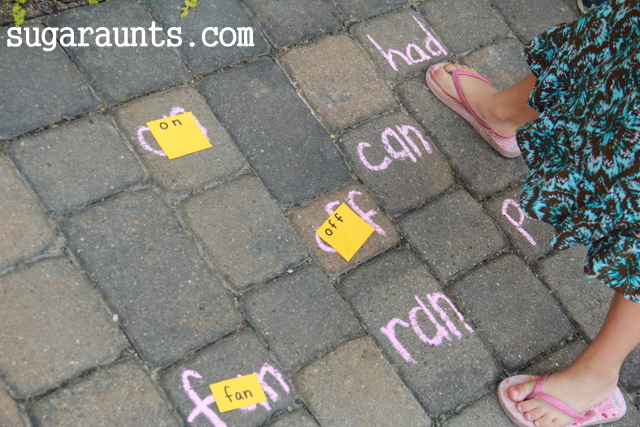
I wrote our sight words on the sidewalk and had the kids match them up with our cards.
They jumped on the word as I called it out and then could put the card on top. This was a good gross motor coordination warm-up for our Scavenger Hunt.
Big Sister went off and closed her eyes so she couldn’t see (with a little peeking…) and I hid the cards in different places in our yard.
When all of the cards were hidden, I had her come back to the sidewalk and I would say one of the words. She ran off and tried to find the word.
We had sight words hidden all over! The kids had so much fun with this. Even Little Guy, who hasn’t been practicing the sight words, got in to the action. He loved helping Big Sister hide the words for me to find too.
When it was my turn to find the words, Big Sister would read one of the words on the sidewalk and I had to go find it. I would ask her, “is this pan…?” So she could read the word on the card, too.
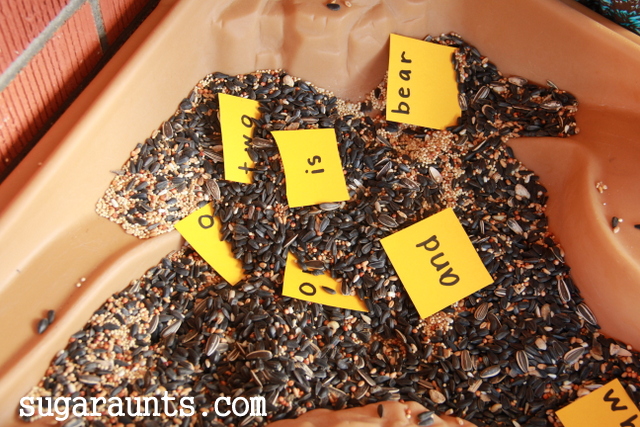
After the Sidewalk Sight Words and Scavenger Hunt, we put the cards in the water bin with some bird seed for fun sensory play.
We’ve been doing a bunch of different activities with our sight words.
Looking for more ways to practice building words and spelling using letter cards or manipulatives? Grab our Letters Fine Motor Kit.
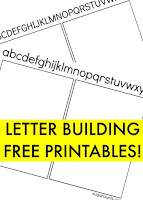
Want printable handwriting and sensory motor activities to target the visual motor skills needed for letter writing? Grab a copy of our Letters! Fine Motor Kit. The printable PDF contains 100 pages of hands-on letter writing practice for multisensory handwriting!
A-Z Multisensory Writing Pages: Roll a ball of dough letters, ASL sign language letters, gross motor movement, small-scale letter box writing task, finger isolation letter trace, and writing practice area
Alphabet Fine Motor Clip Cards– Clip clothespins or paper clips to match letters with various fonts to strengthen the hands and focusing on eye-hand coordination, bilateral coordination, visual processing skills, and more.
Cut and place Fine Motor Mazes– Cut out the letter pieces and trace the maze with a finger to work on eye-hand coordination and finger isolation. Place a small letter on the letter spots to address in-hand manipulation and dexterity skills.
A-Z Cotton Swab Cards– Includes upper case and lower case letters. Dot the cards using a cotton swab or laminate the cards and use them over and over again.
A-Z Pattern Block Cards– These cards include a section for tracing with a finger tip for separation of the sides of the hand, eye-hand coordination, and finger isolation during letter formation. There is also a space to “finger write” the letter using the fingertip. This multisensory letter formation activity can be a great brain break during handwriting or literacy tasks. Learners can then form the letter using parquetry blocks.
Fine Motor Letter Geo-Cards– These geo board cards include A-Z in upper case forms. Users can copy the letter forms in a variety of multi-sensory strategies.
A-Z Color and Cut Letter Memory Cards– These upper case and lower case letter cards can be used to color for letter formation. Then use them in fine motor matching tasks or in sensory bins.
Color By Size Sheets– Help learners discriminate between tall letters, small letters, and tail letters. This visual perception activity invites learners to color small areas, using hand muscles for strengthening and handwriting endurance.
A-Z Building Block Cards– These LEGO block cards invite users to copy the cards to form letters using small building blocks. Users can place the blocks on the cards or copy the letter to address visual shift and visual memory. This activity set comes in upper case and lowercase letter forms.
A-Z Play Dough Letter Formation Cards– Print off these cards and laminate them to create play dough mats. Learners can form the letters using the arrows to correctly form letters with play dough while strengthening their hands and visual motor skills. Each card includes a space for practicing the letter formation, using a dry erase marker if the cards are laminated.
Graded Lines Box Writing Sheets– Users can trace and form letters in boxes to work on formation of letters, line awareness, starting points, and letter size.
Alphabet Roll and Write Sheets– Roll a dice and form the letter associated with the number of dots on the dice. This is a great way to work on letter formation skills using motivation. Which letter will reach the top first? This activity is easily integrated with a rainbow writing task to increase number or repetitions for letter practice.
Pencil Control Letter Scan– Use the letter bubble tracks to scan for letters. Users can fill in the letters of the alphabet to work on pencil control skills.
Color and Cut Puzzles– Color the pictures to work on hand strength and letter formation skills. Then cut out the puzzles and build visual perceptual skills.
Colleen Beck, OTR/L has been an occupational therapist since 2000, working in school-based, hand therapy, outpatient peds, EI, and SNF. Colleen created The OT Toolbox to inspire therapists, teachers, and parents with easy and fun tools to help children thrive. Read her story about going from an OT making $3/hour (after paying for kids’ childcare) to a full-time OT resource creator for millions of readers. Want to collaborate? Send an email to contact@theottoolbox.com.



 on
on