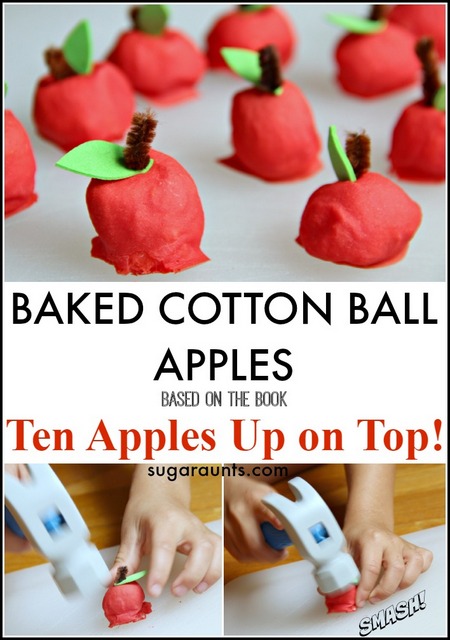
This Ten Apples Up on Top activity was a huge hit with my kids, because they love the book, so making baked cotton ball apples was a fun way to play through the book. And as a pediatric OT, I loved the fine motor and heavy work input that was an added benefit. You can add this to apple activities that you are doing in occupational therapy sessions or at home. These baked cotton ball apples would be a great addition to our apple pie sensory bin, and they would be fun for hands-on play with our Fine Motor Therapy Kit for visual motor, handwriting, and fine motor play.
Here’s what we did…
Ten Apples Up on Top Activity
Did you ever do an activity with the kids that was such a hit, that the kids ask to re-do the activity over and over and over again? This one is it for us. There is rarely a day that goes by that I don’t hear about our smashing apples activity. Especially if we happen to see a hammer. Oh, this baked cotton ball activity was a fun one for us!
We’ve never made baked cotton balls before, but have had the idea bubbling for a while. When we heard that the Preschool Book Club‘s book for this week would be Ten Apples Up on Top, we knew it would have to be an apple themed baked cotton ball activity. We even made these waaaay before all of the other book activities in the second series of books.
Like back in June. If you’ve never made baked cotton balls before, this is a MUST-DO activity!
This post contains affiliate links.
How to make Baked Cotton Balls
Are you familiar with baked cotton balls? This sensory tool is a DIY sensory material that kids love, and for so many great reasons. Actually, mixing up and making the baked cotton balls is as much of a therapy task as playing with them!
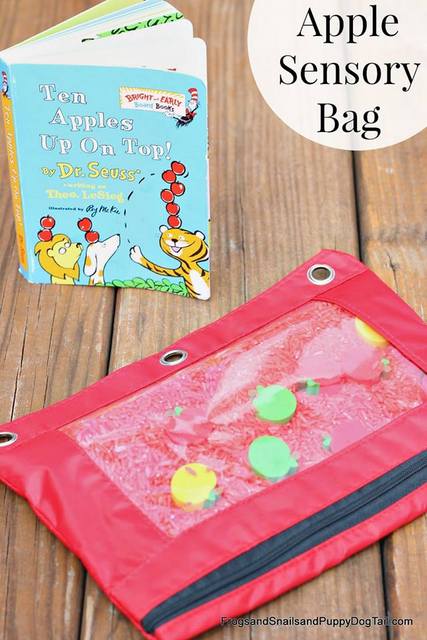
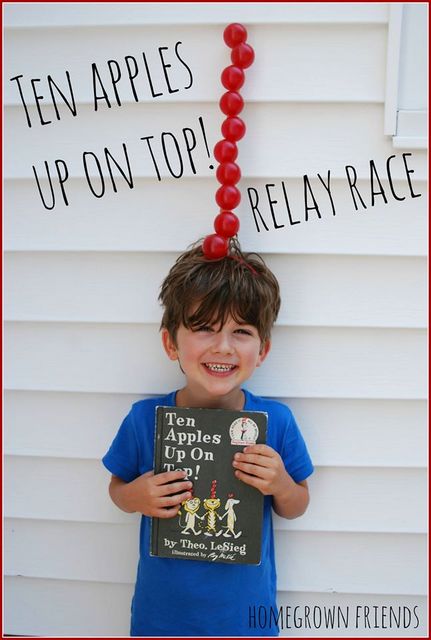
First read Ten Apples Up On Top! by Dr. Seuss. This is such a fun book for counting and playing along with the story.
How to make baked cotton balls:
Begin by mixing together one cup of flour and one cup of water. This is a great activity for the kids. Scooping, stirring, direction following, sneak tasting (my kids aren’t the only ones who go crazy for flour, right!??).
Pour in a bunch of red food coloring. We typically go with Wilton gel colors for all of our dying activities, but I knew I wanted a really deep red color. It seems like red coloring requires SO much dye to get a good shade of red. I ended up using a bottle from the dollar store and used about half of the bottle of food dye. This was maybe 20 drops? Add enough to get a nice red color.
Mix in the food coloring.
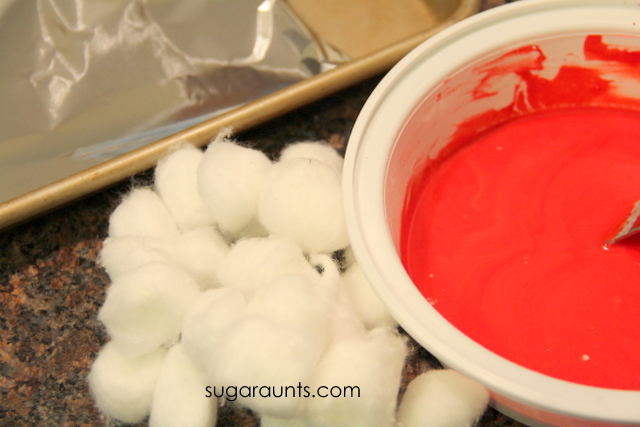
4. Now is the cotton ball part. Grab up your stash of cotton balls.
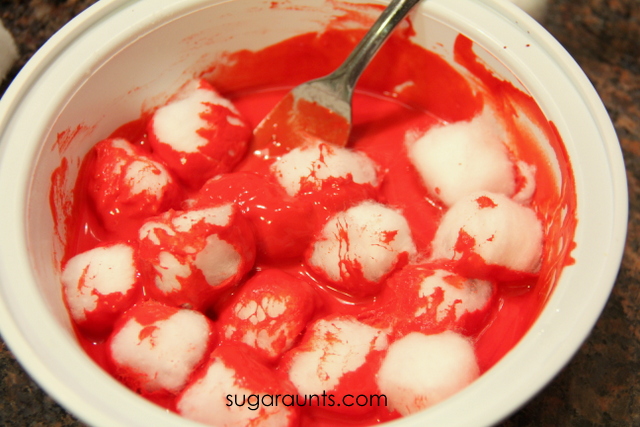
5. Mix them around to coat all of the cotton balls.
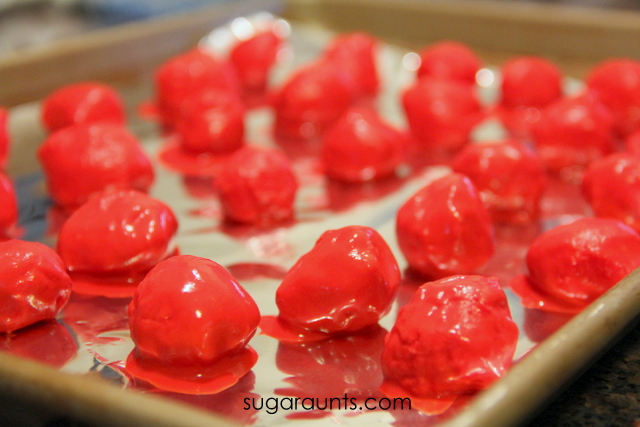
6. Place a layer of aluminum foil on a baking tray and place the cotton balls on the tray for baking. I used two forks to pick up the coated cotton balls and was able to let excess flour coating drip off before placing the cotton balls onto the foil.
You’ll want to let as much excess drip off before putting them on the sheet to avoid the sharp edges and flat bottom once the cotton balls bake.
7. Pop the baking sheet into the oven for around 60 minutes at 300 degrees F.
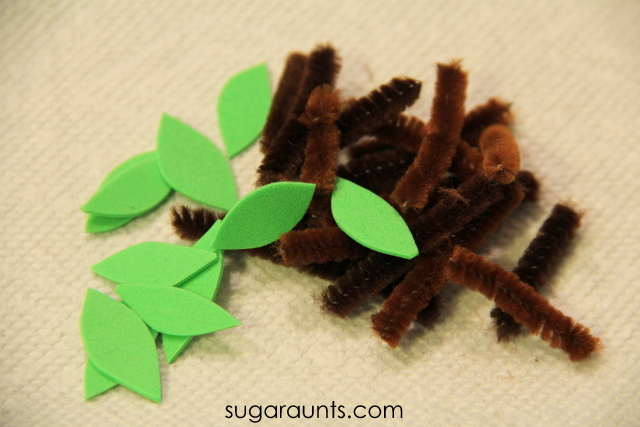
While the cotton balls are baking, snip up the leaves and stems for the apples. We used brown pipe cleaners and green crafting foam.
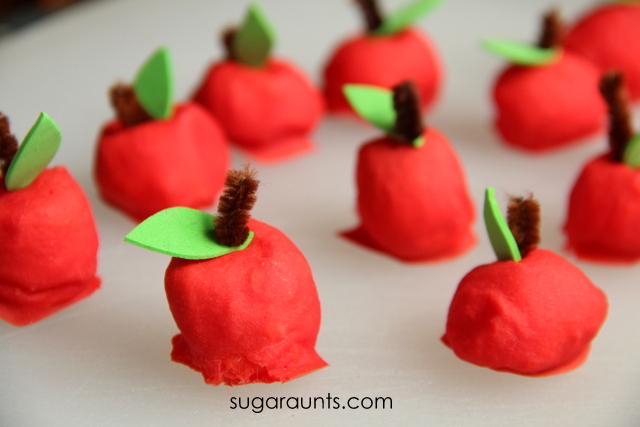
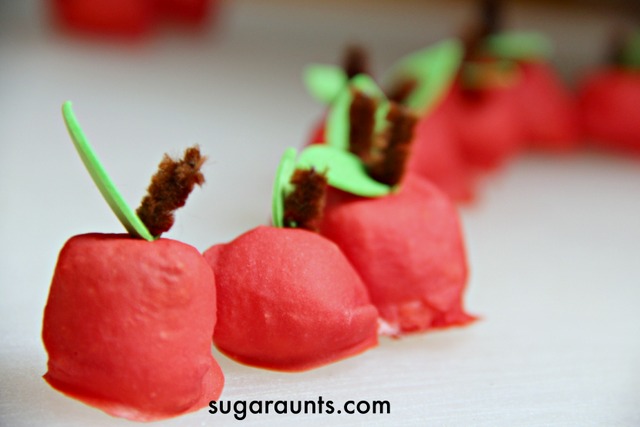
When the apples are done, pull them out of the oven and let them cool for a bit. They will be nice and hard. You’ll need to snip the bottom edges of the apples to remove any sharp edges that dripped to the base before baking.
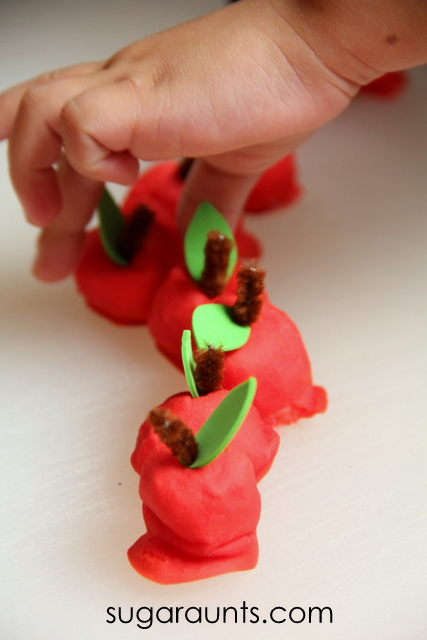
To attach the leaves and stems, lay the leaves on the apple top and poke the pipe cleaner through the foam sheet and into the cotton ball. The kids were able to help with this part, but assisting with stem attachment did not allow this mama to take any pictures 😉
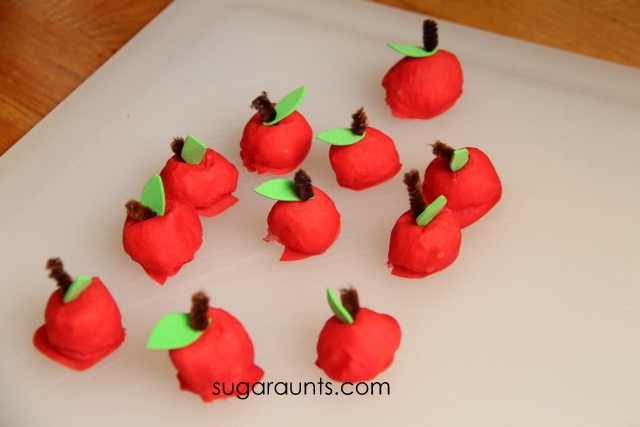
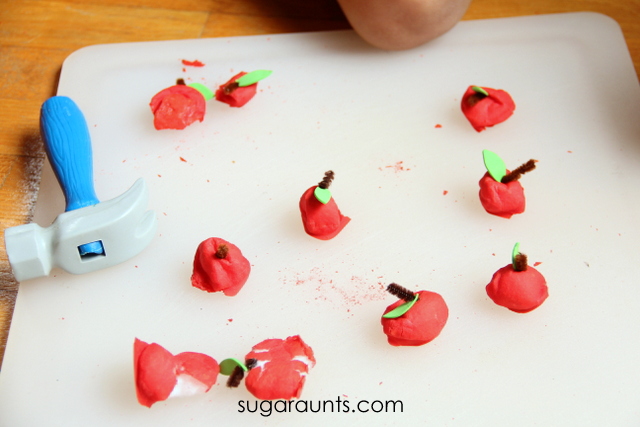
Our crop of apples were ready for playing with!
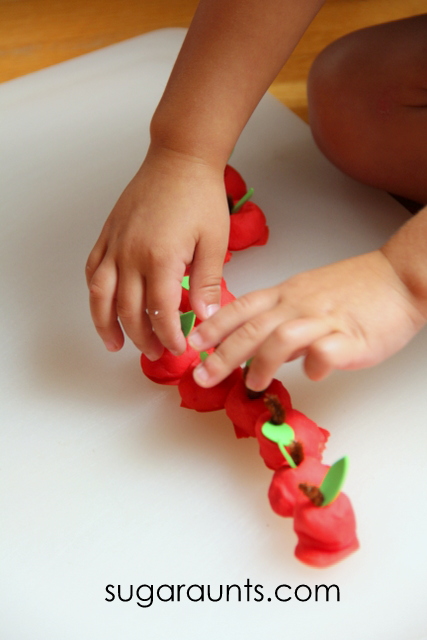
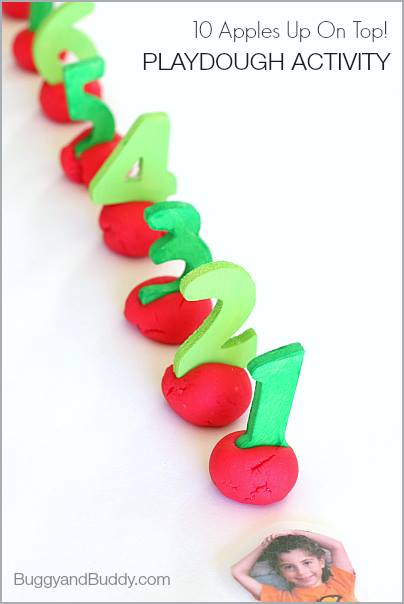
We followed along with the book as we read to stack up apples one by one. What a great way to learn and play with math facts, counting, number order, and simple adding. Little Guy LOVED this activity.
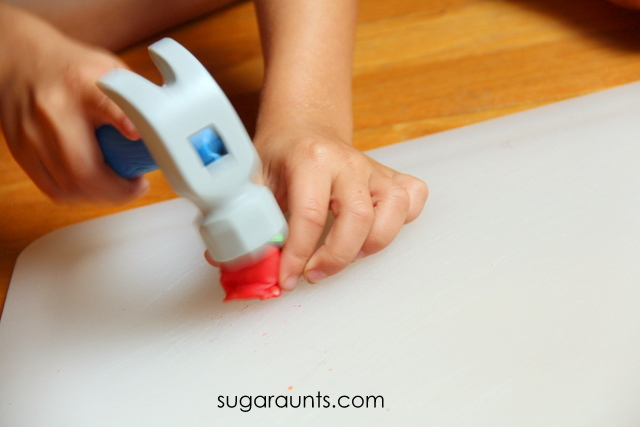
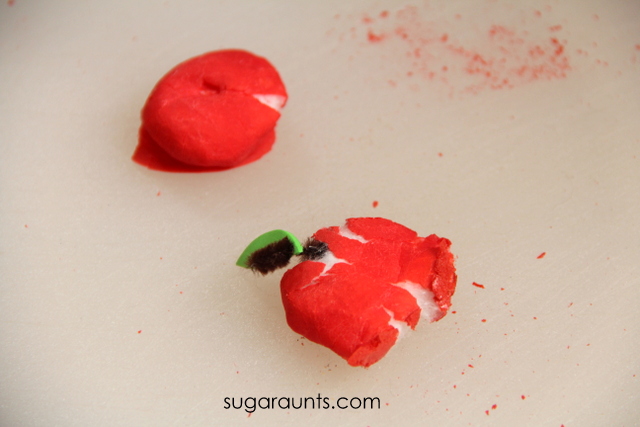
We got to hammering the cotton balls and this was the really fun part! The baked cotton balls have a hard outer edge that allow for a satisfying crunch when smashed, and a squishy, cottony center. What a fun way to explore and play.
We used a plastic hammer, but any hammer would do.
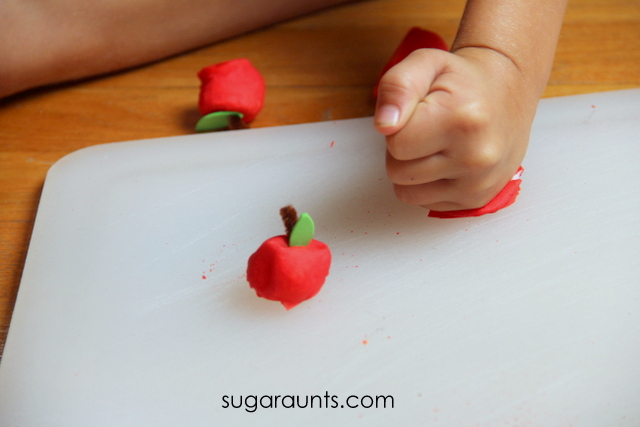
In fact, fists work just as well for smashing.
We had a smashing afternoon.
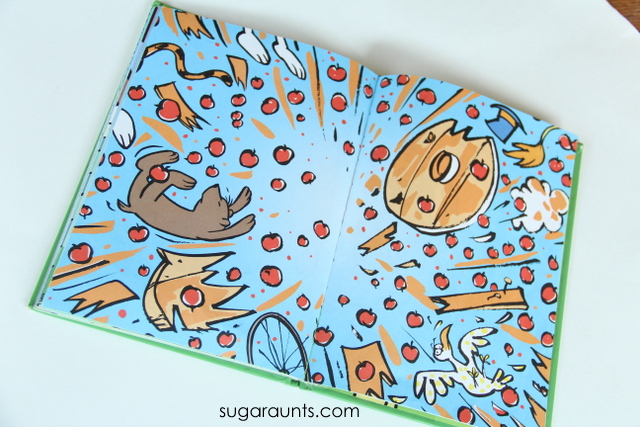
The remains of our cotton ball smashing reminded us of this page in the book. Be sure to let us know if you make baked cotton balls! We would love to hear about your experience with this sensory and fine motor activity!
Stop by the other Preschool Book Club bloggers to see their takes on Ten Apples Up On Top!
Colleen Beck, OTR/L has been an occupational therapist since 2000, working in school-based, hand therapy, outpatient peds, EI, and SNF. Colleen created The OT Toolbox to inspire therapists, teachers, and parents with easy and fun tools to help children thrive. Read her story about going from an OT making $3/hour (after paying for kids’ childcare) to a full-time OT resource creator for millions of readers. Want to collaborate? Send an email to contact@theottoolbox.com.
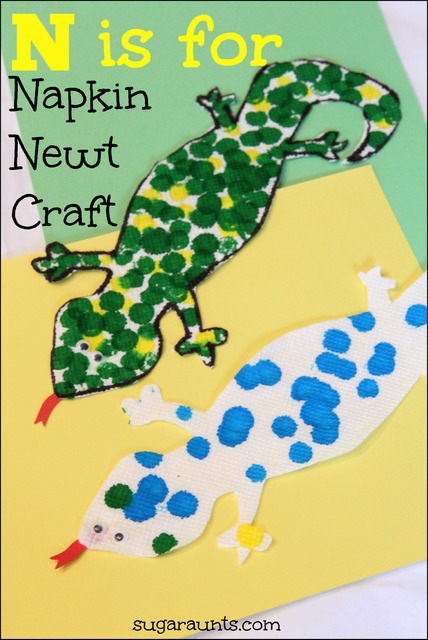
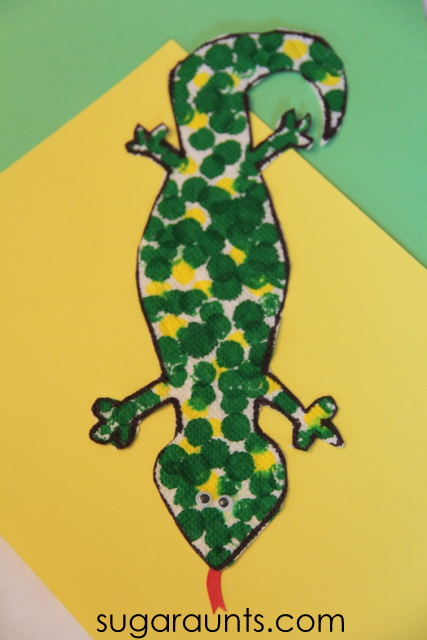
We love making cute crafts and our dining room wall can attest for that. There’s a nice gallery of kid art going on on all four walls (and the ceiling, too!) and this cute newt craft is sure to make the wall!
We’re joining bloggers from all over in the 31 days of ABCs series hosted by All Done Monkey. Each day, a blogger has been publishing a blog post based on a letter. We’re up next with N and our napkin newt.
Newt Craft:
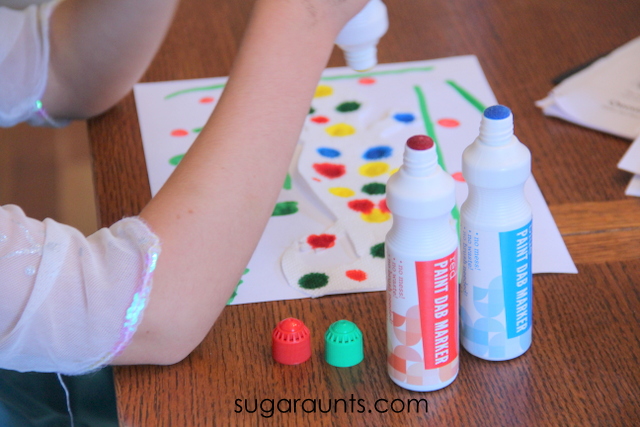
To make your newt, you’ll need a few supplies. We used napkins, googly eyes, paint dab markers, glue, and red card stock. We received the googly eyes and paint dab markers from www.craftprojectideas.com.
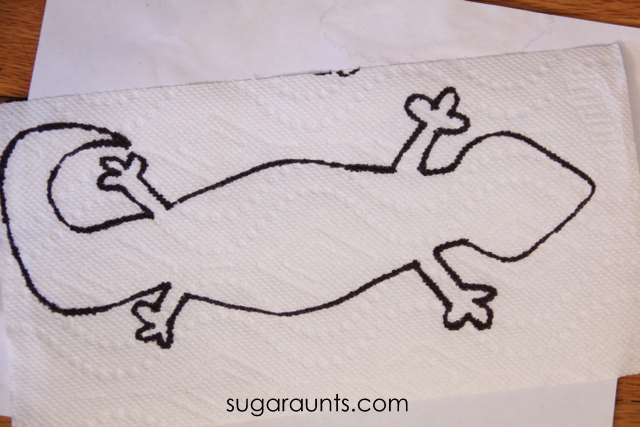
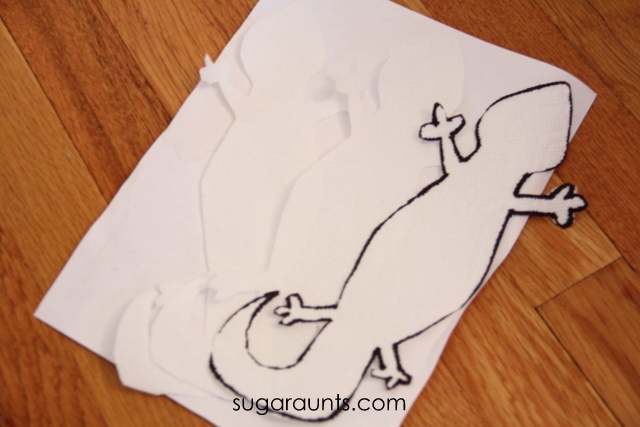
Start by drawing a simple newt shape on the napkin. I used a marker, but a pen would work, too.
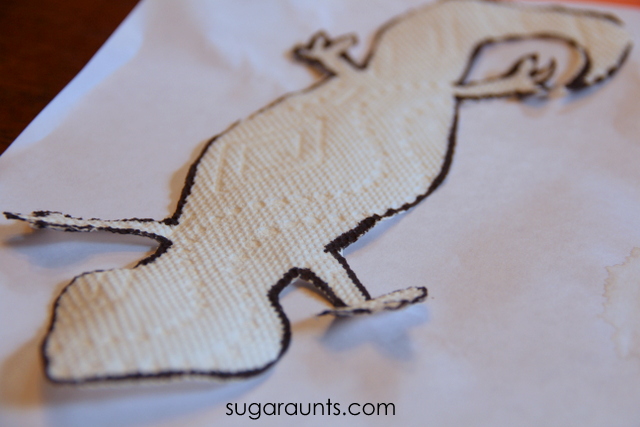
If you have a bunch of newts to make for a preschool class or siblings, stack up a few sheets of napkins. Grab your sharpest scissors and cut out the newts. This is a job for a parent, but an older child could cut this complex shape. Hold the napkins together tightly as you cut around the toes.
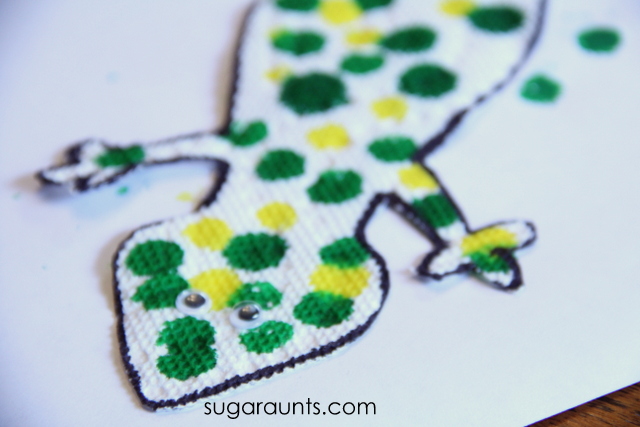
We liked how our napkin newt’s texture looked like scales.
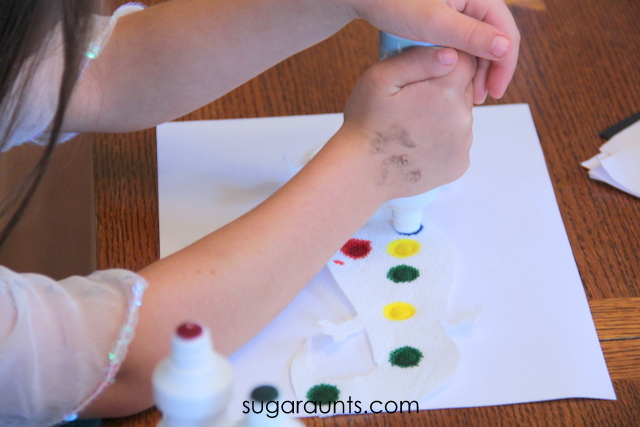
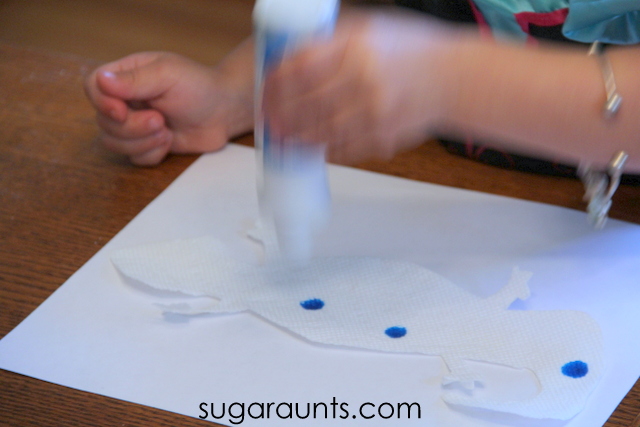
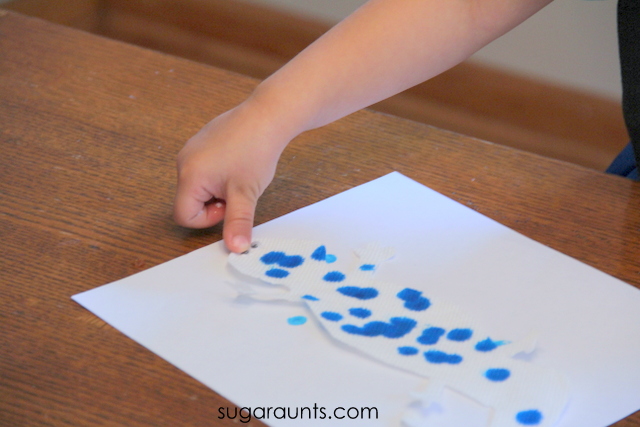
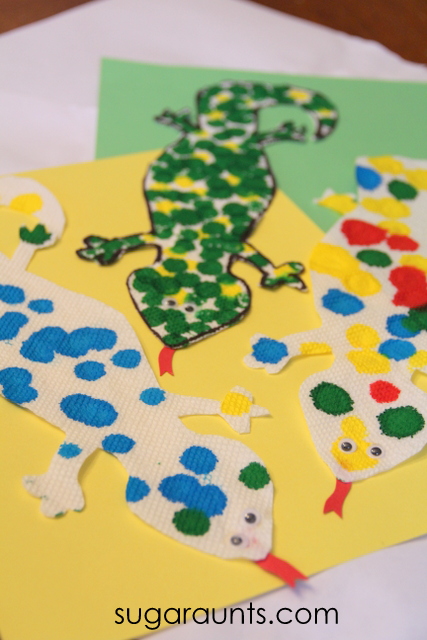
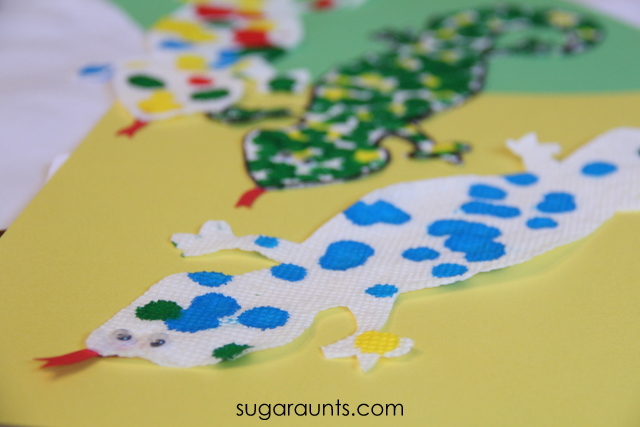
Next, use your paint dab markers to dab on spots. We went with different colors, and each child made their newt differently.
It was fun to see my daughter’s personalities coming out in their craftiness. Big Sister was deliberate and colorful with her painting.
Baby Girl painted in typical Baby Girl fashion…fast and furious and with STYLE!
Next, glue on googly eyes.
These newts are almost done. We talked about the letter N and how Newt and Napkin both start with “N”. We said a bunch of other words that start with “n” as we crafted.
Snip tongues from the red card stock and glue to the back of the newts. Super cute newt!
Let us know if you make this craft. We would love to see your version! Stop by our Facebook page and tell us all about it.
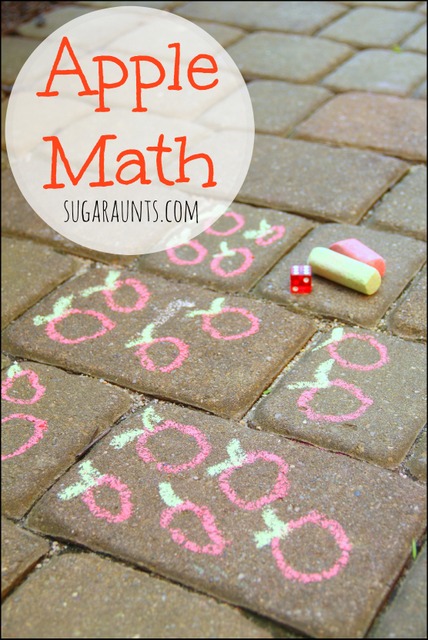
We love using math concepts that are learned in school into playful activities at home. Learning through play is a great way to strengthen concepts learned in the classroom. We used apples to count, add, and learn one day, all in the great outdoors!
Apple math activity for Kindergartners and Preschoolers
This post contains affiliate links. If a purchase is made through these links, we receive a small percentage in payment at no cost to you.
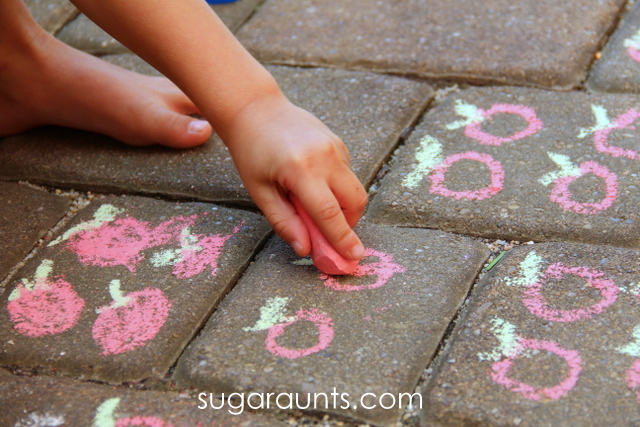
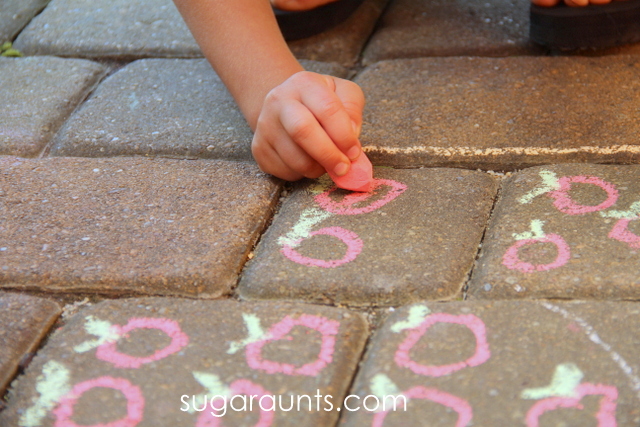
We used Sidewalk Chalk and a dice for this activity. I took the kids outside to the sidewalk one afternoon and drew a bunch of apple shapes. We were ready to play.
Note–you could also draw any shape for this activity: pumpkins, smiley faces, geometric shapes, simple houses…any thing would work.
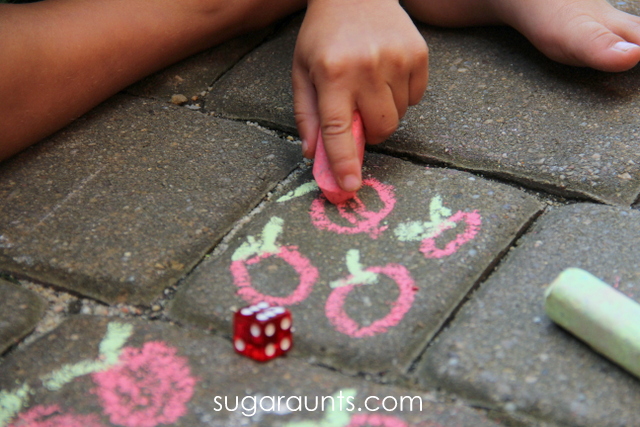
To play the game, I had the kids roll the dice. They had to count the dots on the dice, or simply look at the dots to determine how many dots there were. Big Sister did a lot of dice activities last year in Kindergarten so she was able to glance at the dice and know how many dots there were. Little Guy counted the dots. This is a great early math skill for preschool aged kids.
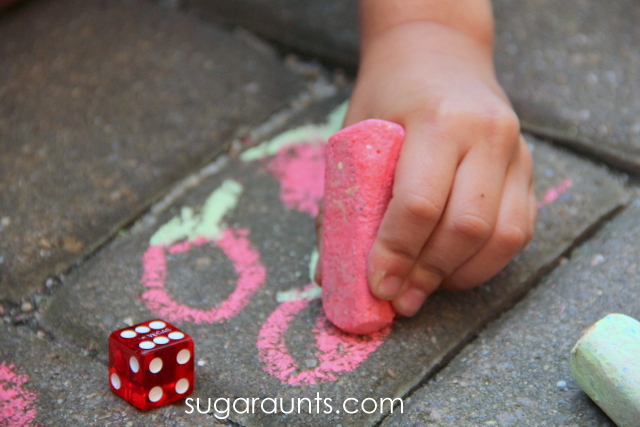
Once they counted the dots on the dice, I had them color in the same number of apples to correspond to the number of dots.
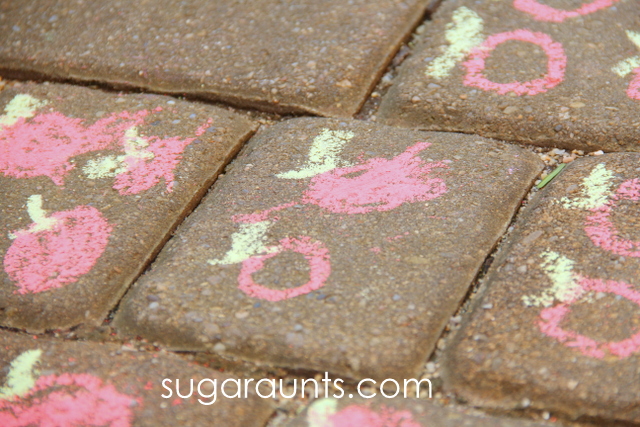
We used the squares of our sidewalk to wok on Kindergarten math concepts that Big Sister learned towards the end of her school year. Some of the squares had two apples drawn on them, and others had four or more.
This was a great opportunity to review addition.
She added the apples to make the total match the number of dots on the dice.
Little Guy counted along with Big Sister to count the total number of apples filled in.
Coloring in the apples with the chalk requires use of the small muscles of the hand. The sidewalk surface is resistive and the area they colored in was small. This required precision to stay in the lines. Not to mention, coloring in all of those apples really strengthened the hands!
This was such a fun way to review old math areas for the new first grader and introduce new math concepts to the preschooler. Like this math activity? Try a few of these ideas:
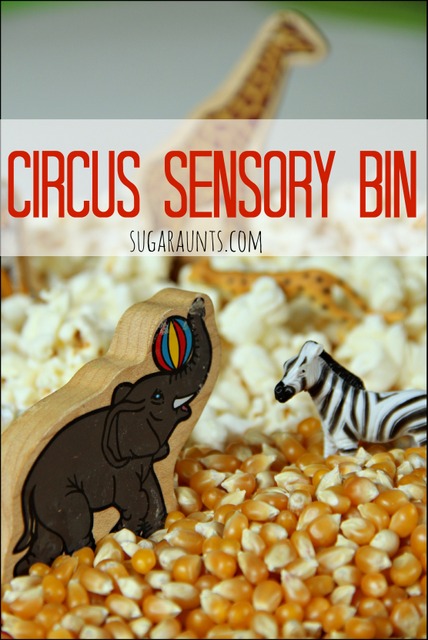
A while back, we were on a bit of a Circus Theme in our pretend play. We had a bunch of fun with our circus party ideas and read a bunch of circus books. We did this sensory bin around that time, but are just now getting the chance to blog about it. This was such an easy sensory activity to throw together that we will definitely be playing this again.
This post contains affiliate links. Read our full disclosure here.
To create an easy Circus Sensory Bin, you will need:
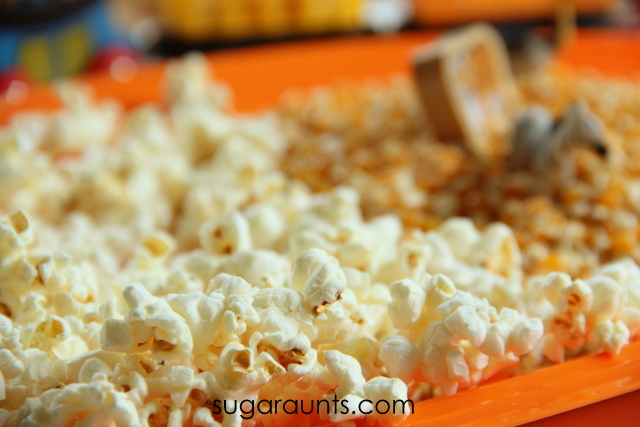
I started by popping some corn. And only ate a few handfuls. Pop extra. Snacks are good.
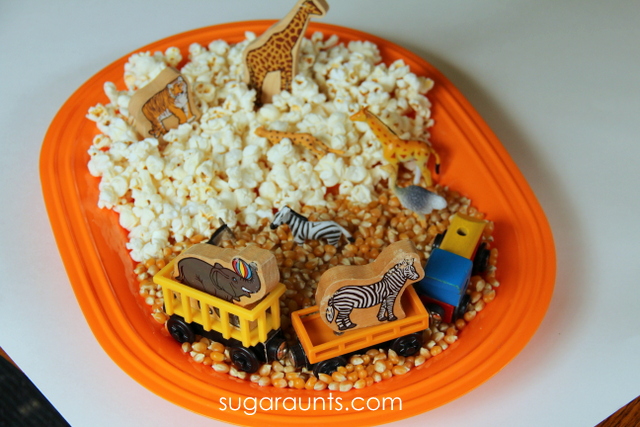
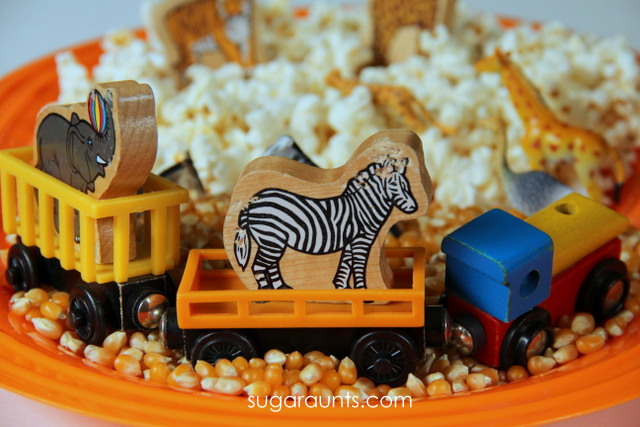
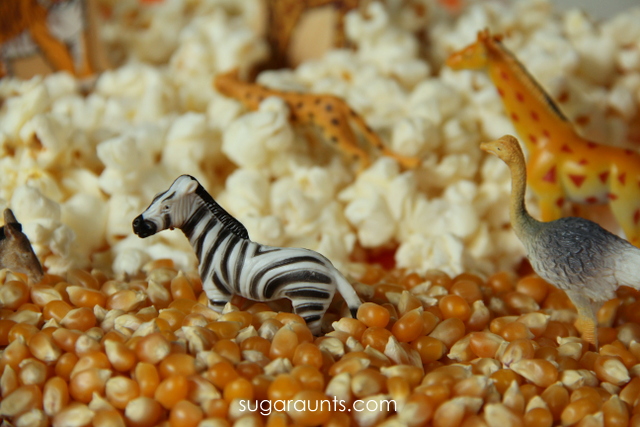
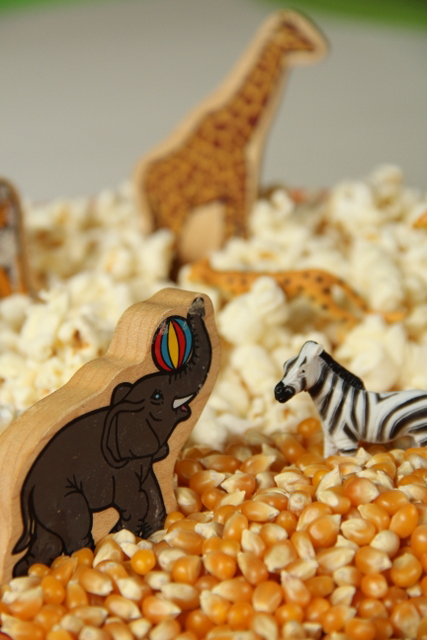
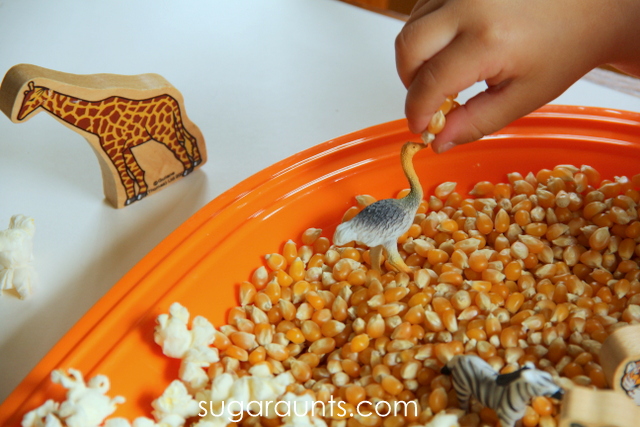
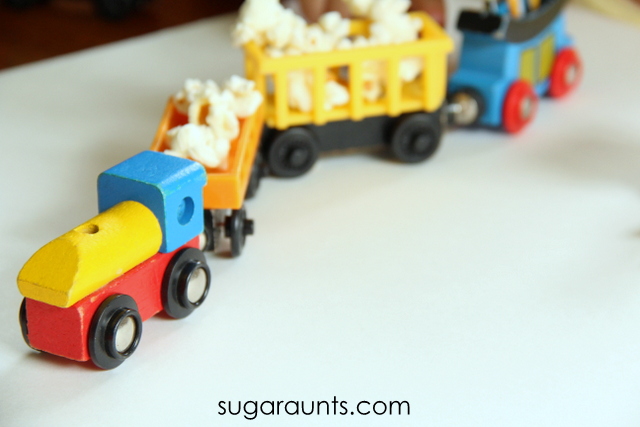
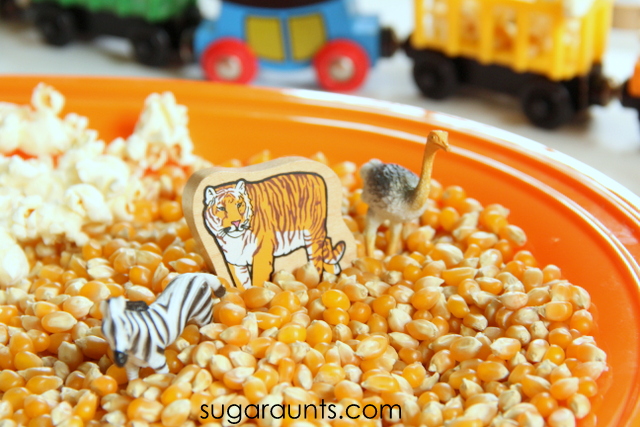
I put some popped and un popped corn onto a plastic tray. Then, simply added our train set and animals. The scene was set for imagination and pretend fun!
The animals in the different textures was such a fun way to explore animal names, animal sounds, and all in an easy sensory bin.
Baby Girl (age 2) loved this pretend play so much! Not only did we have a blast playing and learning, she got a snack too! Bonus!
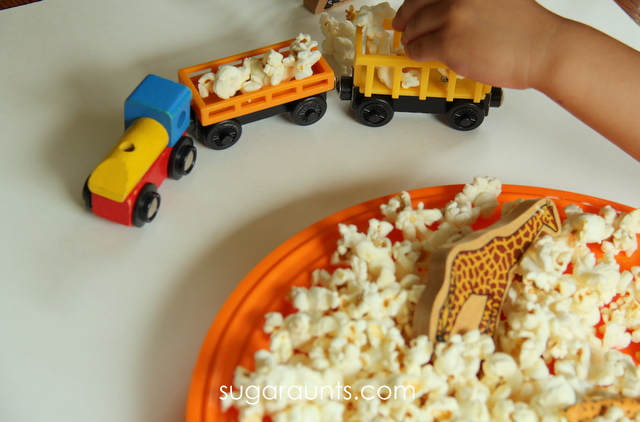
Of course, the animals needed feeding, too.
We loaded up the train with popcorn and made deliveries. Such a fun way to play away an afternoon.
This might be the perfect accompaniment to our circus tent craft. Sensory play, craft, and snack…sounds like the perfect afternoon with the kids to me!
Note: Like all of our activities on sugaraunts.com, we encourage playing alongside your kids and in a supervised manner. Some crafts and activities may present a dangerous situation for children who like to put things into their mouths. Please monitor your child with this and any activity you see on our website. Popcorn will present as a choking hazard for small children. Please use your best judgment if you decide to do this activity with your kids.
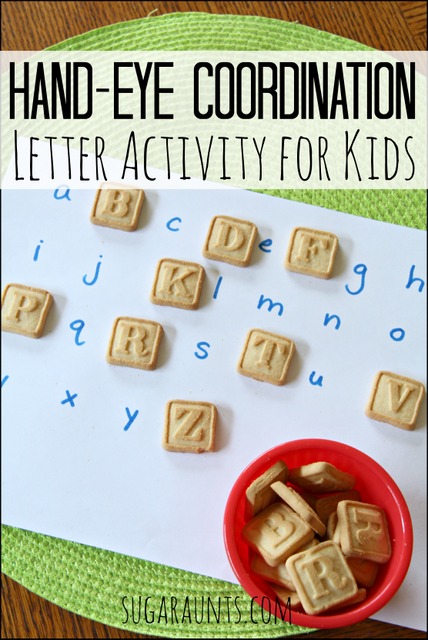
This hand eye coordination letter activity is not only a great way to work on letter identification and visual discrimination skills, it’s also a motivating activity because we used letter cookies!
Hand Eye Coordination Letter Activity
How many times a day do you hear the phrase, “I’m hungry!” ?? It seems like that’s all I hear all. day. long. One afternoon the kids were extremely hungry. again. and I put together this quick little activity and snack combined.
We practiced a few skills (letter identification, letter matching, visual scanning, eye-hand coordination, fine motor skills) while we enjoyed a little letter snack!
This post contains affiliate links. Thank you for your support of this blog!
Letter Matching Activity for Kids
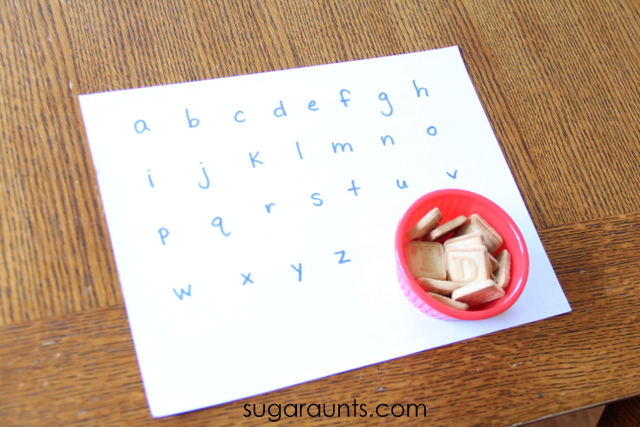
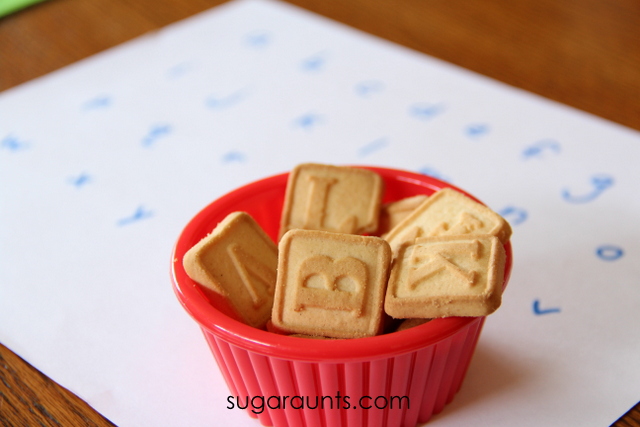
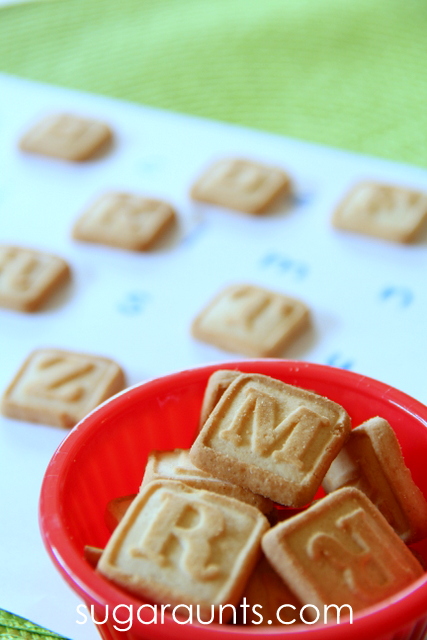
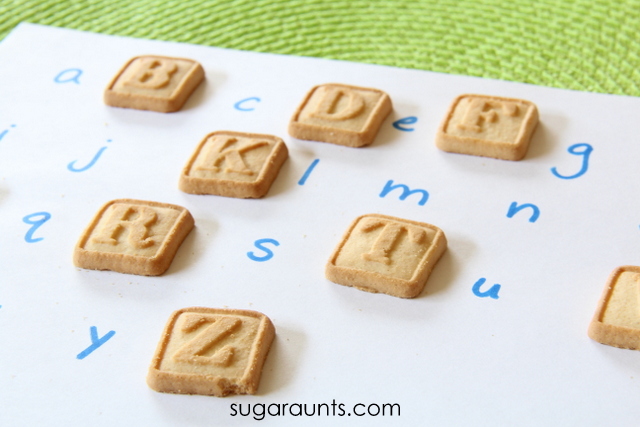
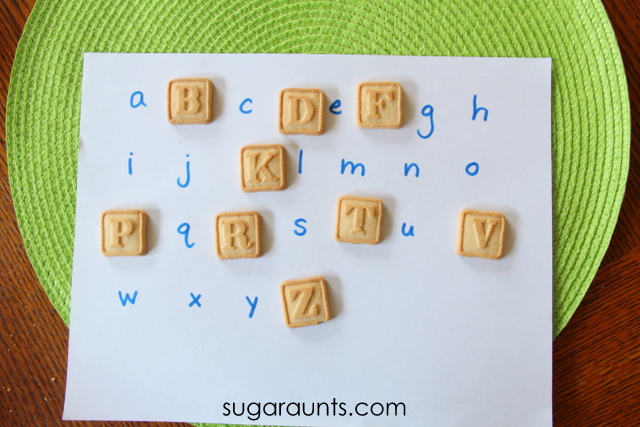
I used a sheet of paper and quickly wrote out the lower case letters of the alphabet. Our snack was a little cup of alphabet cookies. We matched up the upper case letters to the lower case letters. This was a great activity for my preschooler. Little Guy (age 5) was so quick to match the letters (mostly because he wanted to eat them)!
Baby Girl (age 2 and 1/2) had some trouble with identifying the upper case letters, but we haven’t really worked on that yet. This is a great activity to introduce letter identification for younger preschoolers. The cookie incentive is sweet!
Mom only snuck a few cookies.
Visual Scanning Activity for Kids
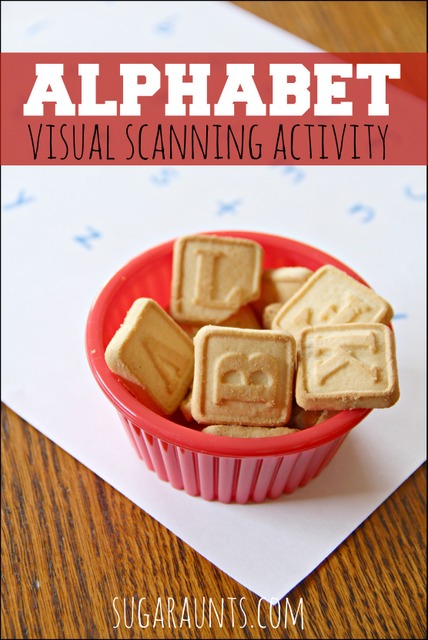
Visual scanning is essential for handwriting skills, puzzles, word searches, mazes, and many many functional tasks. Scanning a room for a missing sock may be difficult if a child demonstrates difficulty with visual scanning.
When matching the upper case letters to the lower case letters, the child must scan the whole page in order to search and find the correct letter. Younger children or those working on visual scanning skills may require modifications to this. You could fold the page in half, offering only half of the options.
Fine Motor Activity for Kids
Picking up those cookies and laying them flat on the paper is a fun way to practice fine motor skills. Don’t let those cookies crumble by pinching too hard! Children will use a tip to tip grasp to pick up the cookies from the table surface, may tuck one or a few cookies into their palms, and transfer the cookies one at a time (hopefully!) into their mouths. What a great fine motor experience!
Hand-Eye Coordination Activity for Kids
Hand-eye coordination is using the information received through the vision system to coordinate the hands with control, in order to complete a task, such as handwriting or catching a ball.
Colleen Beck, OTR/L has been an occupational therapist since 2000, working in school-based, hand therapy, outpatient peds, EI, and SNF. Colleen created The OT Toolbox to inspire therapists, teachers, and parents with easy and fun tools to help children thrive. Read her story about going from an OT making $3/hour (after paying for kids’ childcare) to a full-time OT resource creator for millions of readers. Want to collaborate? Send an email to contact@theottoolbox.com.
Is there a song or nursery rhyme that is a huge hit in your house? You know the one that is said over and over (and over) again? Right now we are on a This Little Piggy Went to the Market kick. Baby Girl (age 2 and a half) loooooooves This Little Piggy. She will ask me to do the finger play rhyme on both feet and then both hands again and again. I’ve even heard her saying it to herself…with lots of adorable mistakes. It’s beyond cute. I love when she asks me, “Mom, what does this piggy do?” and points to a toe. What a cutie!
When we made this piggy craft, Baby Girl very excited. I told her we were making a This Little Piggy craft and she was so happy!
This Little Piggy Went to the Market craft for Toddlers
This post contains affiliate links. Your purchases through these links help support our blog.
This craft for toddlers is very easy and a great opportunity for some learning, too. You can talk to your Toddler about circles and sizes (big and little). Toddlers are learning concepts such as size awareness and you can show them the big and little circles as you build the pigs.
I started with 5 big circles cut from pink construction paper and 15 small circles. We counted out the big circles together.
I helped Baby Girl fold ten of the small circles in half. These will be the pigs ears.
Big Sister helped out a little with counting out our piggy ears.
Baby Girl is all about using the glue stick. This Little Piggy Went to the Market + glue stick
= Baby Girl’s best day ever! She went crazy gluing on the big circles, ears, and snouts.
After all of the pieces were glued in place, I drew on little faces. We had fun saying the finger play while using our five little piggys to join in on the fun. Baby Girl played with these little piggys all day!
Visual Motor Integration is also known as eye hand coordination. Essentially, this skill is the ability to coordinate the hand in an effective manner directed by vision. When relying on visual motor skills, a person coordinates their movements based on what they see. A child requires effective visual motor skills in order to do so many tasks…forming letters, writing on a line, coloring within lines, cutting along a line, catching a ball, completing puzzles, reading, and so much more.
This fun (and colorful) activity is easy to create at home and a fun way to work on visual motor integration. We added a color matching component to our activity, but you can adjust this activity to include what ever best keeps your child’s attention.
Visual Motor Color Matching Activity
This post contains affiliate links.
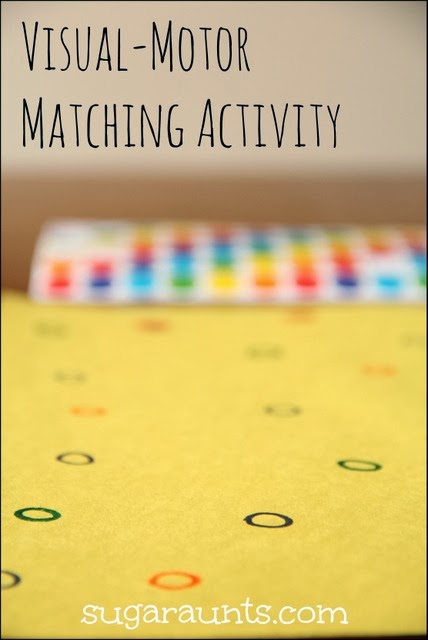
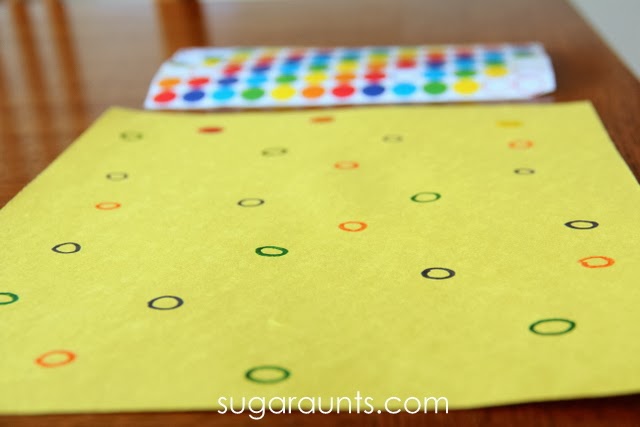
I started by drawing small circles all over a sheet of construction paper. I used a bunch of different colors that matched the colors of stickers we had. These rainbow stickers are the perfect size for little fingers to peel and work on fine motor skills.
I had Baby Girl (aged 2 and a half) peel off the stickers and place them on the circles. Scanning for the matching color works on those eye-hand coordination abilities and also works on color identification.
This was also a great way for Little Guy (age 4) to work on his visual motor skills. He’s working on letter formation and ability to write in a smaller space with better control. The fine motor and visual motor work in the activity are perfect for the new hand writer.
This is such an easy way to work on so many skills. We’ll be doing this activity again, for sure, with a few modifications. Instead of matching colors to colored circles, try matching letters, numbers, emotions, and more!
What are other ways you can work on visual motor skills at home?
This pipe cleaner busy bag is a creative way to use pipe cleaners while helping preschoolers to develop fine motor skills and visual motor skills. Add this pipe cleaner busy activity to your list of preschooler activities!
Pipe Cleaner Busy Bag
I have been trying to think of activities to keep my 3-year-old son busy lately. He is a busy little guy a
nd always wants to be involved in what we are doing in our homeschool. I typically have little busy-bag activities for him to do and needed to add in some new ones.
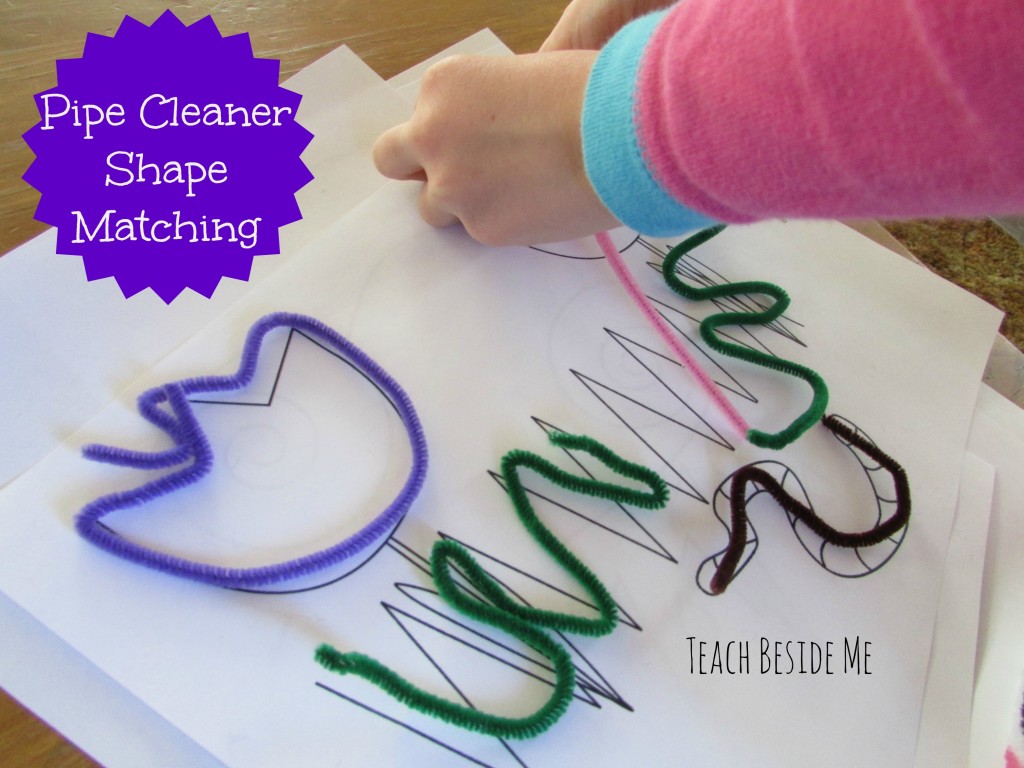
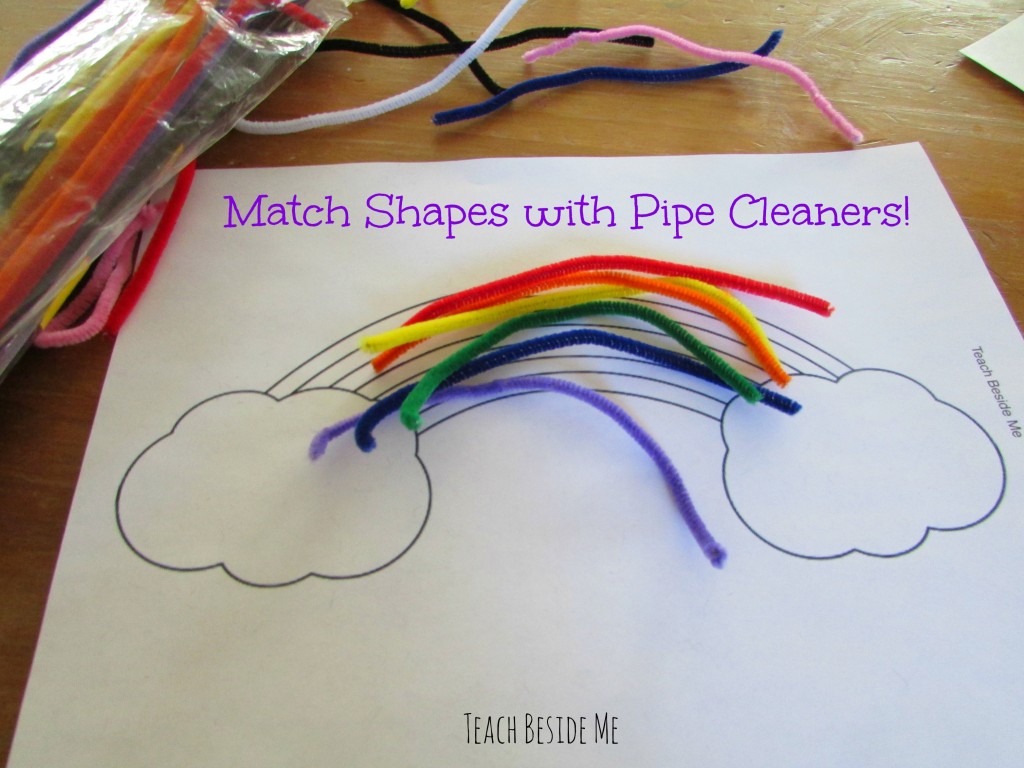
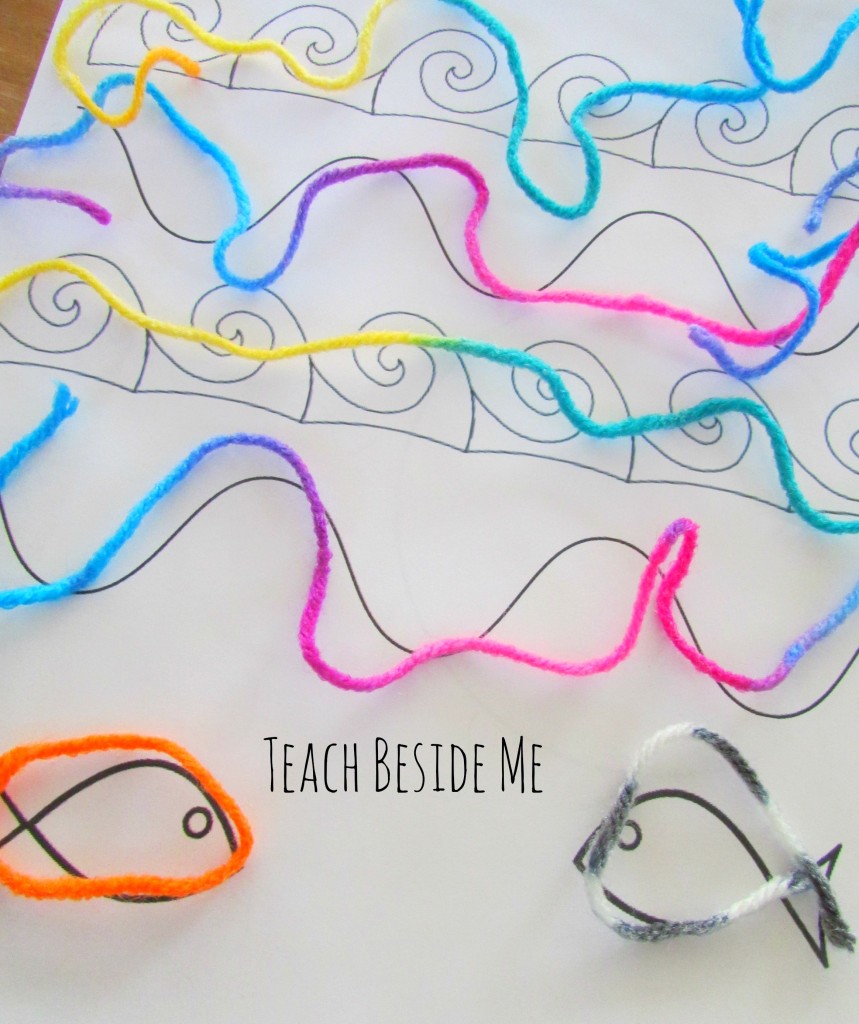
We have lots of pipe cleaners so I decided to make a pipe cleaner shape matching activity. I created some simple pictures for him to use to create shapes with pipe cleaners or yarn. You could really do this with any shapes, but I thought it would be fun to make it a more creative picture with nature scenes.
I made several different printable pages that can be used in a busy bag or just for anytime.
We tried doing the activities with yarn as well and it is a little easier to shape them for younger kids.
Working on fine motor skills, visual perception, visual motor skills, sensory tolerance, handwriting, or scissor skills? Our Fine Motor Kits cover all of these areas and more.
Check out the seasonal Fine Motor Kits that kids love:
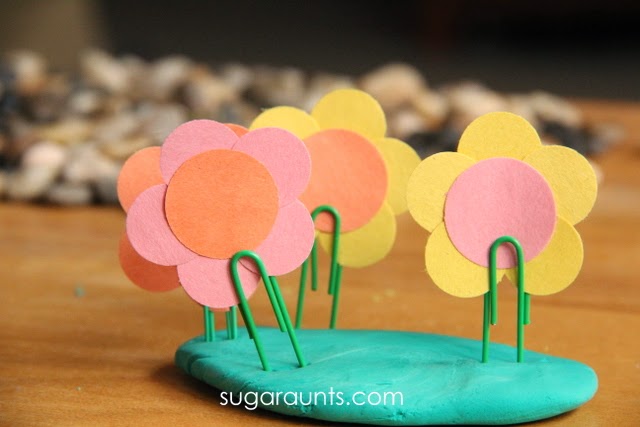
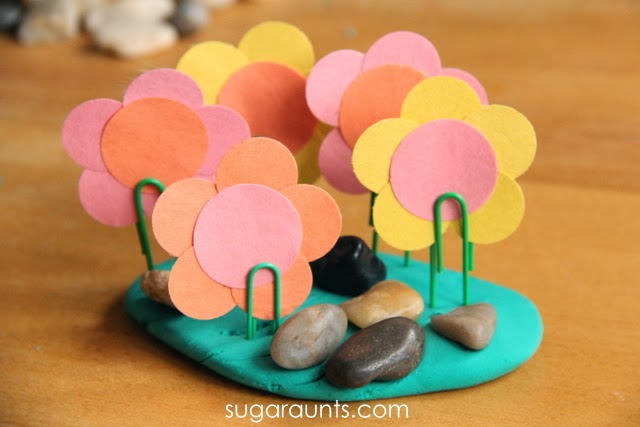
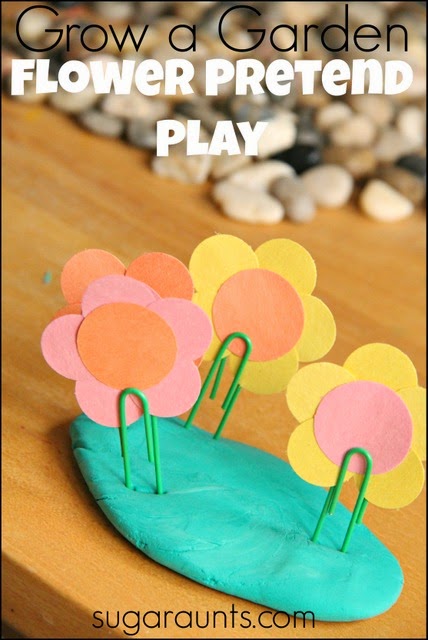
We love making these play dough flowers with paper clips, paper flowers, and rocks. It’s such a fun fine motor activity that kids absolutely love, and so do I as an occupational therapist who loves easy and simple fine motor activities that build skills through play.
Play Dough Flowers with paper clips and rocks
We are loving all things Spring these days. One rainy morning, Baby Girl and I played with this play dough fine motor activity while Little Guy was away at preschool. She loves play dough and was very excited to Grow a Garden with a few extras thrown in there to make a fun flower garden.
Play dough is such a great way to work on fine motor skills and this garden activity hits the mark when it comes to strengthening those little muscles in the hands. Not only that, it’s totally fun and happy!
This post contains affiliate links.
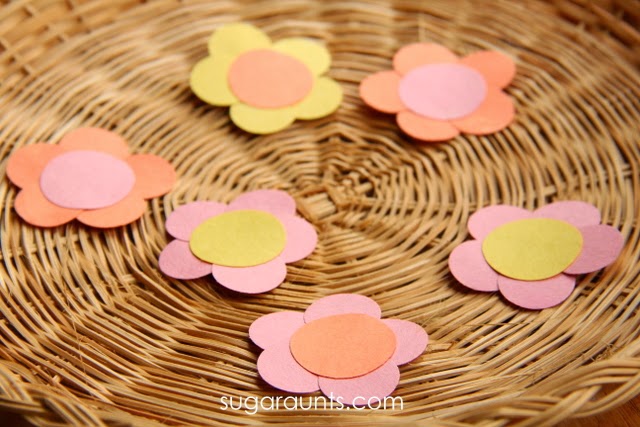
I started by making a bunch of flowers. I used my circle paper punches and glued circles together to make flowers.
Baby Girl and I stuck them onto green paper clips. It was a great way to get started on the fine motor work in this activity. She was really focused on putting the paperclips onto the flowers.
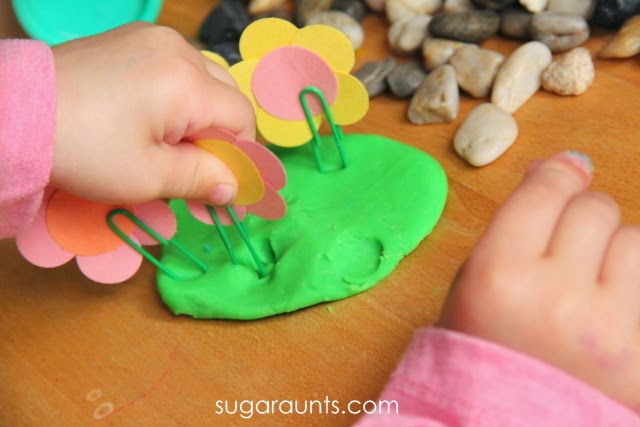
Next, I pulled out the green play dough and we started planting flowers!
Rocks were needed for our flower garden, of course!
PaperClip Play Dough Activity
We tried clay and play dough for this activity. The clay was more resistive to press the paper clips into, and a better strengthening tool…but it seemed to stick more to the paper clips. Play dough worked better for us, and was just as good a fine motor strengthening work out.
Pressing the paper clips into the play dough is a great way to encourage a tripod grasp while strengthening the intrinsic muscles of the hands. The small muscles within the hand are so important for arch support and control in many fine motor tasks (coloring, zippering, buttoning…)
Colleen Beck, OTR/L has been an occupational therapist since 2000, working in school-based, hand therapy, outpatient peds, EI, and SNF. Colleen created The OT Toolbox to inspire therapists, teachers, and parents with easy and fun tools to help children thrive. Read her story about going from an OT making $3/hour (after paying for kids’ childcare) to a full-time OT resource creator for millions of readers. Want to collaborate? Send an email to contact@theottoolbox.com.

 by Dr. Seuss. This is such a fun book for counting and playing along with the story.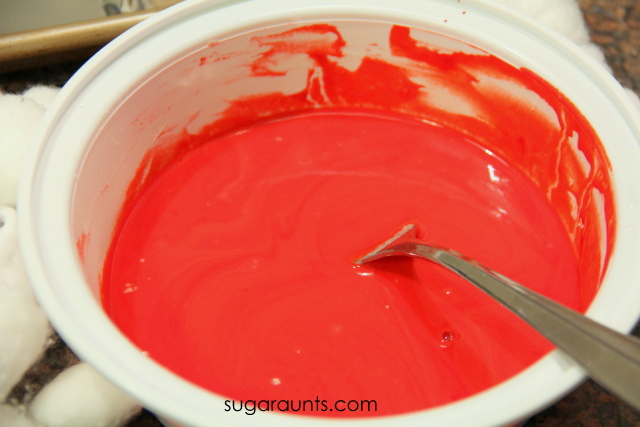
for all of our dying activities, but I knew I wanted a really deep red color. It seems like red coloring requires SO much dye to get a good shade of red. I ended up using a bottle from the dollar store and used about half of the bottle of food dye. This was maybe 20 drops? Add enough to get a nice red color.




 and a
and a for this activity. I took the kids outside to the sidewalk one afternoon and drew a bunch of apple shapes. We were ready to play.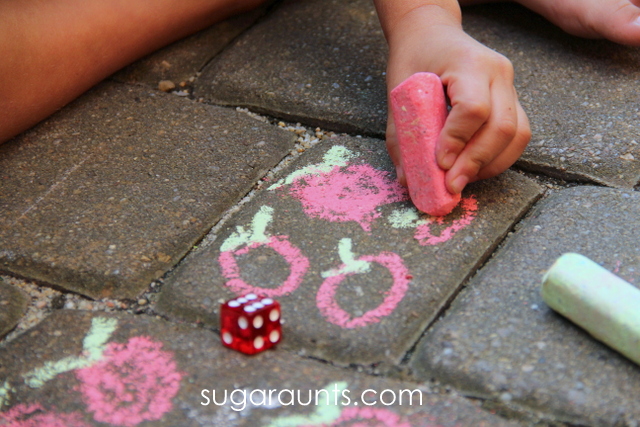





 are the perfect size for little fingers to peel and work on fine motor skills.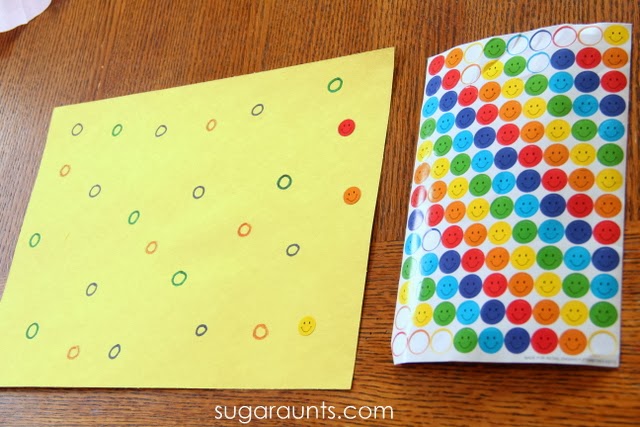






 and glued circles together to make flowers.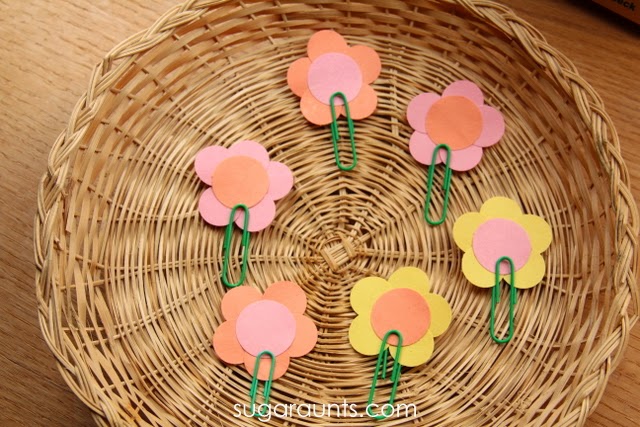
 . It was a great way to get started on the fine motor work in this activity. She was really focused on putting the paperclips onto the flowers.