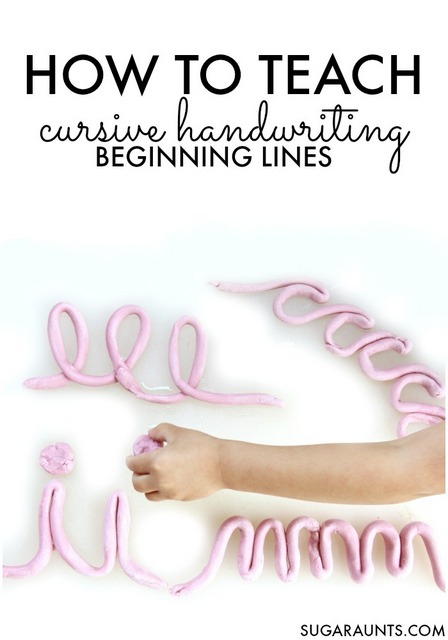
Fingerprint art is a fine motor powerhouse. These cute little Letter of the Week Alphabet finger print crafts don’t really show how many fine motor skills are bring addressed!
Four kids in eight years make a lot of fingerprints. Fingerprints on the fridge, fingerprints on the sink, and fingerprints on the windows. Then, there are the bins of artwork that I’ve got saved in the attic. We all have a couple of those bins of memories that a mama has got to save. The fingerprint and handprint Mother’s Day gifts, preschool crafts, and memorabilia.
As an Occupational Therapist who spent years working with kids, I can now practice the finger isolation needed in fine motor skills with my own kids, while creating fun artwork!
This post contains affiliate links.
It is not only fin to make fingerprint artwork, but educational too. Use fingerprints in fine motor patterns, addition, multiplication, and so many more ways…all while working on finger isolation.
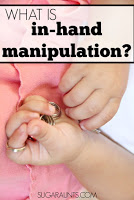
What is Finger Isolation?
Finger isolation is using one finger to perform a task. Pointing with the index finger, wiggling all of the fingers individually, and counting out the fingers on your hand are finger isolation. This finger isolation is needed for many functional activities, like dexterity in managing pencils, paintbrushes, and other tools, typing on a keyboard, tying shoes, and many other skills.
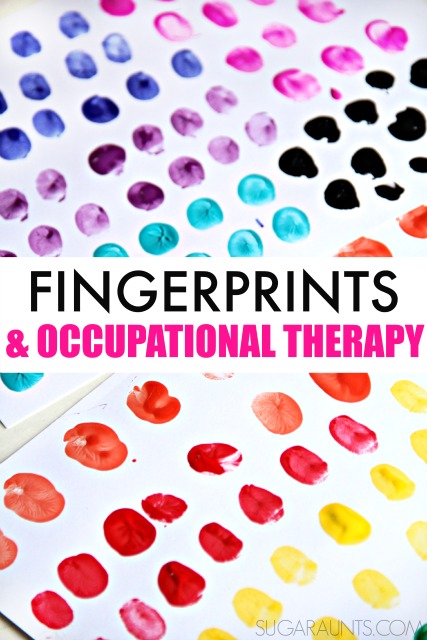
Fine Motor Fingerprints
Many Occupational Therapists suggest fingerprint activities to their students for the fine motor benefits that the simple task allows. To create a fingerprint, a child needs to isolate one finger and bend (flex) the rest of the fingers into a fist. This is refinement from the fisted hand and “raking” motion that babies and young toddlers demonstrate. To create a fingerprint, the ulnar (pinkie side of the hand) are stabilized with the pinkie and ring fingers bent into the palm, or are positioned with the pinkie finger extended and abducted (spread apart).
This positioning allows the knuckle joints (metacarpals) to stabilize and allow the pointer and middle fingers to be used with more control. The separation of the radial and ulnar sides of the hand allows for more skilled fine motor manipulation.
So, how can you use fingerprints in activities?
- Use fingerprints like you would a dobber.
- Fingerprint math patterns.
- Fingerprint pointillism art.
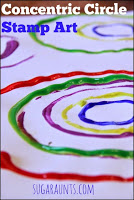
- Draw circles and ask your child to add their fingerprints to each circle.
- Fingerprint onto sight words, spelling words, or vocabulary words.
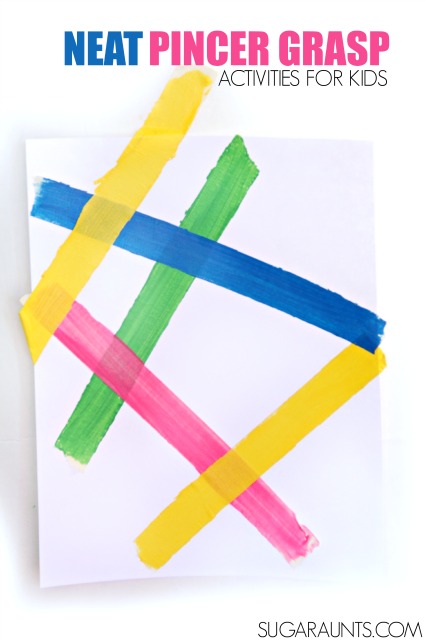
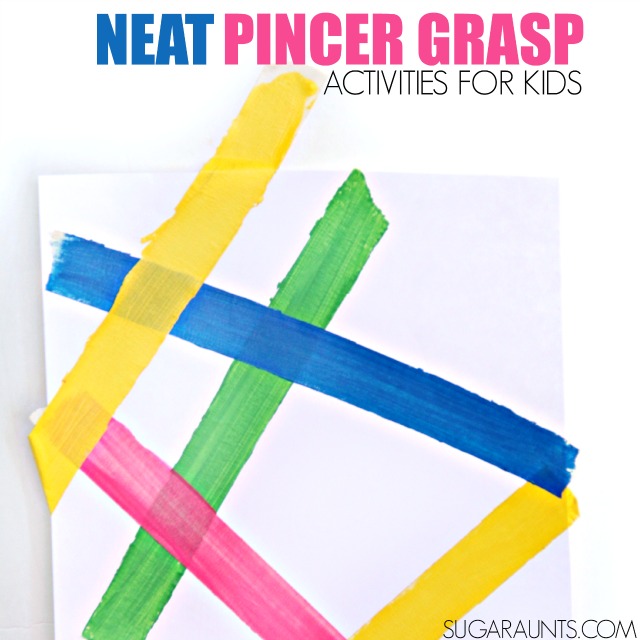
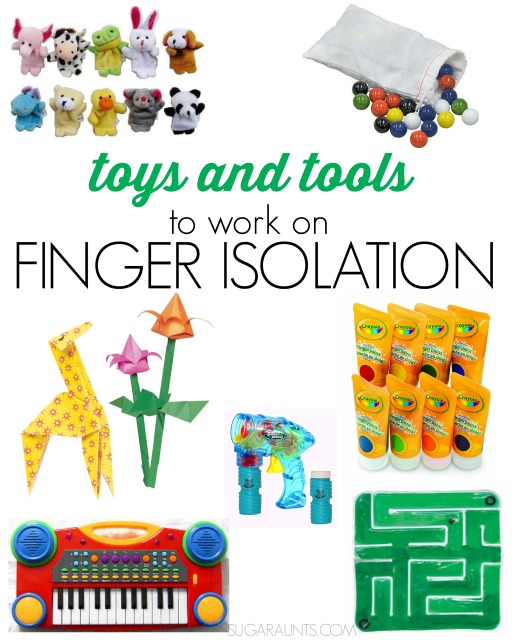
Finger Isolation Activities to Improve Fine Motor Dexterity:
Try these fine motor activities to work on finger isolation:
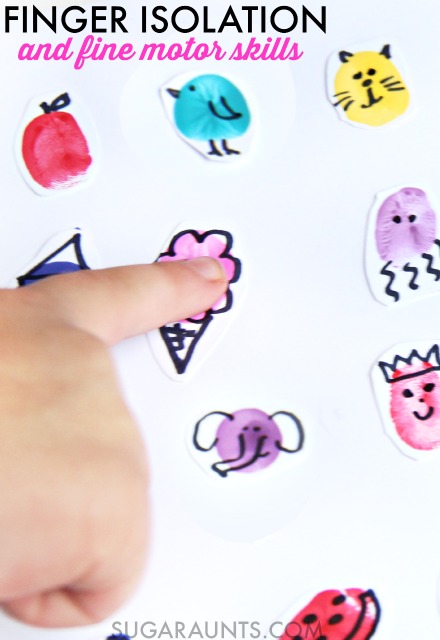
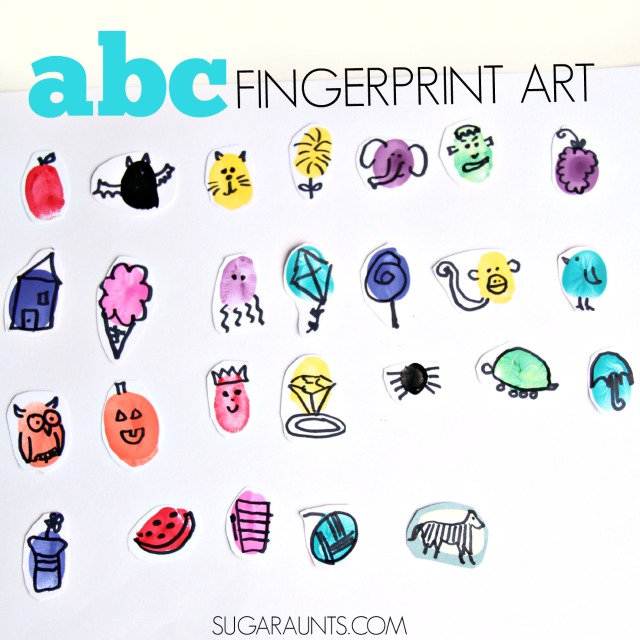
- Fingerprints! Make a whole alphabet of fingerprint artwork, using the guide below. These are perfect for letter of the week letter learning or for just creating a A-Z art with fingerprints. Each fingerprint represents a letter of the alphabet. Simply show your child how to print in different colored paints. When the paint dries, use a black permanent marker to add details.

More Finger Isolation Activities
-
- Squeeze a spray bottle using just one or two fingers.
- Spin coins on their edges.
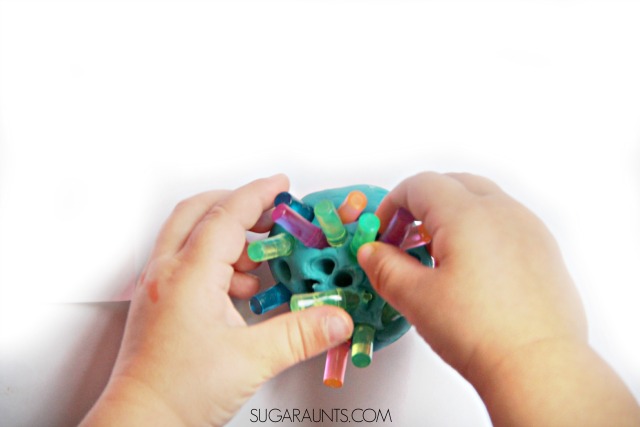
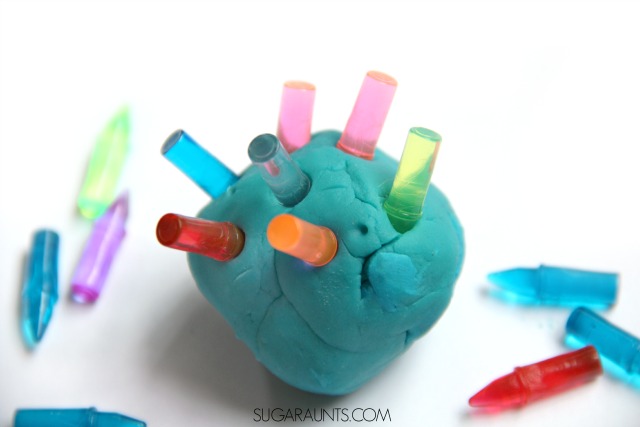
- Roll small balls of play dough between the thumb and index finger. Repeat between the thumb-middle finger and thumb-ring finger.
- Try sign language.
- Play finger games like “Where is Thumbkin” and “Itsy Bitsy Spider”.
- Shoot Marbles
.
-
Finger pattern games. Ask your child to rest their fingers on the edge of a table. They can copy your hands as you lift individual fingers, separate, bend, and tap your fingers in patterns. Ask them to copy using both hands at the same time, then work to copying patterns with just one hand at a time.
- Play paper football.
- Finger Puppets
allow kids to imagine and pretend while working on finger dexterity and movement of individual fingers in isolation of others. This is a great precursor to typing. Play with these puppets as a hand warm-up before working on keyboarding tasks.
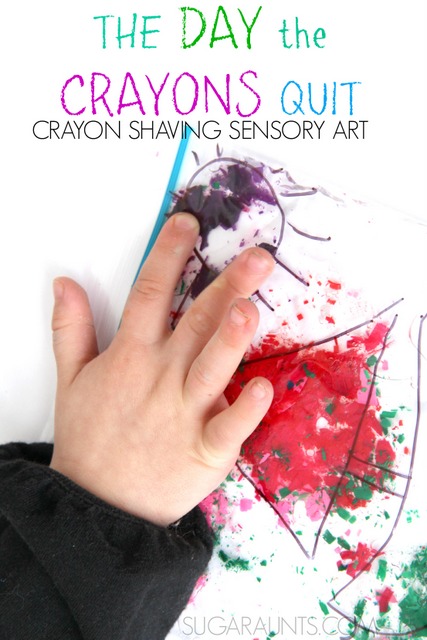
- Finger Painting
This is a sensory and messy texture and wonderful for sensory feedback while working on finger isolation.
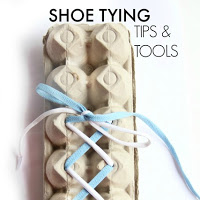
- Practice tying knots and shoe tying.
- Play a keyboard
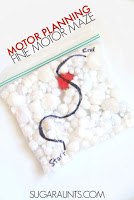
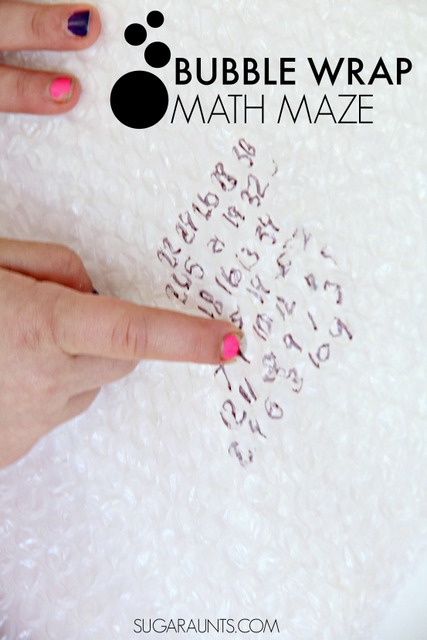
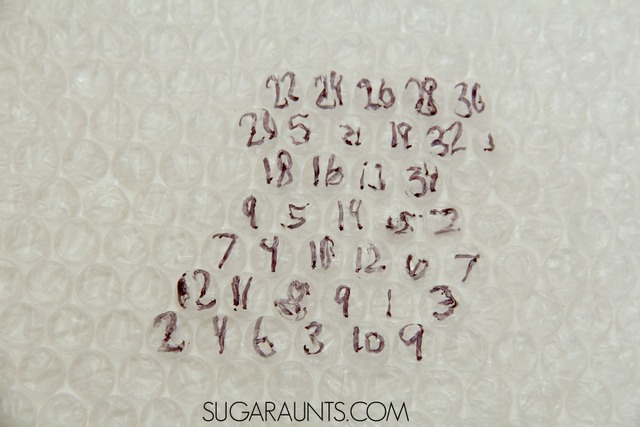
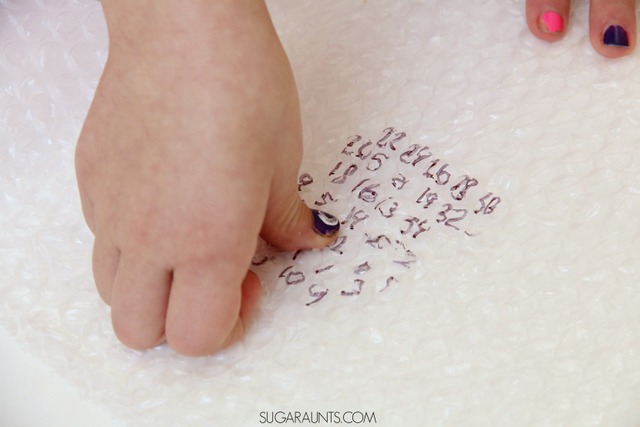
- Play mazes with the fingers. This Sensory Gel Maze
is perfect for finger isolation. - Pick up stick games
- Screw/Unscrew bottles, lids, nuts, and bolts

Use the activities in this post to work on the skills needed for so many fine motor tasks. Hopefully, you don’t end up with too many more fingerprints on the windows with all of this finger isolation practice!
Did you like this post? Share it on Facebook!
This post is part of our 31 Days of Occupational Therapy series. You can find more creative fine motor activities here:

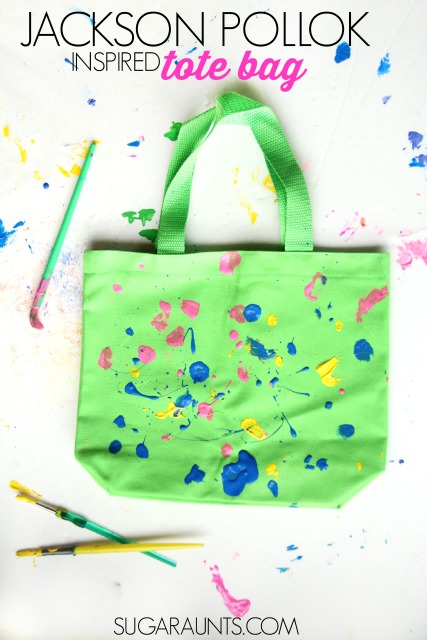
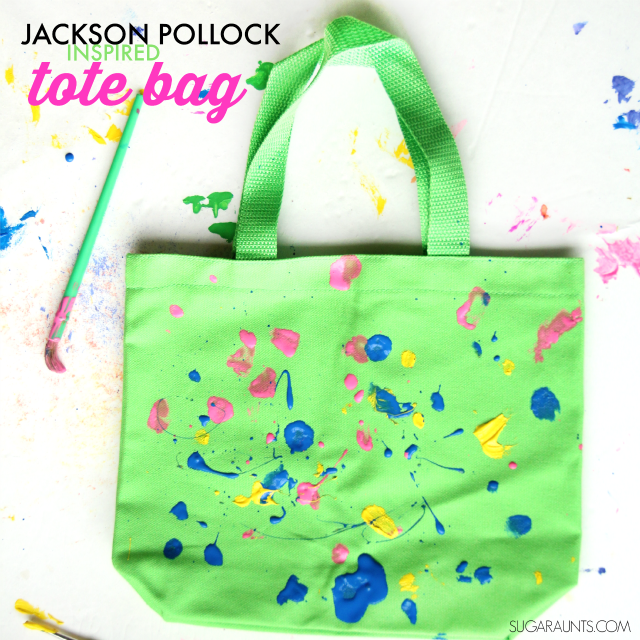
%20that%20wants%20to%20explore%20Pollock%27s%20use%20of%20movement%2C%20balance%2C%20and%20control%20in%20his%20painting%20technique.%20%20Create%20a%20unique%20and%20creative%20art%20project%2C%20too!)